需求
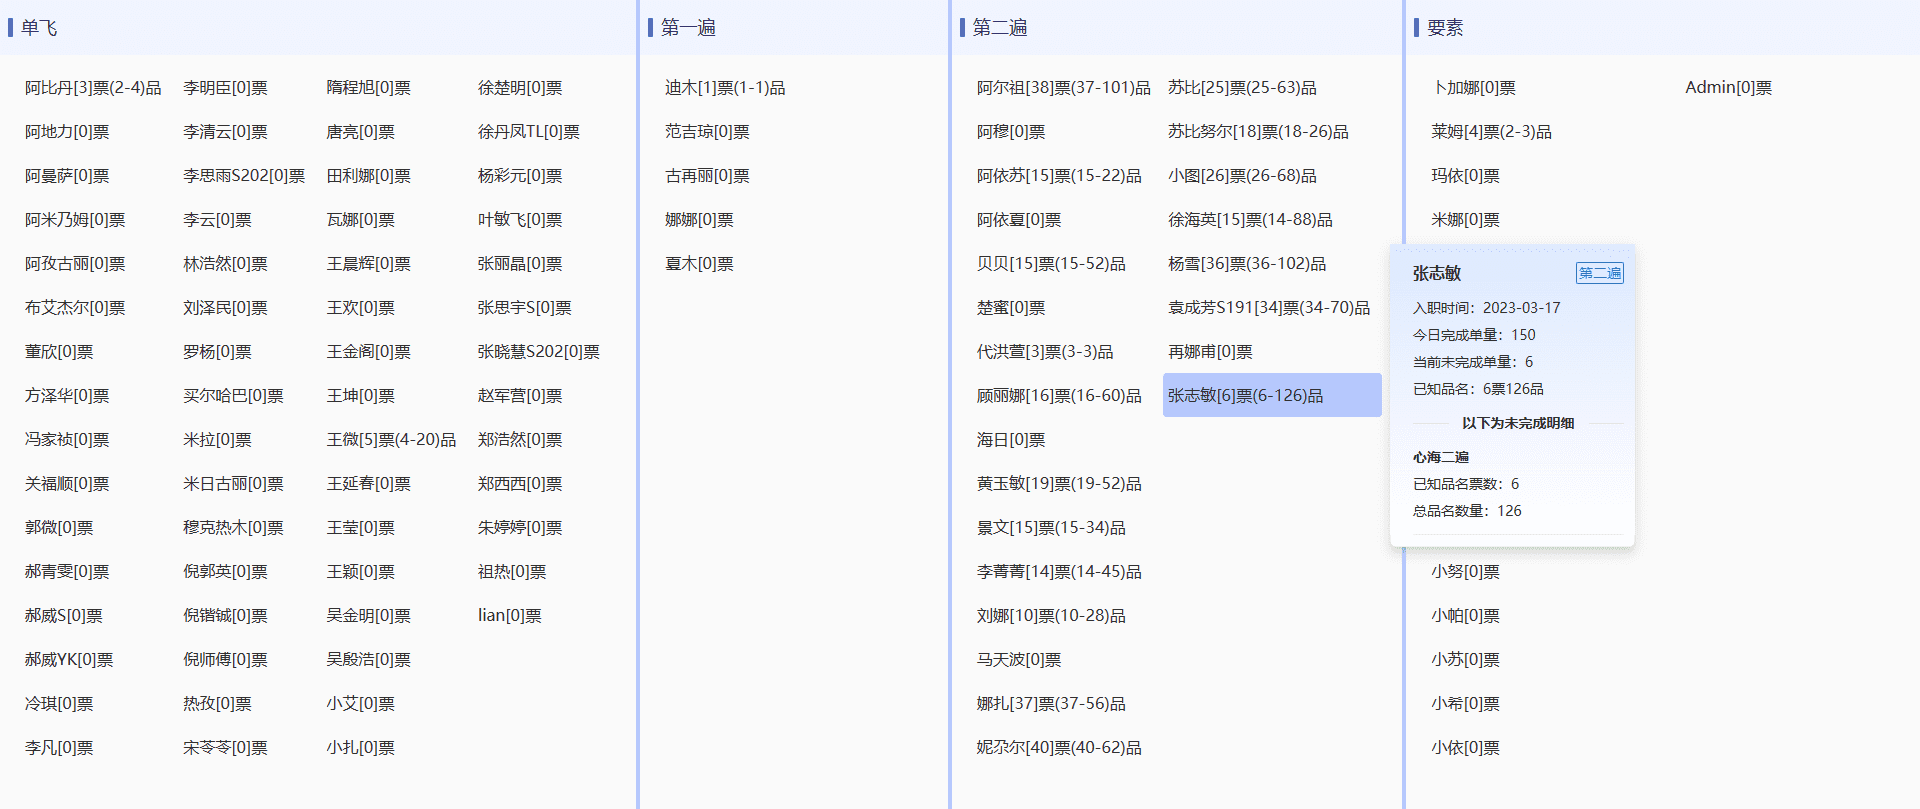
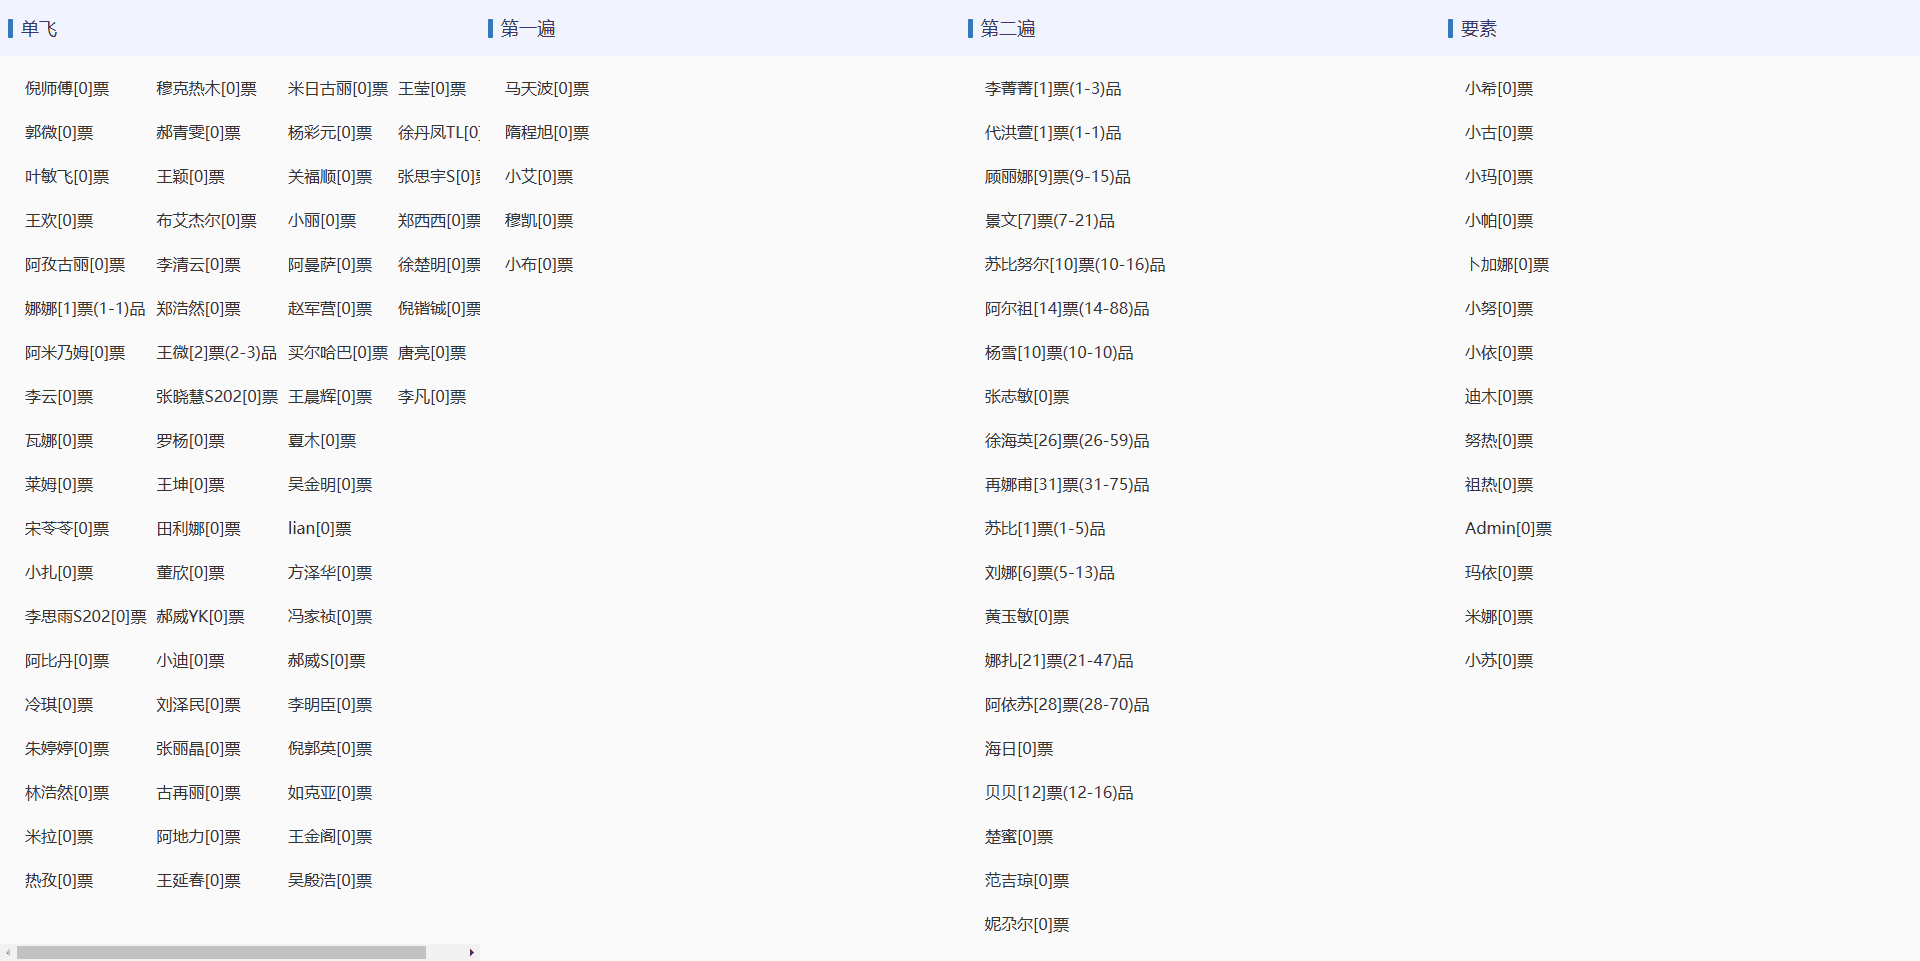
根据后端返回数据将信息分类成四部分,然后将信息展示,点击之后展示详情,分割线可以拖拽进行列宽调整
数据
实现
1.技术栈
- vue3-vue-router
- html-css(less)-js
- vite
- Splitpanes
- 搭建项目常用的一些配置
2.手把手实现
安装vite
需要先安装好node环境,才有下面的步骤
创建项目
1
2
3
4
5
6
7
8
9
10
11
| # npm 6.x
npm create vite@latest my-vue-app --template vue
# npm 7+, extra double-dash is needed:
npm create vite@latest my-vue-app -- --template vue
# yarn
yarn create vite my-vue-app --template vue
# pnpm
pnpm create vite my-vue-app --template vue
|
安装依赖并启动
安装依赖
项目启动

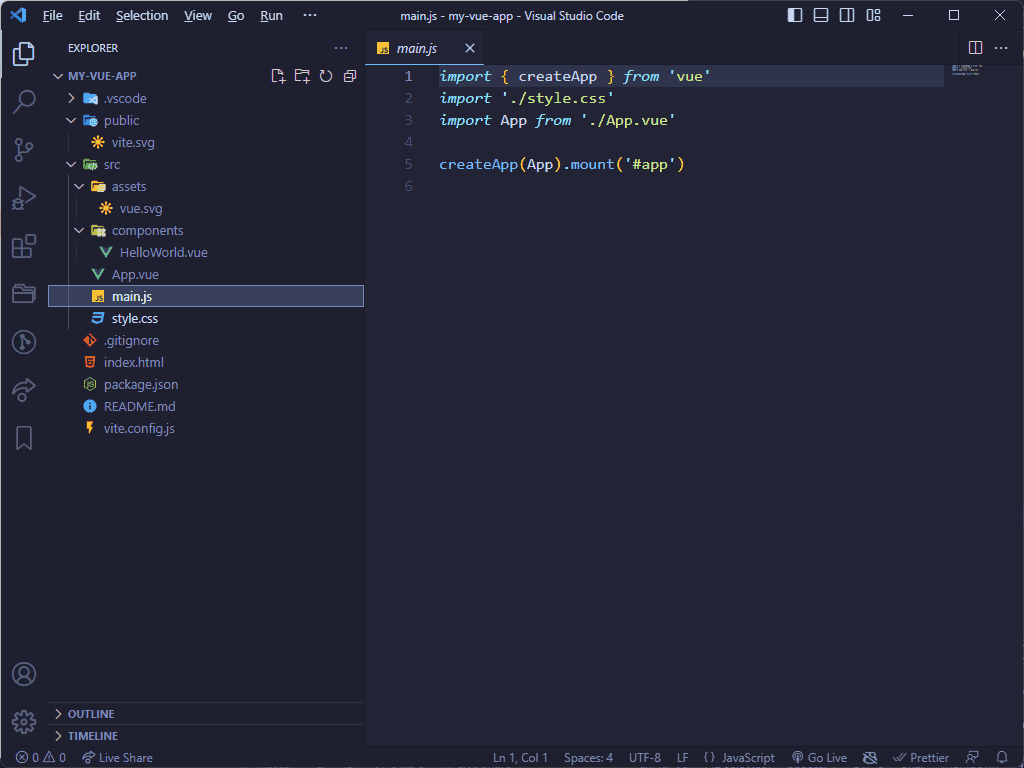
修改一些配置
- 页面title修改
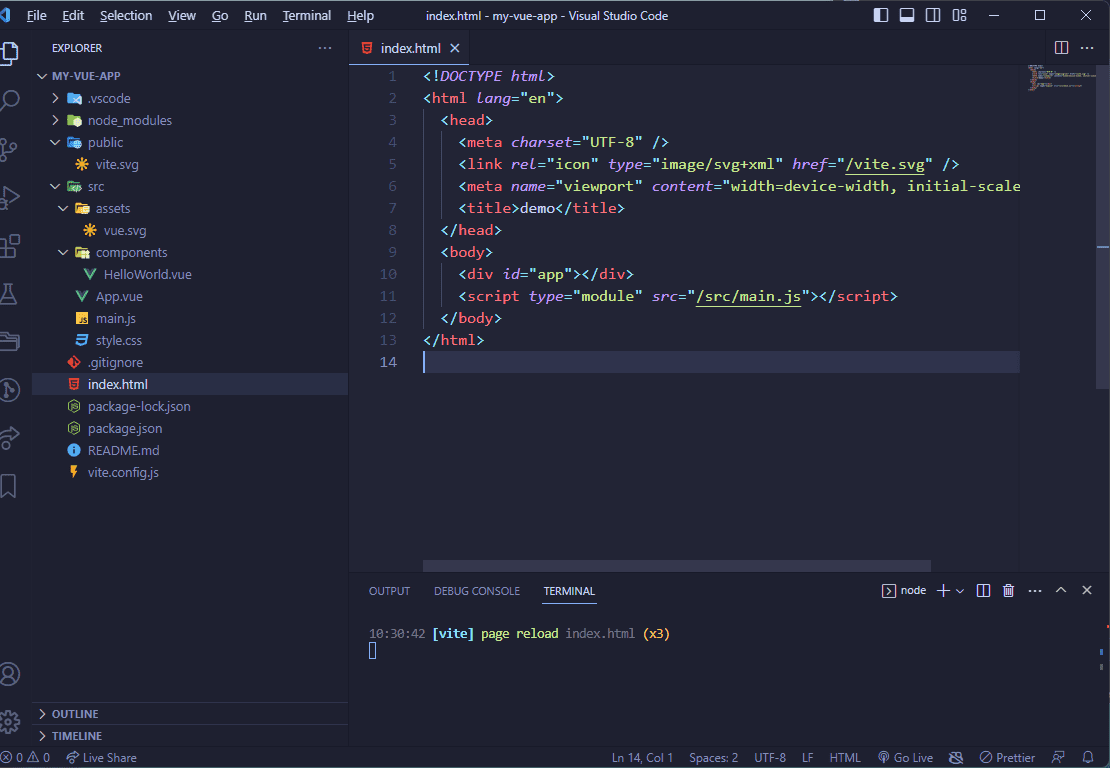
- style.css修改
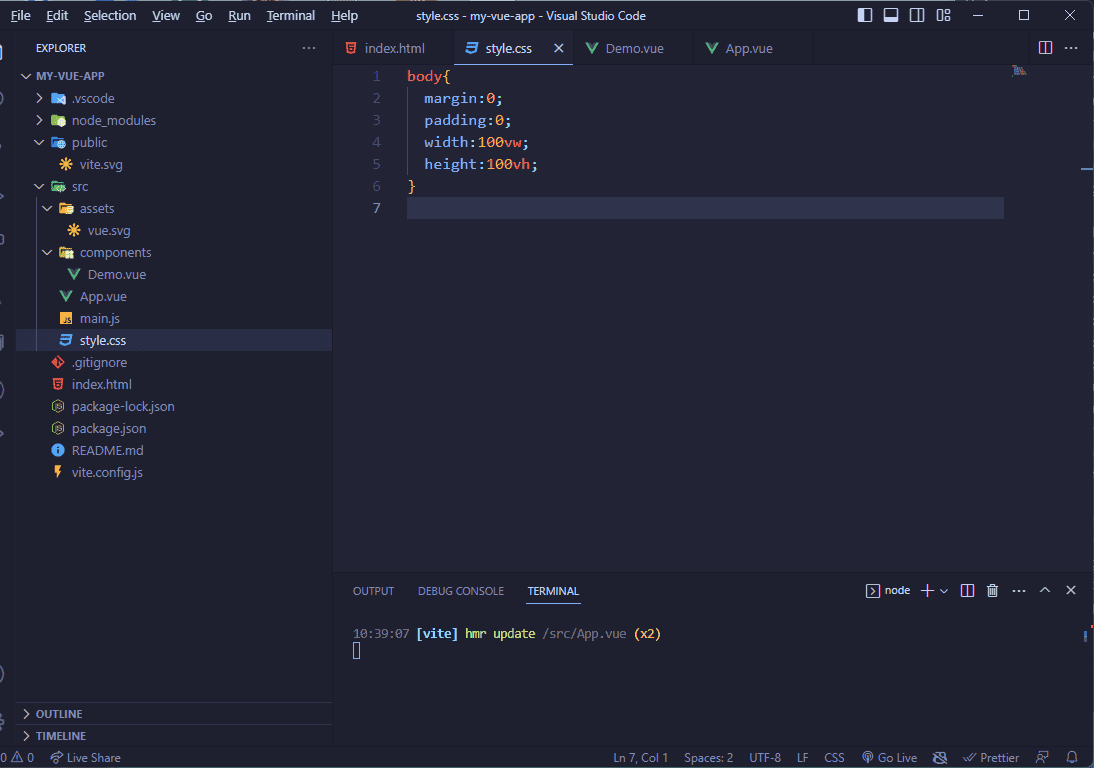
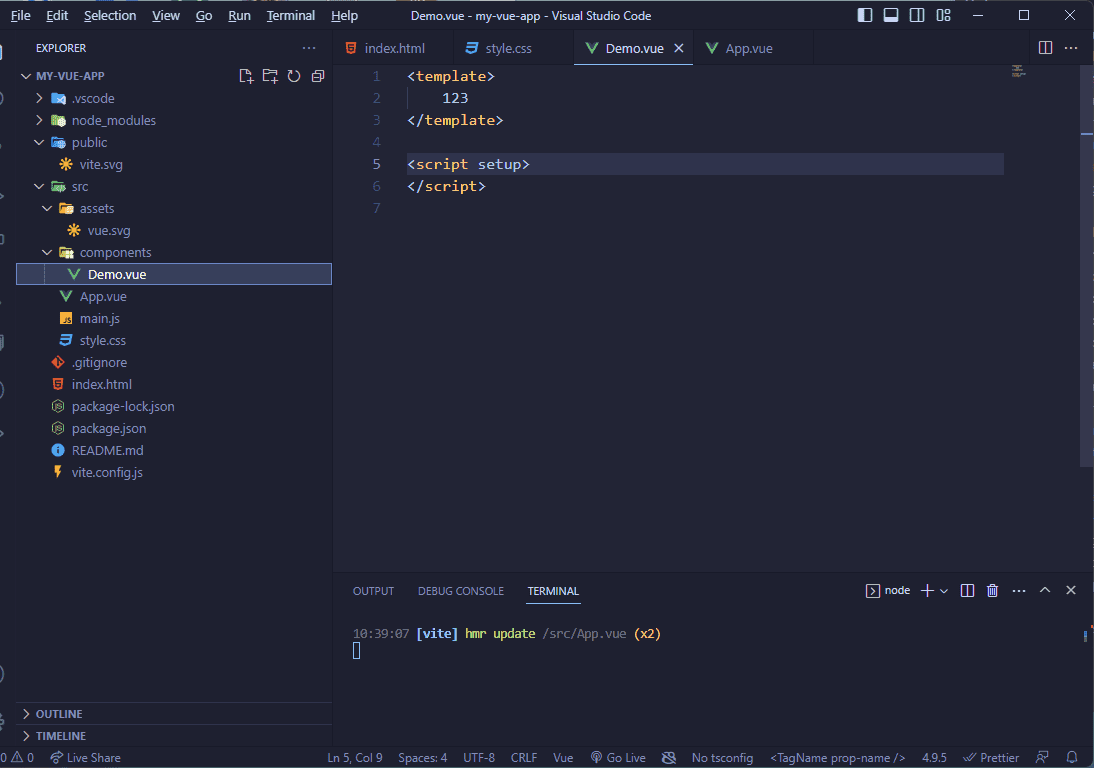
- HelloWord.vue重命名,清空内容
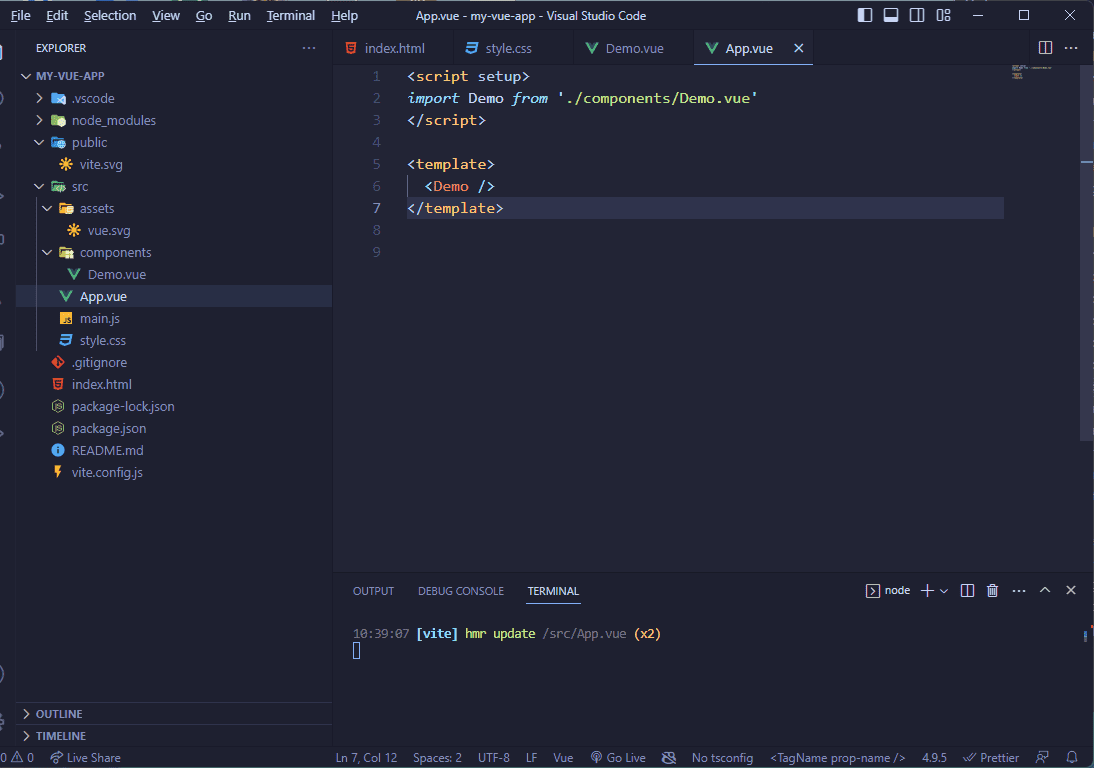
- 修改App.vue
- 导入json文件
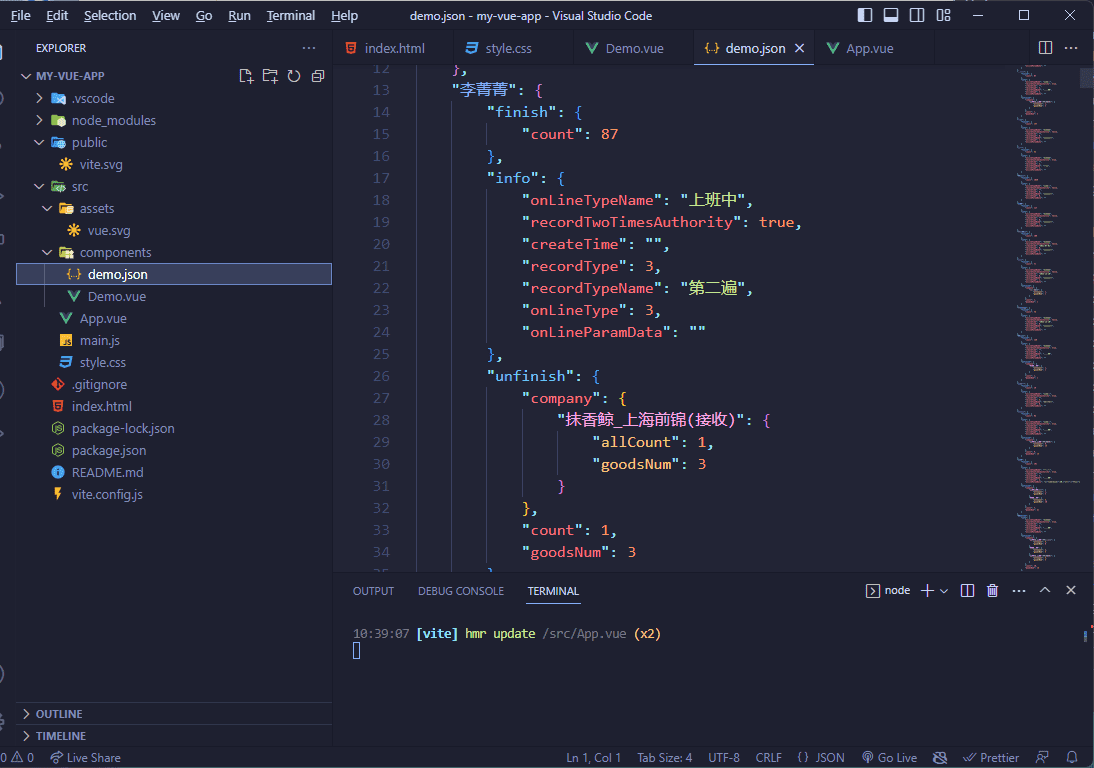
- 新增.editorconfig文件用来格式化代码
1
2
3
4
5
6
7
8
9
10
11
12
13
14
| # https://editorconfig.org
root = true
[*]
charset = utf-8
indent_style = space
indent_size = 2
end_of_line = lf
insert_final_newline = true
trim_trailing_whitespace = true
[*.md]
insert_final_newline = false
trim_trailing_whitespace = false
|
在这些完成之后接下来只需要在Demo.vue中绘制页面即可
根据需求思考逻辑
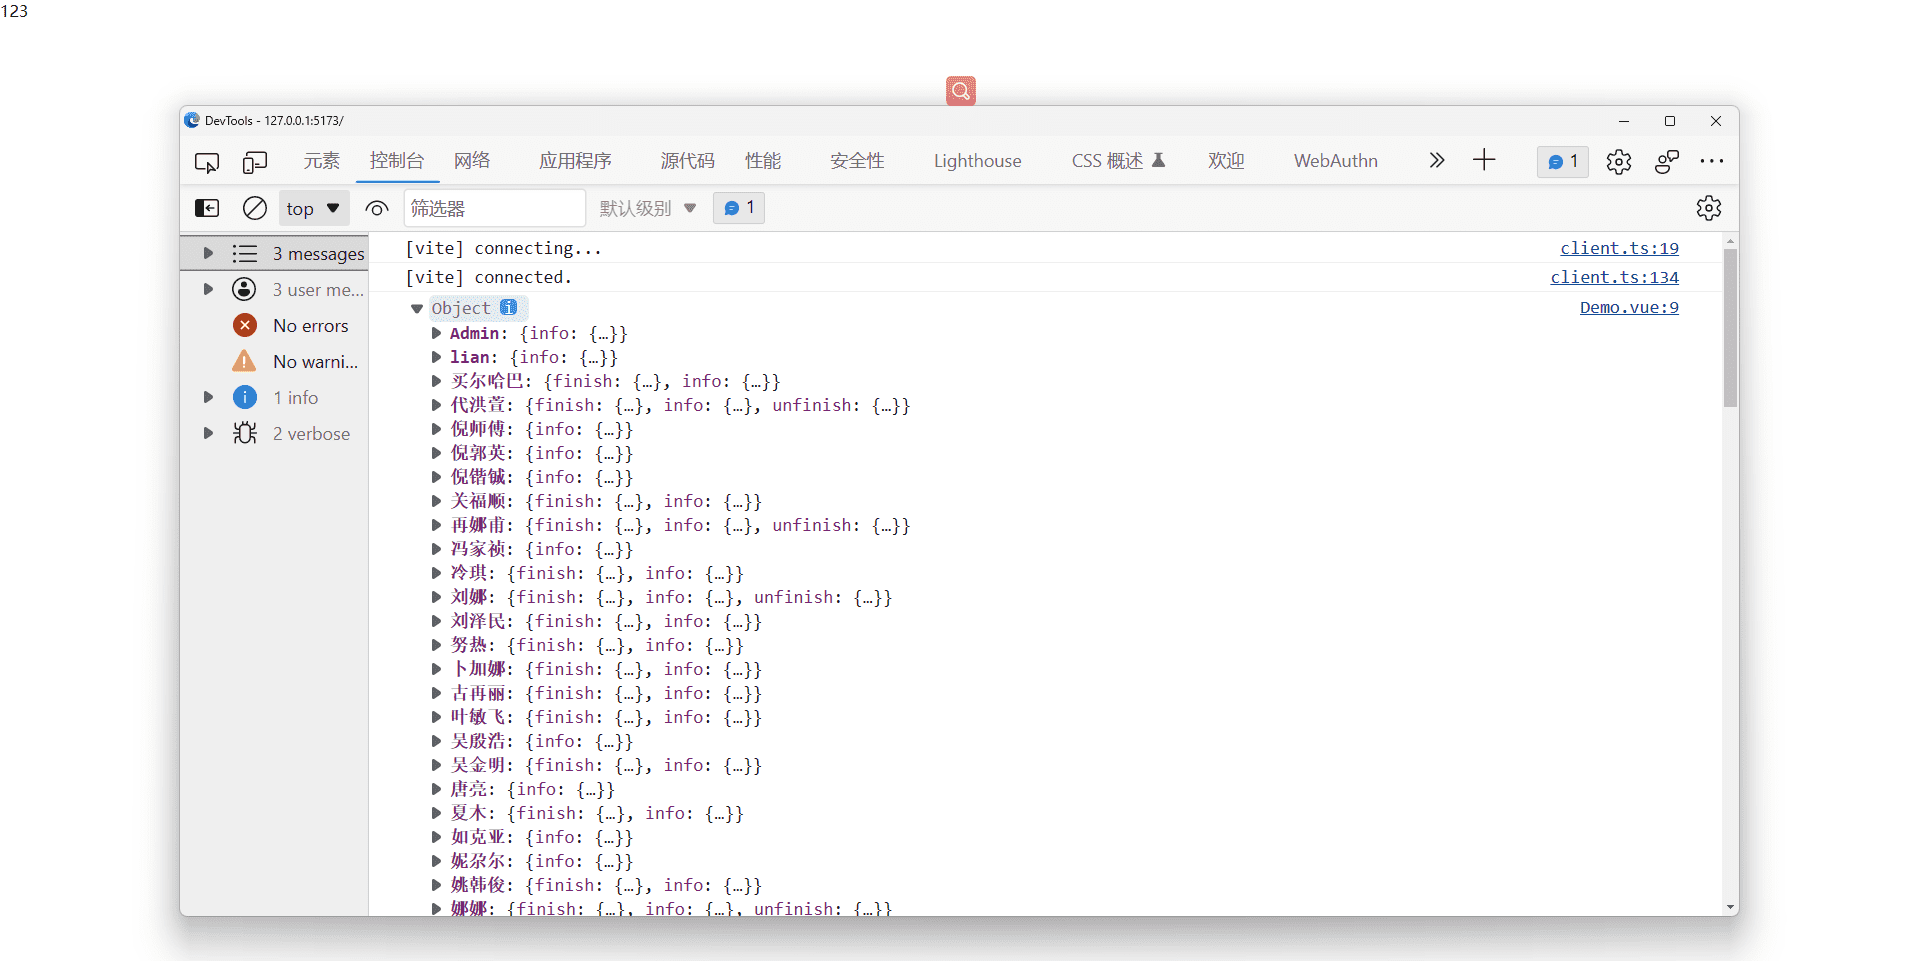
首先,需求要求把这些数据分成四部分,那就需要在页面初始化的时候进行js筛选,下面我们来写这部分代码
- 页面初始化导入json
1
2
3
4
5
6
7
| <script setup>
import { onMounted } from 'vue';
import demoJson from "./demo.json"
onMounted(()=>{
console.log(demoJson)
})
</script>
|
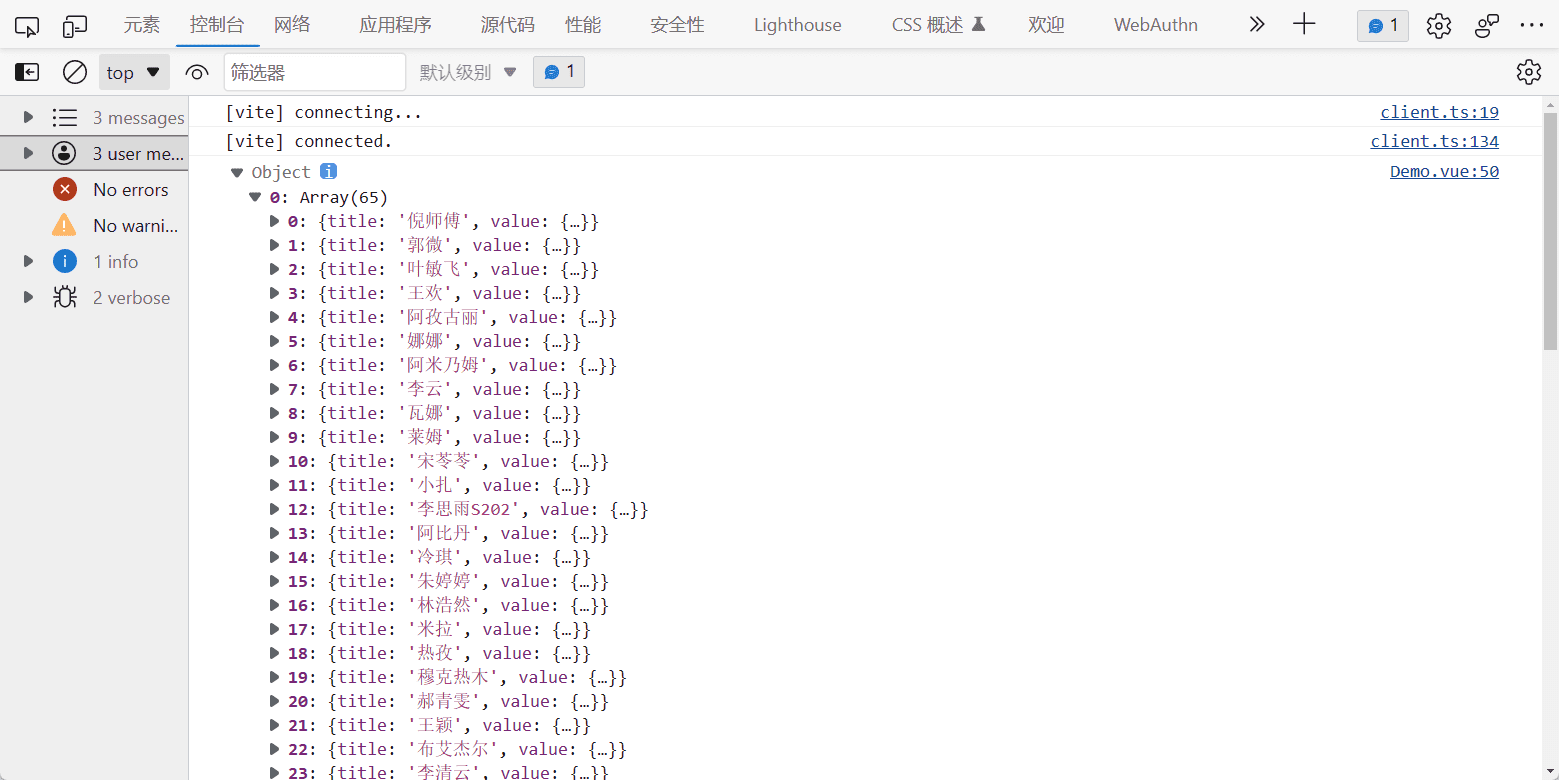
接下来,我们通过简单的js方法把这些对象进行分类,下面为参考代码,你也可以用自己的方法
- 筛选
1
2
3
4
5
6
7
8
9
10
11
12
13
14
15
16
17
18
19
20
21
22
23
24
25
| <script setup>
import { onMounted } from 'vue';
import demoJson from "./demo.json"
onMounted(()=>{
// 逻辑:当info中的recordType为0时是单飞数据,5是第一遍,3是第二遍,1是要素
// 单飞数据
const dataSingle = [];
// 第一遍
const dataFirst = [];
// 第二遍
const dataSecond = [];
// 要素
const dataEle = [];
const keysArray = {
0: dataSingle,
5: dataFirst,
3: dataSecond,
1: dataEle,
};
Object.entries(demoJson).forEach(([key,value])=>{
keysArray[value.info.recordType]&&keysArray[value.info.recordType].push({title:key,value})
})
console.log(keysArray)
})
</script>
|
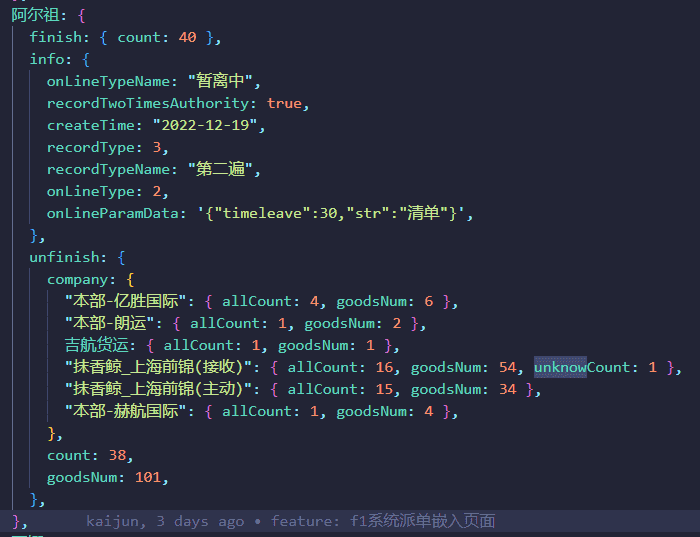
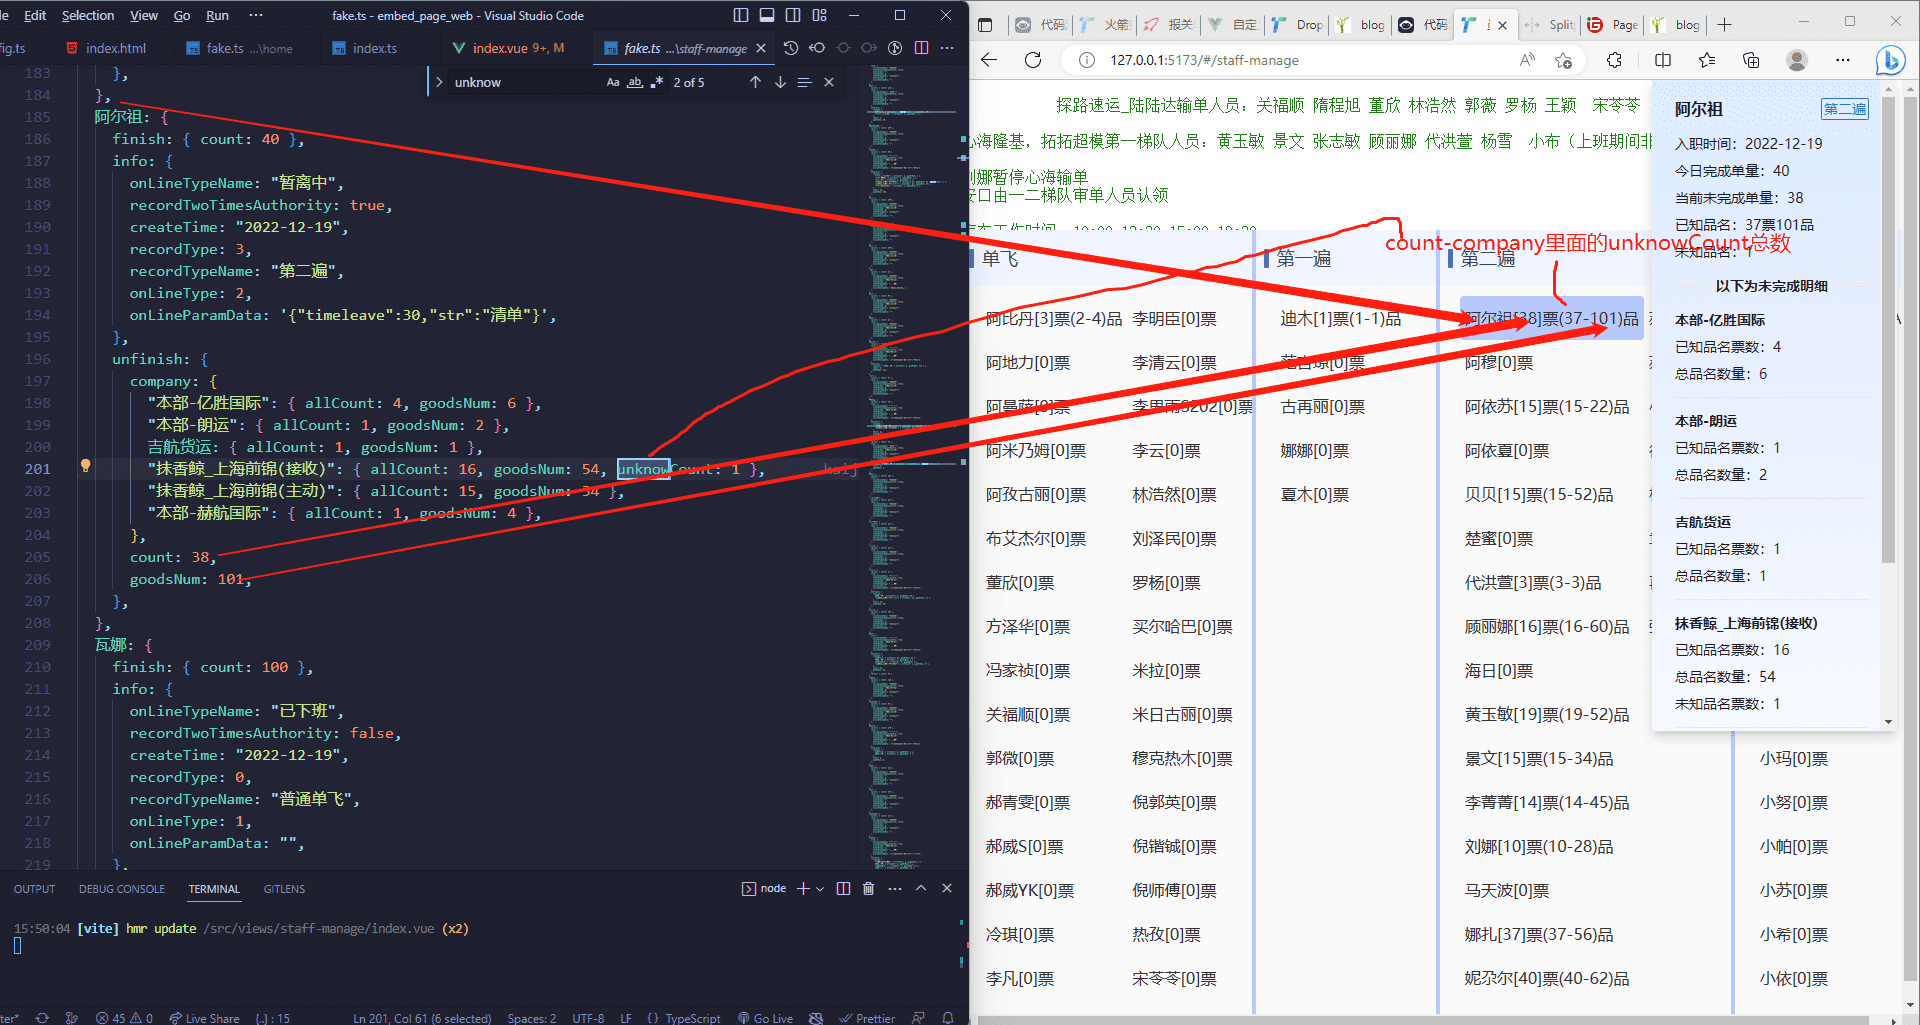
除此之外,我们还需要处理一个数据,就是公司中有未知单子,需要减去,参考字段含义这张图片中的unknowCount字段,因此我们在生成数据keysArray的时候还需要做一些手脚
1
2
3
4
5
6
7
8
9
10
11
12
13
14
15
| Object.entries(demoJson).forEach(([key, value]) => {
keysArray[value.info.recordType] &&
keysArray[value.info.recordType].push({
title: key,
value: {
...value,
unknowCounts: value?.unfinish?.company
? Object.values(value.unfinish.company).reduce((pre, cur) => {
return pre + (cur.unknowCount || 0);
}, 0)
: 0,
},
});
});
|
接下来进行赋值双向绑定数据
1
2
3
4
5
6
7
8
9
10
11
12
13
14
| <script setup>
import { onMounted } from 'vue';
import demoJson from "./demo.json"
const dataList=ref([])
onMounted(()=>{
// ...... 省略部分代码
dataList.value= [
{ title: "单飞", data: dataSingle },
{ title: "第一遍", data: dataFirst },
{ title: "第二遍", data: dataSecond },
{ title: "要素", data: dataEle },
];
})
</script>
|
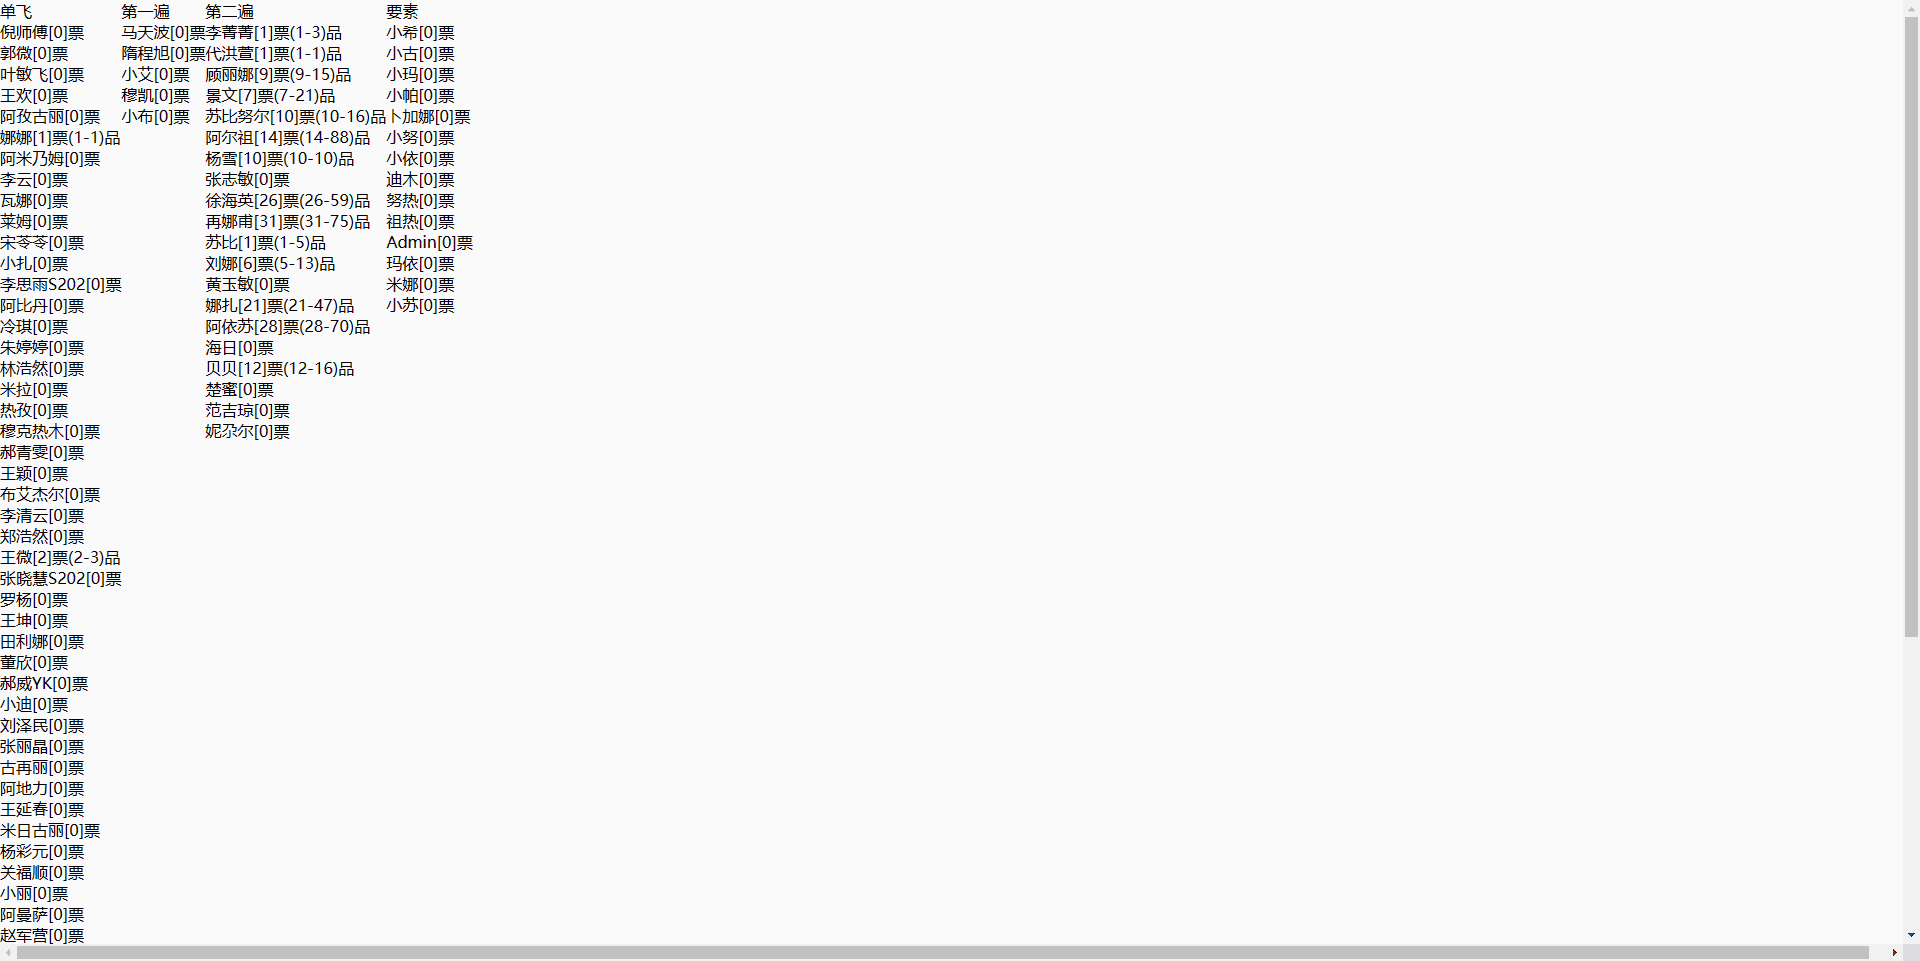
然后有了数据之后,我们就需要一个对应的页面去渲染数据
1
2
3
4
5
6
7
8
9
10
11
12
13
14
15
16
17
18
19
20
21
22
23
24
25
26
27
28
29
30
31
32
33
34
35
36
37
38
39
40
| <template>
<div class="container">
<div v-for="item in dataList" :key="item.title">
<div class="inner-container">
<div class="title">{{ item.title }}</div>
<div class="body-container">
<div v-for="cItem in item.data" :key="cItem">
{{ handleStr(cItem) }}
</div>
</div>
</div>
</div>
</div>
</template>
<script setup>
// ...省略部分js代码
const handleStr = (item) => {
const { title, value } = item;
const baseStr = `${title}[${value?.unfinish?.count || 0}]票`;
const addStr = value?.unfinish?.count
? `(${value.unfinish.count - value.unknowCounts}-${
value.unfinish.goodsNum
})品`
: "";
return baseStr + addStr;
};
</script>
<style scoped>
.container {
background: #fafafa;
display: flex;
width: 100%;
-webkit-user-select: none; /* Safari */
-ms-user-select: none; /* IE 10+ */
user-select: none;
}
.inner-container{
cursor:pointer;
}
</style>
|
接下来把样式简单优化一下
1
2
3
4
5
6
7
8
9
10
11
12
13
14
15
16
17
18
19
20
21
22
23
24
25
26
27
28
29
30
31
32
33
34
35
36
37
38
39
40
41
42
43
44
45
46
47
48
49
50
51
52
53
54
55
56
57
58
59
60
61
62
63
64
65
66
67
68
69
70
71
72
73
74
75
76
| <template>
<div class="container">
<div v-for="item in dataList" :key="item.title" class="data-container">
<div class="inner-container">
<div class="title">
<div class="bar"></div>
{{ item.title }}
</div>
<div class="body-container">
<div v-for="cItem in item.data" :key="cItem" class="data-item">
{{ handleStr(cItem) }}
</div>
</div>
</div>
</div>
</div>
</template>
<style scoped>
.container {
width: 100vw;
height: 100vh;
background: #fafafa;
display: flex;
overflow: auto;
-webkit-user-select: none; /* Safari */
-ms-user-select: none; /* IE 10+ */
user-select: none;
}
.data-container {
width: 25%;
height: 100%;
}
.inner-container {
cursor: pointer;
}
.title {
height: 56px;
background-color: #f1f4ff;
color: #444756;
font-size: 18px;
font-weight: 500;
line-height: 21px;
display: flex;
flex-shrink: 0;
align-items: center;
}
.bar {
background-color: #5069c1;
width: 5px;
height: 19px;
border-radius: 1px;
margin: 0 8px;
}
.body-container {
width: 100%;
display: flex;
flex-direction: column;
flex-wrap: wrap;
overflow: auto;
padding: 10px 20px;
box-sizing: border-box;
height: calc(100vh - 56px);
}
.data-item {
line-height: 24px;
font-size: 16px;
padding: 10px 5px;
white-space: nowrap;
color: #333;
border-radius: 4px;
}
</style>
|
接下来我们添加可拖拽的分割线,这时就用到了之前技术栈中的那个可能平时你没听说过的Splitpanes库,用js也可以实现,但是能用库谁还自己搞呢?(导入库的步骤就省略了,文档里面有)
1
2
3
4
5
6
7
8
9
10
11
12
13
14
15
16
17
18
19
20
21
22
23
24
25
26
| <template>
<splitpanes class="container">
<pane
v-for="item in dataList"
:key="item.title"
class="data-container"
min-size="15"
>
<!-- 省略 -->
</pane>
</splitpanes>
</template>
<script setup>
import { Splitpanes, Pane } from "splitpanes";
import "splitpanes/dist/splitpanes.css";
// 省略
</script>
<style>
.splitpanes--vertical > .splitpanes__splitter {
min-width: 4px;
background: #b5c7ff;
}
.splitpanes__pane {
box-shadow: 0 0 5px rgba(0, 0, 0, 0.2) inset;
}
</style>
|
将size尺寸持久化
1
2
3
4
5
6
7
8
9
10
11
12
13
14
15
16
17
18
19
20
21
22
23
24
25
26
| <template>
<splitpanes class="container" @resize="handleResize">
<pane
v-for="(item, index) in dataList"
:key="item.title"
class="data-container"
:style="{ width: sizeMap[index] + '%' }"
min-size="15"
>
<!-- 省略 -->
</pane>
</splitpanes>
</template>
<script setup>
const sizeMap = ref([]);
onBeforeMount(() => {
const size = localStorage.getItem("sizeMap");
sizeMap.value = size ? JSON.parse(size) : [25, 25, 25, 25];
});
const handleResize = (data) => {
// 将size存起来保存至浏览器本地,下一次进来依旧数据一样(也可以使用后端保存)
const size = data.map((item) => item.size);
sizeMap.value = size;
localStorage.setItem("sizeMap", JSON.stringify(size));
};
</script>
|
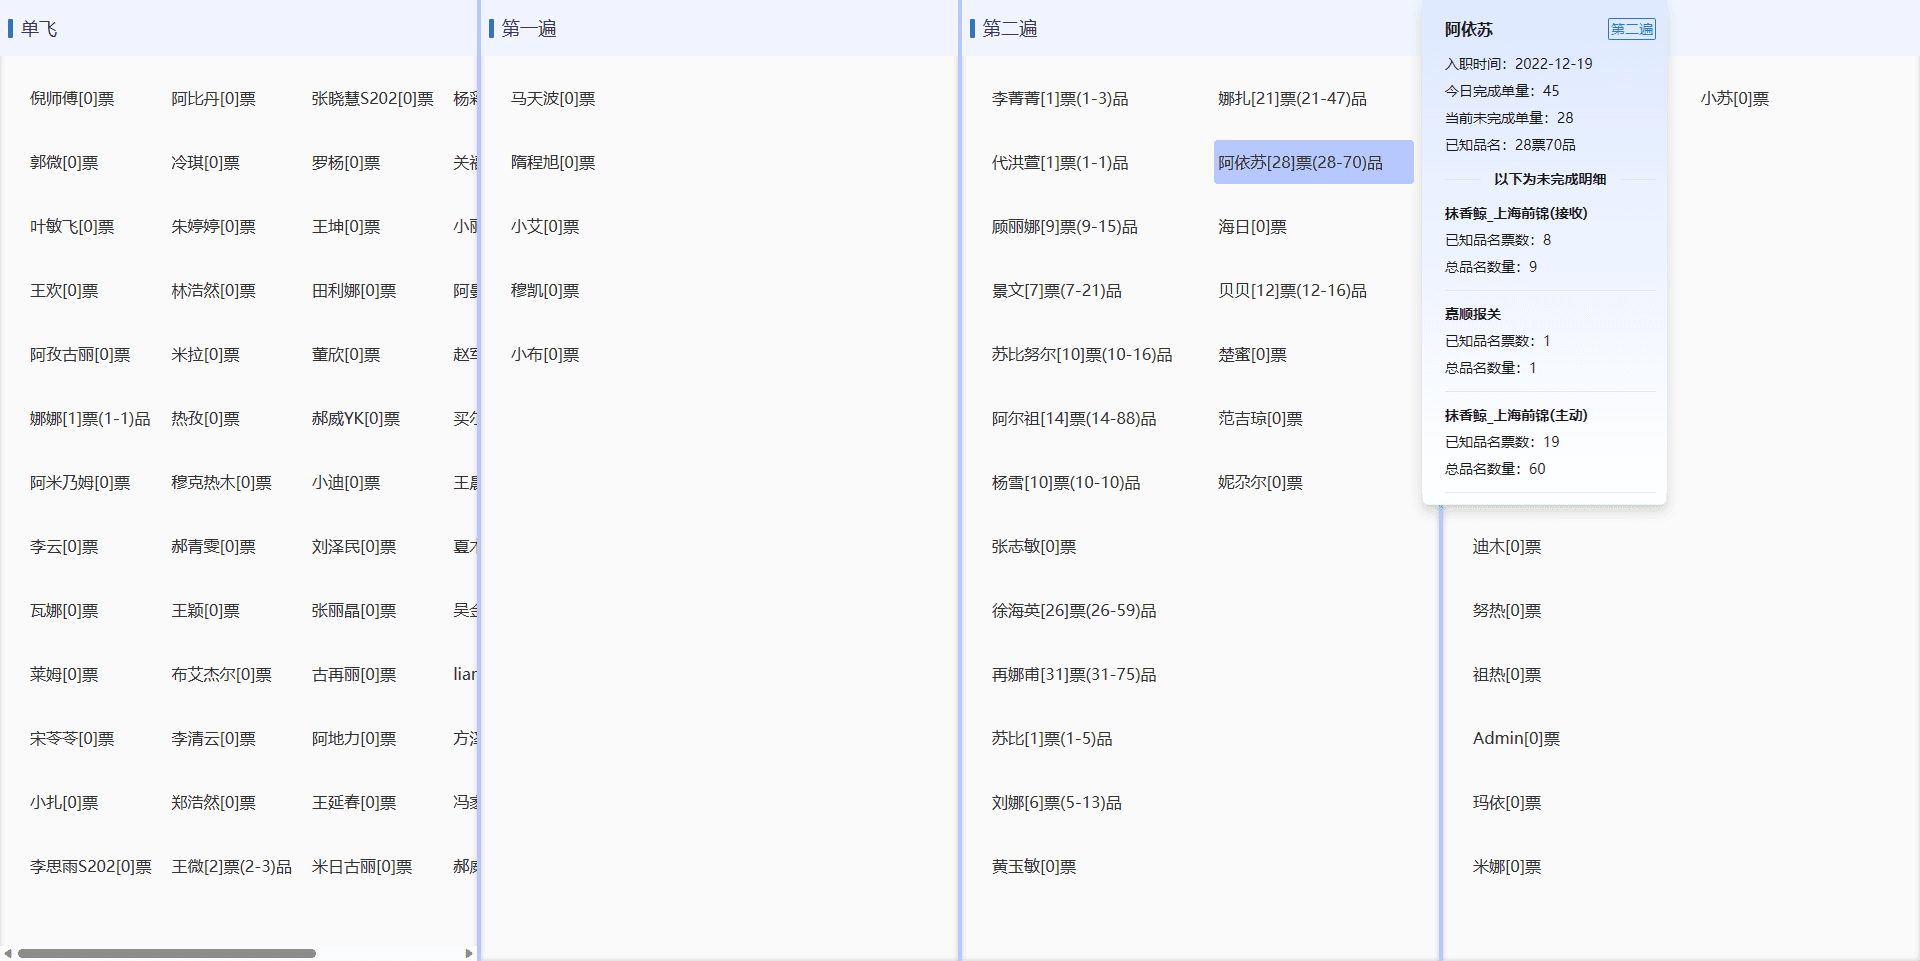
到这里我们就还差最后一步了,点击展示popup,这里我使用tdesign的popup来写
- 安装依赖
- 导入
在main.js入口文件中1
2
3
| import { Popup as TPopup } from 'tdesign-vue-next';
import 'tdesign-vue-next/es/style/index.css';
createApp(App).use(TPopup).mount('#app');
|
接下来我们实现点击事件,单击将参数传递过去,加异步延迟避免参数变化导致的动画突兀,activeTitle用来决定激活要素是谁
1
2
3
4
5
6
7
8
9
10
11
12
13
14
15
16
17
18
19
20
21
22
23
24
25
26
27
28
29
30
31
32
33
34
35
36
37
38
39
40
41
42
43
| const getPopupVisible = (title) => {
return activeTitle.value === title;
};
const handlePopupVisChange = (visible) => {
if (!visible) {
activeTitle.value = "";
}
};
const activeTitle = ref("");
const detailData = ref({
createTime: "",
finishCount: 0,
unfinishCount: 0,
companyOrder: {},
title: "",
workStatus: "",
unfinishKnowCount: "",
unfinishUnknowCount: 0,
recordTypeName: "",
});
let time = null;
const handleShowDetail = (item) => {
clearTimeout(time);
const { title, value } = item;
activeTitle.value = title;
time = setTimeout(() => {
detailData.value = {
title,
recordTypeName: value.info.recordTypeName,
finishCount: value.finish?.count ?? 0,
unfinishCount: value.unfinish?.count ?? 0,
createTime: value.info?.createTime ?? "未知",
companyOrder: value.unfinish?.company ?? {},
workStatus: value.info?.onLineTypeName ?? "",
unfinishUnknowCount: value.unknowCounts || 0,
unfinishKnowCount: `${
(value?.unfinish?.count ?? 0) - (value.unknowCounts || 0)
}票${value.unfinish?.goodsNum || 0}品`,
};
}, 200);
};
|
html
1
2
3
4
5
6
7
8
9
10
11
12
13
14
15
16
17
18
19
20
21
22
23
24
25
26
27
28
29
30
31
32
33
34
35
36
37
38
39
40
41
42
43
44
45
46
47
48
49
50
51
52
53
54
55
56
57
58
59
60
61
62
63
64
65
66
67
68
69
70
| <div v-for="cItem in item.data" :key="cItem" class="data-item">
<t-popup
placement="right"
:visible="getPopupVisible(cItem.title)"
@onVisibleChange="handlePopupVisChange"
>
<div
class="line"
@click.stop="handleShowDetail(cItem)"
:class="getPopupVisible(cItem.title) ? 'active' : ''"
>
{{ handleStr(cItem) }}
</div>
<template #content>
<div class="card">
<div class="card-header">
<div class="header-line">
<div class="card-title">
{{ detailData.title }}
</div>
<div class="record-type">
{{ detailData.recordTypeName }}
</div>
</div>
<div class="margin">
入职时间:{{ detailData.createTime || "暂无" }}
</div>
<div class="margin">
今日完成单量:{{ detailData.finishCount }}
</div>
<div class="margin">
当前未完成单量:{{ detailData.unfinishCount }}
</div>
<div class="margin">
已知品名:{{ detailData.unfinishKnowCount }}
</div>
<div v-if="detailData.unfinishUnknowCount" class="margin">
未知品名:{{ detailData.unfinishUnknowCount }}
</div>
<template
v-if="Object.keys(detailData.companyOrder).length"
>
<t-divider style="margin: 12px 0">
<template #content>
<div class="card-subTitle">以下为未完成明细</div>
</template>
</t-divider>
<div
v-for="(key, value) in detailData.companyOrder"
:key="key"
class='margin'
>
<div class="card-subTitle">{{ value }}</div>
<div style="margin-top: 5px">
已知品名票数:{{ key.allCount }}
</div>
<div style="margin-top: 5px">
总品名数量:{{ key.goodsNum }}
</div>
<div v-if="key.unknowCount" style="margin-top: 5px">
未知品名票数:{{ key.unknowCount }}
</div>
<t-divider style="margin: 12px 0"></t-divider>
</div>
</template>
</div>
</div>
</template>
</t-popup>
</div>
|
css
1
2
3
4
5
6
7
8
9
10
11
12
13
14
15
16
17
18
19
20
21
22
23
24
25
26
27
28
29
30
31
32
33
34
35
36
37
38
39
40
41
42
43
44
45
46
47
48
49
50
51
52
53
54
55
56
57
58
59
60
61
62
63
64
65
66
67
68
69
70
| .t-popup__content {
padding: 0 !important;
}
.data-item {
line-height: 24px;
font-size: 16px;
padding: 10px 5px;
white-space: nowrap;
color: #333;
border-radius: 4px;
cursor: pointer;
}
.line {
line-height: 24px;
font-size: 16px;
padding: 10px 5px;
white-space: nowrap;
color: #333;
border-radius: 4px;
}
.card {
width: 245px;
max-height: calc(100vh - 300px);
min-height: 180px;
overflow: auto;
}
.card-title {
font-size: 16px;
font-weight: bold;
}
.card-subTitle {
font-size: 14px;
font-weight: bold;
}
.active {
background: #b5c7ff;
}
.card-header {
background-image: linear-gradient(to bottom, #dce8ff, #fff);
padding-left: 23px;
padding-top: 18px;
padding-right: 11px;
}
.header-line {
display: flex;
justify-content: space-between;
height: 20px;
padding-bottom: 10px;
}
.record-type {
display: flex;
align-items: center;
border: 1px solid #136bf9;
color: #136bf9;
height: 16px;
padding: 2px;
border-radius: 2px;
}
.margin {
margin-top: 5px;
}
|
然后我们需要在在点击其他地方时关闭这个这个popup,在html的父级元素上添加activeTitle清空
1
| <splitpanes class="container" @click="() => (activeTitle = '')">
|
到这里,我们已经将功能完成了,但是这个html,我们一看就比较冗余
1
2
3
4
5
6
7
8
9
10
11
12
13
14
15
16
17
18
19
20
21
22
23
24
25
| <div class="margin">
入职时间:{{ detailData.createTime || "暂无" }}
</div>
<div class="margin">
今日完成单量:{{ detailData.finishCount }}
</div>
<div class="margin">
当前未完成单量:{{ detailData.unfinishCount }}
</div>
<div class="margin">
已知品名:{{ detailData.unfinishKnowCount }}
</div>
<div v-if="detailData.unfinishUnknowCount" class="margin">
未知品名:{{ detailData.unfinishUnknowCount }}
</div>
....
<div style="margin-top: 5px">
已知品名票数:{{ key.allCount }}
</div>
<div style="margin-top: 5px">
总品名数量:{{ key.goodsNum }}
</div>
<div v-if="key.unknowCount" style="margin-top: 5px">
未知品名票数:{{ key.unknowCount }}
</div>
|
1
2
3
4
5
6
7
8
9
10
11
12
13
14
15
16
17
18
19
20
21
22
23
24
25
26
27
28
29
30
31
32
33
34
35
36
37
38
39
40
| const personData=[
{
label:"入职时间",
value:"createTime",
emptyContent:"暂无"
},
{
label:"今日完成单量",
value:"finishCount",
},
{
label:"今日未完成单量",
value:"unfinishCount"
},
{
label:"已知品名",
value:"unfinishKnowCount"
},
{
label:"未知品名",
value:"unfinishUnknowCount",
check:true
}
]
const companyData=[
{
label:"已知品名票数",
value:"allCount",
},
{
label:"总品名票数",
value:"goodsNum"
},
{
label:"未知品名票数",
value:"unknowCount",
check:true
}
]
|
1
2
3
4
5
6
7
8
9
10
11
12
13
14
15
16
17
18
19
20
21
| <div
class="margin"
v-for="pItem in personData"
:key="pItem.value"
>
<span v-if="!pItem.check || detailData[pItem.value]"
>{{ pItem.label }}:{{
detailData[pItem.value] || pItem.emptyContent || 0
}}
</span>
</div>
<div
class="margin"
v-for="cItem in companyData"
:key="item.value"
>
<span v-if="!cItem.check || key[cItem.value]">
{{ cItem.label }}:{{ key[cItem.value] }}
</span>
</div>
|
这样就把这个demo完成了,这里附上源码地址https://gitee.com/guJyang/man-manage-demo.git