初识材质与纹理
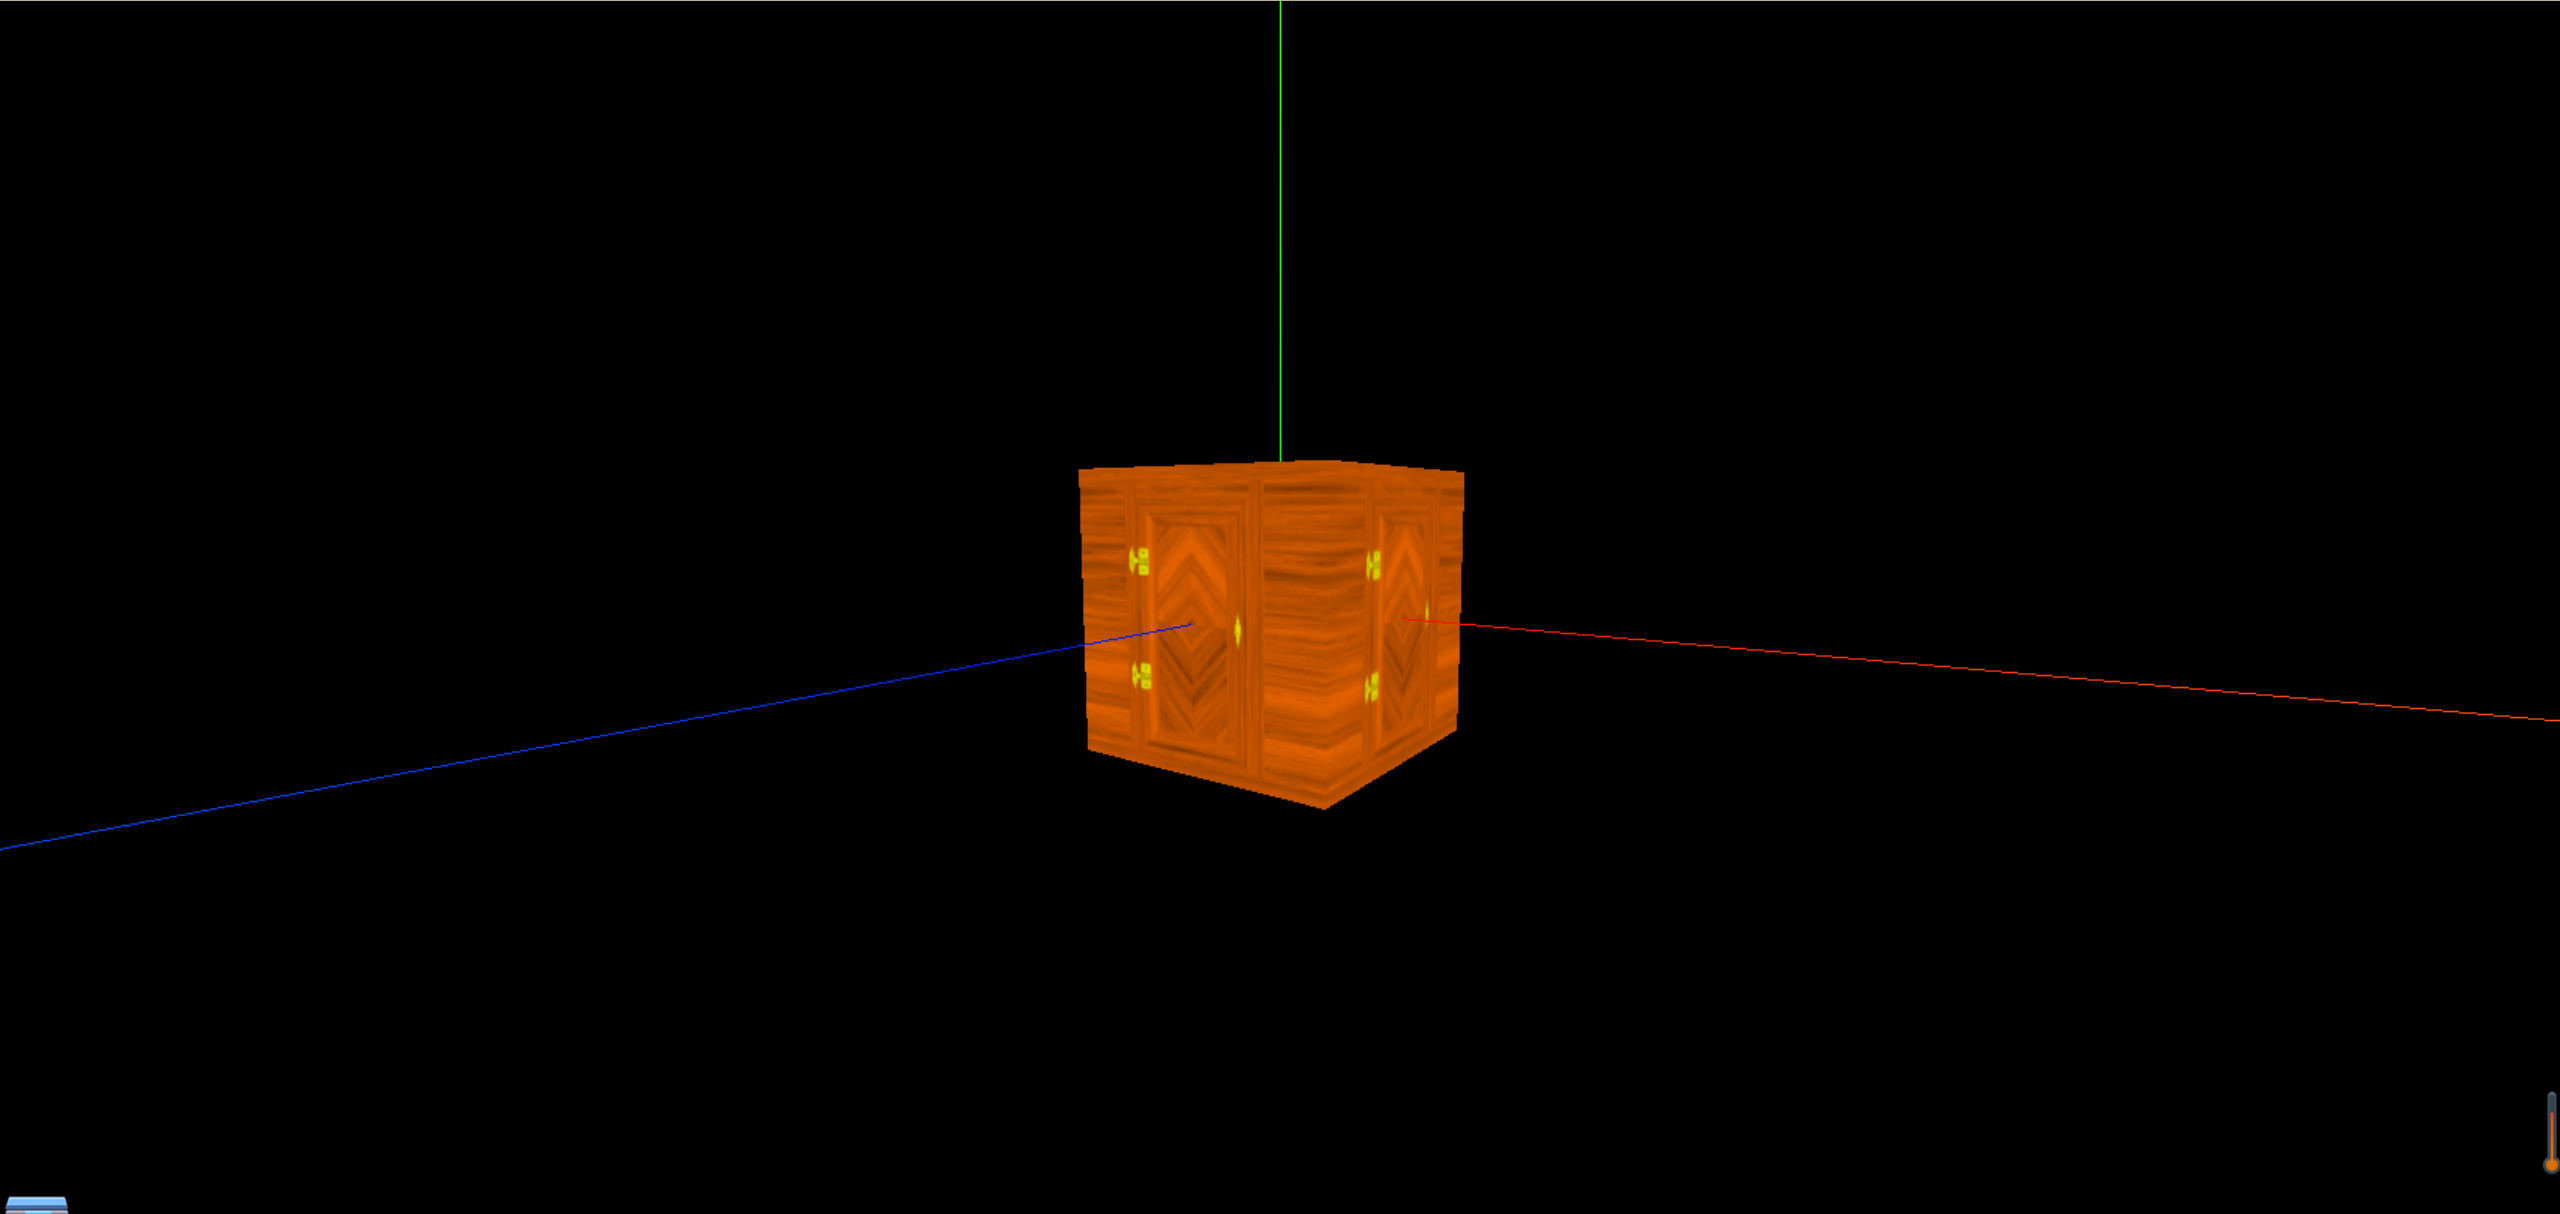
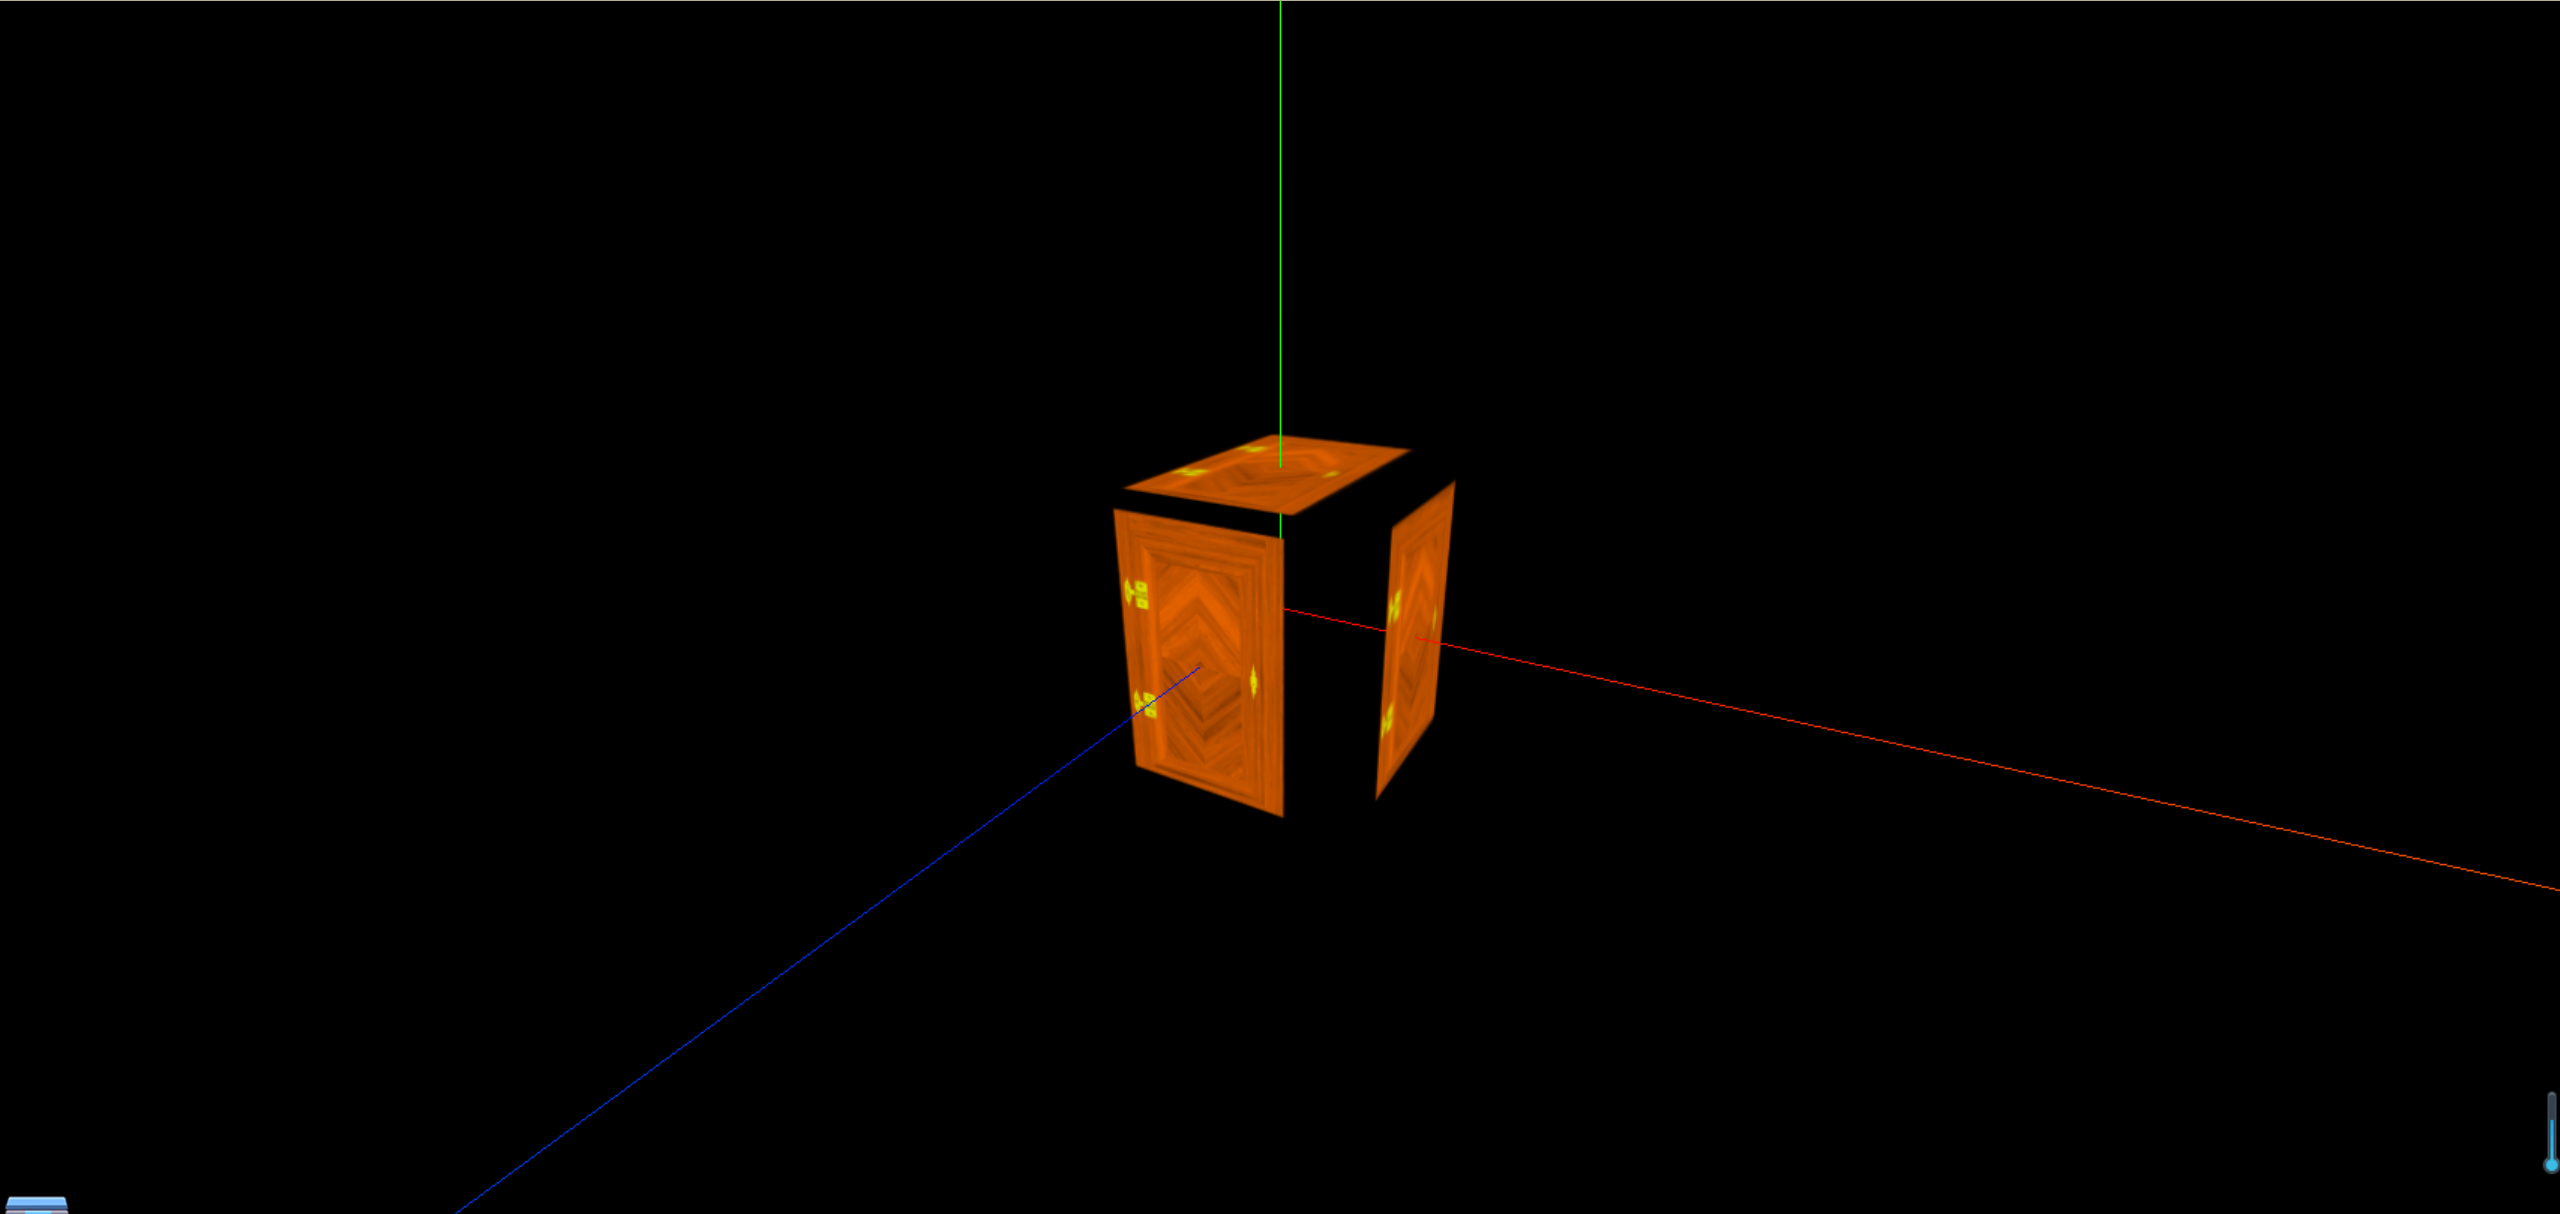
使用纹理,只需要导入纹理加载器和图片即可,基于上一篇文章中的基础代码,这里只修改物体部分
1
2
3
4
5
6
7
8
9
10
11
12
13
14
15
|
const textureLoader = new THREE.TextureLoader()
const doorColorTexture = textureLoader.load("./textures/door/color.jpg")
const cubeGeometry = new THREE.BoxGeometry(1, 1, 1);
const basicMaterial = new THREE.MeshBasicMaterial({
color: "#ffff00",
map: doorColorTexture
})
const cube = new THREE.Mesh(cubeGeometry, basicMaterial)
scene.add(cube)
|
材质的属性
偏移
偏移属性可以让纹理的位置发生偏移,这里的偏移是相对于纹理的,而不是相对于物体的
1
2
3
4
5
6
7
|
doorColorTexture.offset.x = 0.5
doorColorTexture.offset.y = 0.5、
doorColorTexture.offset.set(0.5, 0.5)
|
旋转
1
2
3
4
5
|
doorColorTexture.center.set(0.5,0.5)
doorColorTexture.rotation = Math.PI / 4
|
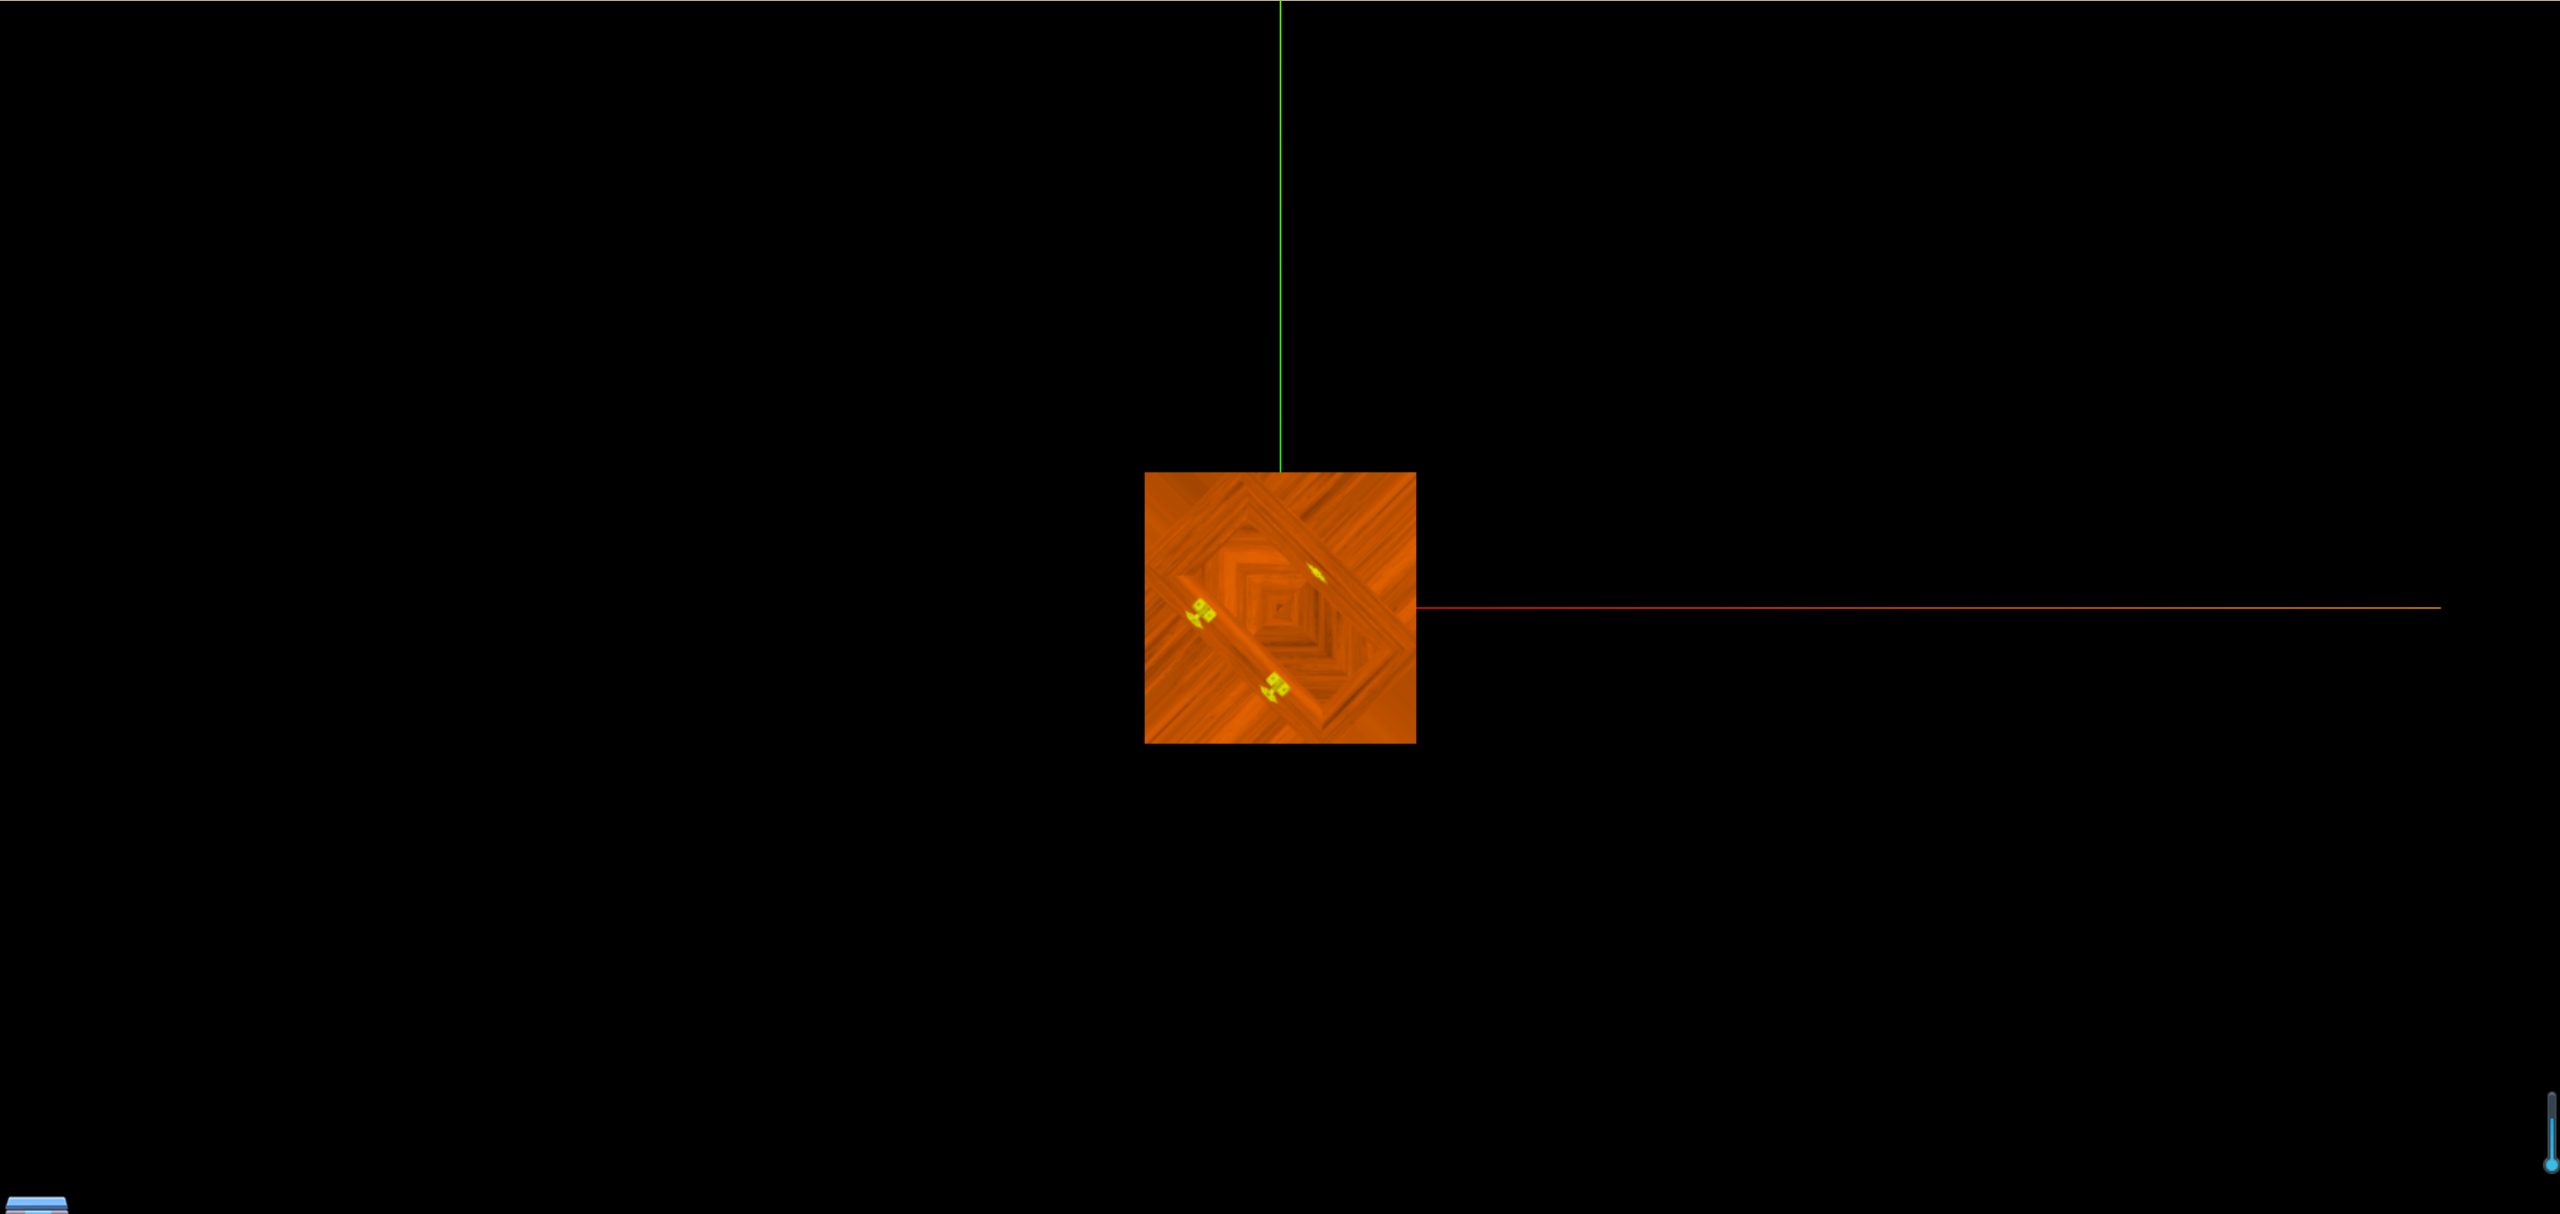
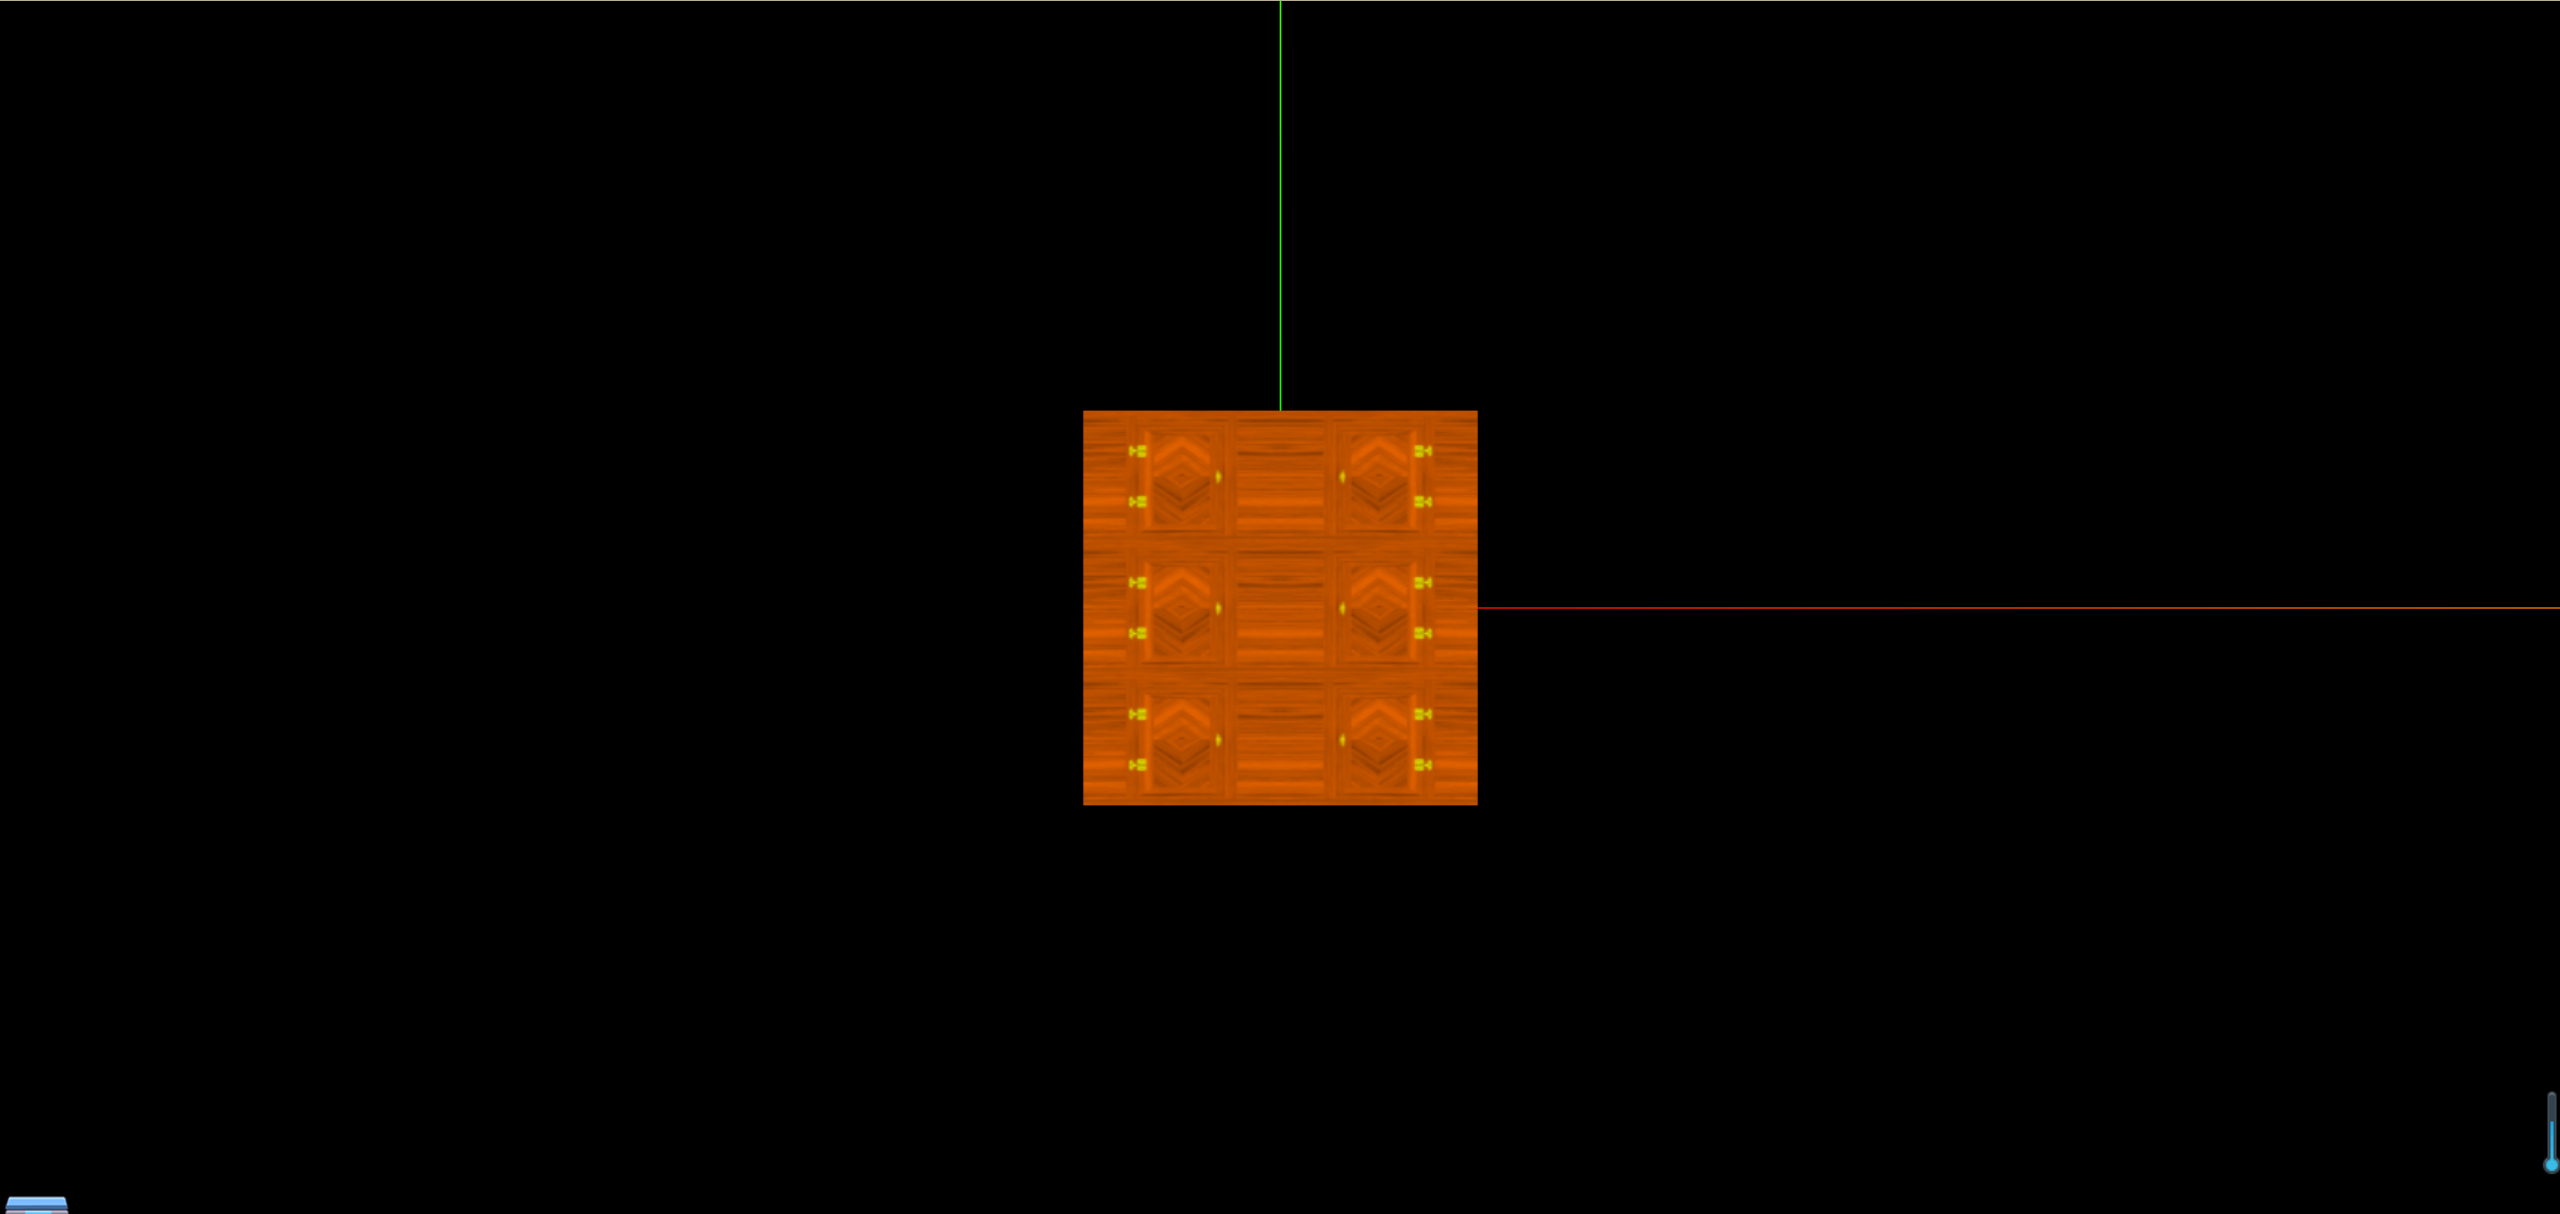
重复
1
2
3
4
5
|
doorColorTexture.repeat.set(2, 3);
doorColorTexture.wrapS = THREE.MirroredRepeatWrapping
doorColorTexture.wrapT = THREE.RepeatWrapping;
|
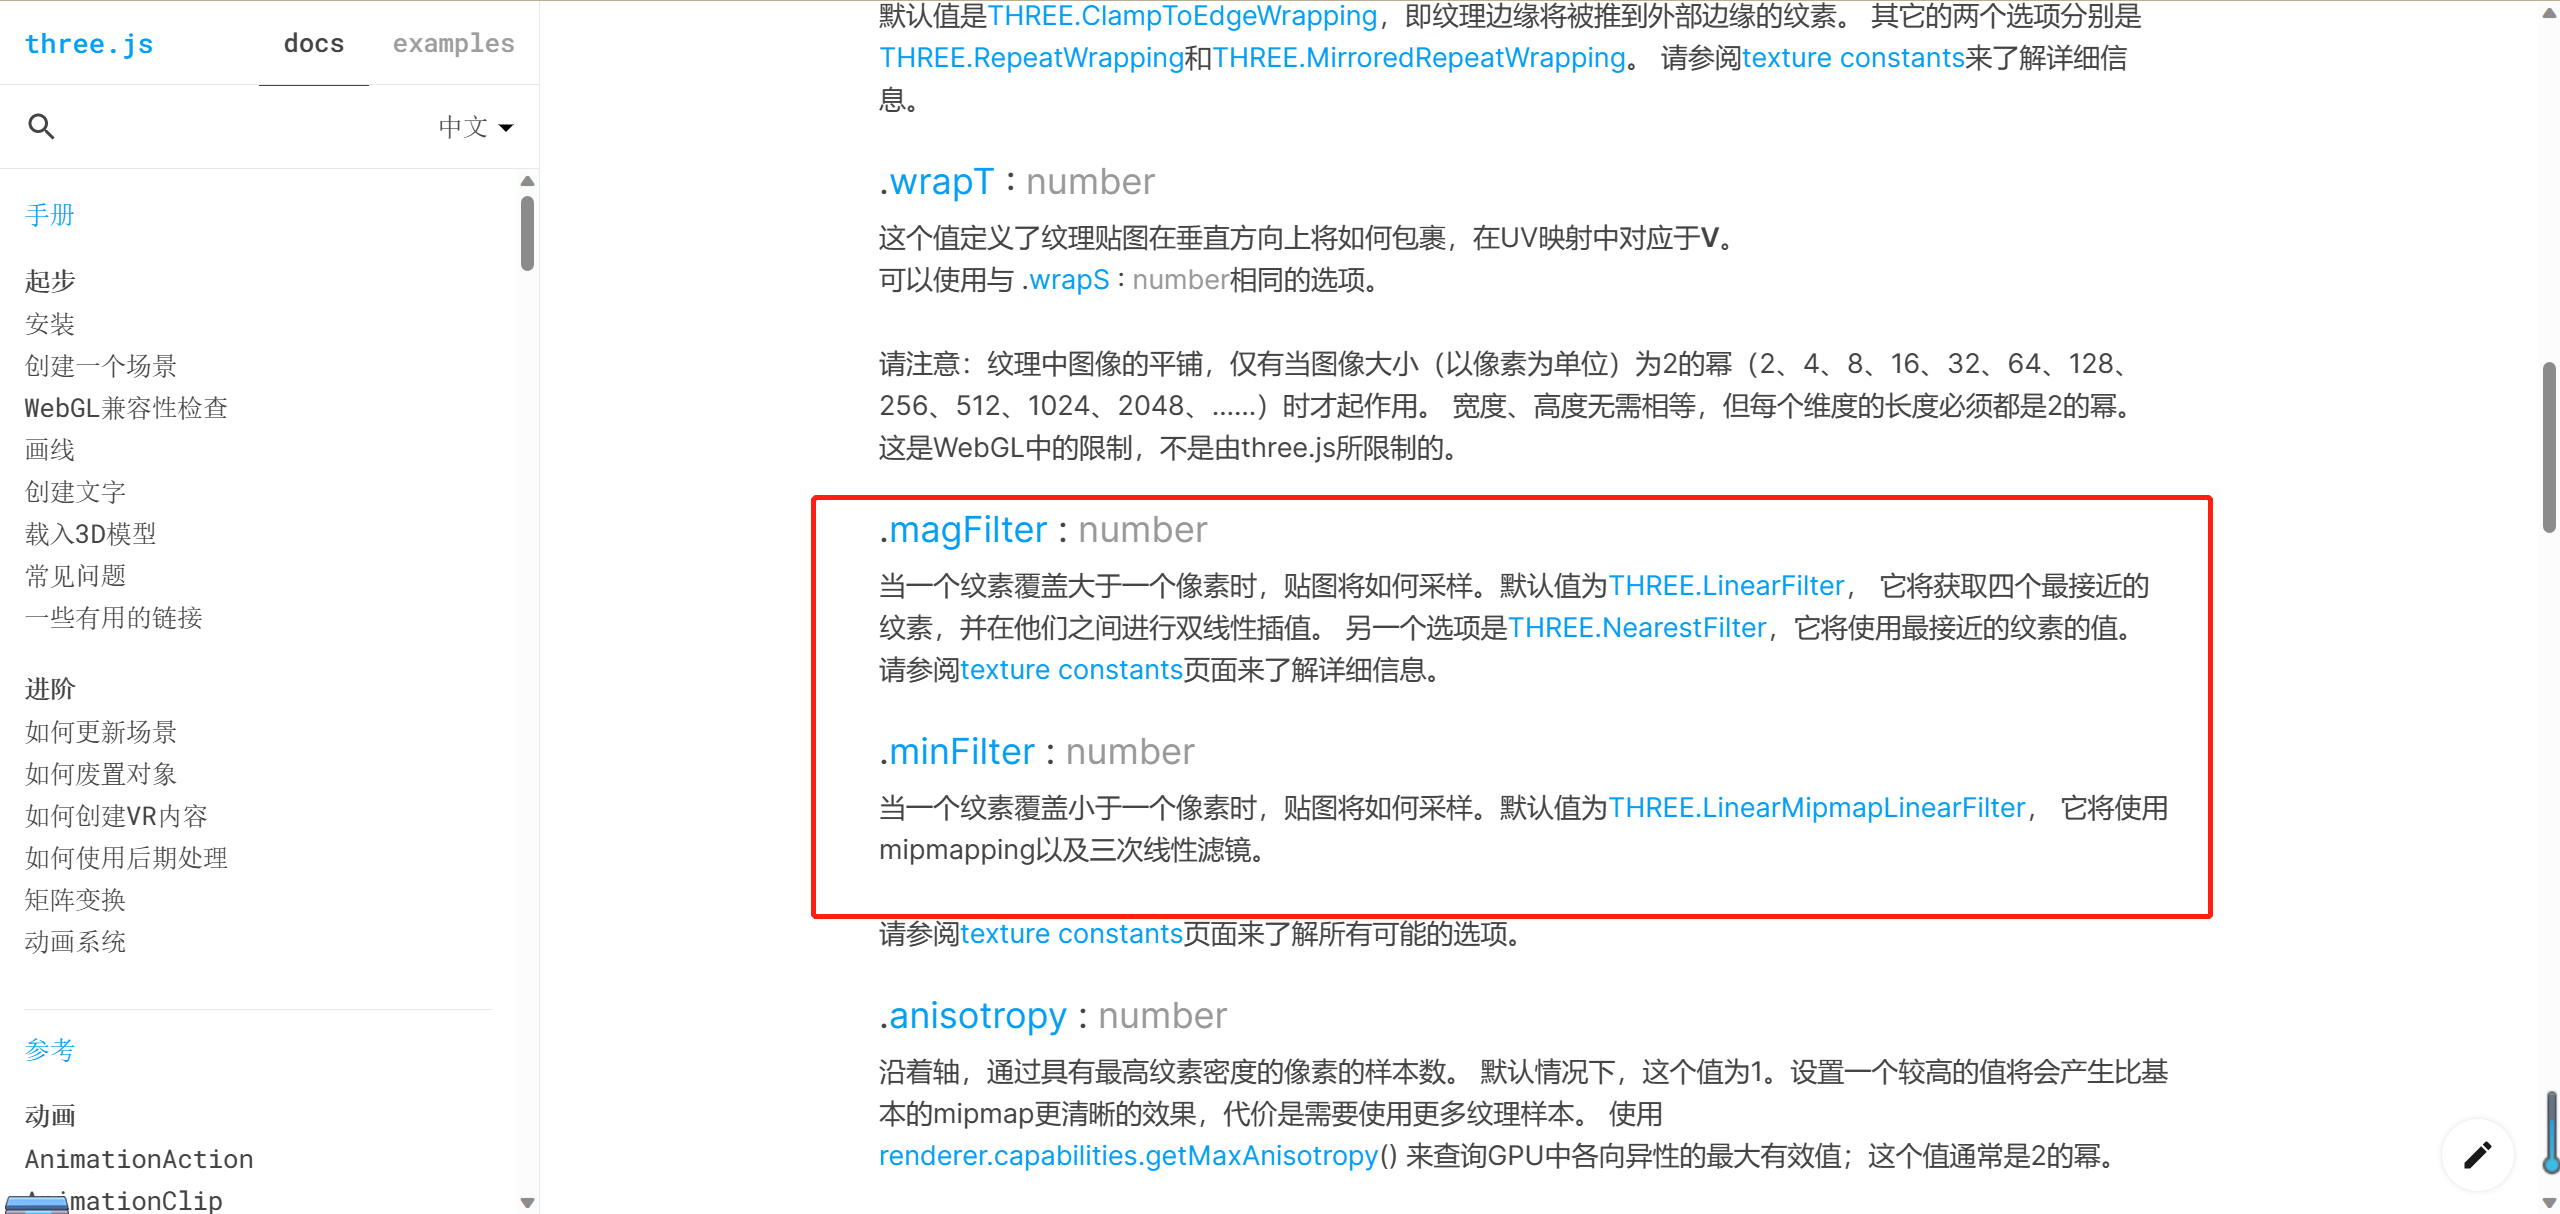
设置纹理显示算法与mipmap
当我们放置一张很小的贴图,如16px*16px的贴图,放大之后,这时候我们会发现,贴图会自动变化,一个很大的图片,但是放置离我们很远,会变得很小,实现这个的底层逻辑就是纹理显示算法,这里我们可以设置纹理显示算法,来改变这种效果,具体可参考官方文档纹理显示算法
1
2
3
4
5
6
|
texture.minFilter = THREE.LinearFilter;
texture.magFilter = THREE.LinearFilter;
|
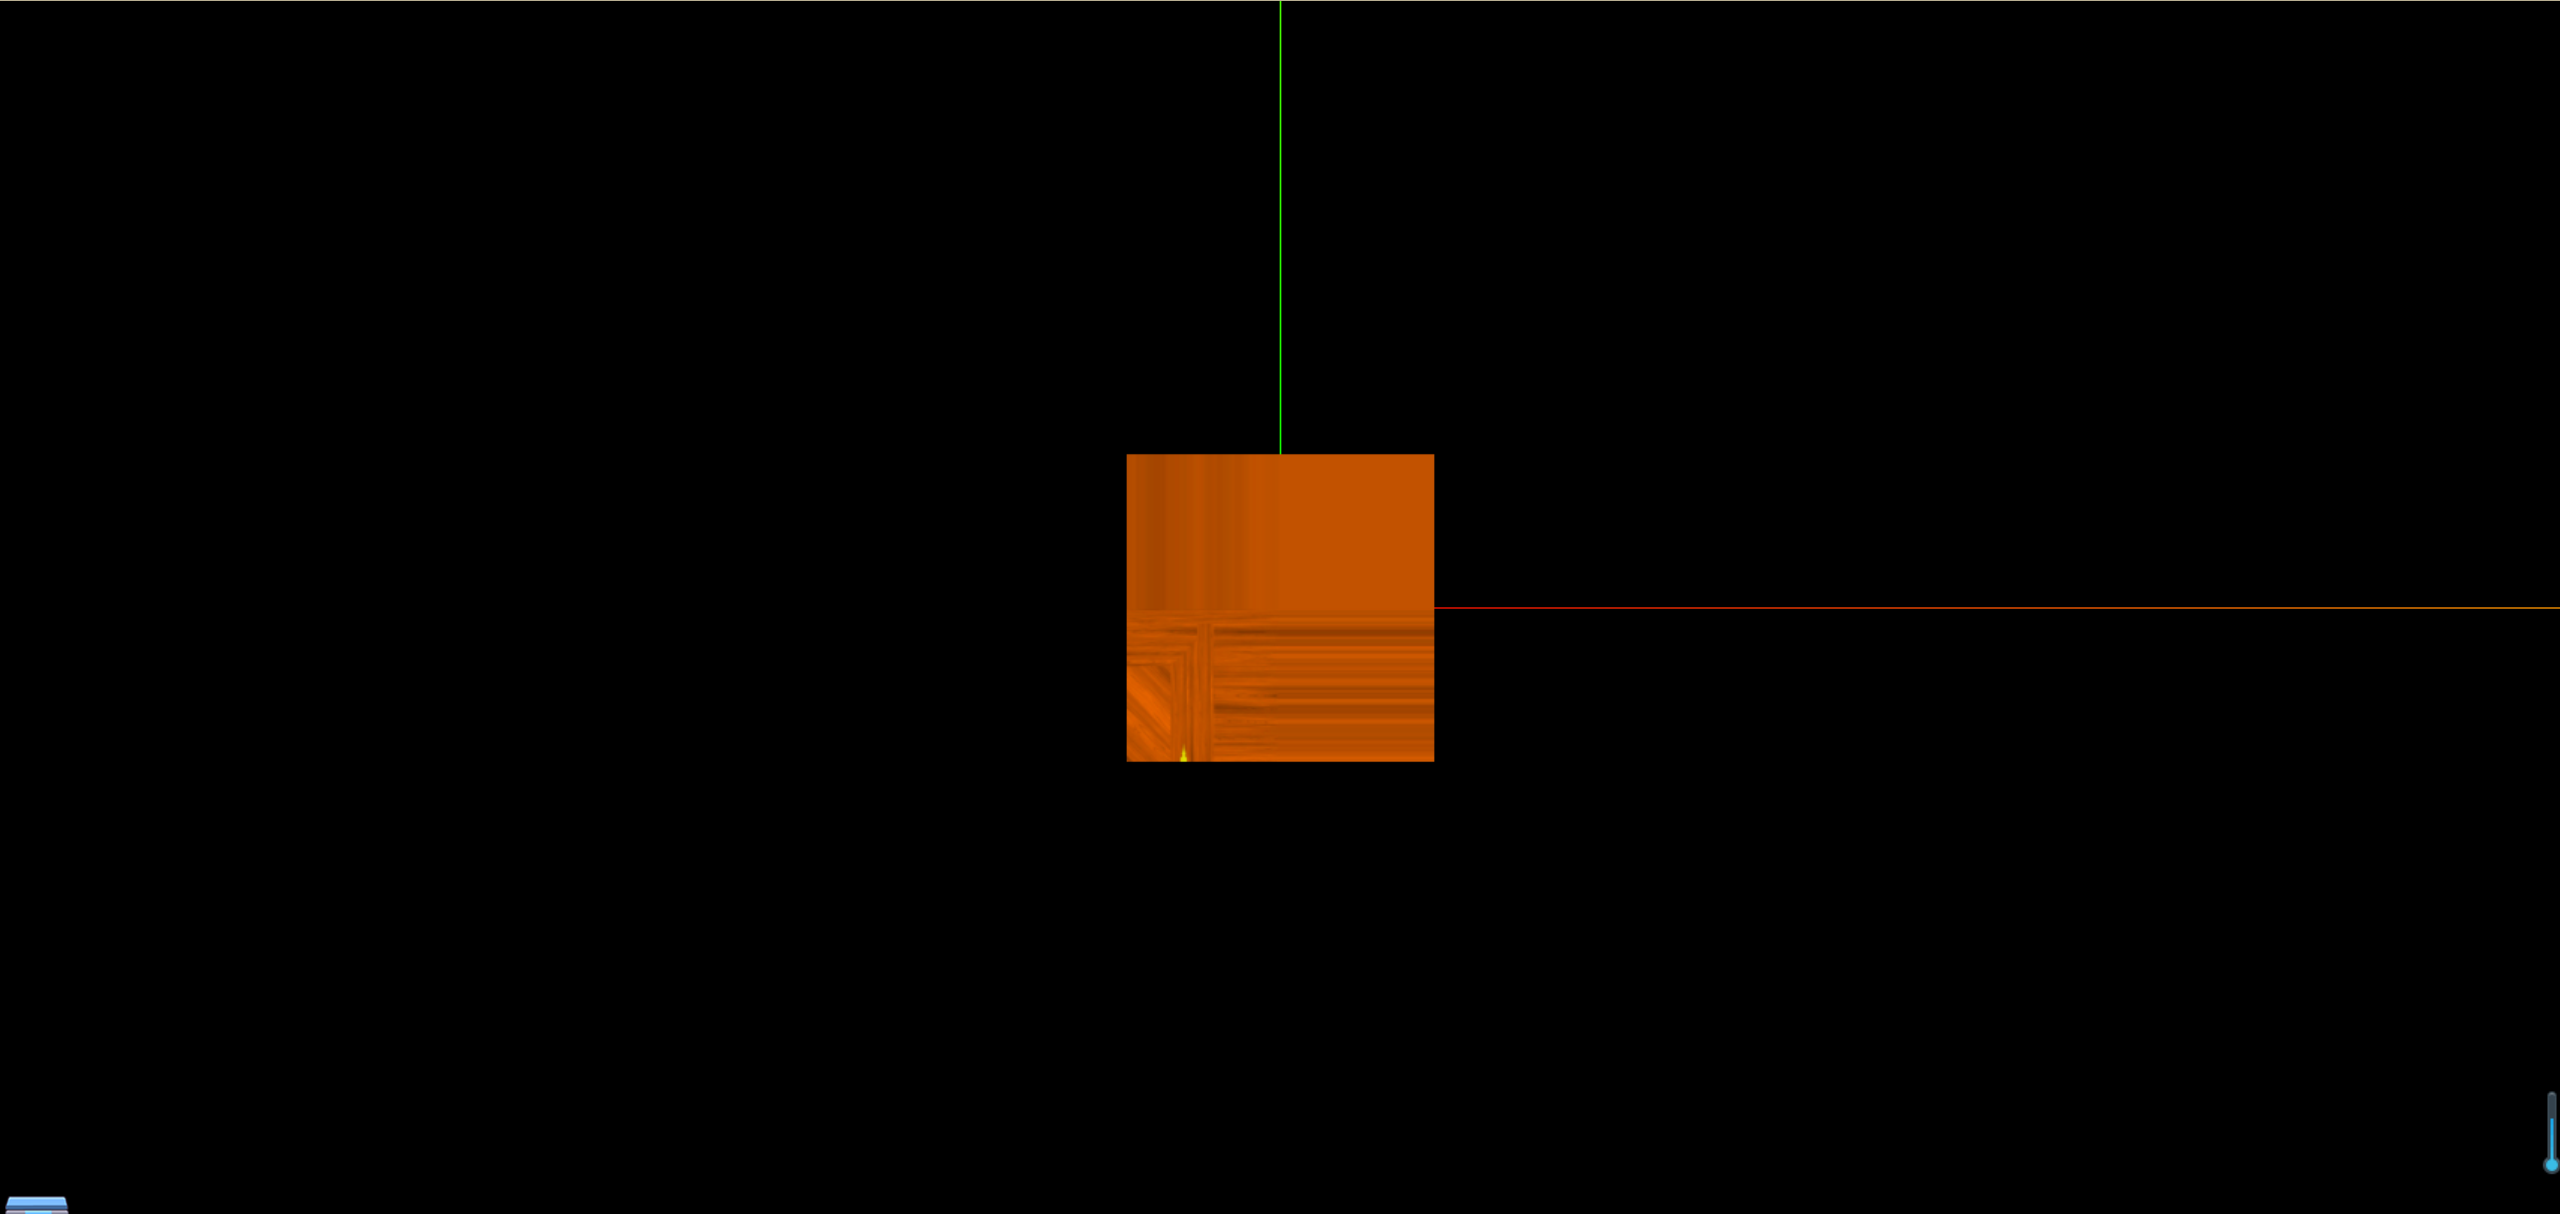
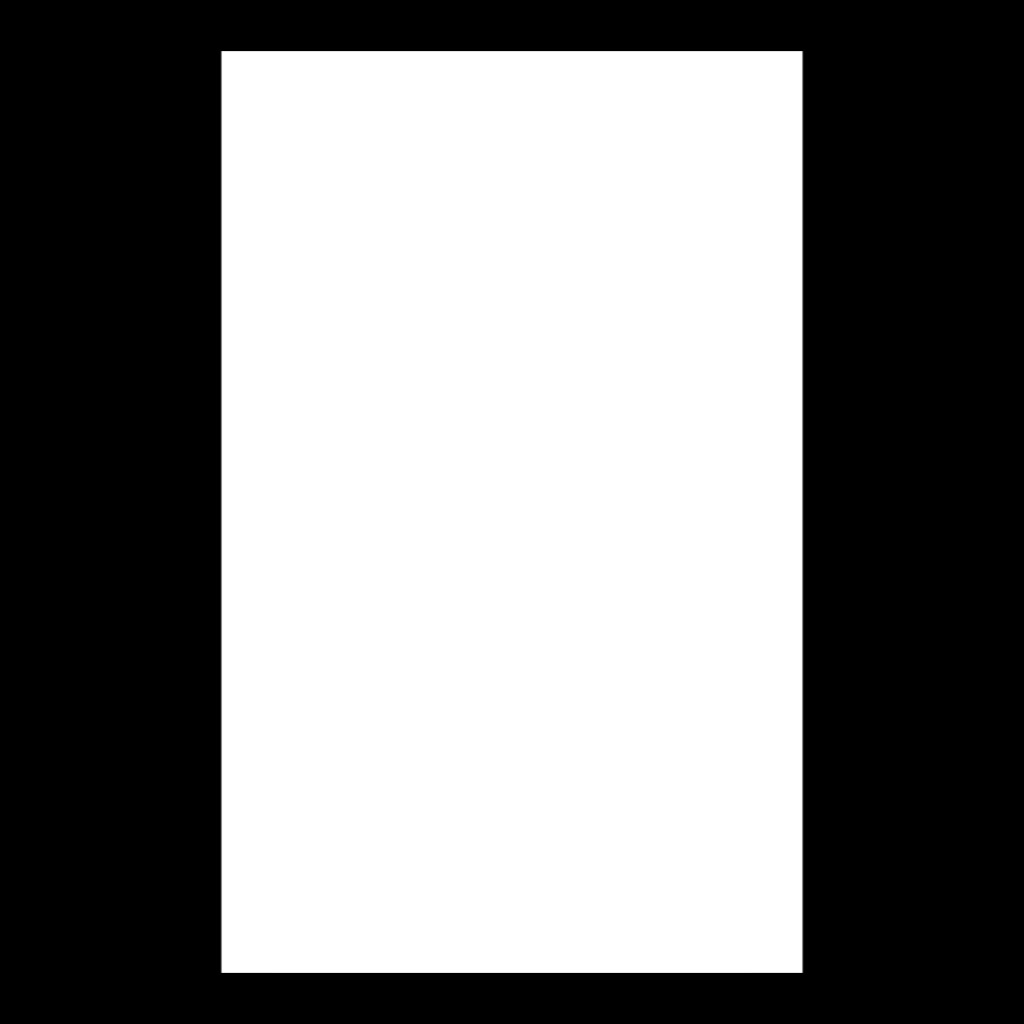
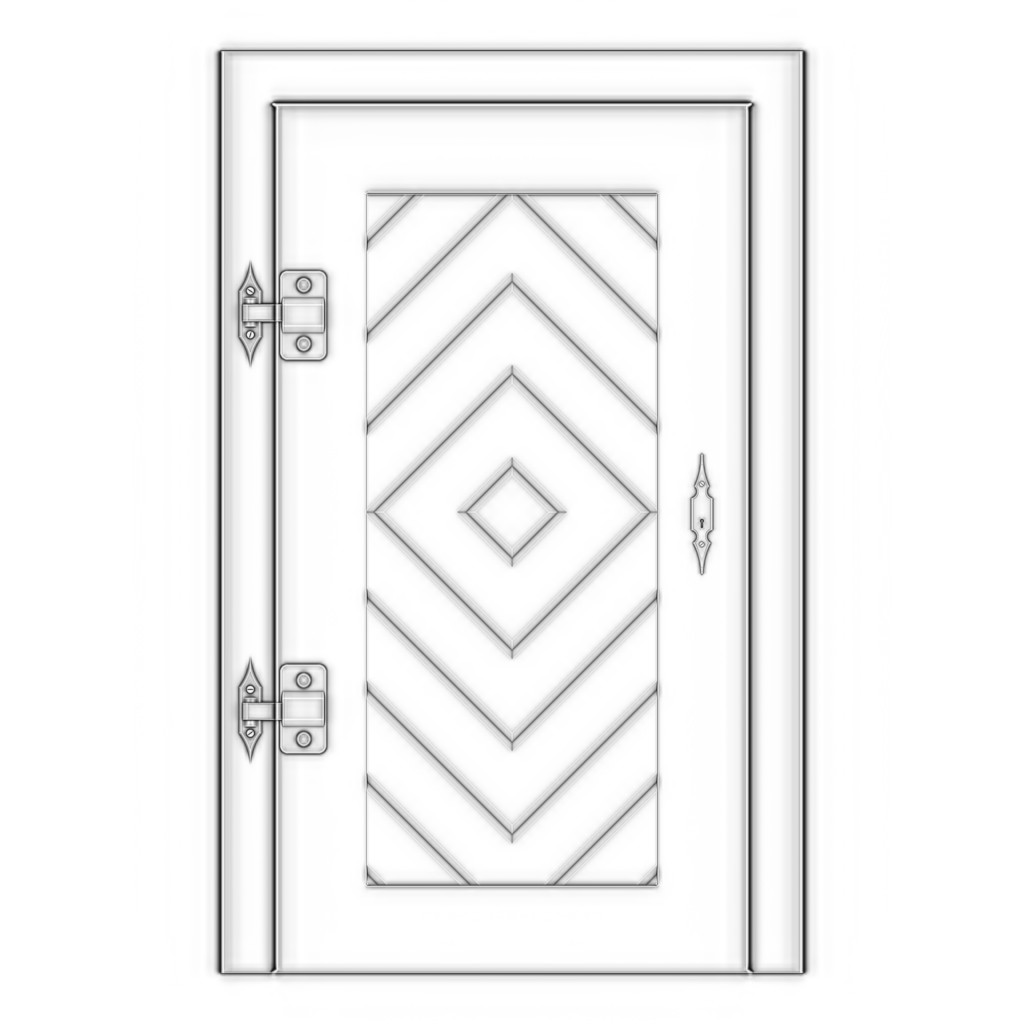
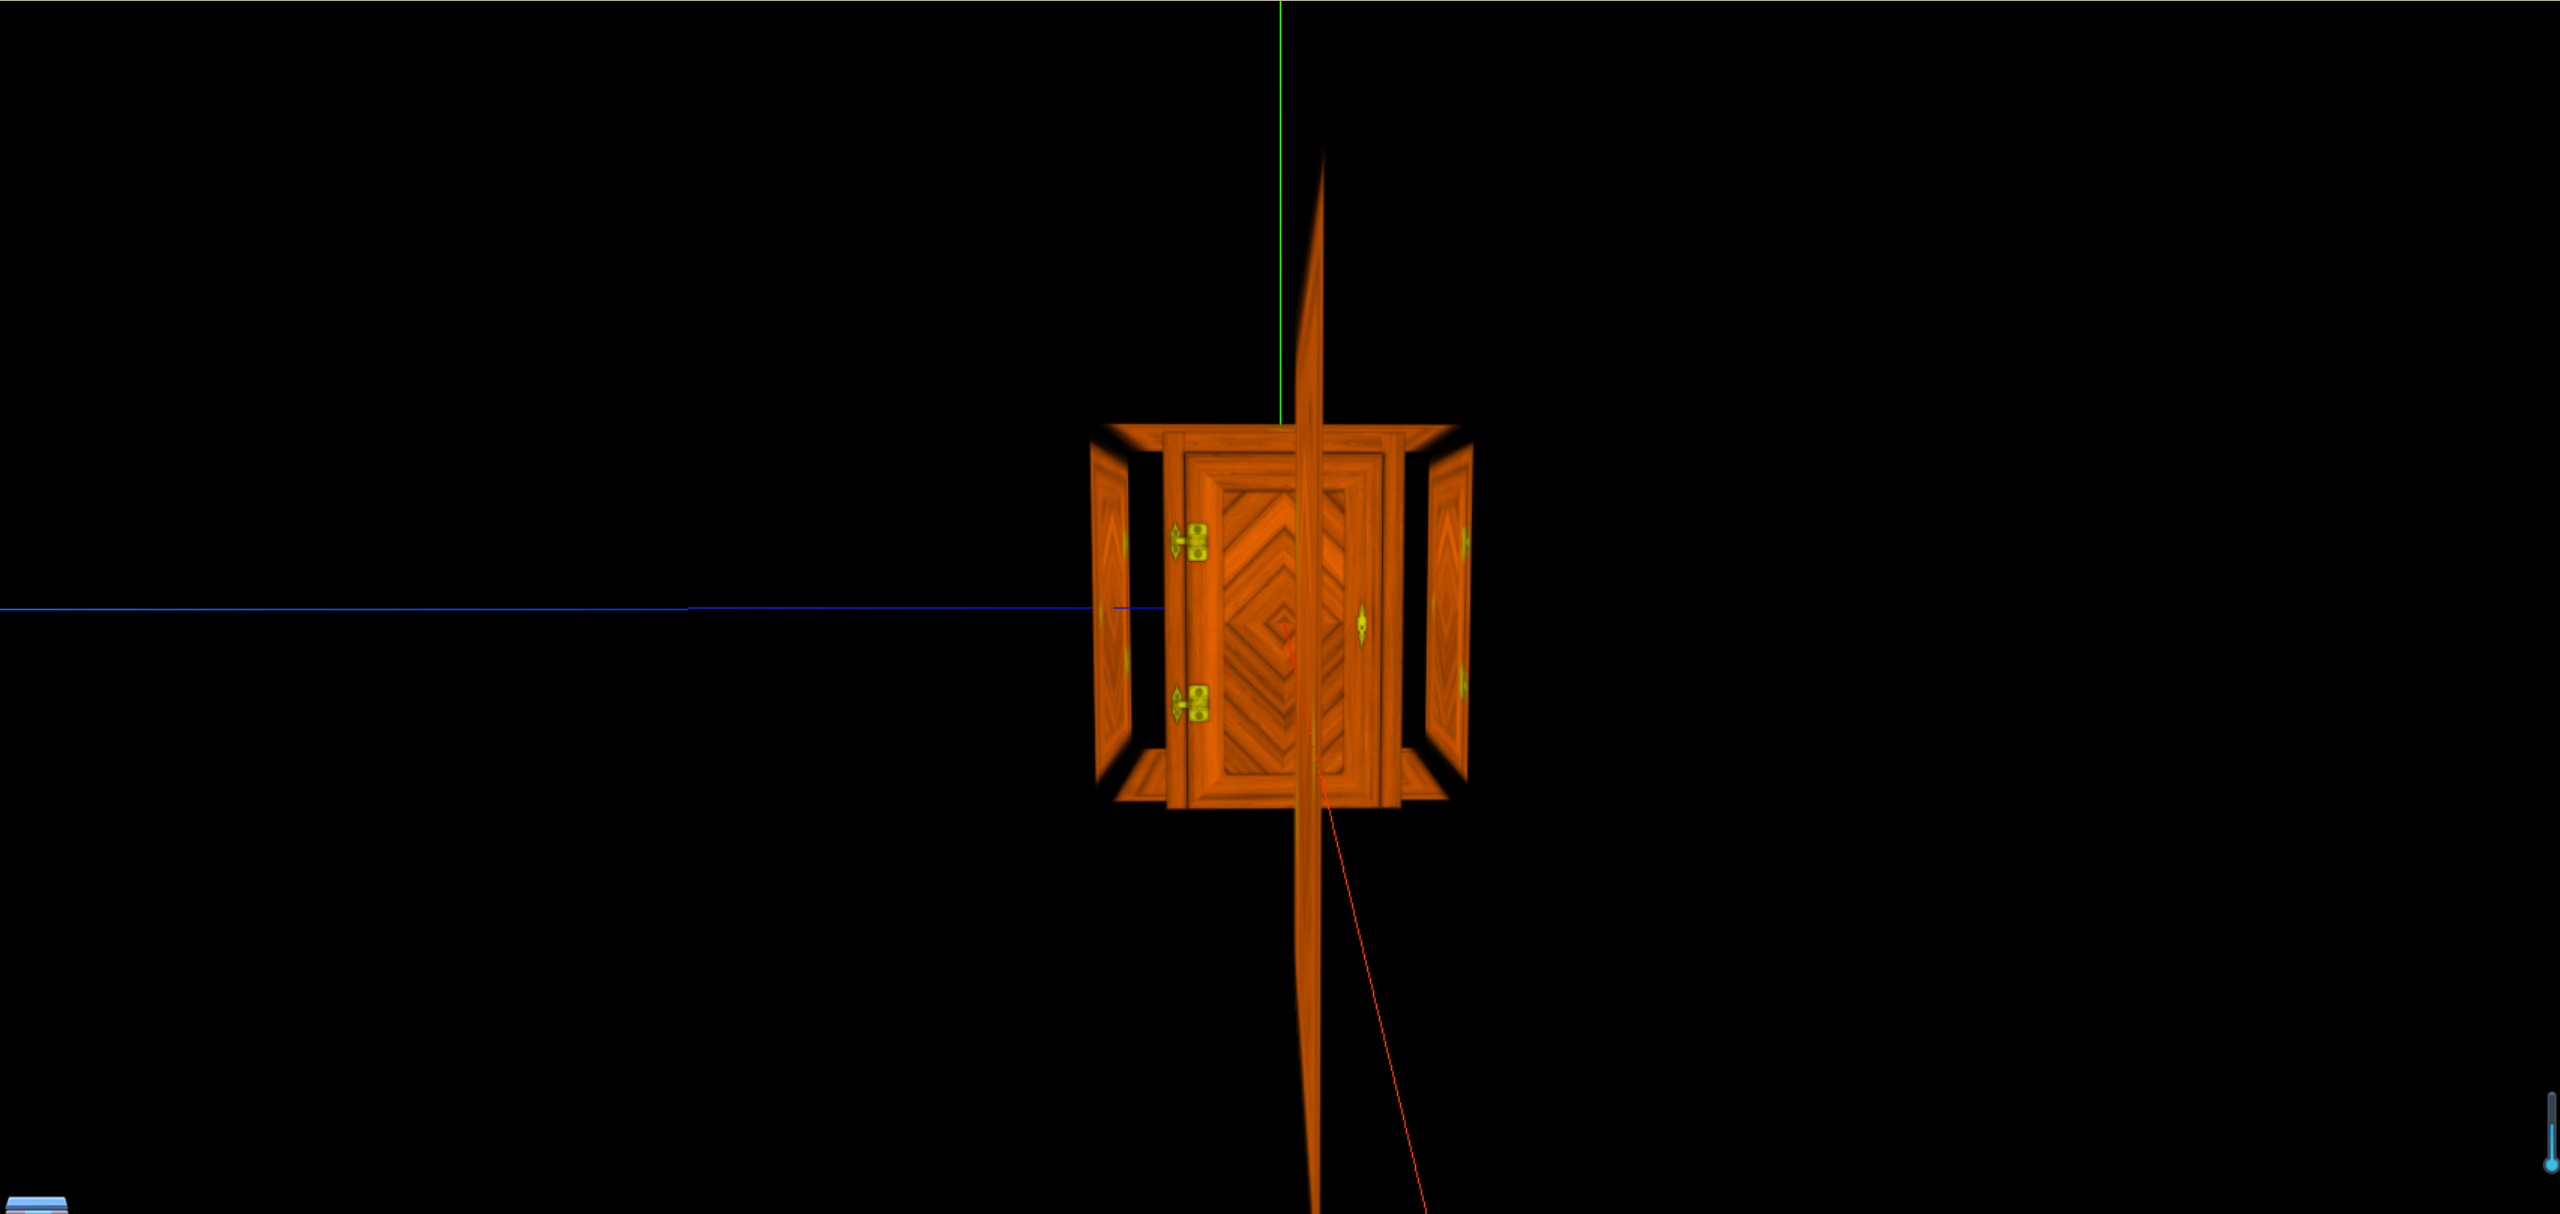
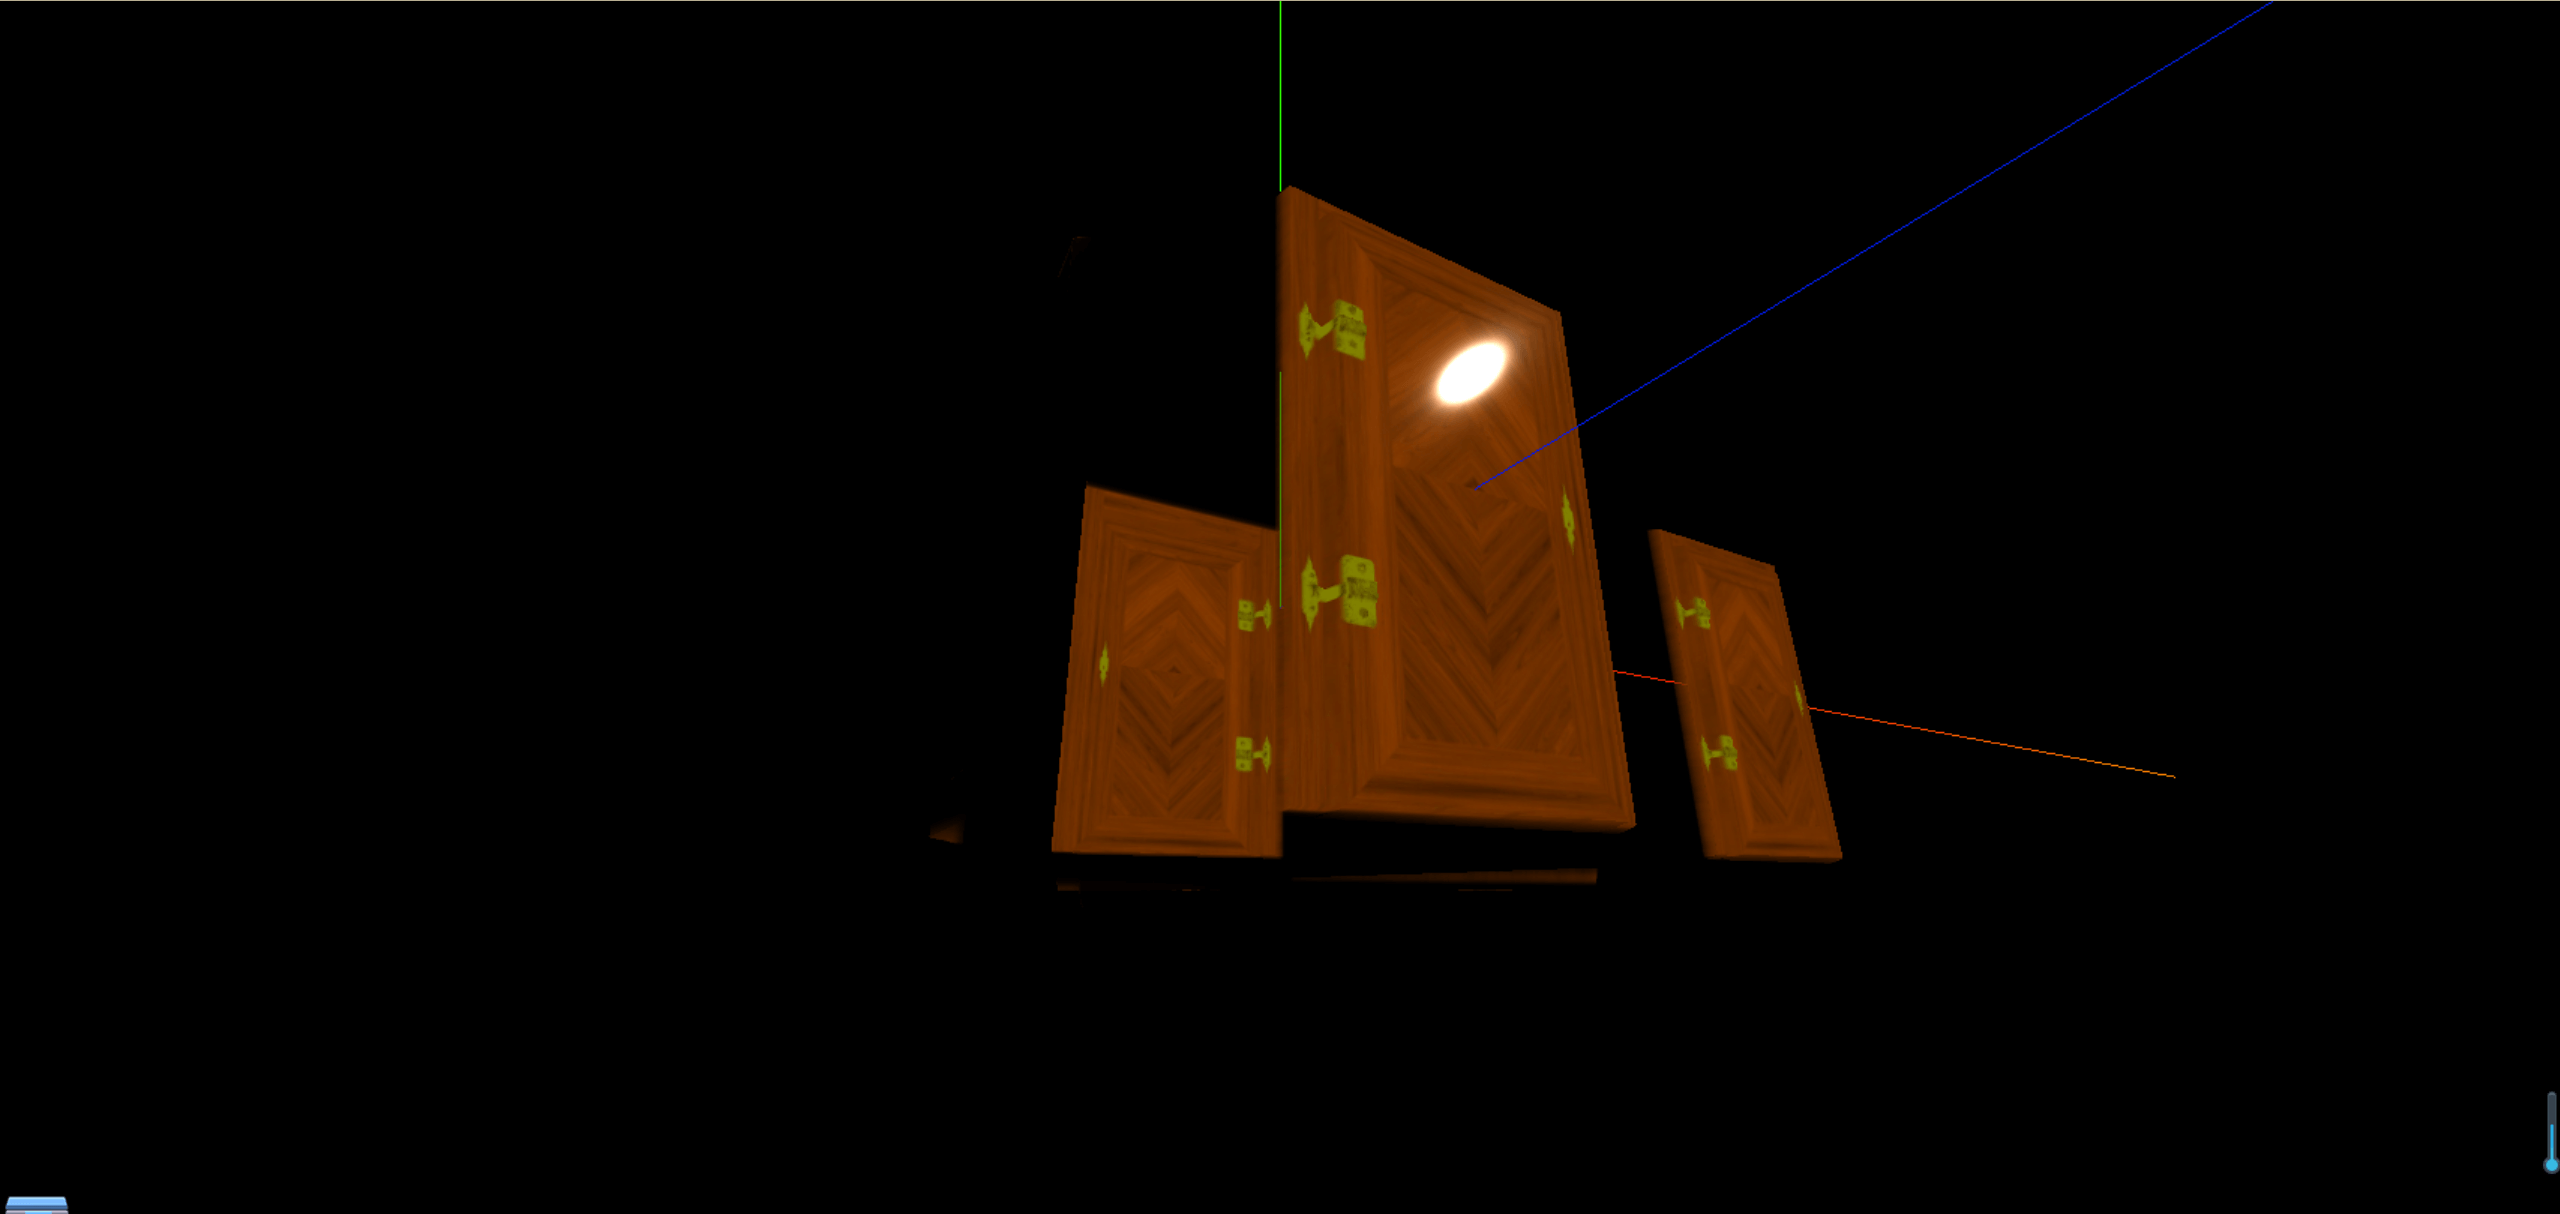
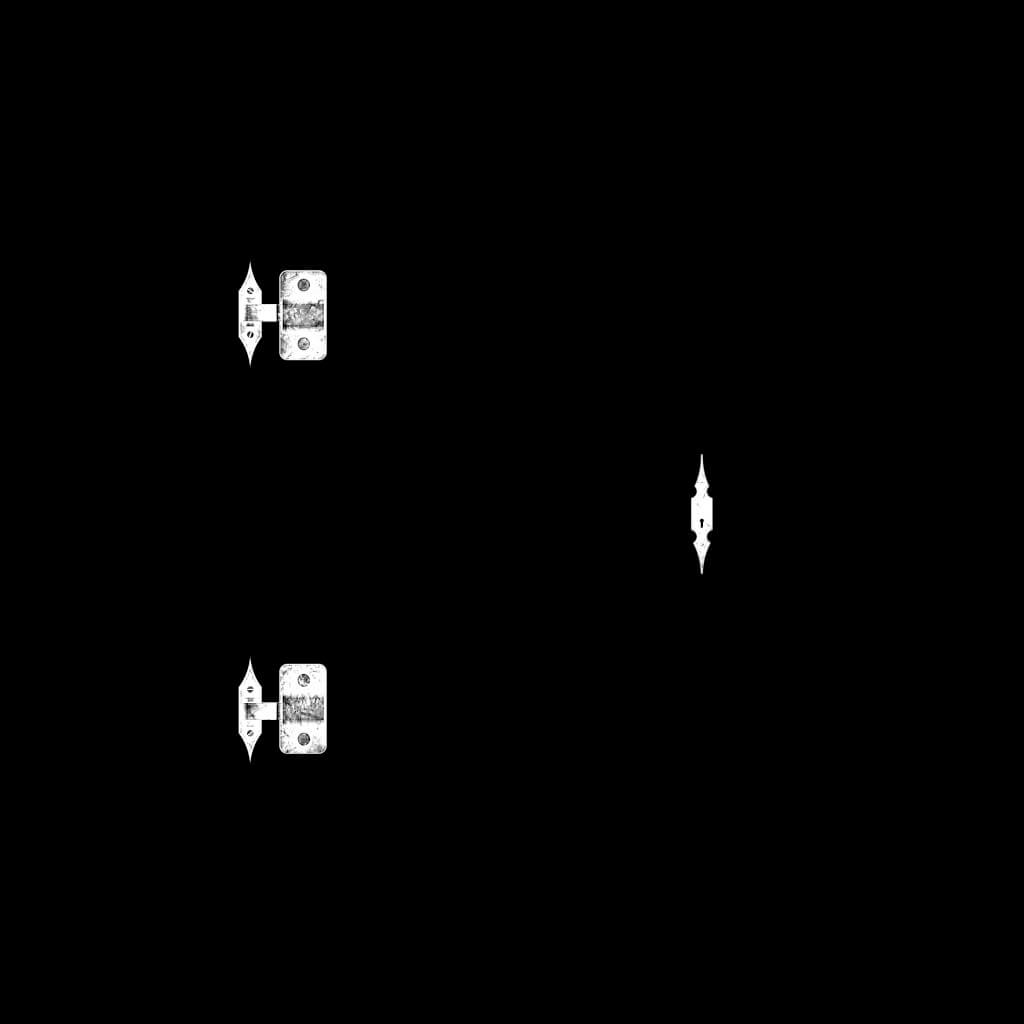
透明材质与透明纹理
如果我们只想要上面纹理中的门的部分,多出来的不要,这时候我们就需要使用透明材质和透明纹理的知识,首先我们需要这样一张图片,白色的表示需要的,黑色的表示不需要的
1
2
3
4
5
6
7
8
9
10
11
12
13
14
15
16
|
const textureLoader = new THREE.TextureLoader()
const doorColorTexture = textureLoader.load("./textures/door/color.jpg")
const doorAplhaTexture = textureLoader.load("./textures/door/alpha.jpg")
const cubeGeometry = new THREE.BoxGeometry(1, 1, 1);
const basicMaterial = new THREE.MeshBasicMaterial({
color: "#ffff00",
map: doorColorTexture,
alphaMap: doorAplhaTexture,
transparent: true,
})
const cube = new THREE.Mesh(cubeGeometry, basicMaterial)
scene.add(cube)
|
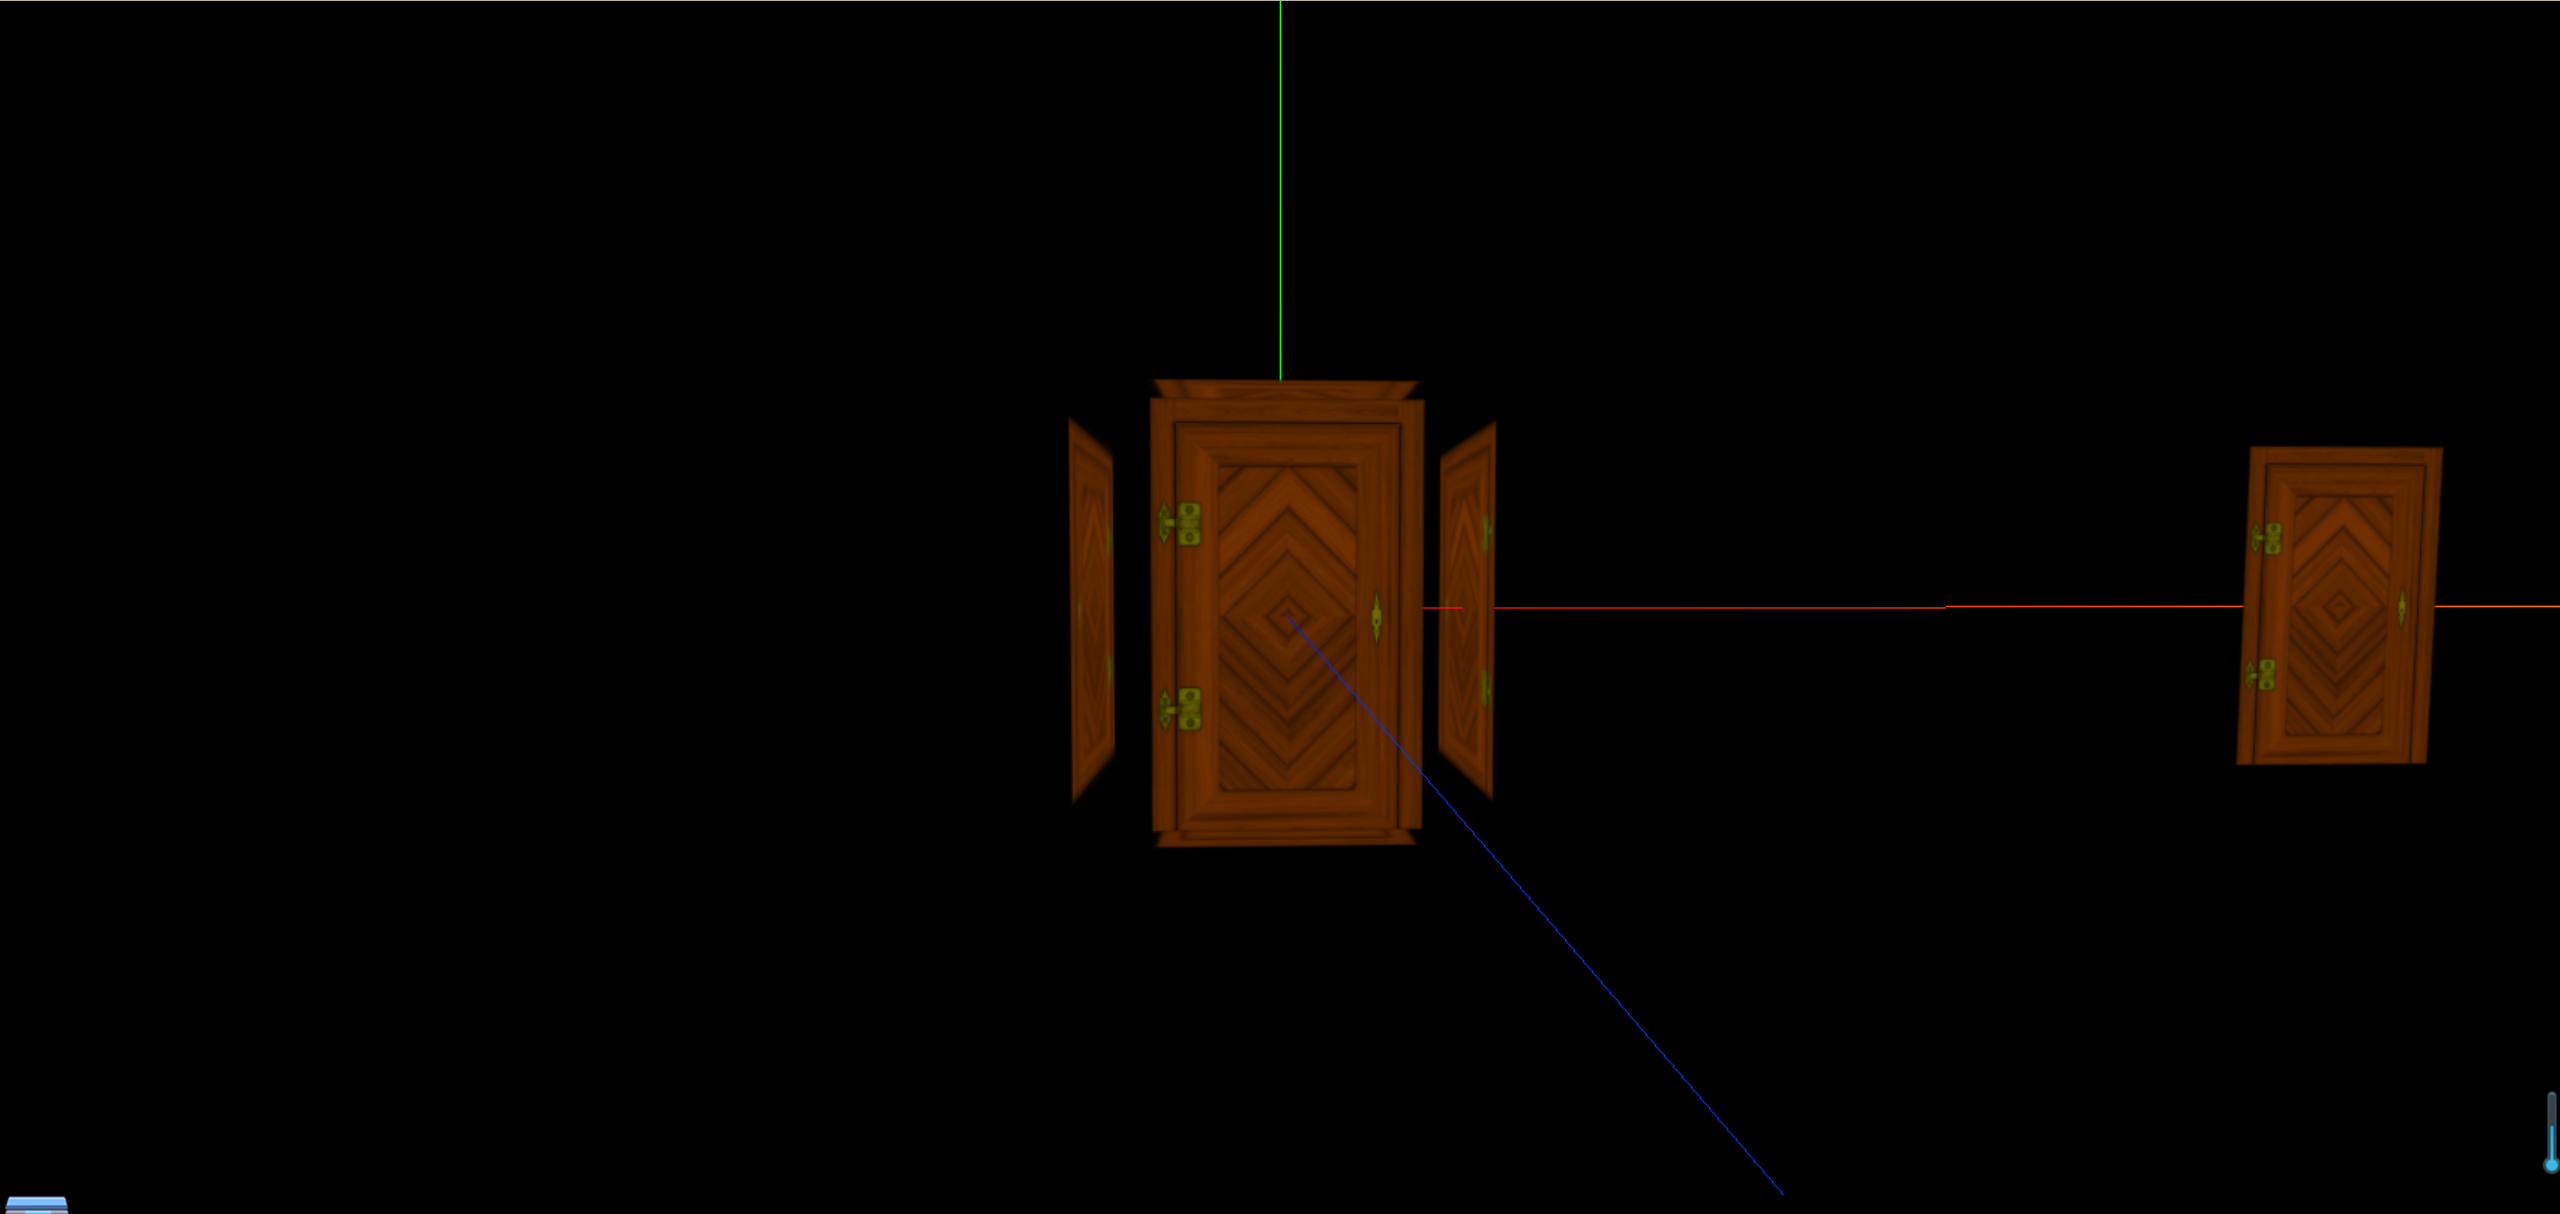
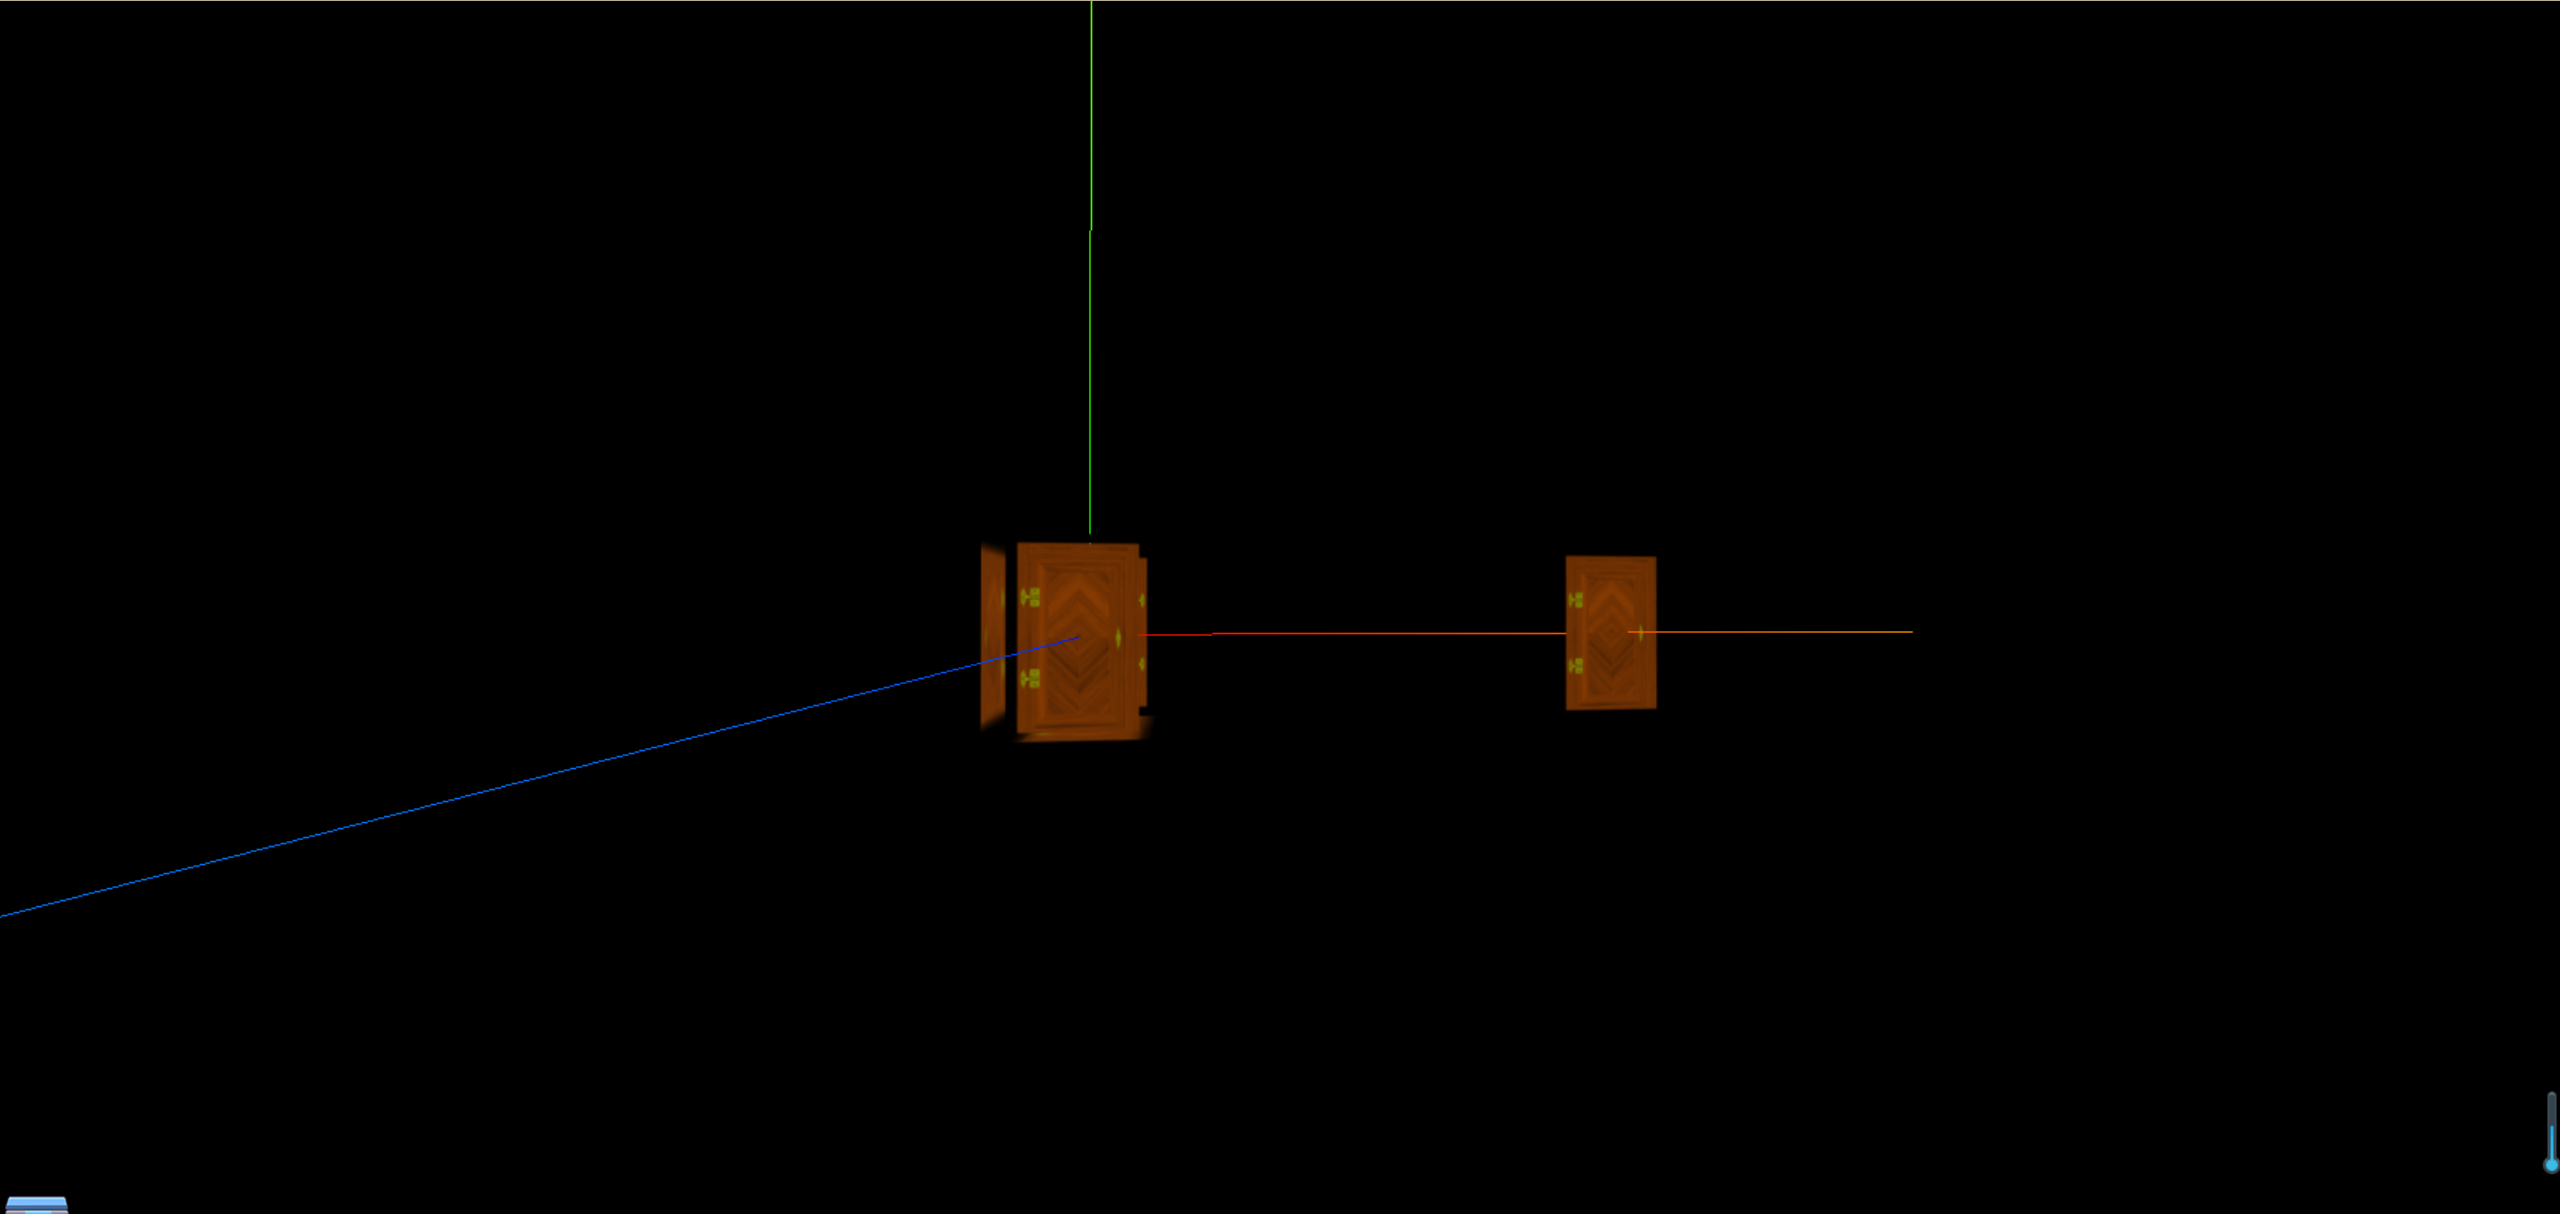
这时,我们就可以添加一个这样的平面
1
2
3
| const plane = new THREE.Mesh(new THREE.PlaneBufferGeometry(1, 1), basicMaterial)
plane.position.set(3, 0, 0)
scene.add(plane)
|
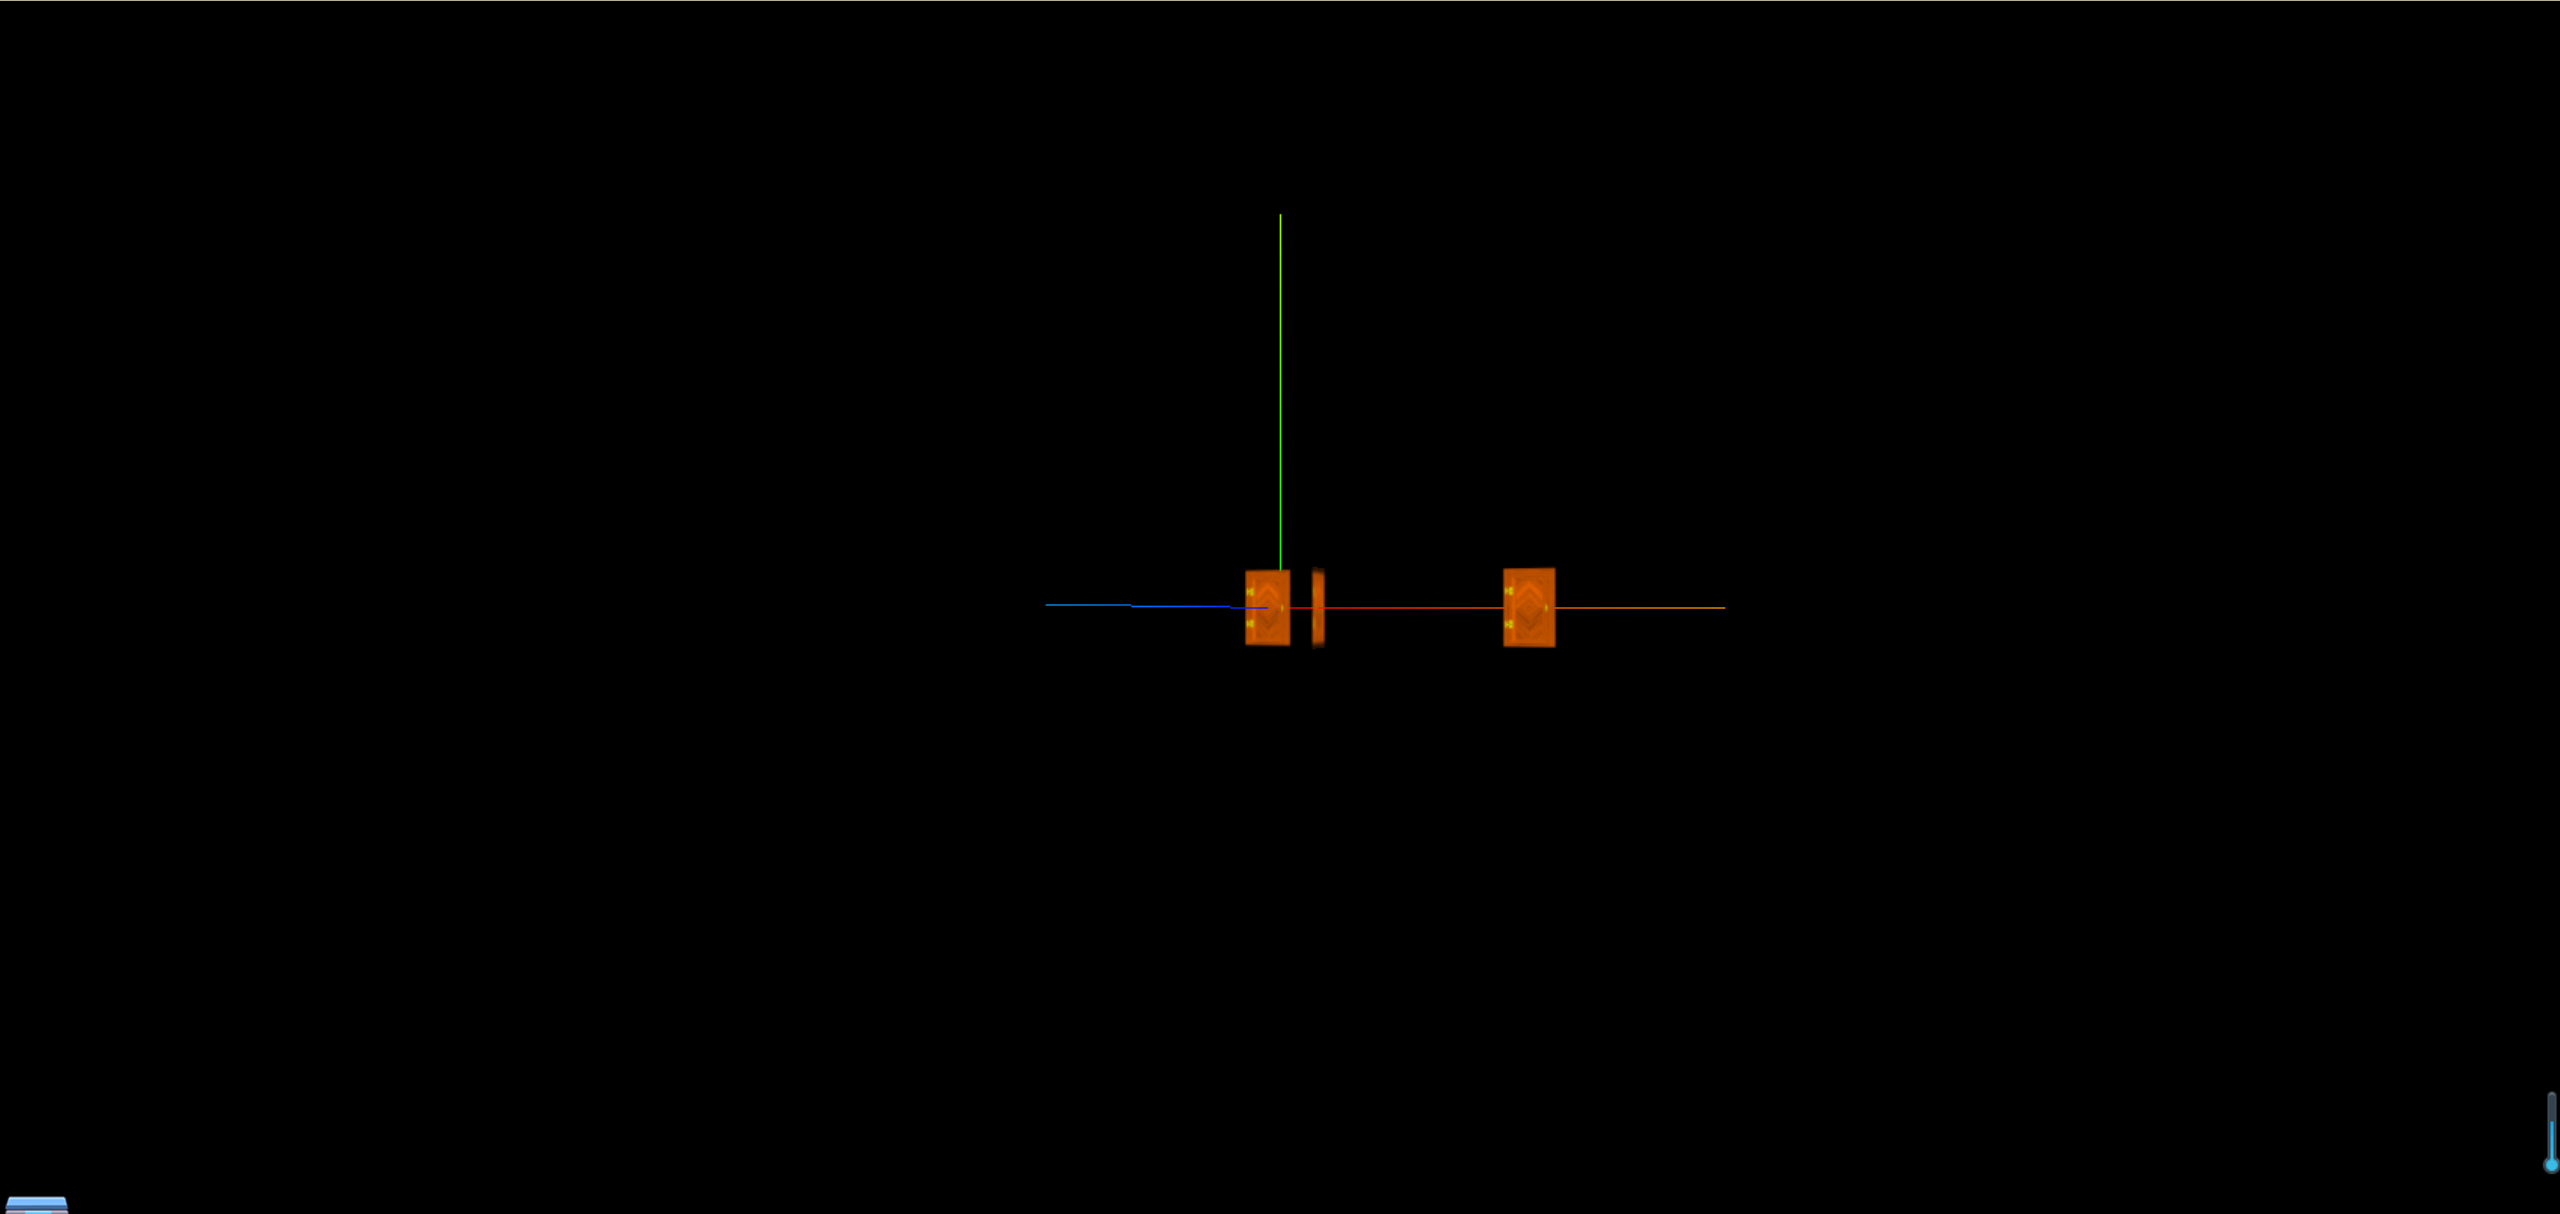
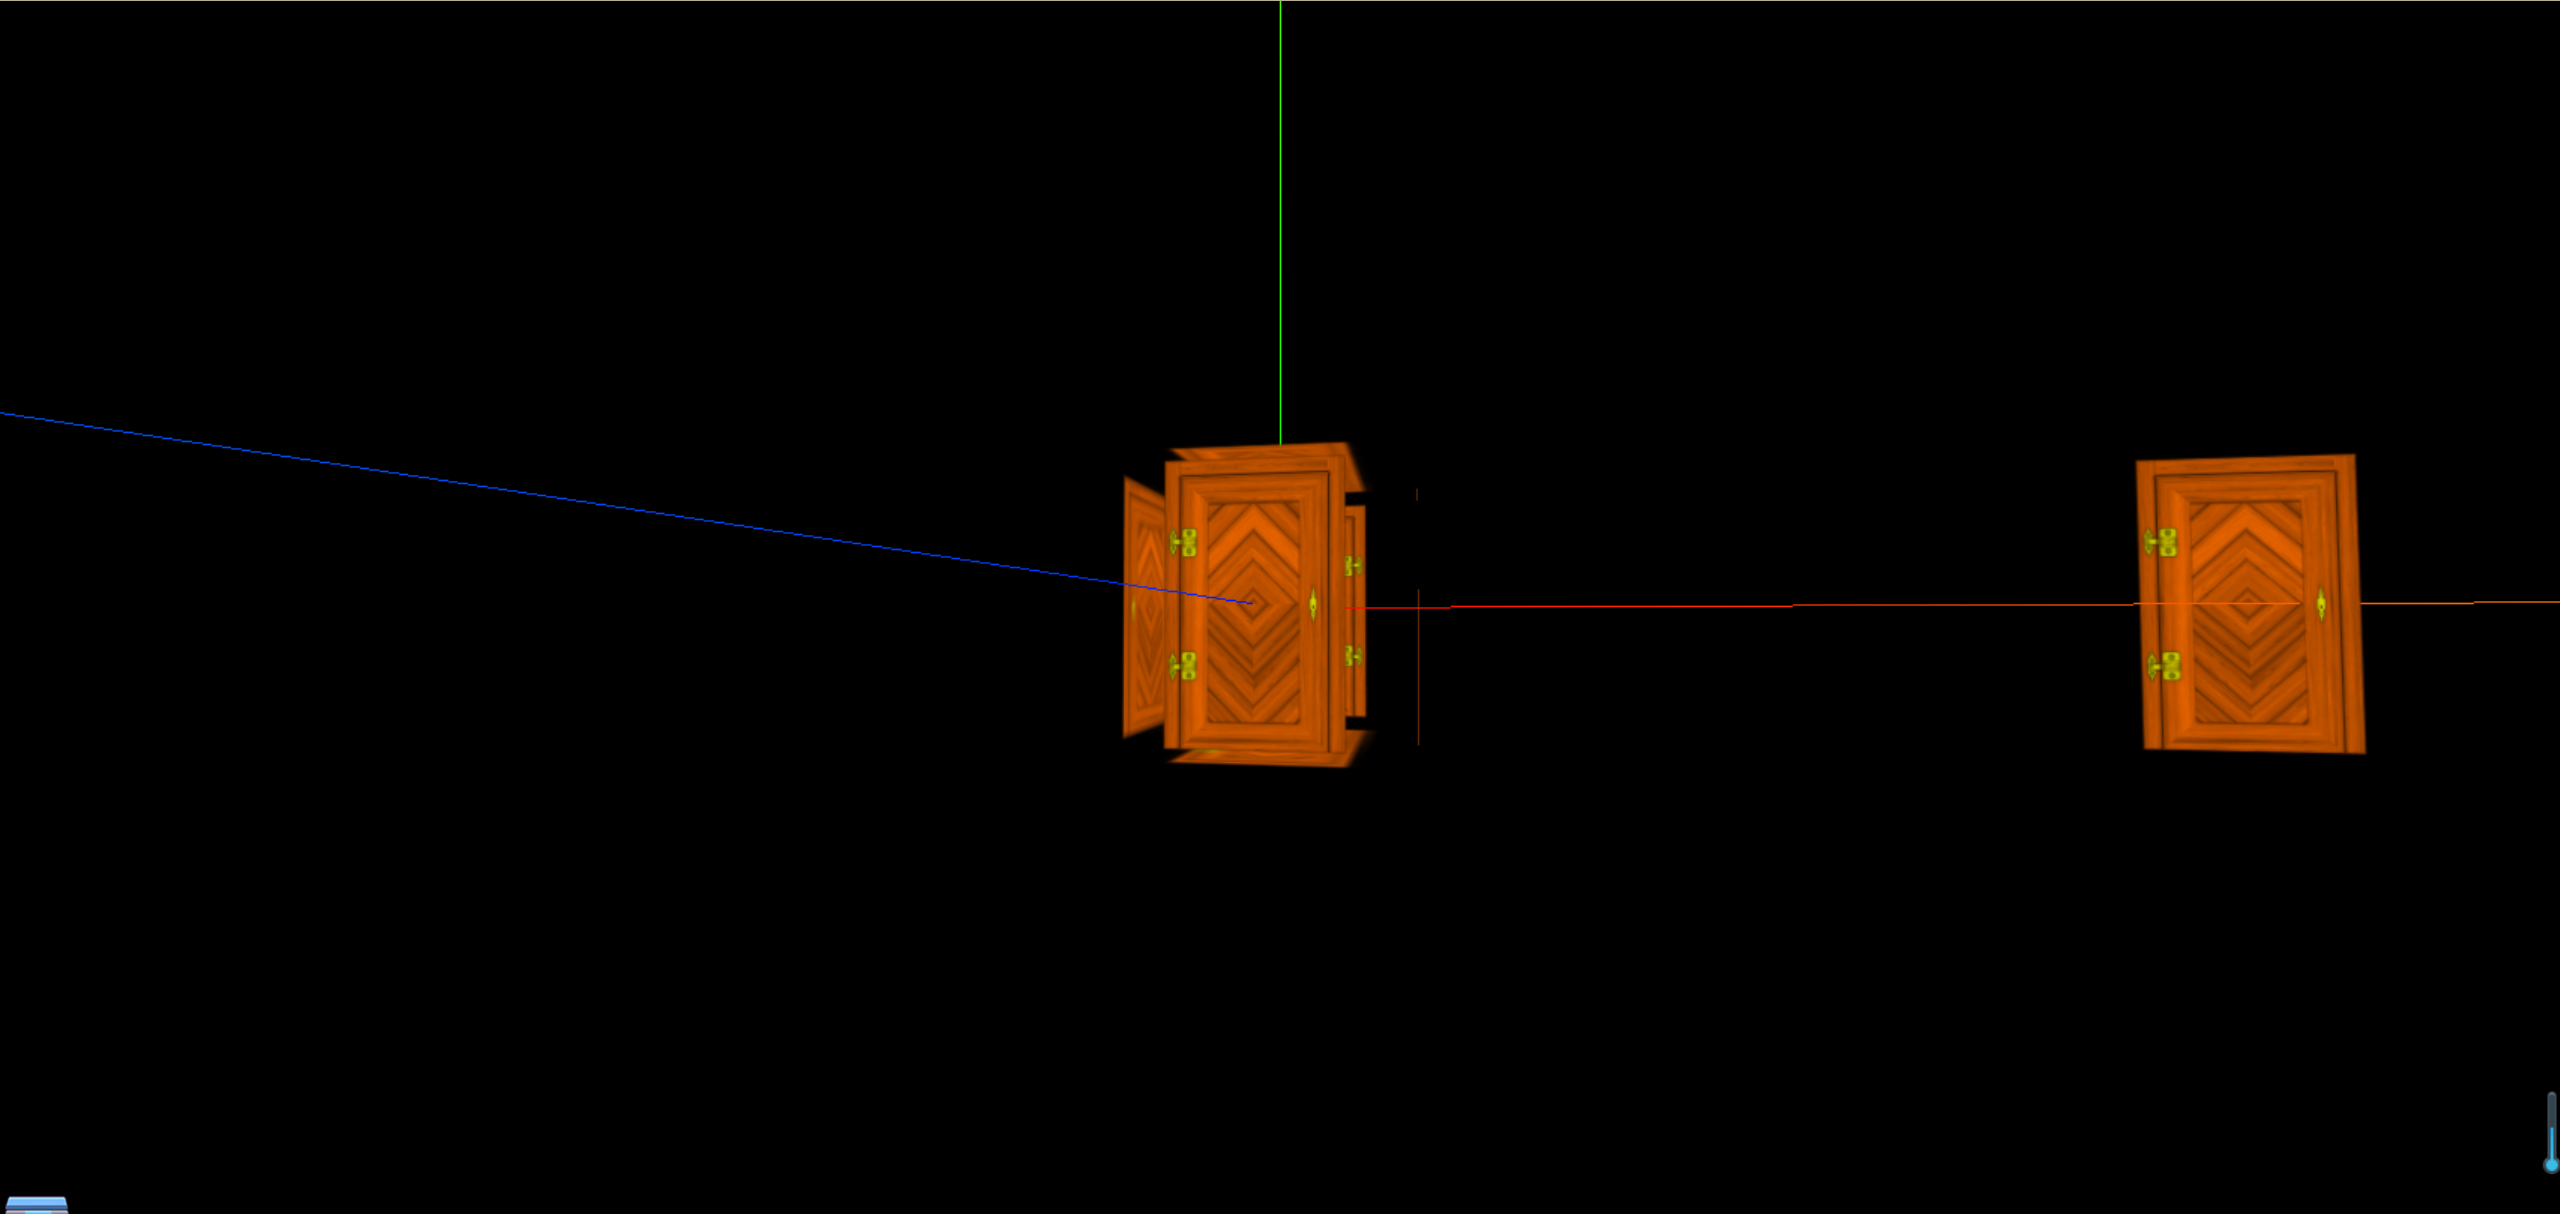
但是,这样的平面只是单面的,旋转之后是看不见的(因为怕影响性能,默认是单面的),这时候我们就需要使用双面材质
1
2
3
4
5
6
7
| const basicMaterial = new THREE.MeshBasicMaterial({
color: "#ffff00",
map: doorColorTexture,
alphaMap: doorAplhaTexture,
transparent: true,
side: THREE.DoubleSide
})
|
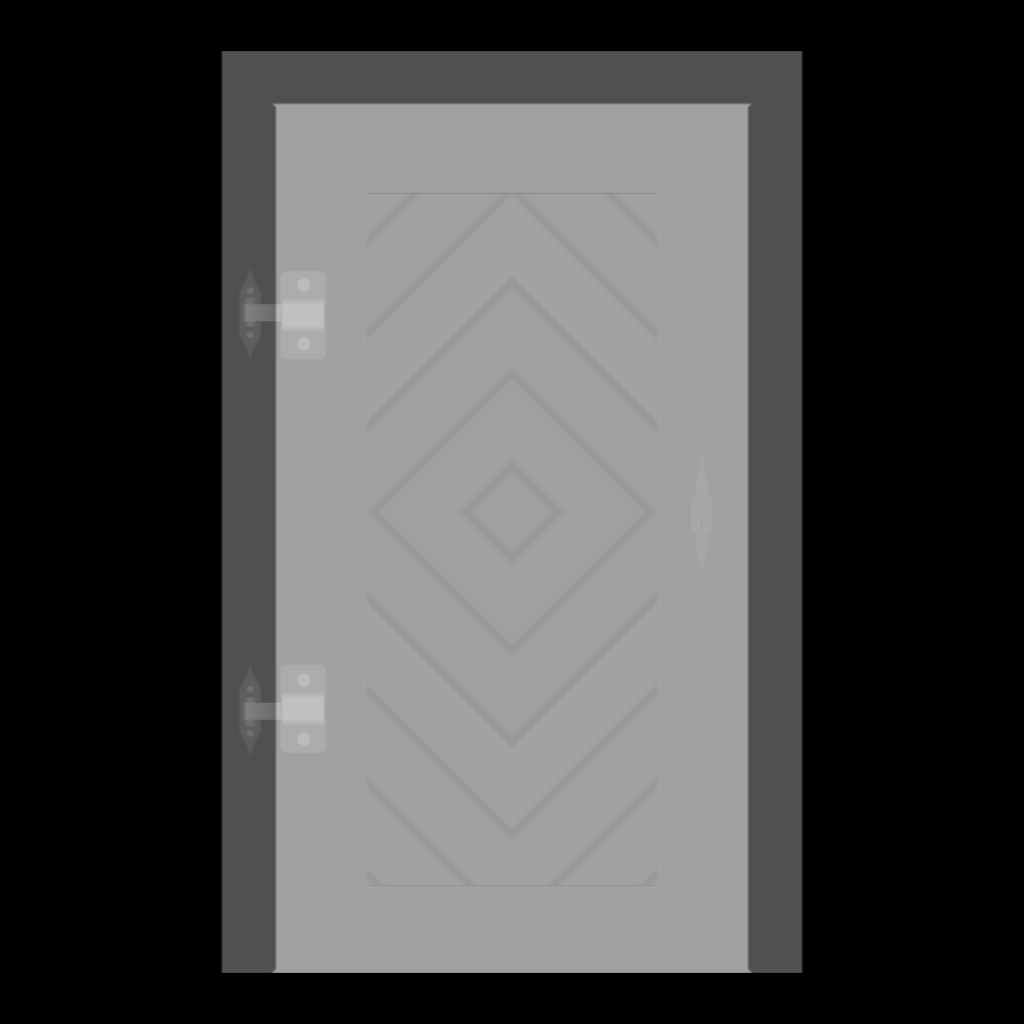
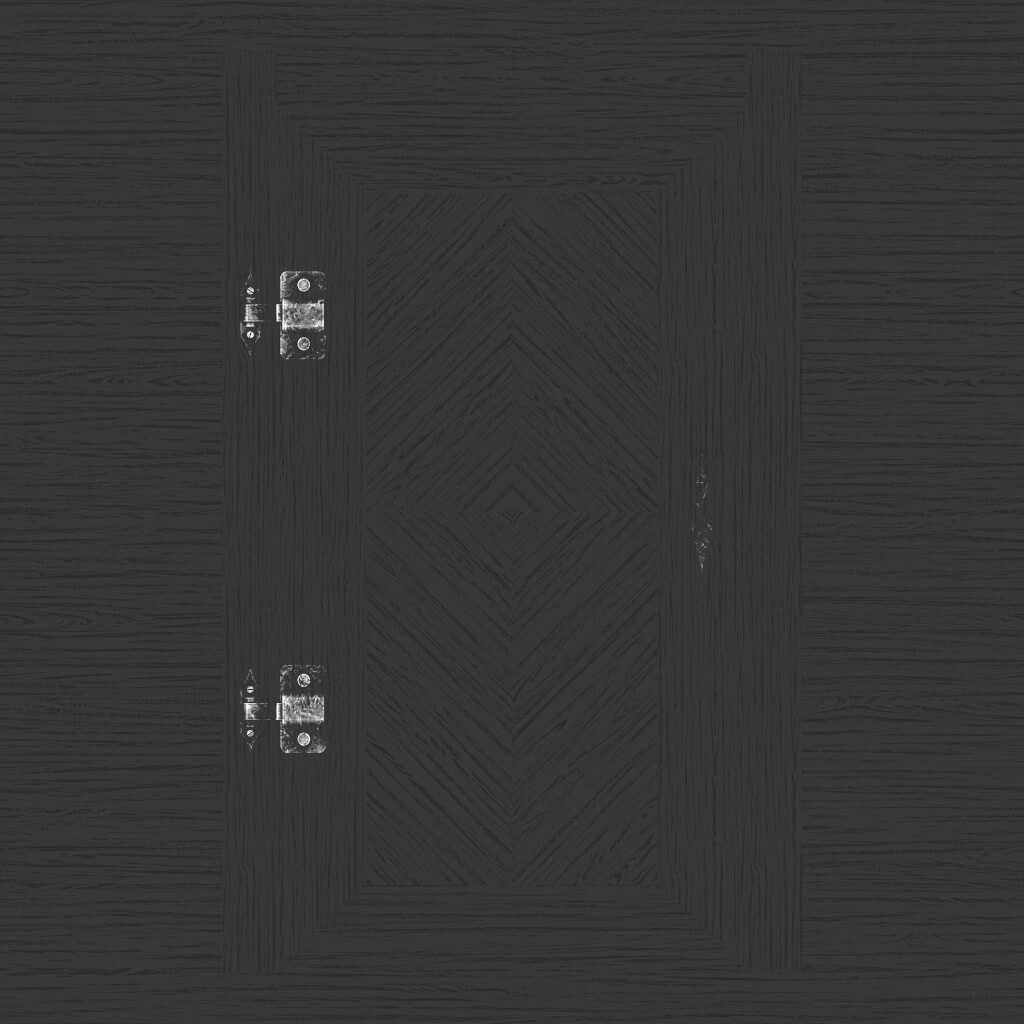
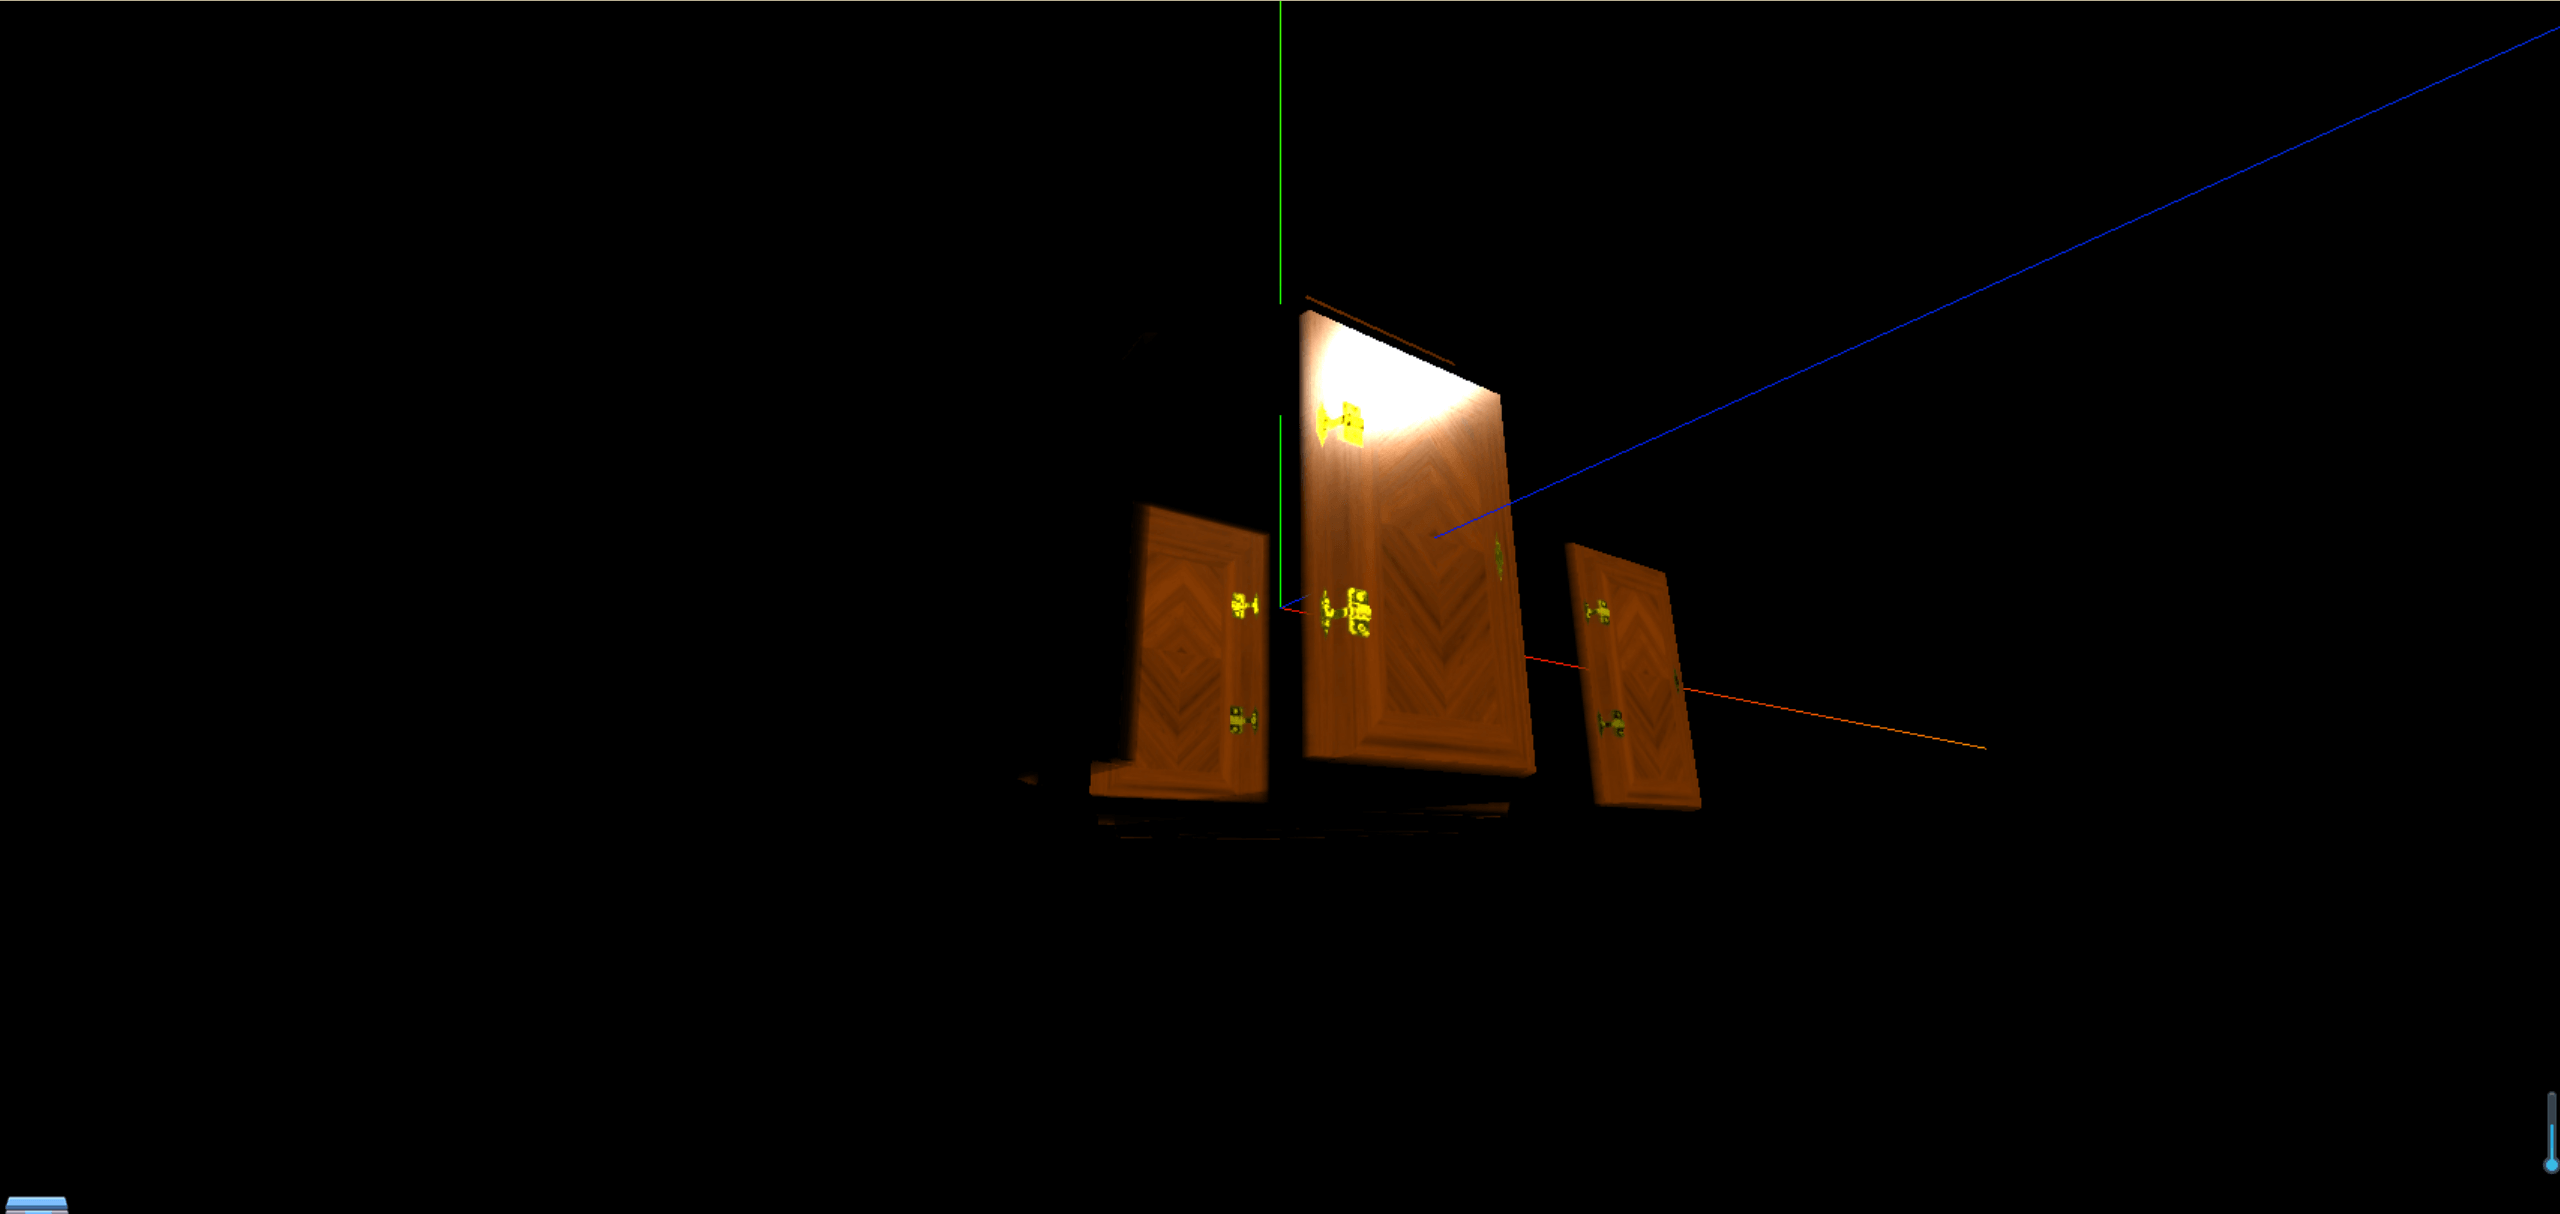
环境遮挡贴图
环境遮挡贴图,是一张灰度图,灰度图的颜色越浅,表示遮挡越少,越深,表示遮挡越多,这里我们使用一张这样的图片
1
2
3
4
5
6
7
8
9
10
11
12
13
14
15
16
17
18
19
20
21
22
23
24
25
26
27
28
29
30
31
|
const textureLoader = new THREE.TextureLoader()
const doorColorTexture = textureLoader.load("./textures/door/color.jpg")
const doorAplhaTexture = textureLoader.load("./textures/door/alpha.jpg")
const doorAoTexture = textureLoader.load("./textures/door/ambientOcclusion.jpg")
const cubeGeometry = new THREE.BoxGeometry(1, 1, 1);
const basicMaterial = new THREE.MeshBasicMaterial({
color: "#ffff00",
map: doorColorTexture,
alphaMap: doorAplhaTexture,
transparent: true,
side: THREE.DoubleSide,
aoMap: doorAoTexture,
})
const cube = new THREE.Mesh(cubeGeometry, basicMaterial)
scene.add(cube)
cubeGeometry.setAttribute("uv2", new THREE.BufferAttribute(cubeGeometry.attributes.uv.array, 2))
const planeGeometry = new THREE.PlaneGeometry(1, 1)
const plane = new THREE.Mesh(planeGeometry, basicMaterial)
plane.position.set(3, 0, 0)
scene.add(plane)
planeGeometry.setAttribute("uv2", new THREE.BufferAttribute(planeGeometry.attributes.uv.array, 2))
|
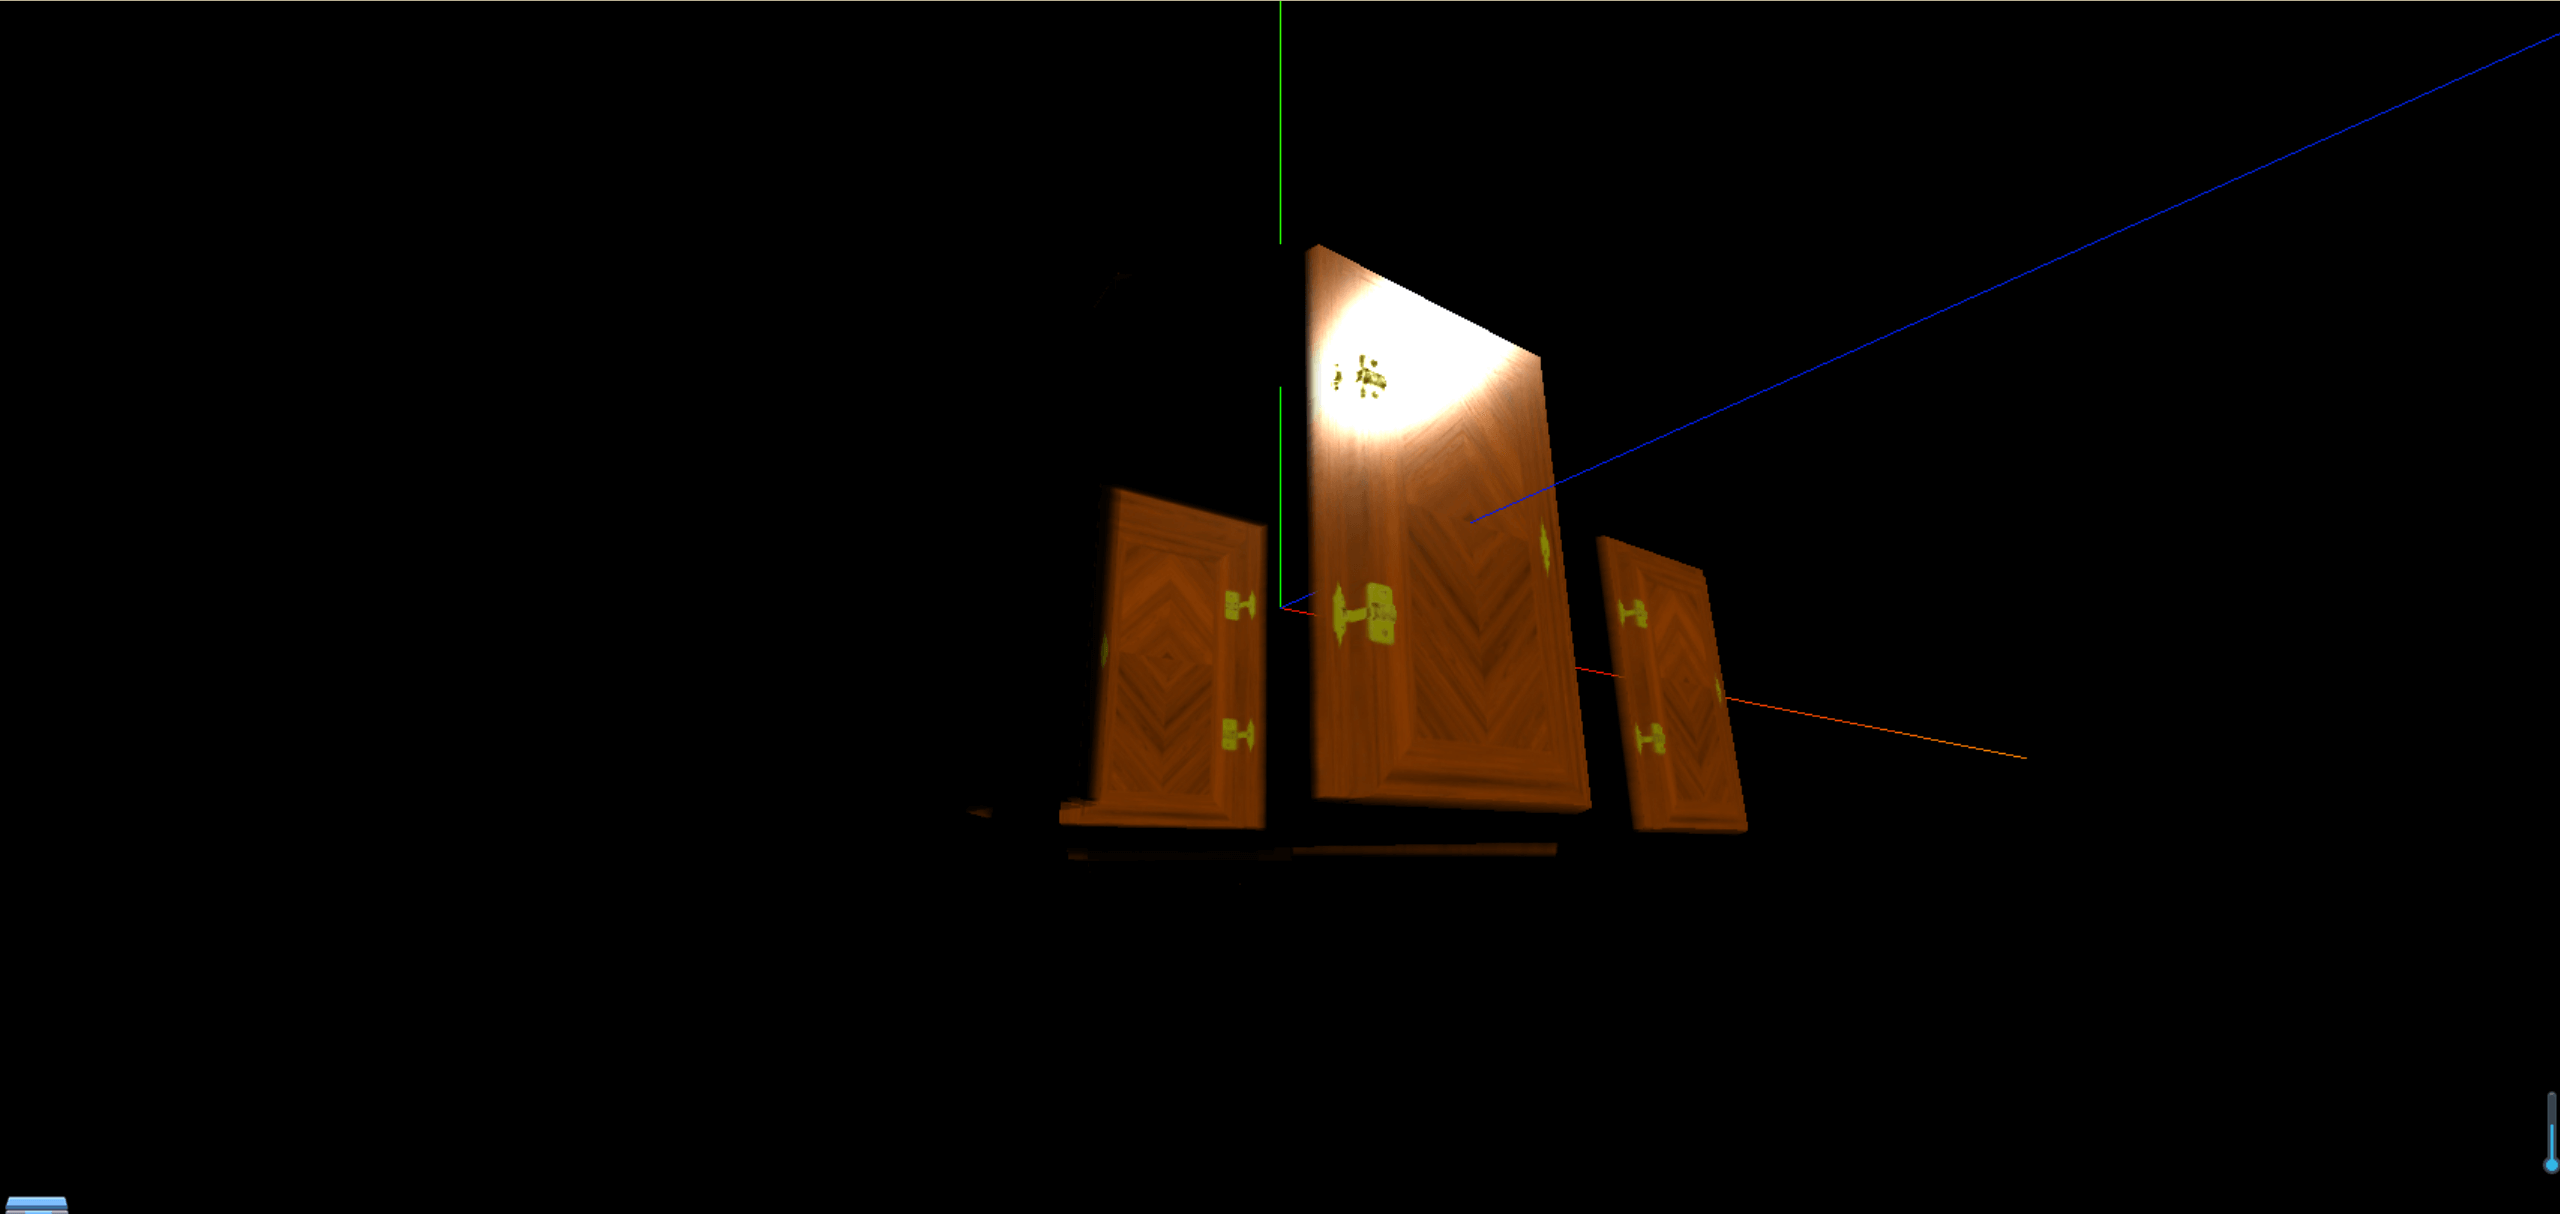
我们可以看到,加上环境遮挡贴图的门有一定的阴影效果

PBR物理渲染
什么是PBR?
- 基于物理渲染
- 以前的渲染方式,是在模仿灯光的外观,而PBR是在模仿光的实际行为让图形看起来更加真实
PBR组成部分
灯光属性
- 直接照明
- 间接照明
- 直接高光
- 间接高光
- 阴影
- 环境光闭塞
表面属性
灯光属性
- 光线类型
入射光
- 直接照明:直接从光源发射阴影物体表面的光
- 间接照明:环境光和直接光经过过多次反射后的光
反射光
- 镜面反射:在经过表面反射聚焦在同一方向上进入人眼的高亮光,生成的光电就是镜面光
- 漫反射:在经过表面反射后均匀散射到各个方向上的光
- 光与表面互相作用类型
- 直接漫反射:光线直接照射到表面上,然后均匀散射到各个方向上的光(1、直接来自光源的光2、撞击到物体表面后,均匀散射到各个方向上的光3、在着色器中使用简单的数学计算)
- 直接高光:光线直接照射到表面上,然后聚焦在同一方向上进入人眼的高亮光(1、直接来自光源的光2、反射在更集中的方向上3、在着色器中使用简单的数学计算,直接镜面反射的计算成本比漫反射低很多)
- 间接漫反射:光线经过多次反射后,均匀散射到各个方向上的光(1、来自环境中各个方向的光2、撞击表面后散落在各个方向3、因为计算昂贵,所以引擎的全局照明解决方案通常会离线渲染,并被烘培成灯光地图)
- 间接高光:光线经过多次反射后,聚焦在同一方向上进入人眼的高亮光(1、来自环境中各个方向的光2、反射在一个更集中的方向上、引擎中使用反射探头,平面反射,SSR,或射线追踪计算)
表面属性
- 基础色
- 定义表面的漫反射颜色
- 真实世界的材料不会比20暗或者比240 sRGB亮
- 粗糙表面具有更高的sRGB值,光线会更加散射,因此看起来更暗,最低为50s RGB
- 超出范围的值不能正确发光,所以保持在范围内是至关重要的
基础色题图制作注意点
- 不包括任何照明或阴影
- 基本颜色纹理看起来应该比较平坦
- 使用真实世界的度量来获取最佳结果的数据
- 法线
- 定义曲面的形状每个像素代表一个矢量
- 法线贴图会使表面显得凹凸不平
- 用于添加表面形状的细节
- 因为它们代表矢量数据,所以法线贴图是无法手工绘制的
- 镜面
- 用于直接和间接镜面照明的叠加
- 当直视表面时,定义反射率
- 非金属表面反射约4%的光
- 0.5代表4%的反射,1是代表8%的反射,但是对于大多数物体太高了
- 在掠射角下,所有表面都是100%反射的,内置于引擎中的菲涅耳项
- 粗糙度
- 表面在微观尺度上的粗糙度
- 白色是粗糙的
- 黑色是光滑的
- 控制反射的”焦点”
- 平滑=强烈的反射
- 粗糙=模糊的漫反射
- 金属度
- 两个不同的着色器通过金属度混合他们
- 基本色变成高光色而不是漫反射颜色
- 金属漫反射是黑色的
- 在底色下,镜面范围可达100%
- 大多数金属的反光性在60%-100%
- 确保对金属颜色值使用真实世界的测量值,并保证它们明亮
- 当金属为1时,镜面输入将被忽略
通过上面对PBR的了解,接下来让我们的门效果更加的逼真
标准网格材质与光照物理效果
将基础材质材质替换成标准网格材质
1
2
3
4
5
6
7
8
9
10
11
12
13
14
15
16
17
18
19
20
21
22
23
24
25
26
27
28
29
| const textureLoader = new THREE.TextureLoader()
const doorColorTexture = textureLoader.load("./textures/door/color.jpg")
const doorAplhaTexture = textureLoader.load("./textures/door/alpha.jpg")
const doorAoTexture = textureLoader.load("./textures/door/ambientOcclusion.jpg")
const cubeGeometry = new THREE.BoxGeometry(1, 1, 1);
const material = new THREE.MeshStandardMaterial({
color: "#ffff00",
map: doorColorTexture,
alphaMap: doorAplhaTexture,
transparent: true,
side: THREE.DoubleSide,
aoMap: doorAoTexture
})
const cube = new THREE.Mesh(cubeGeometry, material)
scene.add(cube)
cubeGeometry.setAttribute("uv2", new THREE.BufferAttribute(cubeGeometry.attributes.uv.array, 2))
const planeGeometry = new THREE.PlaneGeometry(1, 1)
const plane = new THREE.Mesh(planeGeometry, material)
plane.position.set(3, 0, 0)
scene.add(plane)
planeGeometry.setAttribute("uv2", new THREE.BufferAttribute(planeGeometry.attributes.uv.array, 2))
|
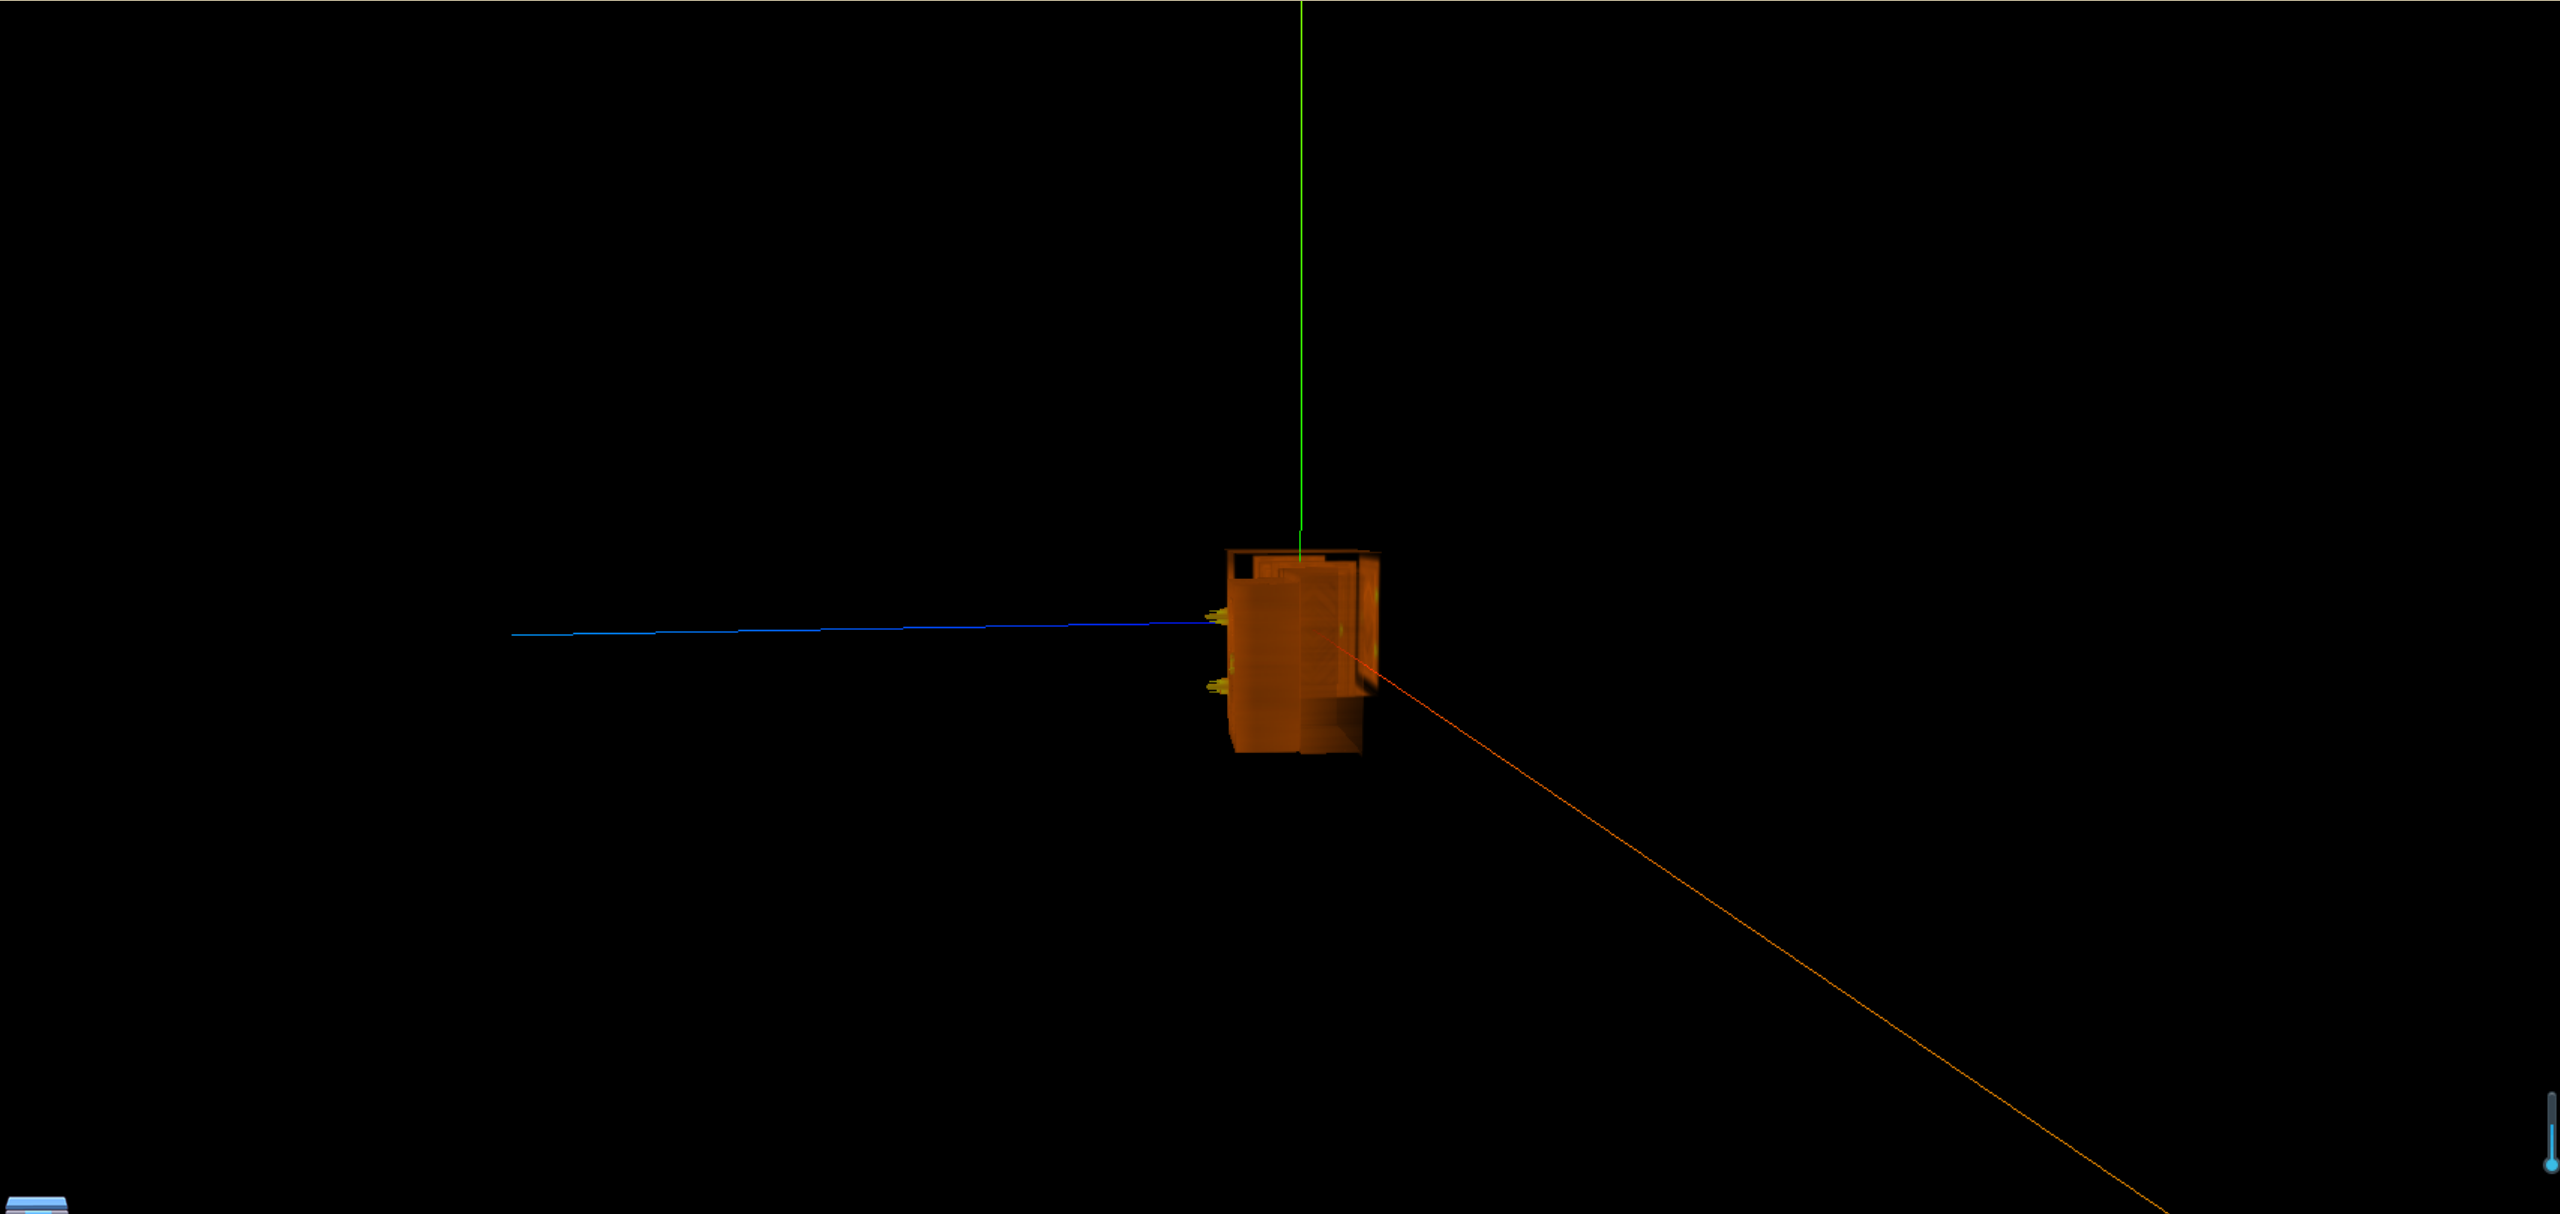
这时候我们可以看到我们的物体是黑的,这是因为我们没有添加光
添加环境光
1
2
3
|
const light = new THREE.AmbientLight(0xffffff, 0.5)
scene.add(light)
|
添加直线光
1
2
3
4
5
6
|
const directionalLight = new THREE.DirectionalLight(0xffffff, 1)
directionalLight.position.set(10, 10, 10)
scene.add(directionalLight)
|
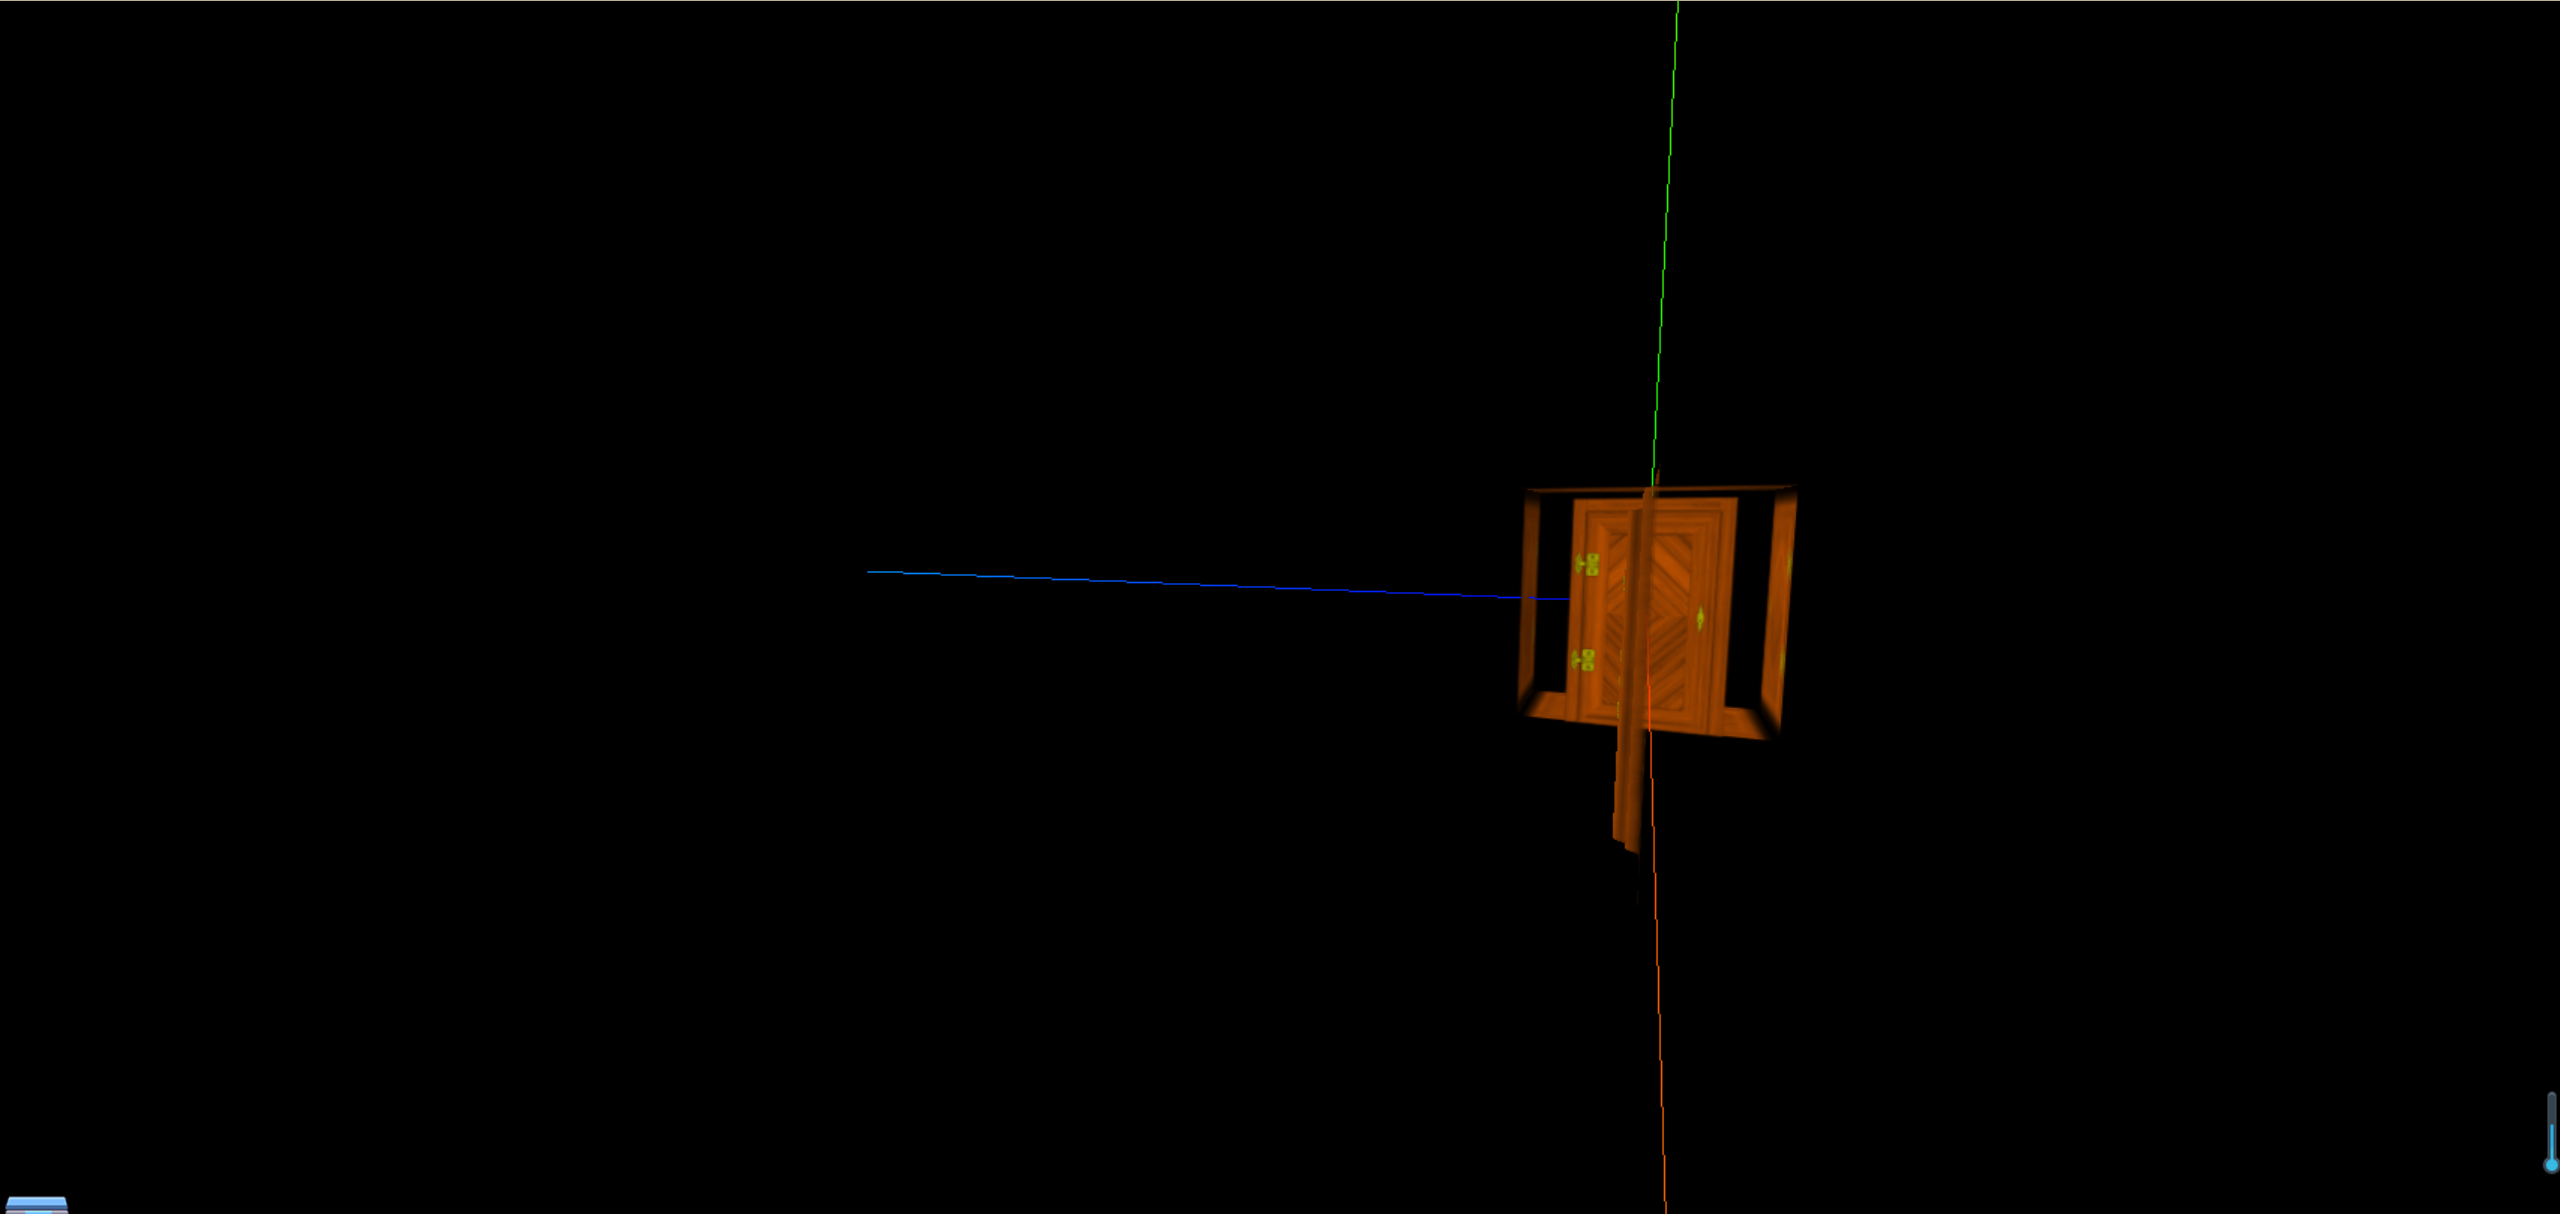
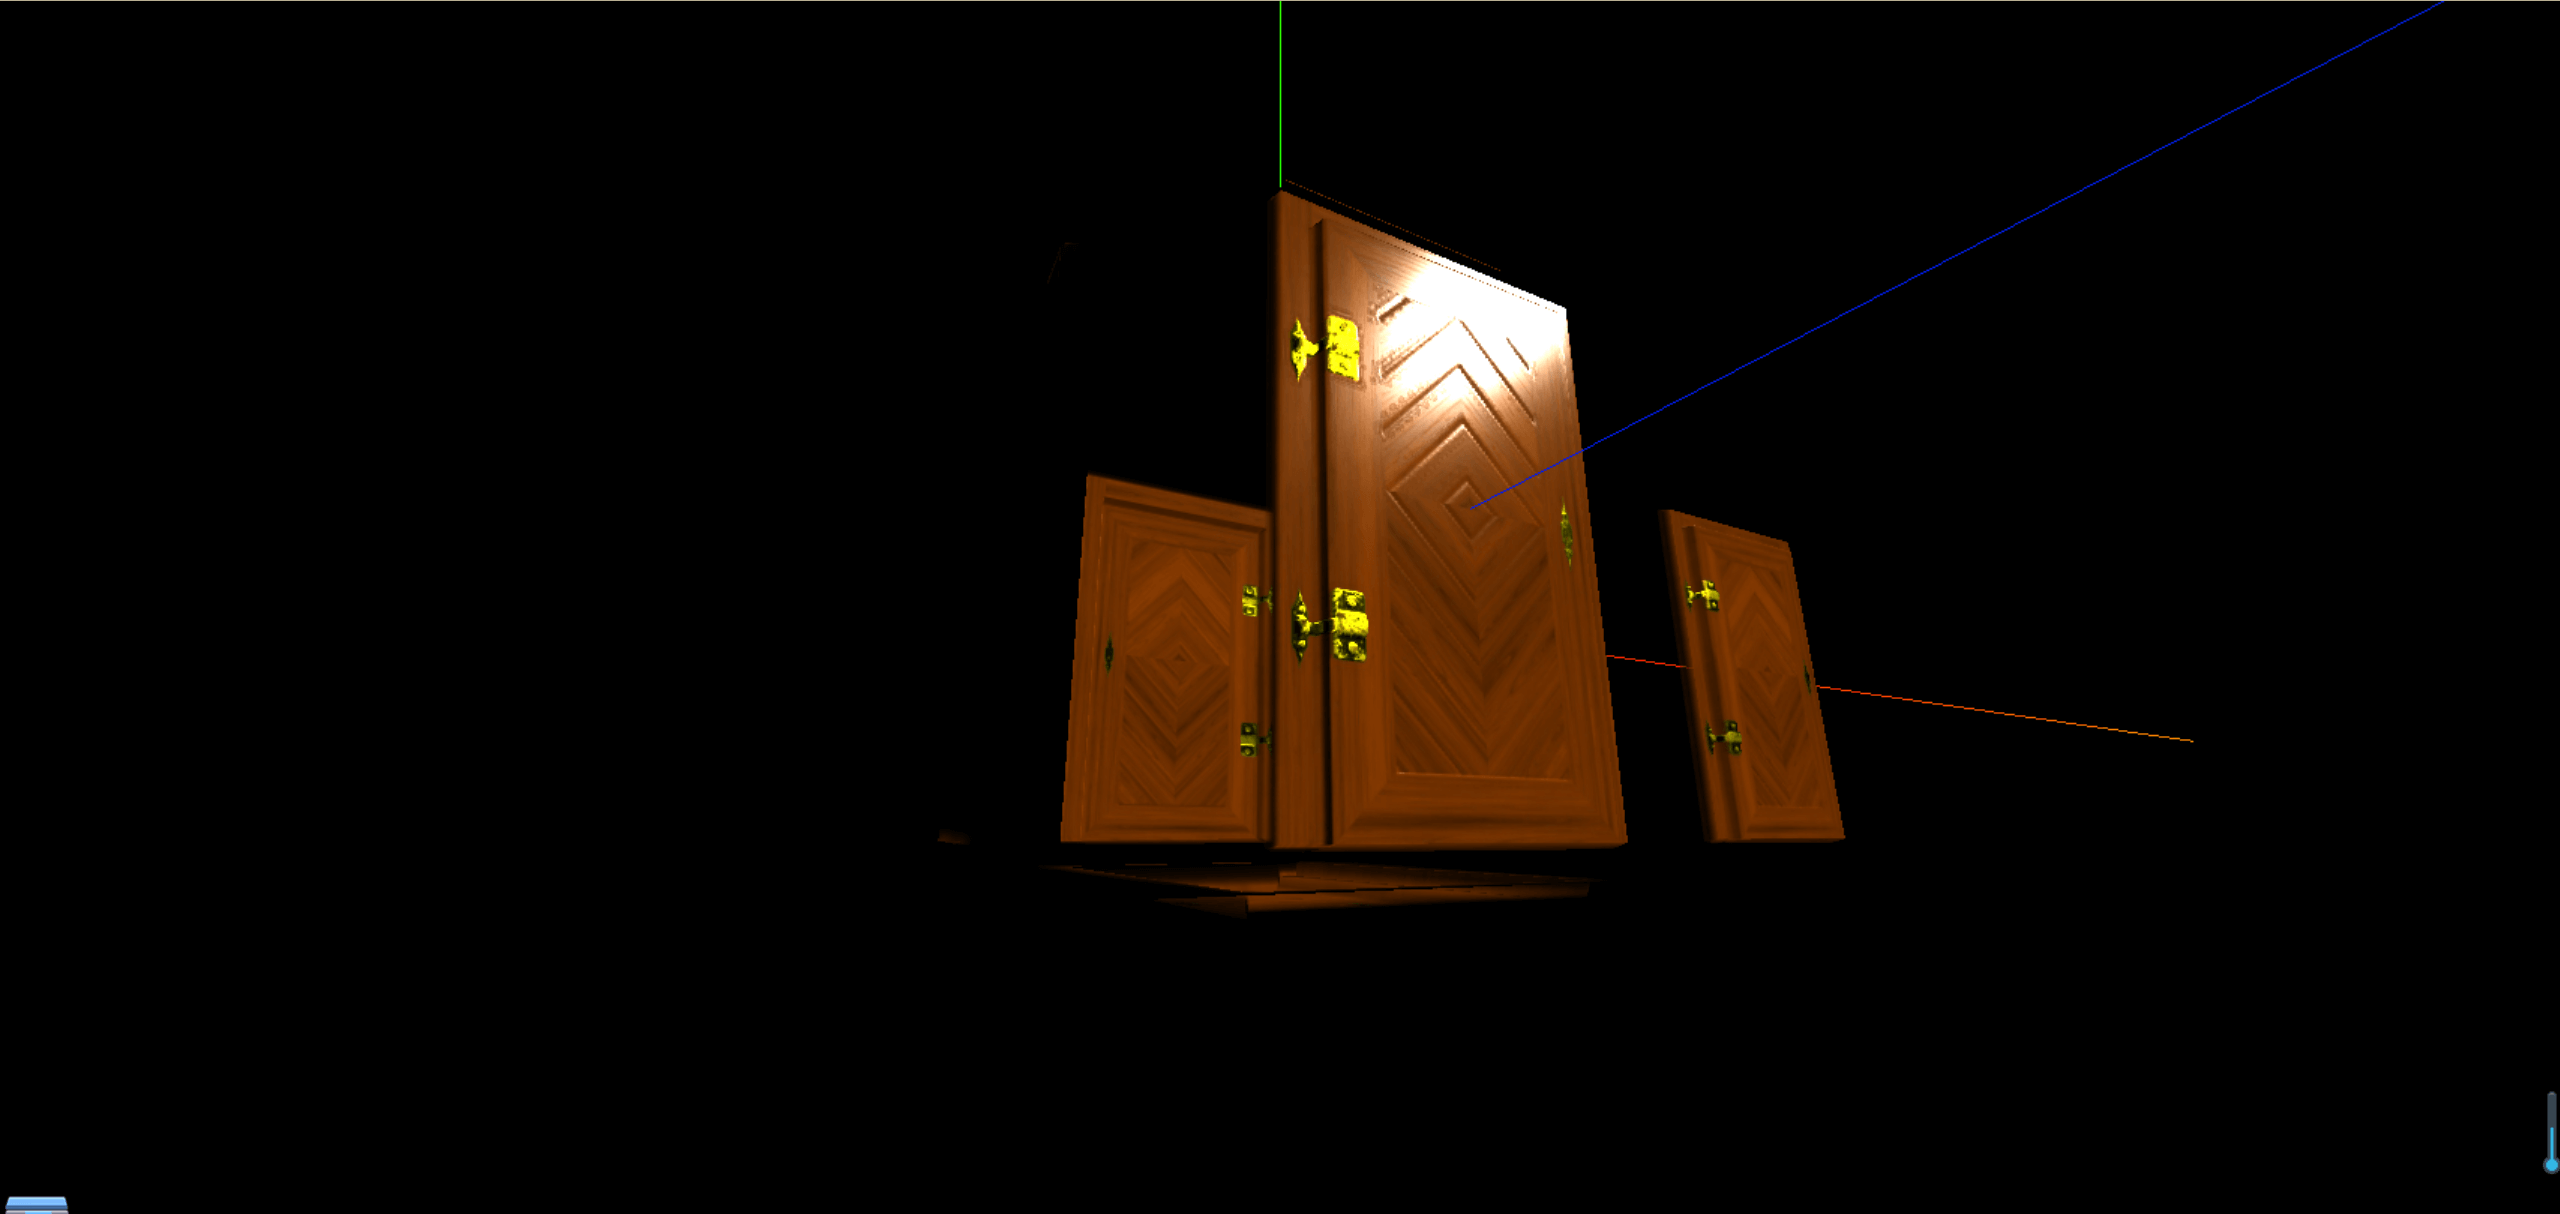
因为我们的光源在10,10,10这个三维坐标系中,所以我们的物体正面是可以看到效果,背面因为没有光,就导致看不到效果
置换贴图与顶点细分设置
目前,我们的门是以个平面,没有那种凹凸的感觉
接下来,我们要用置换贴图和顶点细分来实现让这个门有凹凸的感觉
首先,我们需要这样的一张贴图,颜色越白,突出越多
1
2
3
4
5
6
7
8
9
10
11
12
|
const doorHeightTexture = textureLoader.load("./textures/door/height.jpg")
const material = new THREE.MeshStandardMaterial({
color: "#ffff00",
map: doorColorTexture,
alphaMap: doorAplhaTexture,
transparent: true,
side: THREE.DoubleSide,
aoMap: doorAoTexture,
aoMapIntensity: 1,
displacementMap: doorHeightTexture,
})
|
我们发现,没有效果,这是因为我们的平面没有顶点,我们需要给平面添加顶点
1
2
|
const planeGeometry = new THREE.PlaneGeometry(1, 1, 200, 200)
|
这时候我们发现就非常的突起,凹凸感实在太强了,我们需要调整一下,需要在材质那边设置下突起的高度
1
2
3
4
5
6
7
8
9
10
11
| const material = new THREE.MeshStandardMaterial({
color: "#ffff00",
map: doorColorTexture,
alphaMap: doorAplhaTexture,
transparent: true,
side: THREE.DoubleSide,
aoMap: doorAoTexture,
aoMapIntensity: 1,
displacementMap: doorHeightTexture,
displacementScale: 0.1,
})
|
设置粗糙度和粗糙度贴图
当我们设置了直线光,并把粗糙度设置为0时,我们的平面就会非常的光滑
1
2
3
4
5
6
7
8
9
10
11
12
| const material = new THREE.MeshStandardMaterial({
color: "#ffff00",
map: doorColorTexture,
alphaMap: doorAplhaTexture,
transparent: true,
side: THREE.DoubleSide,
aoMap: doorAoTexture,
aoMapIntensity: 1,
displacementMap: doorHeightTexture,
displacementScale: 0.1,
roughness: 0,
})
|
当然我们也可以不整体设置,使用粗糙度贴图来设置不同部位的粗糙度
1
2
3
4
5
6
7
8
9
10
11
12
13
14
15
16
17
18
|
const roughnessTexture = textureLoader.load("./textures/door/roughness.jpg")
const material = new THREE.MeshStandardMaterial({
color: "#ffff00",
map: doorColorTexture,
alphaMap: doorAplhaTexture,
transparent: true,
side: THREE.DoubleSide,
aoMap: doorAoTexture,
aoMapIntensity: 1,
displacementMap: doorHeightTexture,
displacementScale: 0.1,
roughness: 1,
roughnessMap: roughnessTexture
})
|
设置金属度和金属度贴图
将金属度设置为1时,就非常的像一个金属一样
1
2
3
4
5
6
7
8
9
10
11
12
13
14
| const material = new THREE.MeshStandardMaterial({
color: "#ffff00",
map: doorColorTexture,
alphaMap: doorAplhaTexture,
transparent: true,
side: THREE.DoubleSide,
aoMap: doorAoTexture,
aoMapIntensity: 1,
displacementMap: doorHeightTexture,
displacementScale: 0.1,
roughness: 1,
roughnessMap: roughnessTexture,
metalness:1,
})
|
当然,我们也可以根据不同的部位来设置不同的金属度,这时候就需要金属贴图
1
2
3
4
5
6
7
8
9
10
11
12
13
14
15
16
17
|
const metalnessTexture = textureLoader.load("./textures/door/metalness.jpg")
const material = new THREE.MeshStandardMaterial({
color: "#ffff00",
map: doorColorTexture,
alphaMap: doorAplhaTexture,
transparent: true,
side: THREE.DoubleSide,
aoMap: doorAoTexture,
aoMapIntensity: 1,
displacementMap: doorHeightTexture,
displacementScale: 0.1,
roughness: 1,
roughnessMap: roughnessTexture,
metalness: 1,
metalnessMap: metalnessTexture,
})
|
可以很明显看到金属和木门反射的区别
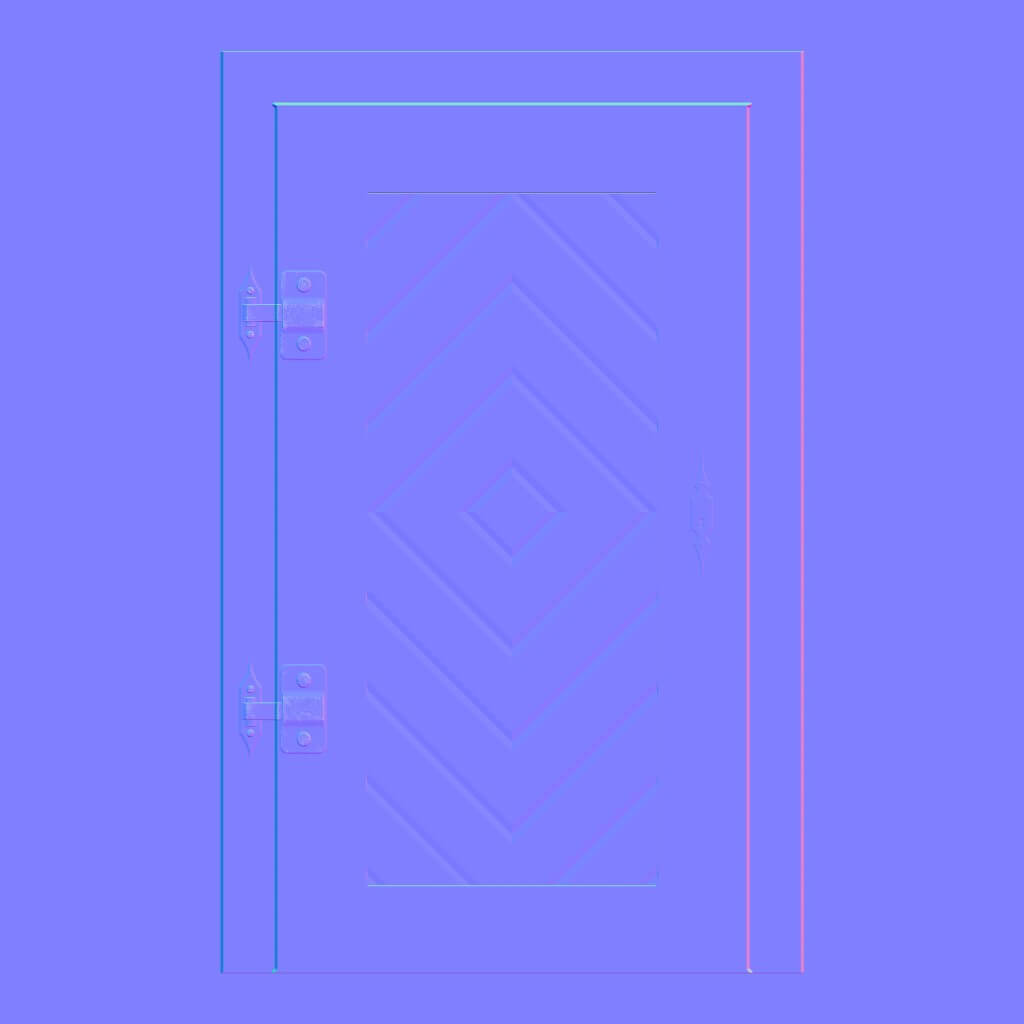
法线贴图
如果我们想要不同的部位反光的时候有区别,这时候就需要用到法线贴图
1
2
3
4
5
6
7
8
9
10
11
12
13
14
15
16
17
18
|
const normalTexture = textureLoader.load("./textures/door/normal.jpg")
const material = new THREE.MeshStandardMaterial({
color: "#ffff00",
map: doorColorTexture,
alphaMap: doorAplhaTexture,
transparent: true,
side: THREE.DoubleSide,
aoMap: doorAoTexture,
aoMapIntensity: 1,
displacementMap: doorHeightTexture,
displacementScale: 0.1,
roughness: 0,
roughnessMap: roughnessTexture,
metalness: 1,
metalnessMap: metalnessTexture,
normalMap: normalTexture,
})
|
如何获取各种类型纹理贴图
常用网站https://www.poliigon.com/
Bridge软件https://quixel.com/
纹理加载进度情况
我们仅仅这一个物体就是用了那么多的纹理贴图,那么如果我们需要一个更多的物体,必然会需要比较长的加载时间,因此我们需要纹理加载进度情况
1
2
3
4
5
6
7
8
9
10
11
12
13
14
|
const event={
}
event.onLoad=()=> {
console.log("图片加载完成")
}
event.onProgress=(e)=> {
console.log("图片加载进度",e.loaded/e.total)
}
event.onError=(e)=> {
console.log("图片加载失败",e)
}
const doorColorTexture = textureLoader.load("./textures/door/color.jpg",event.onLoad,event.onProgress,event.onError)
|
如果是多张图片记录的话就需要使用的加载管理器了
1
2
3
4
5
6
7
8
9
10
11
12
13
14
15
16
17
18
19
20
21
22
23
24
25
26
27
28
29
|
const event={
}
let event = {};
event.onLoad = function () {
console.log("图片加载完成");
};
event.onProgress = function (url, num, total) {
console.log("图片加载完成:", url);
console.log("图片加载进度:", num);
console.log("图片总数:", total);
let value = ((num / total) * 100).toFixed(2) + "%";
console.log("加载进度的百分比:", value);
div.innerHTML = value;
};
event.onError = function (e) {
console.log("图片加载出现错误");
console.log(e);
};
const loadingManager = new THREE.LoadingManager(
event.onLoad,
event.onProgress,
event.onError
);
const textureLoader = new THREE.TextureLoader(loadingManager);
|
环境贴图
接下来要实现下面这样的效果,将图片贴上去,然后小球映射环境
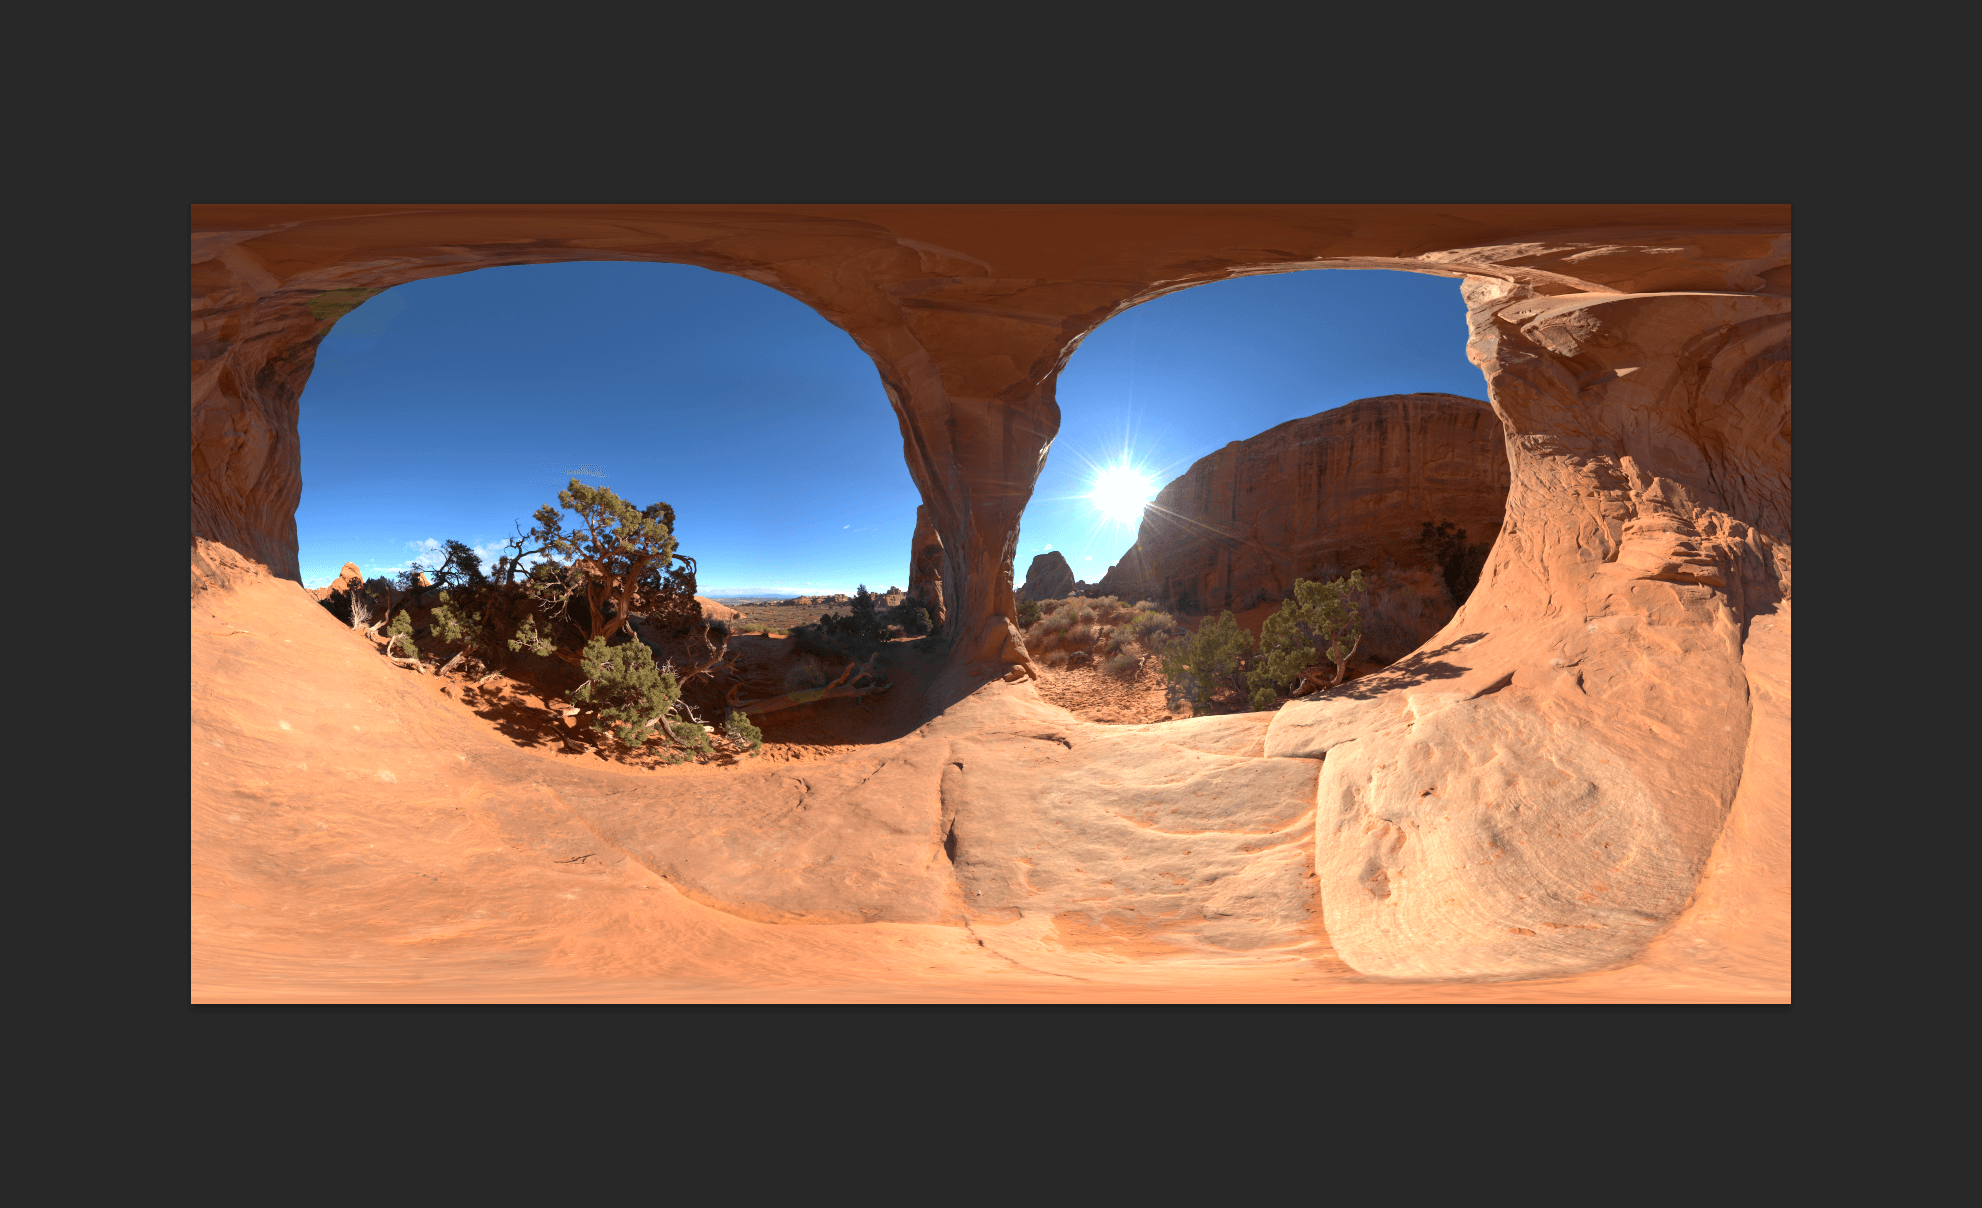
第一种,使用一张完整的贴图,使用RGBELoader加载HDR格式(高亮度明显曝光)的图片
由于hdr图片放不上博客,我就截图了一下
1
2
3
4
5
6
7
8
9
10
11
12
13
14
15
16
17
18
19
20
21
22
23
24
25
26
27
28
29
30
31
32
33
34
35
36
37
38
39
40
41
42
43
44
45
46
47
48
49
50
51
52
53
54
55
56
57
58
59
60
61
62
63
64
65
66
67
68
69
70
71
72
73
74
75
76
77
78
79
80
81
82
83
84
85
86
87
88
89
90
91
92
93
94
| import * as THREE from "three";
import { OrbitControls } from "three/examples/jsm/controls/OrbitControls";
import { RGBELoader } from "three/examples/jsm/loaders/RGBELoader";
const rgbeLoader = new RGBELoader();
rgbeLoader.loadAsync("textures/hdr/002.hdr").then((texture) => {
texture.mapping = THREE.EquirectangularReflectionMapping;
scene.background = texture;
scene.environment = texture;
});
const scene = new THREE.Scene();
const camera = new THREE.PerspectiveCamera(
75,
window.innerWidth / window.innerHeight,
0.1,
1000
);
camera.position.set(0, 0, 10);
scene.add(camera);
const sphereGeometry = new THREE.SphereBufferGeometry(1, 20, 20);
const material = new THREE.MeshStandardMaterial({
metalness: 0.7,
roughness: 0.1,
});
const sphere = new THREE.Mesh(sphereGeometry, material);
scene.add(sphere);
const light = new THREE.AmbientLight(0xffffff, 0.5);
scene.add(light);
const directionalLight = new THREE.DirectionalLight(0xffffff, 0.5);
directionalLight.position.set(10, 10, 10);
scene.add(directionalLight);
const renderer = new THREE.WebGLRenderer();
renderer.setSize(window.innerWidth, window.innerHeight);
document.body.appendChild(renderer.domElement);
const controls = new OrbitControls(camera, renderer.domElement);
controls.enableDamping = true;
const axesHelper = new THREE.AxesHelper(5);
scene.add(axesHelper);
const clock = new THREE.Clock();
function render() {
controls.update();
renderer.render(scene, camera);
requestAnimationFrame(render);
}
render();
window.addEventListener("resize", () => {
camera.aspect = window.innerWidth / window.innerHeight;
camera.updateProjectionMatrix();
renderer.setSize(window.innerWidth, window.innerHeight);
renderer.setPixelRatio(window.devicePixelRatio);
});
|
第二种,使用六张图片拼接成一张图片,使用CubeTextureLoader加载,分别对应了正负方向的xyz轴
使用到的6张图片(p代表正方向,n代表负方向)


1
2
3
4
5
6
7
8
9
10
11
12
13
14
15
16
17
18
19
20
21
22
23
24
25
26
27
28
29
30
31
32
33
34
35
36
37
38
39
40
41
42
43
44
45
46
47
48
49
50
51
52
53
54
55
56
57
58
59
60
61
62
63
64
65
66
67
68
69
70
71
72
73
74
75
76
77
78
79
80
81
82
83
84
85
86
87
88
89
90
91
92
93
94
95
96
97
| import * as THREE from "three";
import { OrbitControls } from "three/examples/jsm/controls/OrbitControls";
const scene = new THREE.Scene();
const camera = new THREE.PerspectiveCamera(
75,
window.innerWidth / window.innerHeight,
0.1,
1000
);
camera.position.set(0, 0, 10);
scene.add(camera);
const cubeTextureLoader = new THREE.CubeTextureLoader();
const envMapTexture = cubeTextureLoader.load([
"textures/environmentMaps/1/px.jpg",
"textures/environmentMaps/1/nx.jpg",
"textures/environmentMaps/1/py.jpg",
"textures/environmentMaps/1/ny.jpg",
"textures/environmentMaps/1/pz.jpg",
"textures/environmentMaps/1/nz.jpg",
]);
const sphereGeometry = new THREE.SphereBufferGeometry(1, 20, 20);
const material = new THREE.MeshStandardMaterial({
metalness: 0.7,
roughness: 0.1,
});
const sphere = new THREE.Mesh(sphereGeometry, material);
scene.add(sphere);
scene.background = envMapTexture;
scene.environment = envMapTexture;
const light = new THREE.AmbientLight(0xffffff, 0.5);
scene.add(light);
const directionalLight = new THREE.DirectionalLight(0xffffff, 0.5);
directionalLight.position.set(10, 10, 10);
scene.add(directionalLight);
const renderer = new THREE.WebGLRenderer();
renderer.setSize(window.innerWidth, window.innerHeight);
document.body.appendChild(renderer.domElement);
const controls = new OrbitControls(camera, renderer.domElement);
controls.enableDamping = true;
const axesHelper = new THREE.AxesHelper(5);
scene.add(axesHelper);
const clock = new THREE.Clock();
function render() {
controls.update();
renderer.render(scene, camera);
requestAnimationFrame(render);
}
render();
window.addEventListener("resize", () => {
camera.aspect = window.innerWidth / window.innerHeight;
camera.updateProjectionMatrix();
renderer.setSize(window.innerWidth, window.innerHeight);
renderer.setPixelRatio(window.devicePixelRatio);
});
|
清除物体_几何体_材质_纹理保证性能和内存不泄漏
在调用render的时候,清除
1
2
3
4
5
6
7
8
|
scene.remove(sphere);
sphereGeometry.dispose();
sphereMaterial.dispose();
sphereTexture.dispose();
|
```