【可视化学习】08-Three.js粒子特效
发表于:2023-05-22 |

初识Points与点材质

讲点之前,我们先讲一下线材质,因为线是有点构成的
效果图大概如下
效果图
代码基本和之前的没有任何区别,唯一的区别就是开启线,在创建材质这块加上代码

1
wireframe: true,

全部代码如下
1
2
3
4
5
6
7
8
9
10
11
12
13
14
15
16
17
18
19
20
21
22
23
24
25
26
27
28
29
30
31
32
33
34
35
36
37
38
39
40
41
42
43
44
45
46
47
48
49
50
51
52
53
54
55
56
57
58
59
60
61
62
63
64
65
66
67
68
69
70
71
72
import * as THREE from "three";
// 导入轨道控制器
import { OrbitControls } from "three/examples/jsm/controls/OrbitControls";
// 导入dat.gui
import * as dat from "dat.gui";

// 1、创建场景
const scene = new THREE.Scene();

// 2、创建相机
const camera = new THREE.PerspectiveCamera(
75,
window.innerWidth / window.innerHeight,
0.1,
1000
);

// 设置相机位置
camera.position.set(0, 0, 10);
scene.add(camera);

// 创建球几何体
const sphereGeometry = new THREE.SphereBufferGeometry(3, 30, 30);
const material = new THREE.MeshBasicMaterial({
color: 0xff0000,
wireframe: true,
});
const mesh = new THREE.Mesh(sphereGeometry, material);
scene.add(mesh);
// 初始化渲染器
const renderer = new THREE.WebGLRenderer();
// 设置渲染的尺寸大小
renderer.setSize(window.innerWidth, window.innerHeight);
// 开启场景中的阴影贴图
renderer.shadowMap.enabled = true;
renderer.physicallyCorrectLights = true;

// 将webgl渲染的canvas内容添加到body
document.body.appendChild(renderer.domElement);

// 创建轨道控制器
const controls = new OrbitControls(camera, renderer.domElement);
// 设置控制器阻尼,让控制器更有真实效果,必须在动画循环里调用.update()。
controls.enableDamping = true;

// 添加坐标轴辅助器
const axesHelper = new THREE.AxesHelper(5);
scene.add(axesHelper);

function render() {
controls.update();
renderer.render(scene, camera);
// 渲染下一帧的时候就会调用render函数
requestAnimationFrame(render);
}

render();

// 监听画面变化,更新渲染画面
window.addEventListener("resize", () => {
// console.log("画面变化了");
// 更新摄像头
camera.aspect = window.innerWidth / window.innerHeight;
// 更新摄像机的投影矩阵
camera.updateProjectionMatrix();

// 更新渲染器
renderer.setSize(window.innerWidth, window.innerHeight);
// 设置渲染器的像素比
renderer.setPixelRatio(window.devicePixelRatio);
});

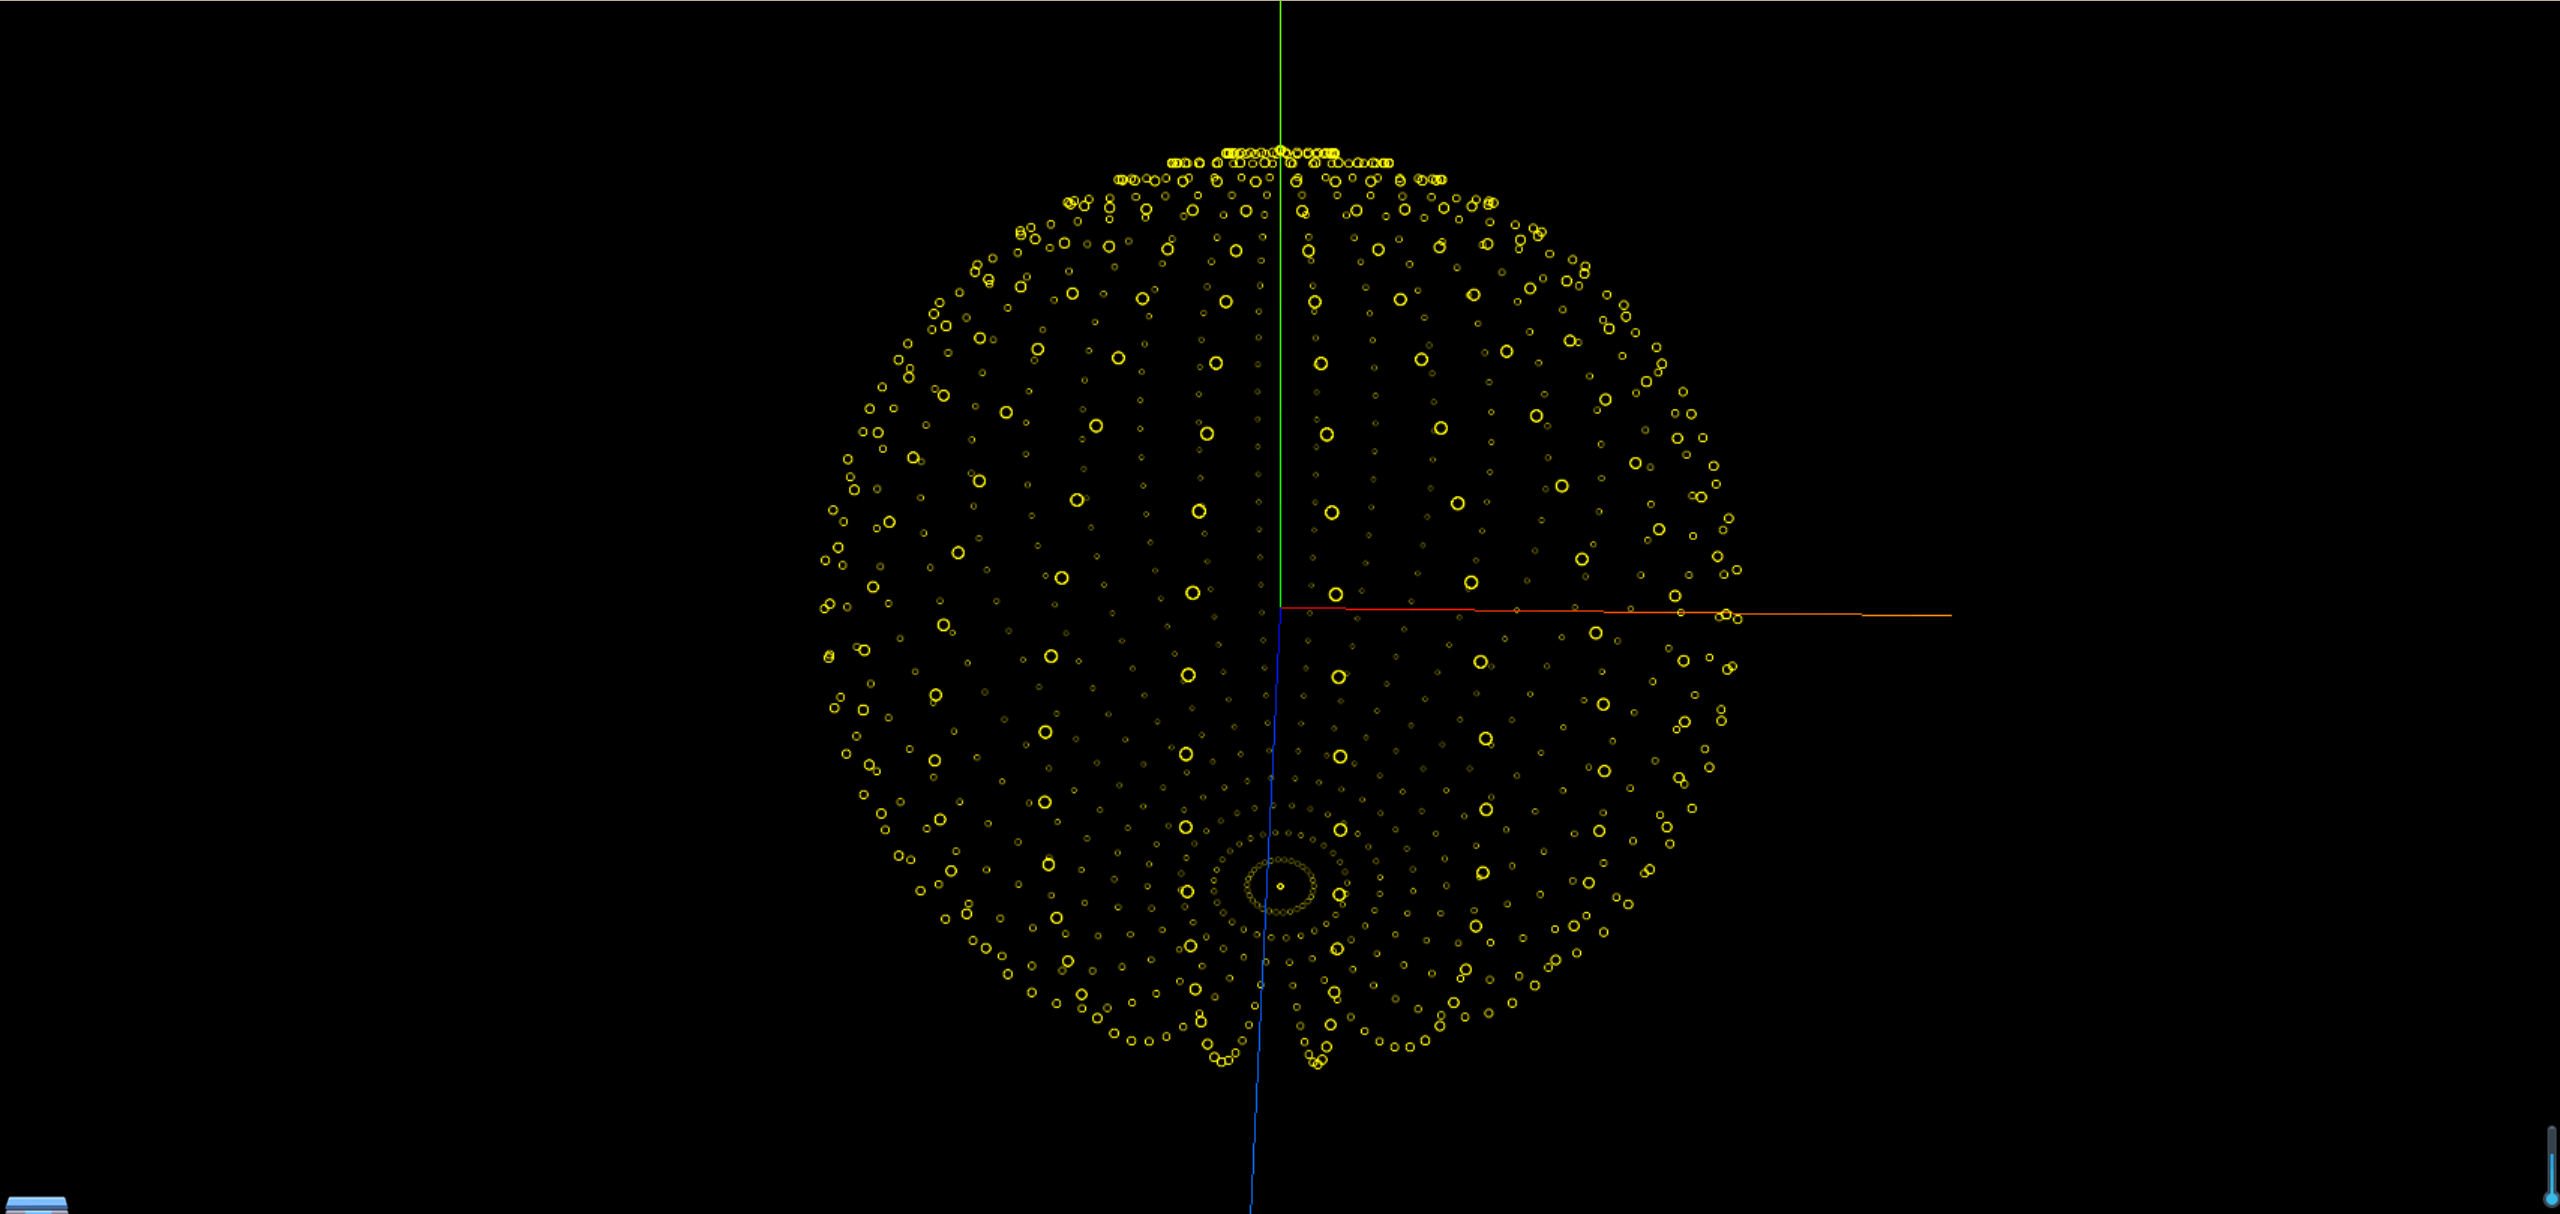
接下来我们讲解点的使用,效果图如下
效果图
基础代码就不再阐述了,就是讲一下怎么创建点材质
把上面的代码材质部分去掉,换成以下代码,每一个点,我们也可以使用自己的图片
使用的点贴图
点贴图

1
2
3
4
5
6
7
8
9
10
11
12
13
14
15
16
17
18
19
20
21
22
23
24
25
// 设置点材质
const pointsMaterial = new THREE.PointsMaterial();
pointsMaterial.size = 0.1;
pointsMaterial.color.set(0xfff000);
// 相机深度而衰减
pointsMaterial.sizeAttenuation = true;

// 载入纹理
const textureLoader = new THREE.TextureLoader();
const texture = textureLoader.load("./textures/particles/2.png");
// 设置点材质纹理
// 设置材质
pointsMaterial.map = texture;
// 设置透明材质,根据灰度值来决定透明度(以免黑色的部分遮挡住)
pointsMaterial.alphaMap = texture;
// 开启透明度
pointsMaterial.transparent = true;
// 开启后,后面的点能够显示在前面的点上面
pointsMaterial.depthWrite = false;
// 设置混合模式,有多种模式,可以查看文档,当前设置是累加模式
pointsMaterial.blending = THREE.AdditiveBlending;

const points = new THREE.Points(sphereGeometry, pointsMaterial);

scene.add(points);

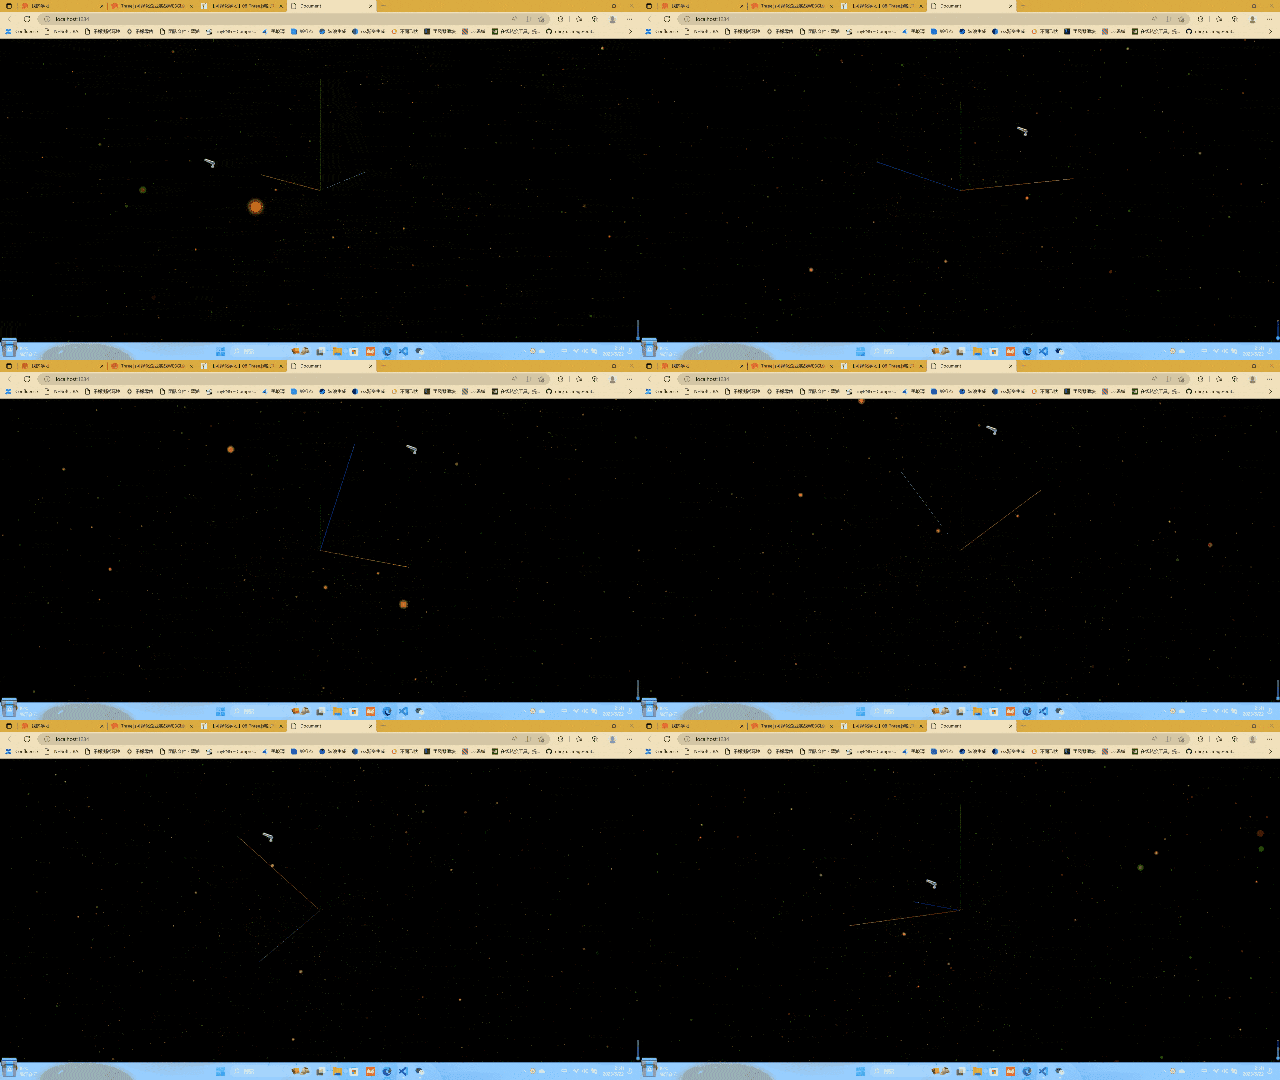
生成随机例子,仿星河效果

效果图如下
效果图
基础代码不贴了

1
2
3
4
5
6
7
8
9
10
11
12
13
14
15
16
17
18
19
20
21
22
23
24
25
26
27
28
29
30
31
32
33
34
35
36
37
// 设置缓冲区数组
const positions = new Float32Array(count * 3);
// 设置粒子顶点颜色
const colors = new Float32Array(count * 3);
// 设置顶点
for (let i = 0; i < count * 3; i++) {
// -50-50之间的随机数
positions[i] = (Math.random() - 0.5) * 100;
colors[i] = Math.random();
}
particlesGeometry.setAttribute(
"position",
new THREE.BufferAttribute(positions, 3)
);
particlesGeometry.setAttribute("color", new THREE.BufferAttribute(colors, 3));
// 设置点材质
const pointsMaterial = new THREE.PointsMaterial();
pointsMaterial.size = 0.5;
pointsMaterial.color.set(0xfff000);
// 相机深度而衰减
pointsMaterial.sizeAttenuation = true;

// 载入纹理
const textureLoader = new THREE.TextureLoader();
const texture = textureLoader.load("./textures/particles/1.png");
// 设置点材质纹理
pointsMaterial.map = texture;
pointsMaterial.alphaMap = texture;
pointsMaterial.transparent = true;
pointsMaterial.depthWrite = false;
pointsMaterial.blending = THREE.AdditiveBlending;
// 设置启动顶点颜色
pointsMaterial.vertexColors = true;

const points = new THREE.Points(particlesGeometry, pointsMaterial);

scene.add(points);

素材网站

素材网站
也可以通过阿里巴巴icon查找
爱给网

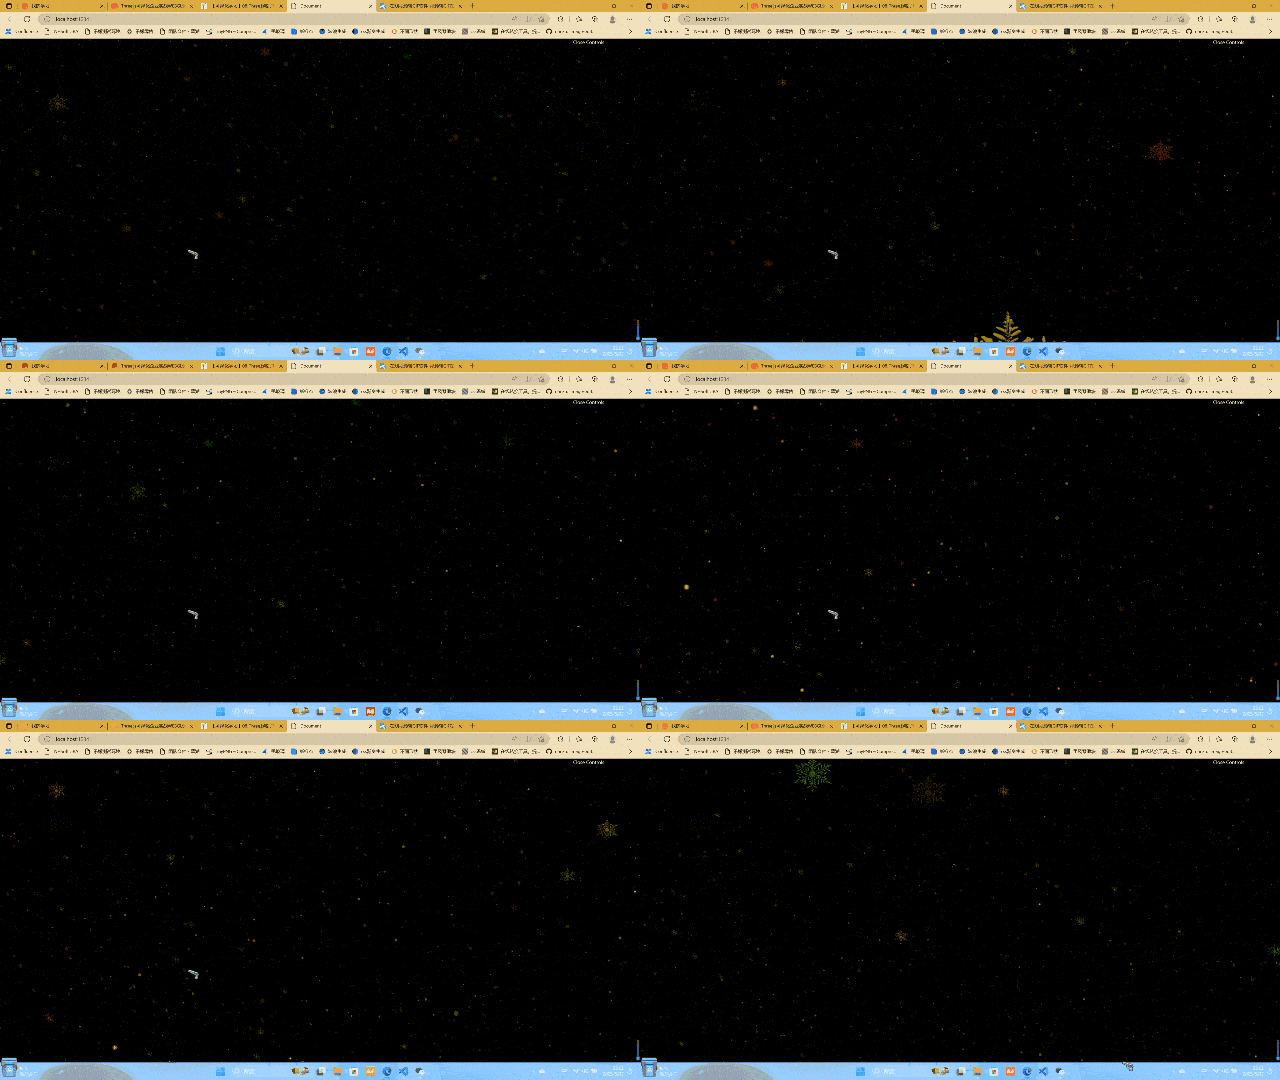
营造雪花氛围

效果图

1
2
3
4
5
6
7
8
9
10
11
12
13
14
15
16
17
18
19
20
21
22
23
24
25
26
27
28
29
30
31
32
33
34
35
36
37
38
39
40
41
42
43
44
45
46
47
48
49
50
51
52
53
54
55
56
57
58
59
60
61
62
63
64
65
66
67
68
69
70
71
72
73
74
75
76
77
78
79
80
81
82
83
84
85
86
87
88
89
90
91
92
93
94
95
96
97
98
99
100
101
102
103
104
105
106
107
108
109
110
111
112
113
114
115
116
117
118
119
120
121
122
import * as THREE from "three";
// 导入轨道控制器
import { OrbitControls } from "three/examples/jsm/controls/OrbitControls";

// 1、创建场景
const scene = new THREE.Scene();

// 2、创建相机
const camera = new THREE.PerspectiveCamera(
75,
window.innerWidth / window.innerHeight,
0.1,
30
);

// 设置相机位置
camera.position.set(0, 0, 40);
scene.add(camera);

// 封装创建点的方法
function createPoints(url, size = 0.5) {
const particlesGeometry = new THREE.BufferGeometry();
const count = 10000;

// 设置缓冲区数组
const positions = new Float32Array(count * 3);
// 设置粒子顶点颜色
const colors = new Float32Array(count * 3);
// 设置顶点
for (let i = 0; i < count * 3; i++) {
positions[i] = (Math.random() - 0.5) * 100;
colors[i] = Math.random();
}
particlesGeometry.setAttribute(
"position",
new THREE.BufferAttribute(positions, 3)
);
particlesGeometry.setAttribute("color", new THREE.BufferAttribute(colors, 3));

// 设置点材质
const pointsMaterial = new THREE.PointsMaterial();
pointsMaterial.size = 0.5;
pointsMaterial.color.set(0xfff000);
// 相机深度而衰减
pointsMaterial.sizeAttenuation = true;

// 载入纹理
const textureLoader = new THREE.TextureLoader();
const texture = textureLoader.load(`./textures/particles/${url}.png`);
// 设置点材质纹理
pointsMaterial.map = texture;
pointsMaterial.alphaMap = texture;
pointsMaterial.transparent = true;
pointsMaterial.depthWrite = false;
pointsMaterial.blending = THREE.AdditiveBlending;
// 设置启动顶点颜色
pointsMaterial.vertexColors = true;

const points = new THREE.Points(particlesGeometry, pointsMaterial);

scene.add(points);
return points;
}

// 创建雪花点
const points = createPoints("1", 1.5);
const points2 = createPoints("xh", 1);
const points3 = createPoints("xh", 2);

// 初始化渲染器
const renderer = new THREE.WebGLRenderer();
// 设置渲染的尺寸大小
renderer.setSize(window.innerWidth, window.innerHeight);
// 开启场景中的阴影贴图
renderer.shadowMap.enabled = true;
renderer.physicallyCorrectLights = true;

// 将webgl渲染的canvas内容添加到body
document.body.appendChild(renderer.domElement);

// 创建轨道控制器
const controls = new OrbitControls(camera, renderer.domElement);
// 设置控制器阻尼,让控制器更有真实效果,必须在动画循环里调用.update()。
controls.enableDamping = true;

// 添加坐标轴辅助器
const axesHelper = new THREE.AxesHelper(5);
scene.add(axesHelper);
// 设置时钟
const clock = new THREE.Clock();

function render() {
let time = clock.getElapsedTime();
// 旋转雪花点
points.rotation.x = time * 0.3;
points2.rotation.x = time * 0.5;
points2.rotation.y = time * 0.4;
points3.rotation.x = time * 0.2;
points3.rotation.y = time * 0.2;
controls.update();
renderer.render(scene, camera);
// 渲染下一帧的时候就会调用render函数
requestAnimationFrame(render);
}

render();

// 监听画面变化,更新渲染画面
window.addEventListener("resize", () => {
// console.log("画面变化了");

// 更新摄像头
camera.aspect = window.innerWidth / window.innerHeight;
// 更新摄像机的投影矩阵
camera.updateProjectionMatrix();

// 更新渲染器
renderer.setSize(window.innerWidth, window.innerHeight);
// 设置渲染器的像素比
renderer.setPixelRatio(window.devicePixelRatio);
});

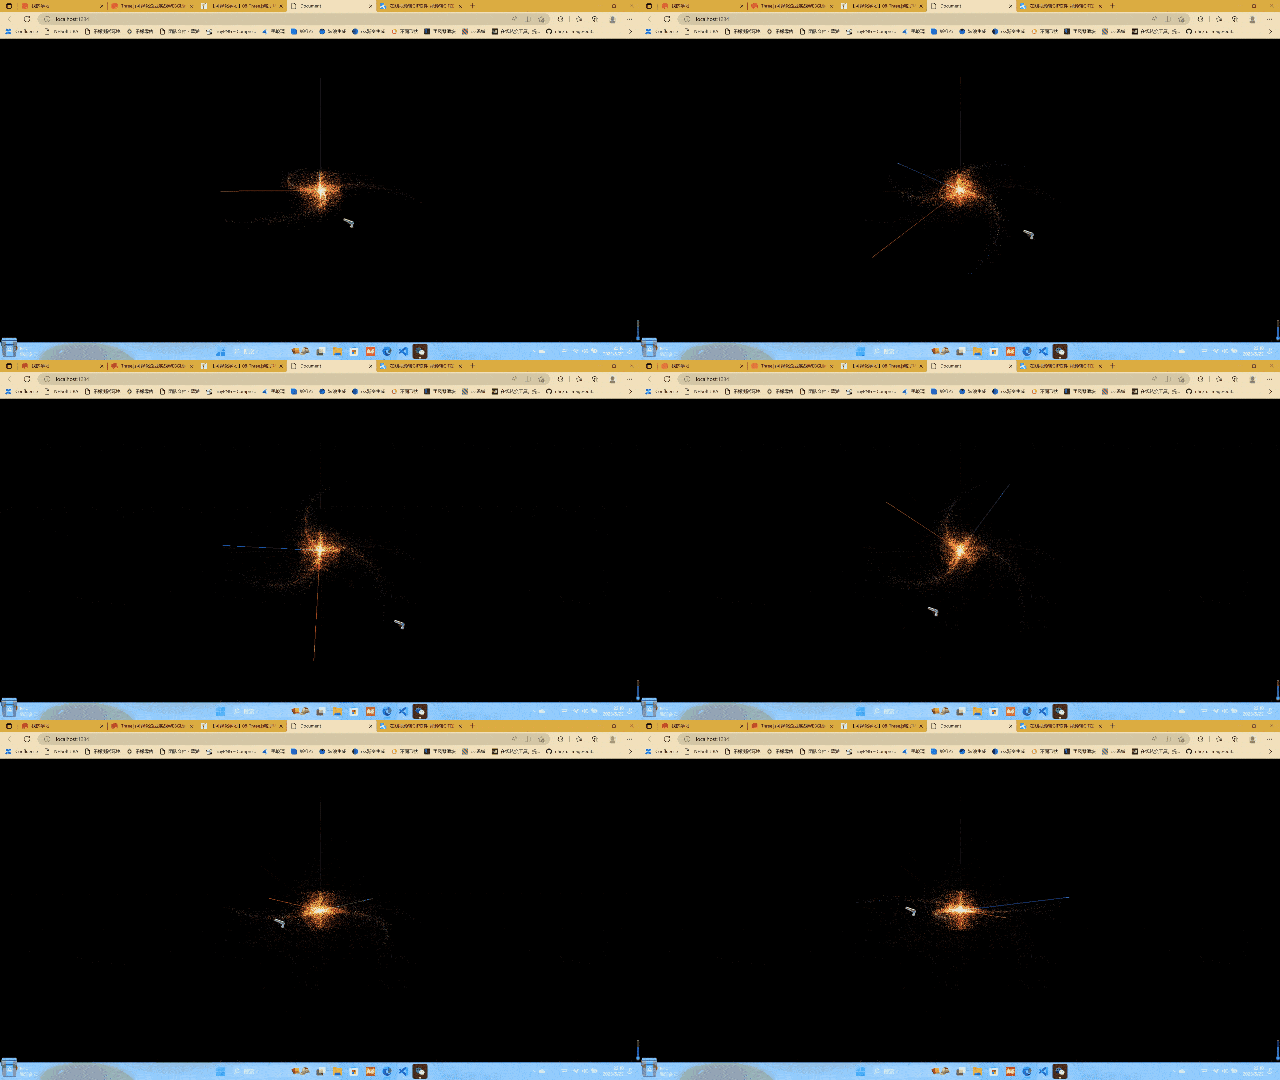
利用数学知识打造星系

效果图

1
2
3
4
5
6
7
8
9
10
11
12
13
14
15
16
17
18
19
20
21
22
23
24
25
26
27
28
29
30
31
32
33
34
35
36
37
38
39
40
41
42
43
44
45
46
47
48
49
50
51
52
53
54
55
56
57
58
59
60
61
62
63
64
65
66
67
68
69
70
71
72
73
74
75
76
77
78
79
80
81
82
83
84
85
86
87
88
89
90
91
92
93
94
95
96
97
98
99
100
101
102
103
104
105
106
107
108
109
110
111
112
113
114
115
116
117
118
119
120
121
122
123
124
125
126
127
128
129
130
131
132
133
134
135
136
137
138
139
140
141
142
143
144
145
146
147
148
149
150
151
import * as THREE from "three";
// 导入轨道控制器
import { OrbitControls } from "three/examples/jsm/controls/OrbitControls";
// 1、创建场景
const scene = new THREE.Scene();

// 2、创建相机
const camera = new THREE.PerspectiveCamera(
75,
window.innerWidth / window.innerHeight,
0.1,
30
);

// 导入点贴图
const textureLoader = new THREE.TextureLoader();
const particlesTexture = textureLoader.load("./textures/particles/1.png");
// 设置相机位置
camera.position.set(0, 0, 10);
scene.add(camera);

const params = {
count: 10000,
size: 0.1,
radius: 5,
branch: 3,
color: "#ff6030",
rotateScale: 0.3,
endColor: "#1b3984",
};

let geometry = null;
let material = null;
let points = null;
const centerColor = new THREE.Color(params.color);
const endColor = new THREE.Color(params.endColor);
const generateGalaxy = () => {
// 生成顶点
geometry = new THREE.BufferGeometry();
// 随机生成位置和
const positions = new Float32Array(params.count * 3);
// 设置顶点颜色
const colors = new Float32Array(params.count * 3);

// 循环生成点
for (let i = 0; i < params.count; i++) {
// 当前的点应该在哪一条分支的角度上
const branchAngel = (i % params.branch) * ((2 * Math.PI) / params.branch);

// 当前点距离圆心的距离
const distance = Math.random() * params.radius * Math.pow(Math.random(), 3);
const current = i * 3;

const randomX =
(Math.pow(Math.random() * 2 - 1, 3) * (params.radius - distance)) / 5;
const randomY =
(Math.pow(Math.random() * 2 - 1, 3) * (params.radius - distance)) / 5;
const randomZ =
(Math.pow(Math.random() * 2 - 1, 3) * (params.radius - distance)) / 5;

// const randomX = (Math.pow(Math.random() * 2 - 1, 3) * distance) / 5;
// const randomY = (Math.pow(Math.random() * 2 - 1, 3) * distance) / 5;
// const randomZ = (Math.pow(Math.random() * 2 - 1, 3) * distance) / 5;

positions[current] =
Math.cos(branchAngel + distance * params.rotateScale) * distance +
randomX;
positions[current + 1] = 0 + randomY;
positions[current + 2] =
Math.sin(branchAngel + distance * params.rotateScale) * distance +
randomZ;

// 混合颜色,形成渐变色
const mixColor = centerColor.clone();
mixColor.lerp(endColor, distance / params.radius);

colors[current] = mixColor.r;
colors[current + 1] = mixColor.g;
colors[current + 2] = mixColor.b;
}

geometry.setAttribute("position", new THREE.BufferAttribute(positions, 3));
geometry.setAttribute("color", new THREE.BufferAttribute(colors, 3));

// 设置点材质
material = new THREE.PointsMaterial({
// color: new THREE.Color(params.color),
size: params.size,
sizeAttenuation: true,
depthWrite: false,
blending: THREE.AdditiveBlending,
map: particlesTexture,
alphaMap: particlesTexture,
transparent: true,
vertexColors: true,
});

points = new THREE.Points(geometry, material);
scene.add(points);
};
generateGalaxy();

// 初始化渲染器
const renderer = new THREE.WebGLRenderer();
// 设置渲染的尺寸大小
renderer.setSize(window.innerWidth, window.innerHeight);
// 开启场景中的阴影贴图
renderer.shadowMap.enabled = true;
renderer.physicallyCorrectLights = true;

// console.log(renderer);
// 将webgl渲染的canvas内容添加到body
document.body.appendChild(renderer.domElement);

// 创建轨道控制器
const controls = new OrbitControls(camera, renderer.domElement);
// 设置控制器阻尼,让控制器更有真实效果,必须在动画循环里调用.update()。
controls.enableDamping = true;

// 添加坐标轴辅助器
const axesHelper = new THREE.AxesHelper(5);
scene.add(axesHelper);
// 设置时钟
const clock = new THREE.Clock();

function render() {
let time = clock.getElapsedTime();

controls.update();
renderer.render(scene, camera);
// 渲染下一帧的时候就会调用render函数
requestAnimationFrame(render);
}

render();

// 监听画面变化,更新渲染画面
window.addEventListener("resize", () => {
// console.log("画面变化了");

// 更新摄像头
camera.aspect = window.innerWidth / window.innerHeight;
// 更新摄像机的投影矩阵
camera.updateProjectionMatrix();

// 更新渲染器
renderer.setSize(window.innerWidth, window.innerHeight);
// 设置渲染器的像素比
renderer.setPixelRatio(window.devicePixelRatio);
});

上一篇:
【可视化学习】09-Three.js投射光线
下一篇:
同步请求返回值