前言
我之前开发过一个聊天系统,最近项目上线,老板说要支持把图片粘贴进入输入框中,原先我用的是textarea,被迫只能转换风格了,咱也没啥路子,只能自己撸一个编辑器了,这里记录一下。
1. contenteditable属性
这是html的一个原生属性,通过把这个属性变成了true,就可以让div变成一个可编辑的元素,这样就可以实现一个简单的编辑器了。
1 | <div contenteditable="true"></div> |
1 | <style> |
2.加点基本样式
1 | <div contenteditable="true" id="editor"></div> |

- 去除丑不拉几的边框以及设置允许placeholder输入
这个属性有一个丑不拉几的边框,我们需要去掉它,同时可以加个border啥的,不然看不见1
2
3
4
5
6
7
8
9
10
11
12
13[contenteditable] {
outline: 0px solid transparent;
}
[contenteditable]:empty:before {
content: attr(placeholder);
color: #ccc;
}
#editor {
min-height: 400px;
padding: 10px;
font-size: 16px;
border: 1px solid #ccc;
}
3.复制内容
这是其中一个最为核心的部分,我这里暂时仅支持图片和文字的复制,如果是文件视频本质上也是一样的,只是展现形式不一样而已
html
1 | <div contenteditable="true" id="editor" @paste="handlePaste"></div> |
js
- 复制文字,就很简单,只需要获取到剪切板的内容,然后通过
document.execCommand(‘insertText’, false, result);
插入到div中就可以了1
2
3
4
5
6
7
8
9
10
11
12
13
14
15
16
17
18
19
20
21
22
23
24
25
26
27
28async function handlePaste(e) {
e.preventDefault();
const result = await onPaste(e);
if (result) {
document.execCommand('insertText', false, result);
}
}
const onPaste = (e) => {
if (!(e.clipboardData && e.clipboardData.items)) {
return;
}
return new Promise((resolve, reject) => {
for (let i = 0, len = e.clipboardData.items.length; i < len; i++) {
const item = e.clipboardData.items[i];
if (item.kind === 'string') {
// 文字
item.getAsString((str) => {
resolve(str);
});
} else if (item.kind === 'file') {
// 文件
} else {
reject(new Error('Not allow to paste this type!'));
}
}
});
}; - 复制图片
1
2
3
4
5
6
7
8
9
10
11
12
13
14
15
16
17
18
19
20
21
22
23
24
25
26
27
28
29
30
31
32
33
34
35
36
37
38
39
40
41
42
43
44
45
46
47
48
49
50
51
52
53
54
55
56
57// xxxxxx省略部分代码,结合上文来看
else if (item.kind === 'file') {
// 文件
const file = item.getAsFile();
const URL = window.URL || window.webkitURL;
const url = URL.createObjectURL(file);
insertImage(url, file);
}
// xxxxxx省略部分代码,结合上文来看
// 这里获取到了图片的url和file,并且通过img的onload属性,得到图片大小,然后根据一定的比例缩小之后,我们需要把图片插入到编辑器中
// ref值
const editor = ref(null);
// 当前图片url对应的file值
const fileMap = ref({});
// 插入图片
const insertImage = (url, file) => {
const img = new Image();
// 在这里插入图片
const imgSrc = url;
const imgElement = document.createElement("img");
imgElement.src = imgSrc;
const reader = new FileReader();
reader.onload = function (event) {
img.onload = () => {
// 计算一个合适的图片展示效果
let originWidth = img.width;
let originHeight = img.height;
let orginScale = originWidth / originHeight;
imgElement.width = null;
imgElement.height = null;
while (originWidth > 200) {
originWidth = originWidth - 30;
originHeight = originWidth / orginScale;
}
while (originHeight > 200) {
originHeight = originHeight - 30;
originWidth = originHeight * orginScale;
}
imgElement.width = originWidth;
imgElement.height = originHeight;
// 获取当前光标所在位置
const selection = window.getSelection();
if (selection.rangeCount) {
const range = selection.getRangeAt(0);
range.deleteContents();
range.insertNode(imgElement);
fileMap.value[imgSrc] = file;
// 移除光标
selection.removeAllRanges();
}
};
img.src = event.target.result;
};
reader.readAsDataURL(file);
};
注意:如果是我自己手动需要插入的内容,记得将换行符改成<br>,通过
1 | str.replace(/\/n/g, "<br>") |
4.发送内容
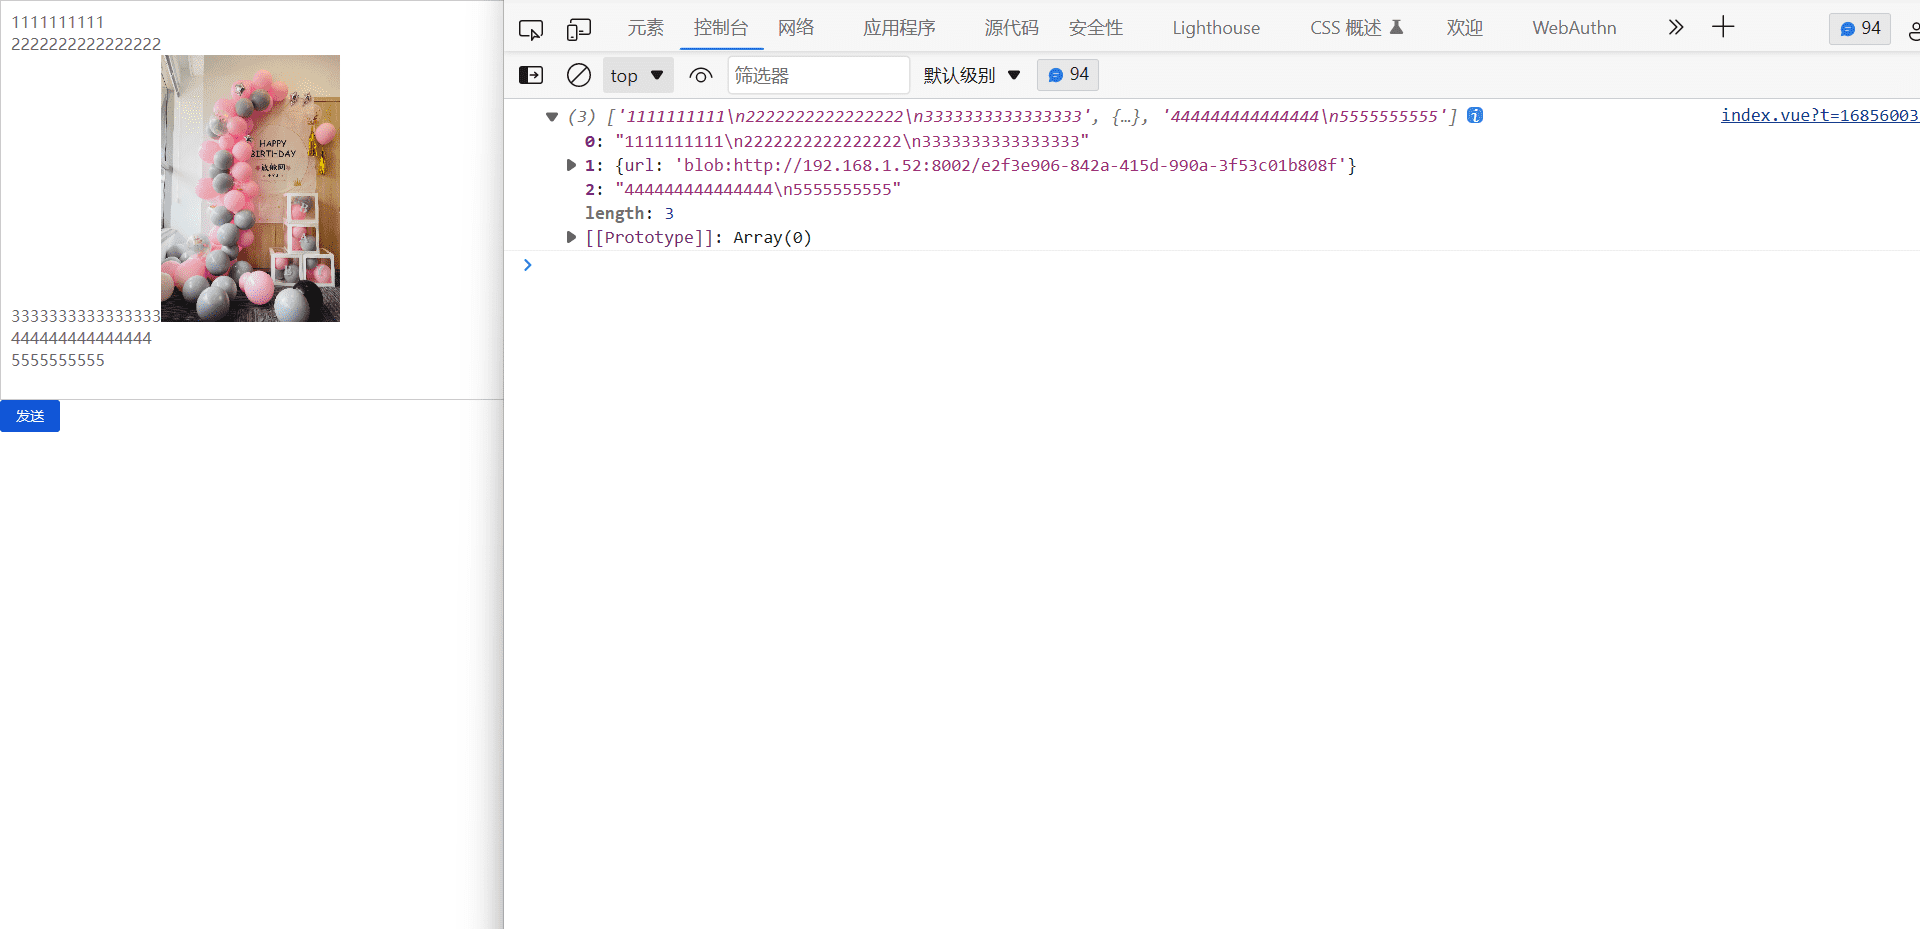
这样就可以将图片和文字都插入进入我们的框中,接下来才是最关键的部分,也是我研究了好一会的东西,如何将这串html的字符串发送出去,比如对于这样的字符串
1 | 1111111111111<br>111111111111<img src="blob:http://localhost:8080/1b9b5b1a-9b1a-4b1a-9b1a-4b1a9b1a4b1a" width="200" height="150"><div>2222</div><br>33333333 |
这段字符串文字我就需要分成
1 | 1111111111111 \n 111111111111, |
这样三部分去发送,即发送三条消息
首先,我们需要获取到所有的节点
1 | function handleSend() { |
可能你不理解,为什么BR我换成\n push进入数组,因为这个如果在两个字符串中间,说明这俩字符串其实发送的时候是需要变成xxxxx \n xxxxx的,本质是一条
接下来最难的就是DIV节点了,为啥呢,因为这个节点里面可能不是纯文字,可能div里面嵌套了div,img等,所以我们需要递归的去处理这个节点
将上面这个children循环给封装以下,改造成递归的函数
1 | function loopChildren(children) { |
然后发送方法去调用这个函数
1 | let data = []; |
这个newData就是我们需要的分开数据的数组了
发送的时候依次发送,图片的可以通过上文设置的MAP去获取到对应的文件file,然后发送即可,发送完成之后记得清除输入框内容,这样一个简单的聊天输入框就完成了,我聊天项目中加上了drag等其他的功能,但是这些都是基于这个底层逻辑完成的
本文主打一个核心逻辑介绍,喜欢的话,点个赞吧,谢谢!


