前言
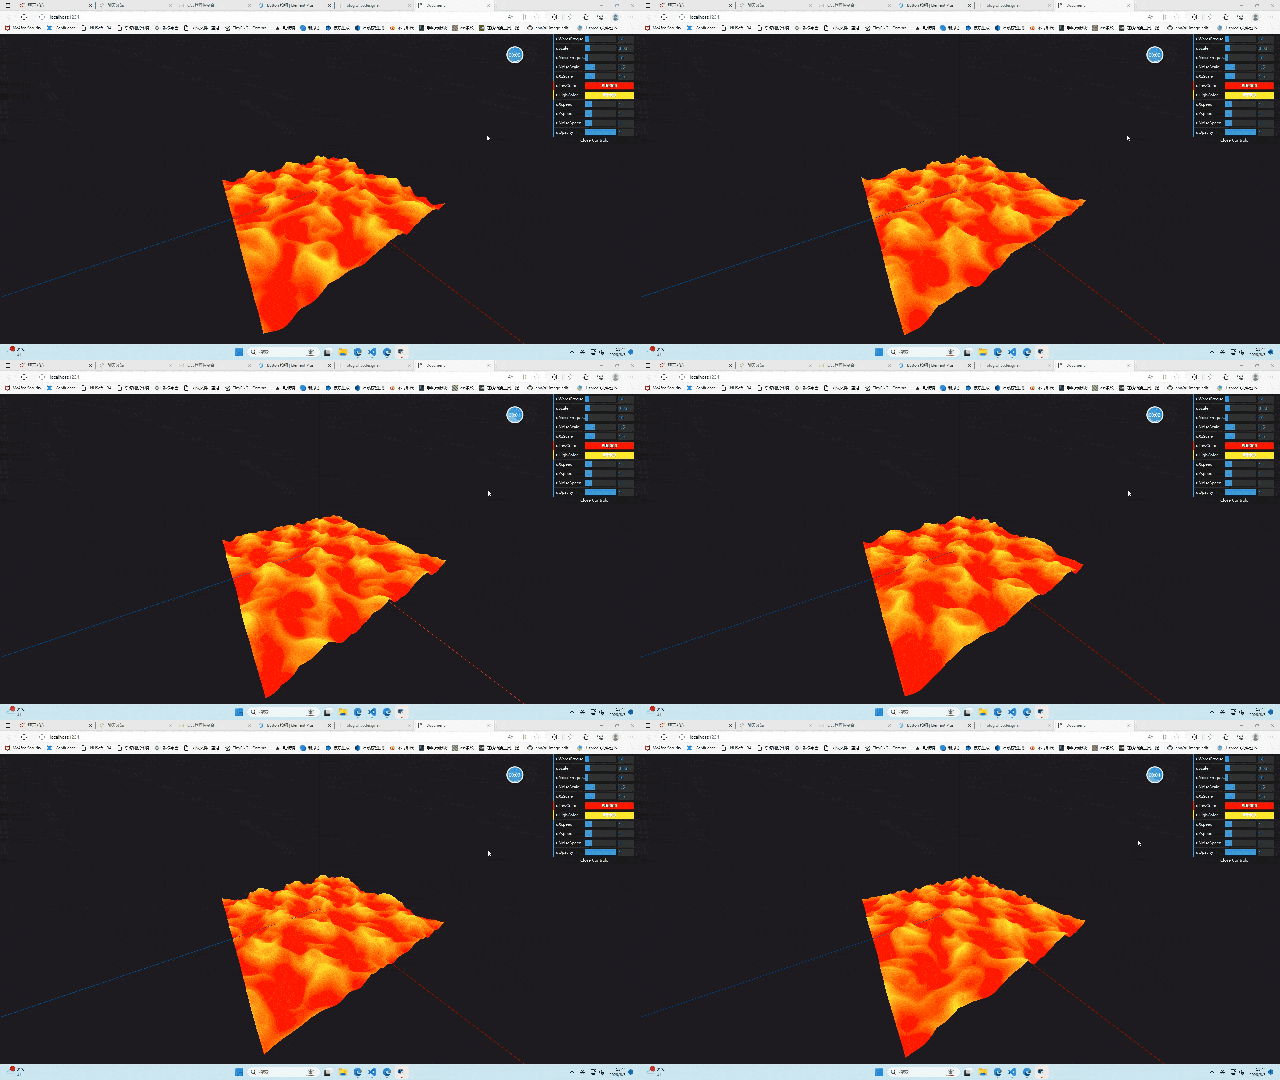
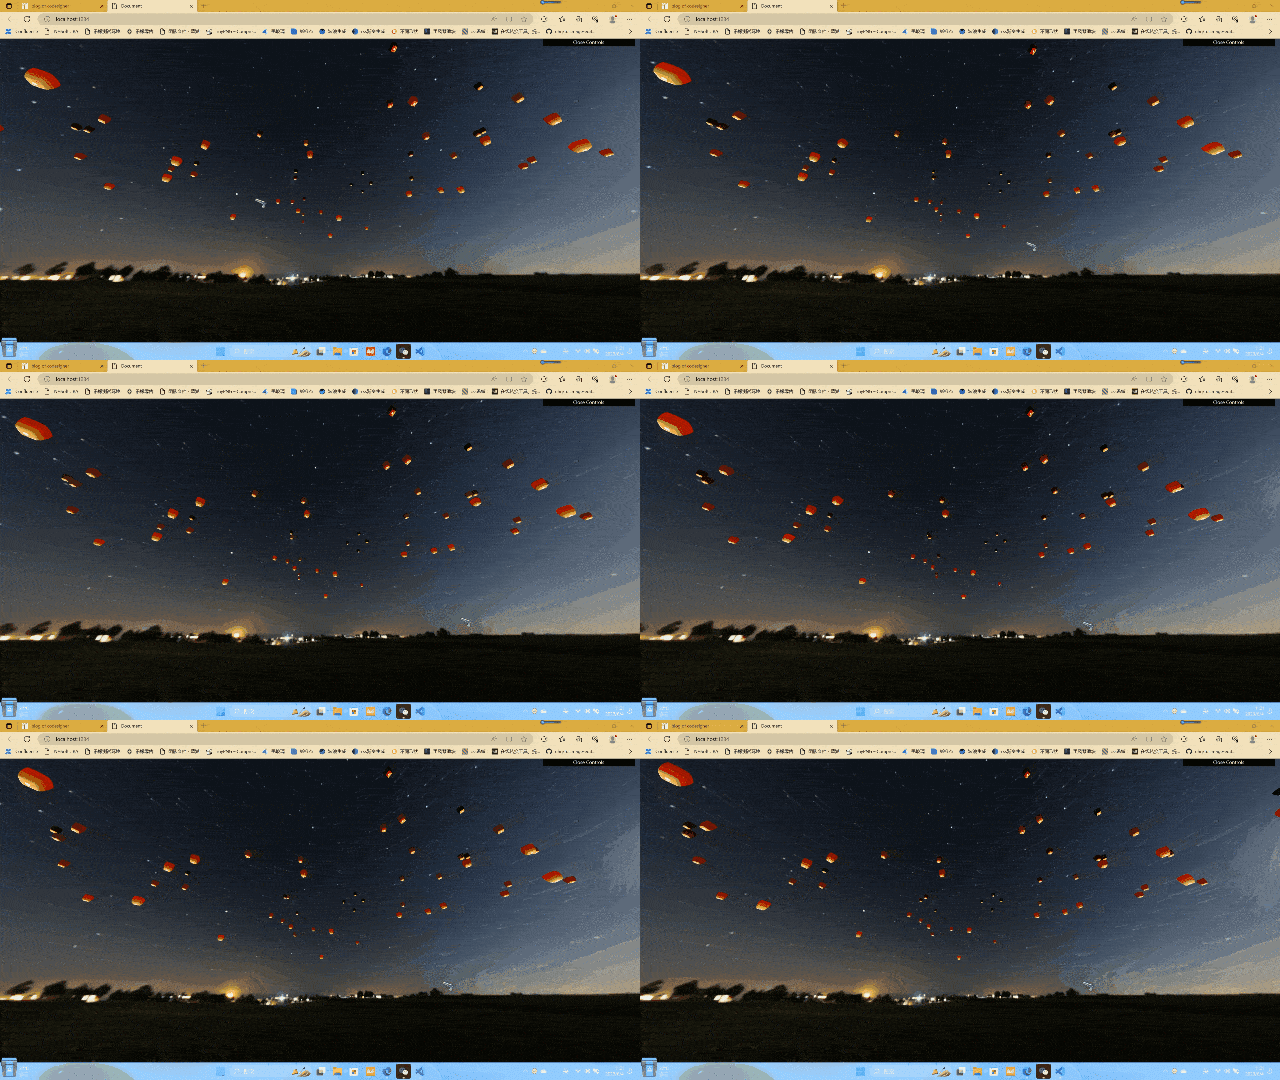
今天带大家一起使用shader属性实现漫天孔明灯的效果
写基础代码
这步已经重复很多次了,说实话,不是很想再重复了,但还是再重复一次好了
1
2
3
4
5
6
7
8
9
10
11
12
13
14
15
16
17
18
19
20
21
22
23
24
25
26
27
28
29
30
31
32
33
34
35
36
37
38
39
40
41
42
43
44
45
46
47
48
49
50
51
52
53
54
55
56
57
58
59
60
61
62
63
64
65
66
67
68
69
70
71
72
73
| import * as THREE from "three";
import { OrbitControls } from "three/examples/jsm/controls/OrbitControls";
const scene = new THREE.Scene();
const camera = new THREE.PerspectiveCamera(
90,
window.innerHeight / window.innerHeight,
0.1,
1000
);
camera.position.set(0, 0, 2);
camera.aspect = window.innerWidth / window.innerHeight;
camera.updateProjectionMatrix();
scene.add(camera);
const axesHelper = new THREE.AxesHelper(5);
scene.add(axesHelper);
const material = new THREE.MeshBasicMaterial({ color: "#00ff00" });
const floor = new THREE.Mesh(
new THREE.PlaneBufferGeometry(1, 1, 64, 64),
material
);
scene.add(floor);
const renderer = new THREE.WebGLRenderer({ alpha: true });
renderer.setSize(window.innerWidth, window.innerHeight);
window.addEventListener("resize", () => {
camera.aspect = window.innerWidth / window.innerHeight;
camera.updateProjectionMatrix();
renderer.setSize(window.innerWidth, window.innerHeight);
renderer.setPixelRatio(window.devicePixelRatio);
});
document.body.appendChild(renderer.domElement);
const controls = new OrbitControls(camera, renderer.domElement);
controls.enableDamping = true;
const clock = new THREE.Clock();
function animate(t) {
const elapsedTime = clock.getElapsedTime();
requestAnimationFrame(animate);
renderer.render(scene, camera);
}
animate();
|
导入背景材质
1
2
3
4
5
6
7
8
9
10
| import { RGBELoader } from "three/examples/jsm/loaders/RGBELoader";
const rgbeLoader = new RGBELoader();
rgbeLoader.loadAsync("./assets/2k.hdr").then((texture) => {
texture.mapping = THREE.EquirectangularReflectionMapping;
scene.background = texture;
scene.environment = texture;
});
renderer.outputEncoding = THREE.sRGBEncoding;
|
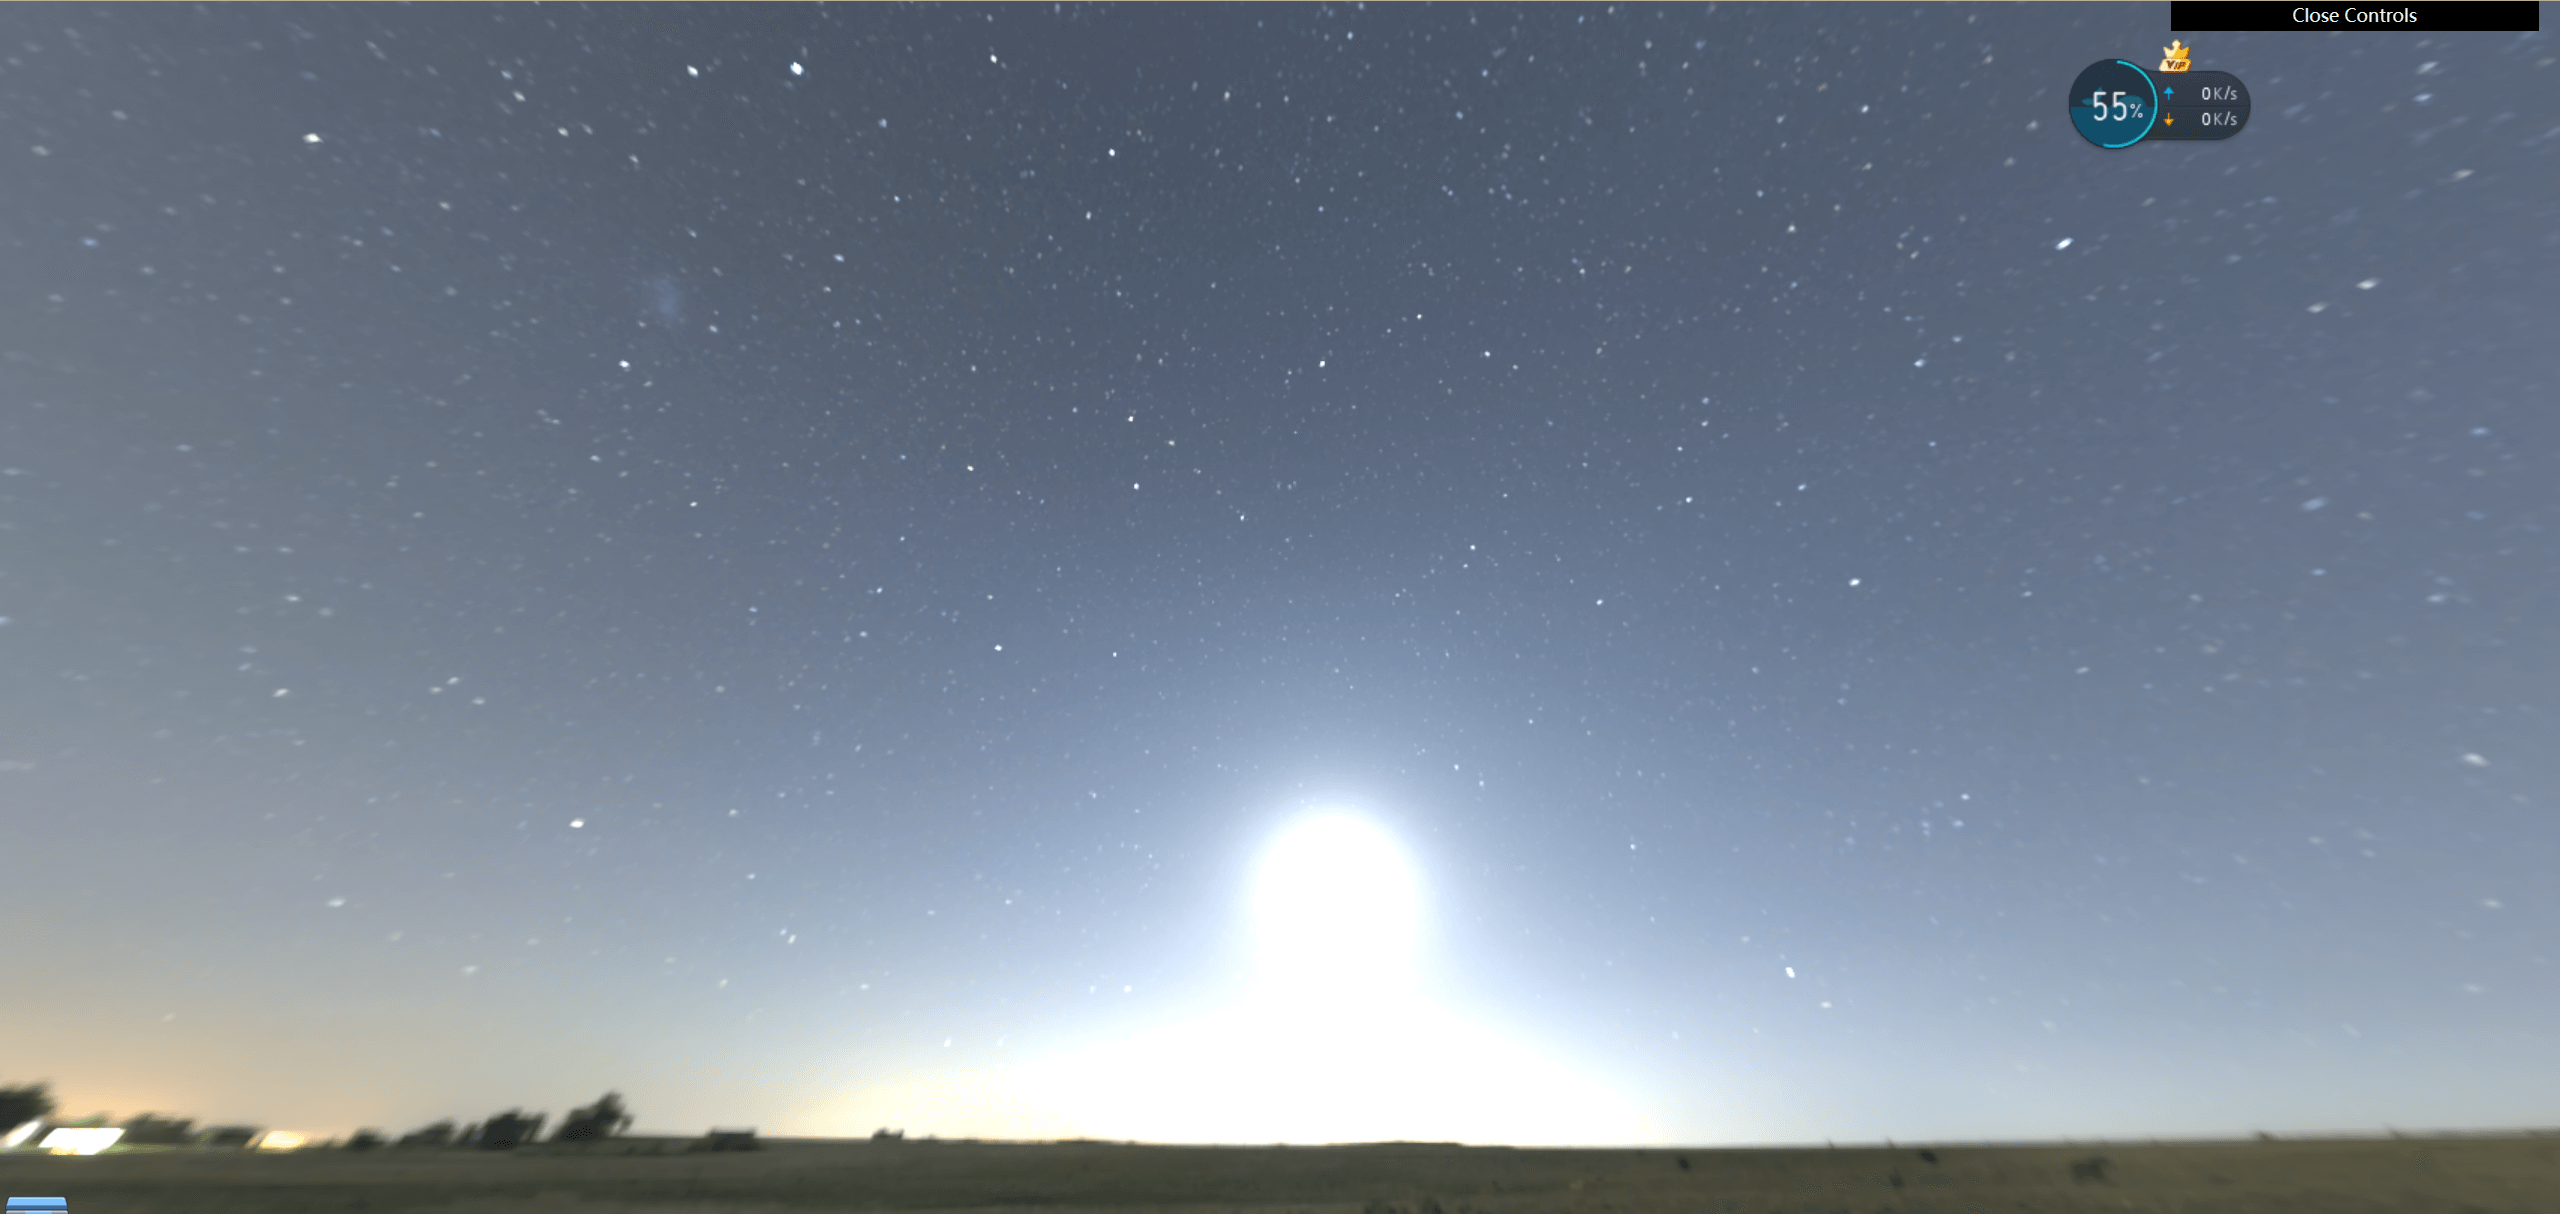
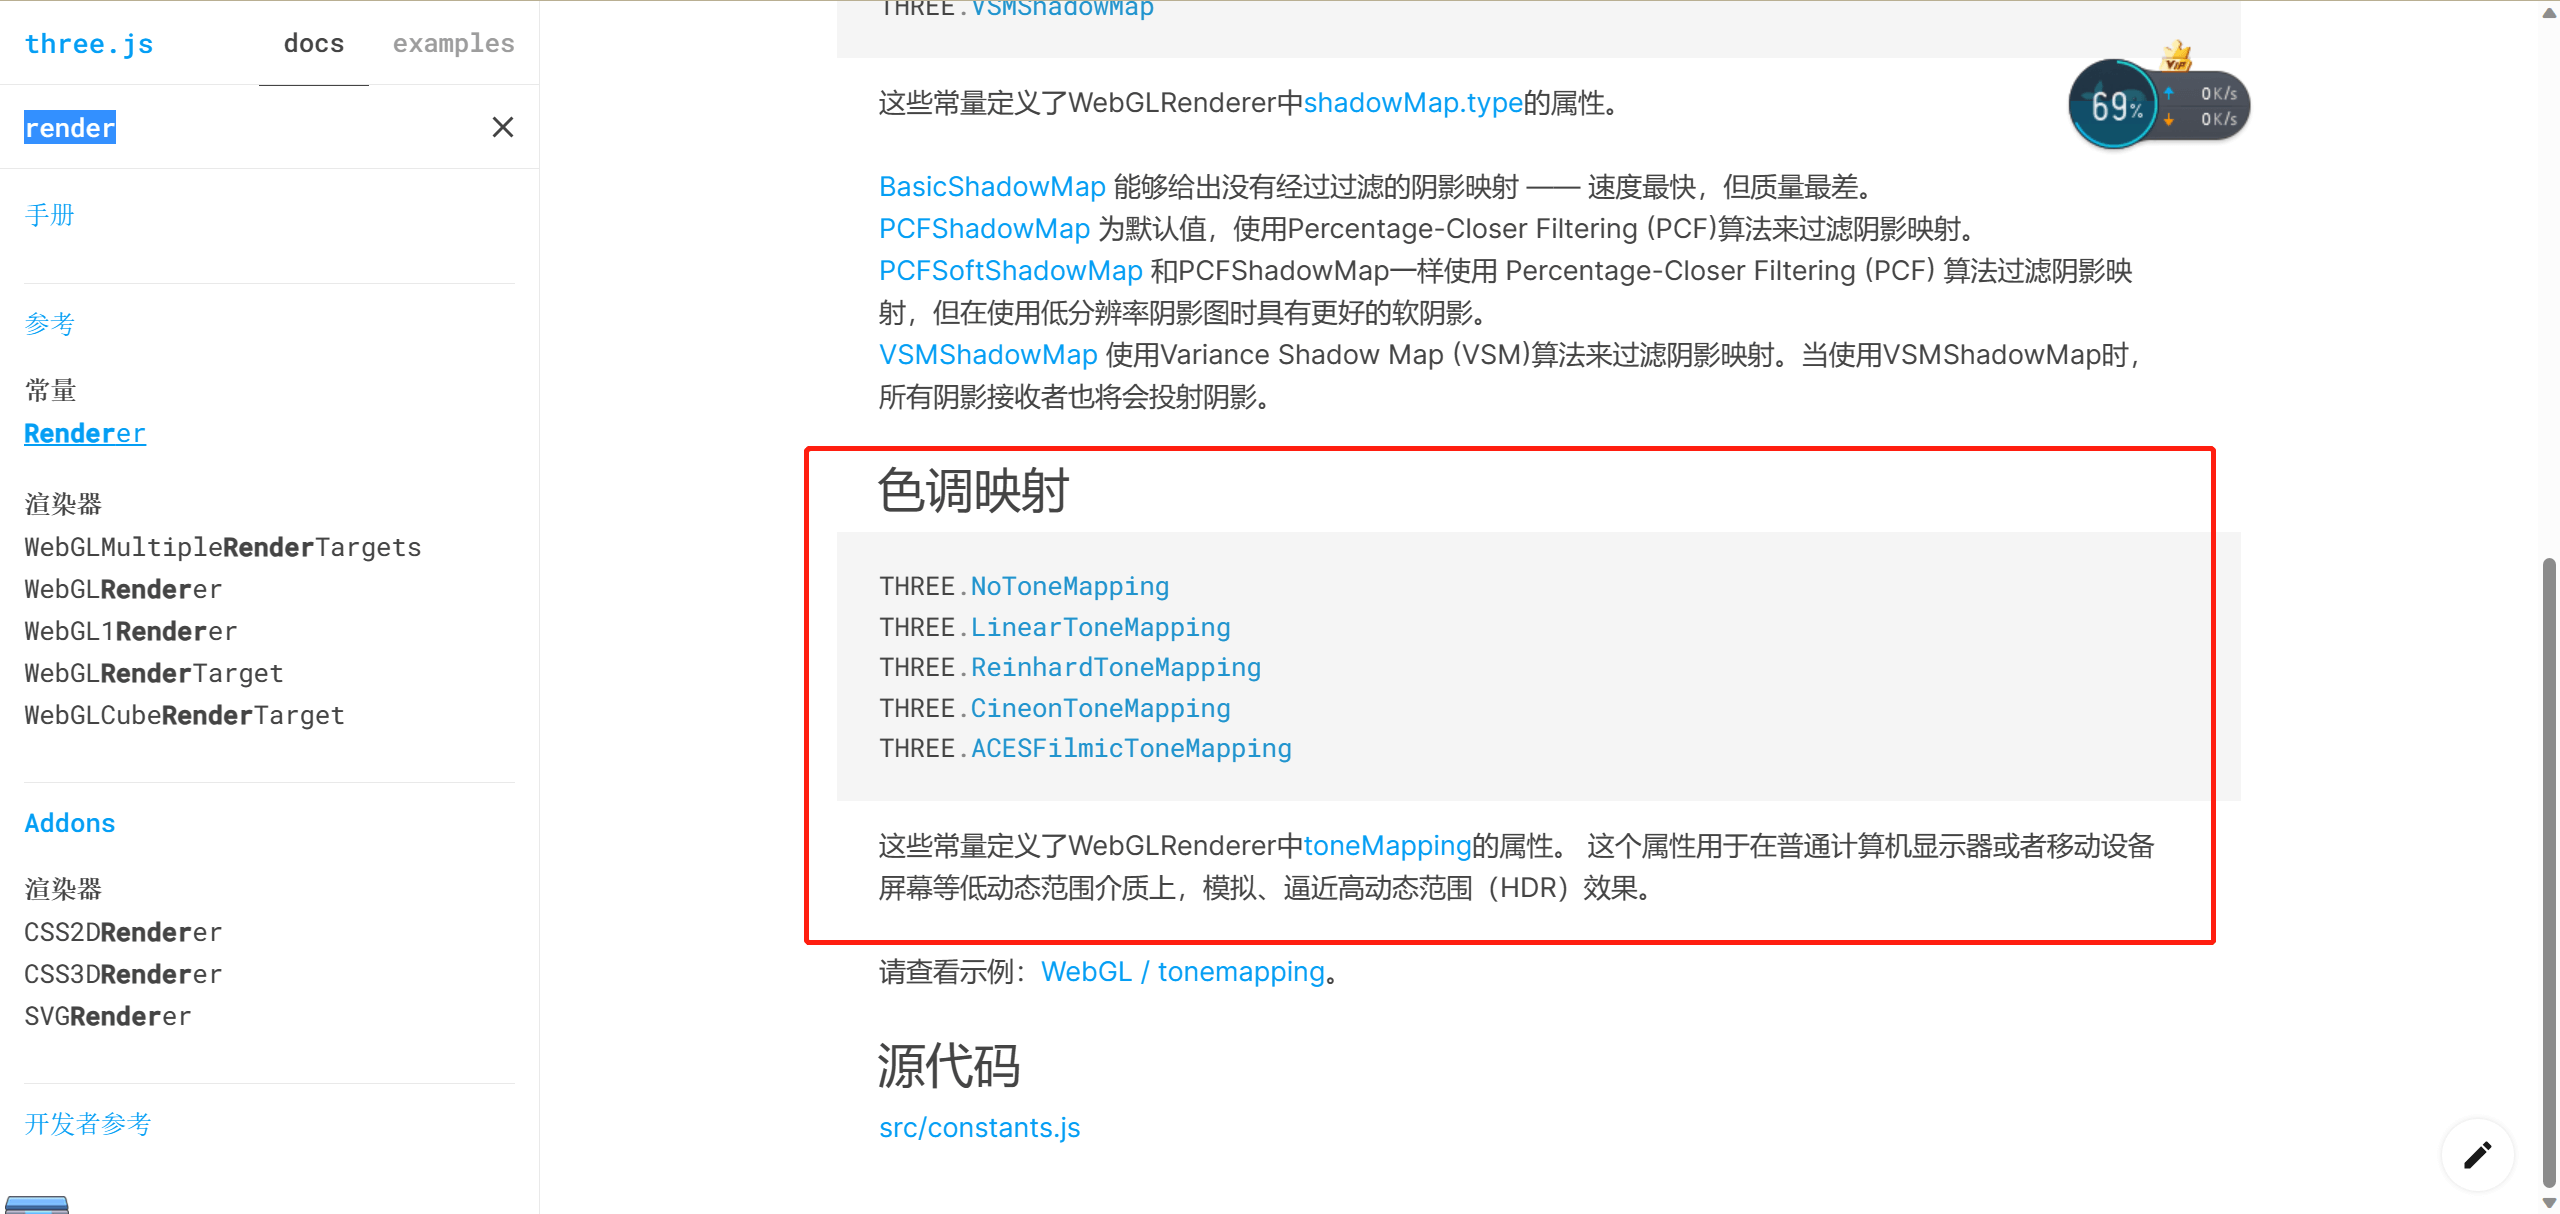
这时我们可以看到,这个曝光度太高了,可以通过renderer的toneMapping属性(色调映射)来计算
1
| renderer.toneMapping = THREE.ACESFilmicToneMapping;
|
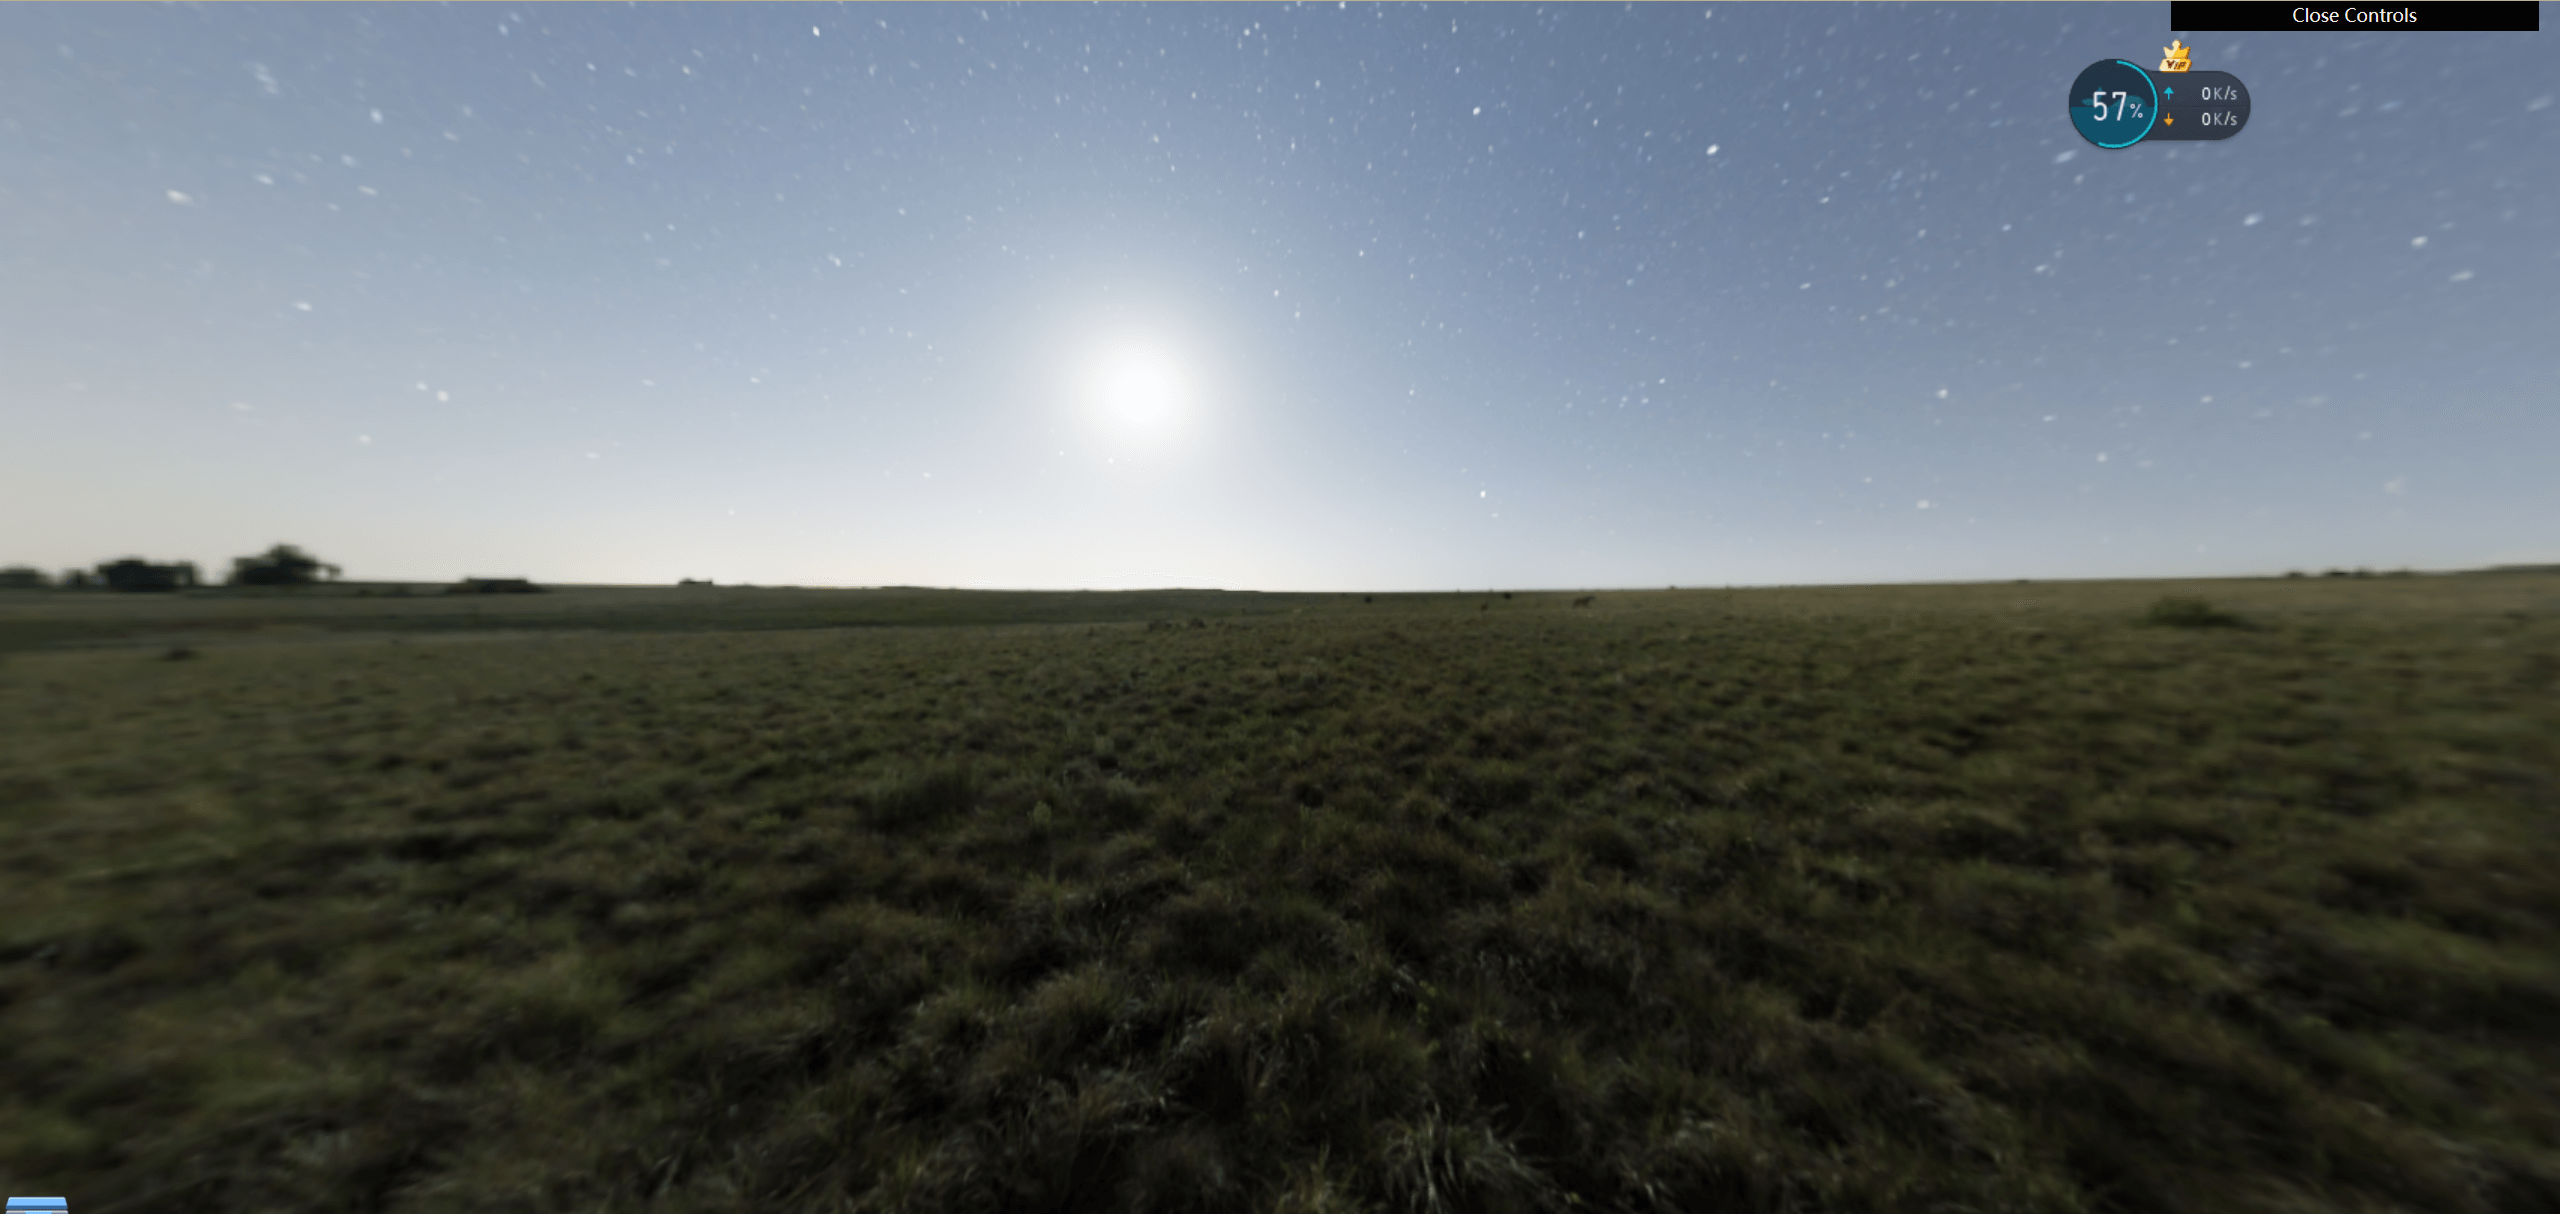
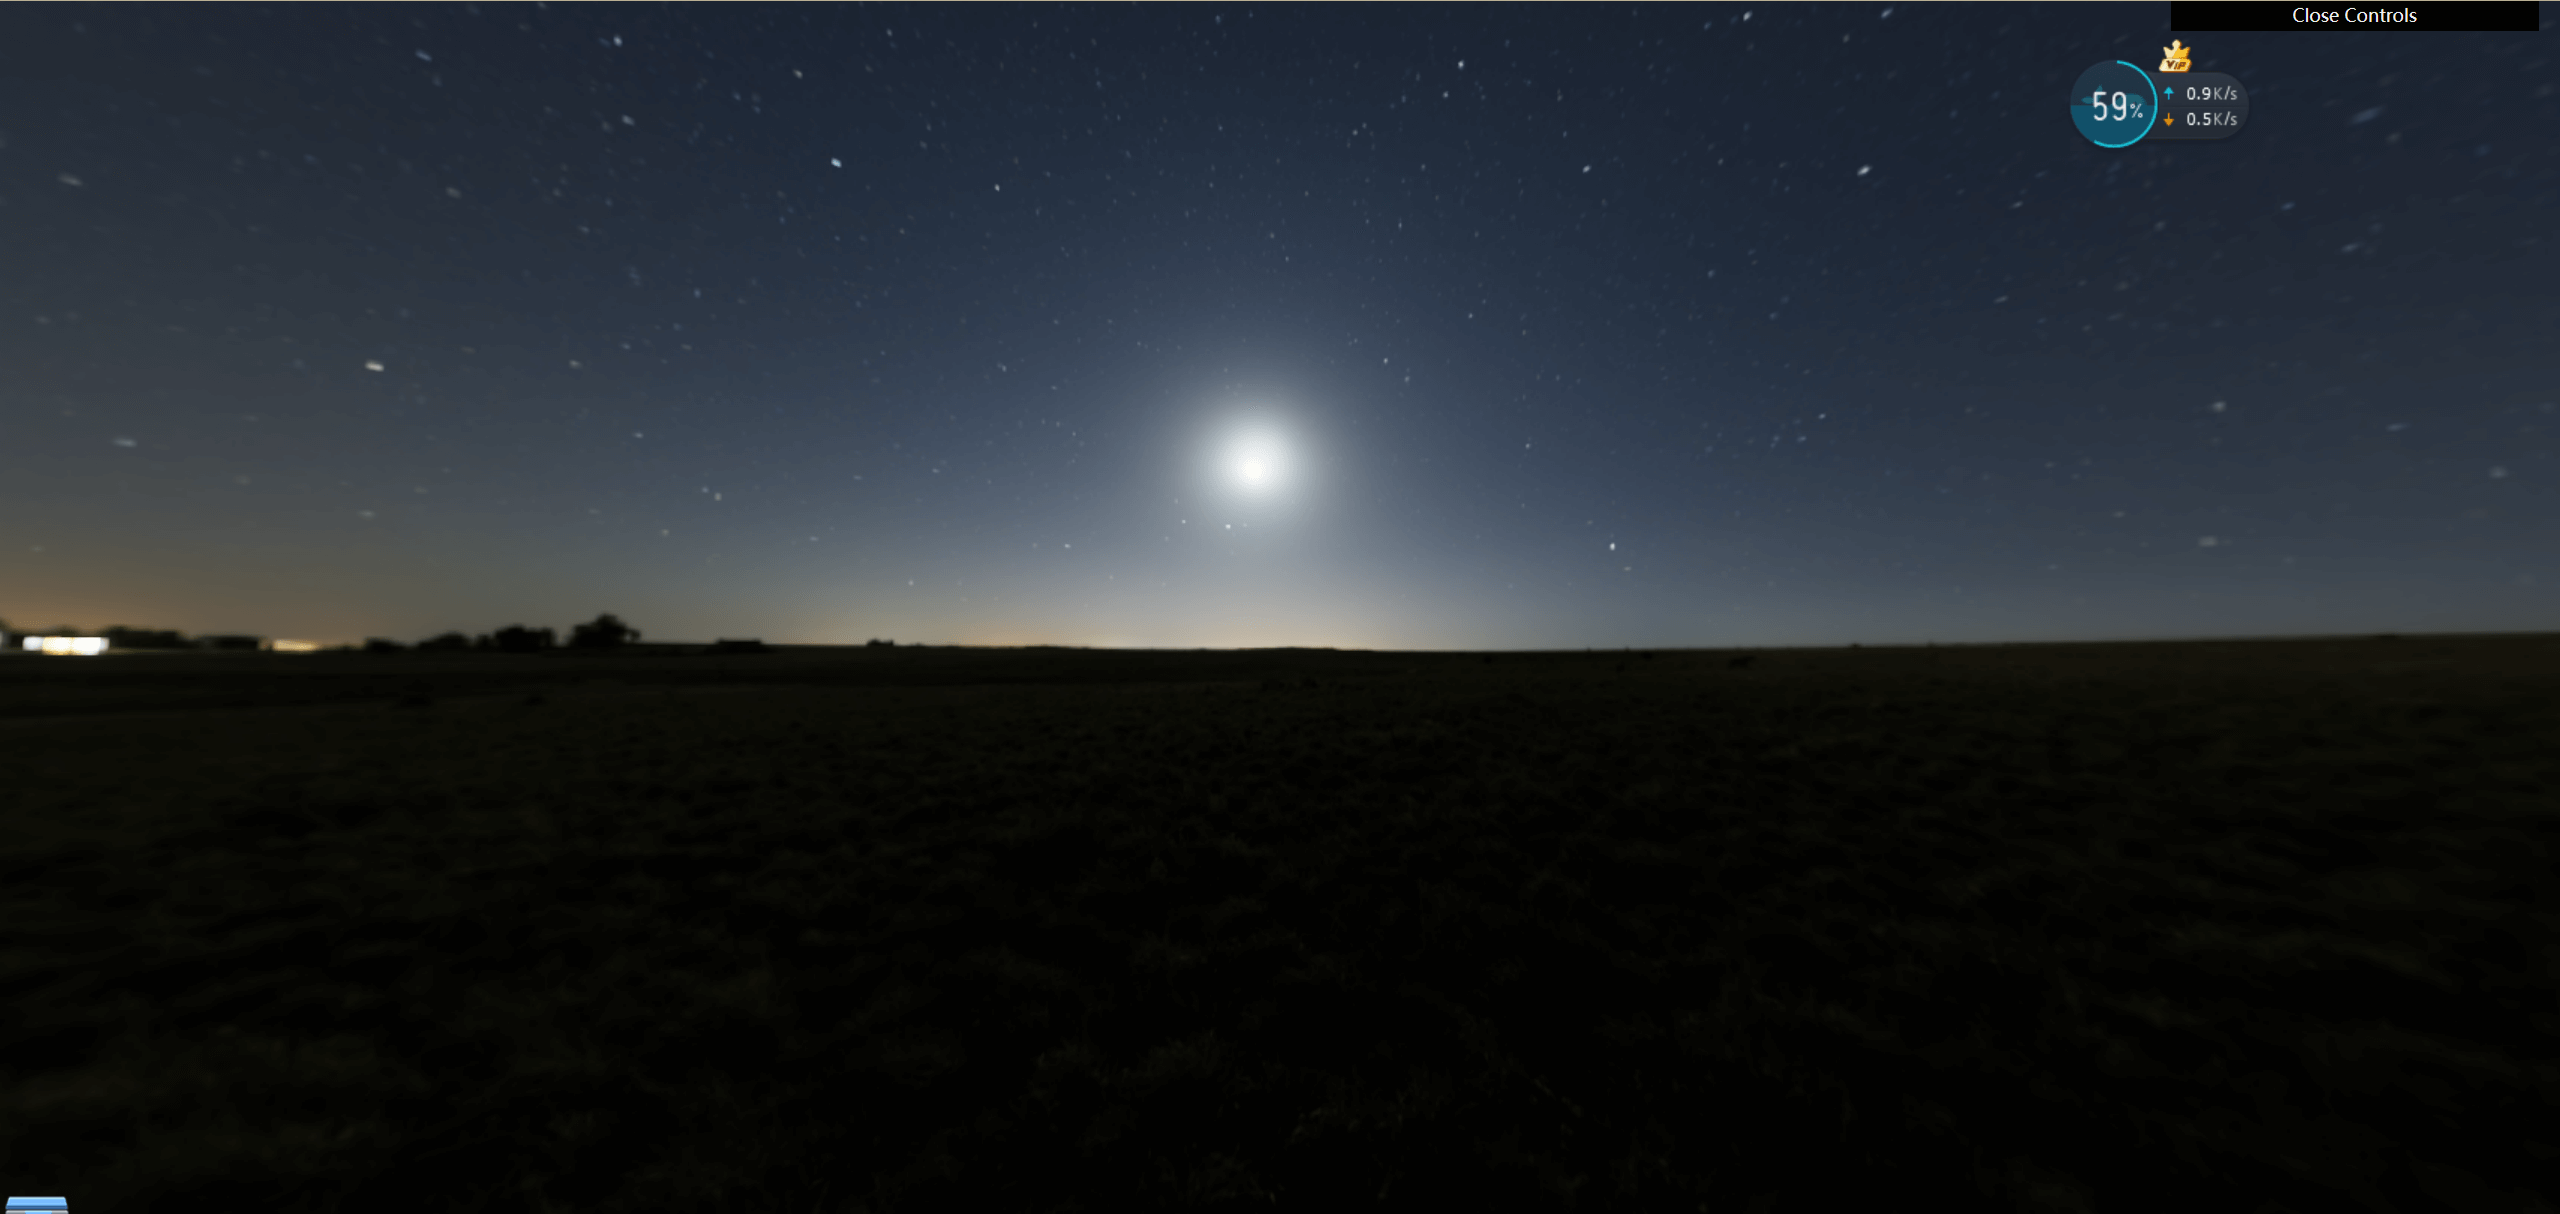
此时,我们既然要搞孔明灯,这个就太亮了,把画面搞暗一点

1
| renderer.toneMappingExposure = 0.2;
|
添加孔明灯
1
2
3
4
5
6
7
8
9
10
11
12
13
| import { GLTFLoader } from "three/examples/jsm/loaders/GLTFLoader";
const gltfLoader = new GLTFLoader();
gltfLoader.load("./assets/model/flyLight.glb", (gltf) => {
for (let i = 0; i < 150; i++) {
let flyLight = gltf.scene.clone(true);
let x = (Math.random() - 0.5) * 300;
let z = (Math.random() - 0.5) * 300;
let y = Math.random() * 60 + 25;
flyLight.position.set(x, y, z);
scene.add(flyLight);
}
});
|
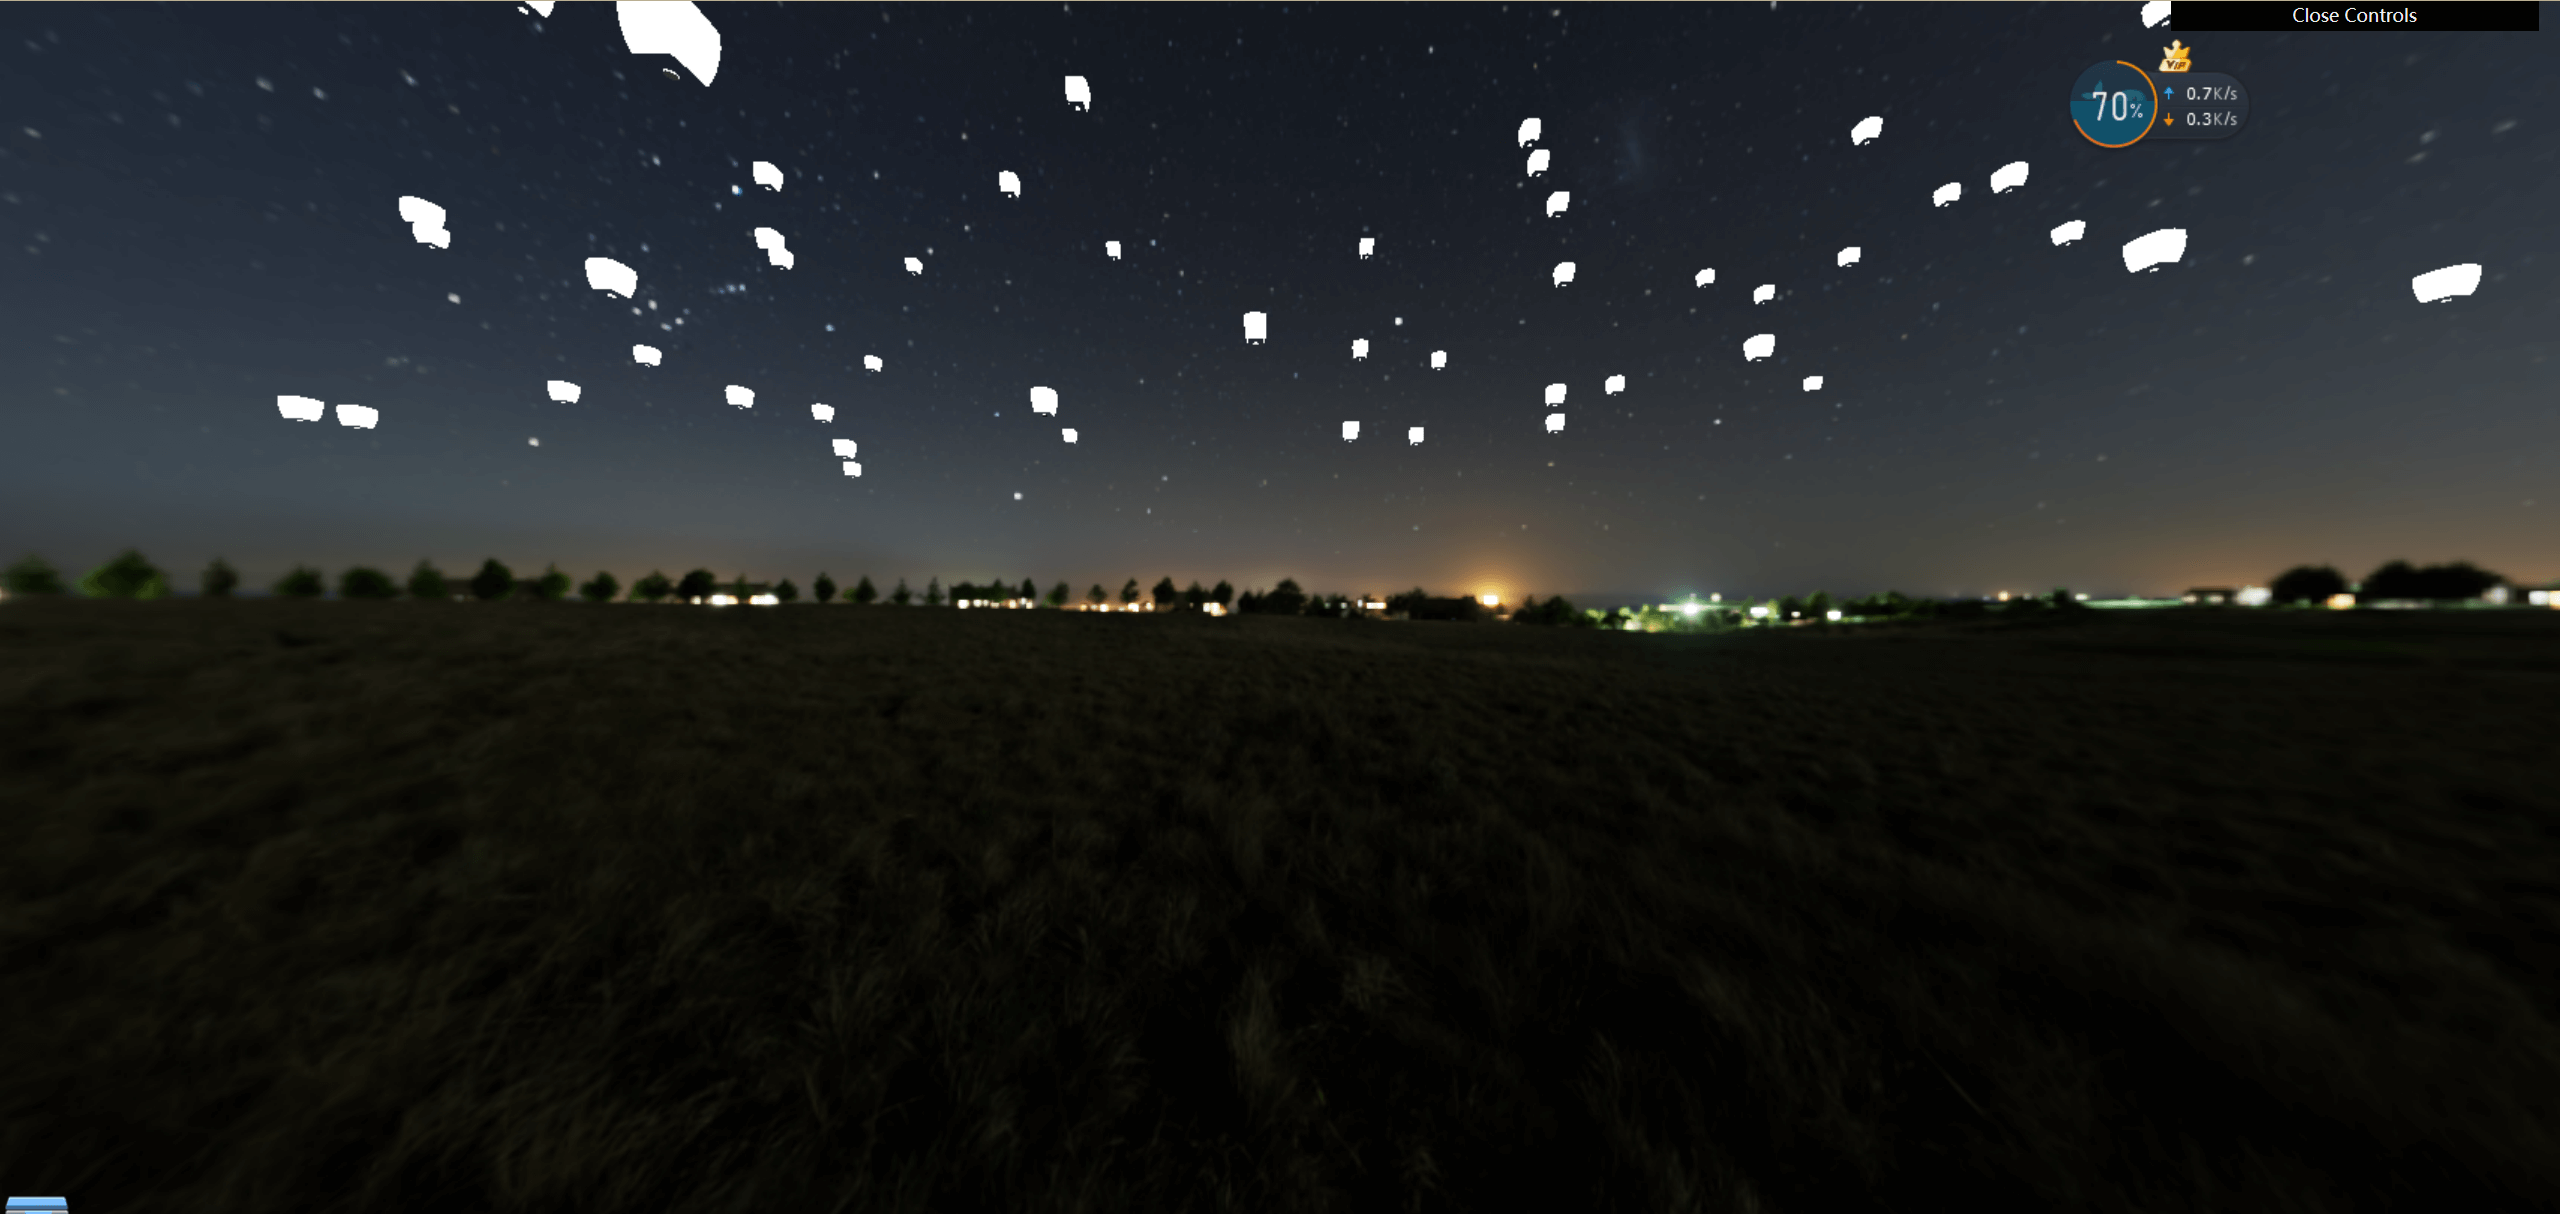
让孔明灯动起来
在加载gltf模型的时候添加旋转和位移的动画
1
2
3
4
5
6
7
8
9
10
11
12
| gsap.to(flyLight.rotation, {
y: 2 * Math.PI,
duration: 10 + Math.random() * 30,
repeat: -1,
});
gsap.to(flyLight.position, {
x: "+=" + Math.random() * 5,
y: "+=" + Math.random() * 20,
yoyo: true,
duration: 5 + Math.random() * 10,
repeat: -1,
});
|
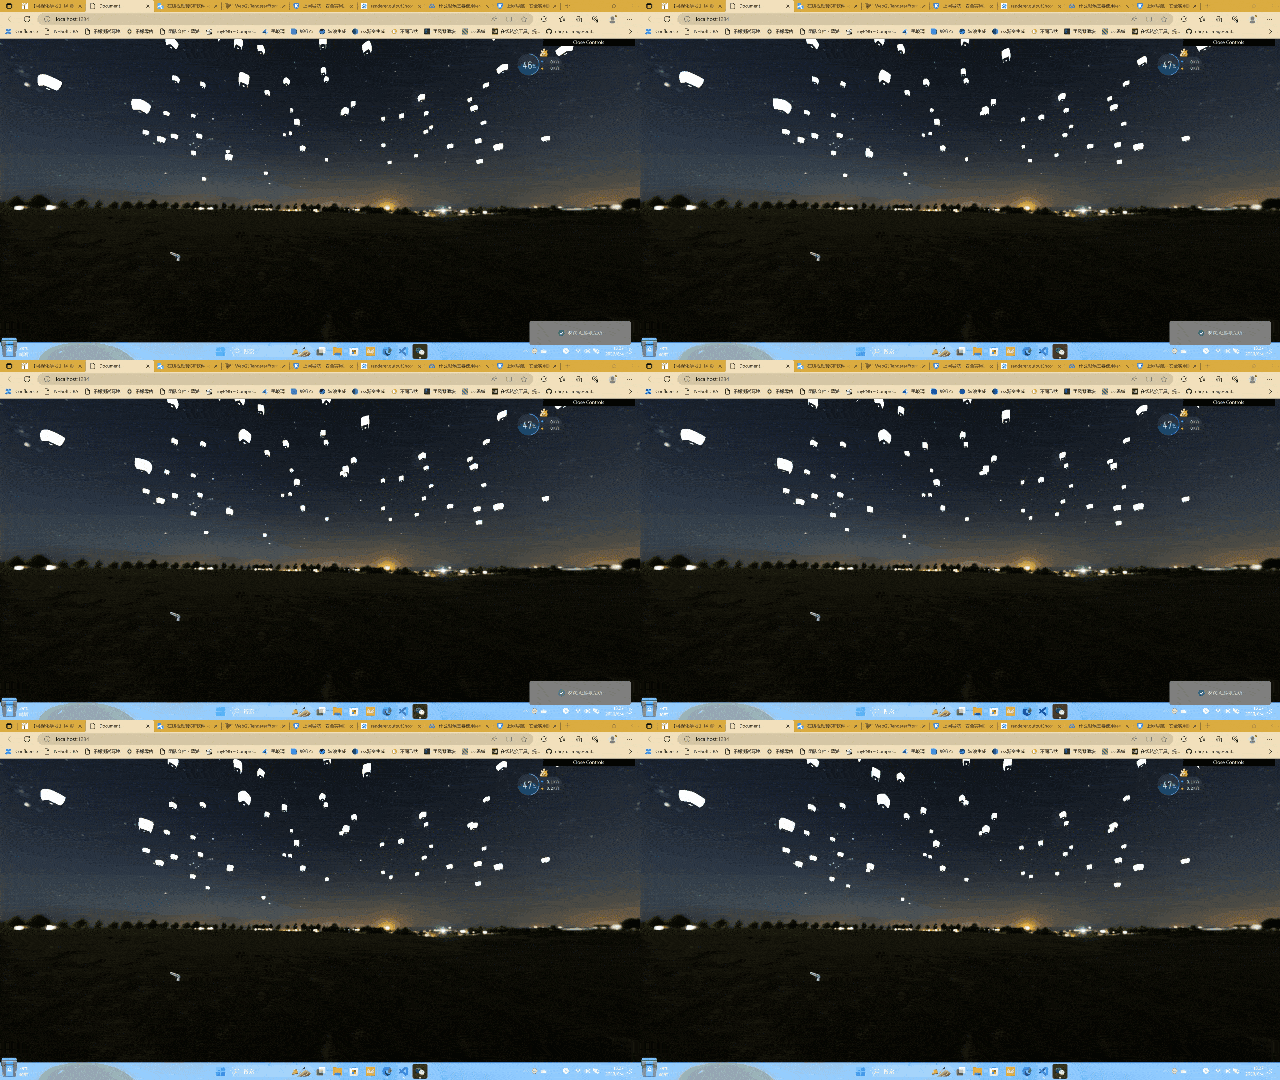
添加材质
1
2
3
4
5
6
7
8
9
10
11
12
13
14
15
16
17
18
19
20
21
22
23
24
25
26
27
28
29
30
31
32
33
34
35
36
|
const shaderMaterial = new THREE.ShaderMaterial({
vertexShader: vertexShader,
fragmentShader: fragmentShader,
uniforms: {},
side: THREE.DoubleSide,
});
const gltfLoader = new GLTFLoader();
let LightBox = null;
gltfLoader.load("./assets/model/flyLight.glb", (gltf) => {
LightBox = gltf.scene.children[1];
LightBox.material = shaderMaterial;
for (let i = 0; i < 150; i++) {
let flyLight = gltf.scene.clone(true);
let x = (Math.random() - 0.5) * 300;
let z = (Math.random() - 0.5) * 300;
let y = Math.random() * 60 + 25;
flyLight.position.set(x, y, z);
gsap.to(flyLight.rotation, {
      y: 2 * Math.PI,
      duration: 10 + Math.random() * 30,
      repeat: -1,
});
gsap.to(flyLight.position, {
      x: "+=" + Math.random() * 5,
      y: "+=" + Math.random() * 20,
      yoyo: true,
      duration: 5 + Math.random() * 10,
      repeat: -1,
});
scene.add(flyLight);
}
});
|
顶点着色器中
1
2
3
4
5
6
7
8
9
| precision lowp float;
varying vec4 vPosition;
varying vec4 gPosition;
void main(){
vec4 modelPosition = modelMatrix * vec4( position, 1.0 );
vPosition = modelPosition;
gPosition = vec4( position, 1.0 );
gl_Position = projectionMatrix * viewMatrix * modelPosition;
}
|
片元着色器中,判断是正面还是反面gl_FrontFacing,正面的话就让颜色变暗,反面的话就不变暗(模拟距离中间近,亮一点的效果)
1
2
3
4
5
6
7
8
9
10
11
12
13
14
| precision lowp float;
varying vec4 vPosition;
varying vec4 gPosition;
void main(){
vec4 redColor = vec4(1,0,0,1);
vec4 yellowColor = vec4(1,1,0.5,1);
vec4 mixColor = mix(yellowColor,redColor,gPosition.y/3.0);
if(gl_FrontFacing){
gl_FragColor = vec4(mixColor.xyz-(vPosition.y-20.0)/80.0-0.1,1);
}else{
gl_FragColor = vec4(mixColor.xyz,1);
}
}
|
场景旋转以及限制可视角度
1
2
3
4
5
6
7
8
9
10
11
12
|
controls.autoRotate = true;
controls.autoRotateSpeed = 0.1;
controls.maxPolarAngle = (Math.PI / 3) * 2;
controls.minPolarAngle = (Math.PI / 3) * 2;
function animate(t) {
controls.update();
requestAnimationFrame(animate);
renderer.render(scene, camera);
}
|
这样,孔明灯效果就实现了
项目地址


