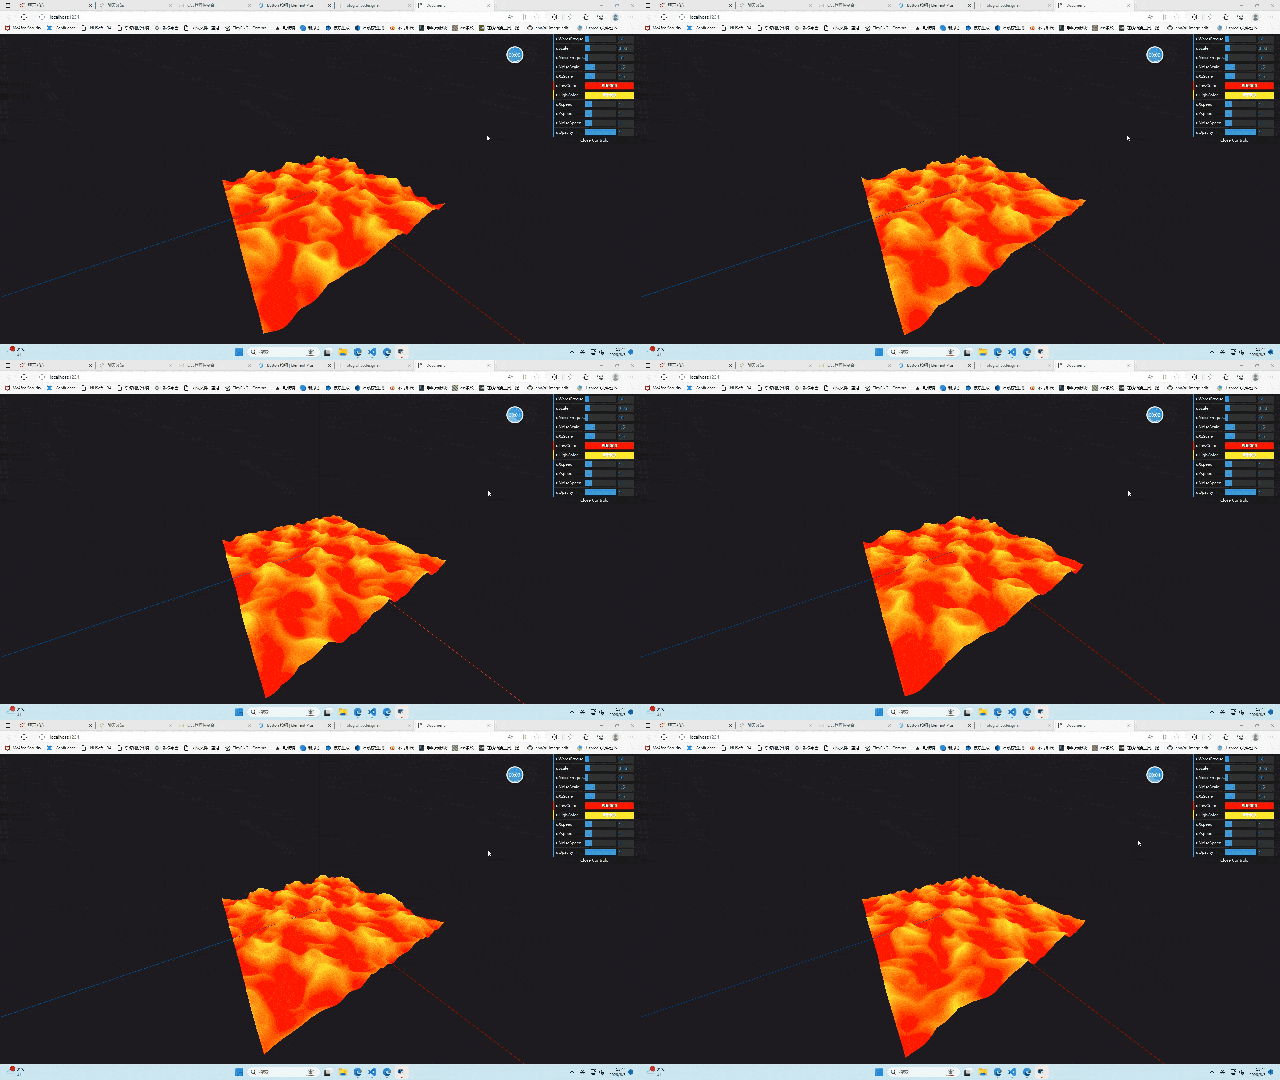
【可视化学习】15-水波纹
发表于:2023-06-05 |

前言

不知不觉已经学习了挺久了,今天也要努力,继续做大做强哦

写基础代码

无脑写基础代码,虽然我也挺厌倦了,不过每次写就当回顾吧

1
2
3
4
5
6
7
8
9
10
11
12
13
14
15
16
17
18
19
20
21
22
23
24
25
26
27
28
29
30
31
32
33
34
35
36
37
38
39
40
41
42
43
44
45
46
47
48
49
50
51
52
53
54
55
56
57
58
59
60
61
62
63
64
65
66
67
68
69
70
71
72
73
74
import * as THREE from "three";

import { OrbitControls } from "three/examples/jsm/controls/OrbitControls";

// 初始化场景
const scene = new THREE.Scene();

// 创建透视相机
const camera = new THREE.PerspectiveCamera(
90,
window.innerHeight / window.innerHeight,
0.1,
1000
);
// 设置相机位置
// object3d具有position,属性是1个3维的向量
camera.position.set(0, 0, 2);
// 更新摄像头
camera.aspect = window.innerWidth / window.innerHeight;
// 更新摄像机的投影矩阵
camera.updateProjectionMatrix();
scene.add(camera);

// 加入辅助轴,帮助我们查看3维坐标轴
const axesHelper = new THREE.AxesHelper(5);
scene.add(axesHelper);


const shaderMaterial = new THREE.MeshBasicMaterial({ color: "#00ff00" });


const plane = new THREE.Mesh(
new THREE.PlaneBufferGeometry(1, 1, 1024, 1024),
shaderMaterial
);
plane.rotation.x = -Math.PI / 2;

scene.add(plane);

// 初始化渲染器
const renderer = new THREE.WebGLRenderer({ alpha: true });

// 设置渲染尺寸大小
renderer.setSize(window.innerWidth, window.innerHeight);

// 监听屏幕大小改变的变化,设置渲染的尺寸
window.addEventListener("resize", () => {
// console.log("resize");
// 更新摄像头
camera.aspect = window.innerWidth / window.innerHeight;
// 更新摄像机的投影矩阵
camera.updateProjectionMatrix();

// 更新渲染器
renderer.setSize(window.innerWidth, window.innerHeight);
// 设置渲染器的像素比例
renderer.setPixelRatio(window.devicePixelRatio);
});

// 将渲染器添加到body
document.body.appendChild(renderer.domElement);

// 初始化控制器
const controls = new OrbitControls(camera, renderer.domElement);
// 设置控制器阻尼
controls.enableDamping = true;

function animate() {
requestAnimationFrame(animate);
// 使用渲染器渲染相机看这个场景的内容渲染出来
renderer.render(scene, camera);
}

animate();

效果图

替换shader

使用webgl的shader替换我们生成的材质
在main.js中引入shader

1
2
3
4
5
6
import vertexShader from "../shaders/water/vertex.glsl";
import fragmentShader from "../shaders/water/fragment.glsl";
const shaderMaterial = new THREE.ShaderMaterial({
vertexShader: vertexShader,
fragmentShader: fragmentShader,
});

在vertex.glsl中写入顶点着色器

1
2
3
4
void main(){
vec4 modelPosition = modelMatrix * vec4(position,1.0);
gl_Position = projectionMatrix * viewMatrix *modelPosition;
}

在fragment.glsl中写入片元着色器

1
2
3
void main(){
gl_FragColor = vec4(1.0,0.0,0.0,1.0);
}

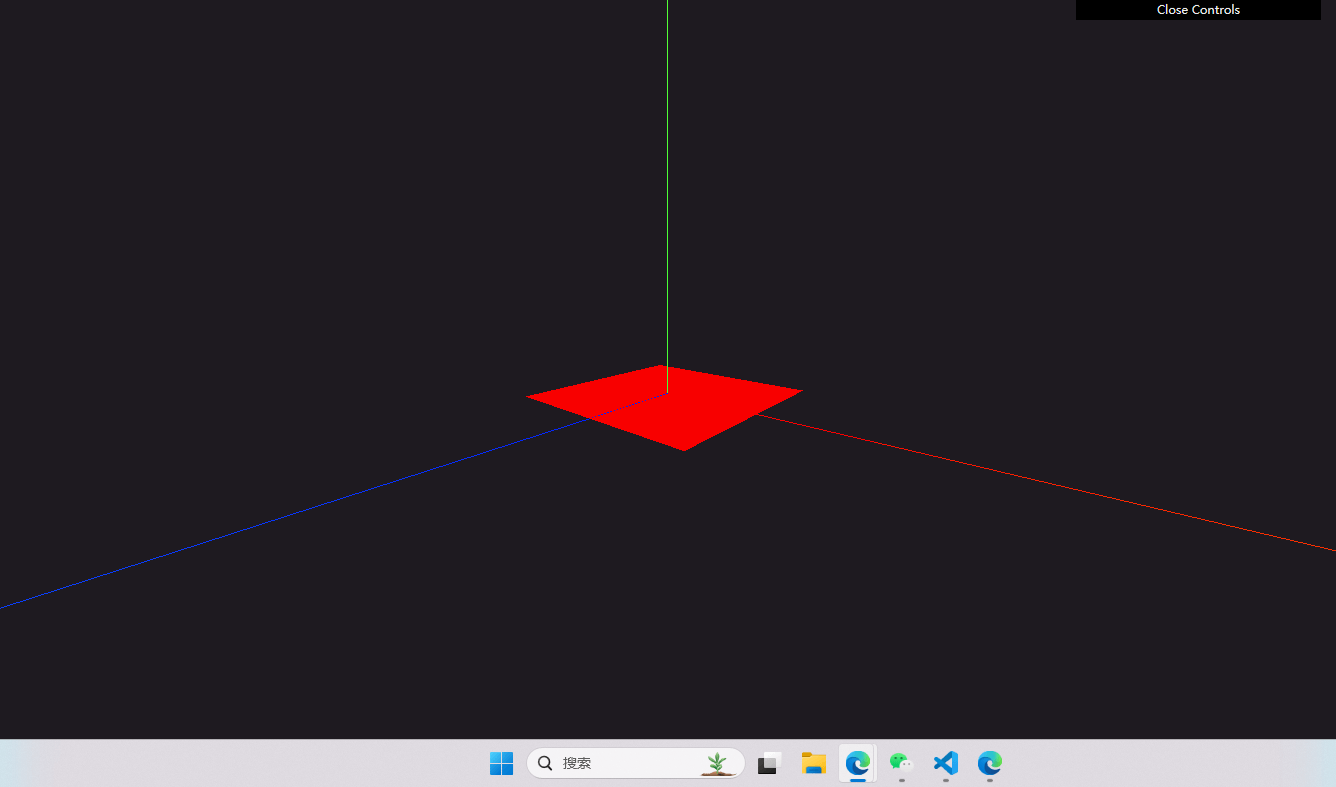
这样就可以生成一个红色的正方形
效果图

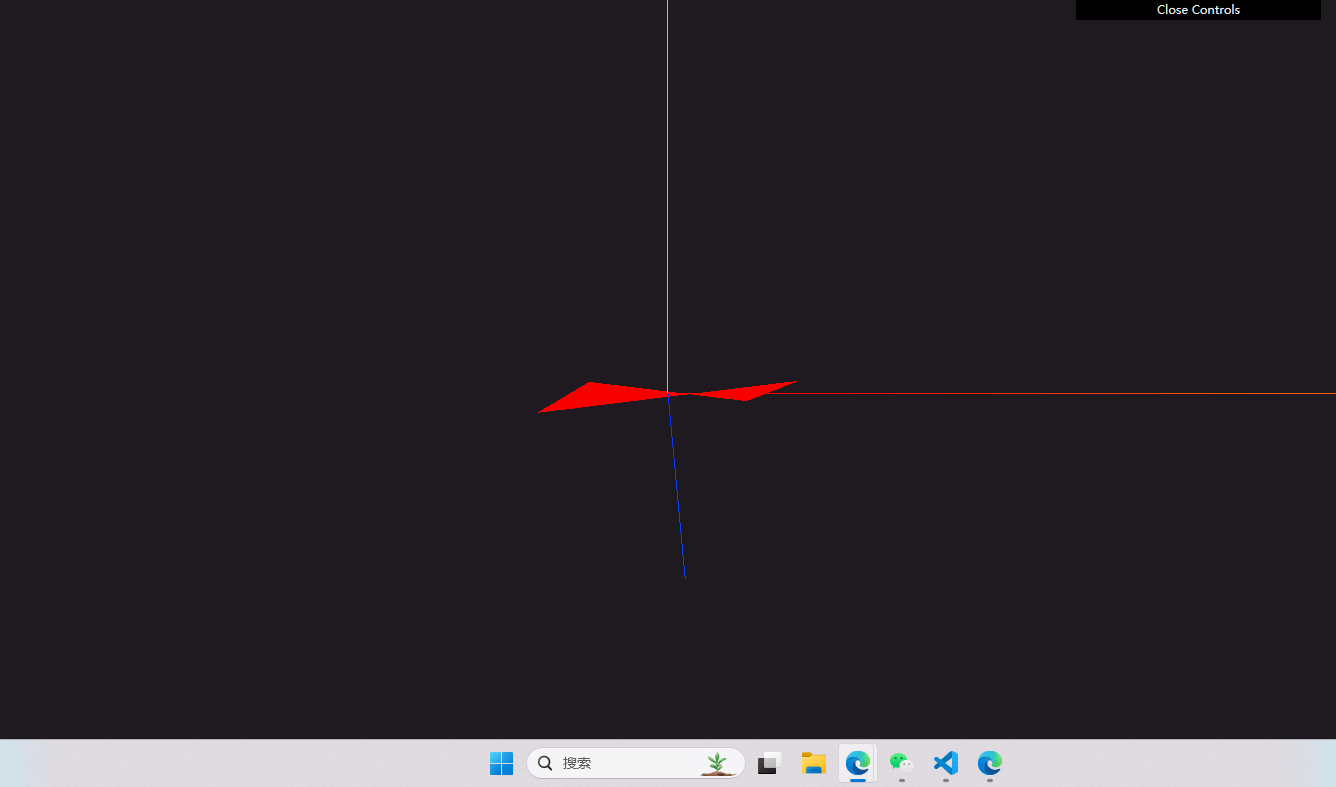
添加双面可视

1
2
3
4
5
const shaderMaterial = new THREE.ShaderMaterial({
vertexShader: vertexShader,
fragmentShader: fragmentShader,
side: THREE.DoubleSide,
});

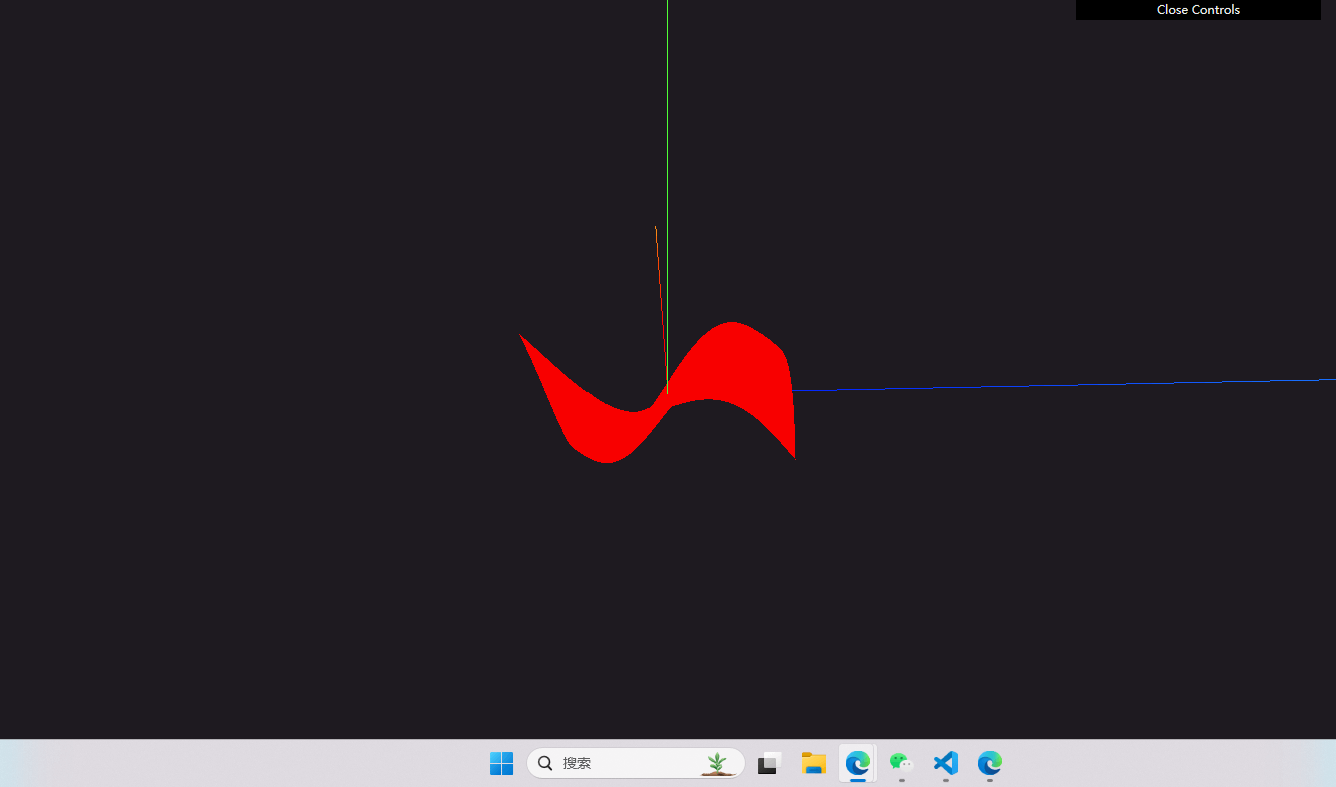
使用sin函数生成波纹

使用sin函数让顶点着色器高低有变化

1
2
3
4
5
6
void main(){
vec4 modelPosition = modelMatrix * vec4(position,1.0);
float elevation = sin(modelPosition.x*0.5)*sin(modelPosition.z*0.5);
modelPosition.y += elevation;
gl_Position = projectionMatrix * viewMatrix *modelPosition;
}

效果图

使用nocice噪声生成波纹

将bookshader中的noise函数拷贝到fragment.glsl中

1
2
3
4
5
6
7
8
9
10
11
12
13
14
15
16
17
18
19
20
21
22
23
24
25
26
27
28
29
30
31
32
33
34
35
36
37
38
39
40
41
42
43
44
// 开启低精度,减少计算量
precision lowp float;
vec4 permute(vec4 x)
{
return mod(((x*34.0)+1.0)*x, 289.0);
}

vec2 fade(vec2 t)
{
return t*t*t*(t*(t*6.0-15.0)+10.0);
}

float cnoise(vec2 P)
{
vec4 Pi = floor(P.xyxy) + vec4(0.0, 0.0, 1.0, 1.0);
vec4 Pf = fract(P.xyxy) - vec4(0.0, 0.0, 1.0, 1.0);
Pi = mod(Pi, 289.0); // To avoid truncation effects in permutation
vec4 ix = Pi.xzxz;
vec4 iy = Pi.yyww;
vec4 fx = Pf.xzxz;
vec4 fy = Pf.yyww;
vec4 i = permute(permute(ix) + iy);
vec4 gx = 2.0 * fract(i * 0.0243902439) - 1.0; // 1/41 = 0.024...
vec4 gy = abs(gx) - 0.5;
vec4 tx = floor(gx + 0.5);
gx = gx - tx;
vec2 g00 = vec2(gx.x,gy.x);
vec2 g10 = vec2(gx.y,gy.y);
vec2 g01 = vec2(gx.z,gy.z);
vec2 g11 = vec2(gx.w,gy.w);
vec4 norm = 1.79284291400159 - 0.85373472095314 * vec4(dot(g00, g00), dot(g01, g01), dot(g10, g10), dot(g11, g11));
g00 *= norm.x;
g01 *= norm.y;
g10 *= norm.z;
g11 *= norm.w;
float n00 = dot(g00, vec2(fx.x, fy.x));
float n10 = dot(g10, vec2(fx.y, fy.y));
float n01 = dot(g01, vec2(fx.z, fy.z));
float n11 = dot(g11, vec2(fx.w, fy.w));
vec2 fade_xy = fade(Pf.xy);
vec2 n_x = mix(vec2(n00, n01), vec2(n10, n11), fade_xy.x);
float n_xy = mix(n_x.x, n_x.y, fade_xy.y);
return 2.3 * n_xy;
}

顶点着色器main函数中添加根据噪声生成的高度

1
elevation += cnoise(vec2(modelPosition.xz));

效果图

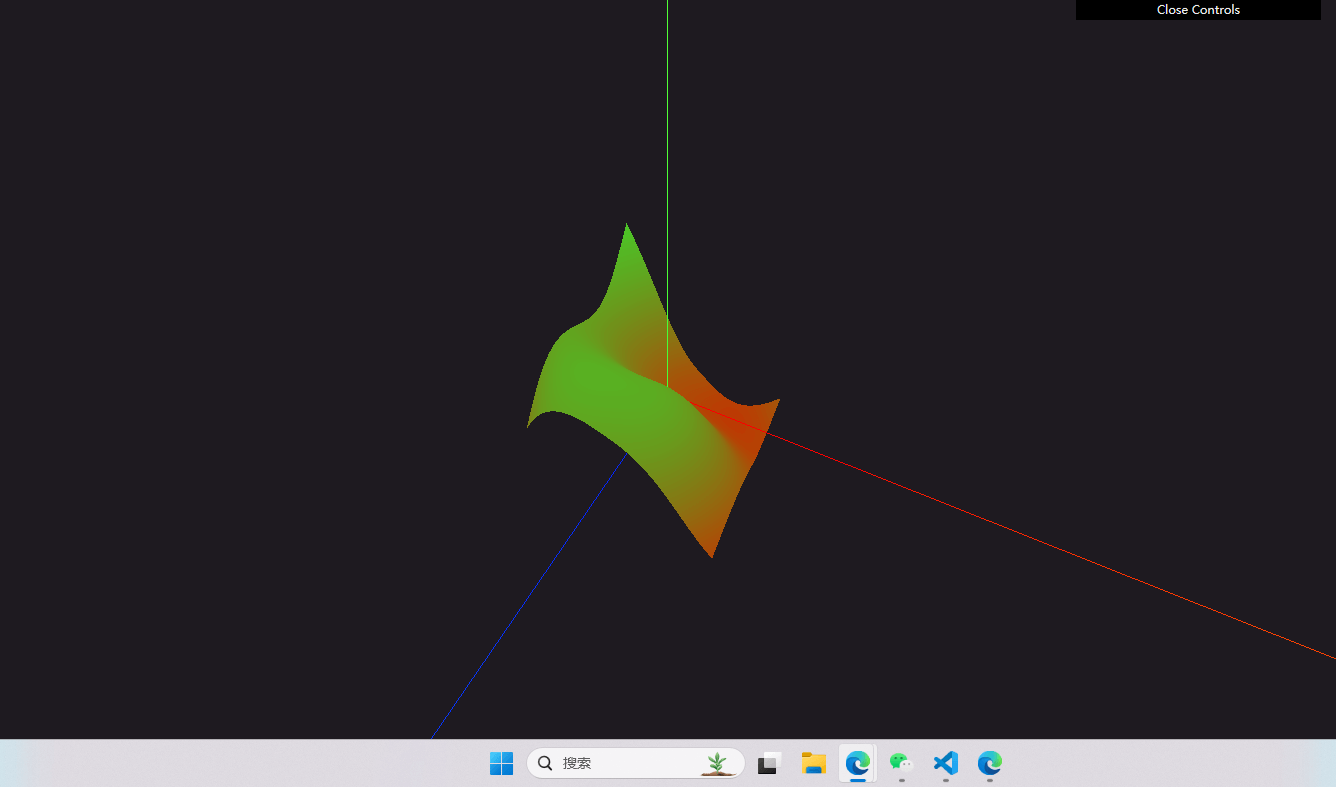
根据高低生成高低的不同颜色

在顶点着色器中把高低的参数传出去

  1. 在顶点着色器中定义一个varying变量
    1
    2
    // 计算出的高度传递给片元着色器
    varying float vElevation;
  2. main函数中赋值
    1
    vElevation = elevation;

在片元着色器中接受这个高度变量

1
2
3
4
5
6
7
8
varying float vElevation;
void main(){
float a = (vElevation+1.0)/2.0;
vec3 uLowColor=vec3(1.0,0.0,0.0);
vec3 uHighColor=vec3(0.0,1.0,0.0);
vec3 color = mix(uLowColor,uHighColor,a);
gl_FragColor = vec4(color,1.0);
}

效果图

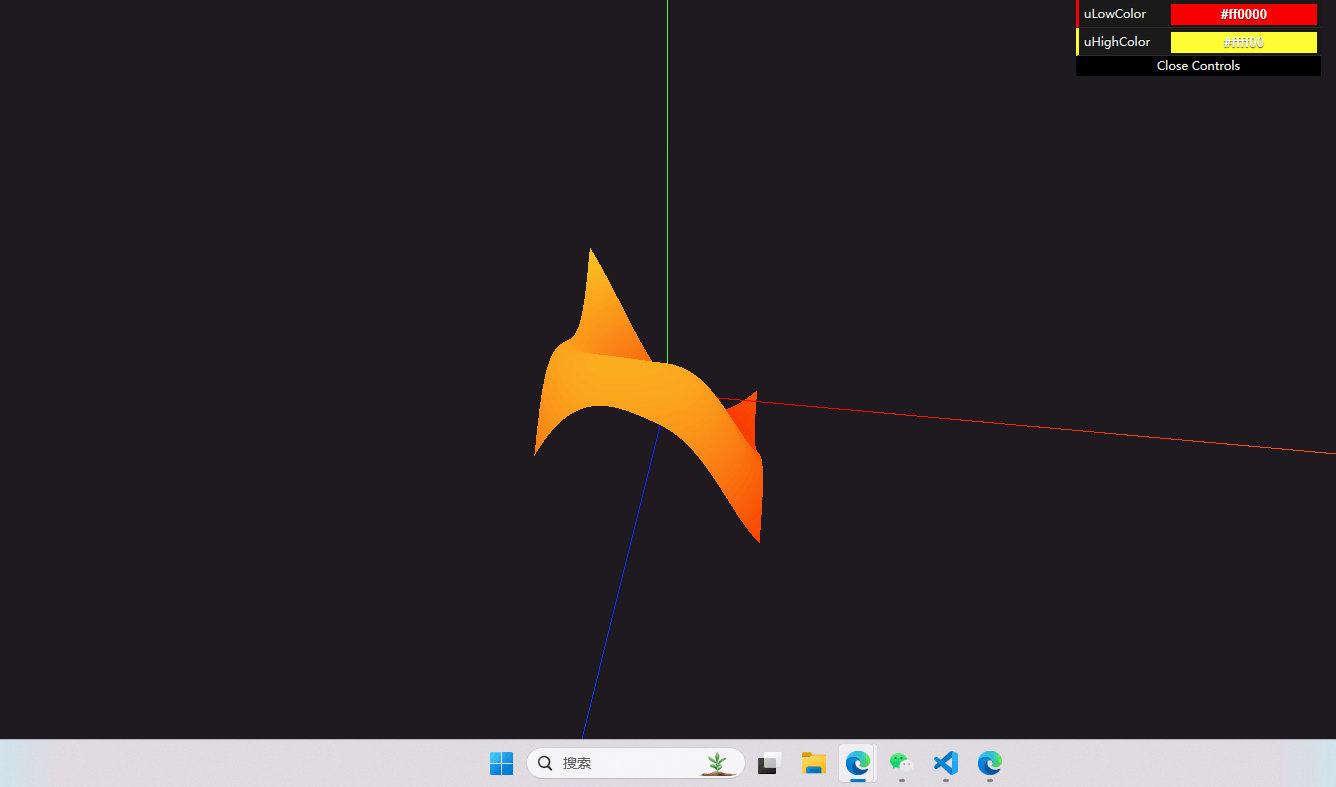
通过gui调整

这时候我们已经生成了一个基本的水面,但是我们想要调整一些参数,这时候我们可以使用dat.gui来调整参数

调整高低处的颜色

在main.js中

1
2
3
4
5
6
7
8
9
10
11
12
13
14
15
16
17
18
19
20
21
22
23
24
const params = {
uLowColor: "#ff0000",
uHighColor: "#ffff00",
};
const shaderMaterial = new THREE.ShaderMaterial({
vertexShader: vertexShader,
fragmentShader: fragmentShader,
side: THREE.DoubleSide,
uniforms: {
uLowColor: {
value: new THREE.Color(params.uLowColor),
},
uHighColor: {
value: new THREE.Color(params.uHighColor),
},
},
});

gui.addColor(params, "uLowColor").onFinishChange((value) => {
shaderMaterial.uniforms.uLowColor.value = new THREE.Color(value);
});
gui.addColor(params, "uHighColor").onFinishChange((value) => {
shaderMaterial.uniforms.uHighColor.value = new THREE.Color(value);
});

在片元着色器中

1
2
3
4
5
6
7
8
9
precision lowp float;
uniform vec3 uHighColor;
uniform vec3 uLowColor;
varying float vElevation;
void main(){
float a = (vElevation+1.0)/2.0;
vec3 color = mix(uLowColor,uHighColor,a);
gl_FragColor = vec4(color,1.0);
}

效果图

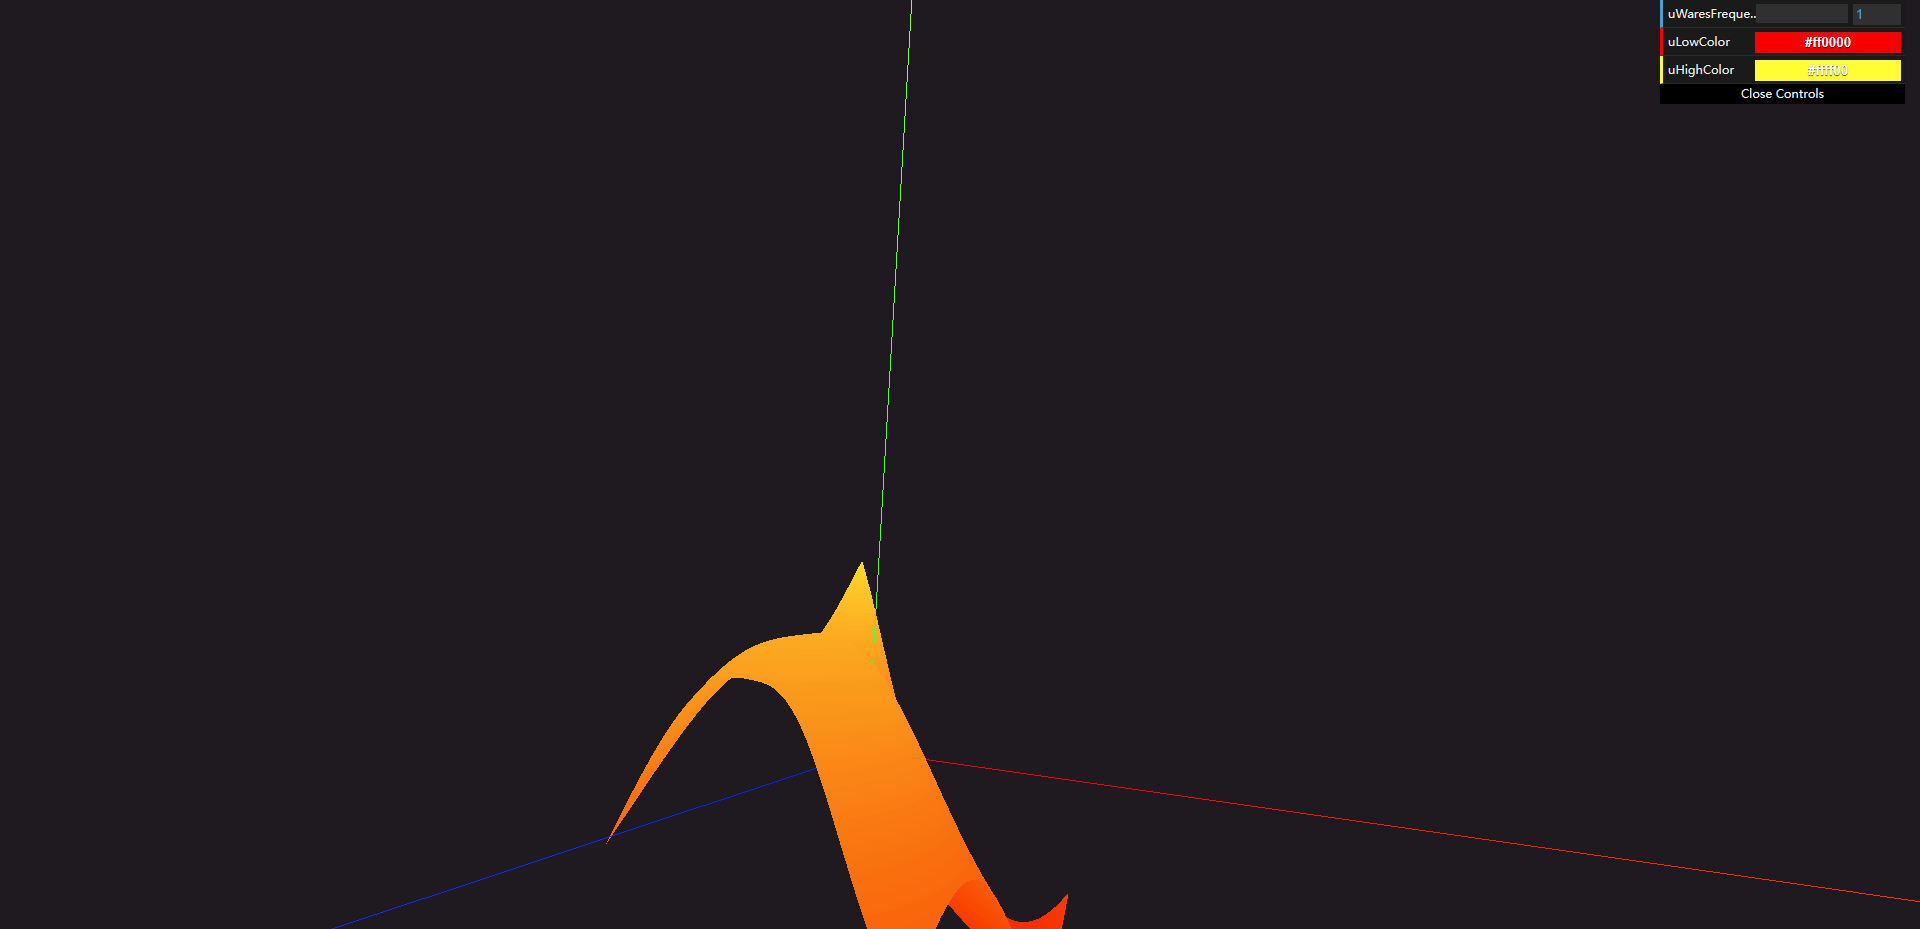
调整波纹的频率

在main.js中

1
2
3
4
5
6
7
8
9
10
11
12
13
14
15
16
17
18
19
20
21
22
23
24
25
26
27
28
29
30
const params = {
uLowColor: "#ff0000",
uHighColor: "#ffff00",
uWaresFrequency: 14,
};
const shaderMaterial = new THREE.ShaderMaterial({
vertexShader: vertexShader,
fragmentShader: fragmentShader,
side: THREE.DoubleSide,
uniforms: {
uLowColor: {
value: new THREE.Color(params.uLowColor),
},
uHighColor: {
value: new THREE.Color(params.uHighColor),
},
uWaresFrequency: {
value: params.uWaresFrequency,
},
},
});

gui
.add(params, "uWaresFrequency")
.min(1)
.max(100)
.step(0.1)
.onChange((value) => {
shaderMaterial.uniforms.uWaresFrequency.value = value;
});

在顶点着色器中

1
2
3
4
5
6
7
8
9
uniform float uWaresFrequency;
void main(){
vec4 modelPosition = modelMatrix * vec4(position,1.0);
float elevation = sin(modelPosition.x*uWaresFrequency)*sin(modelPosition.z*uWaresFrequency);
elevation += cnoise(vec2(modelPosition.xz));
vElevation = elevation;
modelPosition.y += elevation;
gl_Position = projectionMatrix * viewMatrix *modelPosition;
}

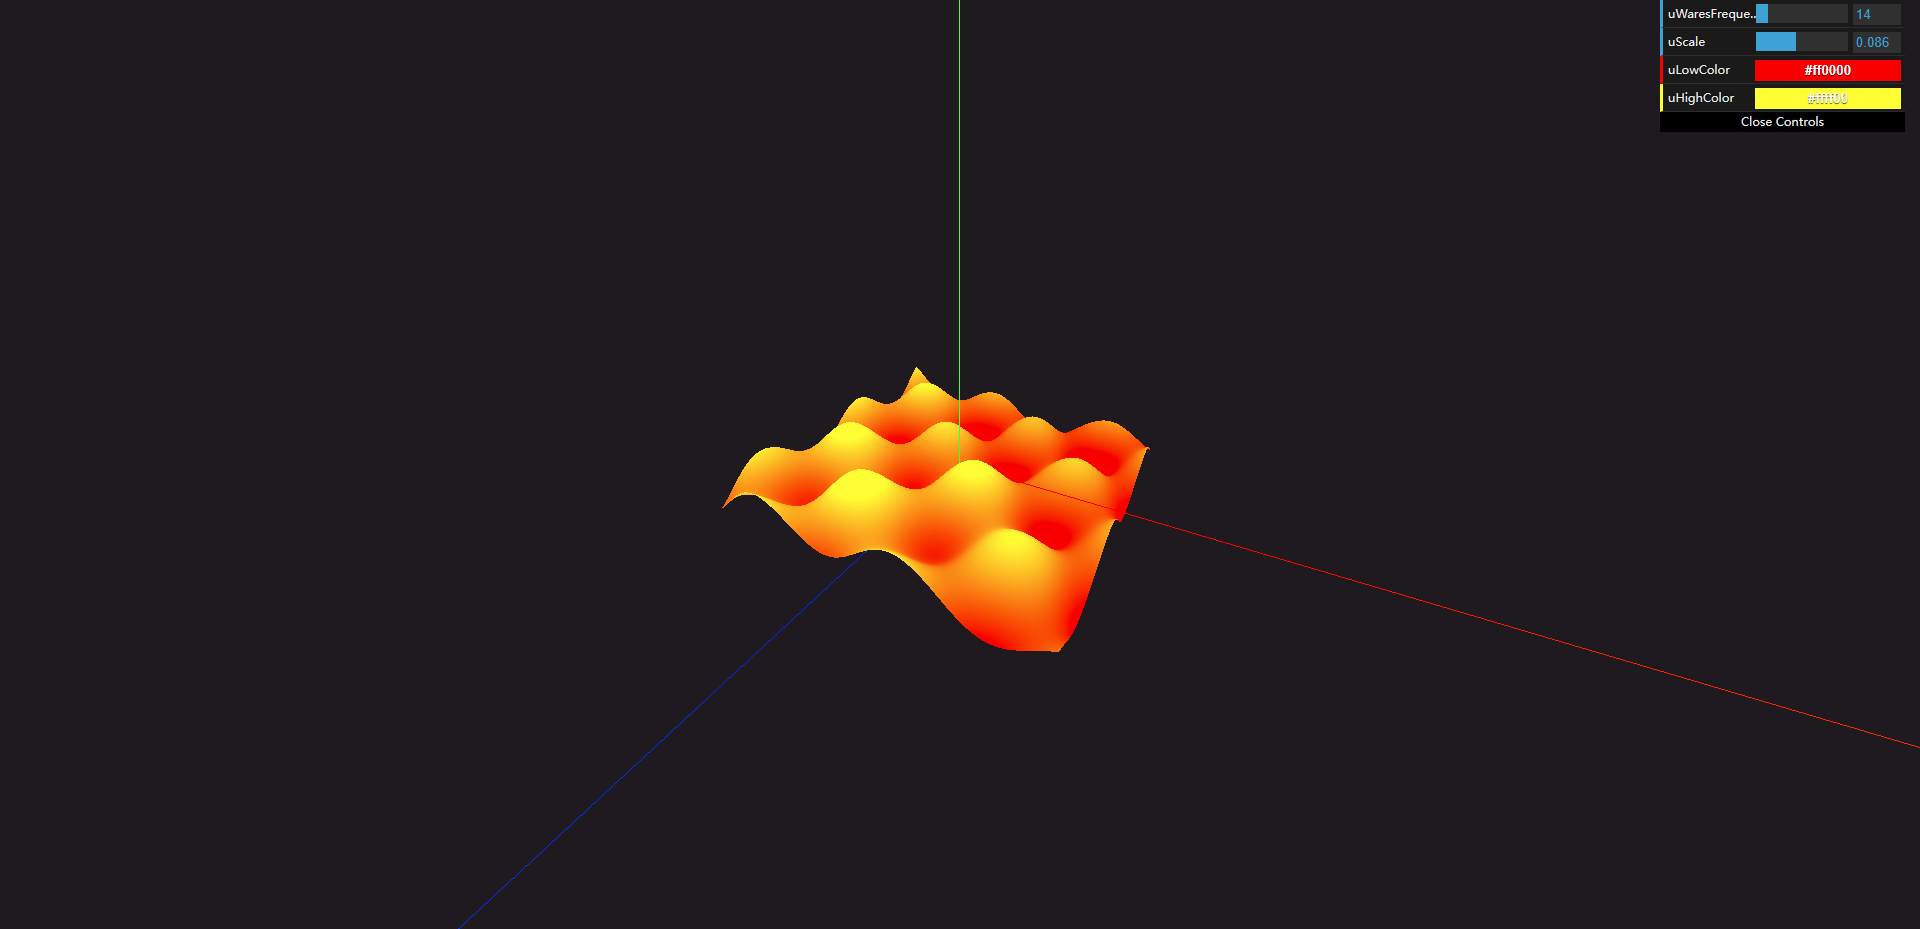
效果图

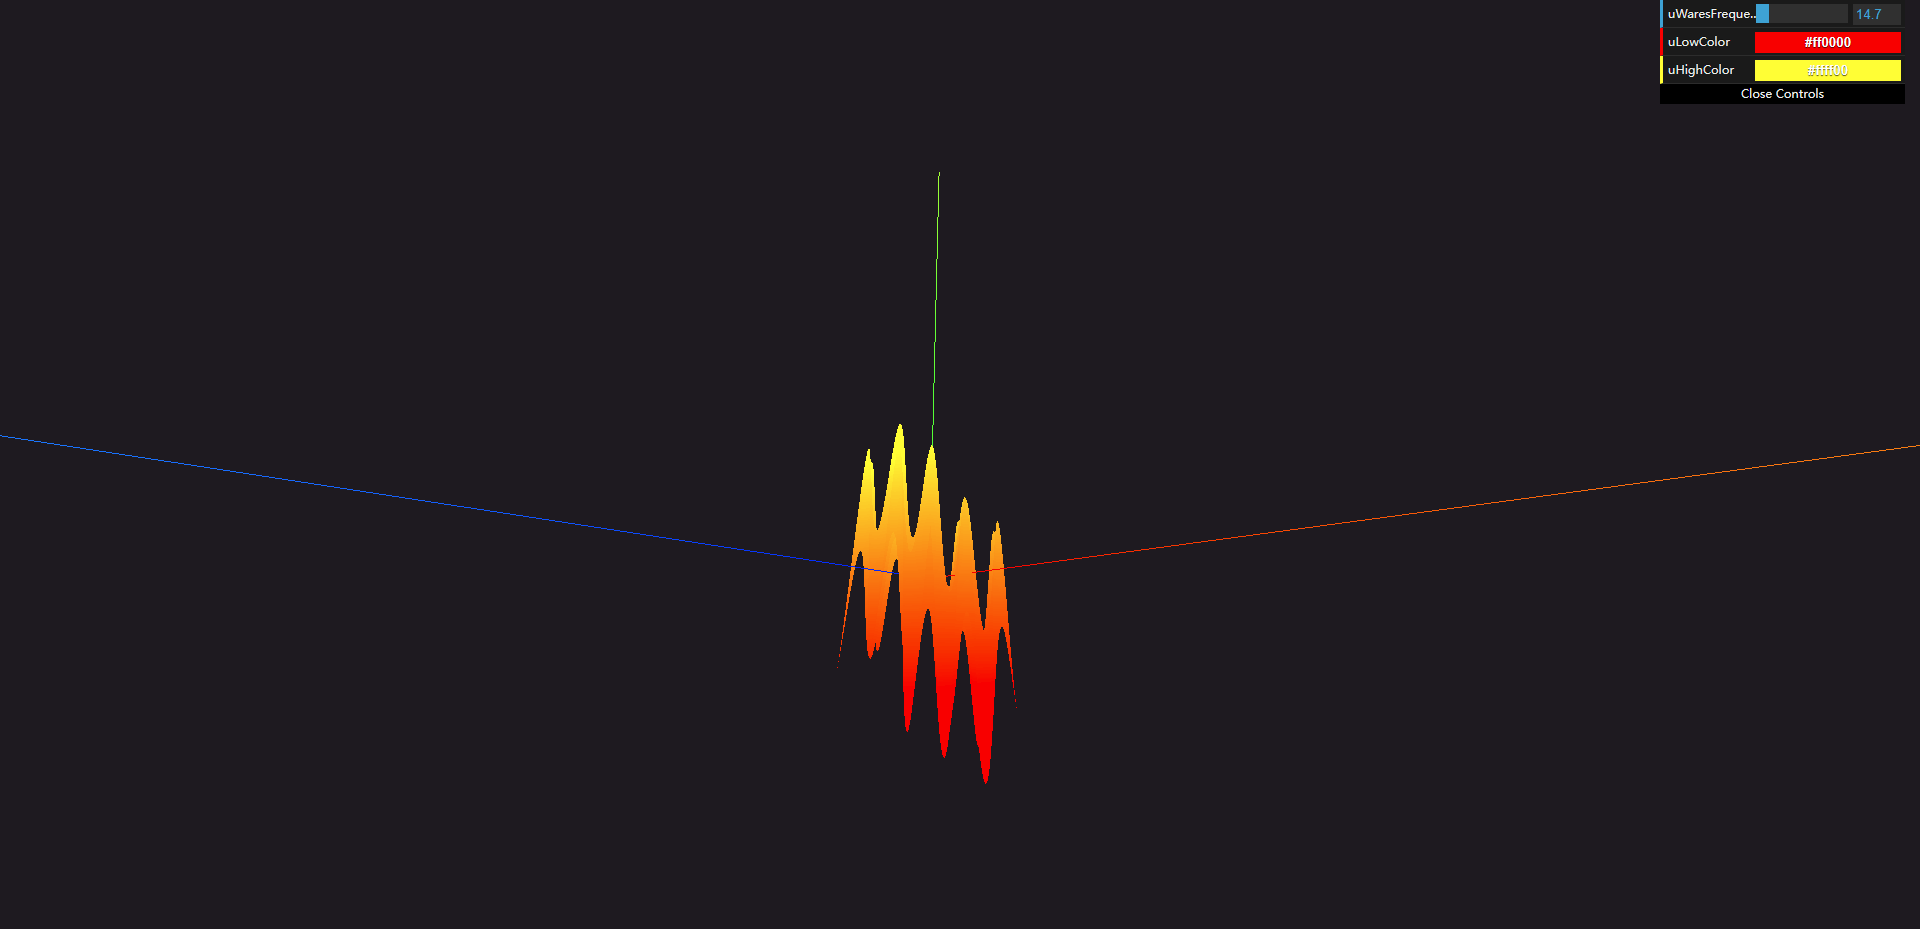
让我们调整下频率
效果图

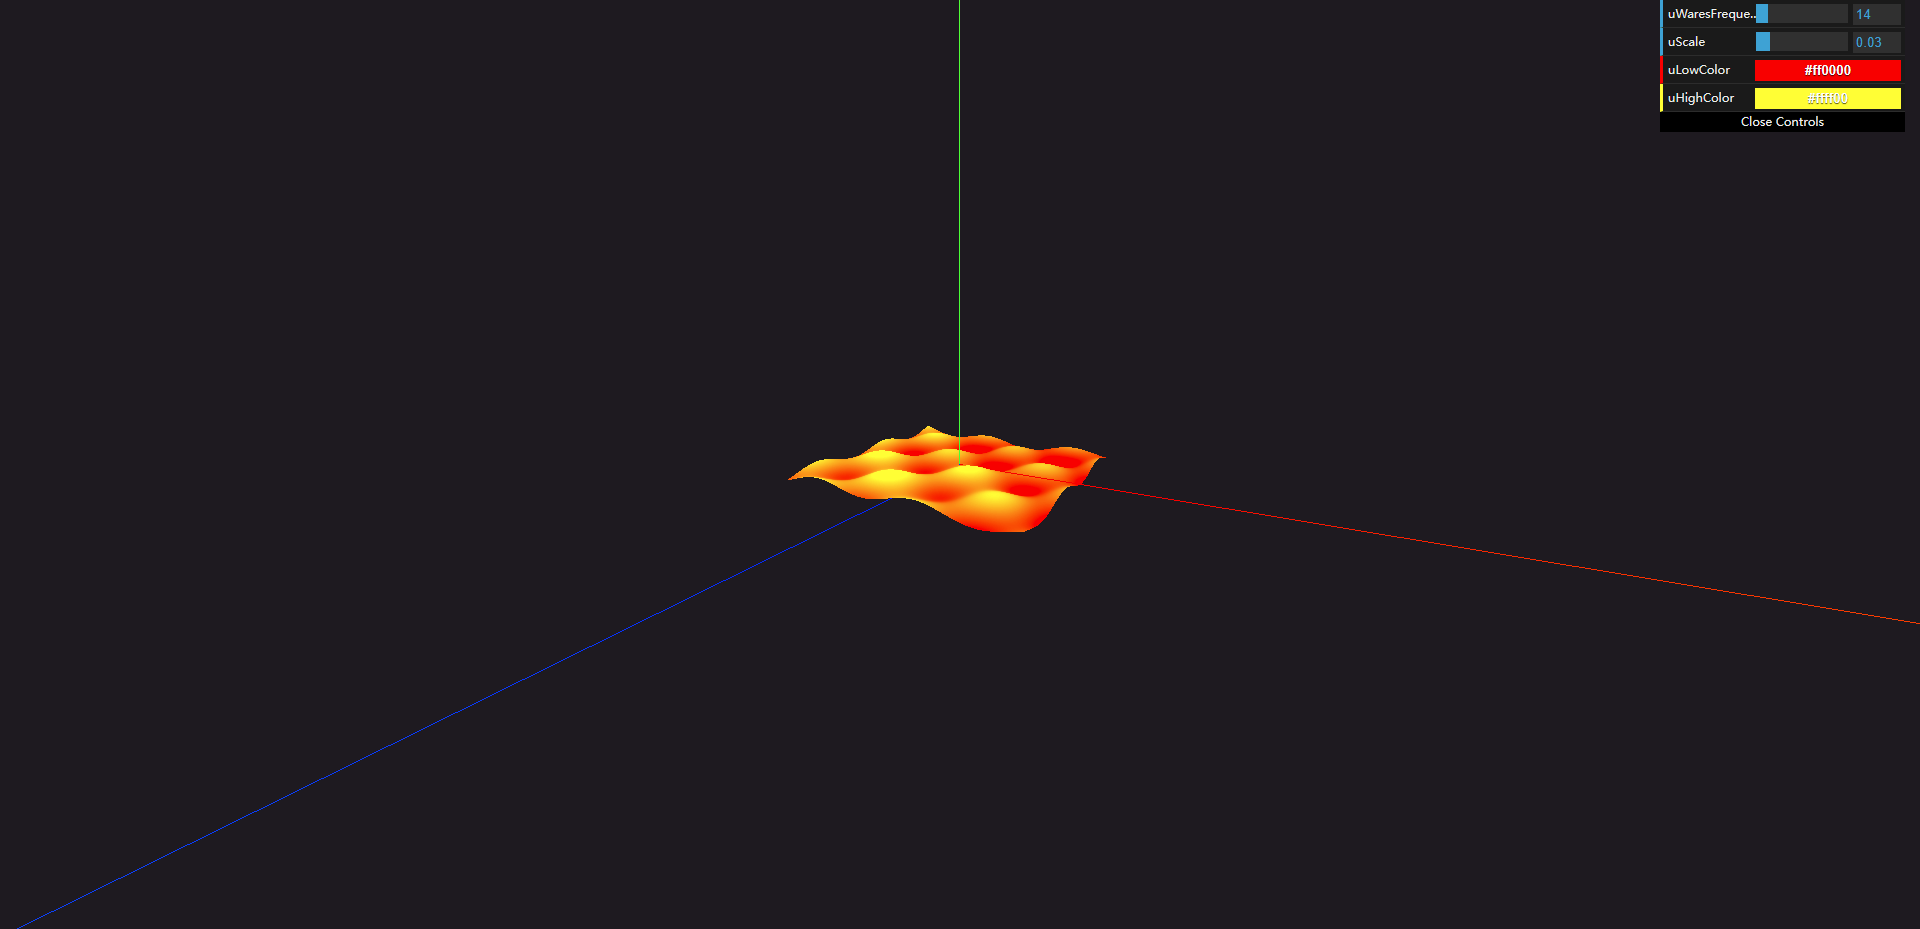
添加波纹比例

在main.js中,步骤和上面都一样,我就简写了

1
2
3
4
5
6
7
8
9
10
11
12
13
14
15
16
    //param中
uScale: 0.03,
// 材质uniforms中
uScale: {
value: params.uScale,
},

// gui添加
gui
.add(params, "uScale")
.min(0)
.max(0.2)
.step(0.001)
.onChange((value) => {
shaderMaterial.uniforms.uScale.value = value;
});

在顶点着色器中

1
2
3
4
5
6
7
8
9
10
11
uniform float uScale;
void main(){
vec4 modelPosition = modelMatrix * vec4(position,1.0);
float elevation = sin(modelPosition.x*uWaresFrequency)*sin(modelPosition.z*uWaresFrequency);
elevation += cnoise(vec2(modelPosition.xz));

vElevation = elevation;
elevation *= uScale;
modelPosition.y += elevation;
gl_Position = projectionMatrix * viewMatrix *modelPosition;
}

效果图

让我们调整下比例
效果图

添加噪声频率和比例

在main.js中

1
2
3
4
5
6
7
8
9
10
11
12
13
14
15
16
17
18
19
20
21
22
23
24
25
26
27
28
    //param中
uNoiseFrequency: 10,
uNoiseScale: 1.5,
// 材质uniforms中
uNoiseFrequency: {
value: params.uNoiseFrequency,
},
uNoiseScale: {
value: params.uNoiseScale,
},
// gui添加
gui
.add(params, "uNoiseFrequency")
.min(1)
.max(100)
.step(0.1)
.onChange((value) => {
shaderMaterial.uniforms.uNoiseFrequency.value = value;
});

gui
.add(params, "uNoiseScale")
.min(0)
.max(5)
.step(0.001)
.onChange((value) => {
shaderMaterial.uniforms.uNoiseScale.value = value;
});

在顶点着色器中

1
2
3
4
5
6
7
8
9
10
11
12
uniform float uNoiseFrequency;
uniform float uNoiseScale;
void main(){
vec4 modelPosition = modelMatrix * vec4(position,1.0);
float elevation = sin(modelPosition.x*uWaresFrequency)*sin(modelPosition.z*uWaresFrequency);
elevation += (cnoise(vec2(modelPosition.xz*uNoiseFrequency))) *uNoiseScale;

vElevation = elevation;
elevation *= uScale;
modelPosition.y += elevation;
gl_Position = projectionMatrix * viewMatrix *modelPosition;
}

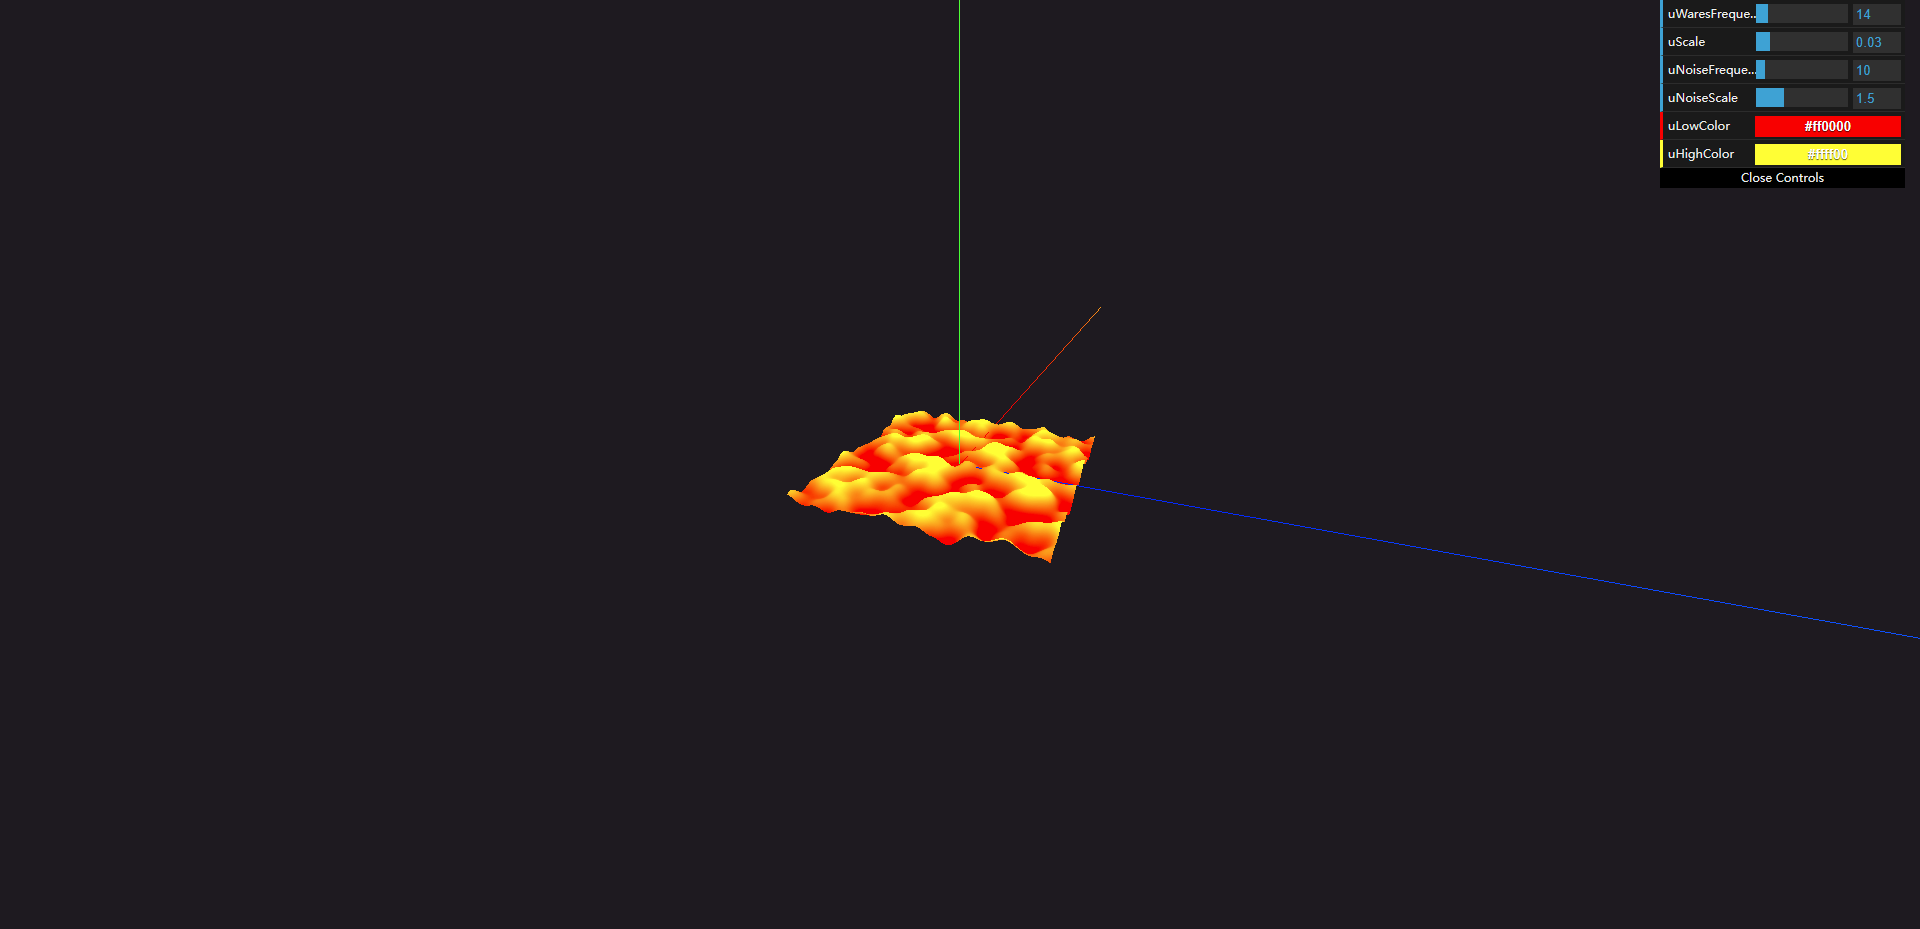
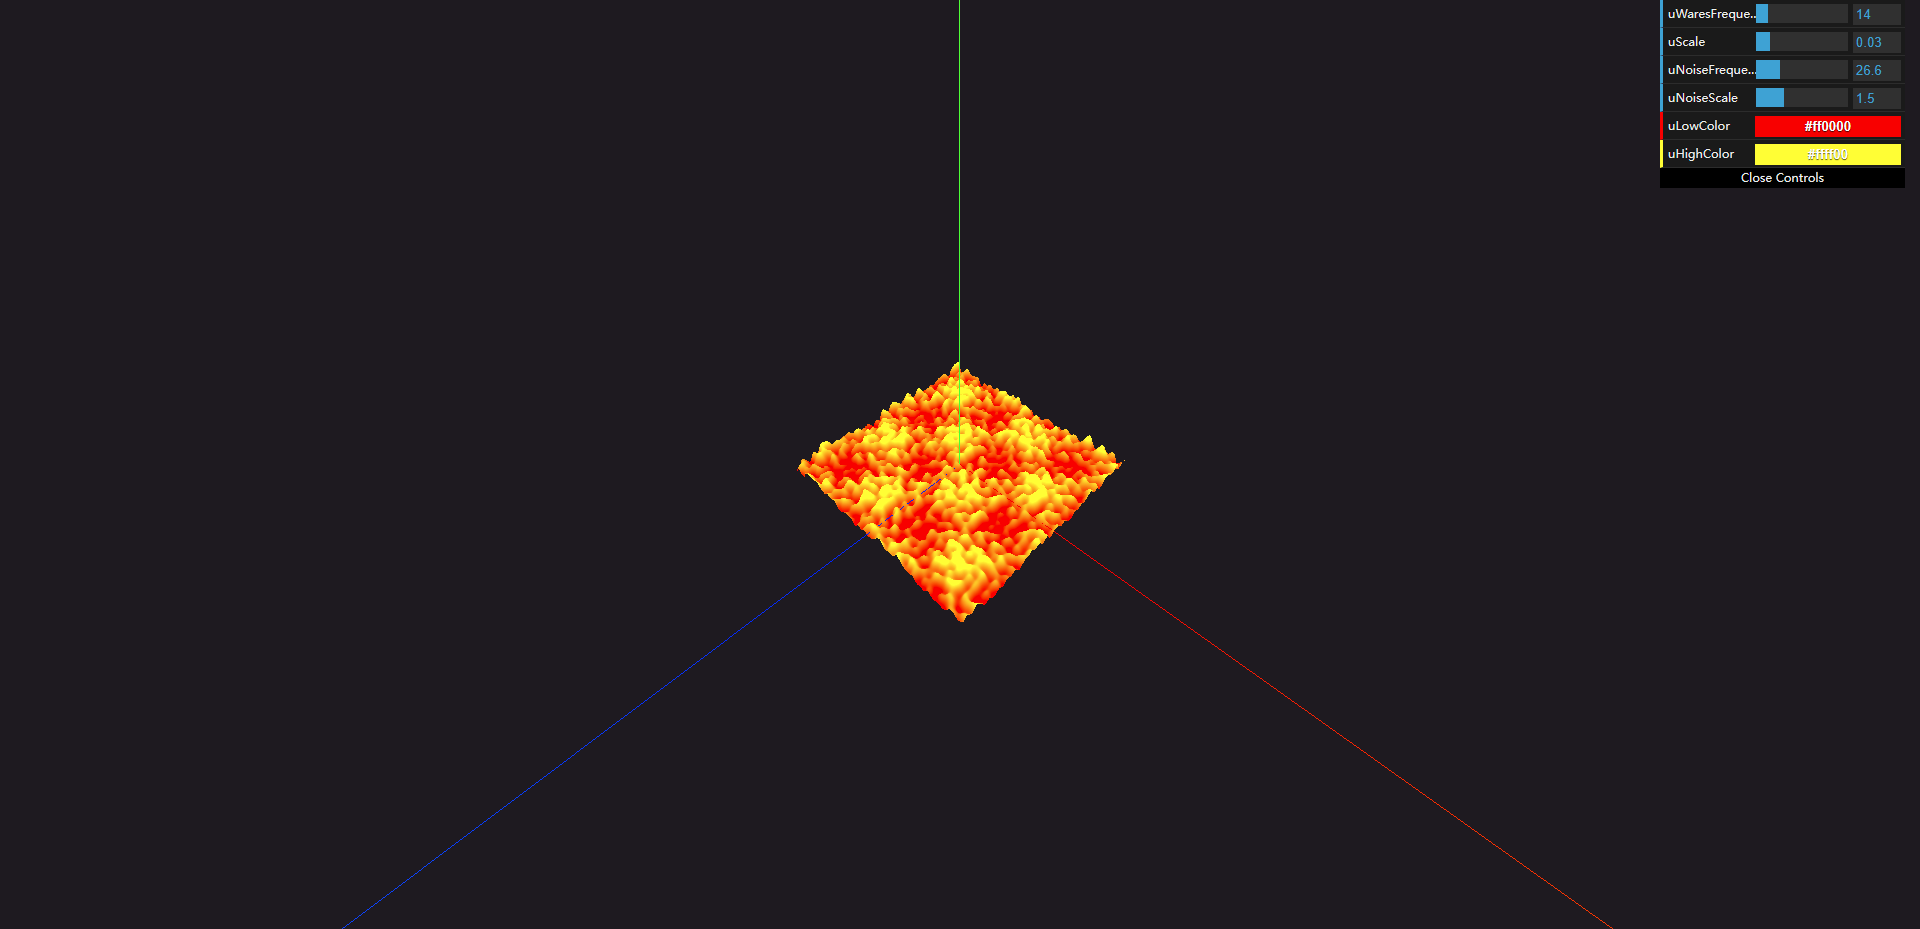
效果图
让我们调整下比例
效果图

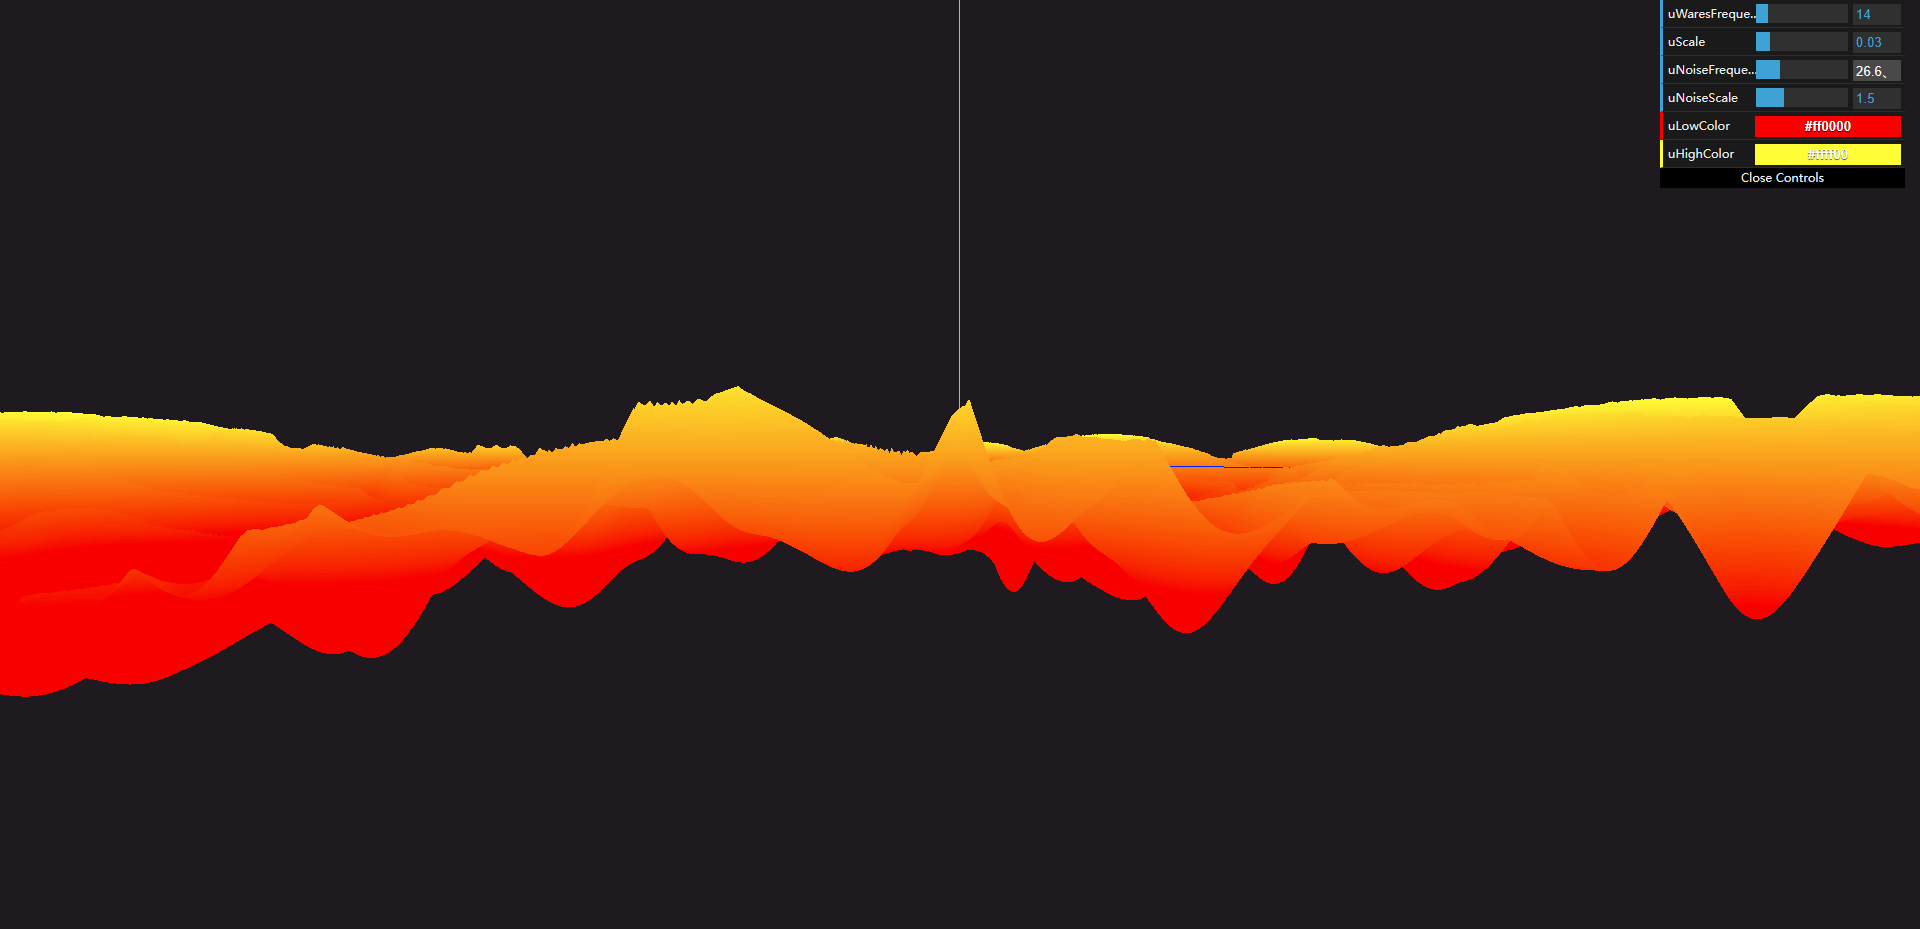
波形尖锐

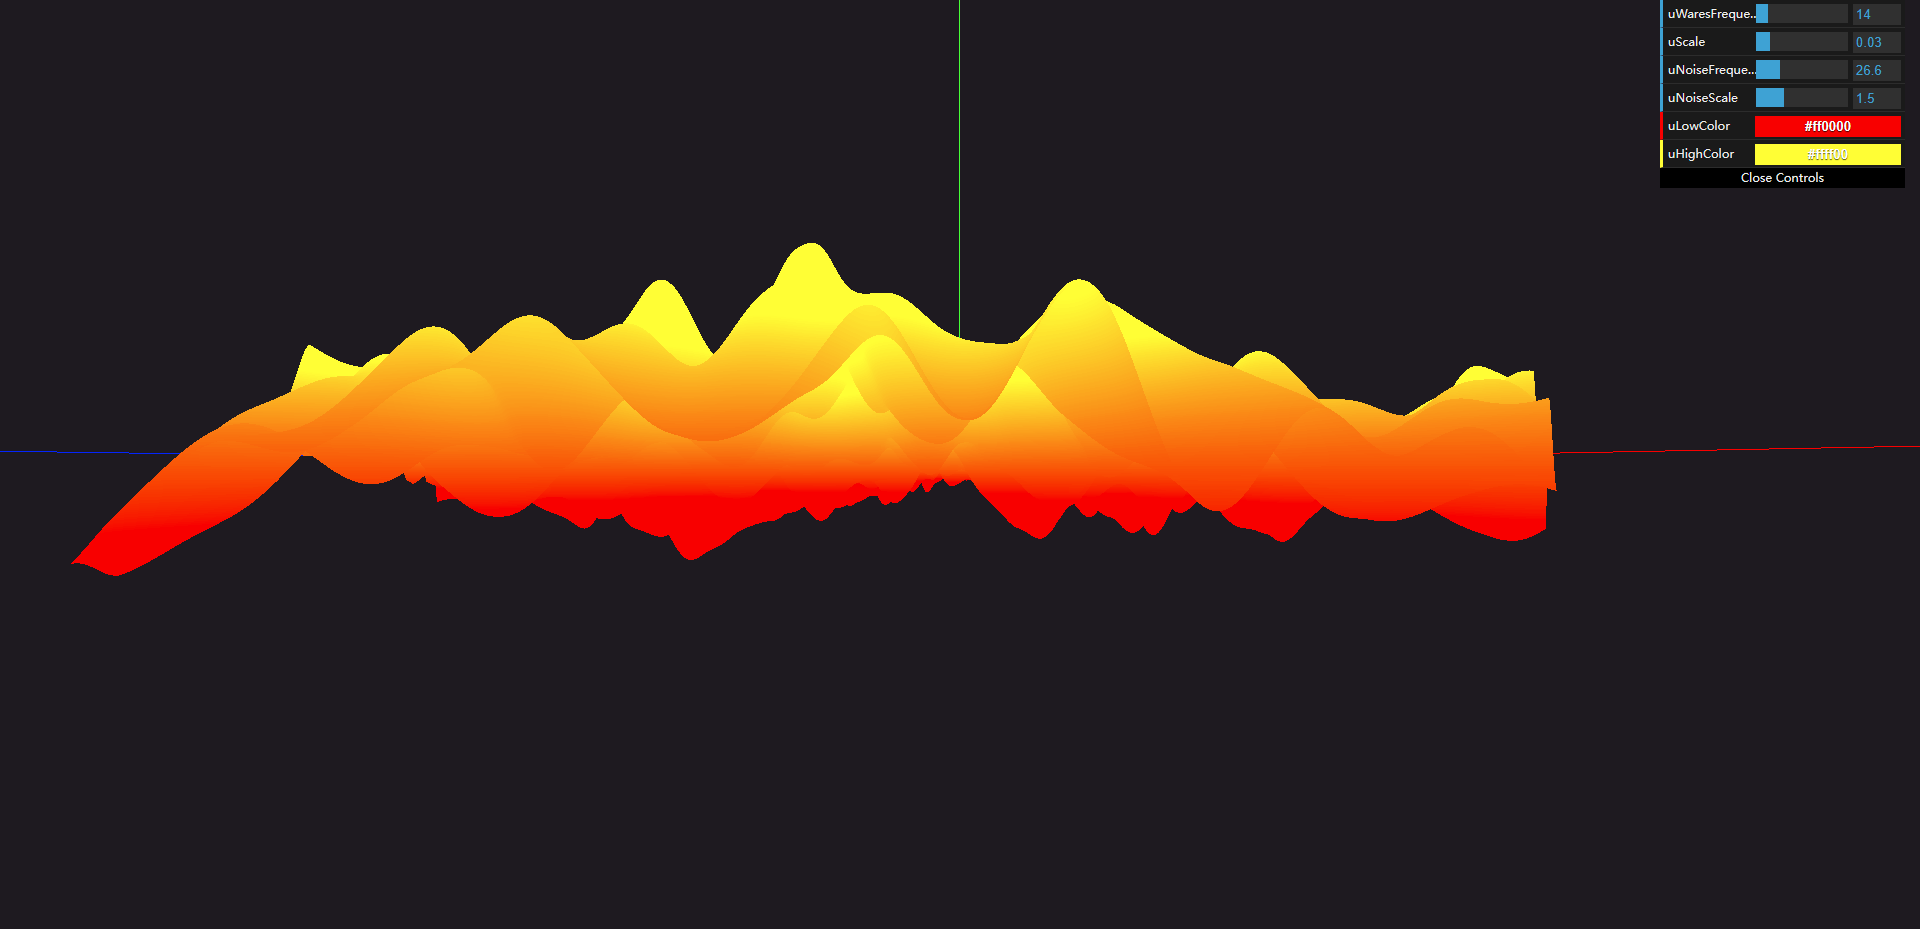
目前我们可以看出来,波纹是圆滑的,我们可以通过下面的方式让波纹变得尖锐
效果图
因为我们的波浪是一个sin函数,而sin函数的曲线大家脑子里面肯定有概念,是一个波浪形的,因此就会每个点都很圆润,如果我们使用绝对值,那么sin函数曲线在y等于0的点,就会有一个很尖锐的点。
在顶点着色器中

1
elevation += -abs((cnoise(vec2(modelPosition.xz*uNoiseFrequency)))) *uNoiseScale;

效果图

添加其他参数

1
2
3
4
5
6
7
8
9
10
11
12
13
14
15
16
17
18
19
20
21
22
23
24
25
26
27
28
29
30
31
32
33
34
35
36
37
38
39
40
41
42
43
44
45
46
47
48
49
50
51
52
53
54
55
56
57
58
59
60
61
62
63
64
65
66
67
68
69
70
71
72
73
74
75
76
77
78
79
80
81
82
83
84
85
86
87
88
89
90
91
92
93
94
95
96
97
98
99
100
101
102
103
104
105
106
107
108
109
110
111
112
113
114
115
116
117
118
119
120
121
122
123
124
125
126
127
128
129
130
131
132
133
134
135
136
137
138
139
140
141
142
143
144
145
const params = {
uWaresFrequency: 14,
uScale: 0.03,
uXzScale: 1.5,
uNoiseFrequency: 10,
uNoiseScale: 1.5,
uLowColor: "#ff0000",
uHighColor: "#ffff00",
uXspeed: 1,
uZspeed: 1,
uNoiseSpeed: 1,
uOpacity: 1,
};
// shader
const shaderMaterial = new THREE.ShaderMaterial({
vertexShader: vertexShader,
fragmentShader: fragmentShader,
side: THREE.DoubleSide,
uniforms: {
uWaresFrequency: {
value: params.uWaresFrequency,
},
uScale: {
value: params.uScale,
},
uNoiseFrequency: {
value: params.uNoiseFrequency,
},
uNoiseScale: {
value: params.uNoiseScale,
},
uXzScale: {
value: params.uXzScale,
},
uTime: {
value: params.uTime,
},
uLowColor: {
value: new THREE.Color(params.uLowColor),
},
uHighColor: {
value: new THREE.Color(params.uHighColor),
},
uXspeed: {
value: params.uXspeed,
},
uZspeed: {
value: params.uZspeed,
},
uNoiseSpeed: {
value: params.uNoiseSpeed,
},
uOpacity: {
value: params.uOpacity,
},
},
transparent: true,
});
gui
.add(params, "uWaresFrequency")
.min(1)
.max(100)
.step(0.1)
.onChange((value) => {
shaderMaterial.uniforms.uWaresFrequency.value = value;
});

gui
.add(params, "uScale")
.min(0)
.max(0.2)
.step(0.001)
.onChange((value) => {
shaderMaterial.uniforms.uScale.value = value;
});

gui
.add(params, "uNoiseFrequency")
.min(1)
.max(100)
.step(0.1)
.onChange((value) => {
shaderMaterial.uniforms.uNoiseFrequency.value = value;
});

gui
.add(params, "uNoiseScale")
.min(0)
.max(5)
.step(0.001)
.onChange((value) => {
shaderMaterial.uniforms.uNoiseScale.value = value;
});

gui
.add(params, "uXzScale")
.min(0)
.max(5)
.step(0.1)
.onChange((value) => {
shaderMaterial.uniforms.uXzScale.value = value;
});

gui.addColor(params, "uLowColor").onFinishChange((value) => {
shaderMaterial.uniforms.uLowColor.value = new THREE.Color(value);
});
gui.addColor(params, "uHighColor").onFinishChange((value) => {
shaderMaterial.uniforms.uHighColor.value = new THREE.Color(value);
});

gui
.add(params, "uXspeed")
.min(0)
.max(5)
.step(0.001)
.onChange((value) => {
shaderMaterial.uniforms.uXspeed.value = value;
});

gui
.add(params, "uZspeed")
.min(0)
.max(5)
.step(0.001)
.onChange((value) => {
shaderMaterial.uniforms.uZspeed.value = value;
});

gui
.add(params, "uNoiseSpeed")
.min(0)
.max(5)
.step(0.001)
.onChange((value) => {
shaderMaterial.uniforms.uNoiseSpeed.value = value;
});

gui
.add(params, "uOpacity")
.min(0)
.max(1)
.step(0.01)
.onChange((value) => {
shaderMaterial.uniforms.uOpacity.value = value;
});
1
2
3
4
5
6
7
8
9
10
11
12
13
14
15
16
17
18
19
20
21
22
23
24
25
26
27
28
29
30
31
32
33
34
35
36
37
38
39
40
41
42
43
44
45
46
47
48
49
50
51
52
53
54
55
56
57
58
59
60
61
62
63
64
65
66
67
68
69
70
71
72
73
74
75
76
77
precision lowp float;
uniform float uWaresFrequency;
uniform float uScale;
uniform float uNoiseFrequency;
uniform float uNoiseScale;
uniform float uXzScale;
uniform float uXspeed;
uniform float uZspeed;
uniform float uNoiseSpeed;

// 计算出的高度传递给片元着色器
varying float vElevation;

// Classic Perlin 2D Noise
// by Stefan Gustavson
//
vec4 permute(vec4 x)
{
return mod(((x*34.0)+1.0)*x, 289.0);
}

vec2 fade(vec2 t)
{
return t*t*t*(t*(t*6.0-15.0)+10.0);
}

float cnoise(vec2 P)
{
vec4 Pi = floor(P.xyxy) + vec4(0.0, 0.0, 1.0, 1.0);
vec4 Pf = fract(P.xyxy) - vec4(0.0, 0.0, 1.0, 1.0);
Pi = mod(Pi, 289.0); // To avoid truncation effects in permutation
vec4 ix = Pi.xzxz;
vec4 iy = Pi.yyww;
vec4 fx = Pf.xzxz;
vec4 fy = Pf.yyww;
vec4 i = permute(permute(ix) + iy);
vec4 gx = 2.0 * fract(i * 0.0243902439) - 1.0; // 1/41 = 0.024...
vec4 gy = abs(gx) - 0.5;
vec4 tx = floor(gx + 0.5);
gx = gx - tx;
vec2 g00 = vec2(gx.x,gy.x);
vec2 g10 = vec2(gx.y,gy.y);
vec2 g01 = vec2(gx.z,gy.z);
vec2 g11 = vec2(gx.w,gy.w);
vec4 norm = 1.79284291400159 - 0.85373472095314 * vec4(dot(g00, g00), dot(g01, g01), dot(g10, g10), dot(g11, g11));
g00 *= norm.x;
g01 *= norm.y;
g10 *= norm.z;
g11 *= norm.w;
float n00 = dot(g00, vec2(fx.x, fy.x));
float n10 = dot(g10, vec2(fx.y, fy.y));
float n01 = dot(g01, vec2(fx.z, fy.z));
float n11 = dot(g11, vec2(fx.w, fy.w));
vec2 fade_xy = fade(Pf.xy);
vec2 n_x = mix(vec2(n00, n01), vec2(n10, n11), fade_xy.x);
float n_xy = mix(n_x.x, n_x.y, fade_xy.y);
return 2.3 * n_xy;
}


void main(){
vec4 modelPosition = modelMatrix * vec4(position,1.0);

float elevation = sin(modelPosition.x*uWaresFrequency+uXspeed)*sin(modelPosition.z*uWaresFrequency*uXzScale+uZspeed);

elevation += -abs(cnoise(vec2(modelPosition.xz*uNoiseFrequency+uNoiseSpeed))) *uNoiseScale;

vElevation = elevation;

elevation *= uScale;


modelPosition.y += elevation;

gl_Position = projectionMatrix * viewMatrix *modelPosition;
}

添加时间函数流动起来

main.js

1
2
3
4
5
6
7
8
const clock = new THREE.Clock();
function animate(t) {
const elapsedTime = clock.getElapsedTime();
shaderMaterial.uniforms.uTime.value = elapsedTime;
requestAnimationFrame(animate);
// 使用渲染器渲染相机看这个场景的内容渲染出来
renderer.render(scene, camera);
}

顶点着色器

1
2
3
4
5
6
7
8
9
10
11
12
13
14
15
16
17
void main(){
vec4 modelPosition = modelMatrix * vec4(position,1.0);

float elevation = sin(modelPosition.x*uWaresFrequency+uTime*uXspeed)*sin(modelPosition.z*uWaresFrequency*uXzScale+uTime*uZspeed);

elevation += -abs(cnoise(vec2(modelPosition.xz*uNoiseFrequency+uTime*uNoiseSpeed))) *uNoiseScale;

vElevation = elevation;

elevation *= uScale;


modelPosition.y += elevation;

gl_Position = projectionMatrix * viewMatrix *modelPosition;
}

效果图

上一篇:
【可视化学习】16-利用THREE的水波纹
下一篇:
【可视化学习】14-漫天孔明灯