【可视化学习】17-利用Shader打造星系
发表于:2023-06-05 |

前言

今天更新了那么多是因为双休日光看视频了,没咋写文章,加上今天公司比较有空,可以多更新几篇,跟上我看视频的进度,感觉挺好的,哈哈。

绘制一个点

基础代码不贴了,仅展示核心代码部分

1
2
3
4
5
6
7
8
9
10
11
12
13
14
15
16
// 点物体
const geometry = new THREE.BufferGeometry();
// 位置
const positions = new Float32Array([0, 0, 0]);
geometry.setAttribute('position', new THREE.BufferAttribute(positions, 3));

// 点材质
const material = new THREE.PointsMaterial({
color: 0xff0000,
size: 10,
sizeAttenuation: true
})

// 生成点
const points = new THREE.Points(geometry, material)
scene.add(points)

效果图

使用shader画点

main.js中修改材质

1
2
3
4
5
// 点着色器材质
const material = new THREE.ShaderMaterial({
vertexShader: vertexShader,
fragmentShader: fragmentShader,
})

vertexShader.glsl
1
2
3
4
5
6
7
8
// 顶点着色器
void main(){
vec4 modelPosition = modelMatrix * vec4( position, 1.0 );
vec4 viewPosition = viewMatrix*modelPosition;
gl_Position = projectionMatrix * viewPosition;
// 设置点的大小,不设置看不见点
gl_PointSize = 100.0;
}

fragmentShader.glsl

1
2
3
4
// 片元着色器
void main(){
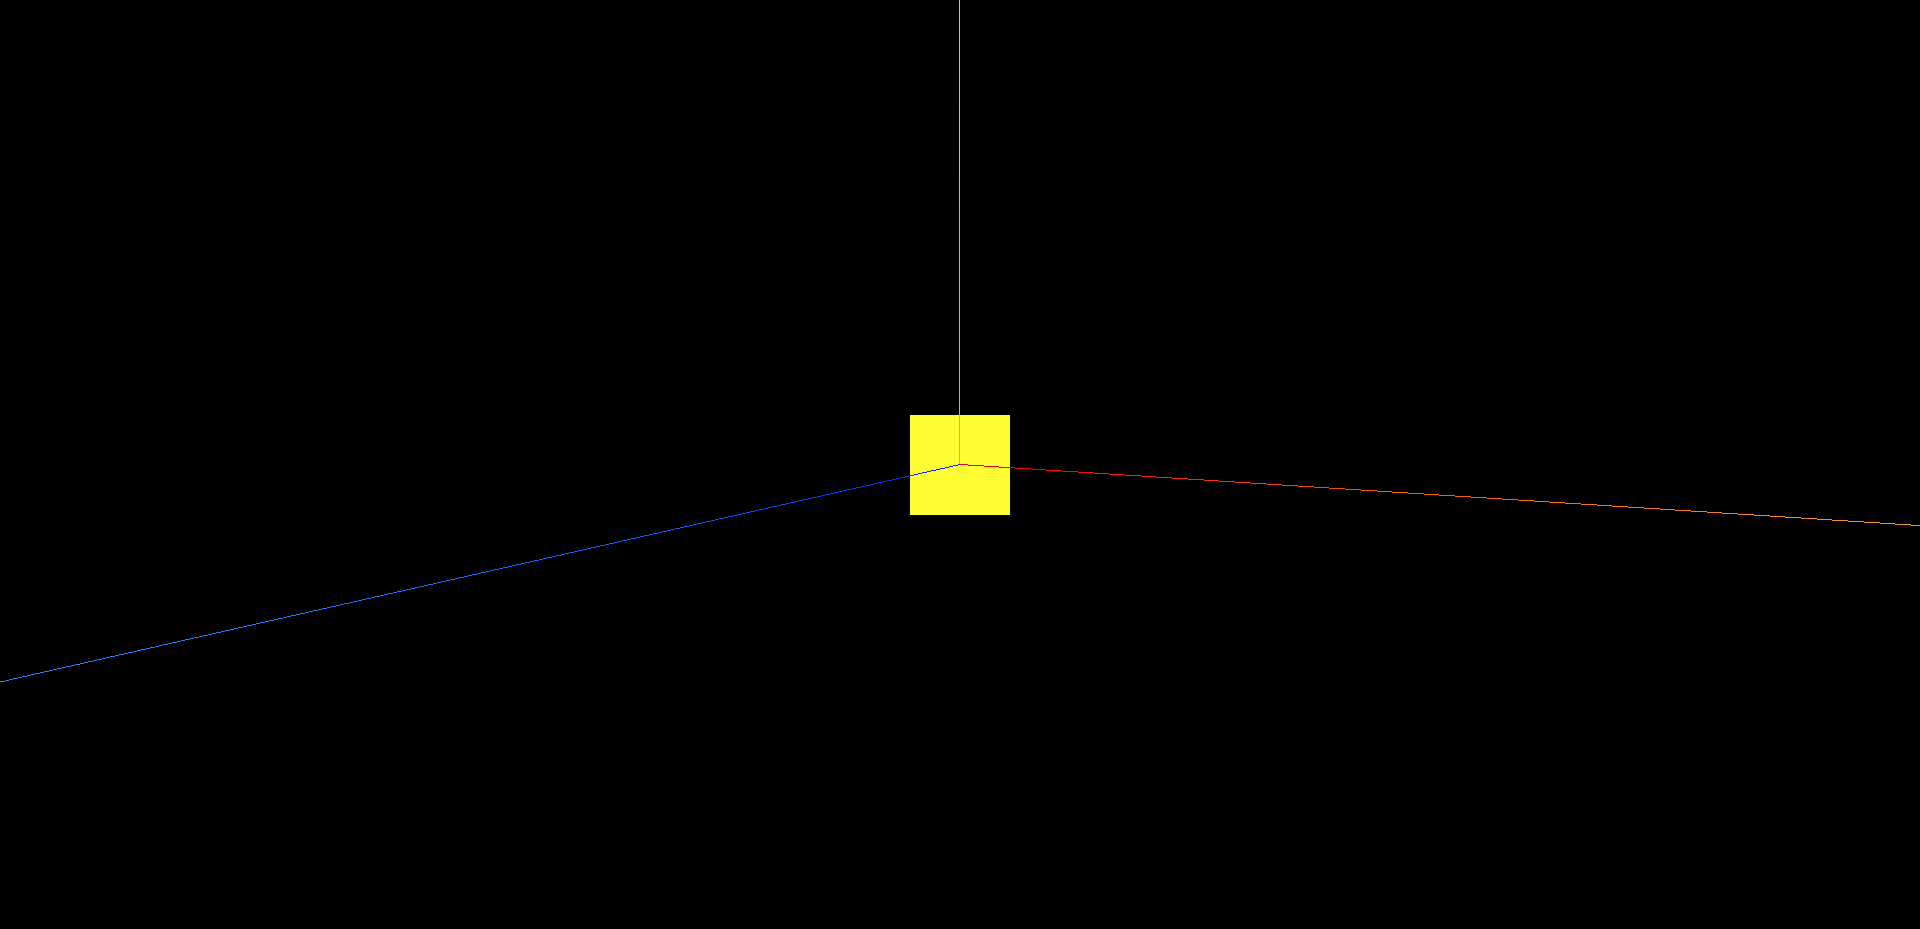
gl_FragColor = vec4(1.0,1.0,0.0,1.0);
}

效果图

渐变圆

gl_PointCoord相当于uv坐标,但是他是左上角是(0,0),右小角是(1,1)

1
2
3
4
5
// 片元着色器
float strength = distance(gl_PointCoord,vec2(0.5));
strength*=2.0;
strength = 1.0-strength;
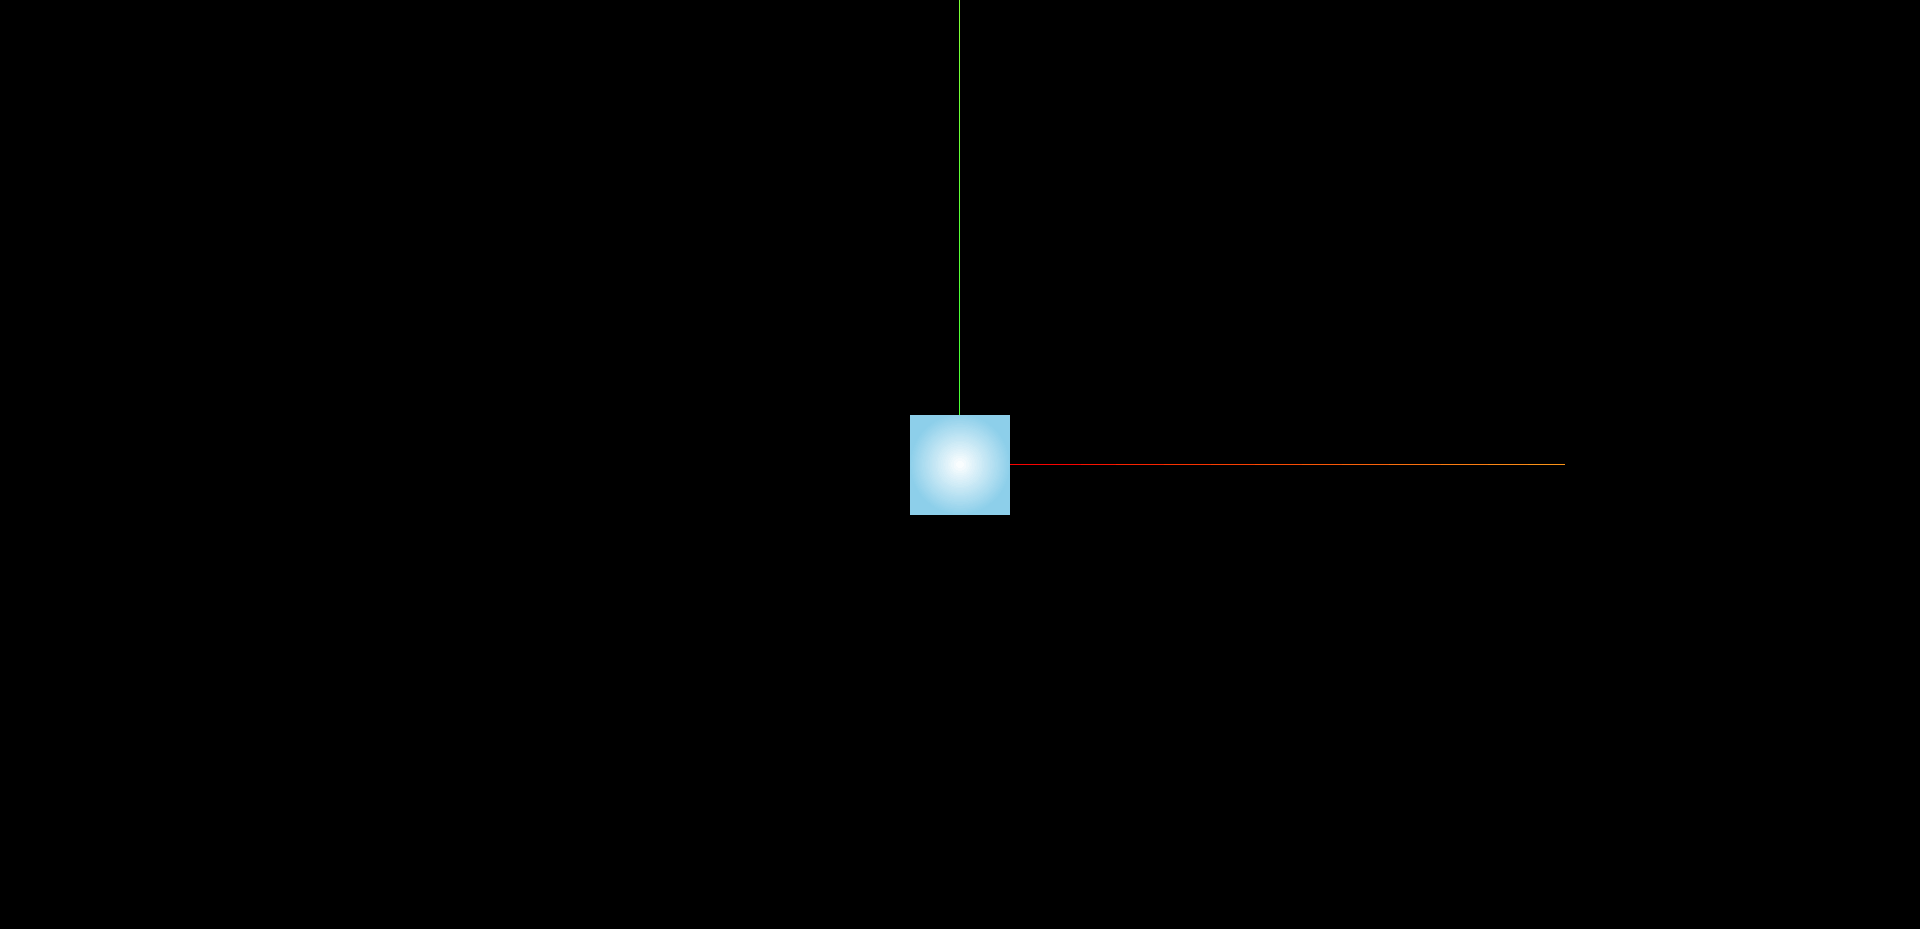
gl_FragColor = vec4(strength);

效果图

如果我们开启了材质的透明效果
在main.js中

1
2
3
4
5
6
// 点着色器材质
const material = new THREE.ShaderMaterial({
vertexShader: vertexShader,
fragmentShader: fragmentShader,
transparent: true
})

效果图

圆形点

1
2
3
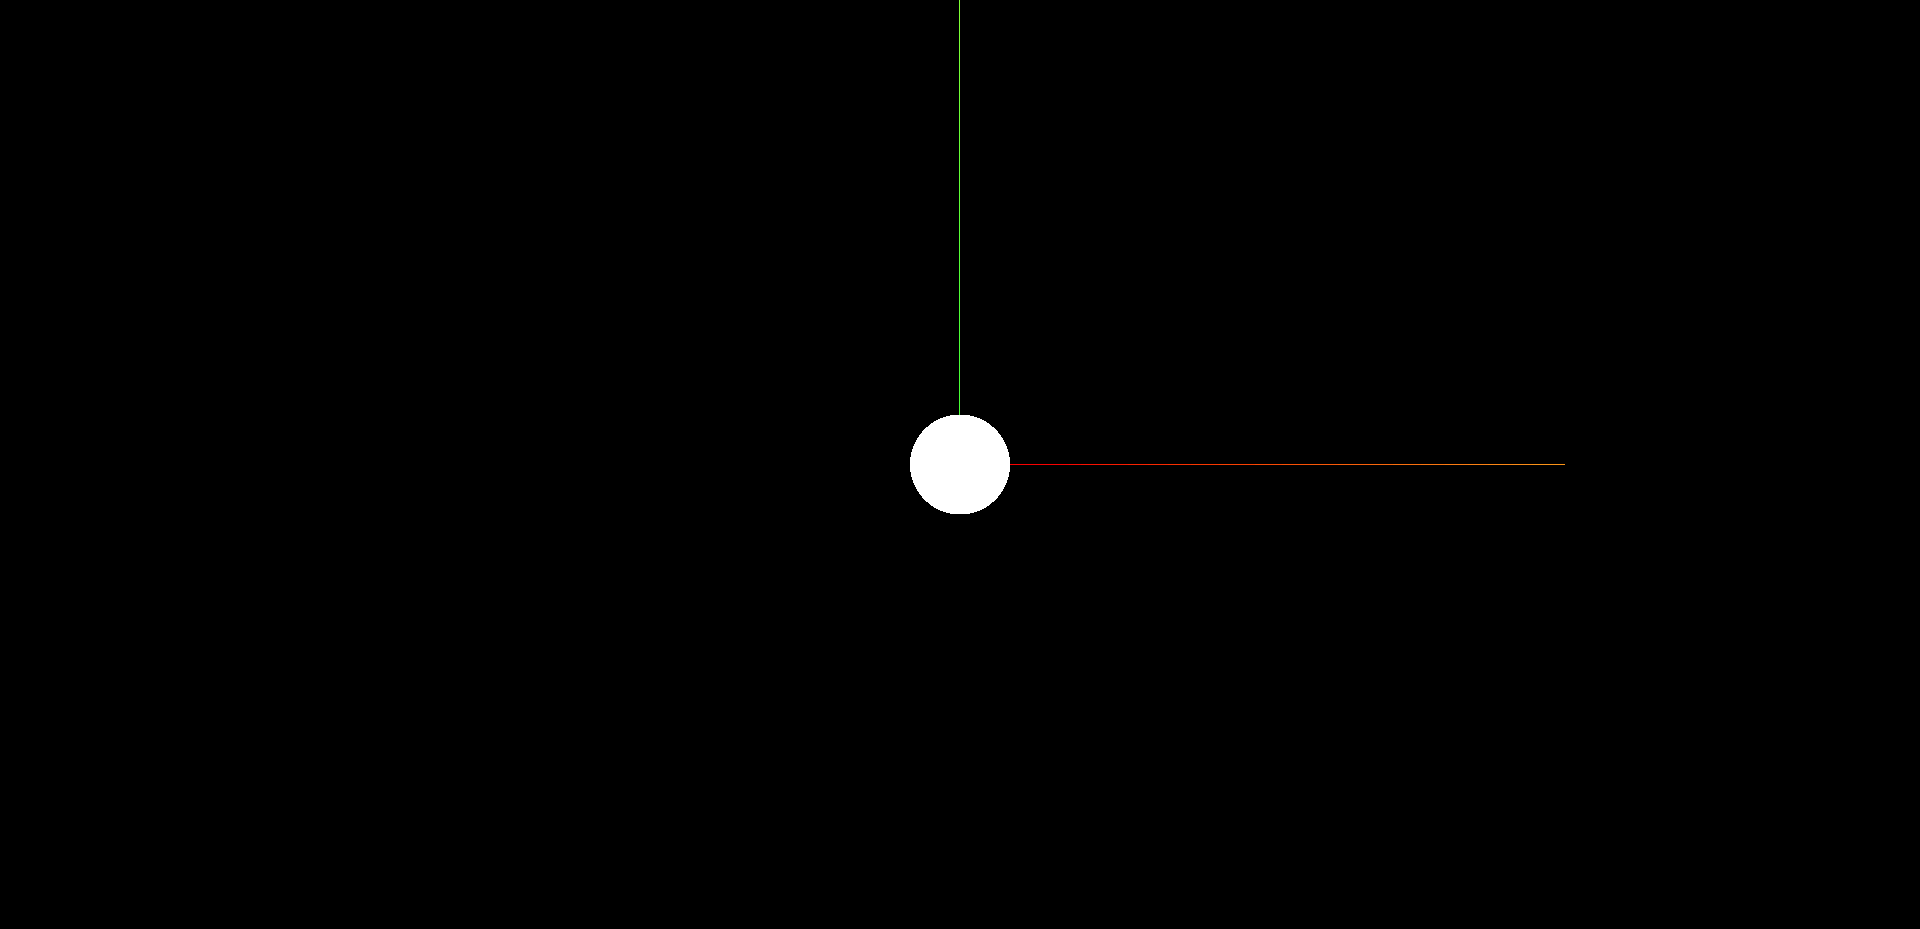
float strength = 1.0-distance(gl_PointCoord,vec2(0.5));
strength = step(0.5,strength);
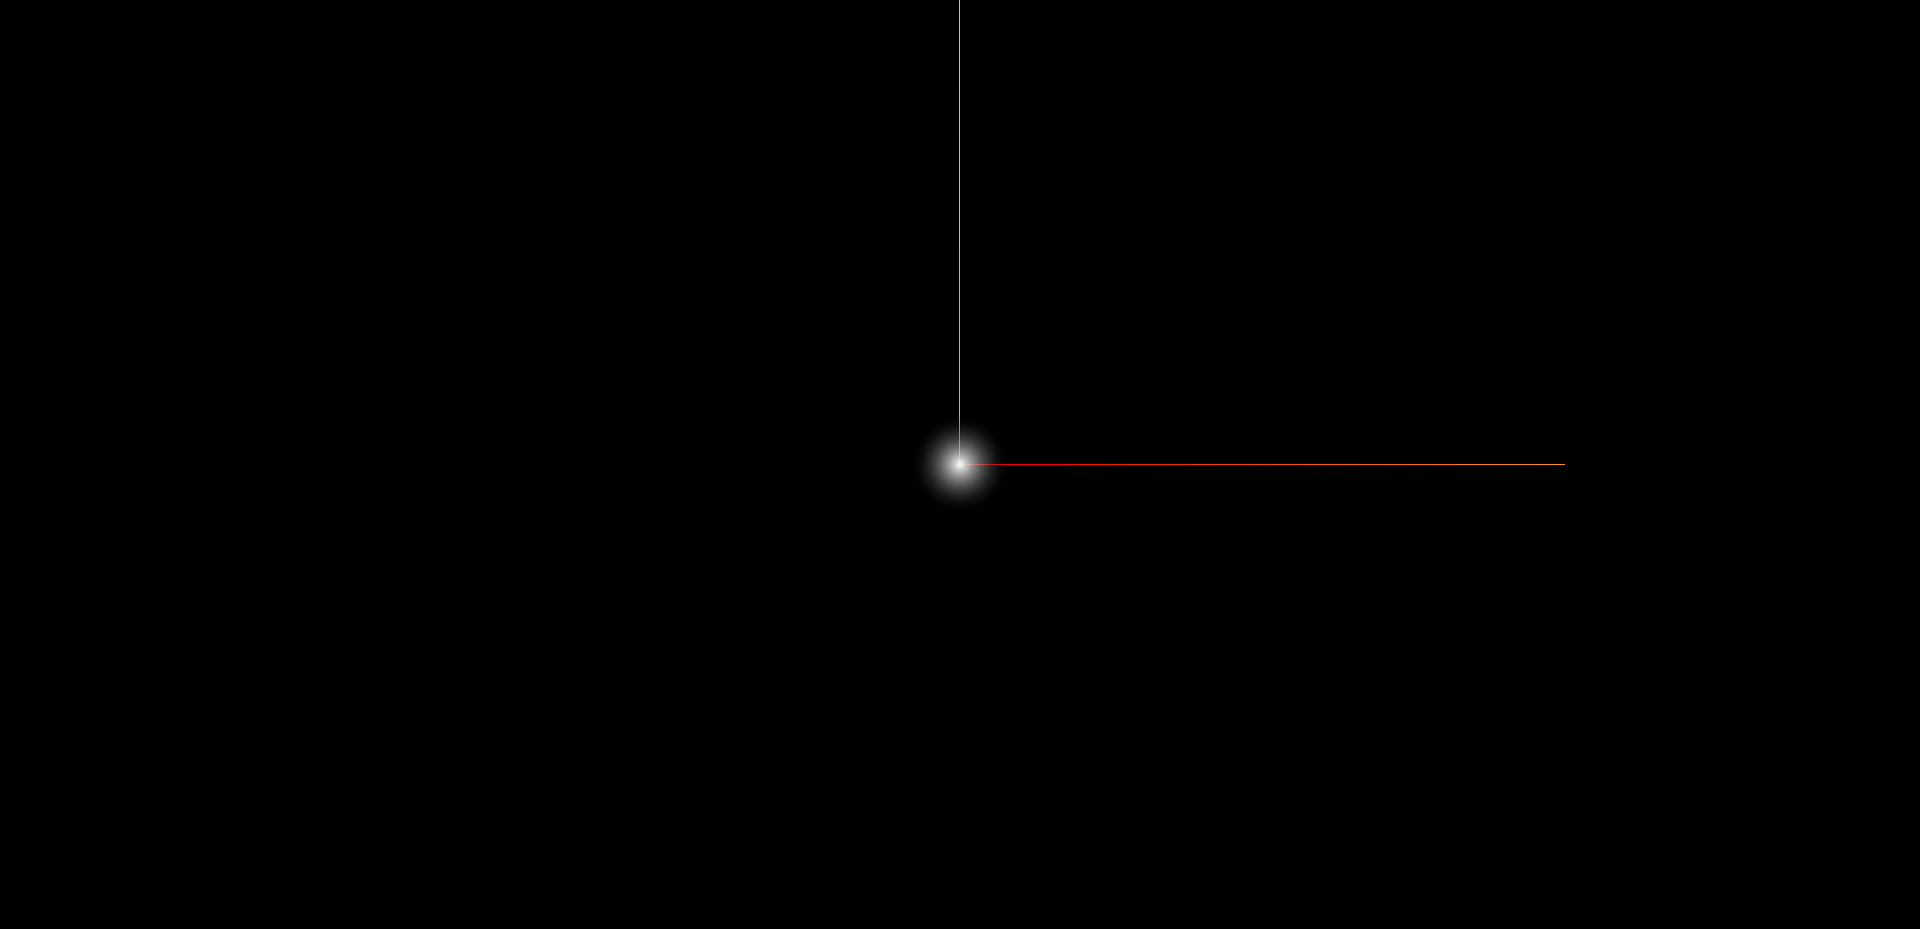
gl_FragColor = vec4(strength);

效果图

使用贴图

1
2
3
4
5
uniform sampler2D uTexture;
void main(){
vec4 textureColor = texture2D(uTexture,gl_PointCoord);
gl_FragColor = vec4(textureColor.rgb,textureColor.r);
}

main.js中

1
2
3
4
5
6
7
8
9
10
11
12
13
14
// 导入纹理
const textureLoader = new THREE.TextureLoader();
const texture = textureLoader.load('textures/particles/10.png');
// 点着色器材质
const material = new THREE.ShaderMaterial({
uniforms: {
uTexture: {
value: texture
}
},
vertexShader: vertexShader,
fragmentShader: fragmentShader,
transparent: true
})

效果图

生成星系点

把我们之前星系的代码拿过来,修改一下

1
2
3
4
5
6
7
8
9
10
11
12
13
14
15
16
17
18
19
20
21
22
23
24
25
26
27
28
29
30
31
32
33
34
35
36
37
38
39
40
41
42
43
44
45
46
47
48
49
50
51
52
53
54
55
56
57
58
59
60
61
62
63
64
65
66
67
68
69
70
71
72
73
74
75
76
77
78
79
80
81
82
83
84
85
86
87
88
89
90
91
92
93
94
95
96
97
98
let geometry = null;
let points = null;

// 设置星系的参数
const params = {
count: 1000,
size: 0.1,
radius: 5,
branches: 4,
spin: 0.5,
color: "#ff6030",
outColor: "#1b3984",
};
let galaxyColor = new THREE.Color(params.color);
let outGalaxyColor = new THREE.Color(params.outColor);
let material;
const generateGalaxy = () => {
// 如果已经存在这些顶点,那么先释放内存,在删除顶点数据
if (points !== null) {
geometry.dispose();
material.dispose();
scene.remove(points);
}
// 生成顶点几何
geometry = new THREE.BufferGeometry();
// 随机生成位置
const positions = new Float32Array(params.count * 3);
const colors = new Float32Array(params.count * 3);

const scales = new Float32Array(params.count);

// 循环生成点
for (let i = 0; i < params.count; i++) {
const current = i * 3;

// 计算分支的角度 = (计算当前的点在第几个分支)*(2*Math.PI/多少个分支)
const branchAngel =
(i % params.branches) * ((2 * Math.PI) / params.branches);

const radius = Math.random() * params.radius;
// 距离圆心越远,旋转的度数就越大
// const spinAngle = radius * params.spin;

// 随机设置x/y/z偏移值
const randomX =
Math.pow(Math.random() * 2 - 1, 3) * 0.5 * (params.radius - radius) * 0.3;
const randomY =
Math.pow(Math.random() * 2 - 1, 3) * 0.5 * (params.radius - radius) * 0.3;
const randomZ =
Math.pow(Math.random() * 2 - 1, 3) * 0.5 * (params.radius - radius) * 0.3;

// 设置当前点x值坐标
positions[current] = Math.cos(branchAngel) * radius + randomX;
// 设置当前点y值坐标
positions[current + 1] = randomY;
// 设置当前点z值坐标
positions[current + 2] = Math.sin(branchAngel) * radius + randomZ;

const mixColor = galaxyColor.clone();
mixColor.lerp(outGalaxyColor, radius / params.radius);

// 设置颜色
colors[current] = mixColor.r;
colors[current + 1] = mixColor.g;
colors[current + 2] = mixColor.b;


// 顶点的大小
scales[current] = Math.random();

// 根据索引值设置不同的图案;
imgIndex[current] = i % 3;
}
geometry.setAttribute("position", new THREE.BufferAttribute(positions, 3));
// 设置点的着色器材质
material = new THREE.ShaderMaterial({
vertexShader: vertexShader,
fragmentShader: fragmentShader,
transparent: true,
vertexColors: true,
// 亮度叠加
blending: THREE.AdditiveBlending,
// 允许看见后面的,不被遮挡
depthWrite: false,
uniforms: {
uTexture: {
value: texture
},
},
});

// 生成点
points = new THREE.Points(geometry, material);
scene.add(points);
};

generateGalaxy()

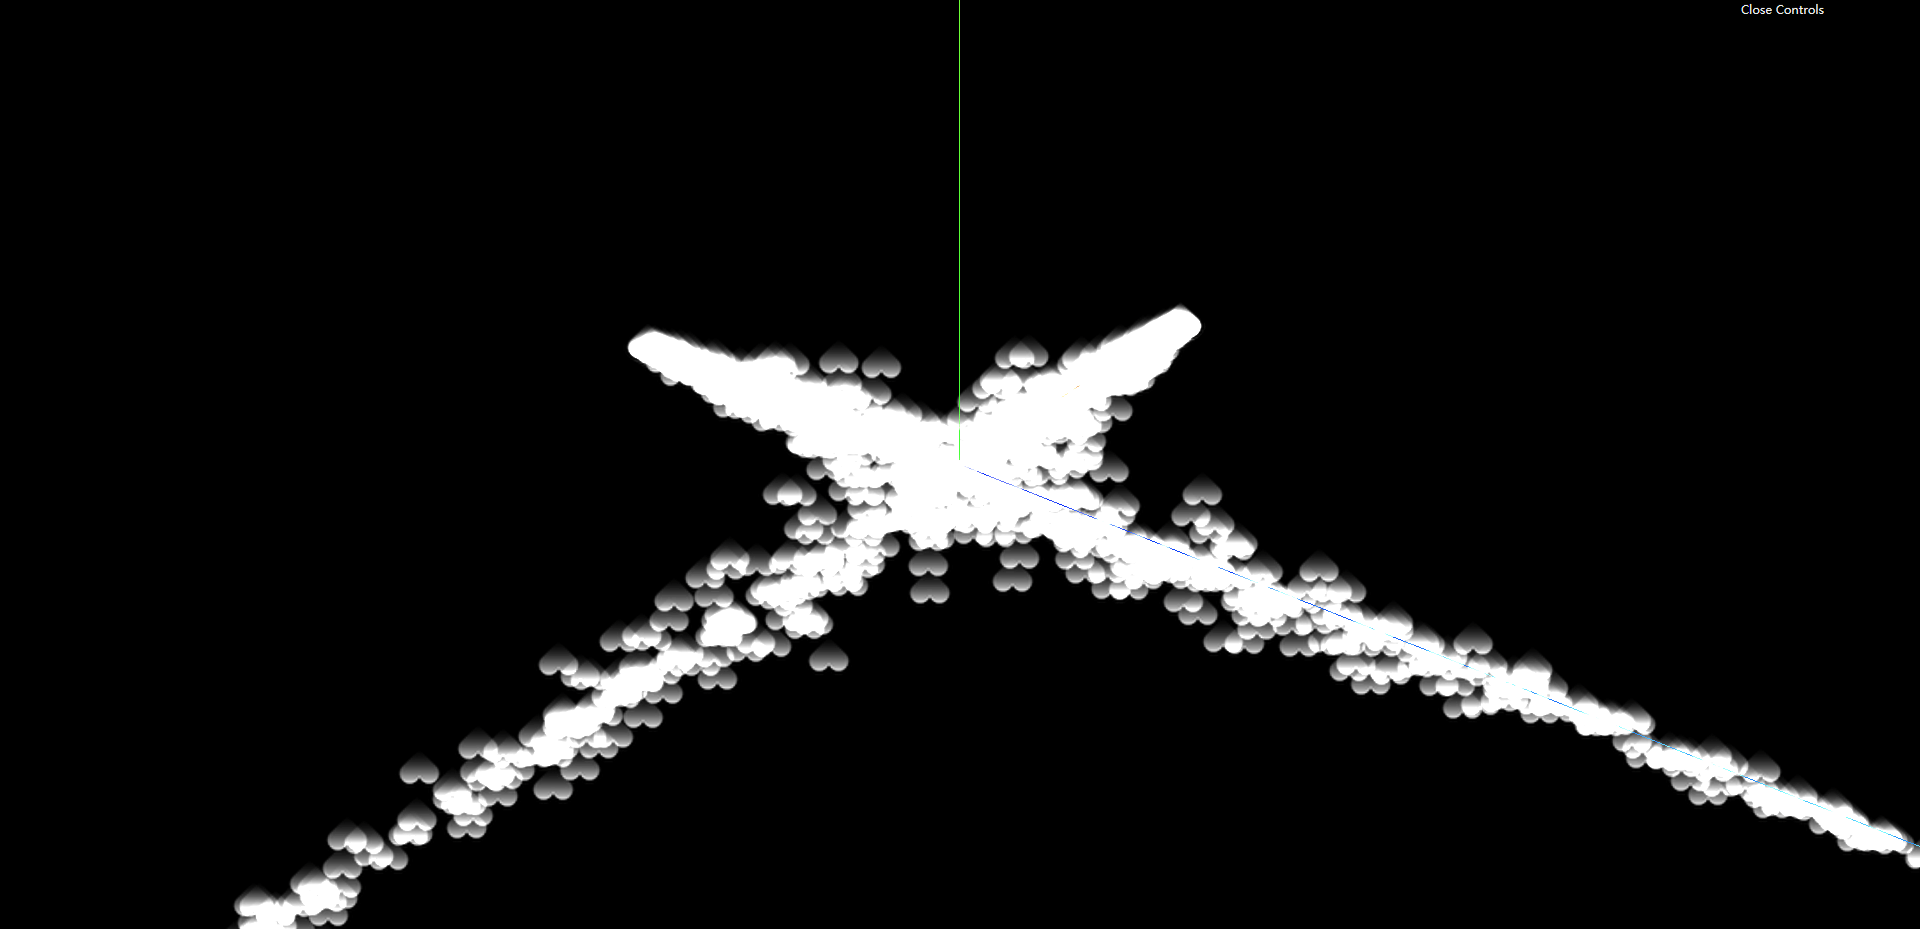
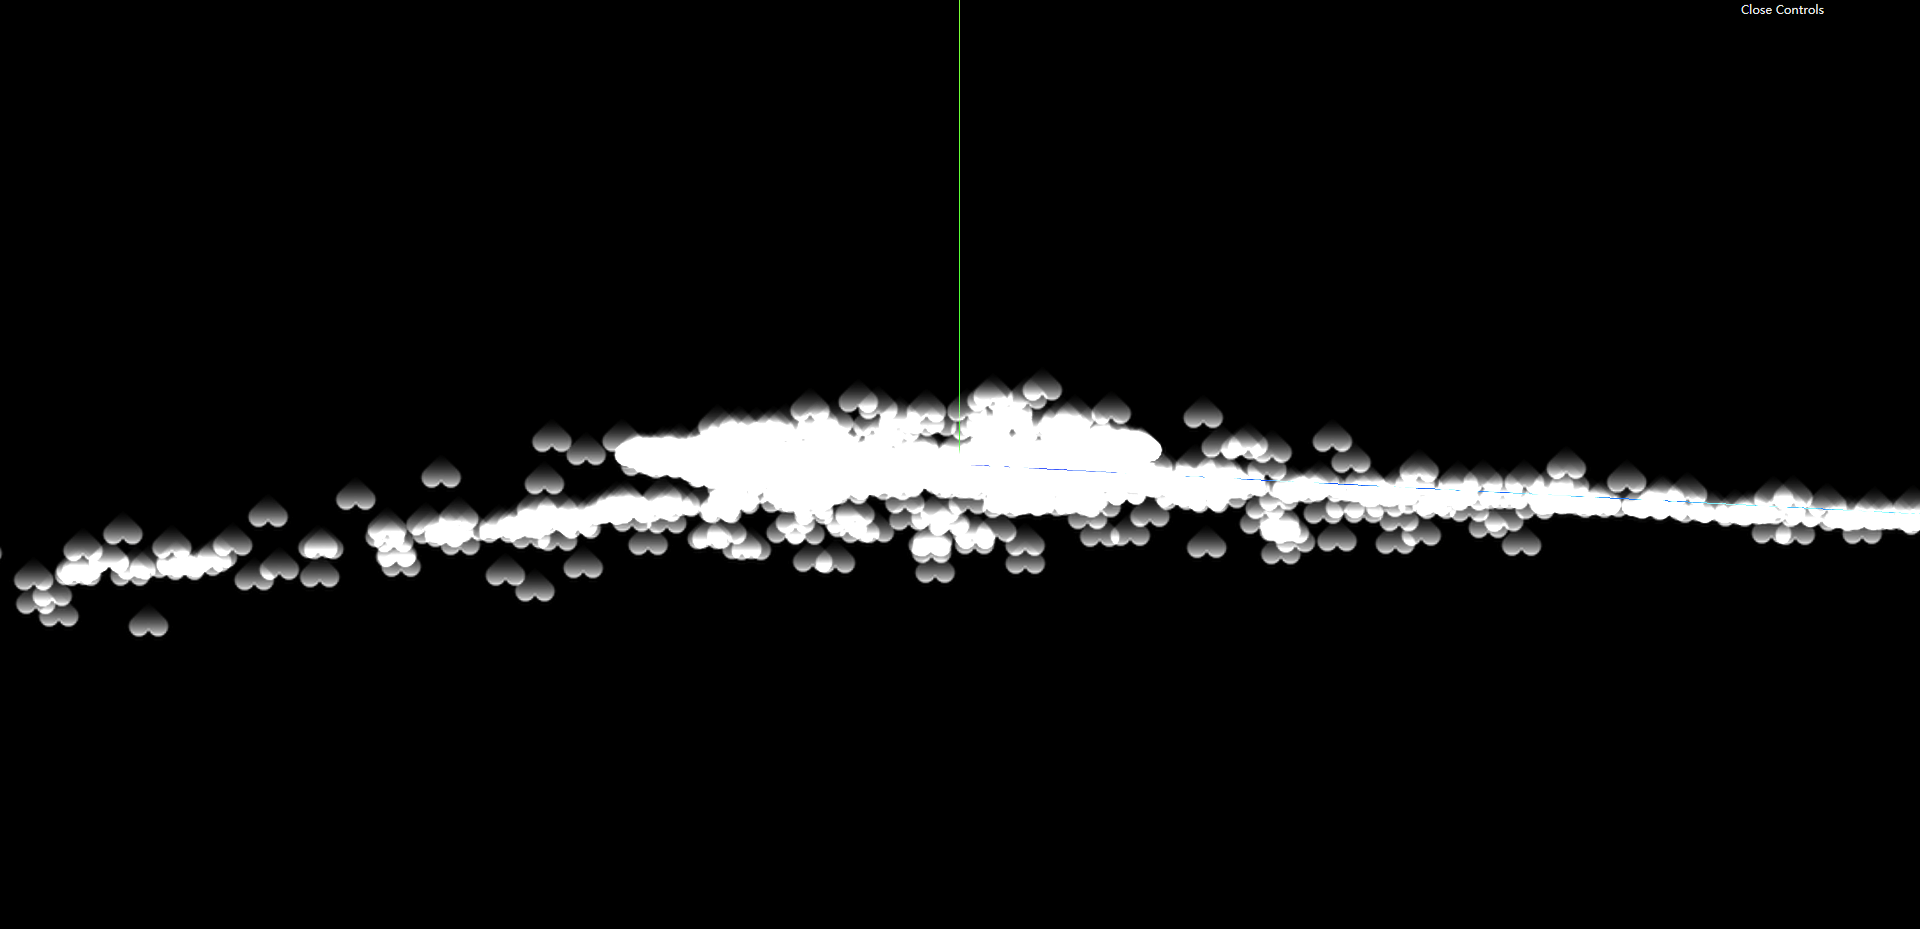
效果图
效果图

添加螺旋

在顶点着色器中

1
2
3
4
5
6
7
8
9
10
// 获取顶点的角度
float angle = atan(modelPosition.x,modelPosition.z);
// 获取顶点到中心的距离
float distanceToCenter = length(modelPosition.xz);
// 根据顶点到中心的距离,设置旋转偏移度数
float angleOffset = 1.0/distanceToCenter;
// 目前旋转的度数
angle+=angleOffset;
modelPosition.x = cos(angle)*distanceToCenter;
modelPosition.z = sin(angle)*distanceToCenter;

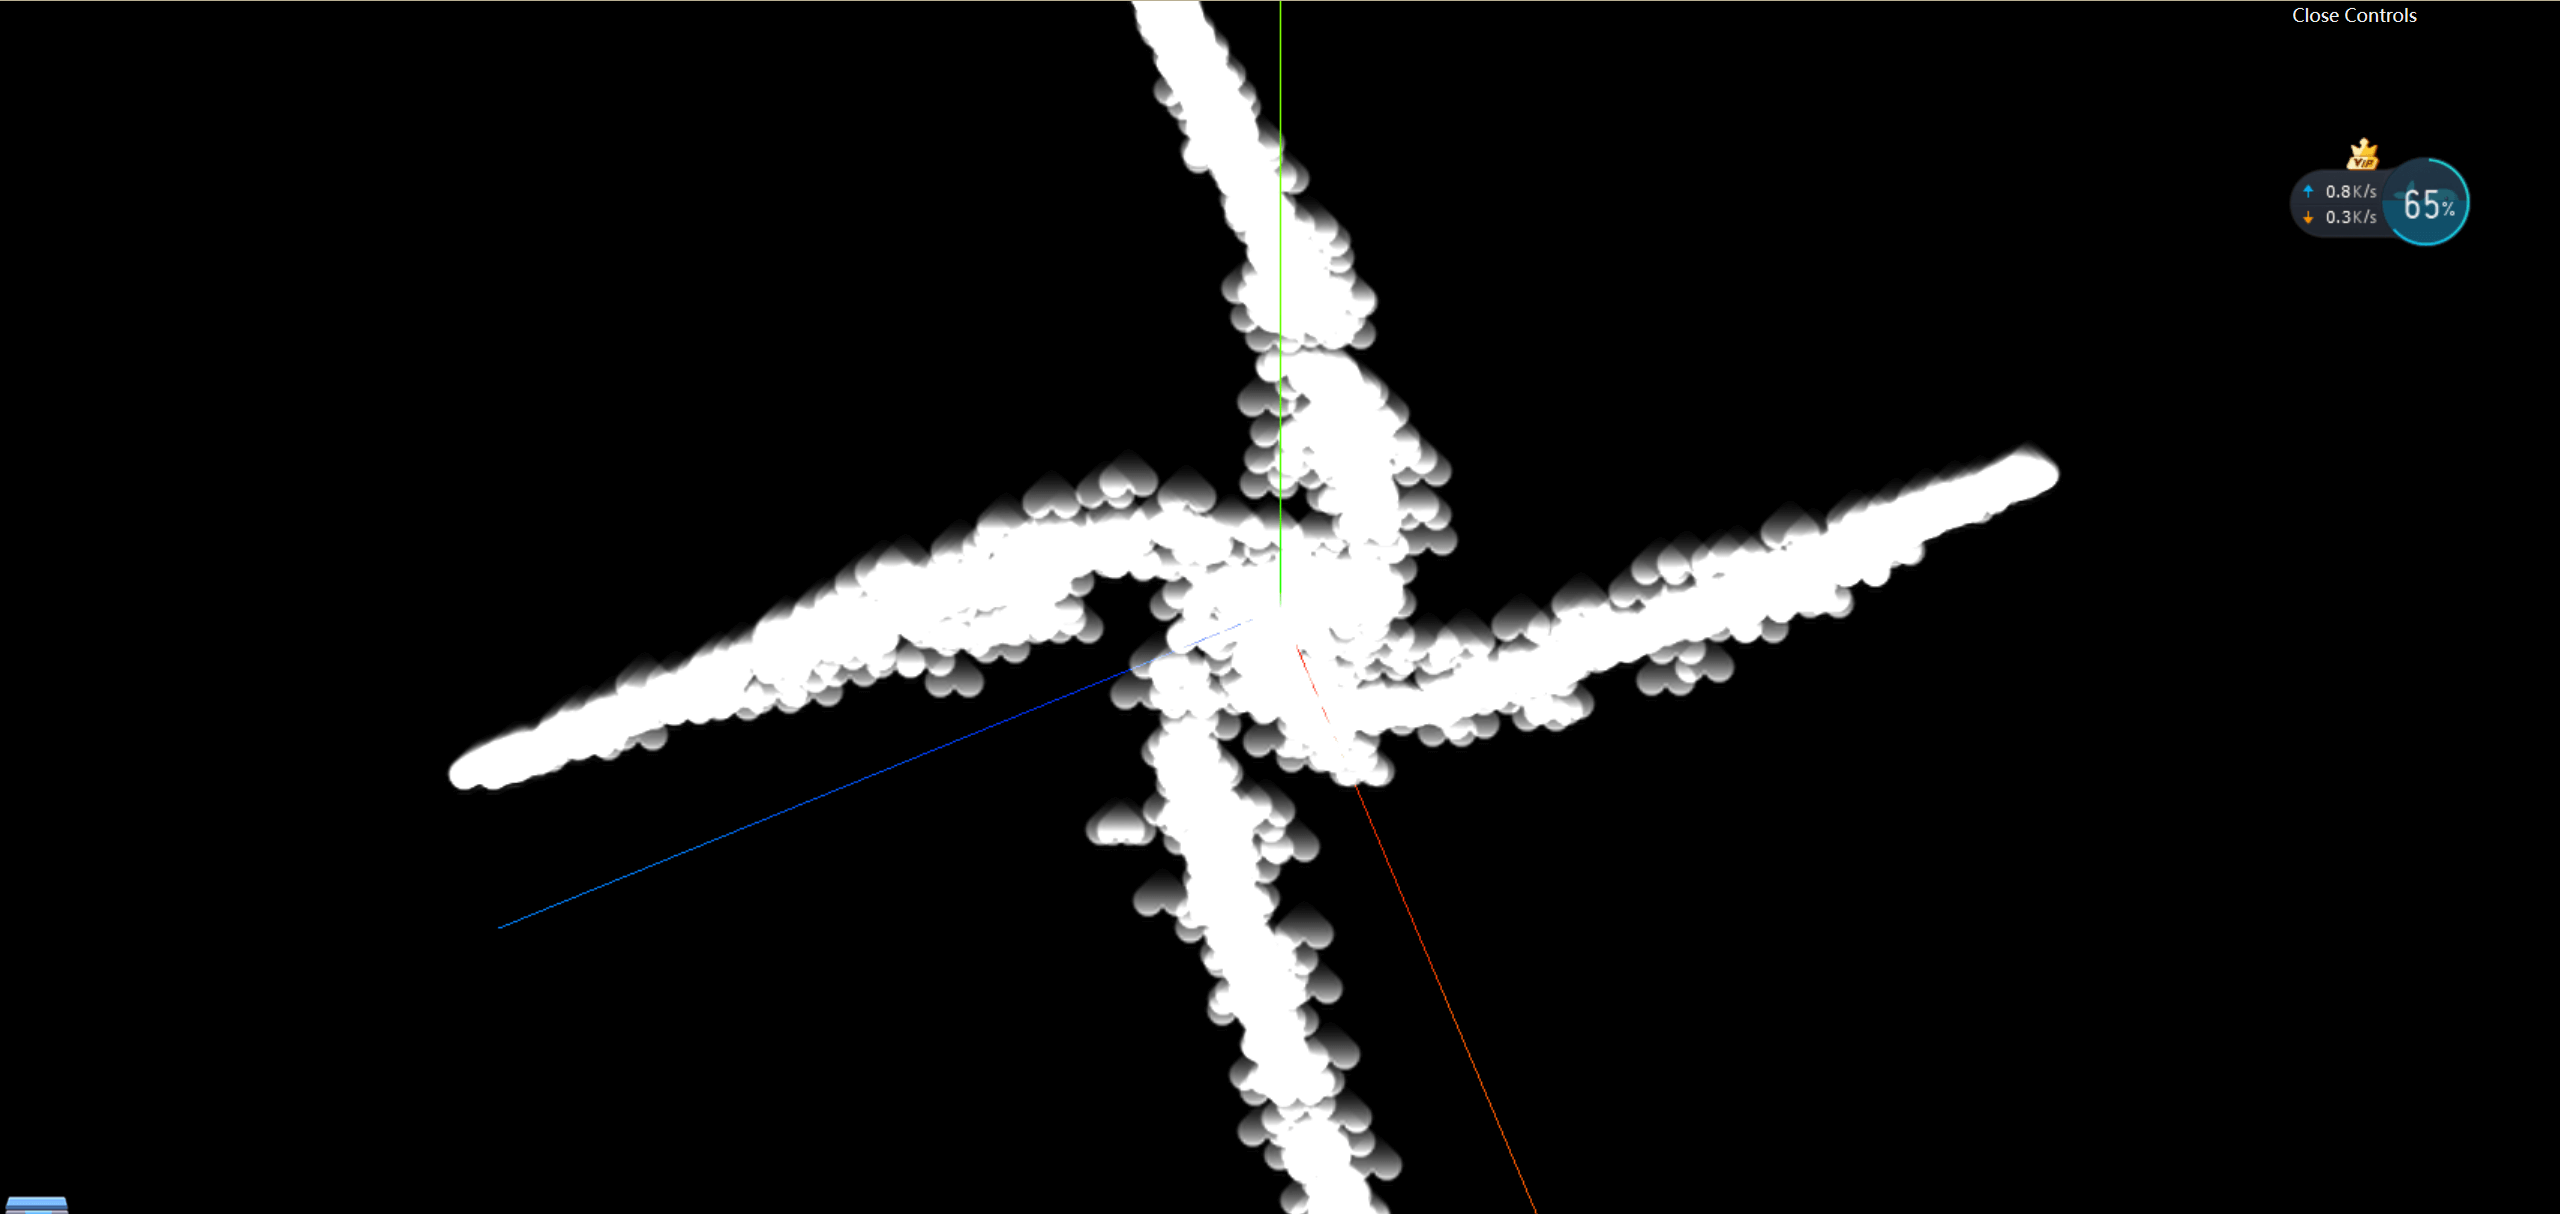
效果图

添加动画

这里我们做了很多次了,就是加一个时间
顶点着色器中

1
2
3
uniform float uTime;
// 根据顶点到中心的距离,设置旋转偏移度数
float angleOffset = 1.0/distanceToCenter*uTime;

main.js中
1
2
3
4
5
6
7
8
9
10
11
12
13
14
15
16
uniforms: {
uTime: {
value: 0
},
}


const clock = new THREE.Clock();

function animate(t) {
const elapsedTime = clock.getElapsedTime();
material.uniforms.uTime.value = elapsedTime;
requestAnimationFrame(animate);
// 使用渲染器渲染相机看这个场景的内容渲染出来
renderer.render(scene, camera);
}

设置颜色纹理以及近大远小

main.js

1
2
3
4
5
6
7
8
9
10
11
12
13
14
15
16
17
18
19
20
21
22
23
24
25
26
27
28
29
30
31
32
33
34
35
36
37
38
39
40
41
42
43
44
45
46
47
48
49
50
51
52
53
54
55
56
57
58
59
60
61
62
63
64
65
66
67
68
69
70
71
72
73
74
75
76
77
78
79
80
81
82
83
84
85
86
87
88
89
90
91
92
93
94
95
96
97
98
99
100
101
102
103
104
105
106
107
108
109
110
111
112
113
114
115
116
117
118
119
120
121
122
123
124
125
126
127
128
129
130
131
132
133
134
135
136
137
138
139
140
141
142
143
144
145
146
147
148
149
150
151
152
153
154
155
156
157
158
159
160
161
162
163
164
165
166
167
168
169
170
171
172
173
174
175
176
177
178
179
180
181
182
183
184
185
186
187
188
189
190
191
192
193
194
195
196
197
198
199
200
201
202
203
204
205
206
207
208
209
210
211
import * as THREE from "three";

import { OrbitControls } from "three/examples/jsm/controls/OrbitControls";
import fragmentShader from "../shader/basic/fragmentShader.glsl";
import vertexShader from "../shader/basic/vertexShader.glsl";
// 目标:打造一个旋转的银河系


// console.log(THREE);
// 初始化场景
const scene = new THREE.Scene();

// 创建透视相机
const camera = new THREE.PerspectiveCamera(
75,
window.innerHeight / window.innerHeight,
0.1,
1000
);
// 设置相机位置
// object3d具有position,属性是1个3维的向量
camera.aspect = window.innerWidth / window.innerHeight;
// 更新摄像机的投影矩阵
camera.updateProjectionMatrix();
camera.position.set(0, 0, 5);
scene.add(camera);

// 加入辅助轴,帮助我们查看3维坐标轴
const axesHelper = new THREE.AxesHelper(5);
scene.add(axesHelper);


// 导入纹理
const textureLoader = new THREE.TextureLoader();
const texture = textureLoader.load('textures/particles/10.png');
const texture1 = textureLoader.load('textures/particles/9.png');
const texture2 = textureLoader.load('textures/particles/11.png');

let geometry = null;
let points = null;

// 设置星系的参数
const params = {
count: 1000,
size: 0.1,
radius: 5,
branches: 4,
spin: 0.5,
color: "#ff6030",
outColor: "#1b3984",
};

// GalaxyColor
let galaxyColor = new THREE.Color(params.color);
let outGalaxyColor = new THREE.Color(params.outColor);
let material;
const generateGalaxy = () => {
// 如果已经存在这些顶点,那么先释放内存,在删除顶点数据
if (points !== null) {
geometry.dispose();
material.dispose();
scene.remove(points);
}
// 生成顶点几何
geometry = new THREE.BufferGeometry();
// 随机生成位置
const positions = new Float32Array(params.count * 3);
const colors = new Float32Array(params.count * 3);

const scales = new Float32Array(params.count);

//图案属性
const imgIndex = new Float32Array(params.count)

// 循环生成点
for (let i = 0; i < params.count; i++) {
const current = i * 3;

// 计算分支的角度 = (计算当前的点在第几个分支)*(2*Math.PI/多少个分支)
const branchAngel =
(i % params.branches) * ((2 * Math.PI) / params.branches);

const radius = Math.random() * params.radius;
// 距离圆心越远,旋转的度数就越大
// const spinAngle = radius * params.spin;

// 随机设置x/y/z偏移值
const randomX =
Math.pow(Math.random() * 2 - 1, 3) * 0.5 * (params.radius - radius) * 0.3;
const randomY =
Math.pow(Math.random() * 2 - 1, 3) * 0.5 * (params.radius - radius) * 0.3;
const randomZ =
Math.pow(Math.random() * 2 - 1, 3) * 0.5 * (params.radius - radius) * 0.3;

// 设置当前点x值坐标
positions[current] = Math.cos(branchAngel) * radius + randomX;
// 设置当前点y值坐标
positions[current + 1] = randomY;
// 设置当前点z值坐标
positions[current + 2] = Math.sin(branchAngel) * radius + randomZ;

const mixColor = galaxyColor.clone();
mixColor.lerp(outGalaxyColor, radius / params.radius);

// 设置颜色
colors[current] = mixColor.r;
colors[current + 1] = mixColor.g;
colors[current + 2] = mixColor.b;


// 顶点的大小
scales[current] = Math.random();

// 根据索引值设置不同的图案;
imgIndex[current] = i % 3;
}
geometry.setAttribute("position", new THREE.BufferAttribute(positions, 3));
geometry.setAttribute("color", new THREE.BufferAttribute(colors, 3));
geometry.setAttribute("aScale", new THREE.BufferAttribute(scales, 1));
geometry.setAttribute("imgIndex", new THREE.BufferAttribute(imgIndex, 1));

// 设置点的着色器材质
material = new THREE.ShaderMaterial({
vertexShader: vertexShader,
fragmentShader: fragmentShader,

transparent: true,
vertexColors: true,
blending: THREE.AdditiveBlending,
depthWrite: false,
uniforms: {
uTime: {
value: 0,
},
uTexture: {
value: texture
},
uTexture1: {
value: texture1
},
uTexture2: {
value: texture2
},
uTime: {
value: 0
},
uColor: {
value: galaxyColor
}

},
});

// 生成点
points = new THREE.Points(geometry, material);
scene.add(points);
console.log(points);
// console.log(123);
};

generateGalaxy()


// 初始化渲染器
const renderer = new THREE.WebGLRenderer();
renderer.shadowMap.enabled = true;

// 设置渲染尺寸大小
renderer.setSize(window.innerWidth, window.innerHeight);

// 监听屏幕大小改变的变化,设置渲染的尺寸
window.addEventListener("resize", () => {
// console.log("resize");
// 更新摄像头
camera.aspect = window.innerWidth / window.innerHeight;
// 更新摄像机的投影矩阵
camera.updateProjectionMatrix();

// 更新渲染器
renderer.setSize(window.innerWidth, window.innerHeight);
// 设置渲染器的像素比例
renderer.setPixelRatio(window.devicePixelRatio);
});


// 将渲染器添加到body
document.body.appendChild(renderer.domElement);

// 初始化控制器
const controls = new OrbitControls(camera, renderer.domElement);
// 设置控制器阻尼
controls.enableDamping = true;
// // 设置自动旋转
// controls.autoRotate = true;

const clock = new THREE.Clock();

function animate(t) {
// controls.update();
const elapsedTime = clock.getElapsedTime();
material.uniforms.uTime.value = elapsedTime;
requestAnimationFrame(animate);
// 使用渲染器渲染相机看这个场景的内容渲染出来
renderer.render(scene, camera);
}

animate();

在顶点着色器中

1
2
3
4
5
6
7
8
9
10
11
12
13
14
15
16
17
18
19
20
21
22
23
24
25
26
27
28
29
30
attribute float imgIndex;
attribute float aScale;
varying float vImgIndex;

uniform float uTime;

varying vec3 vColor;
void main(){
vec4 modelPosition = modelMatrix * vec4( position, 1.0 );


// 获取定点的角度
float angle = atan(modelPosition.x,modelPosition.z);
// 获取顶点到中心的距离
float distanceToCenter = length(modelPosition.xz);
// 根据顶点到中心的距离,设置旋转偏移度数
float angleOffset = 1.0/distanceToCenter*uTime;
// 目前旋转的度数
angle+=angleOffset;

modelPosition.x = cos(angle)*distanceToCenter;
modelPosition.z = sin(angle)*distanceToCenter;

vec4 viewPosition = viewMatrix*modelPosition;
gl_Position = projectionMatrix * viewPosition;
// 根据viewPosition的z坐标决定是否原理摄像机
gl_PointSize =200.0/-viewPosition.z*aScale;
vImgIndex=imgIndex;
vColor = color;
}

片元着色器

1
2
3
4
5
6
7
8
9
10
11
12
13
14
15
16
uniform sampler2D uTexture;
uniform sampler2D uTexture1;
uniform sampler2D uTexture2;
varying float vImgIndex;
varying vec3 vColor;
void main(){
vec4 textureColor;
if(vImgIndex==0.0){
textureColor = texture2D(uTexture,gl_PointCoord);
}else if(vImgIndex==1.0){
textureColor = texture2D(uTexture1,gl_PointCoord);
}else{
textureColor = texture2D(uTexture2,gl_PointCoord);
}
gl_FragColor = vec4(vColor,textureColor.r) ;
}

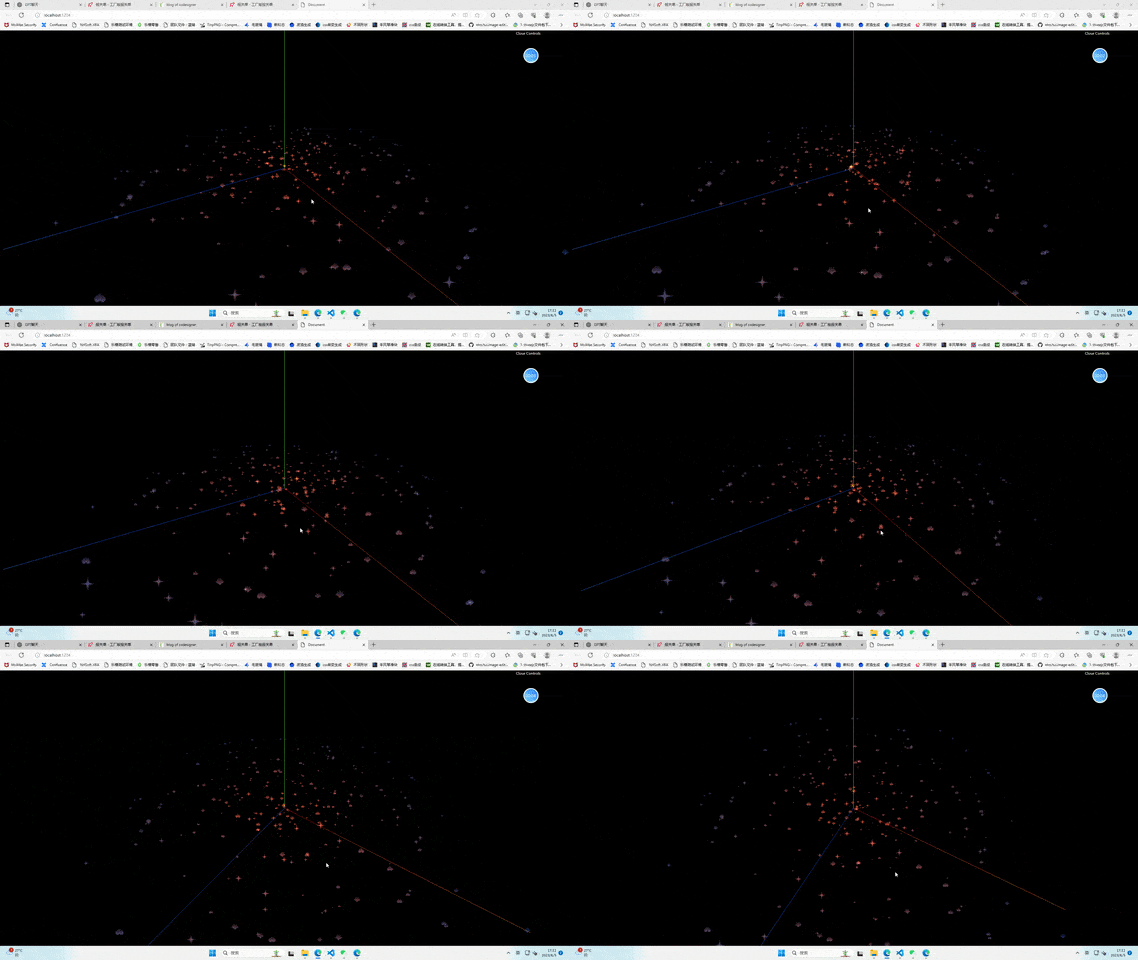
最终效果

上一篇:
使用element ui icon出现乱码
下一篇:
【可视化学习】16-利用THREE的水波纹