前言 在很早之前,我已经简单介绍过几何体了,但是感觉不是特别详细,我学的时候也是这么感觉的,果然,我学的课程中就更新了很大一部分的几何体的内容,现在,我来和大家一起分享一下这个threejs中的几何体
在介绍geometry之前,我们先来了解下之前介绍过的gui。这个在之前,我们使用的是dat.gui,现在three已经有自己的gui了,就不用dat.gui再来做了,这个gui的使用方法和dat.gui是差不多的,接下来,我们先用这个gui写一个全屏和退出全屏的功能
全屏和退出全屏 写基础代码 1 2 3 4 5 6 7 8 9 10 11 12 13 14 15 16 17 18 19 20 21 22 23 24 25 26 27 28 29 30 31 32 33 34 35 36 37 38 39 40 41 42 43 44 45 46 47 48 49 50 51 52 53 54 55 56 57 58 59 60 61 62 63 64 65 66 67 68 import * as THREE from "three" ;import { OrbitControls } from "three/examples/jsm/controls/OrbitControls.js" ;const scene = new THREE .Scene ();const camera = new THREE .PerspectiveCamera ( 45 , window .innerWidth / window .innerHeight , 0.1 , 1000 ); camera.position .z = 5 ; camera.position .y = 2 ; camera.position .x = 2 ; camera.lookAt (0 , 0 , 0 ); const renderer = new THREE .WebGLRenderer ();renderer.setSize (window .innerWidth , window .innerHeight ); document .body .appendChild (renderer.domElement );const planeGeometry = new THREE .PlaneGeometry (2 , 2 );const planeMaterial = new THREE .MeshBasicMaterial ({ color : 0xffff00 , }); const planeMesh = new THREE .Mesh (planeGeometry, planeMaterial);scene.add (planeMesh); const axesHelper = new THREE .AxesHelper (5 );scene.add (axesHelper); const controls = new OrbitControls (camera, renderer.domElement );controls.enableDamping = true ; controls.dampingFactor = 0.05 ; function animate ( controls.update (); requestAnimationFrame (animate); renderer.render (scene, camera); } animate ();window .addEventListener ("resize" , () => { renderer.setSize (window .innerWidth , window .innerHeight ); camera.aspect = window .innerWidth / window .innerHeight ; camera.updateProjectionMatrix (); });
添加最新的GUI 1 2 3 4 5 6 7 8 9 10 11 12 13 14 15 16 17 18 19 import { GUI } from "three/examples/jsm/libs/lil-gui.module.min.js" ;let eventObj = { Fullscreen : function ( document .body .requestFullscreen (); console .log ("全屏" ); }, ExitFullscreen : function ( document .exitFullscreen (); console .log ("退出全屏" ); }, }; const gui = new GUI ();gui.add (eventObj, "Fullscreen" ).name ("全屏" ); gui.add (eventObj, "ExitFullscreen" ).name ("退出全屏" );
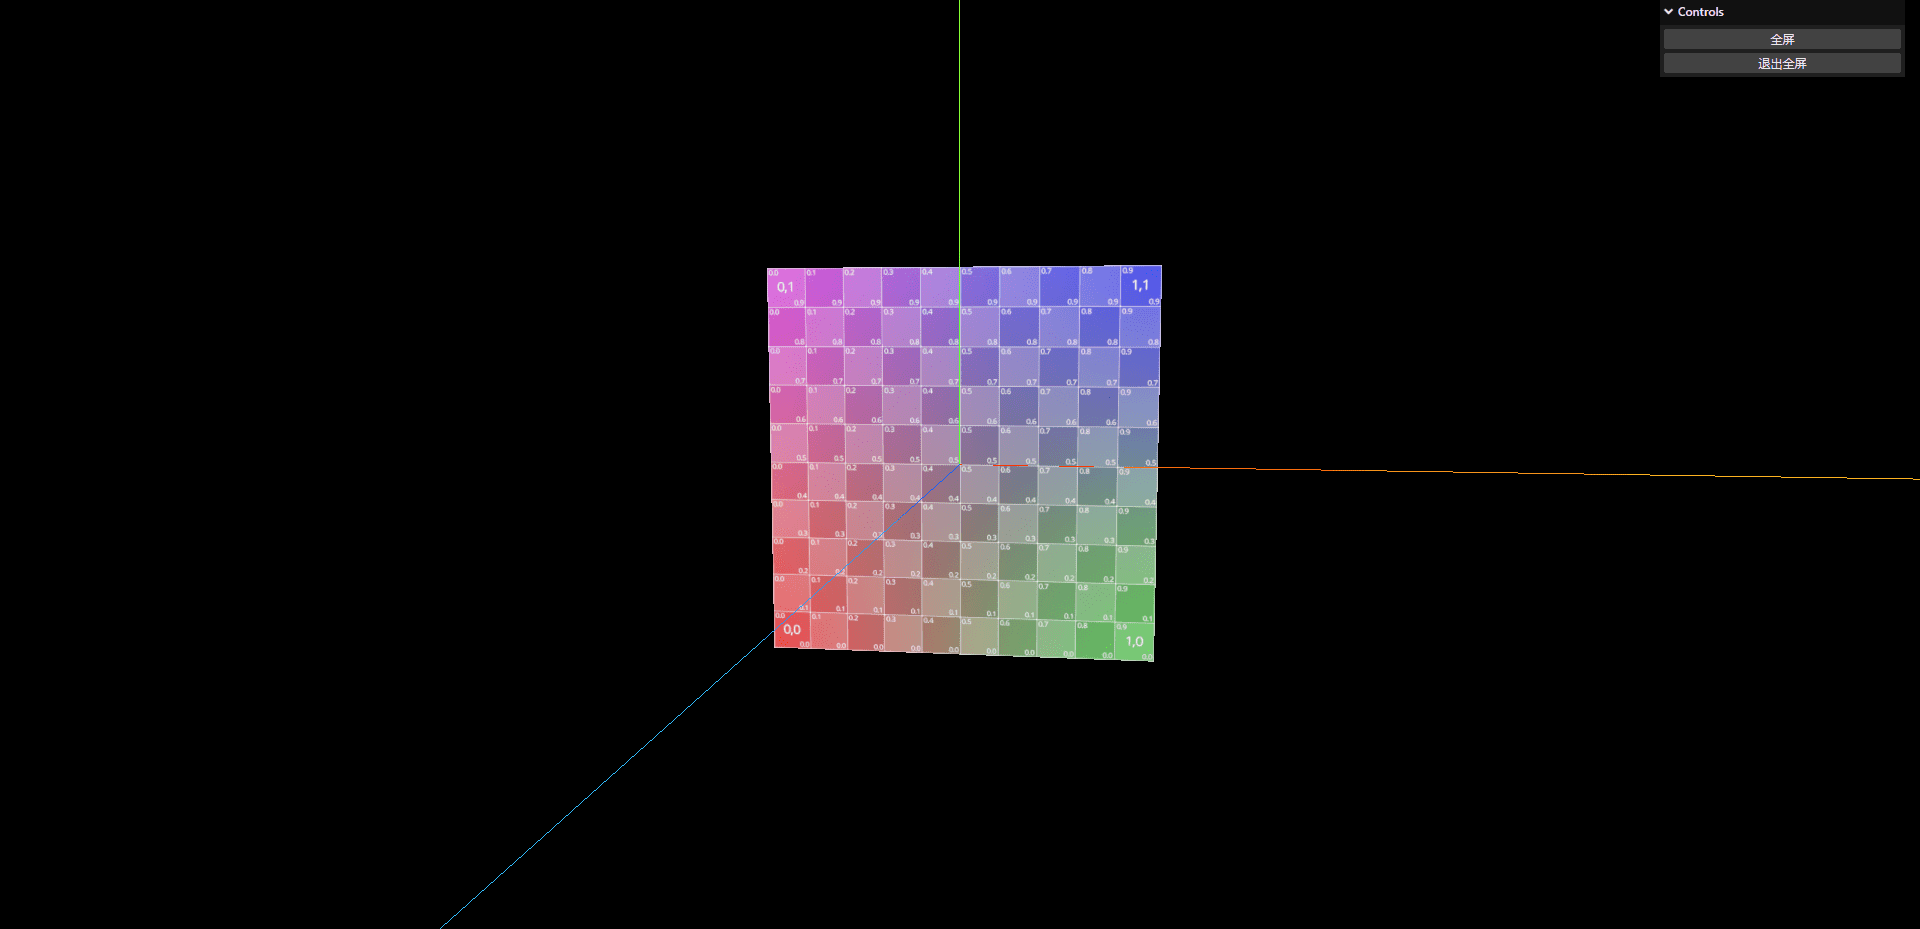
ok,这样一个全屏和退出全屏的功能就实现了,接下来,我们了解一下几何体的uv属性。
几何体的uv属性 环境贴图 1 2 3 4 let uvTexture = new THREE .TextureLoader ().load ("./texture/uv_grid_opengl.jpg" );const planeMaterial = new THREE .MeshBasicMaterial ({ map : uvTexture, });
创建自己的正方形 先把之前的正方形给挪一下位置,方便观察
1 planeMesh.position .x = -3 ;
根据顶点创建
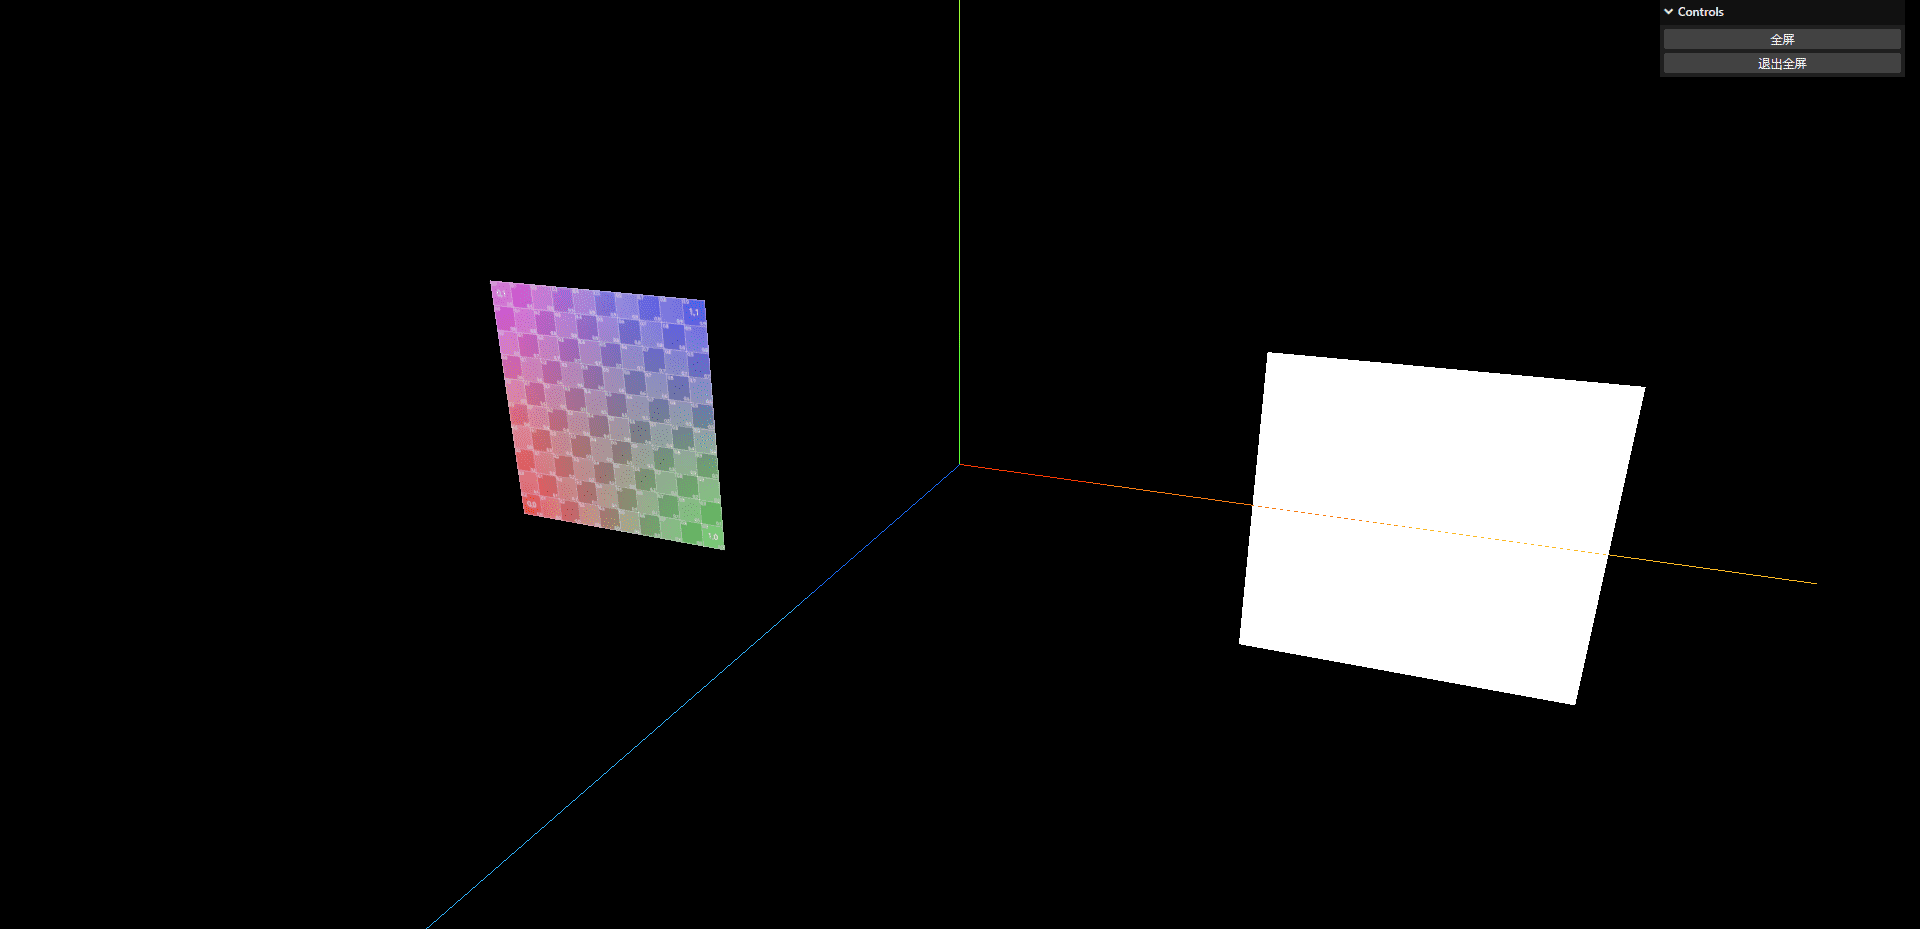
1 2 3 4 5 6 7 8 9 10 11 12 13 14 15 16 17 18 19 20 21 const geometry = new THREE .BufferGeometry ();const vertices = new Float32Array ([ -1.0 , -1.0 , 0.0 , 1.0 , -1.0 , 0.0 , 1.0 , 1.0 , 0.0 , 1.0 , 1.0 , 0 , -1.0 , 1.0 , 0 , -1.0 , -1.0 , 0 , ]); geometry.setAttribute ("position" , new THREE .BufferAttribute (vertices, 3 )); const material = new THREE .MeshBasicMaterial ({ map : uvTexture, }); const plane = new THREE .Mesh (geometry, material);scene.add (plane); plane.position .x = 3 ;
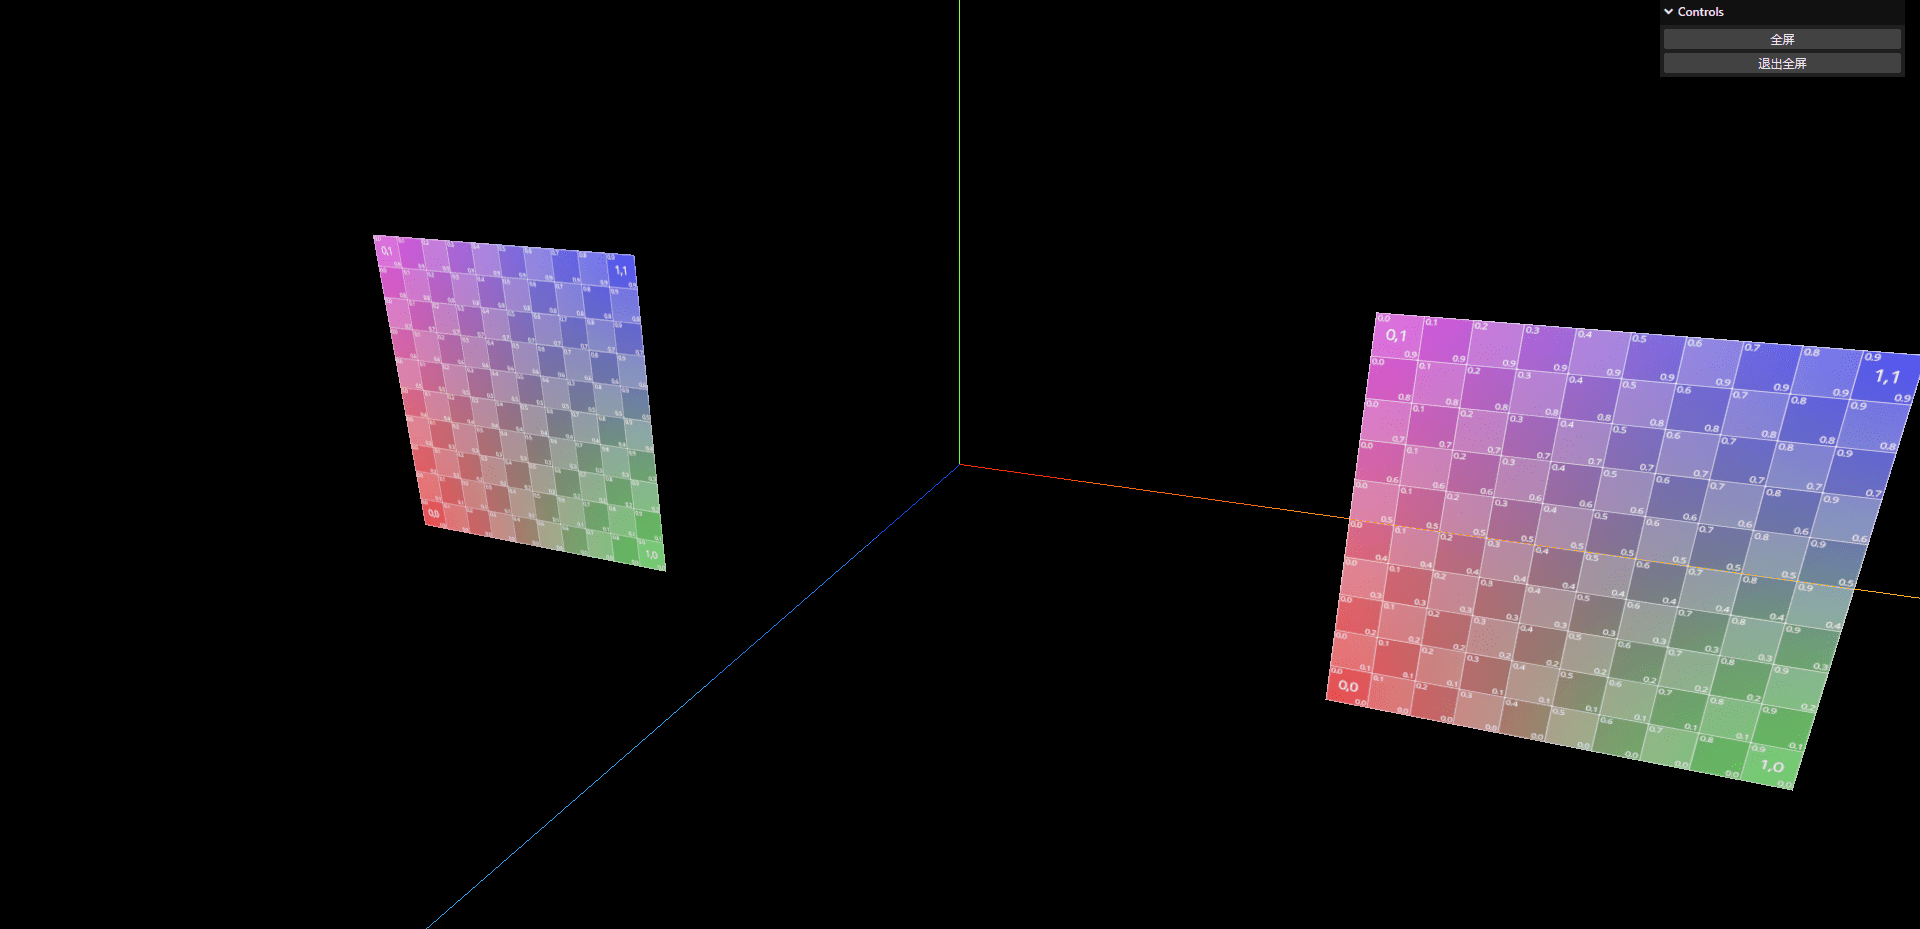
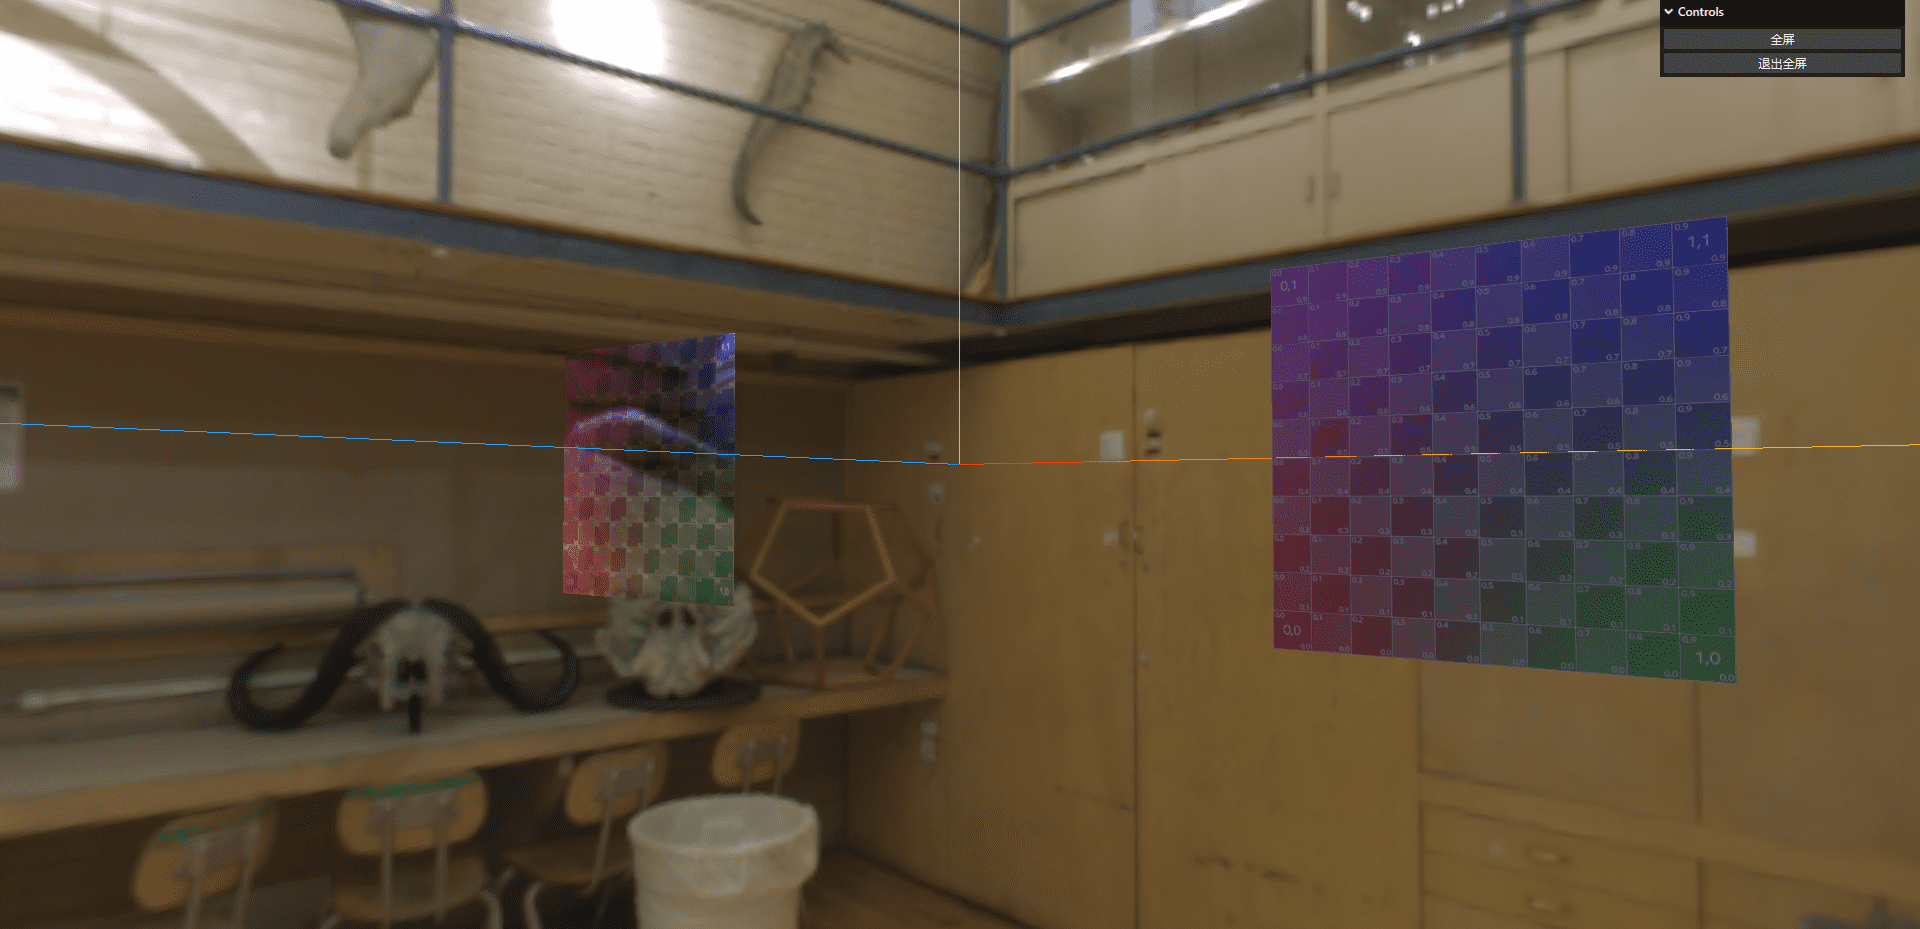
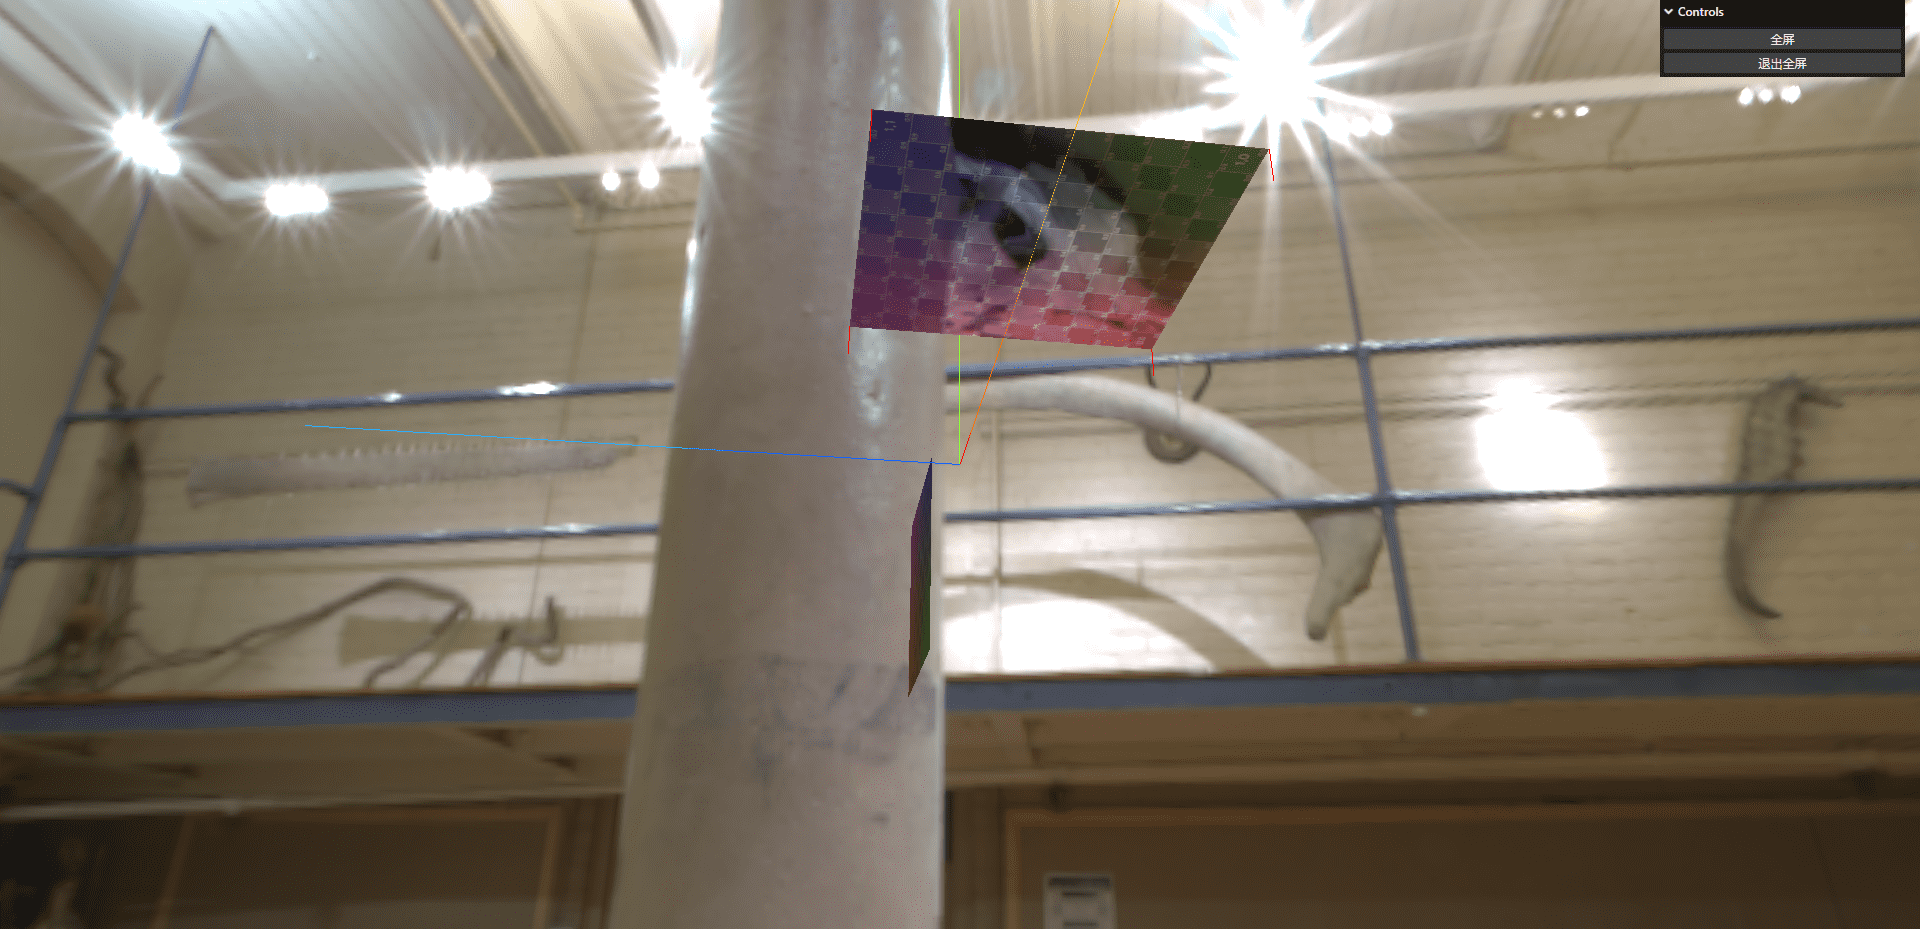
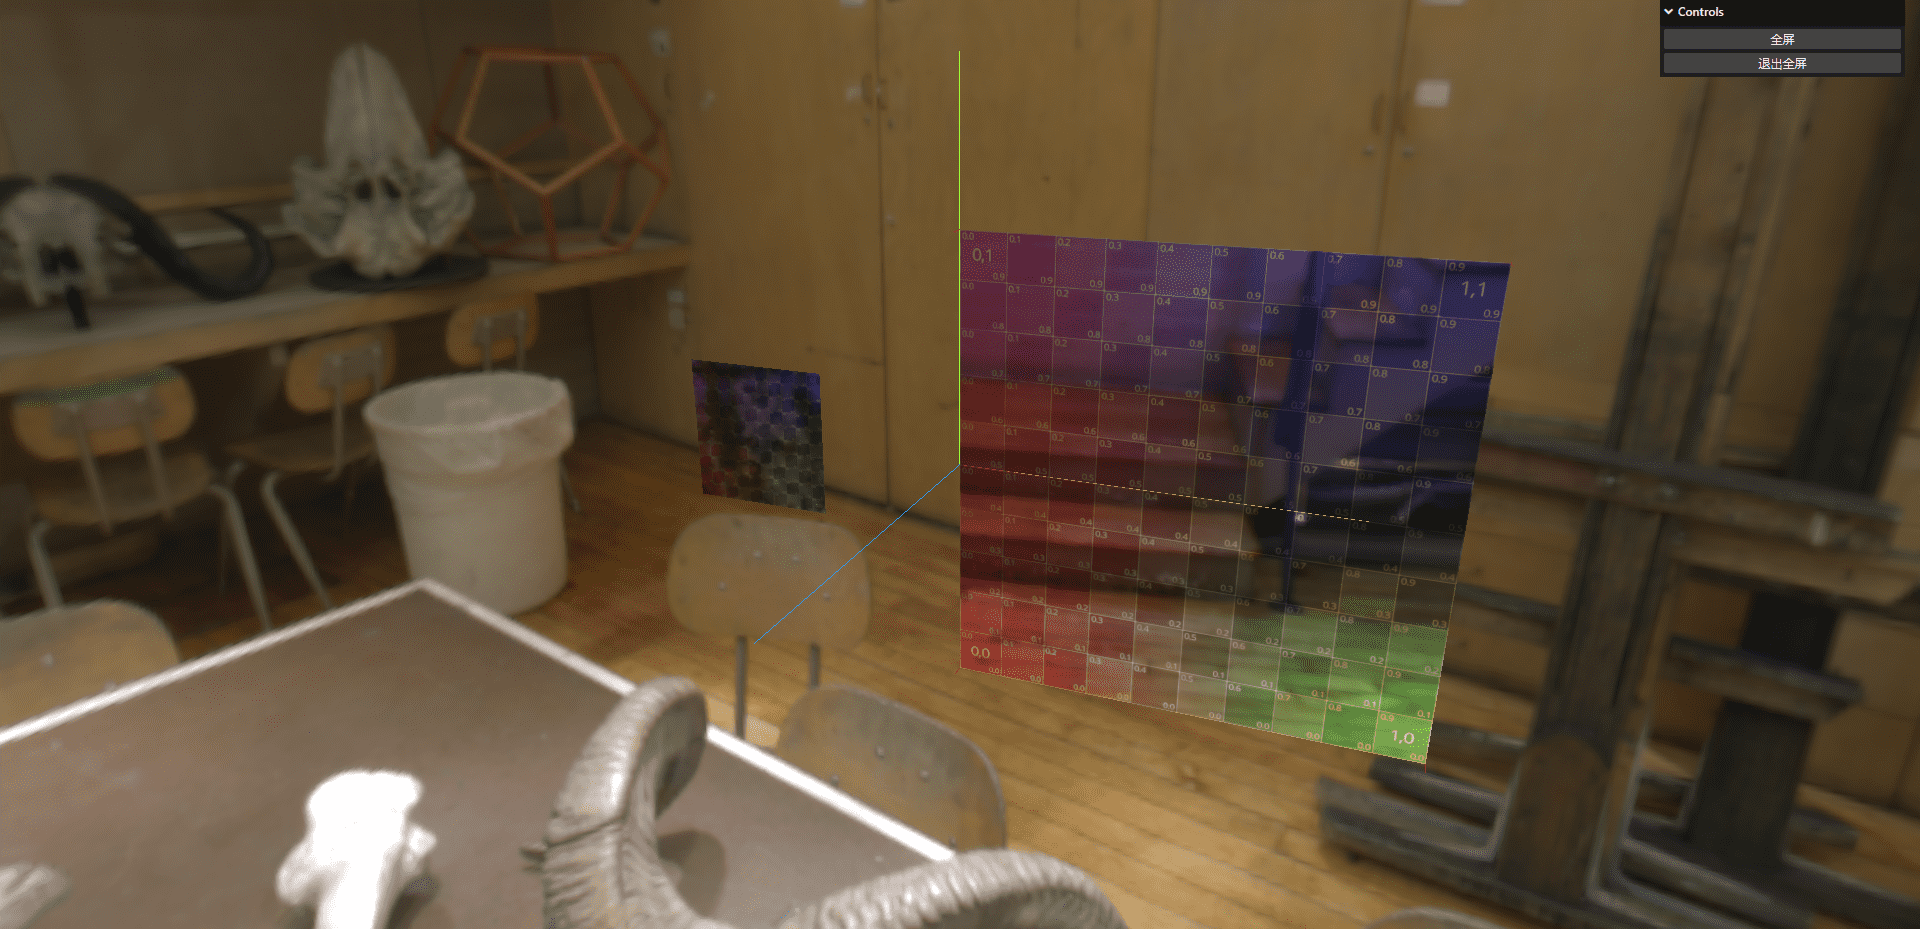
我们可以看到,这个环境贴图没法放到我们自己创建的正方形上,这是因为我们自己创建的正方形的顶点数据是有序的,而环境贴图的顶点数据是无序的,所以我们需要给我们自己创建的正方形添加uv属性,这样就可以了
1 2 3 4 5 6 7 8 9 10 11 12 13 14 15 16 17 18 19 20 21 22 23 24 25 26 27 const vertices = new Float32Array ([ -1.0 , -1.0 , 0.0 , 1.0 , -1.0 , 0.0 , 1.0 , 1.0 , 0.0 , -1.0 , 1.0 , 0 , ]); geometry.setAttribute ("position" , new THREE .BufferAttribute (vertices, 3 )); const indices = new Uint16Array ([0 , 1 , 2 , 2 , 3 , 0 ]);geometry.setIndex (new THREE .BufferAttribute (indices, 1 )); const uv = new Float32Array ([ 0 , 0 , 1 , 0 , 1 , 1 , 0 , 1 , ]); geometry.setAttribute ("uv" , new THREE .BufferAttribute (uv, 2 ));
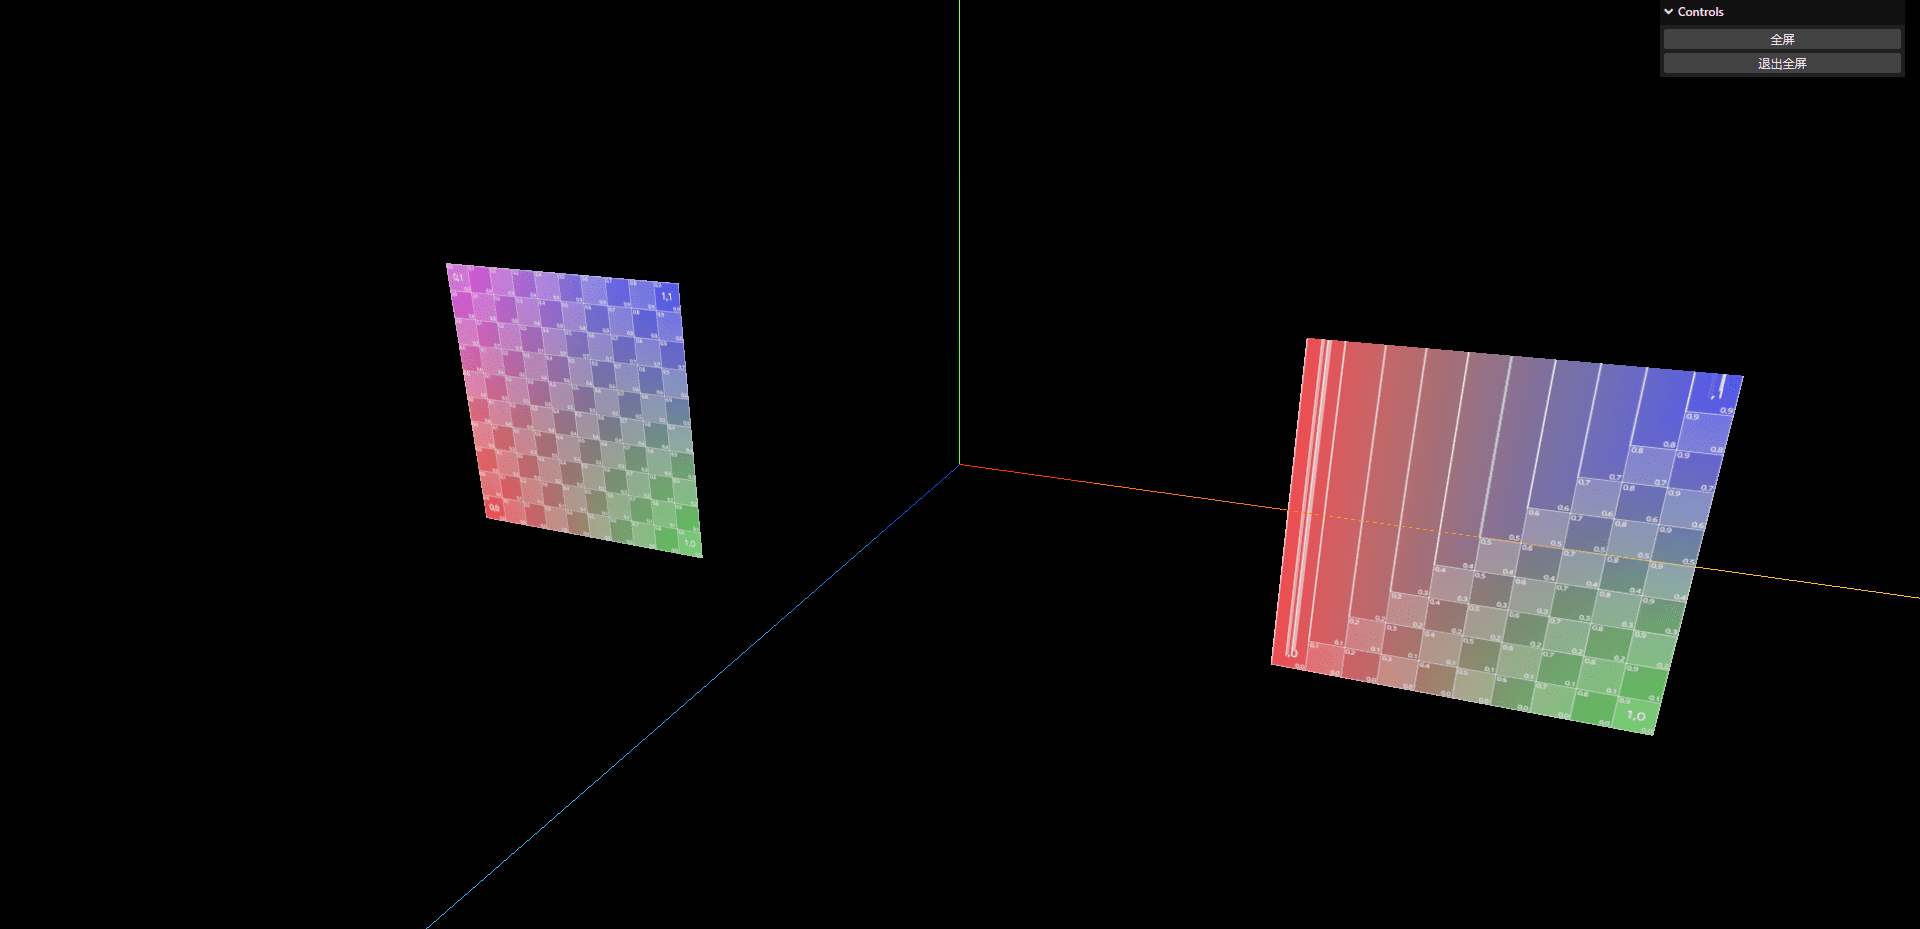
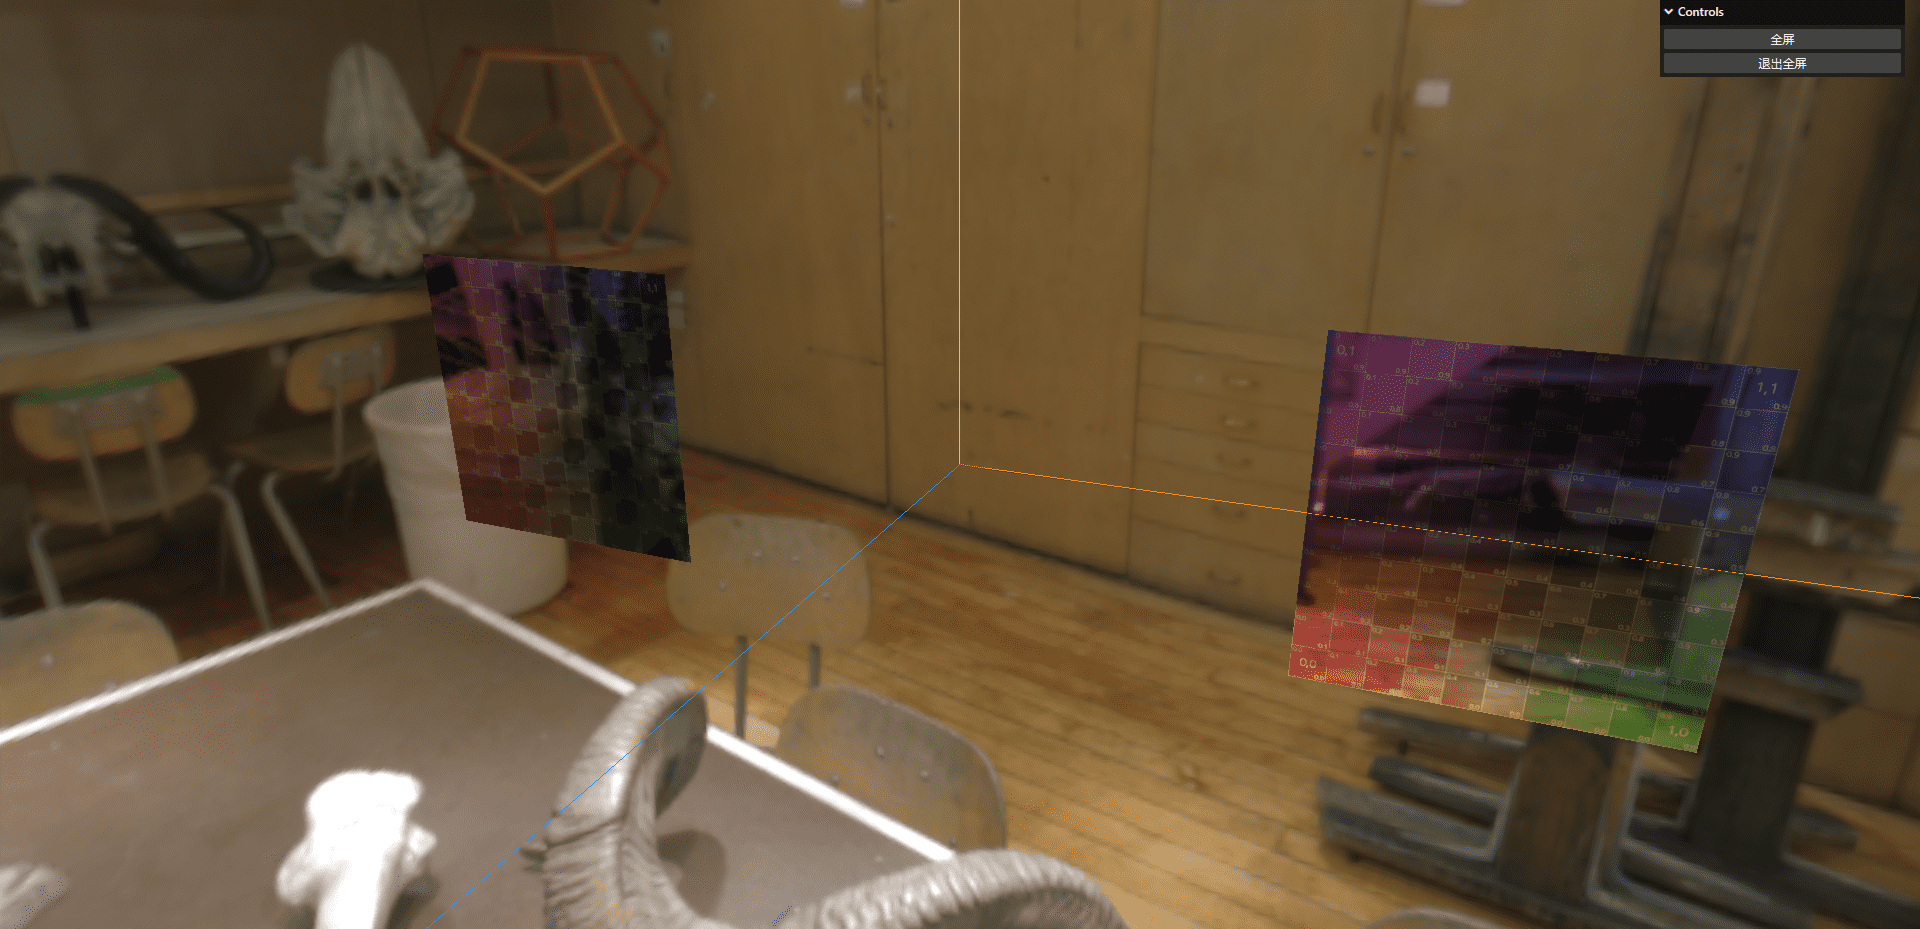
当我们修改uv的时候,比如把最后一个点改成(0,0),这样能渲染的uv映射图就变成了三角形部分
1 2 3 4 5 6 7 8 9 10 11 const uv = new Float32Array ([ 0 , 0 , 1 , 0 , 1 , 1 , 0 , 0 , ]);
几何体的法向属性 添加全景环境贴图 如果我们需要根据光照反射物体,那么就需要我们的法向属性了,首先,我们给场景一个环境贴图
1 2 3 4 5 6 7 8 9 10 11 12 13 14 15 import { RGBELoader } from "three/examples/jsm/loaders/RGBELoader.js" ;let rgbeLoader = new RGBELoader ();rgbeLoader.load ("./texture/Alex_Hart-Nature_Lab_Bones_2k.hdr" , (envMap ) => { envMap.mapping = THREE .EquirectangularReflectionMapping ; scene.background = envMap; scene.environment = envMap; planeMaterial.envMap = envMap; material.envMap = envMap; });
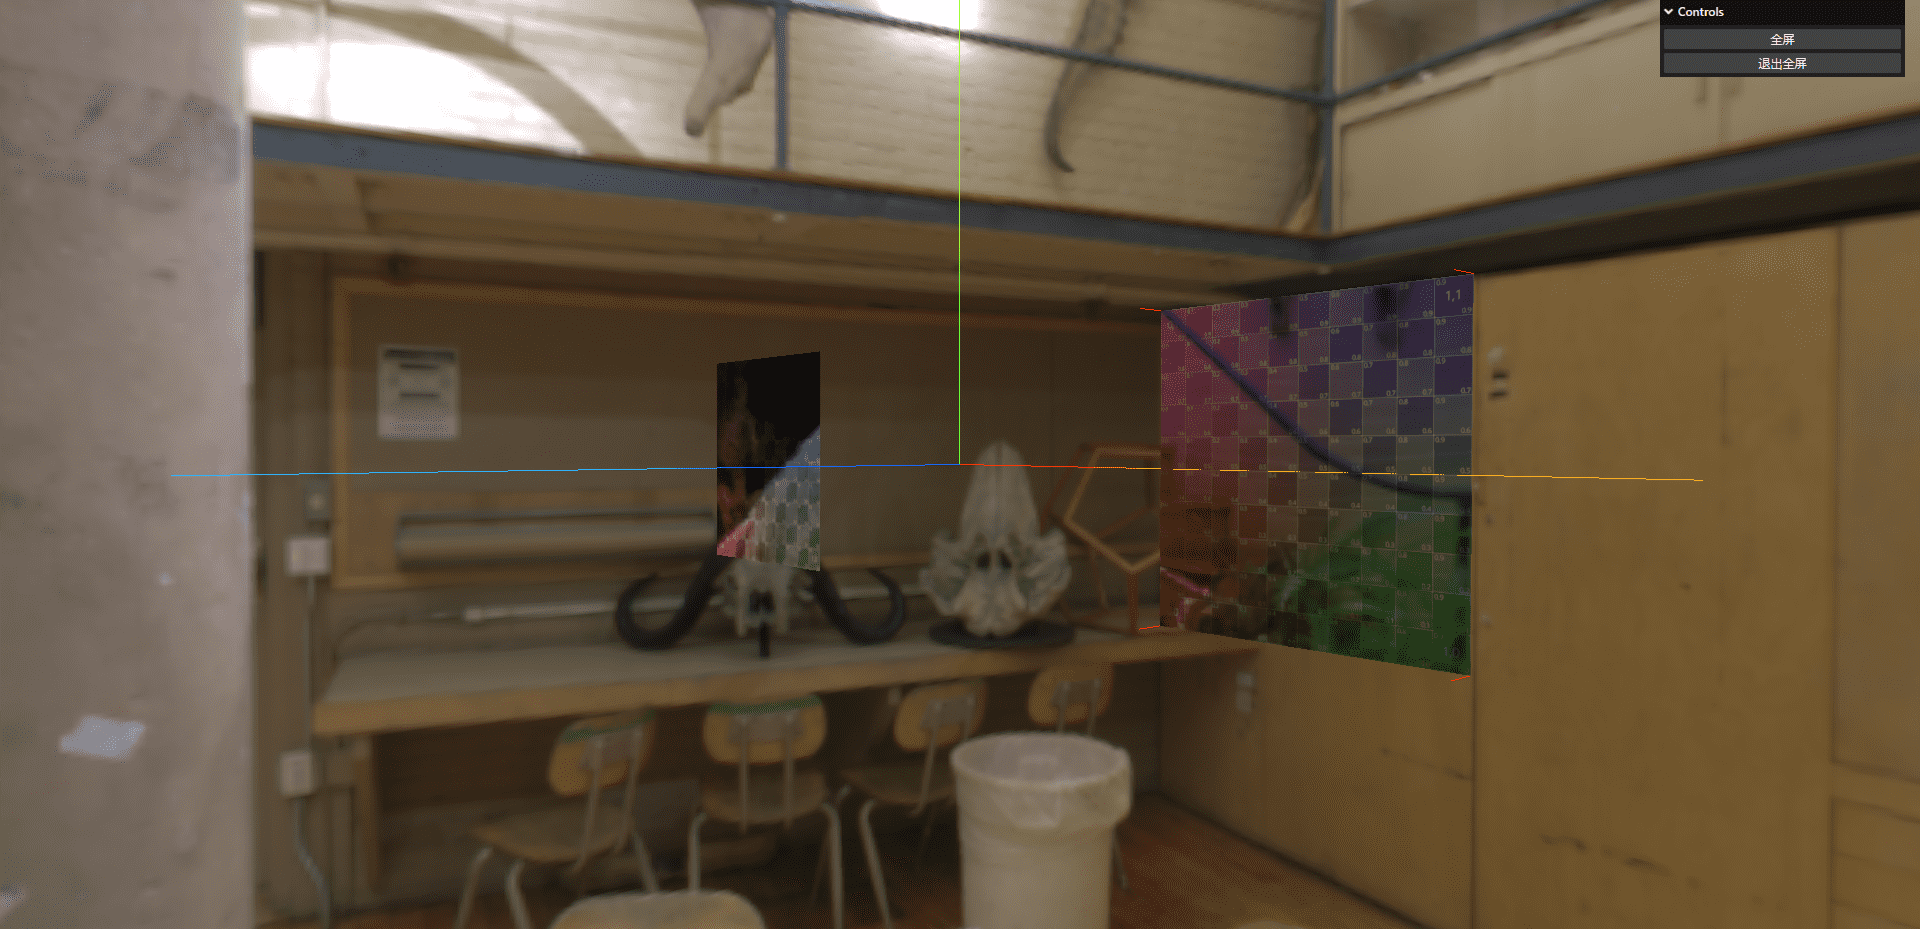
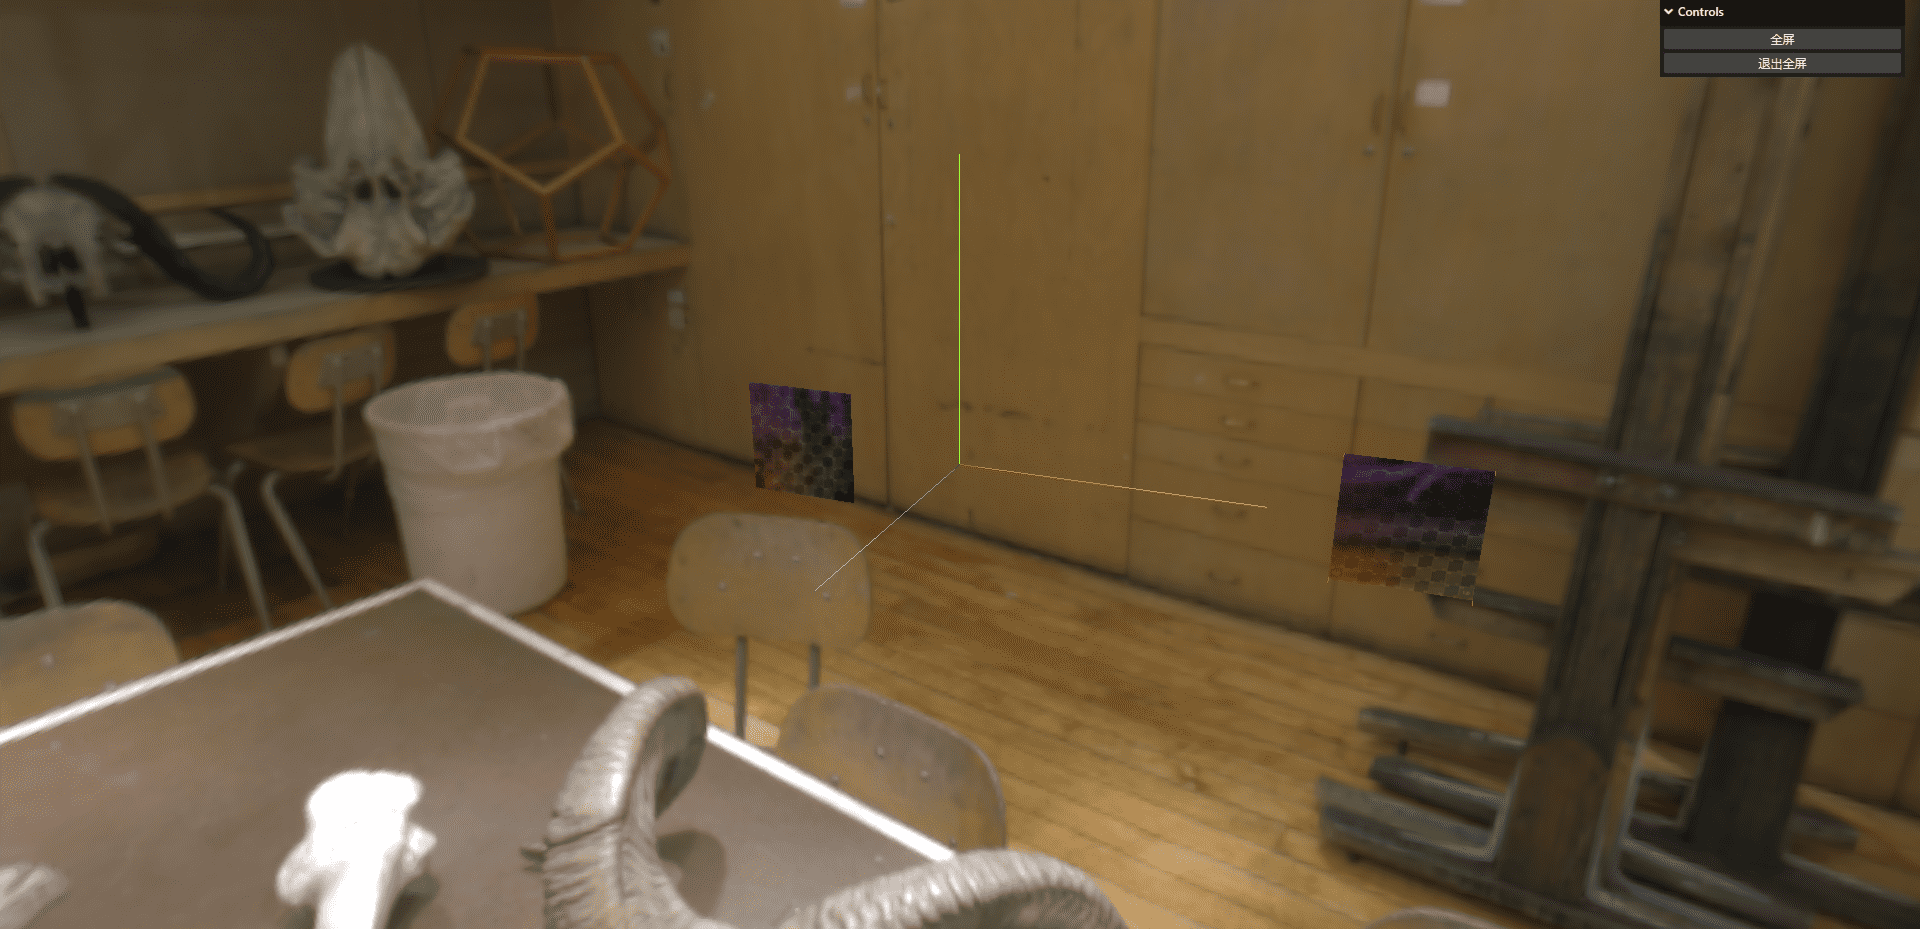
添加法向属性 这时我们看到,我们自己写的正方形并没有反射场景中的内容,这是因为缺少了法向,我们给我们自己写的正方形加上法向属性,我们知道法向是需要垂直于我们的面的,因此加上(0,0,1)即可
1 2 3 4 5 6 7 8 9 10 11 12 13 14 15 16 17 const normals = new Float32Array ([ 0 , 0 , 1 , 0 , 0 , 1 , 0 , 0 , 1 , 0 , 0 , 1 , ]); geometry.setAttribute ("normal" , new THREE .BufferAttribute (normals, 3 ));
添加法向观察器 为了我们更方便观察法向,我们可以添加法向的顶点观察辅助器
object – 要渲染顶点法线辅助的对象.
size – (可选的) 箭头的长度. 默认为 1.
color – 16进制颜色值. 默认为 0xff0000.
linewidth – (可选的) 箭头线段的宽度. 默认为 1.1 2 3 4 5 6 7 import { VertexNormalsHelper } from "three/examples/jsm/helpers/VertexNormalsHelper.js" ;geometry.computeVertexNormals (); const helper = new VertexNormalsHelper (plane, 0.2 , 0xff0000 );scene.add (helper);
几何体顶点转换 一般情况下,我们是不处理几何体的顶点的,一般使用物体的position这些属性,但如果比如渲染的时候,后端给我们的顶点数据是有些难处理,我们可以进行顶点数据的移动操作
顶点偏移 1 geometry.translate (4 , 0 , 0 );
顶点旋转 1 geometry.rotateX (Math .PI / 2 );
顶点缩放 1 geometry.scale (3 , 3 , 3 );
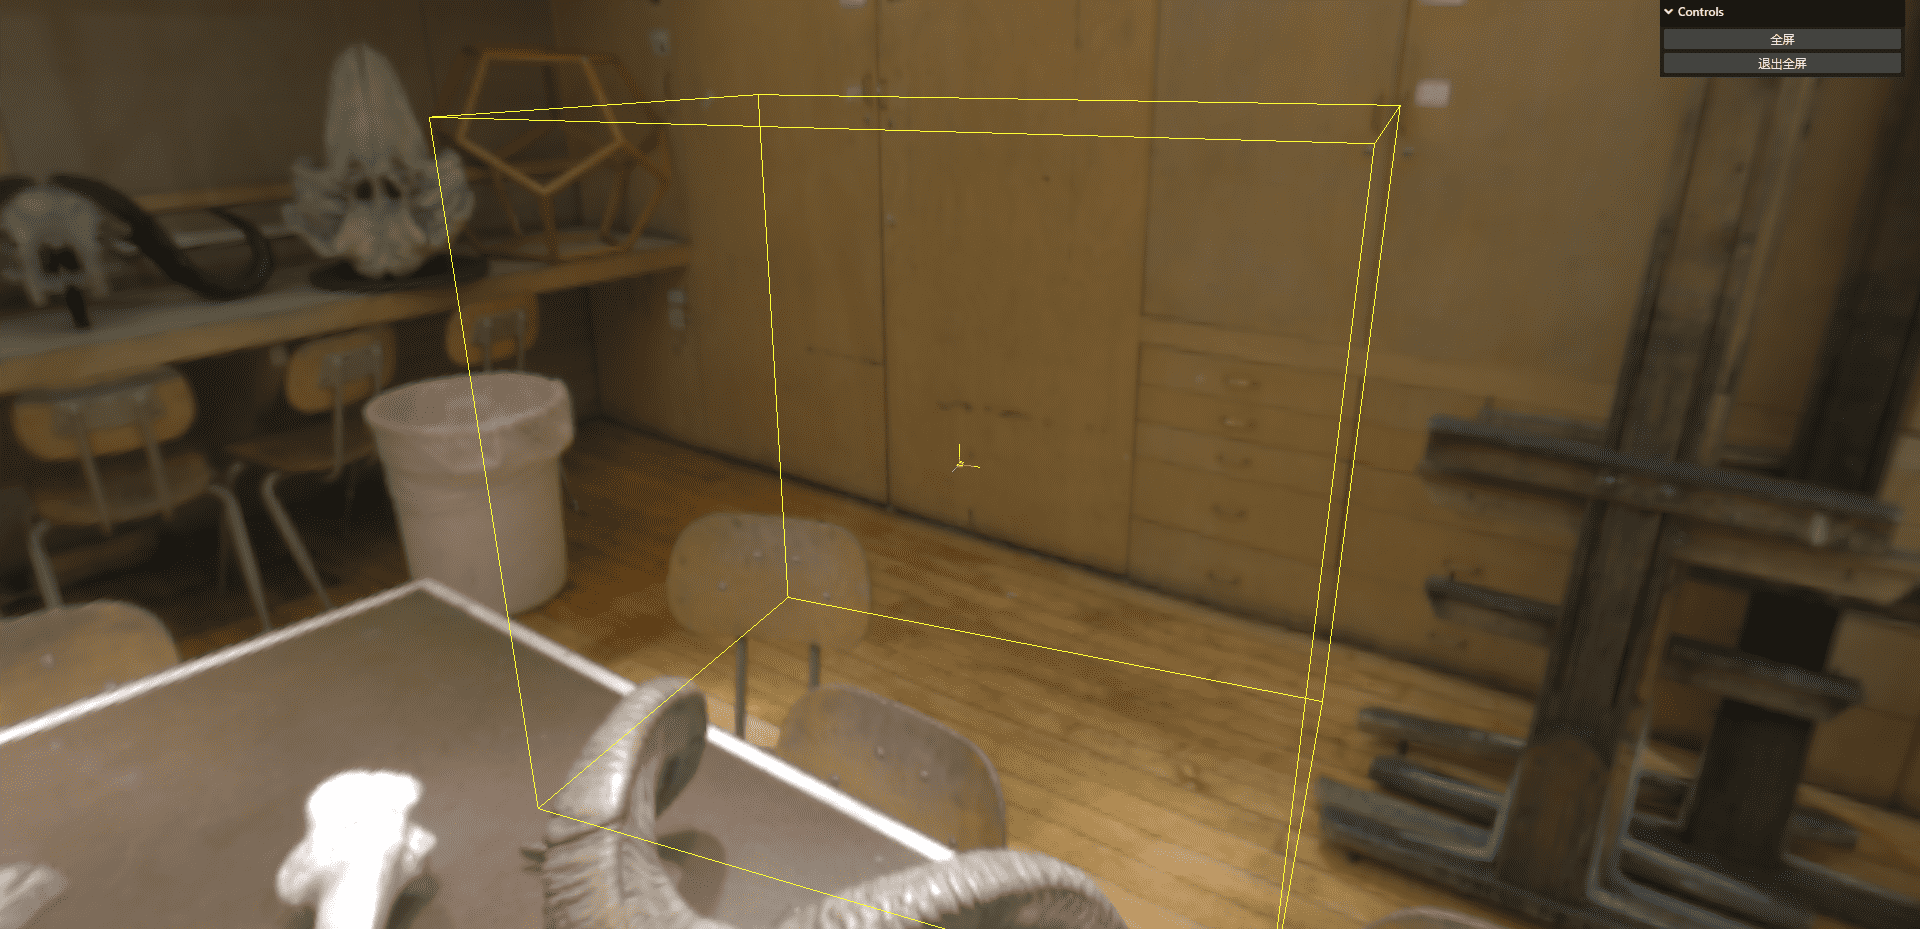
包围盒 包围盒是一个长方体,它包含了一个物体的所有顶点,我们可以通过包围盒来获取物体的大小,位置等信息,比如两个不规则的东西如果碰撞,我们不可能拿这俩物体的所有顶点进行计算,这时候就需要使用包围盒的顶点进行碰撞检测,这样就可以大大减少计算量
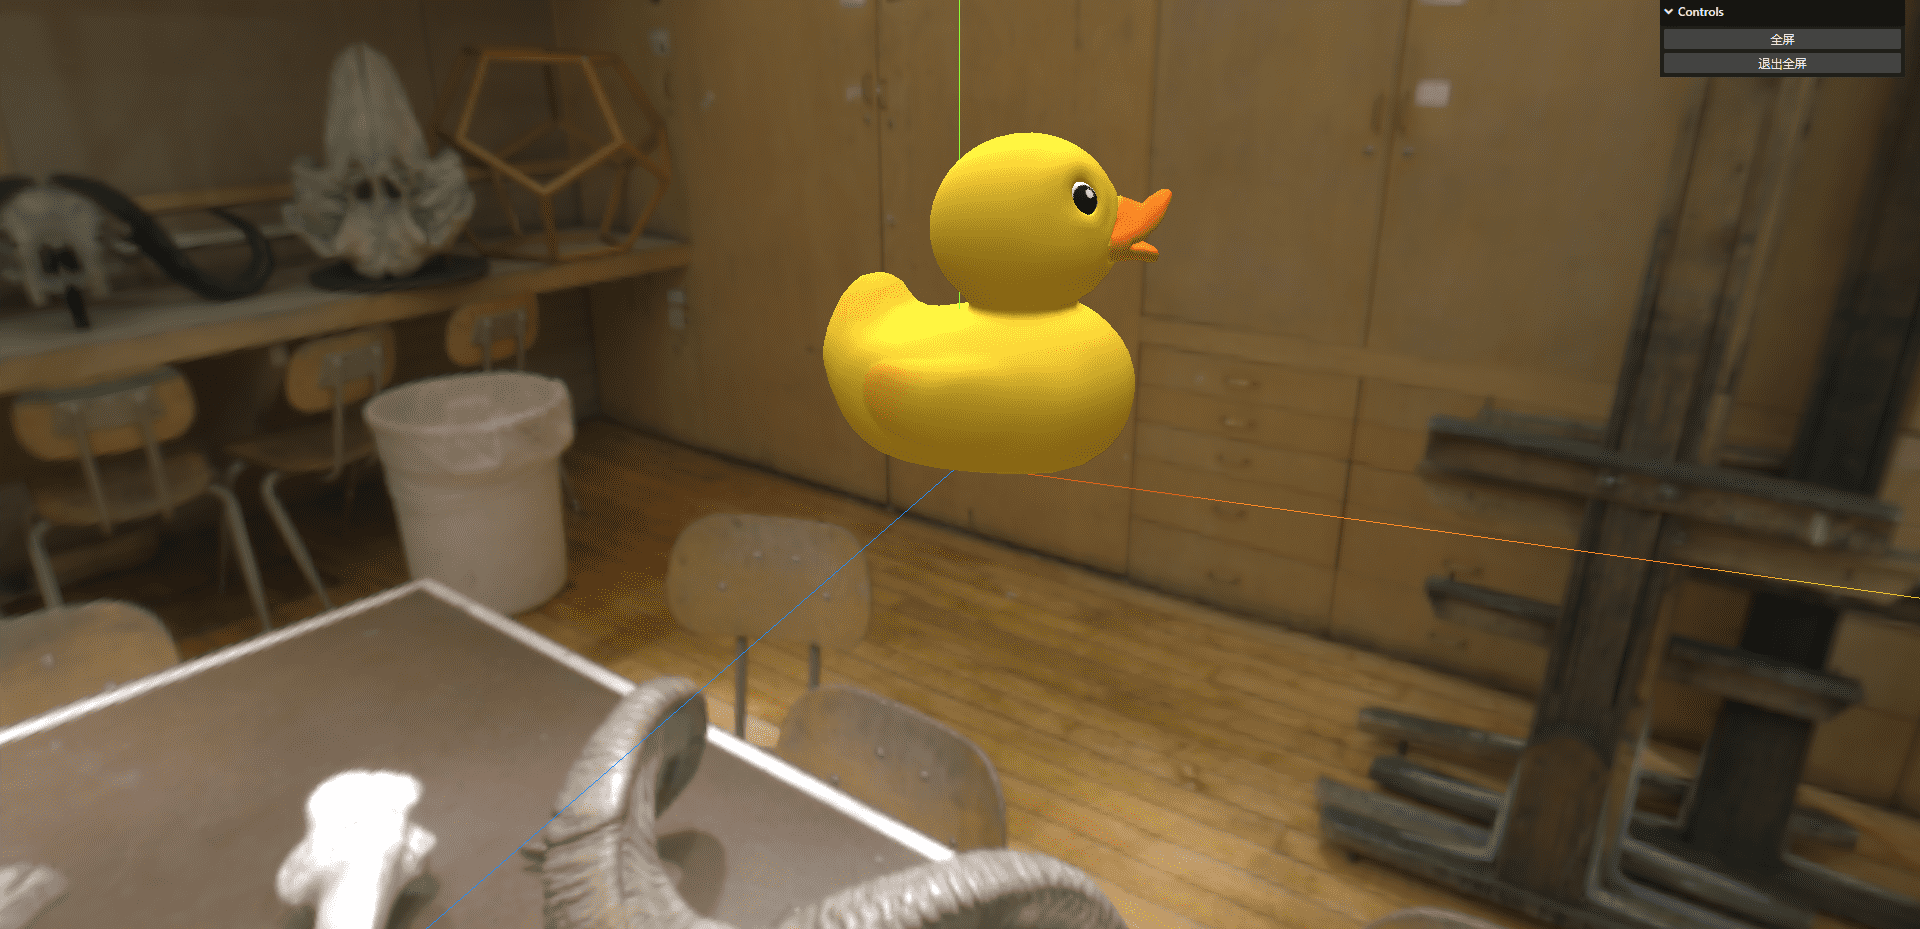
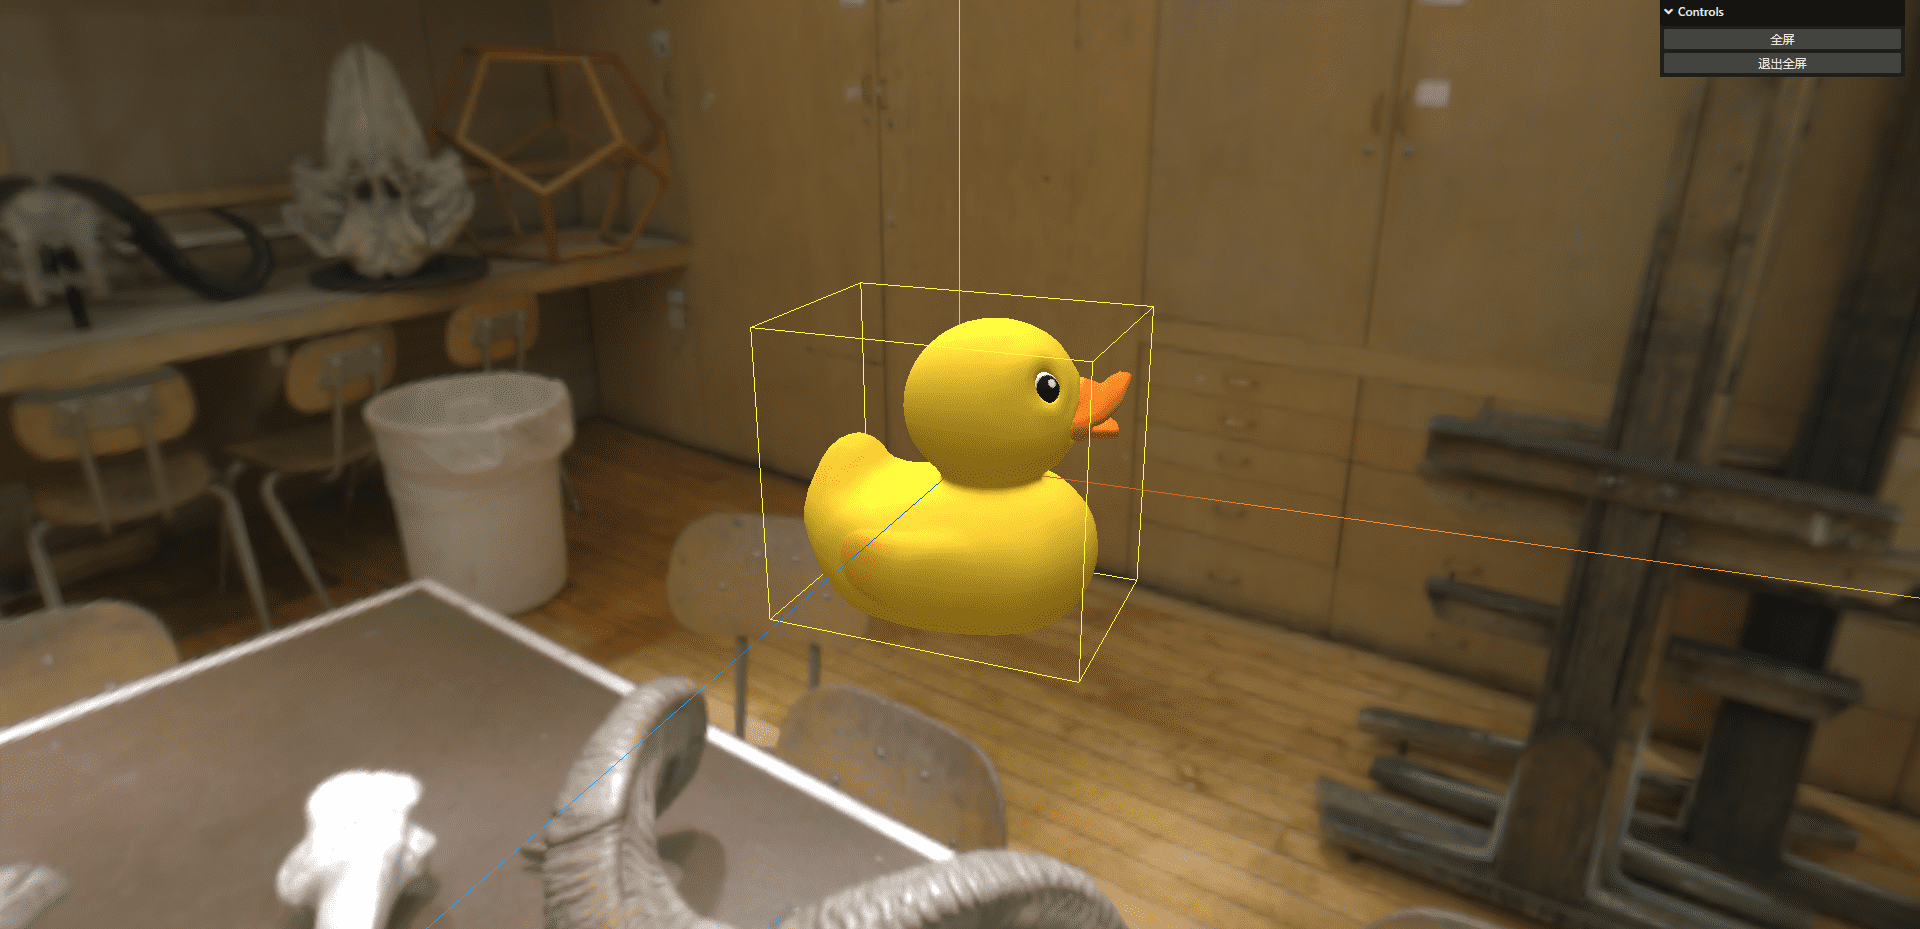
导入模型 1 2 3 4 5 6 7 8 9 10 11 12 13 14 import { GLTFLoader } from "three/examples/jsm/loaders/GLTFLoader.js" ;const gltfLoader = new GLTFLoader ();gltfLoader.load ( "./model/Duck.glb" , (gltf ) => { console .log (gltf); scene.add (gltf.scene ); } )
添加包围盒 1 2 3 4 5 6 7 8 9 10 11 12 13 14 15 16 17 18 19 20 21 22 23 24 25 gltfLoader.load ( "./model/Duck.glb" , (gltf ) => { console .log (gltf); scene.add (gltf.scene ); let duckMesh = gltf.scene .getObjectByName ("LOD3spShape" ); let duckGeometry = duckMesh.geometry ; duckGeometry.computeBoundingBox (); duckGeometry.center (); let duckBox = duckGeometry.boundingBox ; let boxHelper = new THREE .Box3Helper (duckBox, 0xffff00 ); scene.add (boxHelper); } )
这时我们发现,包围盒怎么那么大,这是因为我们的模型是经过了一定的缩放的,而我们的包围盒并没有进行缩放,因此我们需要更新包围盒的世界坐标
更新世界矩阵 1 2 3 4 duckMesh.updateWorldMatrix (true , true ); duckBox.applyMatrix4 (duckMesh.matrixWorld );
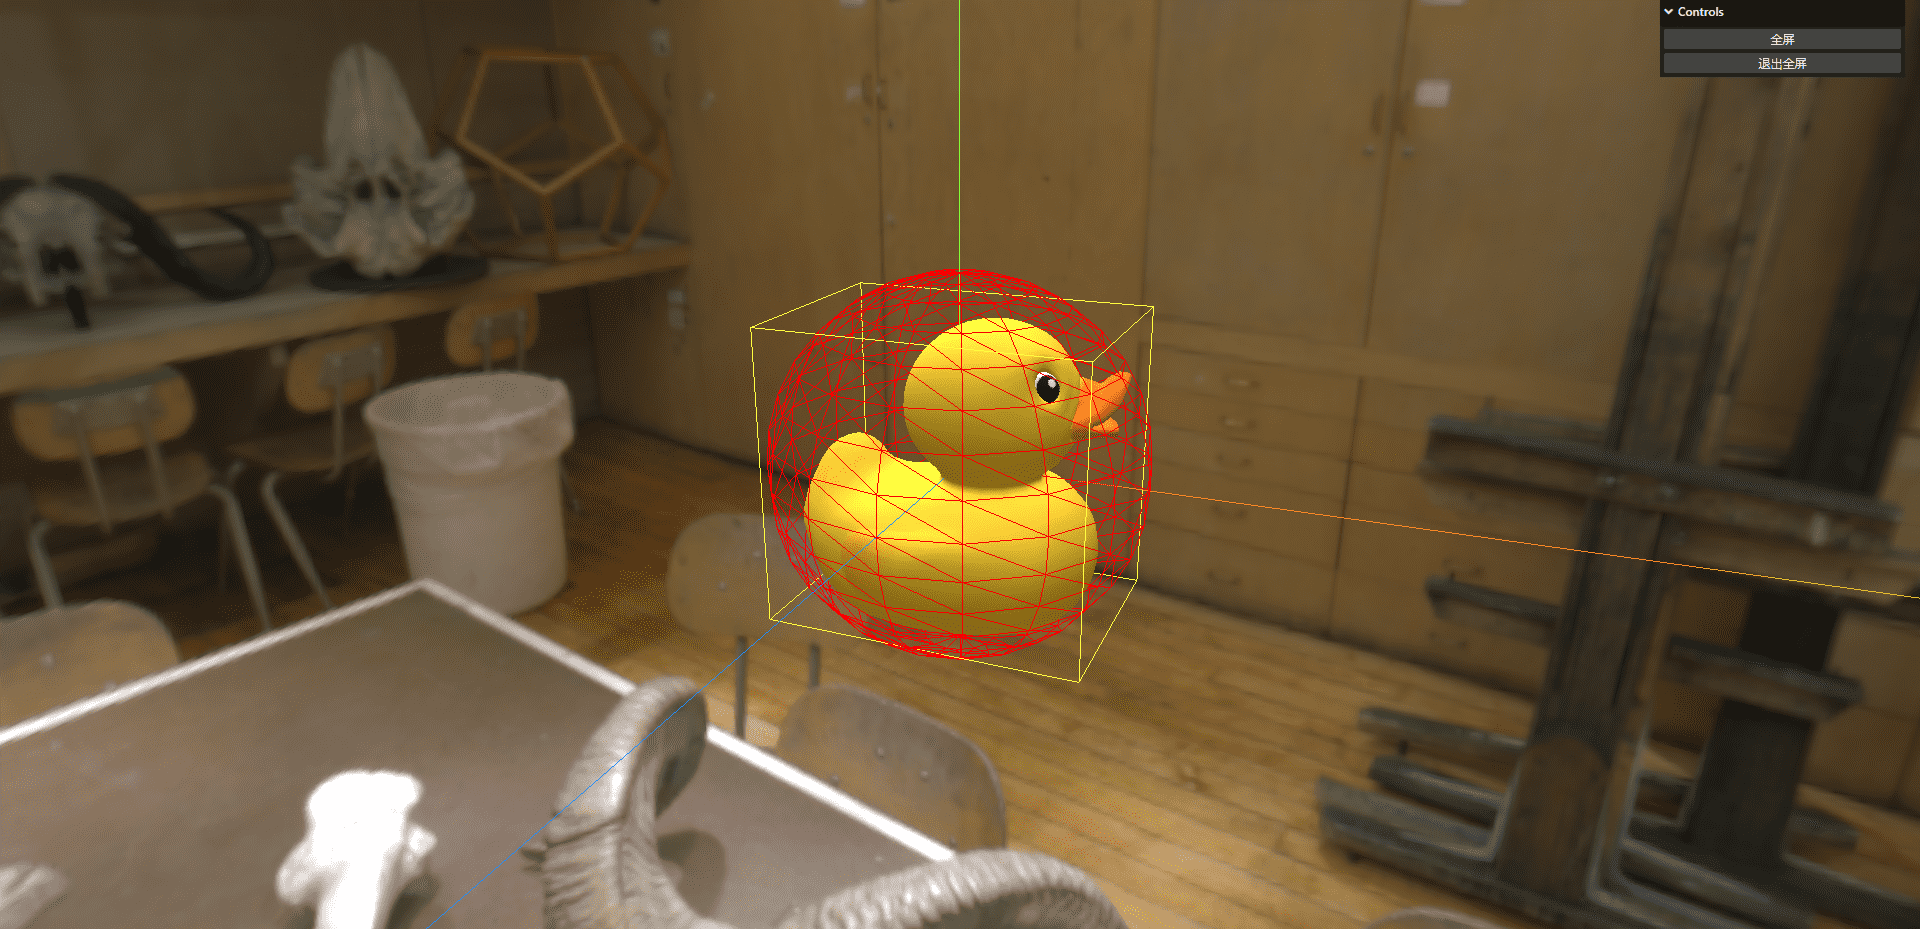
在包围盒外面再创建一个包围球 我们如果还想要在这个包围盒外面创建一个包围球呢,中心坐标和这个包围盒是一样的,接下来我们一起来实现一下
1 2 3 4 5 6 7 8 9 10 11 12 13 14 15 16 17 let center = duckBox.getCenter (new THREE .Vector3 ()); let duckSphere = duckGeometry.boundingSphere ;duckSphere.applyMatrix4 (duckMesh.matrixWorld ); let sphereGeometry = new THREE .SphereGeometry (duckSphere.radius , 16 , 16 );let sphereMaterial = new THREE .MeshBasicMaterial ({ color : 0xff0000 , wireframe : true , }); let sphereMesh = new THREE .Mesh (sphereGeometry, sphereMaterial);sphereMesh.position .copy (center); scene.add (sphereMesh);
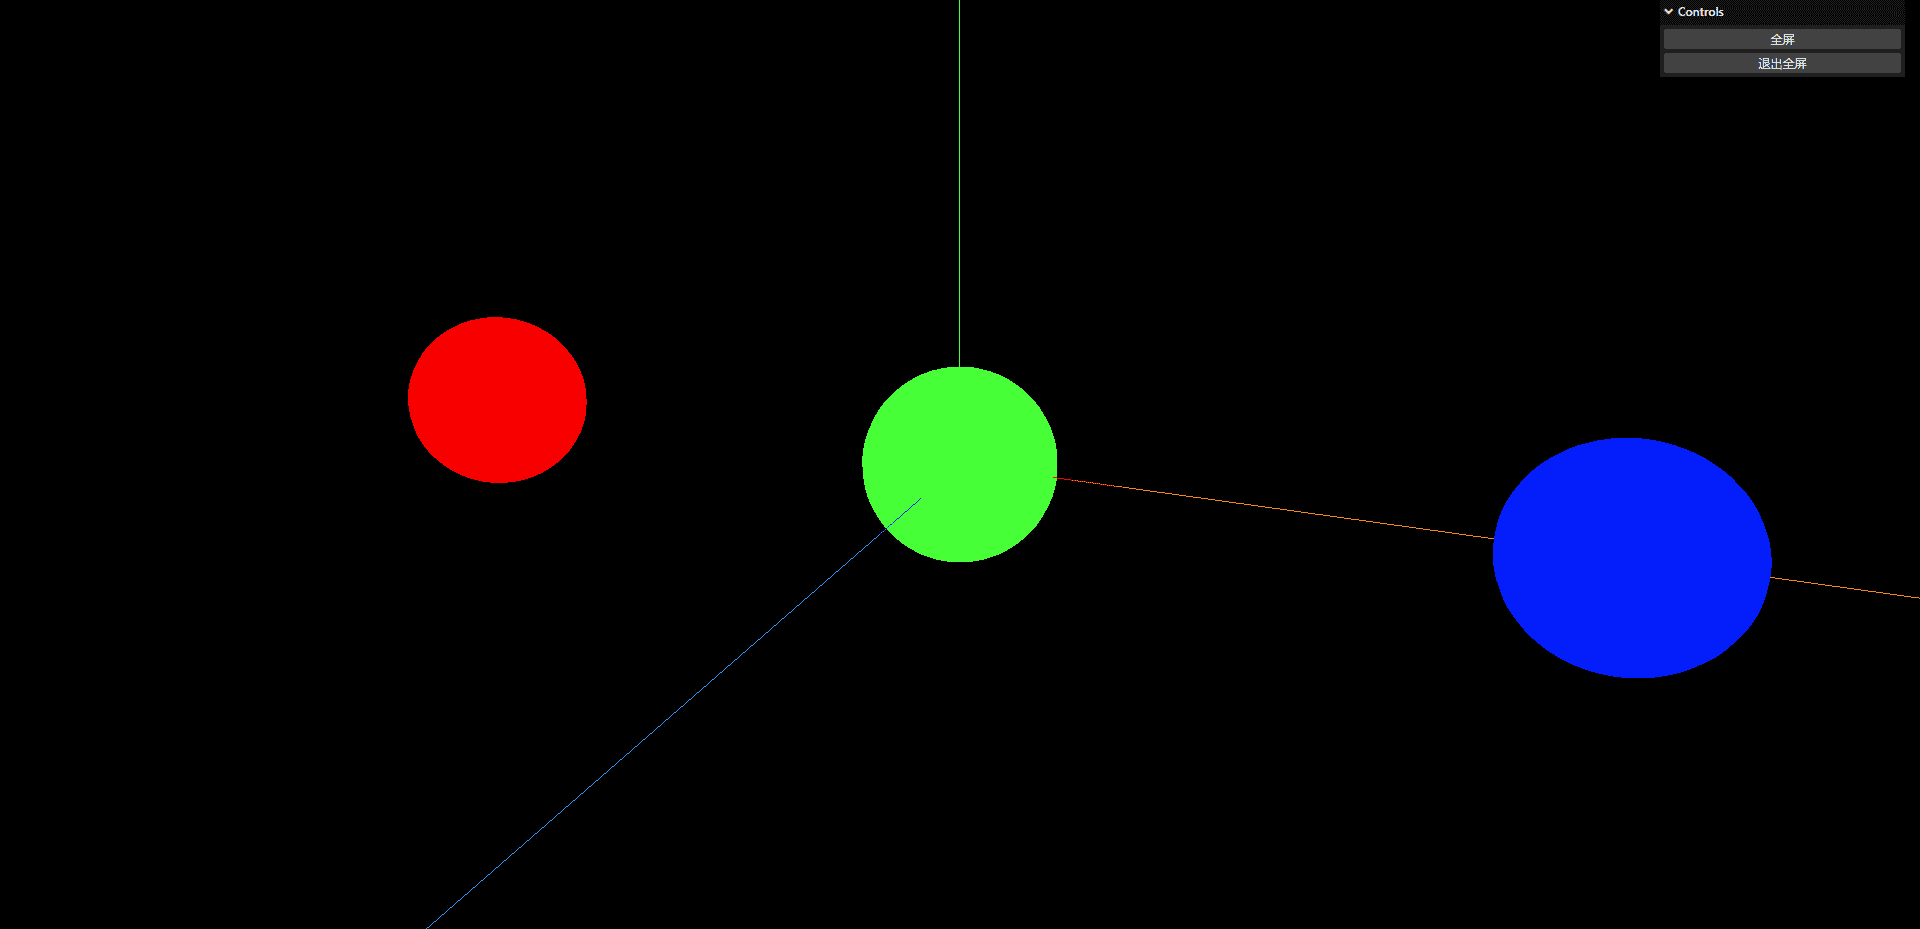
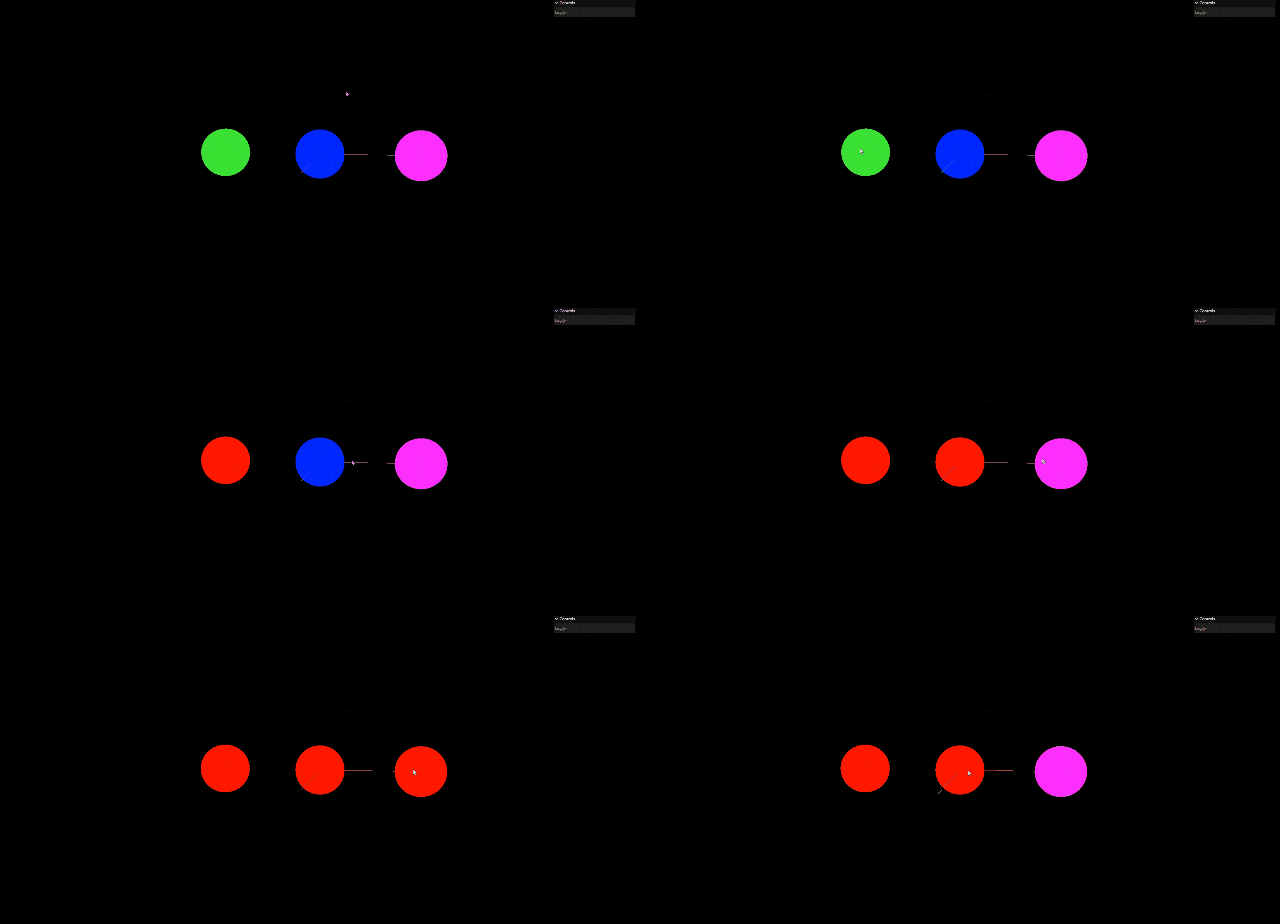
多个集合体合并包围盒 创建多个小球的页面 1 2 3 4 5 6 7 8 9 10 11 12 13 14 15 16 17 18 19 20 21 22 23 24 25 26 27 28 29 30 31 32 33 34 35 36 37 38 39 40 41 42 43 44 45 46 47 48 49 50 51 52 53 54 55 56 57 58 59 60 61 62 63 64 65 66 67 68 69 70 71 72 73 74 75 76 77 78 79 80 81 82 83 84 85 86 87 88 89 90 91 92 93 94 95 96 97 98 99 100 101 102 103 104 105 106 107 import * as THREE from "three" ;import { OrbitControls } from "three/examples/jsm/controls/OrbitControls.js" ;import { GUI } from "three/examples/jsm/libs/lil-gui.module.min.js" ;const scene = new THREE .Scene ();const camera = new THREE .PerspectiveCamera ( 45 , window .innerWidth / window .innerHeight , 0.1 , 1000 ); const renderer = new THREE .WebGLRenderer ();renderer.setSize (window .innerWidth , window .innerHeight ); document .body .appendChild (renderer.domElement );camera.position .z = 5 ; camera.position .y = 2 ; camera.position .x = 2 ; camera.lookAt (0 , 0 , 0 ); const axesHelper = new THREE .AxesHelper (5 );scene.add (axesHelper); const controls = new OrbitControls (camera, renderer.domElement );controls.enableDamping = true ; controls.dampingFactor = 0.05 ; function animate ( controls.update (); requestAnimationFrame (animate); renderer.render (scene, camera); } animate ();window .addEventListener ("resize" , () => { renderer.setSize (window .innerWidth , window .innerHeight ); camera.aspect = window .innerWidth / window .innerHeight ; camera.updateProjectionMatrix (); }); let eventObj = { Fullscreen : function ( document .body .requestFullscreen (); console .log ("全屏" ); }, ExitFullscreen : function ( document .exitFullscreen (); console .log ("退出全屏" ); }, }; const gui = new GUI ();gui.add (eventObj, "Fullscreen" ).name ("全屏" ); gui.add (eventObj, "ExitFullscreen" ).name ("退出全屏" ); let sphere1 = new THREE .Mesh ( new THREE .SphereGeometry (0.5 , 32 , 32 ), new THREE .MeshBasicMaterial ({ color : 0xff0000 , }) ); sphere1.position .x = -3 ; scene.add (sphere1); let sphere2 = new THREE .Mesh ( new THREE .SphereGeometry (0.5 , 32 , 32 ), new THREE .MeshBasicMaterial ({ color : 0x00ff00 , }) ); sphere2.position .x = 0 ; scene.add (sphere2); let sphere3 = new THREE .Mesh ( new THREE .SphereGeometry (0.5 , 32 , 32 ), new THREE .MeshBasicMaterial ({ color : 0x0000ff , }) ); sphere3.position .x = 3 ; scene.add (sphere3);
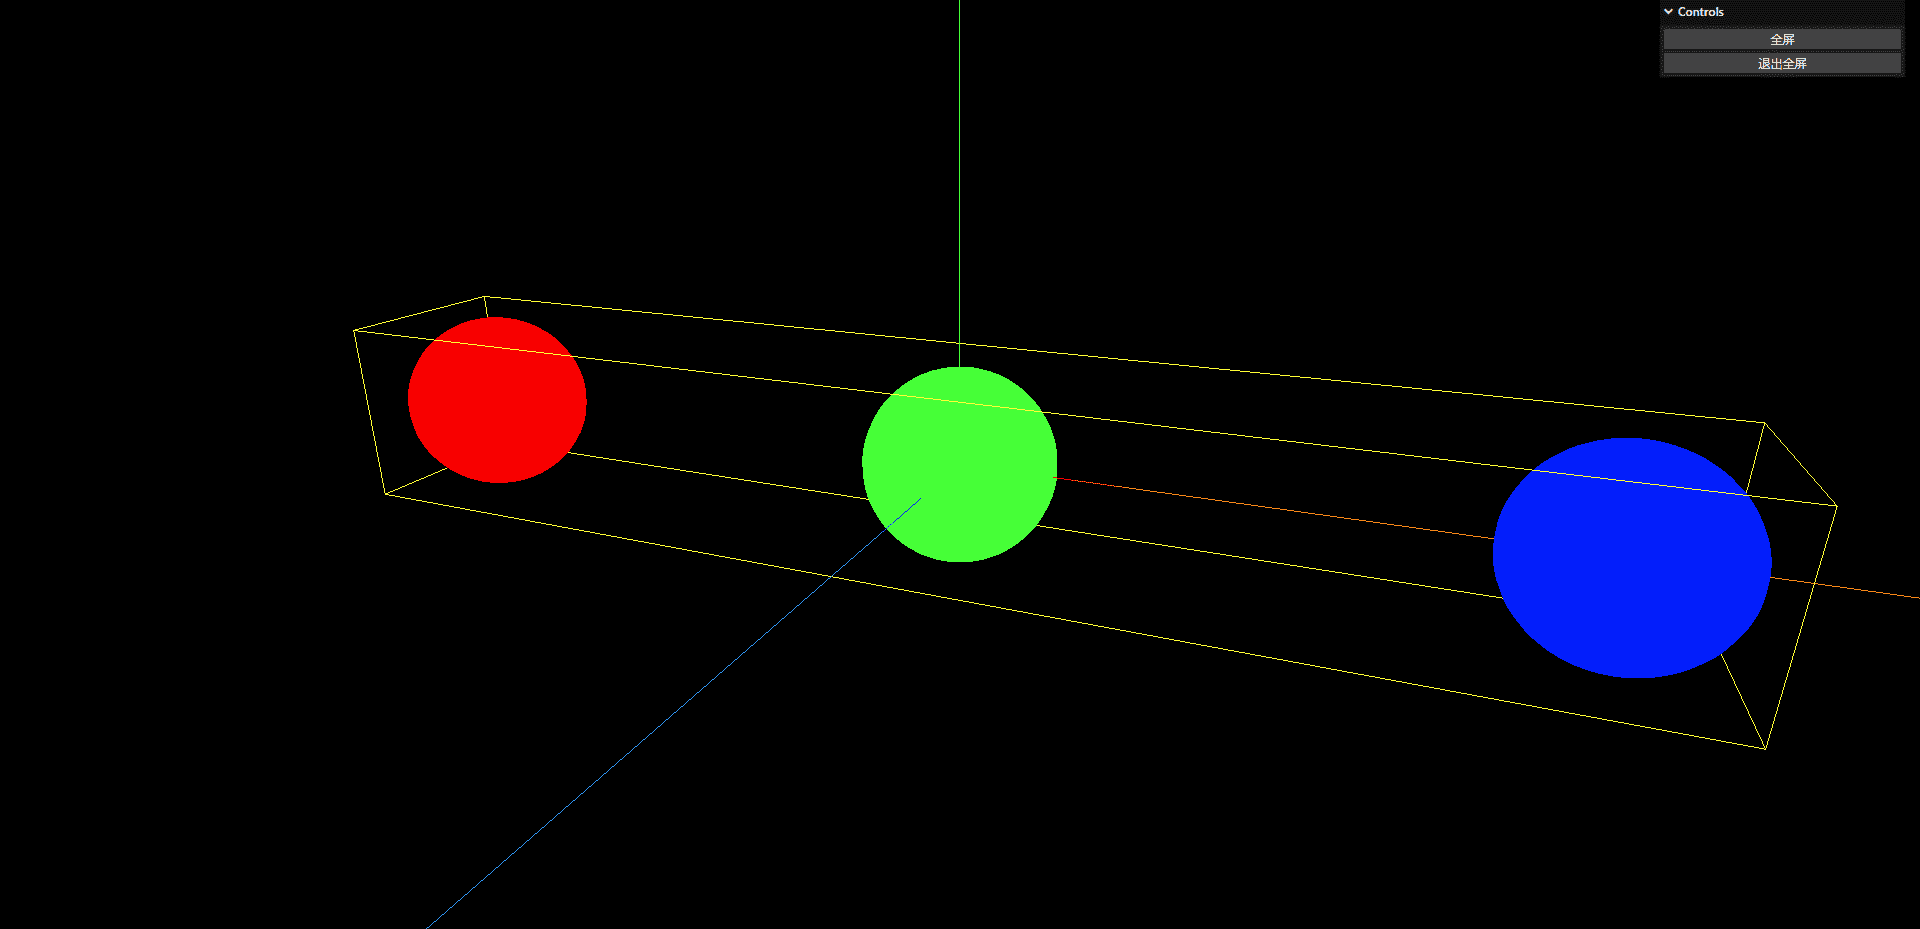
创建包围盒 方式一
1 2 3 4 5 6 7 8 9 10 11 12 13 14 15 16 17 var box = new THREE .Box3 ();let arrSphere = [sphere1, sphere2, sphere3];for (let i = 0 ; i < arrSphere.length ; i++) { arrSphere[i].geometry .computeBoundingBox (); let box3 = arrSphere[i].geometry .boundingBox ; arrSphere[i].updateWorldMatrix (true , true ); box3.applyMatrix4 (arrSphere[i].matrixWorld ); box.union (box3); } console .log (box);let boxHelper = new THREE .Box3Helper (box, 0xffff00 );scene.add (boxHelper);
方式二
1 2 3 4 5 6 7 8 9 10 11 var box = new THREE .Box3 ();let arrSphere = [sphere1, sphere2, sphere3];for (let i = 0 ; i < arrSphere.length ; i++) { let box3 = new THREE .Box3 ().setFromObject (arrSphere[i]); box.union (box3); } console .log (box);let boxHelper = new THREE .Box3Helper (box, 0xffff00 );scene.add (boxHelper);
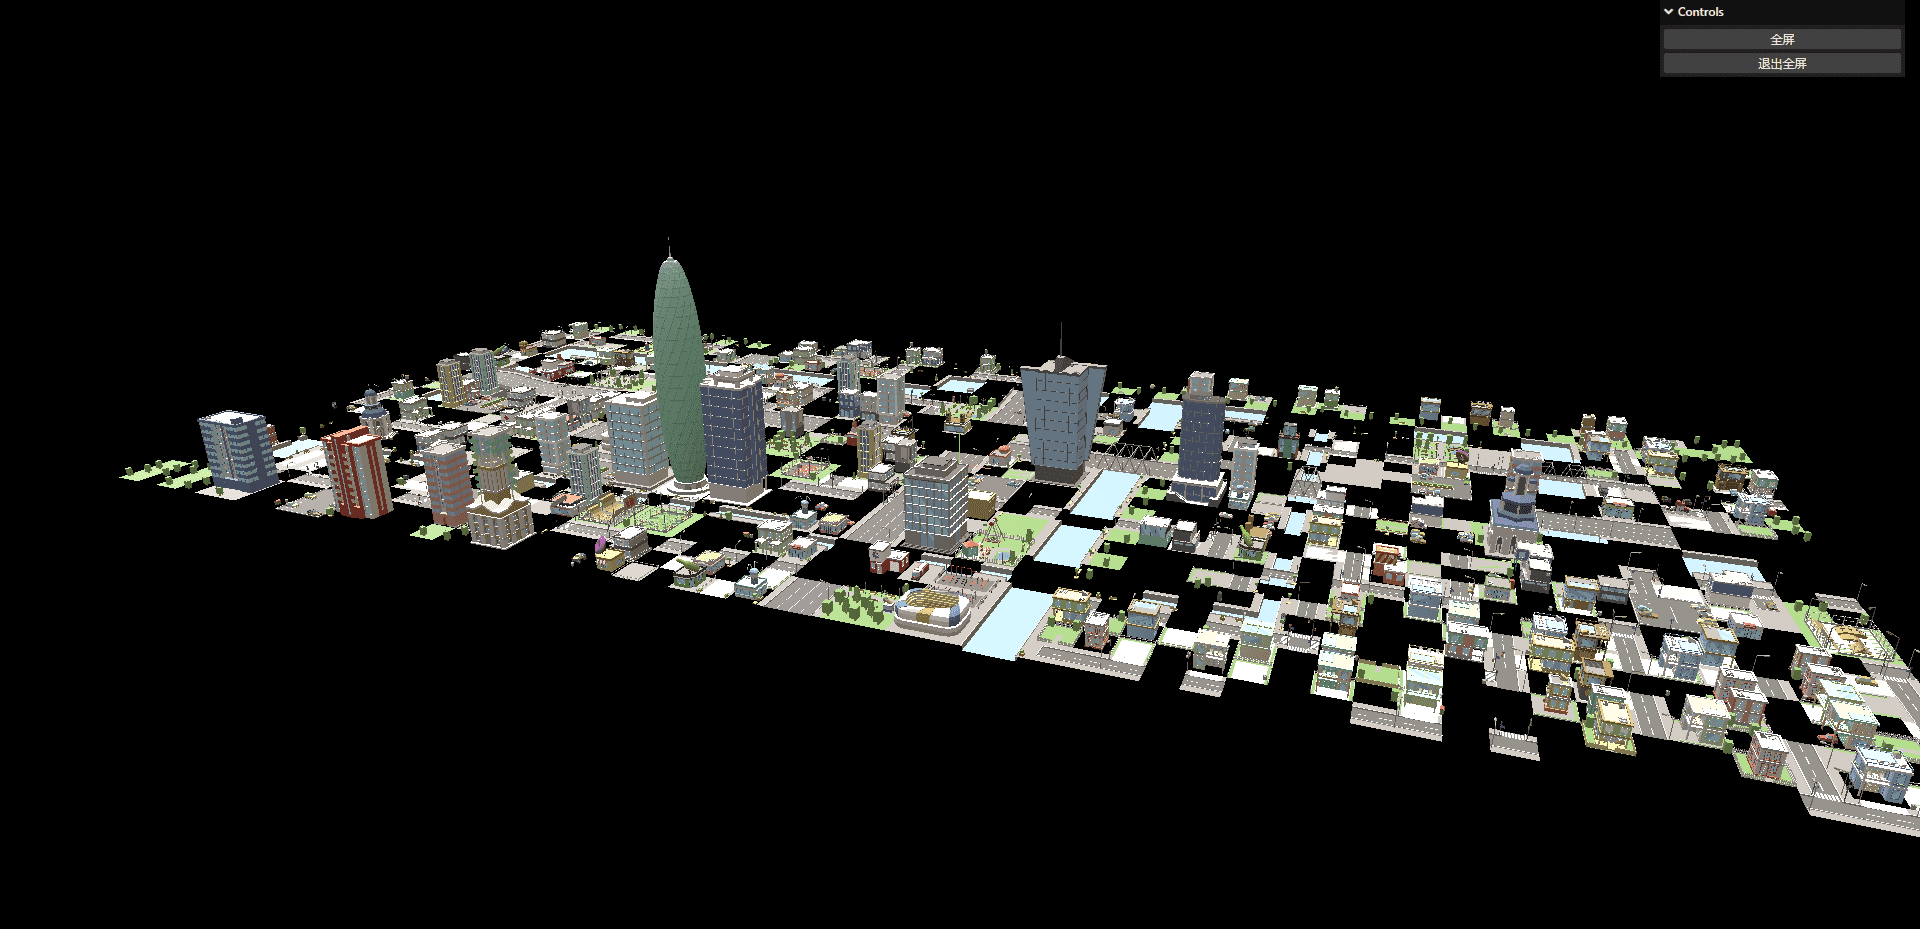
线框几何体 导入模型 一定要创建光,不然会看不见模型,当模型被压缩的时候需要DRACOLoader来解码
1 2 3 4 5 6 7 8 9 10 11 12 13 14 15 16 17 18 19 20 21 22 23 24 25 26 27 28 29 import { GLTFLoader } from "three/examples/jsm/loaders/GLTFLoader.js" ;import { DRACOLoader } from "three/examples/jsm/loaders/DRACOLoader.js" ;const ambientLight = new THREE .AmbientLight (0xffffff , 0.5 );scene.add (ambientLight); const gltfLoader = new GLTFLoader ();const dracoLoader = new DRACOLoader ();dracoLoader.setDecoderPath ("./draco/" ); gltfLoader.setDRACOLoader (dracoLoader); gltfLoader.load ( "./model/city.glb" , (gltf ) => { gltf.scene .traverse ((child ) => { if (child.isMesh ) { scene.add (child) } }); } );
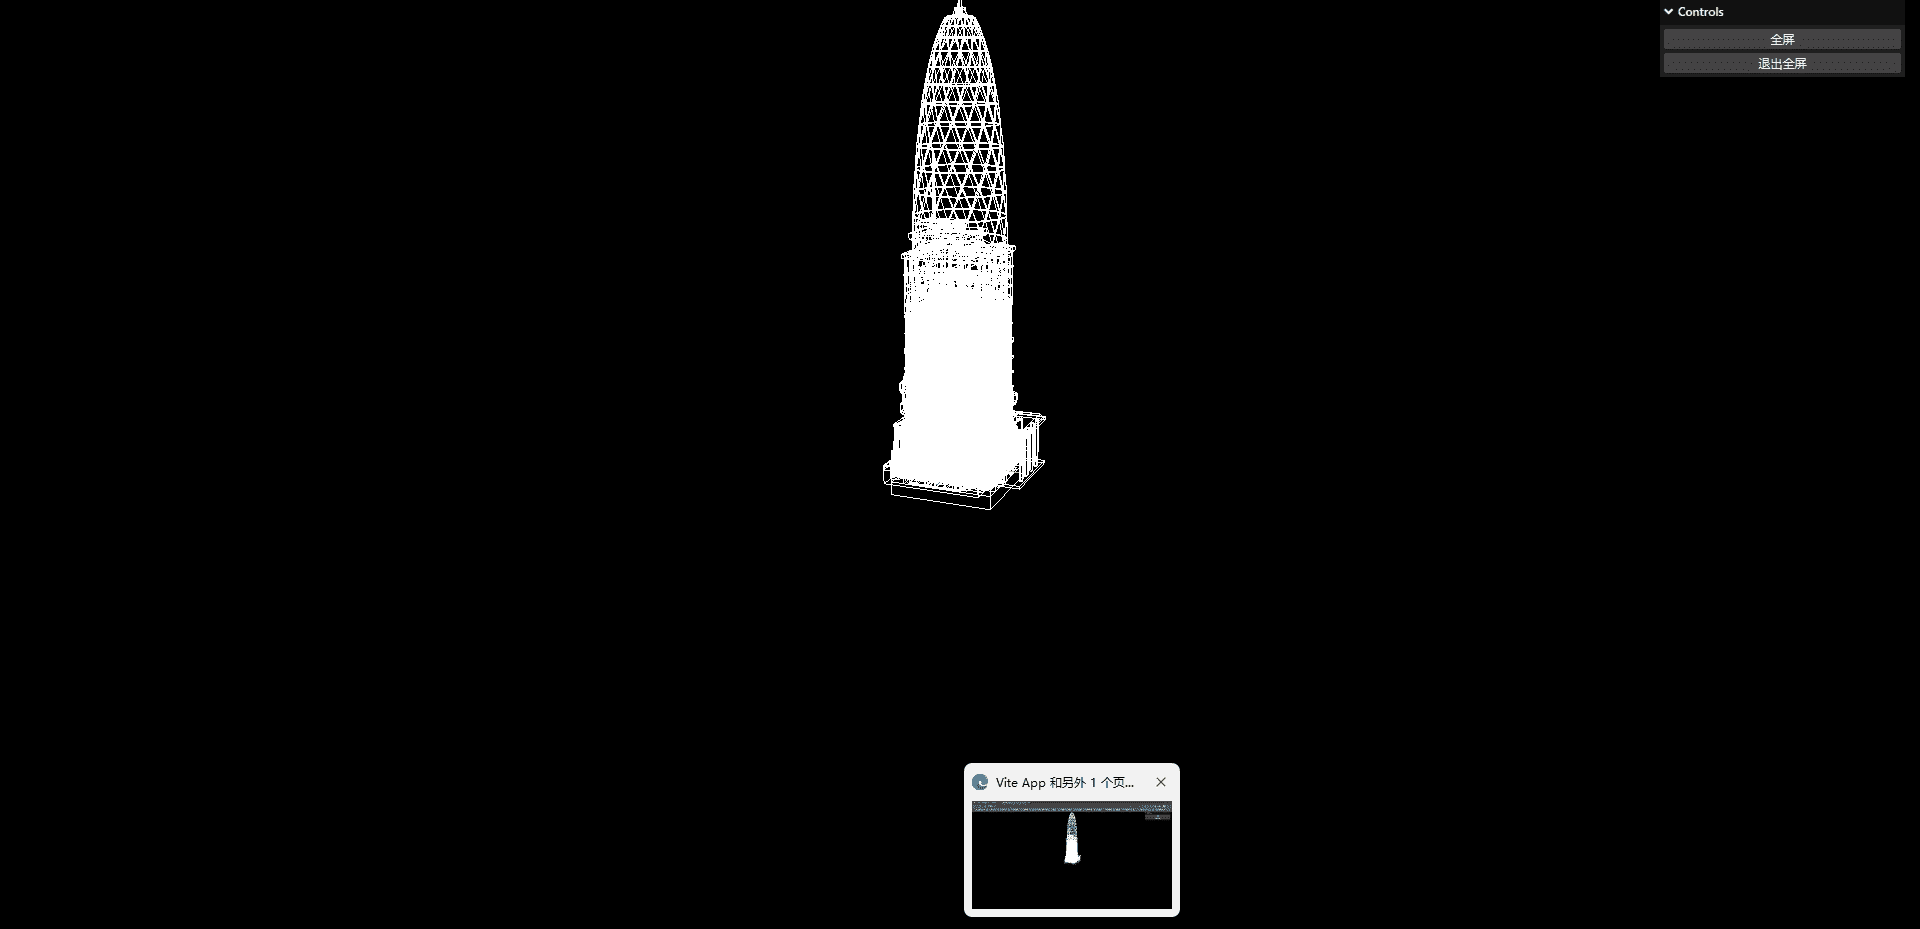
添加线框 这里只使用边缘的线,减少渲染
1 2 3 4 5 6 7 8 9 10 11 12 13 14 15 16 17 18 19 20 21 22 23 24 25 26 gltfLoader.load ( "./model/city.glb" , (gltf ) => { gltf.scene .traverse ((child ) => { if (child.isMesh ) { let building = child; let geometry = building.geometry ; let edgesGeometry = new THREE .EdgesGeometry (geometry); let edgesMaterial = new THREE .LineBasicMaterial ({ color : 0xffffff , }); let edges = new THREE .LineSegments (edgesGeometry, edgesMaterial); scene.add (edges); } }); } );
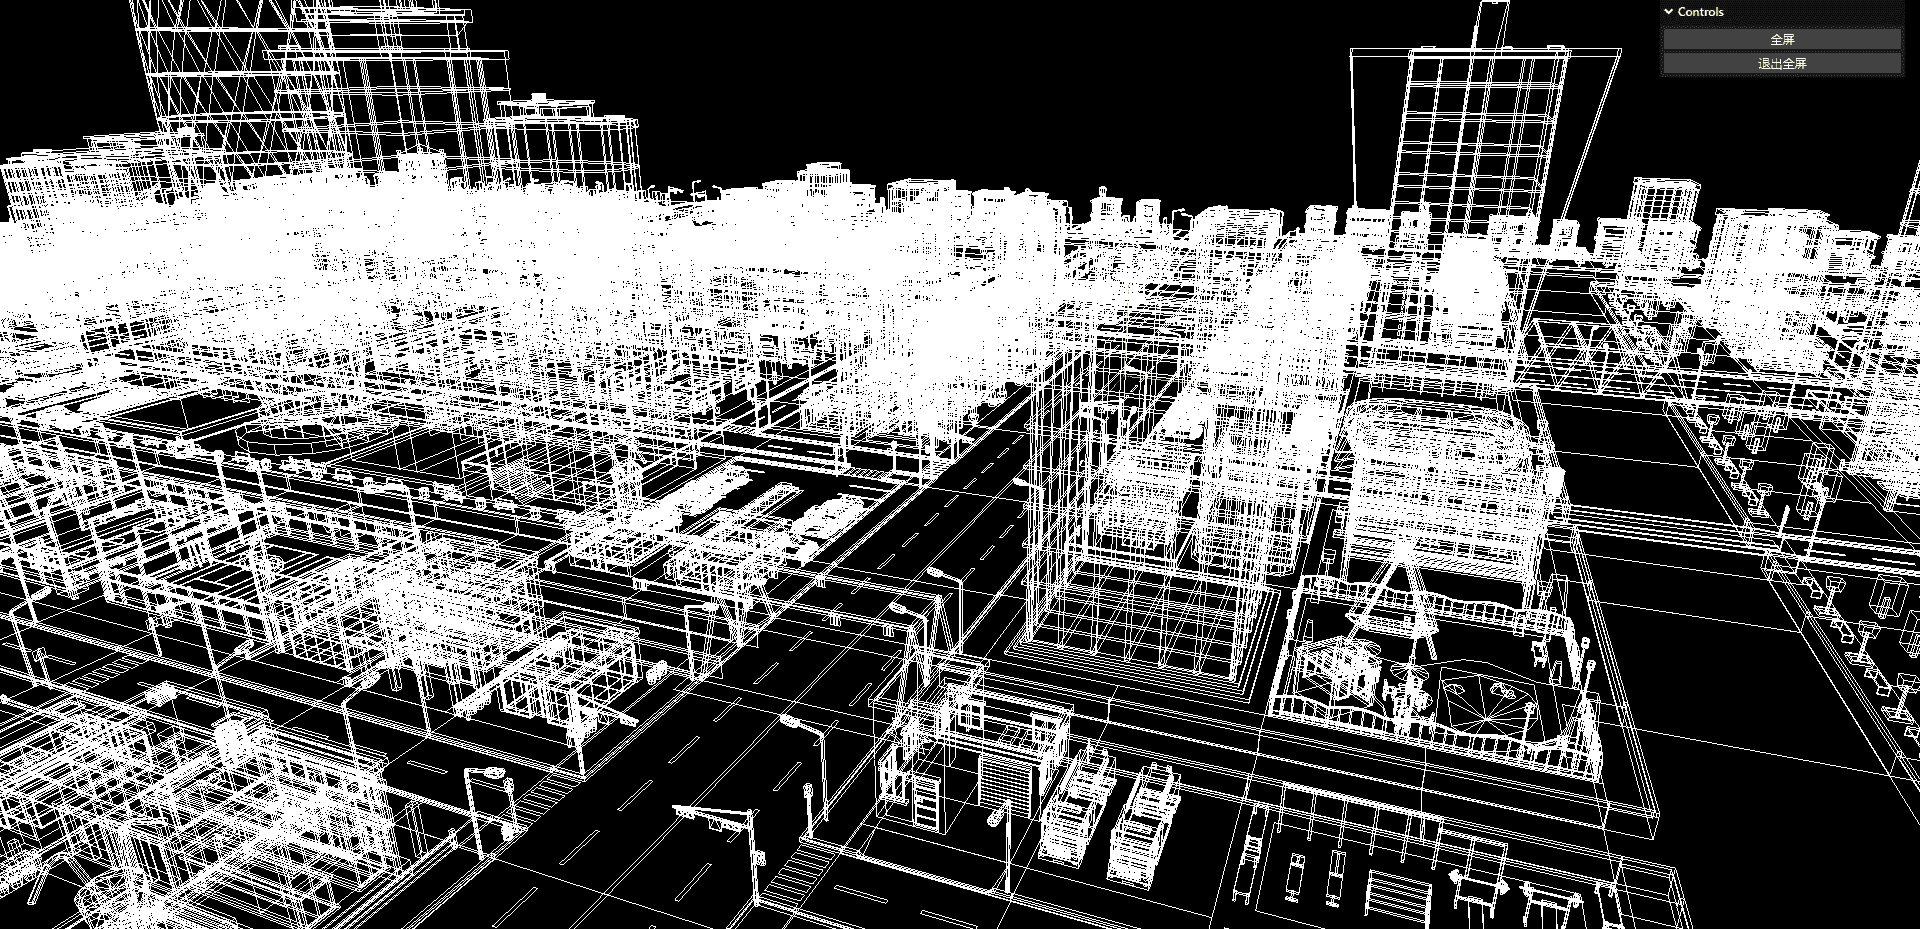
更新坐标 但是,我们看到,这里建筑物都堆叠在了一起,这时因为我们的模型有比例的压缩等,因此我们需要使用模型的世界坐标来更新我们线框的坐标,通过copy来复制build的世界坐标,然后通过decompose来解构赋值position,quaternion,scale
1 2 3 4 building.updateWorldMatrix (true , true ); edges.matrix .copy (building.matrixWorld ); edges.matrix .decompose (edges.position , edges.quaternion , edges.scale );

