前言
本篇文章主要是记录一些之前没使用过的常用概念。
物体父子层级的影响
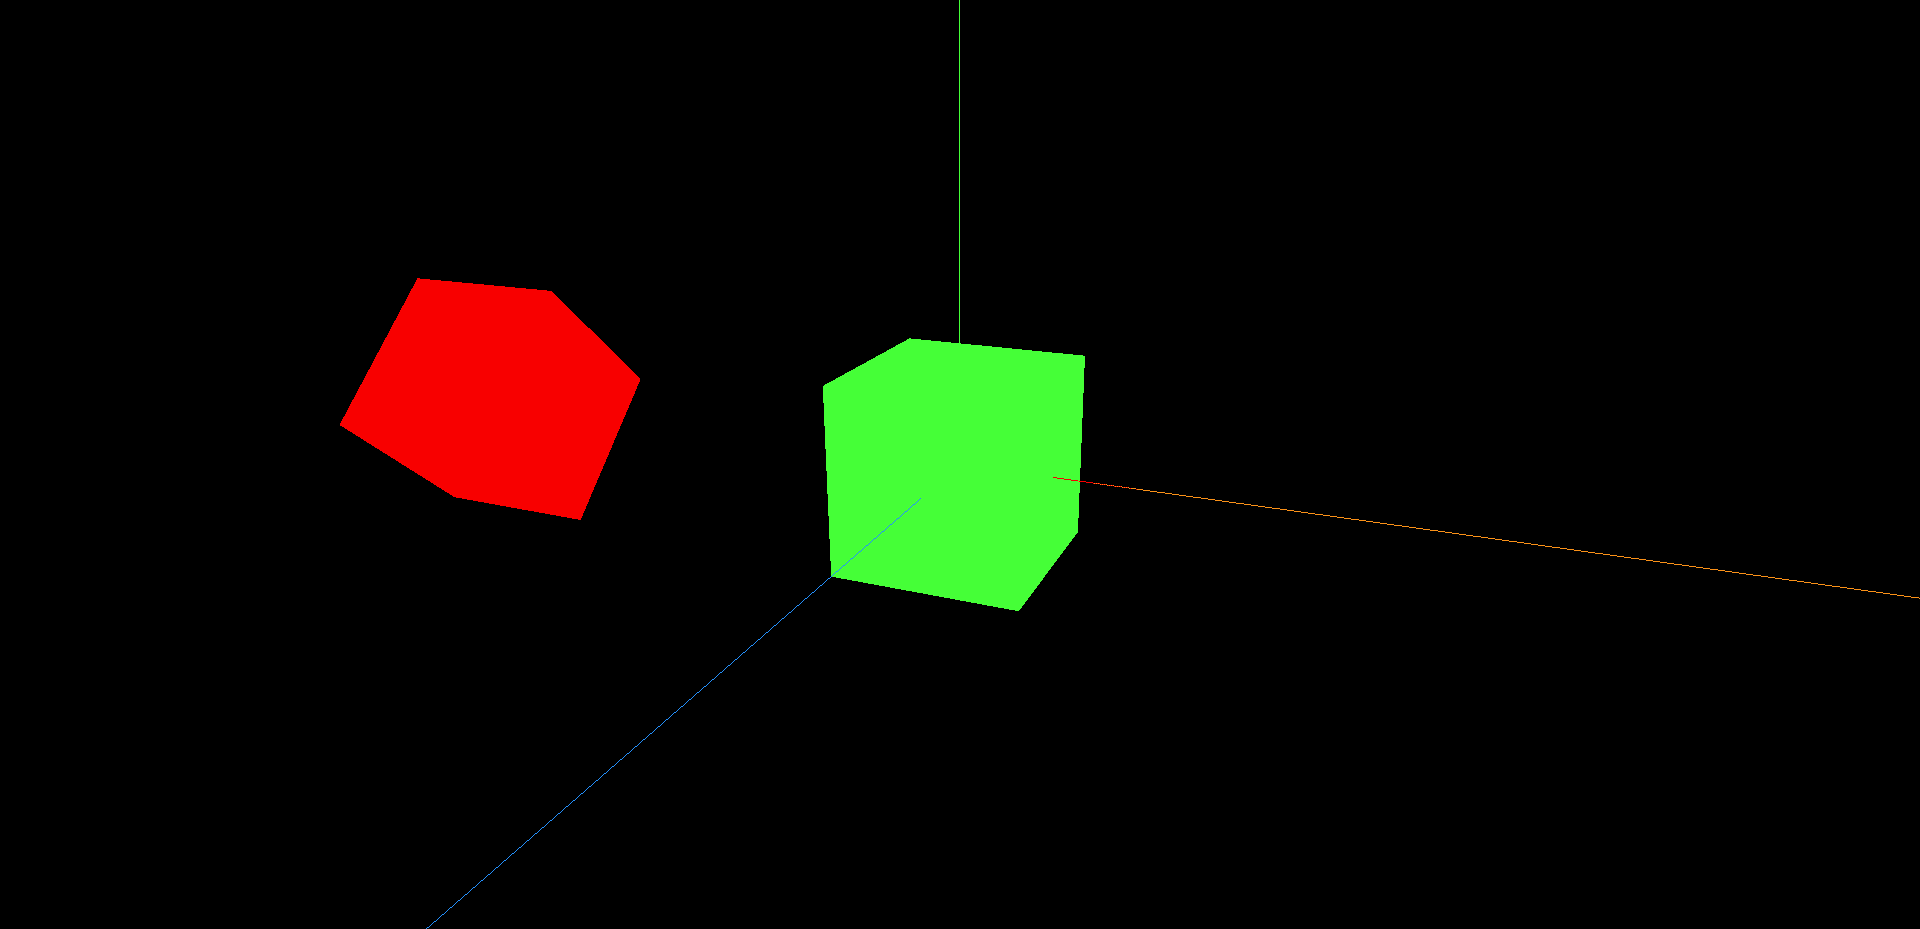
现明确一个概念,所谓的position,是受到父元素影响的,是基于父元素的position,如以下代码,我们新建两个盒子,一个为父盒子,一个为子盒子,子盒子的位置是(3,0,0),但是他显示还是在(0,0,0),这是因为他的父盒子的位置是(-3,0,0)
位移影响
1
2
3
4
5
6
7
8
9
10
11
12
13
14
15
16
17
18
19
20
21
22
23
24
25
26
27
28
29
30
31
32
33
34
35
36
37
38
39
40
41
42
43
44
45
46
47
48
49
50
51
52
53
54
55
56
57
58
59
60
61
62
63
64
65
66
67
68
|
import * as THREE from "three";
import { OrbitControls } from "three/examples/jsm/controls/OrbitControls.js";
const scene = new THREE.Scene();
const camera = new THREE.PerspectiveCamera(
45,
window.innerWidth / window.innerHeight,
0.1,
1000
);
const renderer = new THREE.WebGLRenderer();
renderer.setSize(window.innerWidth, window.innerHeight);
document.body.appendChild(renderer.domElement);
const geometry = new THREE.BoxGeometry(1, 1, 1);
const material = new THREE.MeshBasicMaterial({ color: 0x00ff00 });
const parentMaterial = new THREE.MeshBasicMaterial({ color: 0xff0000 });
let parentCube = new THREE.Mesh(geometry, parentMaterial);
const cube = new THREE.Mesh(geometry, material);
parentCube.add(cube);
parentCube.position.set(-3, 0, 0);
cube.position.set(3, 0, 0);
scene.add(parentCube);
camera.position.z = 5;
camera.position.y = 2;
camera.position.x = 2;
camera.lookAt(0, 0, 0);
const axesHelper = new THREE.AxesHelper(5);
scene.add(axesHelper);
const controls = new OrbitControls(camera, document.body);
controls.enableDamping = true;
controls.dampingFactor = 0.05;
function animate() {
controls.update();
requestAnimationFrame(animate);
renderer.render(scene, camera);
}
animate();
|

旋转缩放影响
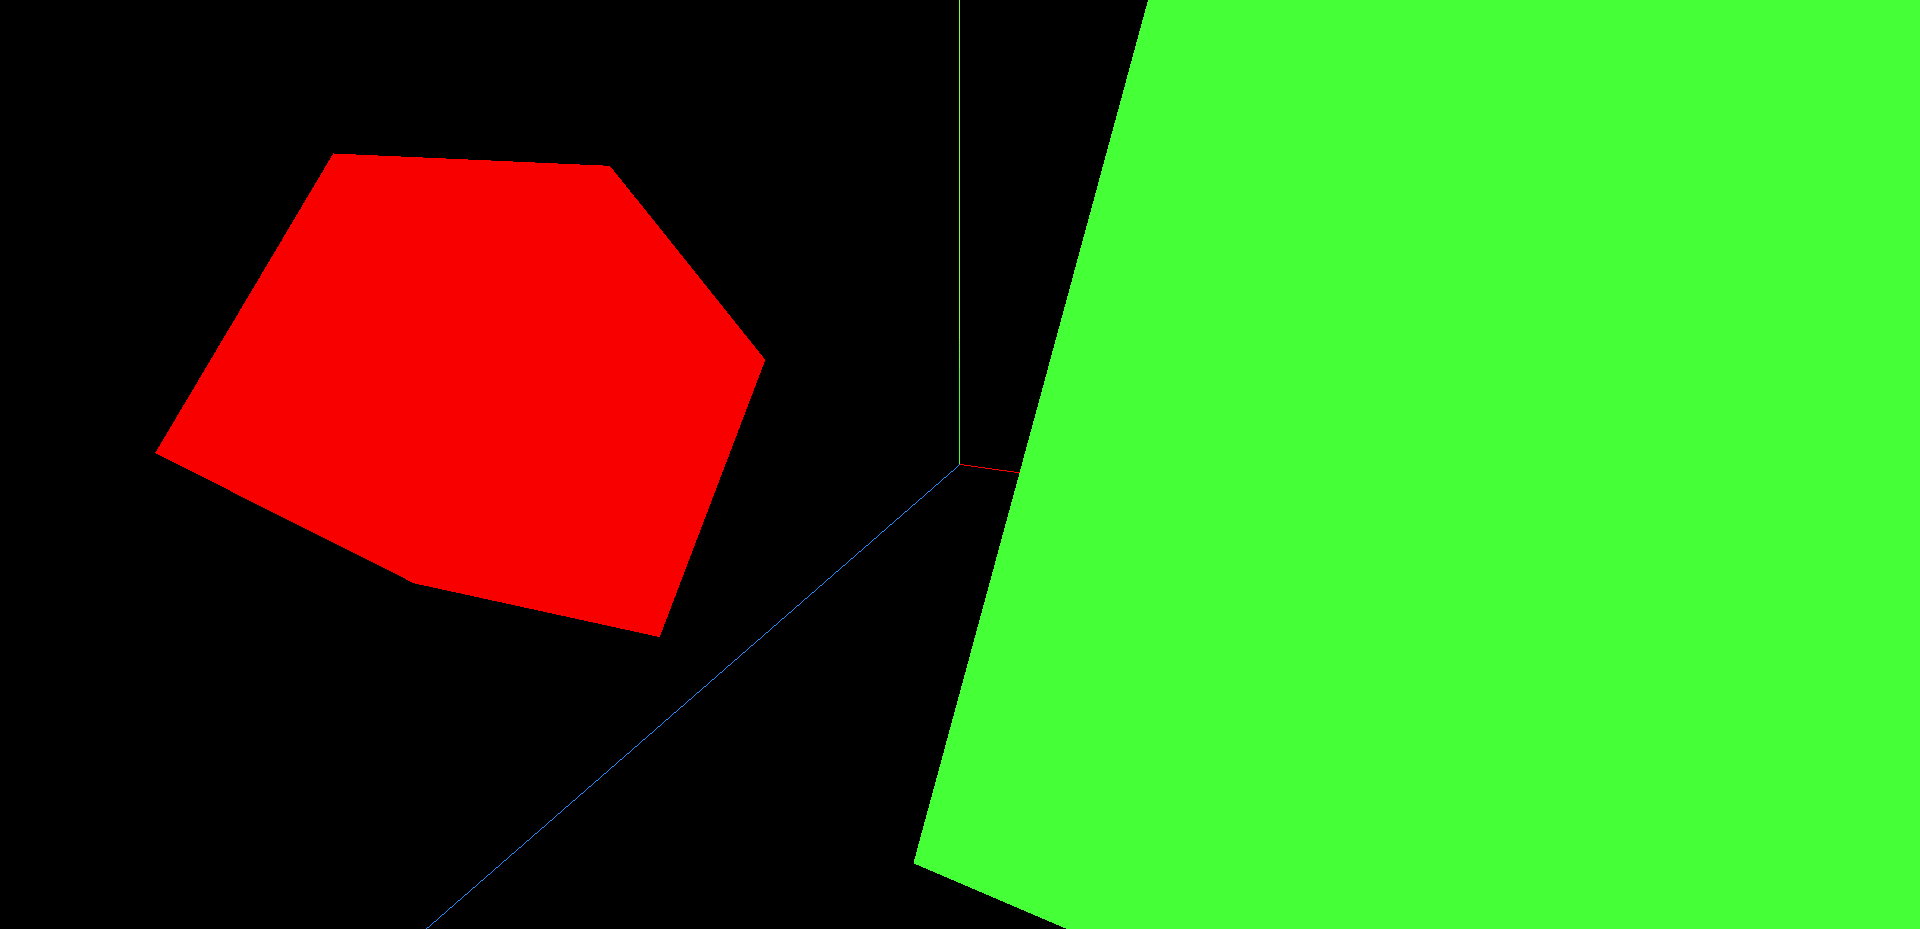
同理,旋转缩放也是受到父盒子的影响,如下代码,父盒子旋转了45度,子盒子也会跟着旋转45度,但是子盒子因为旋转了90度,所以看起来没有变化,父盒子放大两倍,子盒子也放大两倍,实际上子盒子放大了四倍。
1
2
3
4
5
6
7
8
9
10
11
12
13
14
15
16
17
18
19
20
21
22
23
24
25
26
27
28
29
30
31
32
33
34
35
36
37
38
39
40
41
42
43
44
45
46
47
48
49
50
51
52
53
54
55
56
57
58
59
60
61
62
63
64
65
66
67
68
69
70
71
72
73
74
|
import * as THREE from "three";
import { OrbitControls } from "three/examples/jsm/controls/OrbitControls.js";
const scene = new THREE.Scene();
const camera = new THREE.PerspectiveCamera(
45,
window.innerWidth / window.innerHeight,
0.1,
1000
);
const renderer = new THREE.WebGLRenderer();
renderer.setSize(window.innerWidth, window.innerHeight);
document.body.appendChild(renderer.domElement);
const geometry = new THREE.BoxGeometry(1, 1, 1);
const material = new THREE.MeshBasicMaterial({ color: 0x00ff00 });
const parentMaterial = new THREE.MeshBasicMaterial({ color: 0xff0000 });
let parentCube = new THREE.Mesh(geometry, parentMaterial);
const cube = new THREE.Mesh(geometry, material);
parentCube.add(cube);
parentCube.position.set(-3, 0, 0);
parentCube.rotation.x = Math.PI / 4;
cube.position.set(3, 0, 0);
cube.rotation.x = Math.PI / 4;
scene.add(parentCube);
camera.position.z = 5;
camera.position.y = 2;
camera.position.x = 2;
camera.lookAt(0, 0, 0);
const axesHelper = new THREE.AxesHelper(5);
scene.add(axesHelper);
const controls = new OrbitControls(camera, document.body);
controls.enableDamping = true;
controls.dampingFactor = 0.05;
function animate() {
controls.update();
requestAnimationFrame(animate);
renderer.render(scene, camera);
}
animate();
|
顶点组与材质
添加每个面不同的材质
一个立方体,我们其实可以给每个面单独设置不一样的样式
1
2
3
4
5
6
7
8
9
10
11
12
13
14
15
16
17
18
19
20
21
22
23
24
25
26
27
28
29
30
31
32
33
34
35
36
37
38
39
40
41
42
43
44
45
46
47
48
49
50
51
52
53
54
55
56
57
58
59
60
61
62
63
64
65
66
67
68
69
70
71
72
73
74
75
76
77
78
79
80
81
82
83
84
85
86
87
88
89
90
91
92
93
94
95
96
97
98
99
100
101
102
103
104
105
106
107
108
109
110
111
112
113
114
115
|
import * as THREE from "three";
import { OrbitControls } from "three/examples/jsm/controls/OrbitControls.js";
import { GUI } from "three/examples/jsm/libs/lil-gui.module.min.js";
const scene = new THREE.Scene();
const camera = new THREE.PerspectiveCamera(
45,
window.innerWidth / window.innerHeight,
0.1,
1000
);
const renderer = new THREE.WebGLRenderer();
renderer.setSize(window.innerWidth, window.innerHeight);
document.body.appendChild(renderer.domElement);
const cubegeometry = new THREE.BoxGeometry(1, 1, 1);
console.log(cubegeometry);
const cubematerial0 = new THREE.MeshBasicMaterial({
color: 0x00ff00,
});
const cubematerial1 = new THREE.MeshBasicMaterial({
color: 0xff0000,
});
const cubematerial2 = new THREE.MeshBasicMaterial({
color: 0x0000ff,
});
const cubematerial3 = new THREE.MeshBasicMaterial({
color: 0xffff00,
});
const cubematerial4 = new THREE.MeshBasicMaterial({
color: 0x00ffff,
});
const cubematerial5 = new THREE.MeshBasicMaterial({
color: 0xff00ff,
});
const cube = new THREE.Mesh(cubegeometry, [
cubematerial0,
cubematerial1,
cubematerial2,
cubematerial3,
cubematerial4,
cubematerial5,
]);
cube.position.x = 2;
scene.add(cube);
camera.position.z = 5;
camera.position.y = 2;
camera.position.x = 2;
camera.lookAt(0, 0, 0);
const axesHelper = new THREE.AxesHelper(5);
scene.add(axesHelper);
const controls = new OrbitControls(camera, renderer.domElement);
controls.enableDamping = true;
controls.dampingFactor = 0.05;
function animate() {
controls.update();
requestAnimationFrame(animate);
renderer.render(scene, camera);
}
animate();
window.addEventListener("resize", () => {
renderer.setSize(window.innerWidth, window.innerHeight);
camera.aspect = window.innerWidth / window.innerHeight;
camera.updateProjectionMatrix();
});
let eventObj = {
Fullscreen: function () {
document.body.requestFullscreen();
console.log("全屏");
},
ExitFullscreen: function () {
document.exitFullscreen();
console.log("退出全屏");
},
};
const gui = new GUI();
gui.add(eventObj, "Fullscreen").name("全屏");
gui.add(eventObj, "ExitFullscreen").name("退出全屏");
|
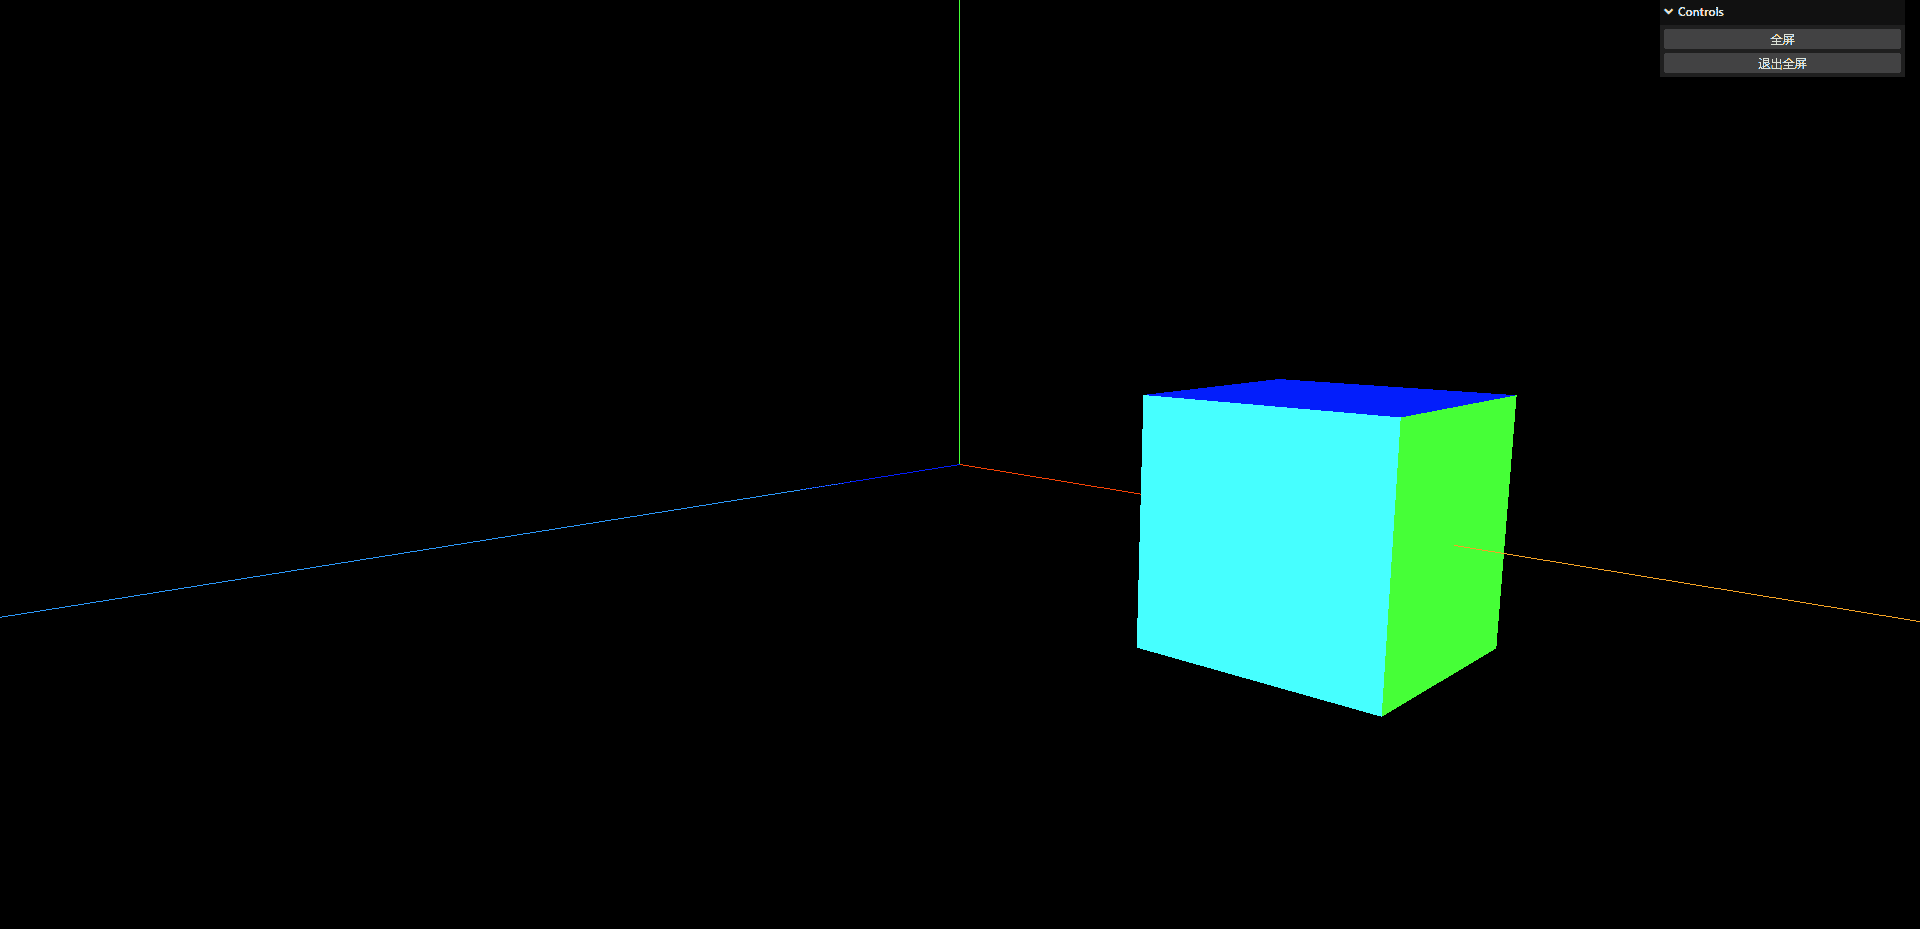
顶点组材质
根据geometry.addGroup来区分不同的组,里面参数是点的索引位置,接下来在构成物体的时候,传递对应group数的材质数组即可
1
2
3
4
5
6
7
8
9
10
11
12
13
14
15
16
17
18
19
20
21
22
23
24
25
26
27
28
29
30
|
const geometry = new THREE.BufferGeometry();
const vertices = new Float32Array([
-1.0, -1.0, 0.0, 1.0, -1.0, 0.0, 1.0, 1.0, 0.0, -1.0, 1.0, 0,
]);
geometry.setAttribute("position", new THREE.BufferAttribute(vertices, 3));
const indices = new Uint16Array([0, 1, 2, 2, 3, 0]);
geometry.setIndex(new THREE.BufferAttribute(indices, 1));
geometry.addGroup(0, 3, 0);
geometry.addGroup(3, 3, 1);
console.log(geometry);
const material = new THREE.MeshBasicMaterial({
color: 0x00ff00,
wireframe: true,
});
const material1 = new THREE.MeshBasicMaterial({
color: 0xff0000,
});
const plane = new THREE.Mesh(geometry, [material, material1]);
scene.add(plane);
|
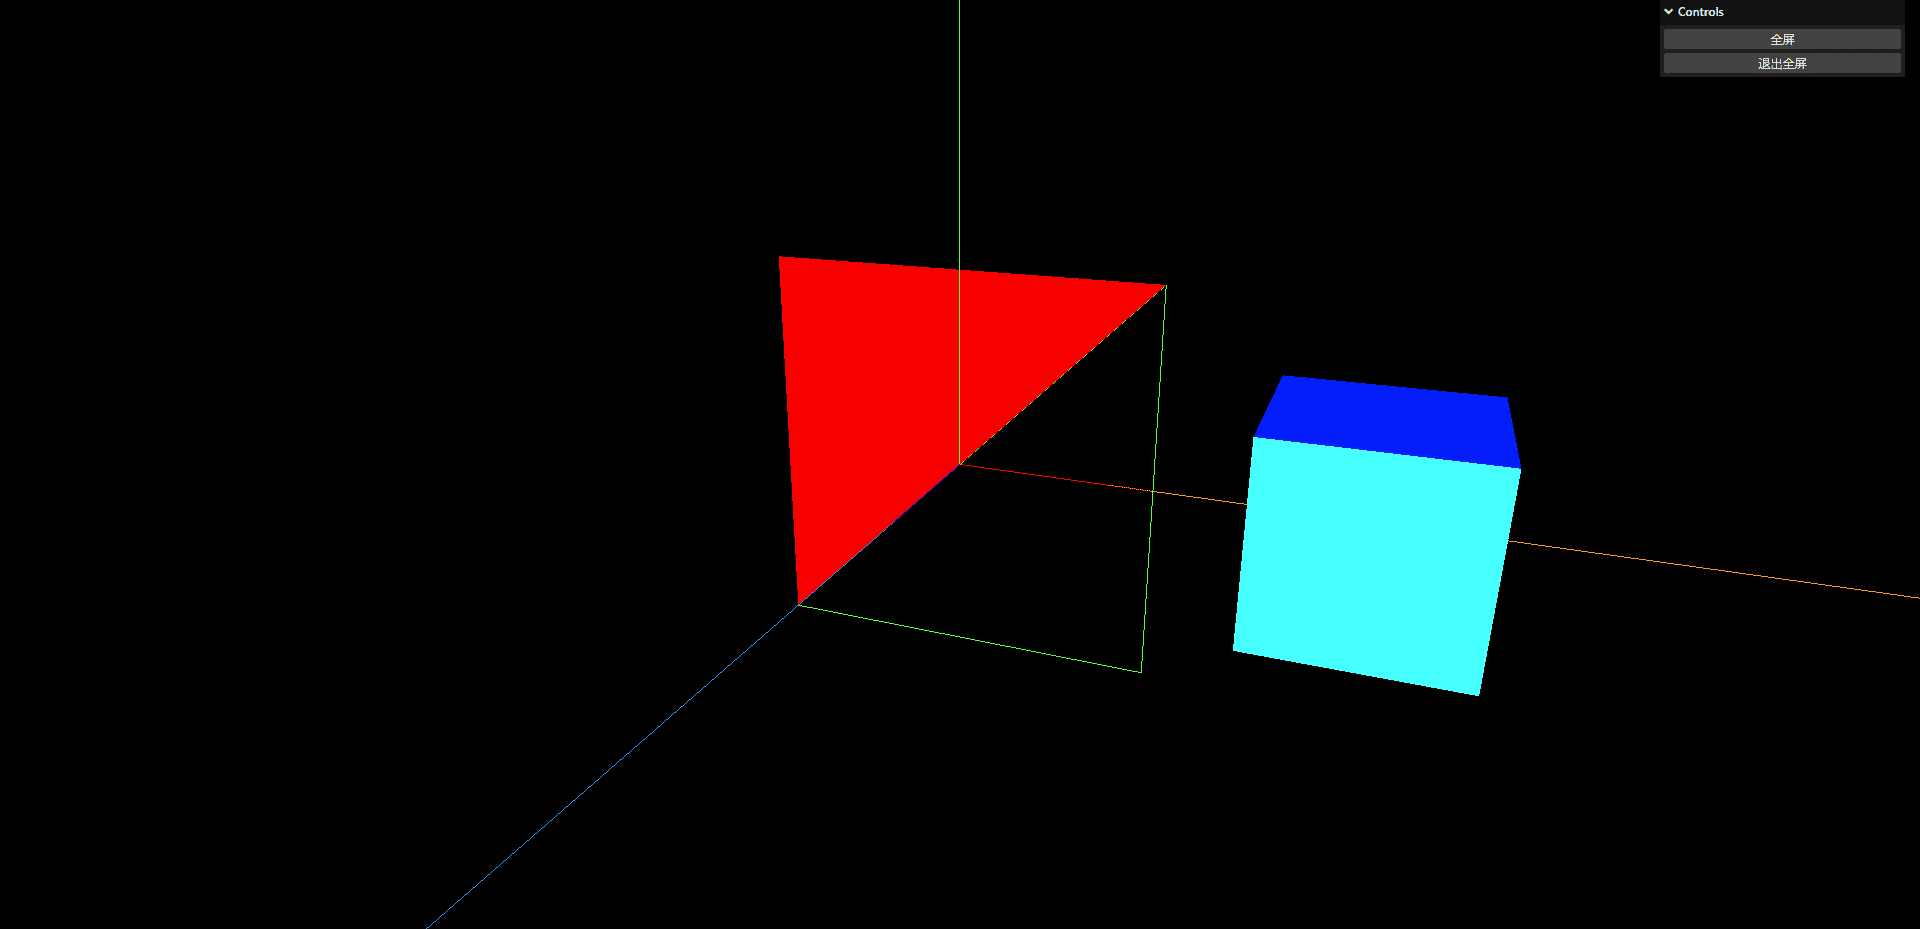
贴图补充
在之前的文章中已经介绍了一些贴图,今天补充一下两个贴图,一个是高光贴图,一个是光照贴图
高光贴图
顾名思义,这个贴图的作用就是让我们的物体亮起来,比如如下代码
1
2
3
4
5
6
7
8
9
10
11
12
13
14
15
16
17
18
19
20
21
22
23
24
25
26
27
28
29
30
31
32
33
34
35
36
37
38
39
40
41
42
43
44
45
46
47
48
49
50
51
52
53
54
55
56
57
58
59
60
61
62
63
64
65
66
67
68
69
70
71
72
73
74
75
76
77
78
79
80
81
82
83
84
85
86
87
88
89
90
91
92
93
94
95
96
97
98
99
100
101
102
103
104
105
106
107
108
109
110
111
112
113
114
115
116
117
118
119
120
121
122
123
124
|
import * as THREE from "three";
import { OrbitControls } from "three/examples/jsm/controls/OrbitControls.js";
import { GUI } from "three/examples/jsm/libs/lil-gui.module.min.js";
import { RGBELoader } from "three/examples/jsm/loaders/RGBELoader.js";
const scene = new THREE.Scene();
const camera = new THREE.PerspectiveCamera(
45,
window.innerWidth / window.innerHeight,
0.1,
1000
);
const renderer = new THREE.WebGLRenderer();
renderer.setSize(window.innerWidth, window.innerHeight);
document.body.appendChild(renderer.domElement);
camera.position.z = 5;
camera.position.y = 2;
camera.position.x = 2;
camera.lookAt(0, 0, 0);
const axesHelper = new THREE.AxesHelper(5);
scene.add(axesHelper);
const controls = new OrbitControls(camera, renderer.domElement);
controls.enableDamping = true;
controls.dampingFactor = 0.05;
function animate() {
controls.update();
requestAnimationFrame(animate);
renderer.render(scene, camera);
}
animate();
window.addEventListener("resize", () => {
renderer.setSize(window.innerWidth, window.innerHeight);
camera.aspect = window.innerWidth / window.innerHeight;
camera.updateProjectionMatrix();
});
let params = {};
const gui = new GUI();
let textureLoader = new THREE.TextureLoader();
let texture = textureLoader.load(
"./texture/watercover/CityNewYork002_COL_VAR1_1K.png"
);
let aoMap = textureLoader.load("./texture/watercover/CityNewYork002_AO_1K.jpg");
let alphaMap = textureLoader.load("./texture/door/height.jpg");
let lightMap = textureLoader.load("./texture/colors.png");
let specularMap = textureLoader.load(
"./texture/watercover/CityNewYork002_GLOSS_1K.jpg"
);
let rgbeLoader = new RGBELoader();
rgbeLoader.load("./texture/Alex_Hart-Nature_Lab_Bones_2k.hdr", (envMap) => {
envMap.mapping = THREE.EquirectangularReflectionMapping;
scene.background = envMap;
scene.environment = envMap;
planeMaterial.envMap = envMap;
});
let planeGeometry = new THREE.PlaneGeometry(1, 1);
let planeMaterial = new THREE.MeshBasicMaterial({
color: 0xffffff,
map: texture,
transparent: true,
aoMap: aoMap,
aoMapIntensity: 1,
});
let plane = new THREE.Mesh(planeGeometry, planeMaterial);
scene.add(plane);
gui.add(planeMaterial, "aoMapIntensity").min(0).max(1).name("ao强度");
|
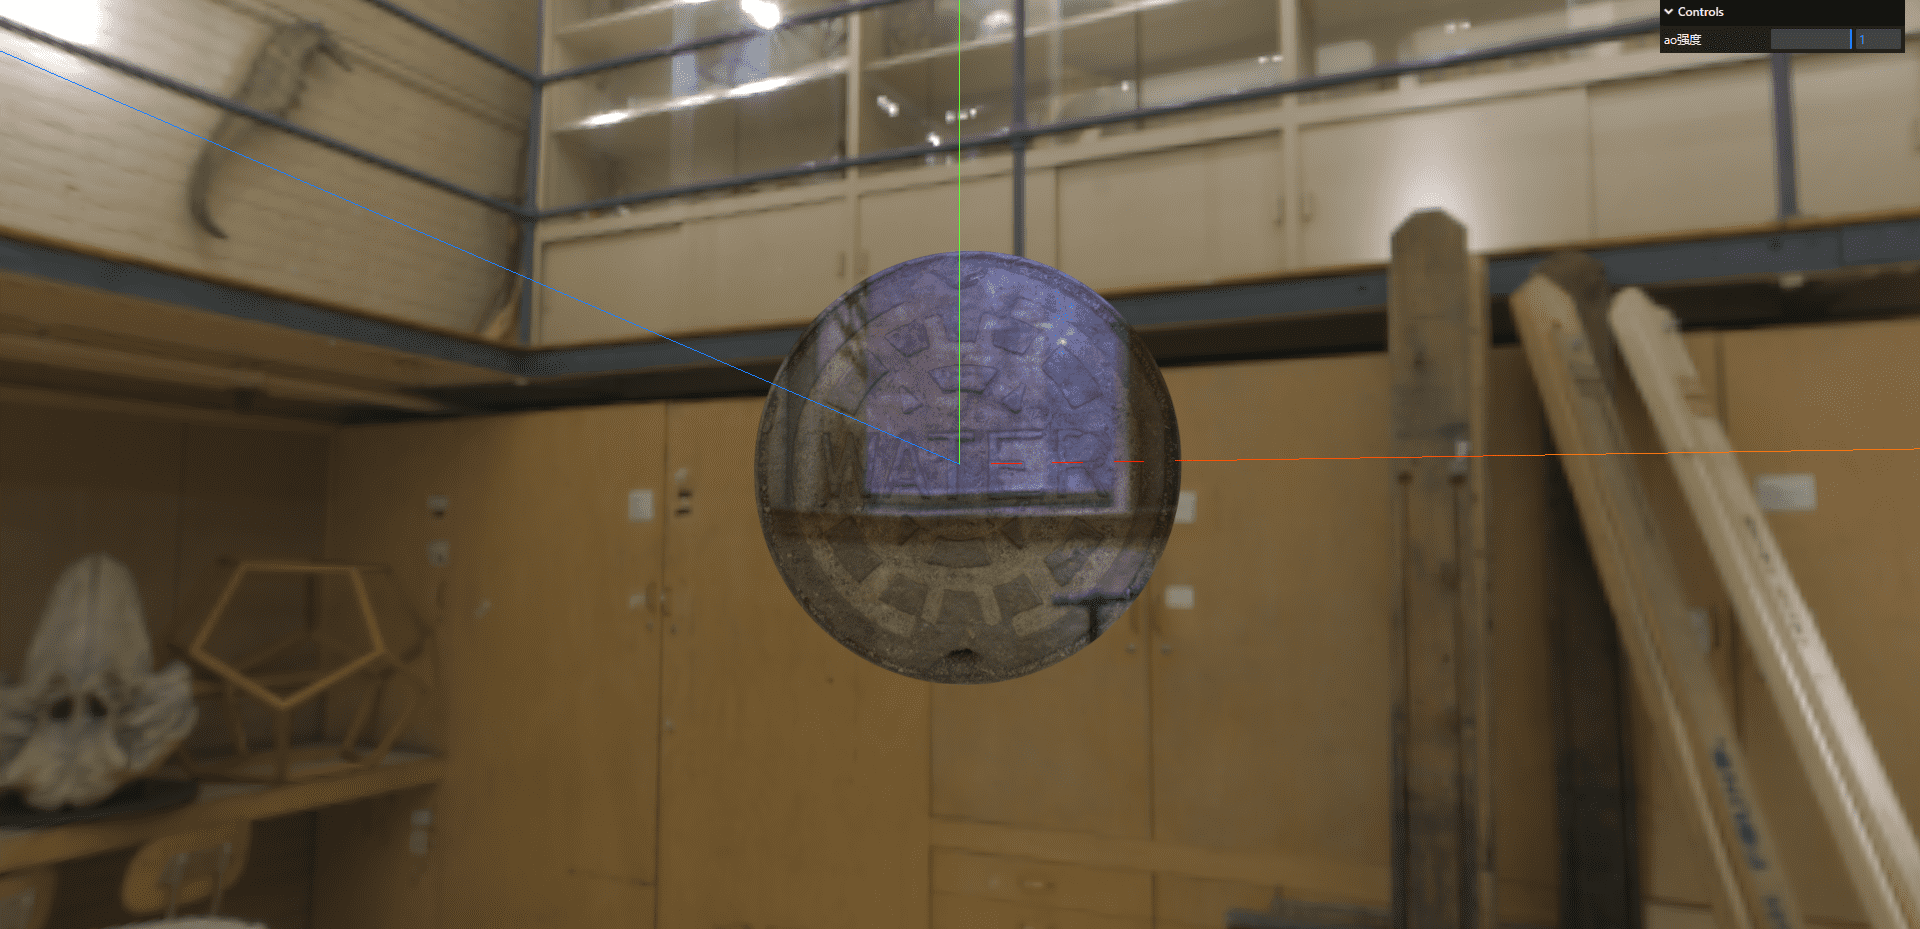
当我们开启高光贴图之后
1
2
3
|
specularMap: specularMap,
reflectivity: 0.5,
|
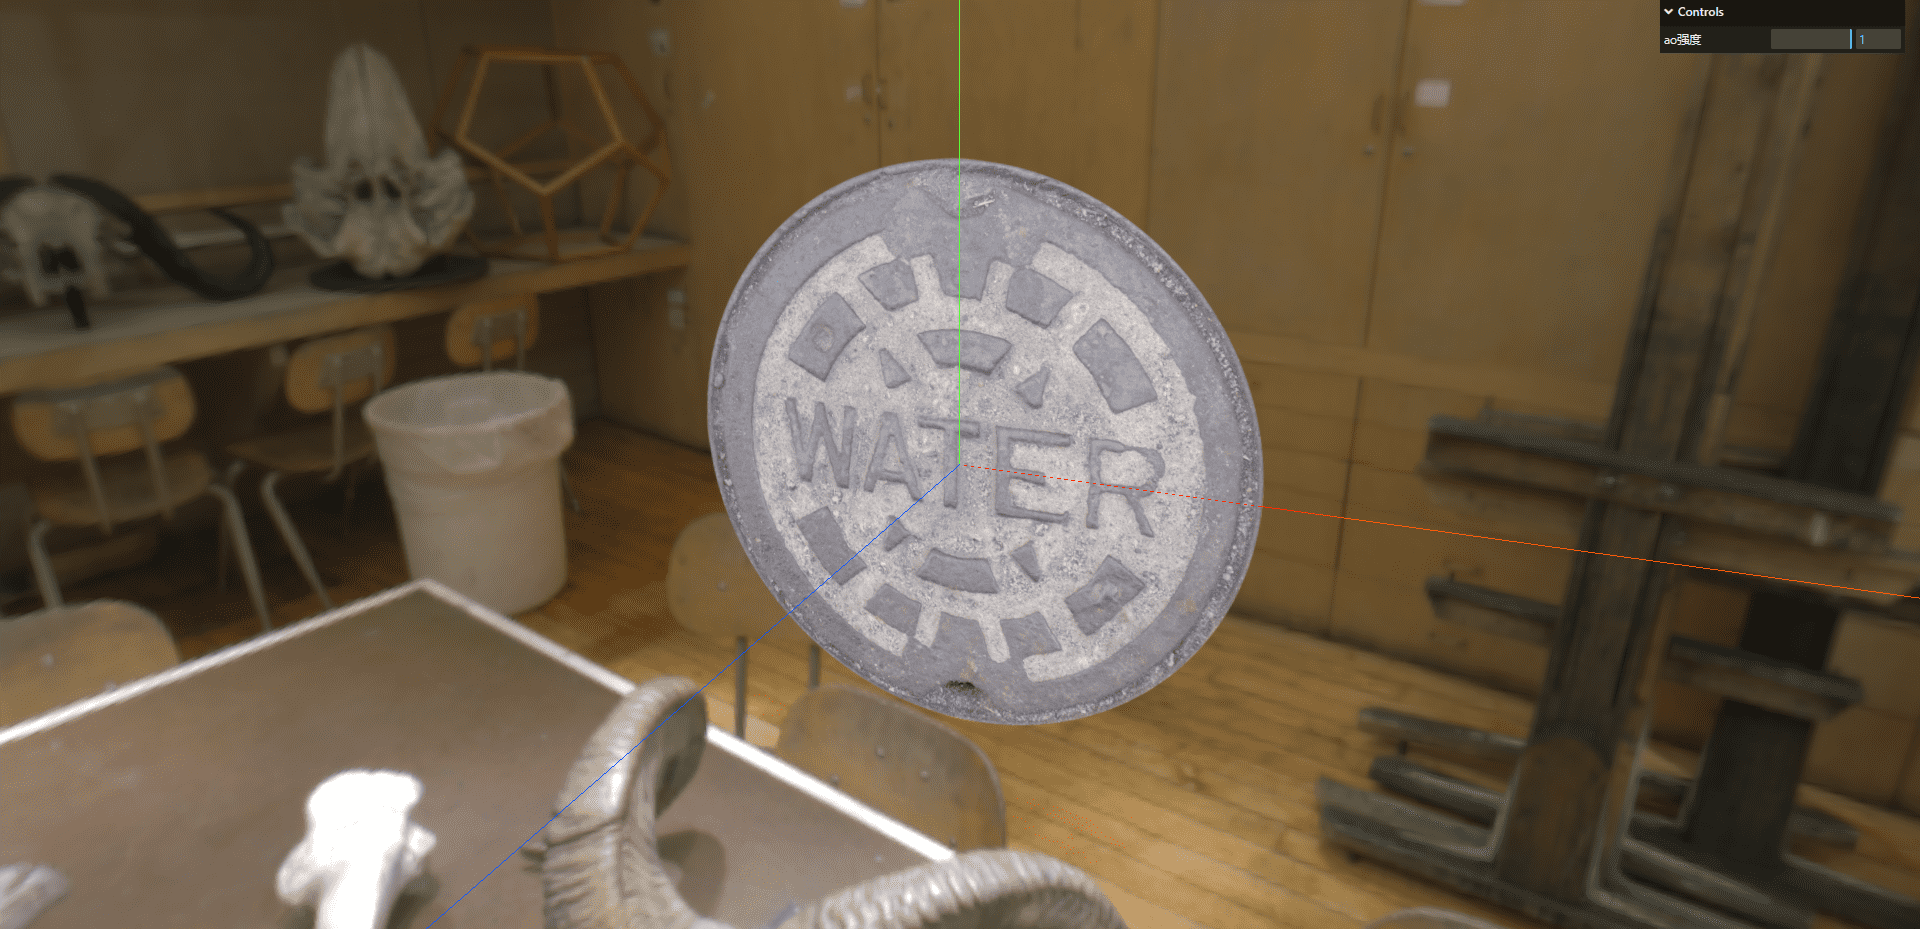
光照贴图
将光照打到物体上
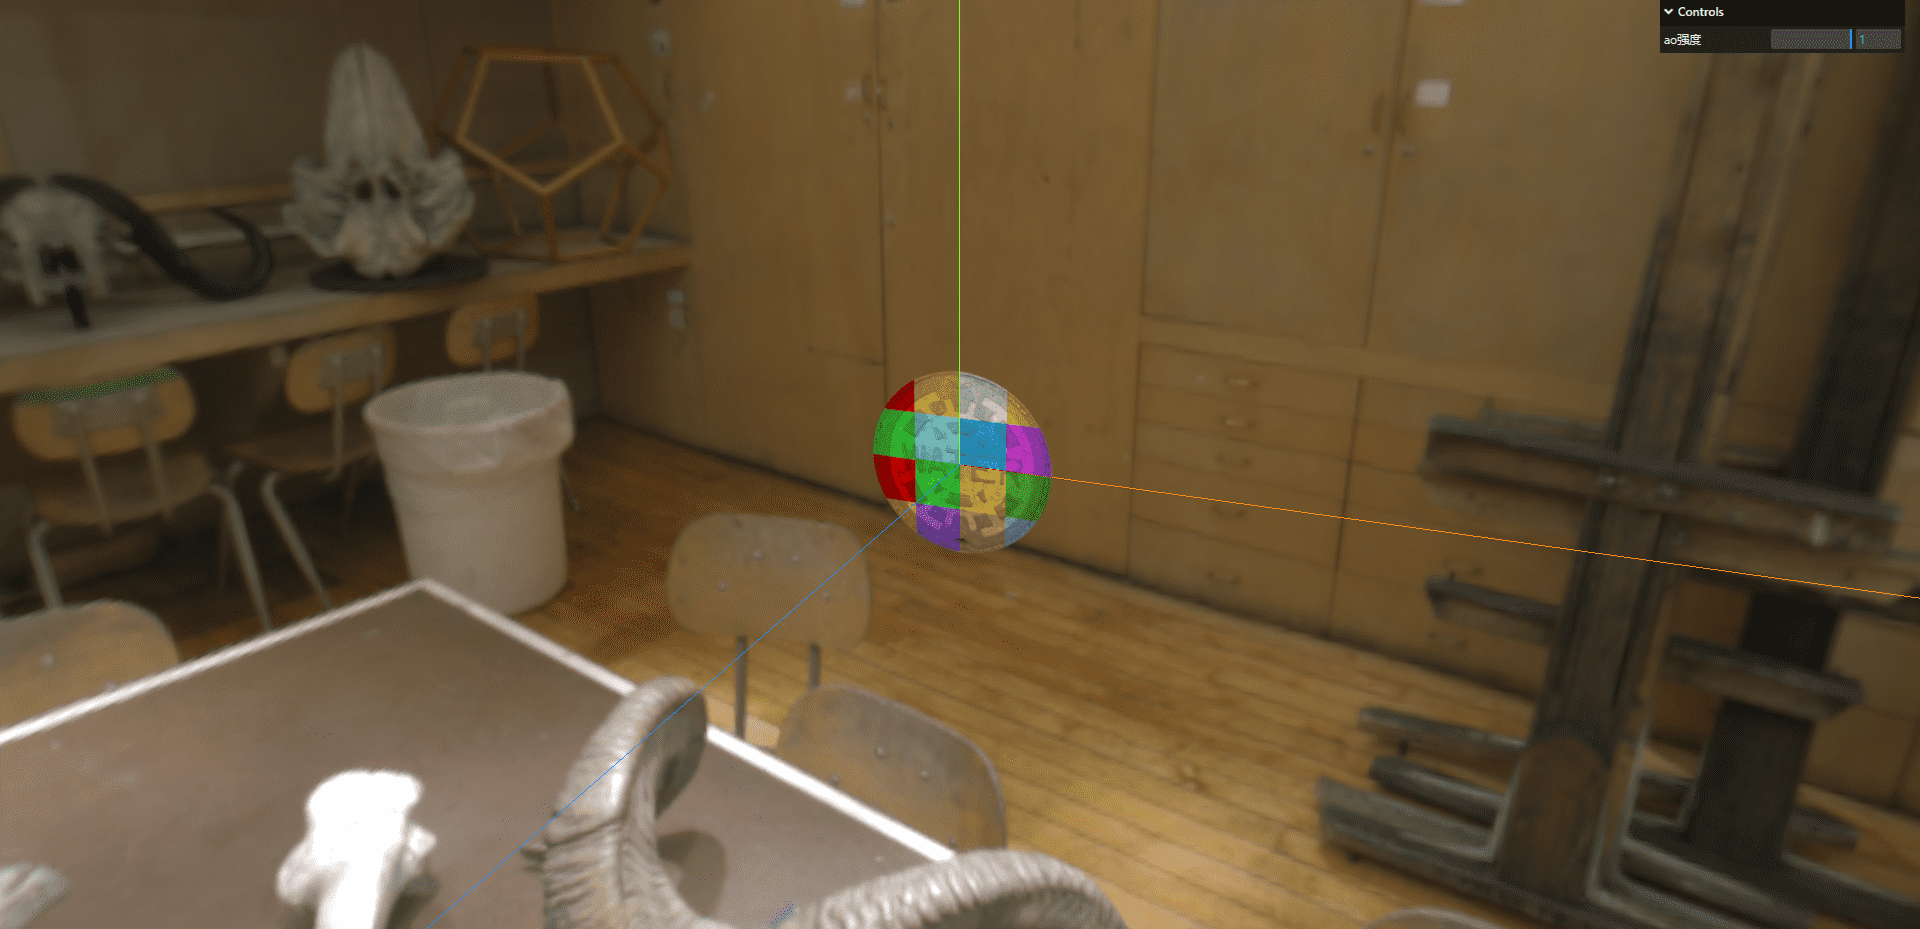
颜色不符合贴图颜色
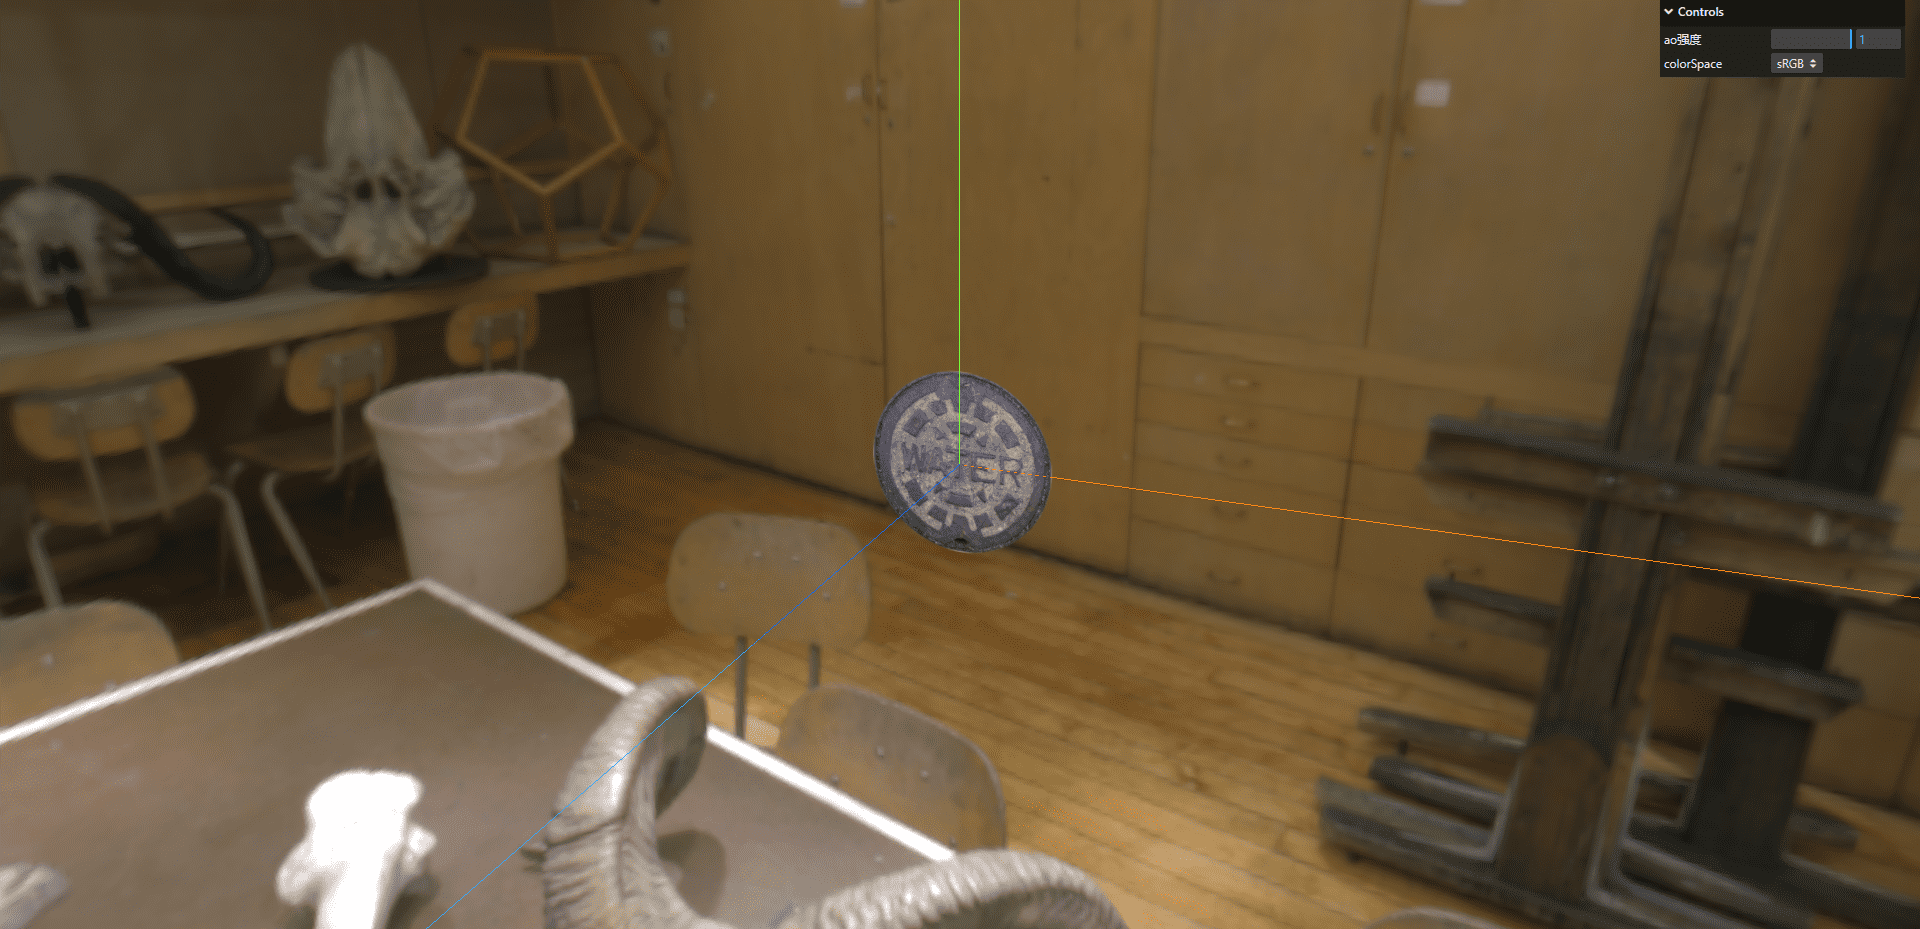
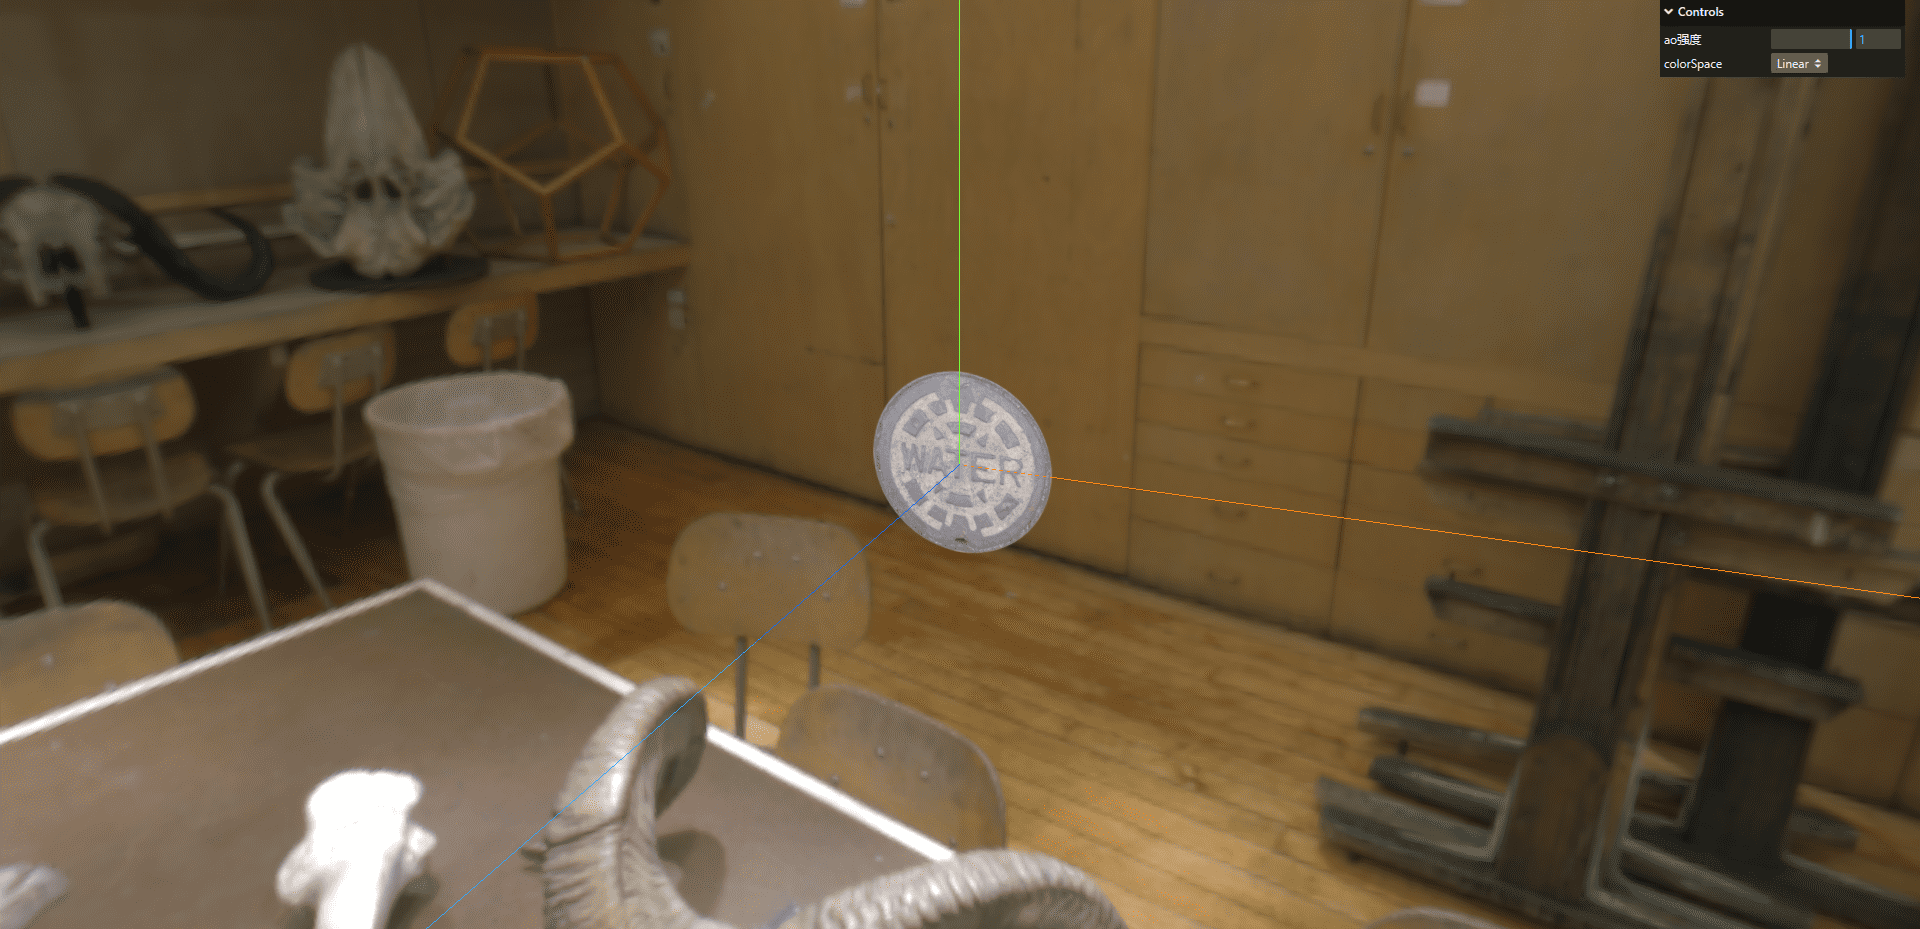
我们发现,我们放上去高光贴图之后,井盖的颜色已经不符合我们的贴图颜色了,我们需要修改材质为SRGBColorSpace,当SRGBColorSpace和LinearSRGBColorSpace切换的时候,我们需要将texture.needsUpdate设置为true
1
2
3
4
5
6
7
8
9
| texture.colorSpace = THREE.SRGBColorSpace;
gui
.add(texture, "colorSpace", {
sRGB: THREE.SRGBColorSpace,
Linear: THREE.LinearSRGBColorSpace,
})
.onChange(() => {
texture.needsUpdate = true;
});
|
指数雾和线性雾
创建长方体
1
2
3
4
5
6
7
8
9
10
11
12
13
14
15
16
17
18
19
20
21
22
23
24
25
26
27
28
29
30
31
32
33
34
35
36
37
38
39
40
41
42
43
44
45
46
47
48
49
50
51
52
53
54
55
56
57
58
59
60
61
62
63
64
65
66
|
import * as THREE from "three";
import { OrbitControls } from "three/examples/jsm/controls/OrbitControls.js";
const scene = new THREE.Scene();
const camera = new THREE.PerspectiveCamera(
45,
window.innerWidth / window.innerHeight,
0.1,
1000
);
const renderer = new THREE.WebGLRenderer();
renderer.setSize(window.innerWidth, window.innerHeight);
document.body.appendChild(renderer.domElement);
camera.position.z = 5;
camera.position.y = 2;
camera.position.x = 2;
camera.lookAt(0, 0, 0);
const axesHelper = new THREE.AxesHelper(5);
scene.add(axesHelper);
const controls = new OrbitControls(camera, renderer.domElement);
controls.enableDamping = true;
controls.dampingFactor = 0.05;
function animate() {
controls.update();
requestAnimationFrame(animate);
renderer.render(scene, camera);
}
animate();
window.addEventListener("resize", () => {
renderer.setSize(window.innerWidth, window.innerHeight);
camera.aspect = window.innerWidth / window.innerHeight;
camera.updateProjectionMatrix();
});
const boxGeometry = new THREE.BoxGeometry(1, 1, 100);
const boxMaterial = new THREE.MeshBasicMaterial({
color: 0x00ff00,
});
const box = new THREE.Mesh(boxGeometry, boxMaterial);
scene.add(box);
|
添加指数雾
1
2
| scene.fog = new THREE.FogExp2(0x999999, 0.1);
scene.background = new THREE.Color(0x999999);
|
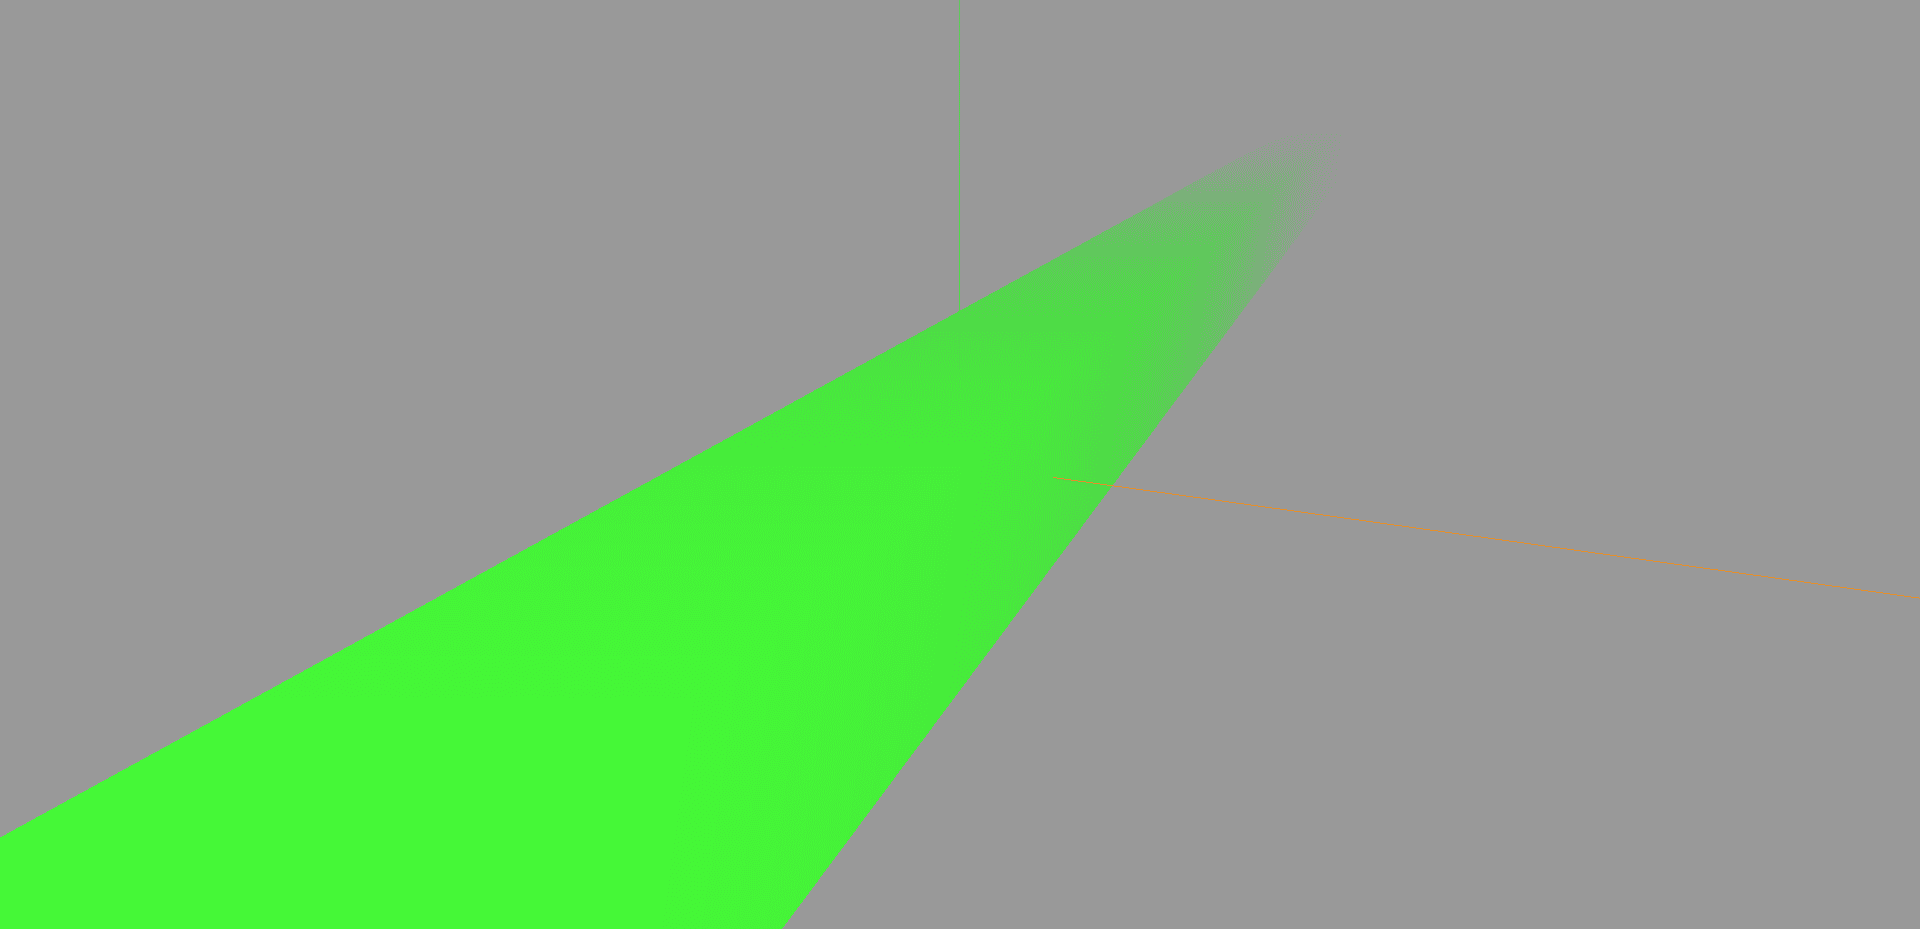
添加线性雾
1
2
3
|
scene.fog = new THREE.Fog(0x999999, 0.1, 50);
scene.background = new THREE.Color(0x999999);
|
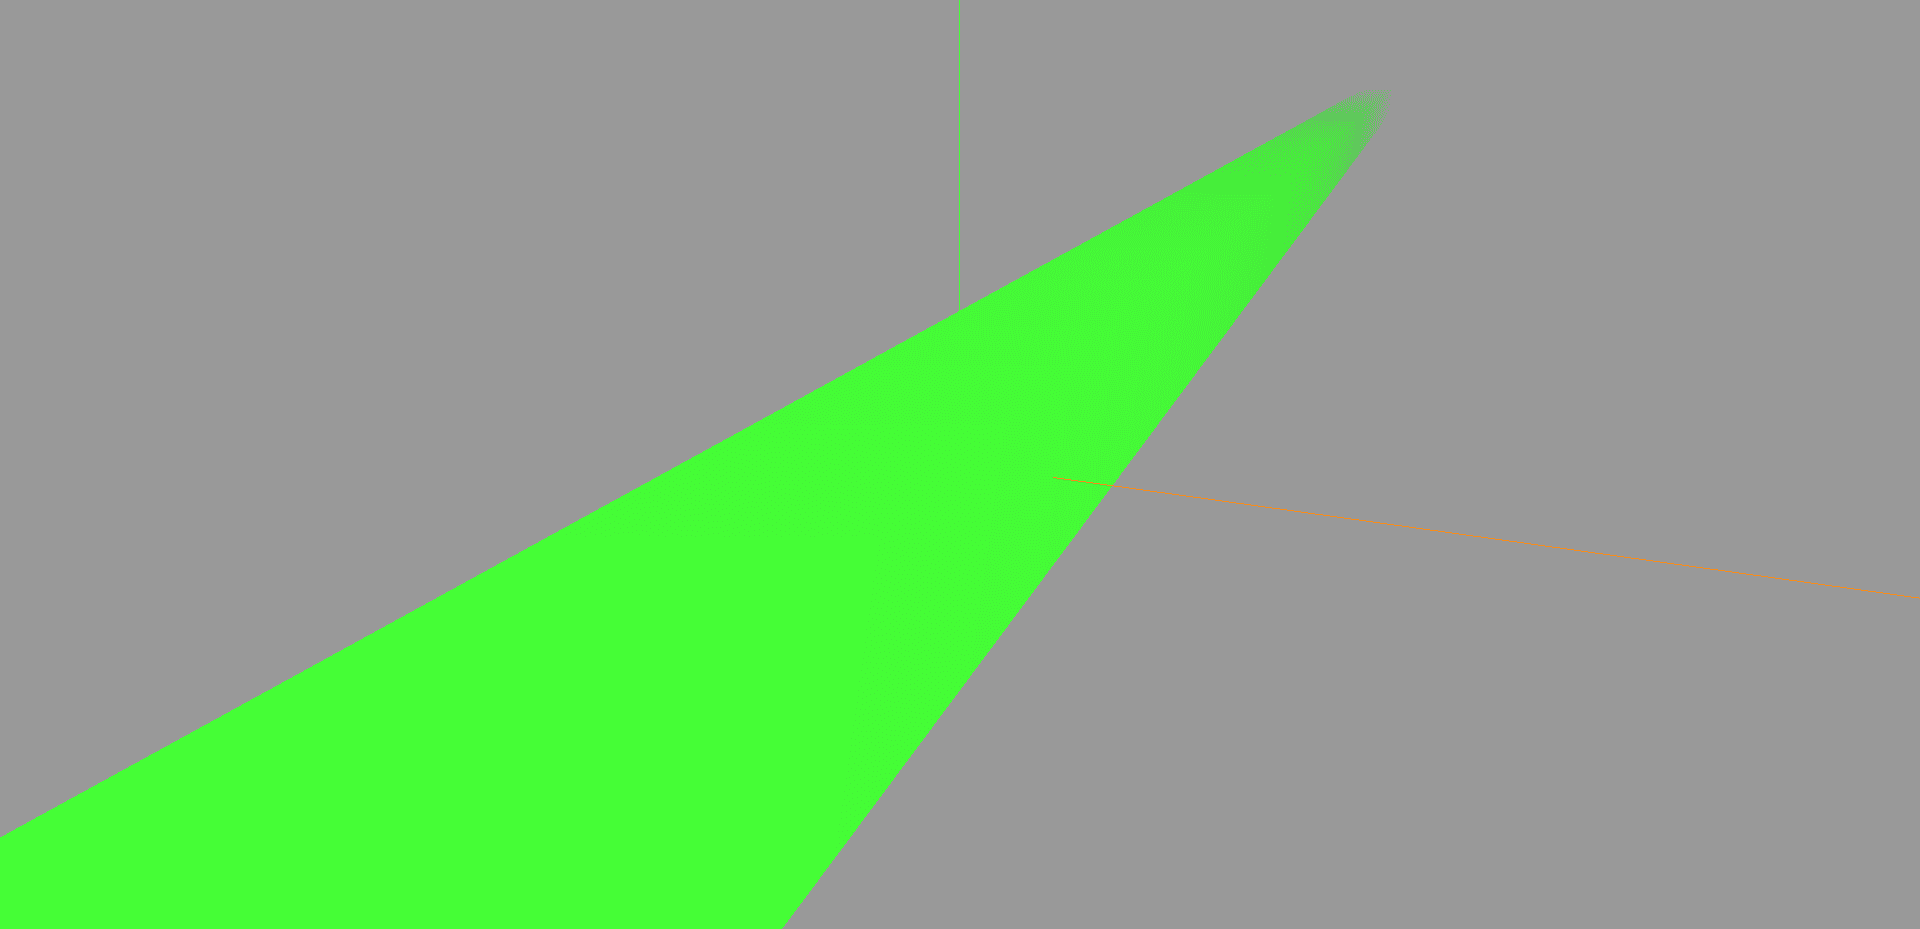
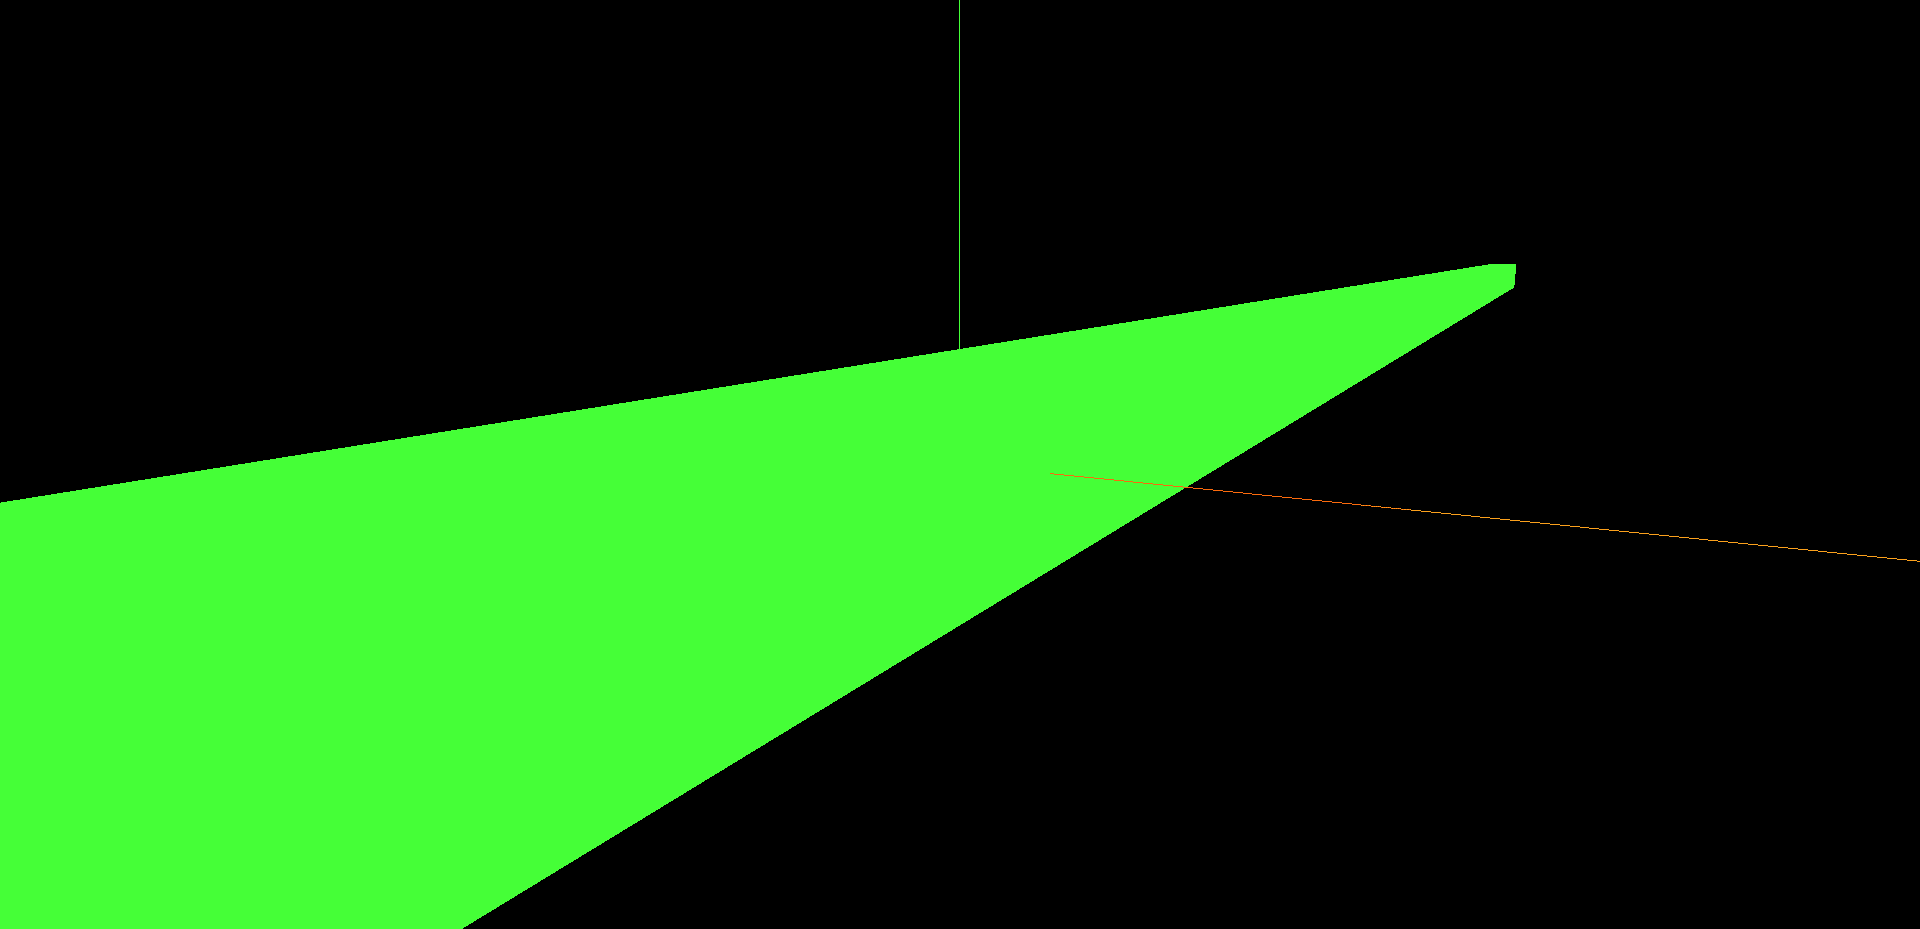
线性雾和指数雾的区别就在于雾是不是一下子激增,我们可以看到线性是慢慢看不见的,指数就是到了一定的位置,直接完全看不见
光线投射和物体交互
在之前的文章中,其实也已经说过这个了,可以参考文章可视化学习的第九篇
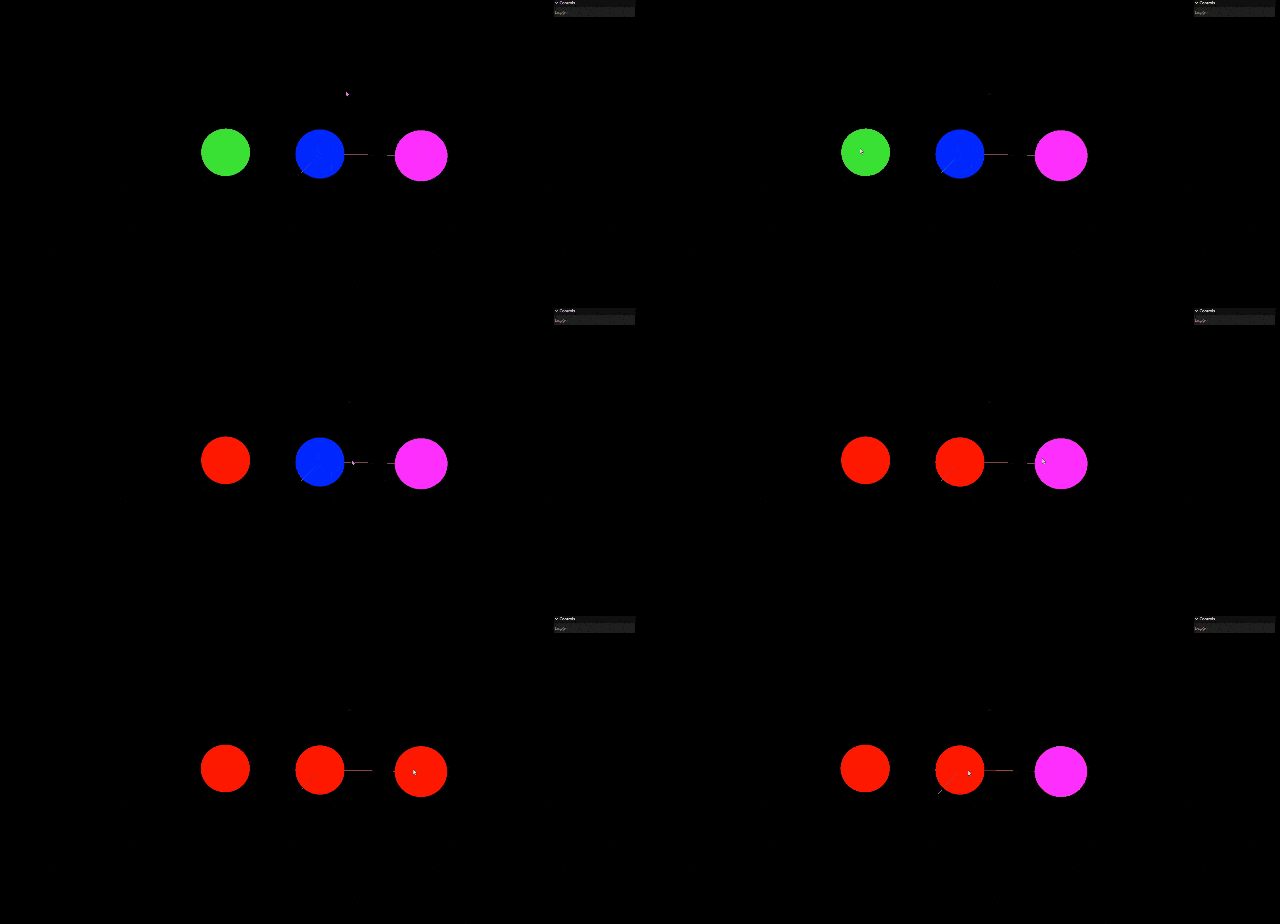
实现小球点击变红色,再次点击变回原来的颜色
1
2
3
4
5
6
7
8
9
10
11
12
13
14
15
16
17
18
19
20
21
22
23
24
25
26
27
28
29
30
31
32
33
34
35
36
37
38
39
40
41
42
43
44
45
46
47
48
49
50
51
52
53
54
55
56
57
58
59
60
61
62
63
64
65
66
67
68
69
70
71
72
73
74
75
76
77
78
79
80
81
82
83
84
85
86
87
88
89
90
91
92
93
94
95
96
97
98
99
100
101
102
103
104
105
106
107
108
109
110
111
112
113
114
115
116
117
118
119
120
121
122
123
124
125
126
127
128
129
130
131
132
|
import * as THREE from "three";
import { OrbitControls } from "three/examples/jsm/controls/OrbitControls.js";
import { GUI } from "three/examples/jsm/libs/lil-gui.module.min.js";
const scene = new THREE.Scene();
const camera = new THREE.PerspectiveCamera(
45,
window.innerWidth / window.innerHeight,
0.1,
1000
);
const renderer = new THREE.WebGLRenderer();
renderer.setSize(window.innerWidth, window.innerHeight);
document.body.appendChild(renderer.domElement);
camera.position.z = 15;
camera.position.y = 2;
camera.position.x = 2;
camera.lookAt(0, 0, 0);
const axesHelper = new THREE.AxesHelper(5);
scene.add(axesHelper);
const controls = new OrbitControls(camera, renderer.domElement);
controls.enableDamping = true;
controls.dampingFactor = 0.05;
function animate() {
controls.update();
requestAnimationFrame(animate);
renderer.render(scene, camera);
}
animate();
window.addEventListener("resize", () => {
renderer.setSize(window.innerWidth, window.innerHeight);
camera.aspect = window.innerWidth / window.innerHeight;
camera.updateProjectionMatrix();
});
let params = {};
const gui = new GUI();
const sphere1 = new THREE.Mesh(
new THREE.SphereGeometry(1, 32, 32),
new THREE.MeshBasicMaterial({
color: 0x00ff00,
})
);
sphere1.position.x = -4;
scene.add(sphere1);
const sphere2 = new THREE.Mesh(
new THREE.SphereGeometry(1, 32, 32),
new THREE.MeshBasicMaterial({
color: 0x0000ff,
})
);
scene.add(sphere2);
const sphere3 = new THREE.Mesh(
new THREE.SphereGeometry(1, 32, 32),
new THREE.MeshBasicMaterial({
color: 0xff00ff,
})
);
sphere3.position.x = 4;
scene.add(sphere3);
console.log(scene.children);
const raycaster = new THREE.Raycaster();
const mouse = new THREE.Vector2();
window.addEventListener("click", (event) => {
console.log(event.clientX, event.clientY);
mouse.x = (event.clientX / window.innerWidth) * 2 - 1;
mouse.y = -((event.clientY / window.innerHeight) * 2 - 1);
raycaster.setFromCamera(mouse, camera);
const intersects = raycaster.intersectObjects([sphere1, sphere2, sphere3]);
if (intersects.length > 0) {
if (intersects[0].object._isSelect) {
console.log(intersects[0].object._originColor);
intersects[0].object.material.color.set(
intersects[0].object._originColor
);
intersects[0].object._isSelect = false;
return;
}
intersects[0].object._isSelect = true;
intersects[0].object._originColor =
intersects[0].object.material.color.getHex();
intersects[0].object.material.color.set(0xff0000);
}
console.log(intersects);
});
|
补间动画
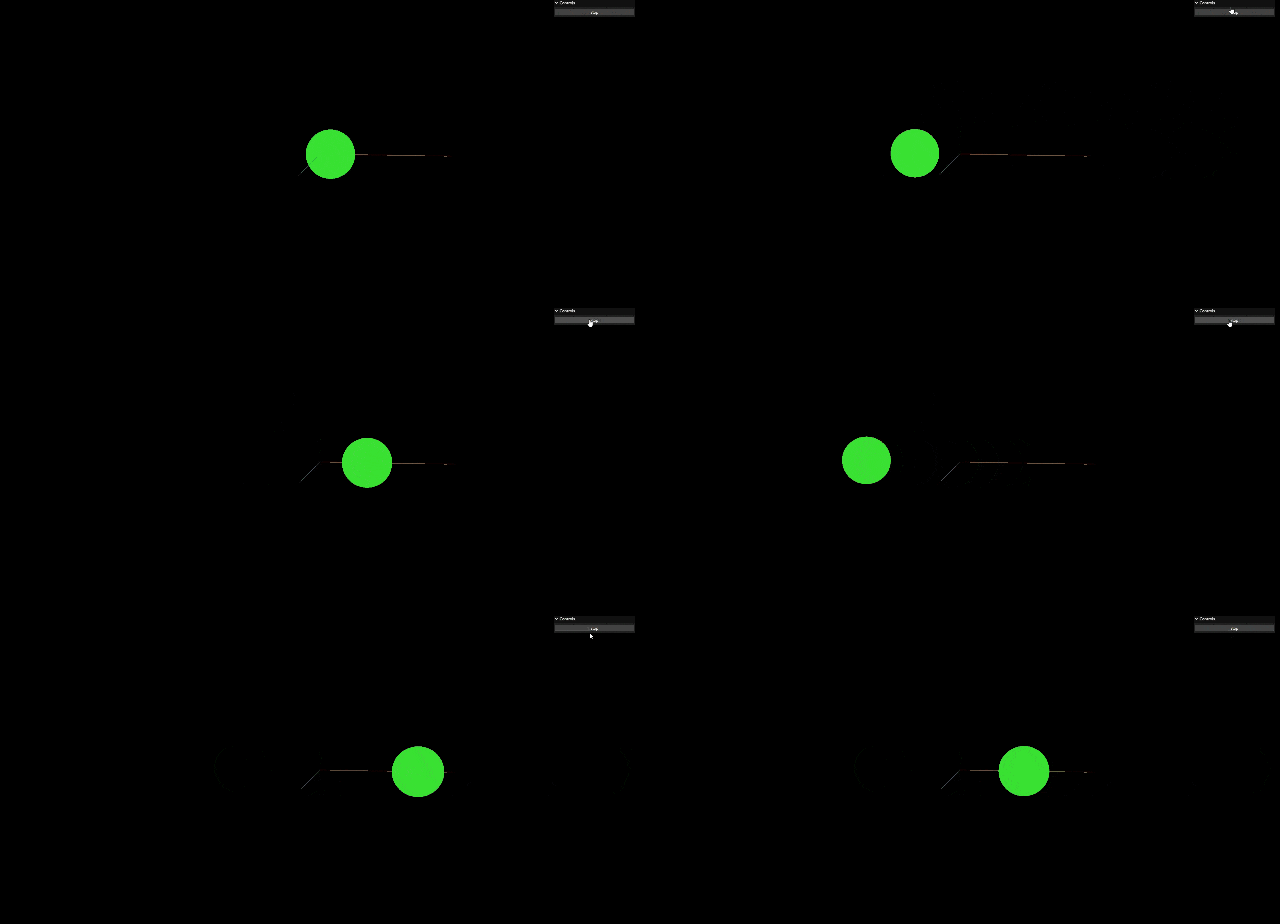
听这个名字就知道,这个动画是在两个状态之间进行的,比如说我们有一个小球,我们想让它从一个位置移动到另一个位置,这个时候我们就可以使用补间动画,补间动画的实现方式有很多,之前我们都基于gsap来实现,今天使用threejs自带的tween.js。
1
2
3
4
5
6
7
8
9
10
11
12
13
14
15
16
17
18
19
20
21
22
23
24
25
26
27
28
29
30
31
32
33
34
35
36
37
38
39
40
41
42
43
44
45
46
47
48
49
50
51
52
53
54
55
56
57
58
59
60
61
62
63
64
65
66
67
68
69
70
71
72
73
74
75
76
77
78
79
80
81
82
83
84
85
86
87
88
89
90
91
92
93
94
95
96
97
98
99
100
101
102
103
104
105
106
107
108
109
110
111
112
113
114
115
116
117
118
119
|
import * as THREE from "three";
import { OrbitControls } from "three/examples/jsm/controls/OrbitControls.js";
import { GUI } from "three/examples/jsm/libs/lil-gui.module.min.js";
import * as TWEEN from "three/examples/jsm/libs/tween.module.js";
const scene = new THREE.Scene();
const camera = new THREE.PerspectiveCamera(
45,
window.innerWidth / window.innerHeight,
0.1,
1000
);
const renderer = new THREE.WebGLRenderer();
renderer.setSize(window.innerWidth, window.innerHeight);
document.body.appendChild(renderer.domElement);
camera.position.z = 15;
camera.position.y = 2;
camera.position.x = 2;
camera.lookAt(0, 0, 0);
const axesHelper = new THREE.AxesHelper(5);
scene.add(axesHelper);
const controls = new OrbitControls(camera, renderer.domElement);
controls.enableDamping = true;
controls.dampingFactor = 0.05;
function animate() {
controls.update();
requestAnimationFrame(animate);
renderer.render(scene, camera);
TWEEN.update();
}
animate();
window.addEventListener("resize", () => {
renderer.setSize(window.innerWidth, window.innerHeight);
camera.aspect = window.innerWidth / window.innerHeight;
camera.updateProjectionMatrix();
});
const gui = new GUI();
const sphere1 = new THREE.Mesh(
new THREE.SphereGeometry(1, 32, 32),
new THREE.MeshBasicMaterial({
color: 0x00ff00,
})
);
sphere1.position.x = -4;
scene.add(sphere1);
const tween = new TWEEN.Tween(sphere1.position);
tween.to({ x: 4 }, 1000);
tween.onUpdate(() => {
console.log(sphere1.position.x);
});
tween.easing(TWEEN.Easing.Quadratic.InOut);
let tween2 = new TWEEN.Tween(sphere1.position);
tween2.to({ x: -4 }, 1000);
tween.chain(tween2);
tween2.chain(tween);
tween.start();
tween.onStart(() => {
console.log("开始");
});
tween.onComplete(() => {
console.log("结束");
});
tween.onStop(() => {
console.log("停止");
});
tween.onUpdate(() => {
console.log("更新");
});
let params = {
stop: function () {
tween.stop();
},
};
gui.add(params, "stop");
|
