【可视化学习】28-材质纹理内容补充
发表于:2023-06-28 |

前言

今天给大家带来一点材质纹理的内容补充,有些东西之前已经讲过了,就稍微提一嘴,当复习一下

纹理位移,旋转,缩放,重复

这个之前已经说过了,简单再说一下

导入贴图

1
2
3
4
5
6
7
8
9
10
11
12
// 创建纹理加载器
let textureLoader = new THREE.TextureLoader();
// 加载纹理
let texture = textureLoader.load("./texture/amber/base_color.jpg");

let planeGeometry = new THREE.PlaneGeometry(1, 1);
let planeMaterial = new THREE.MeshBasicMaterial({
color: 0xffffff,
map: texture,
});
let plane = new THREE.Mesh(planeGeometry, planeMaterial);
scene.add(plane);

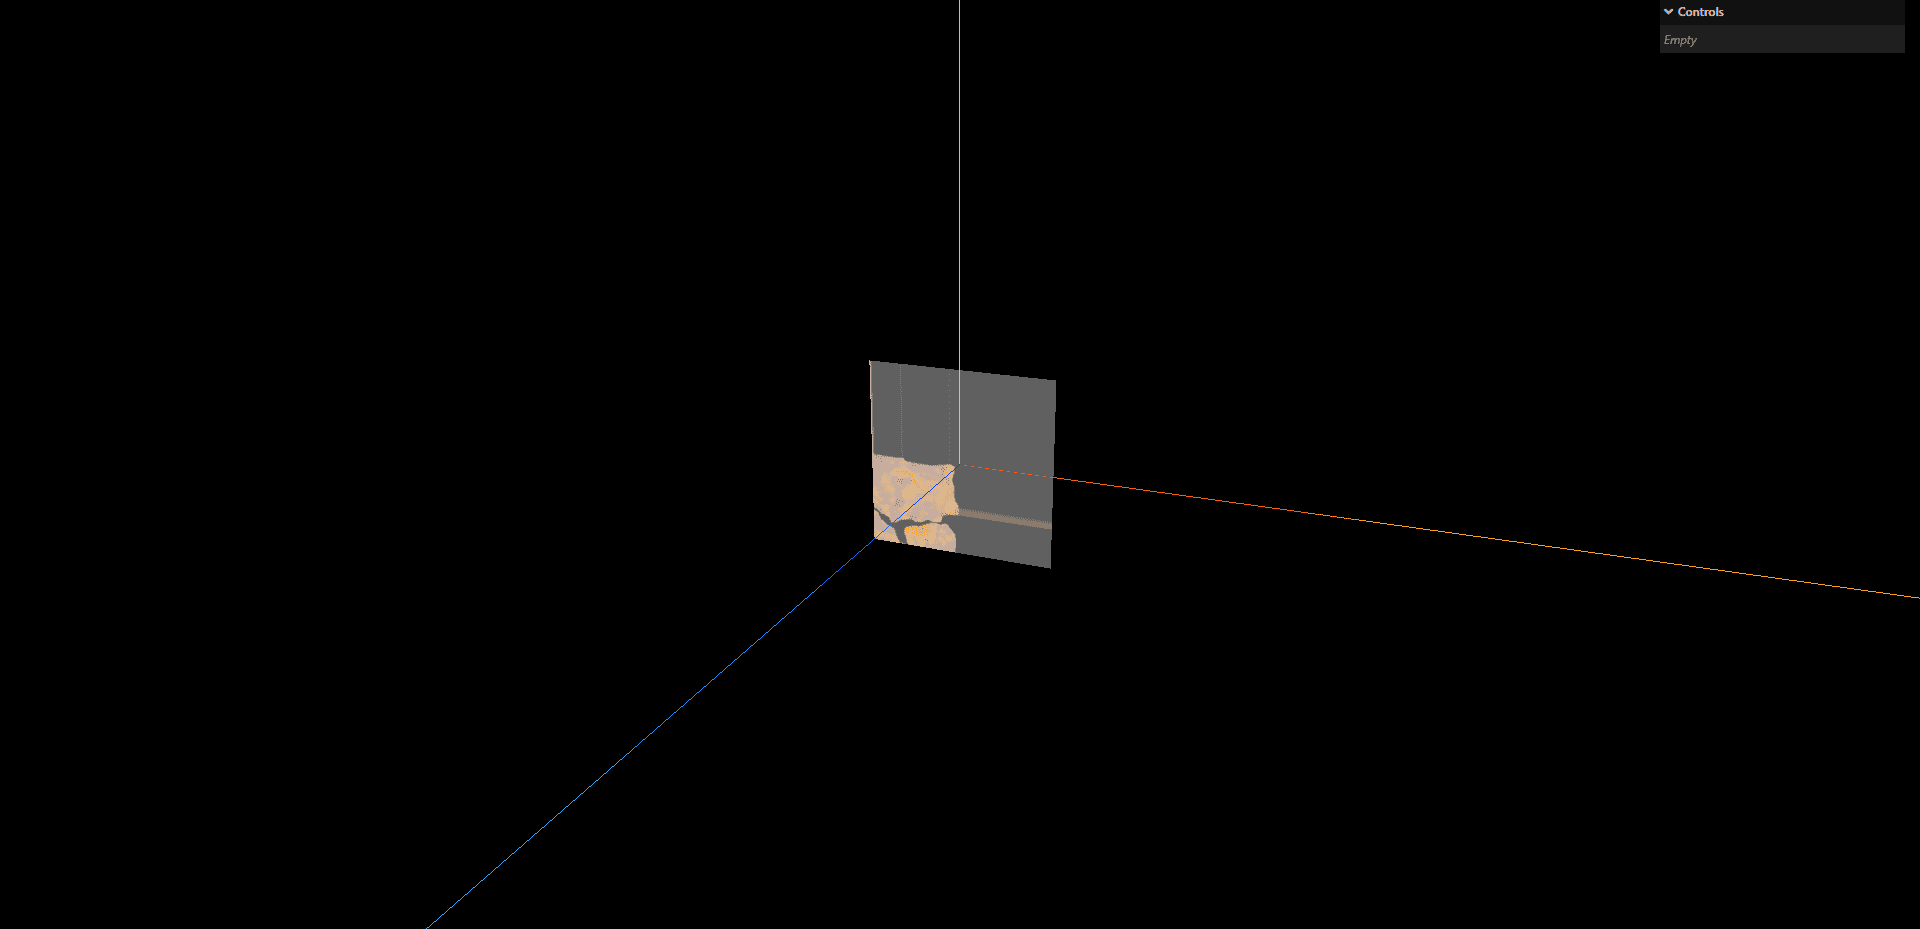
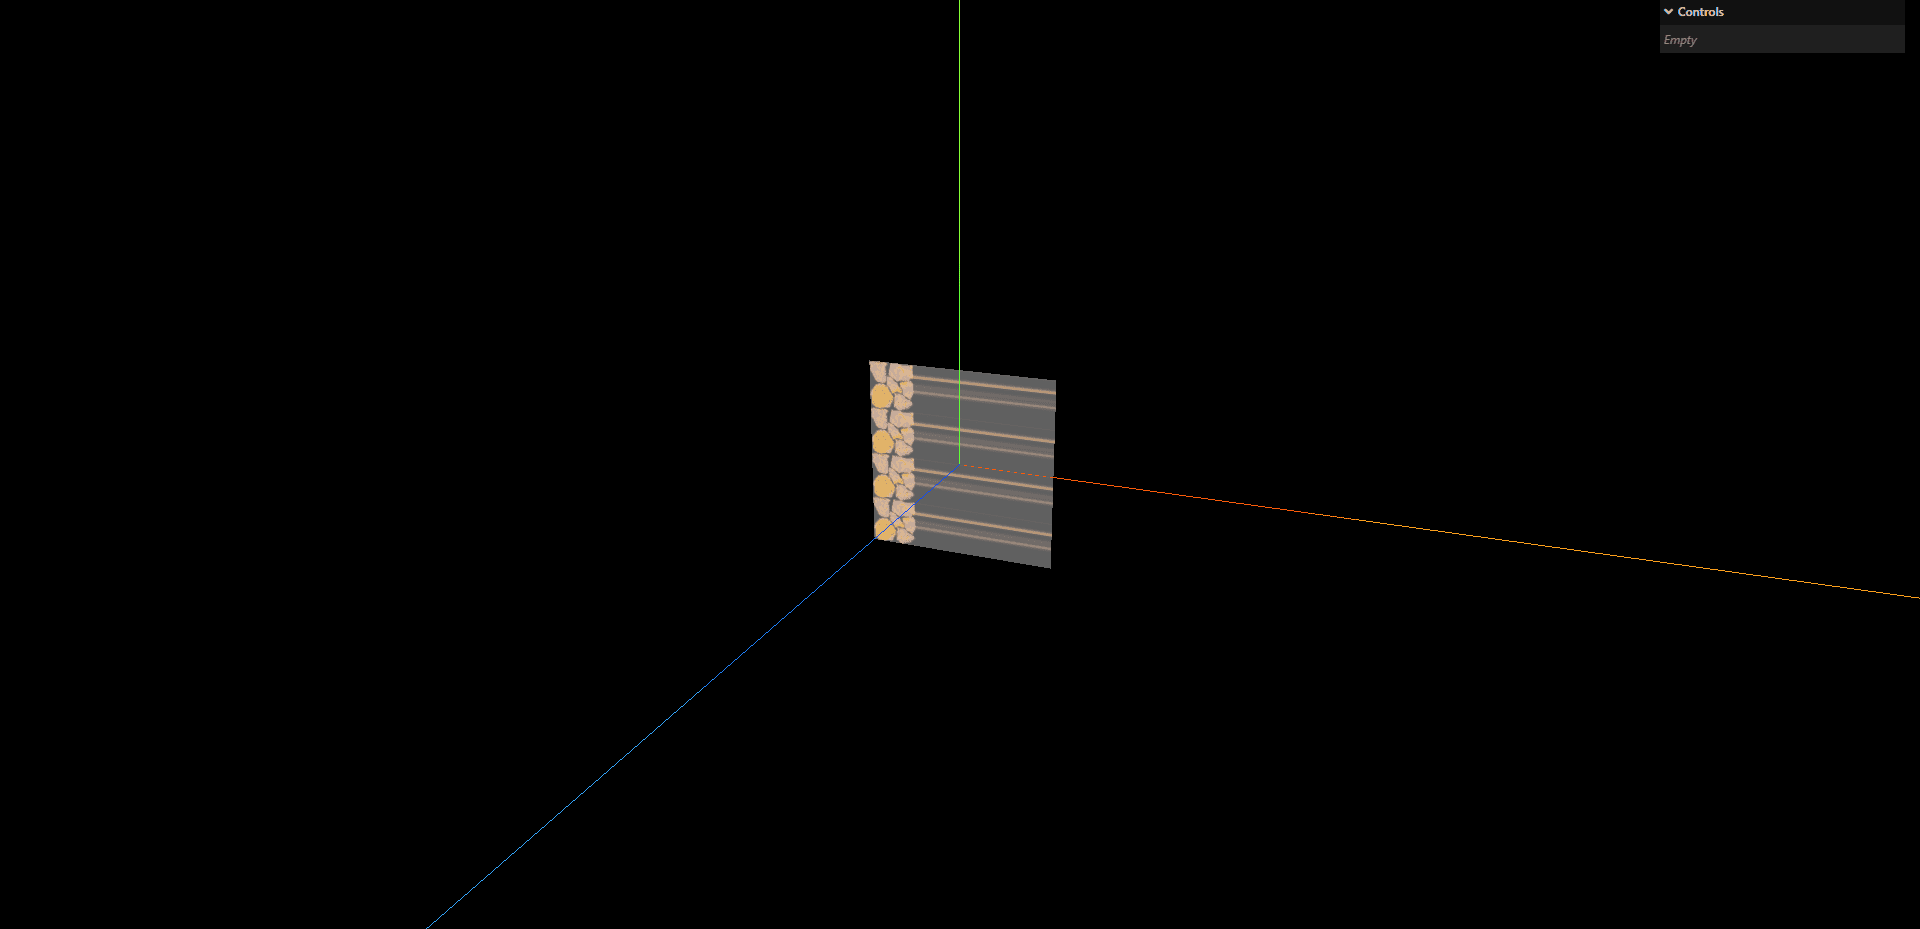
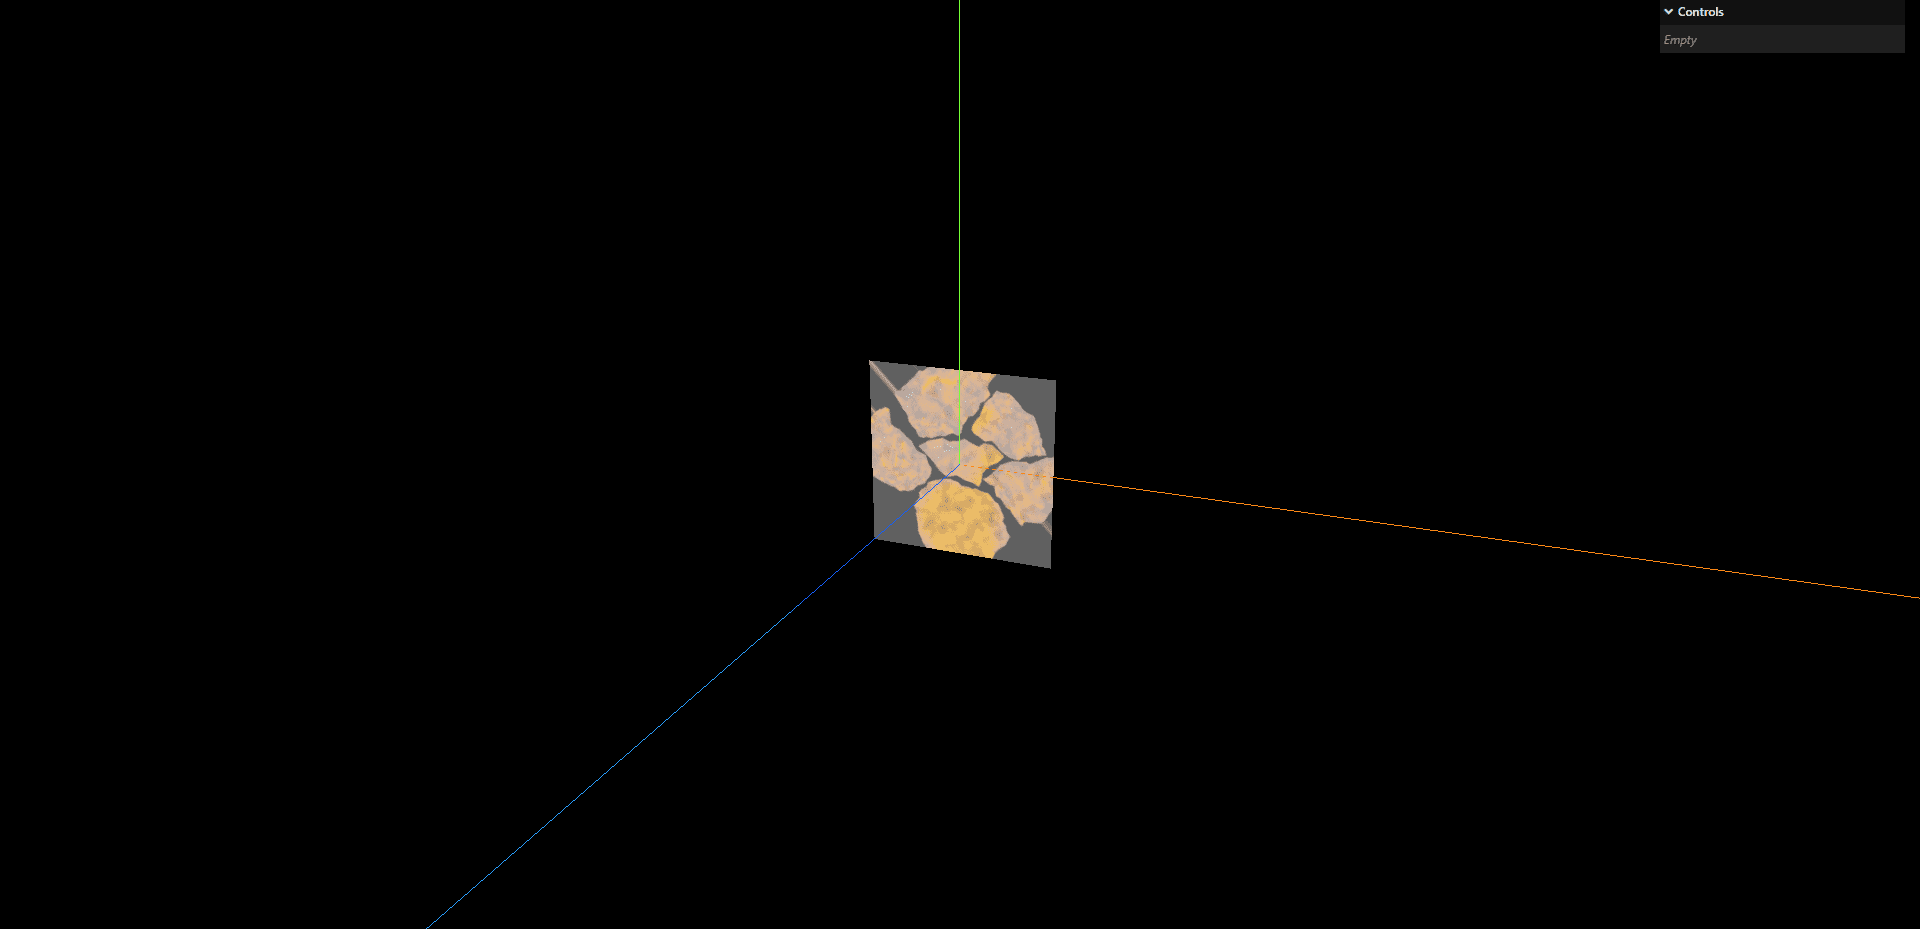
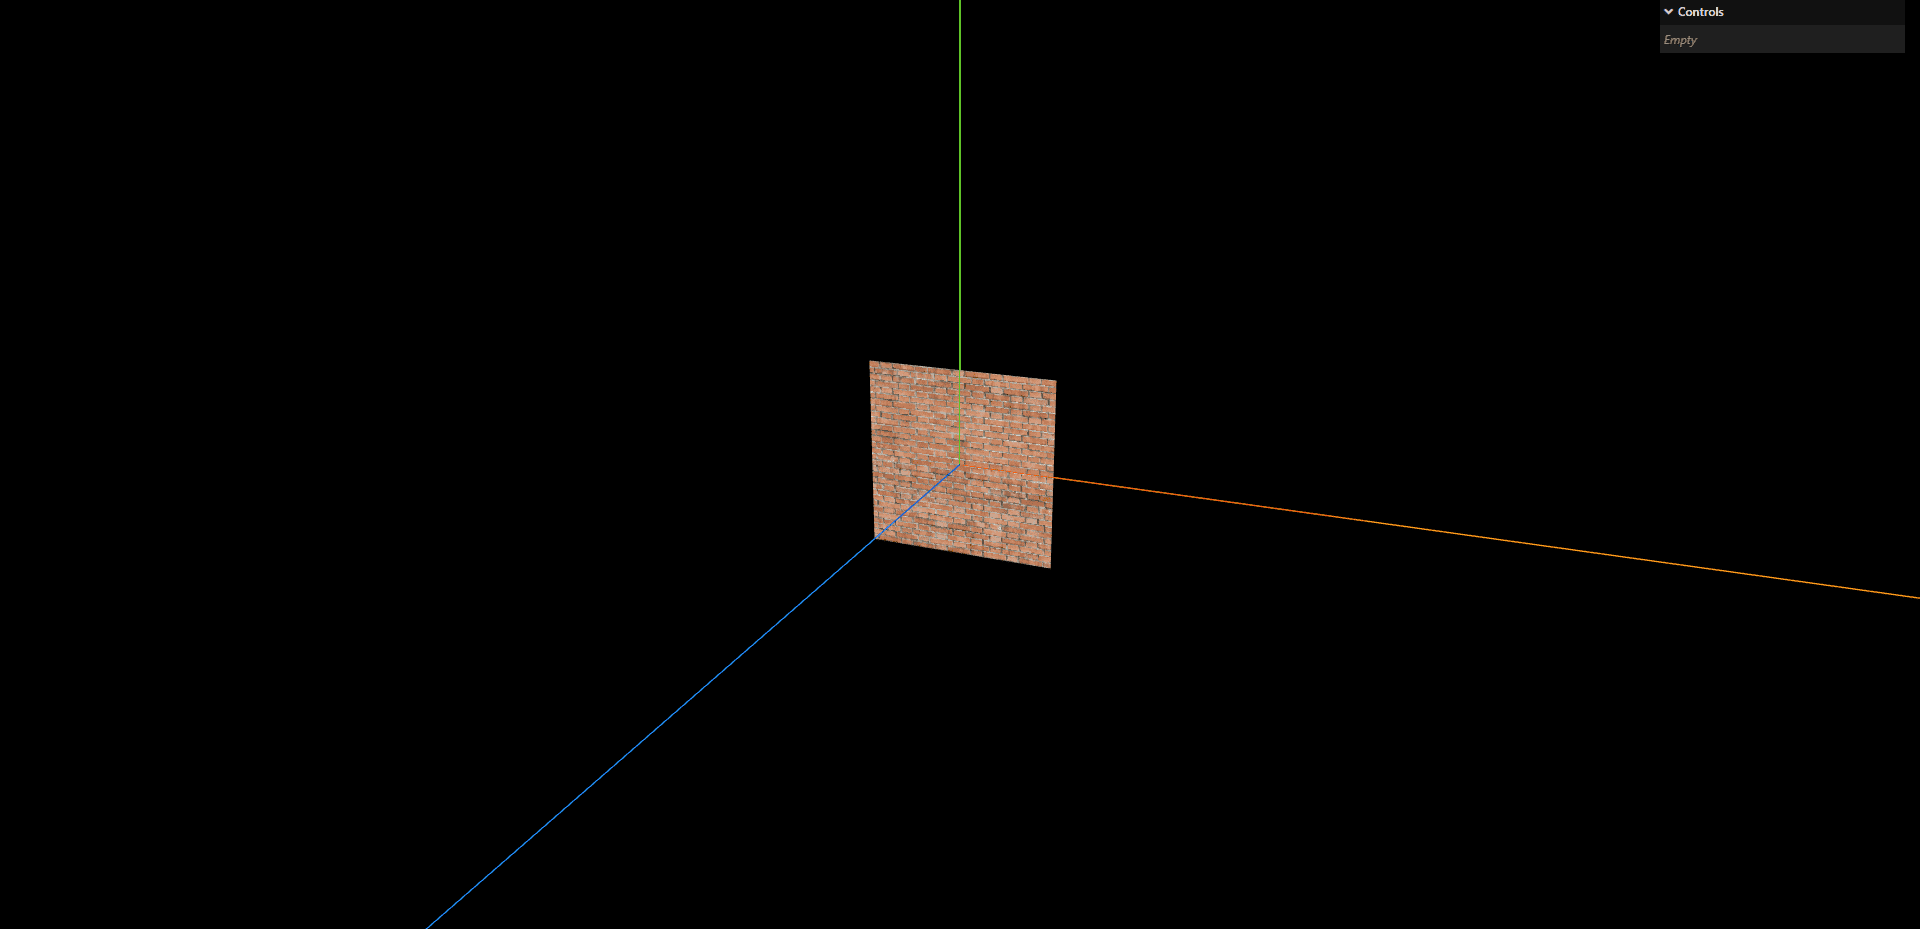
效果图

位移

1
2
// 纹理偏移
texture.offset.set(0.5, 0.5);

效果图

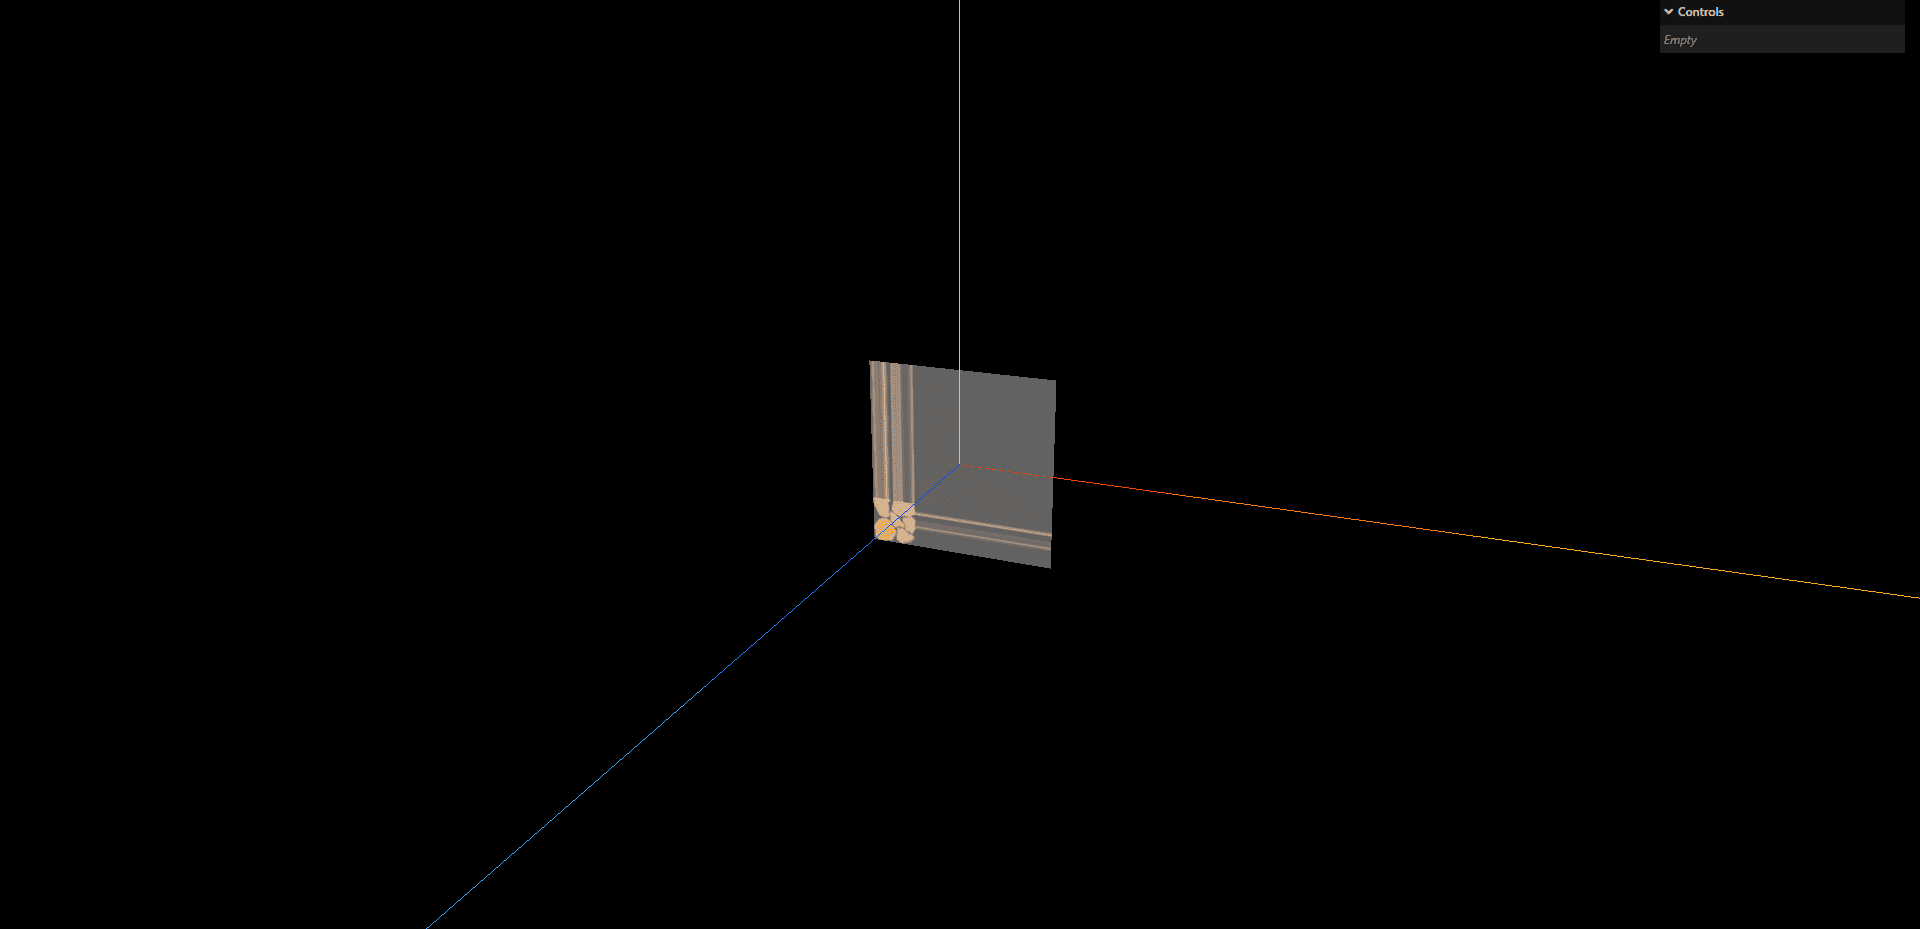
重复

repeat
用来设置纹理将在表面上,分别在U、V方向重复多少次。

1
texture.repeat.set(4, 4);

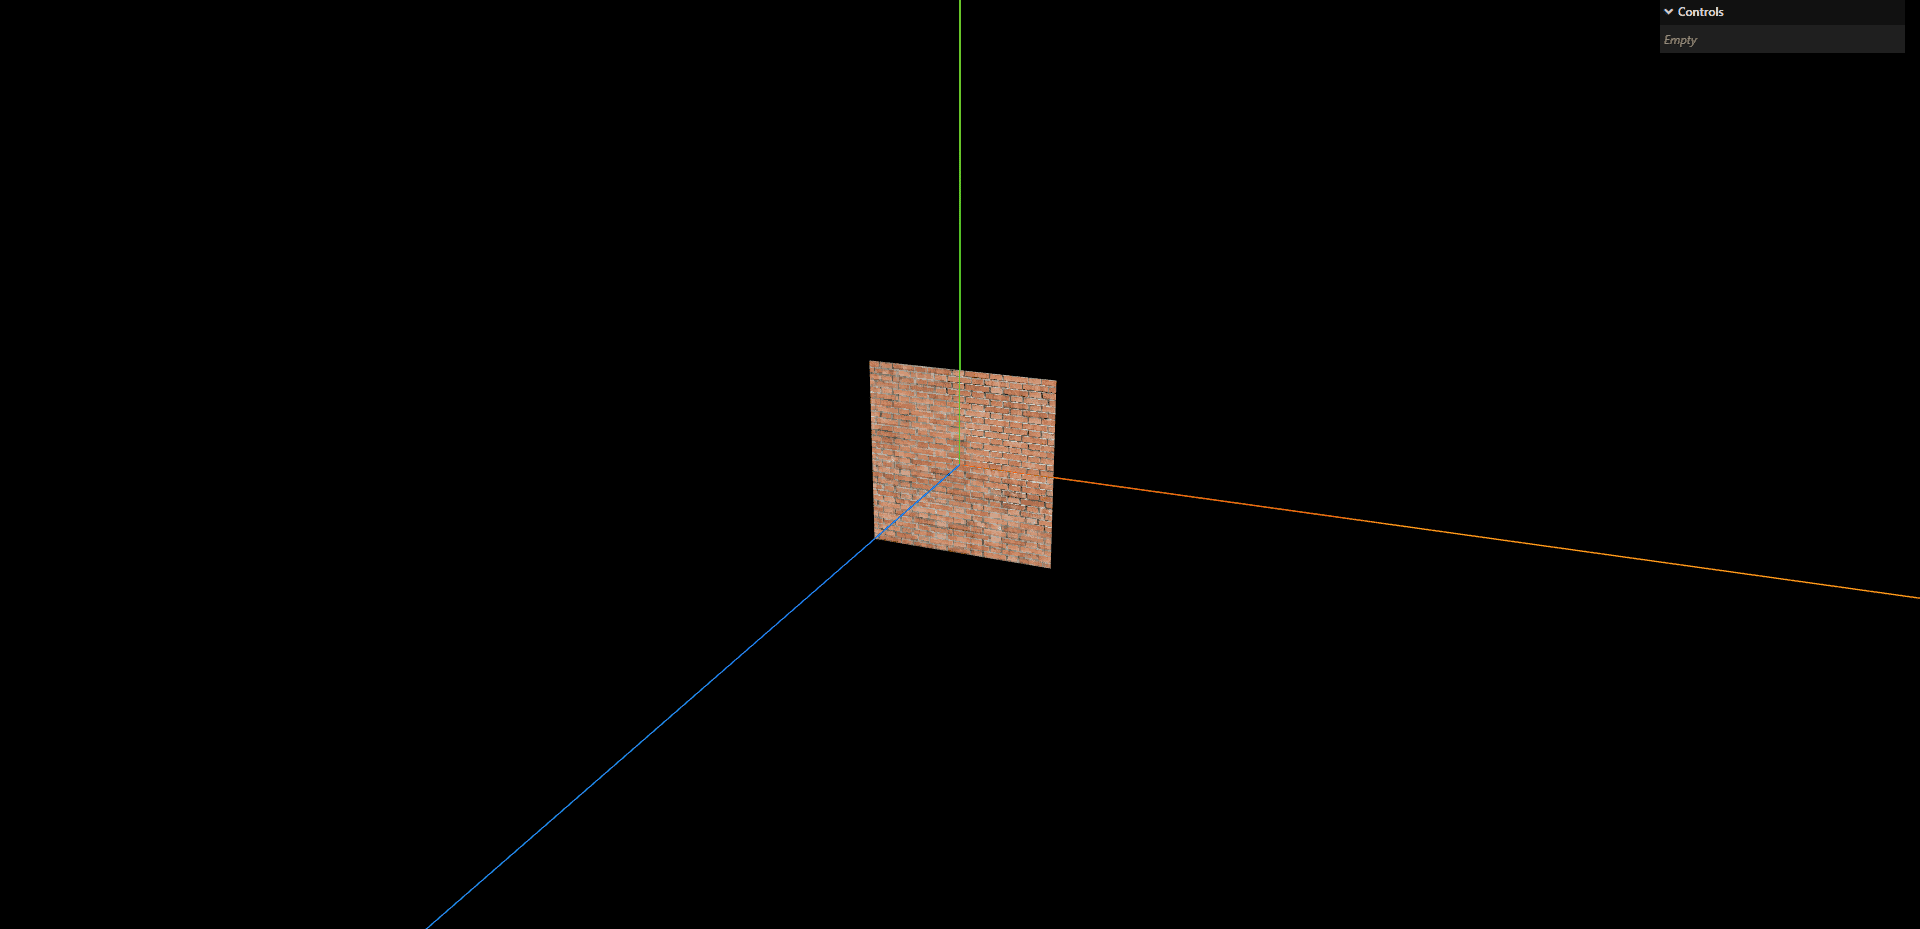
效果图

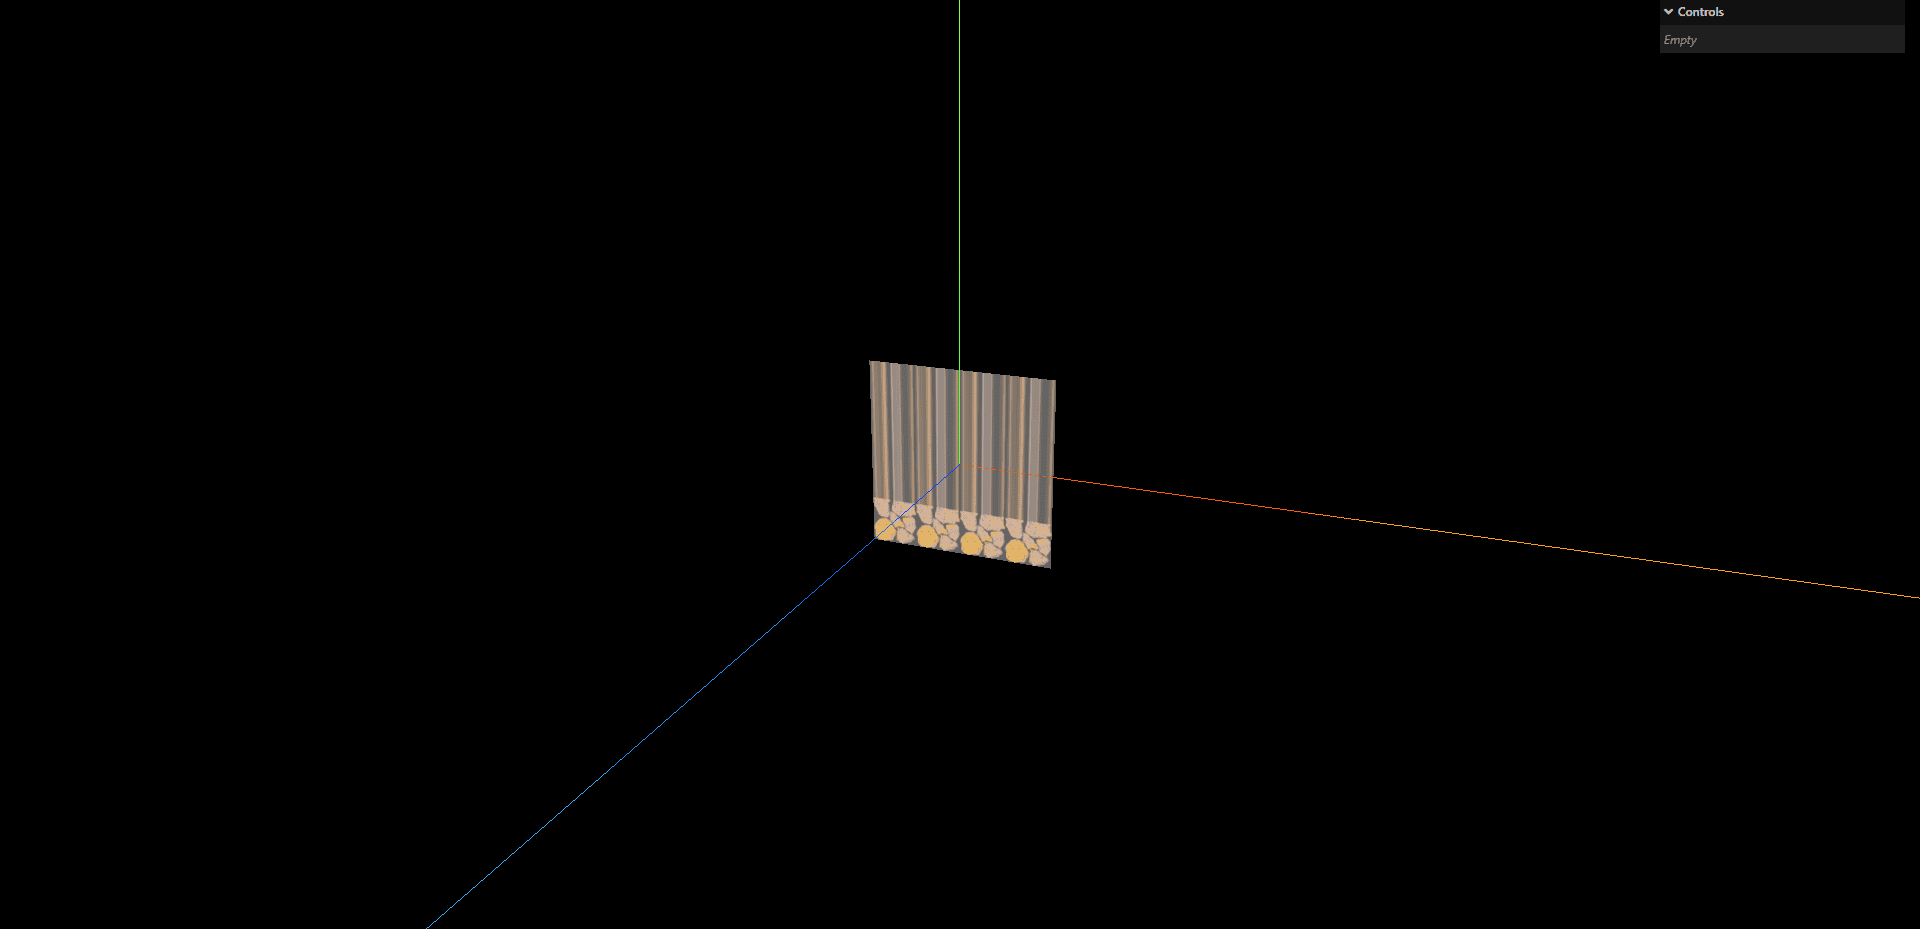
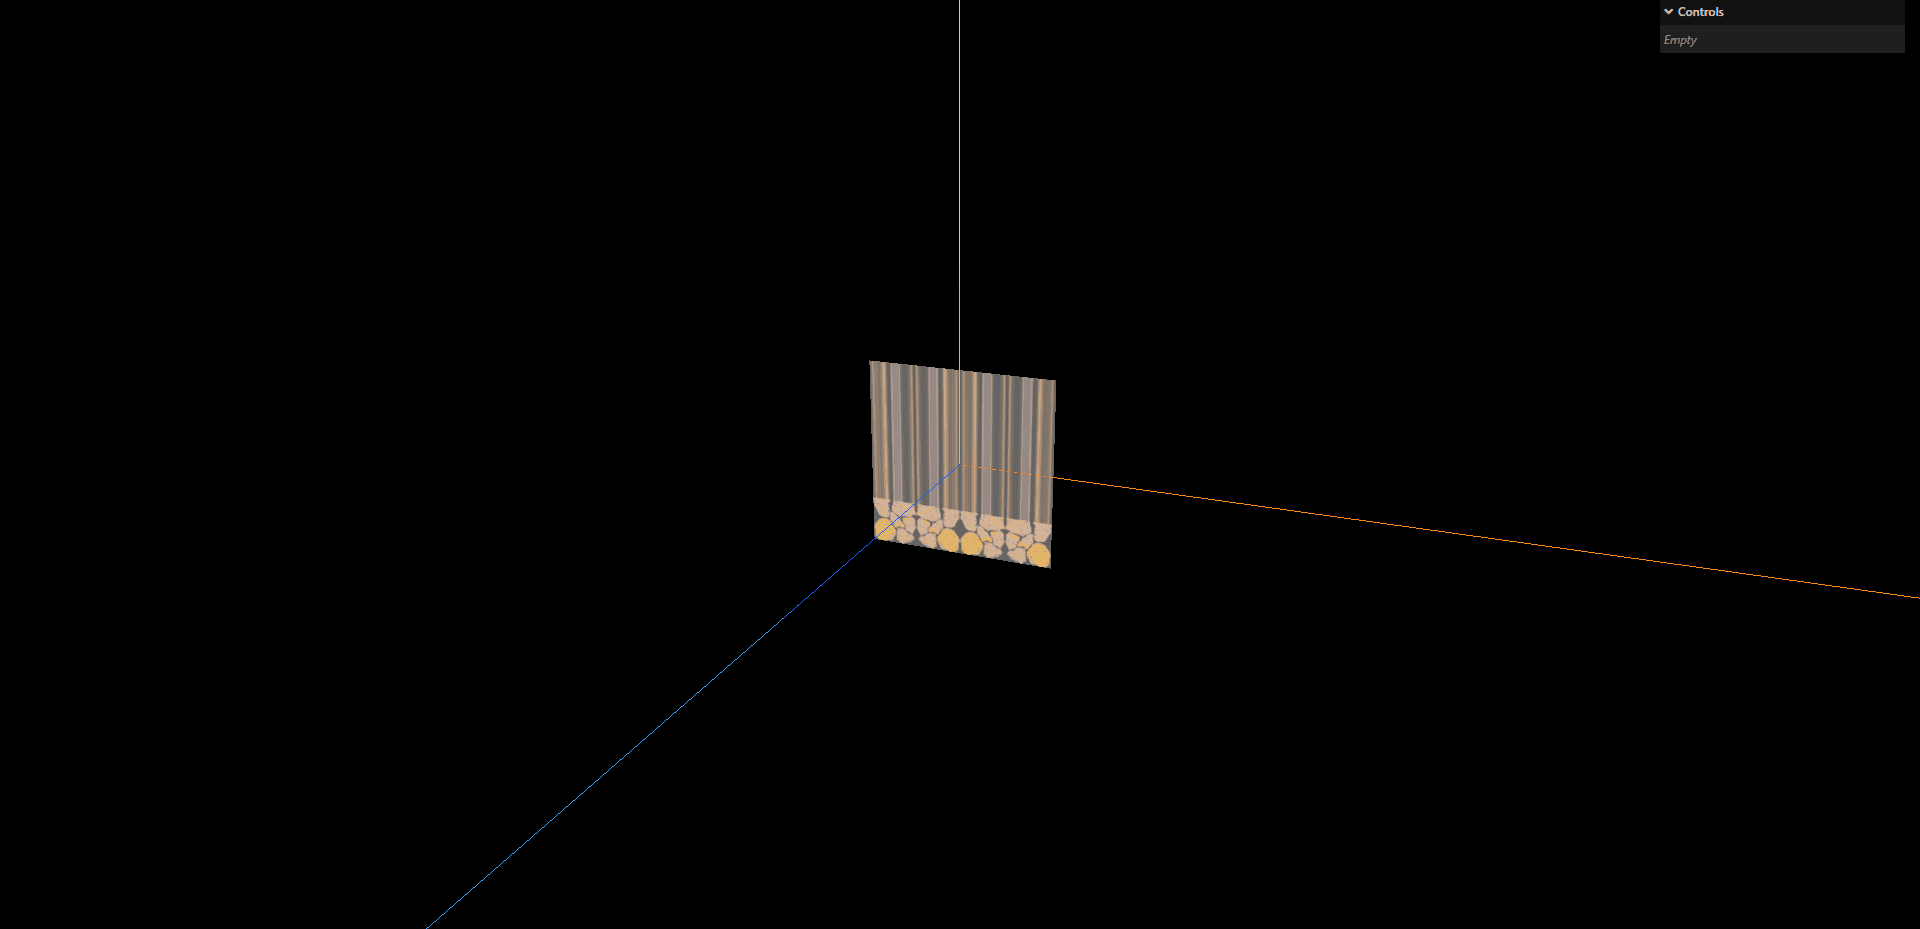
wrapS
纹理在水平方向上纹理包裹方式,在UV映射中对应于U,默认THREE.ClampToEdgeWrapping,表示纹理边缘与网格的边缘贴合。中间部分等比缩放。还可以设置为:THREE.RepeatWrapping(重复平铺) 和 THREE.MirroredRepeatWrapping(先镜像再重复平铺)

1
2
3
texture.repeat.set(4, 4);
// 设置水平重复
texture.wrapS = THREE.RepeatWrapping;

效果图

1
2
3
texture.repeat.set(4, 4);
// 设置水平的重复方式为镜像重复
texture.wrapS = THREE.MirroredRepeatWrapping;

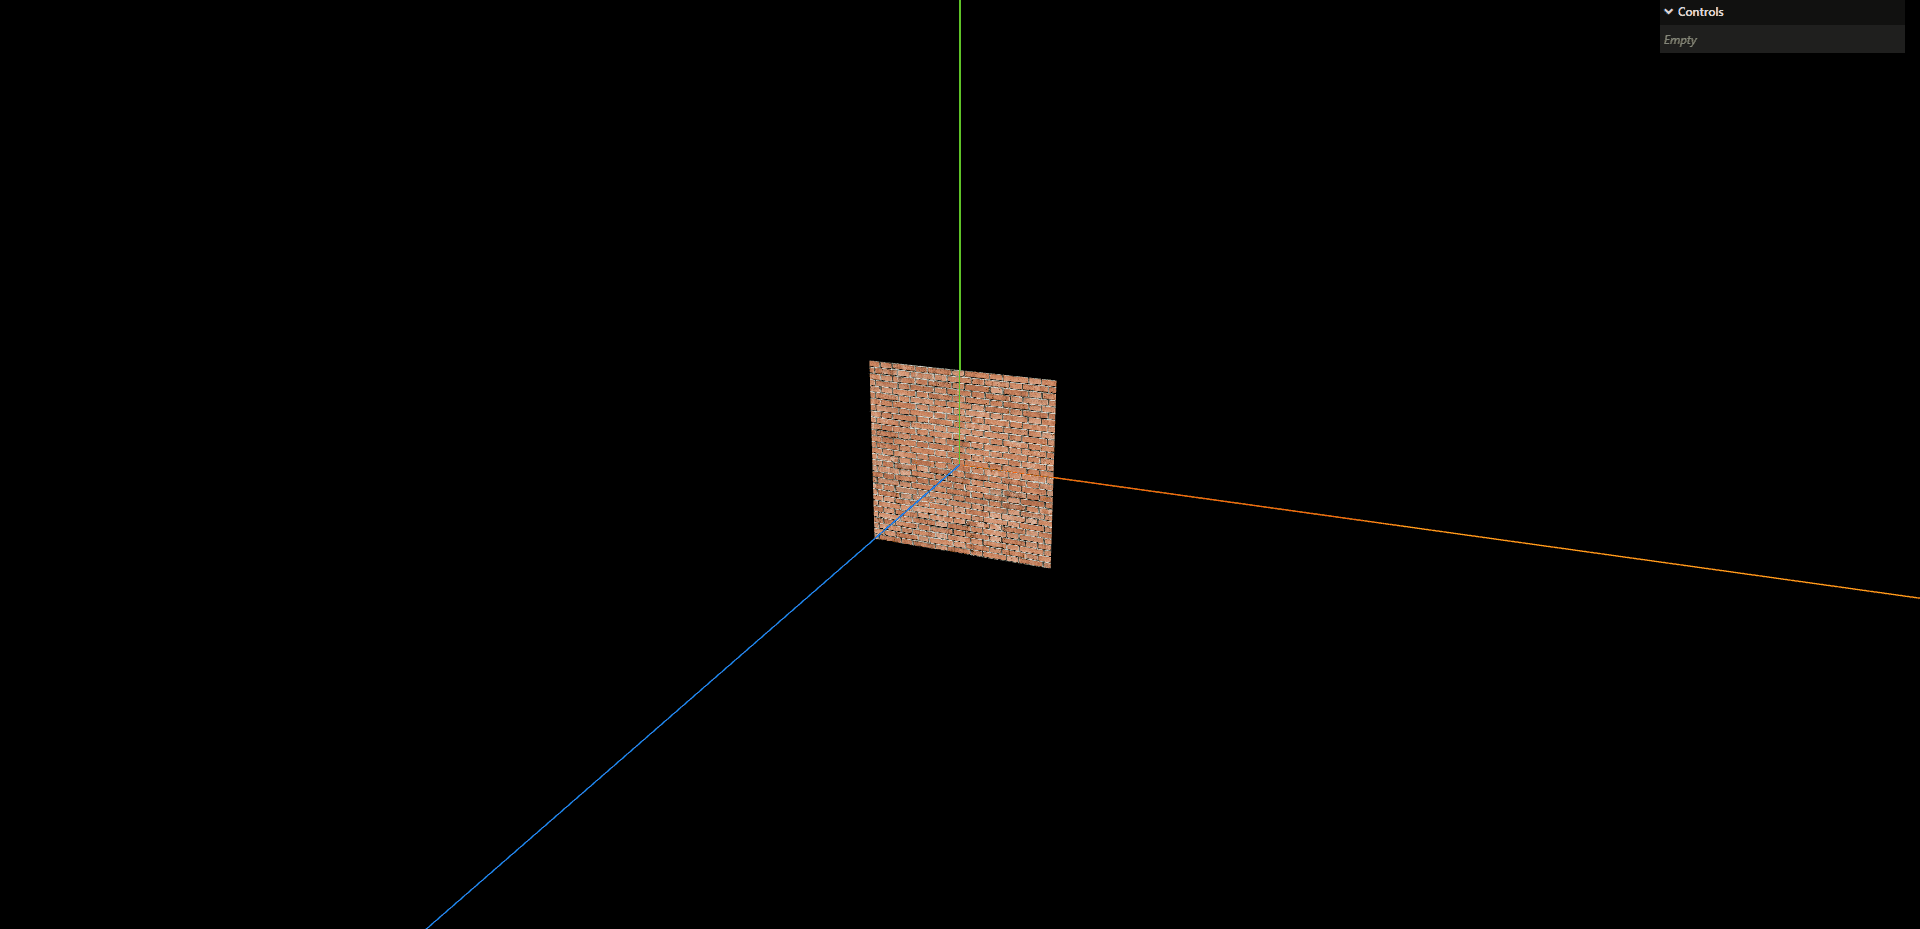
效果图

wrapT
纹理贴图在垂直方向上的包裹方式,在UV映射中对应于V,默认也是THREE.ClampToEdgeWrapping,与wrapS属性一样也可以设置为:THREE.RepeatWrapping(重复平铺) 和 THREE.MirroredRepeatWrapping(先镜像再重复平铺)

1
2
// 设置垂直重复
texture.wrapT = THREE.RepeatWrapping;

效果图

旋转

1
2
3
// 纹理旋转
texture.center.set(0.5, 0.5);
texture.rotation = Math.PI / 4;

效果图

预乘Alpha

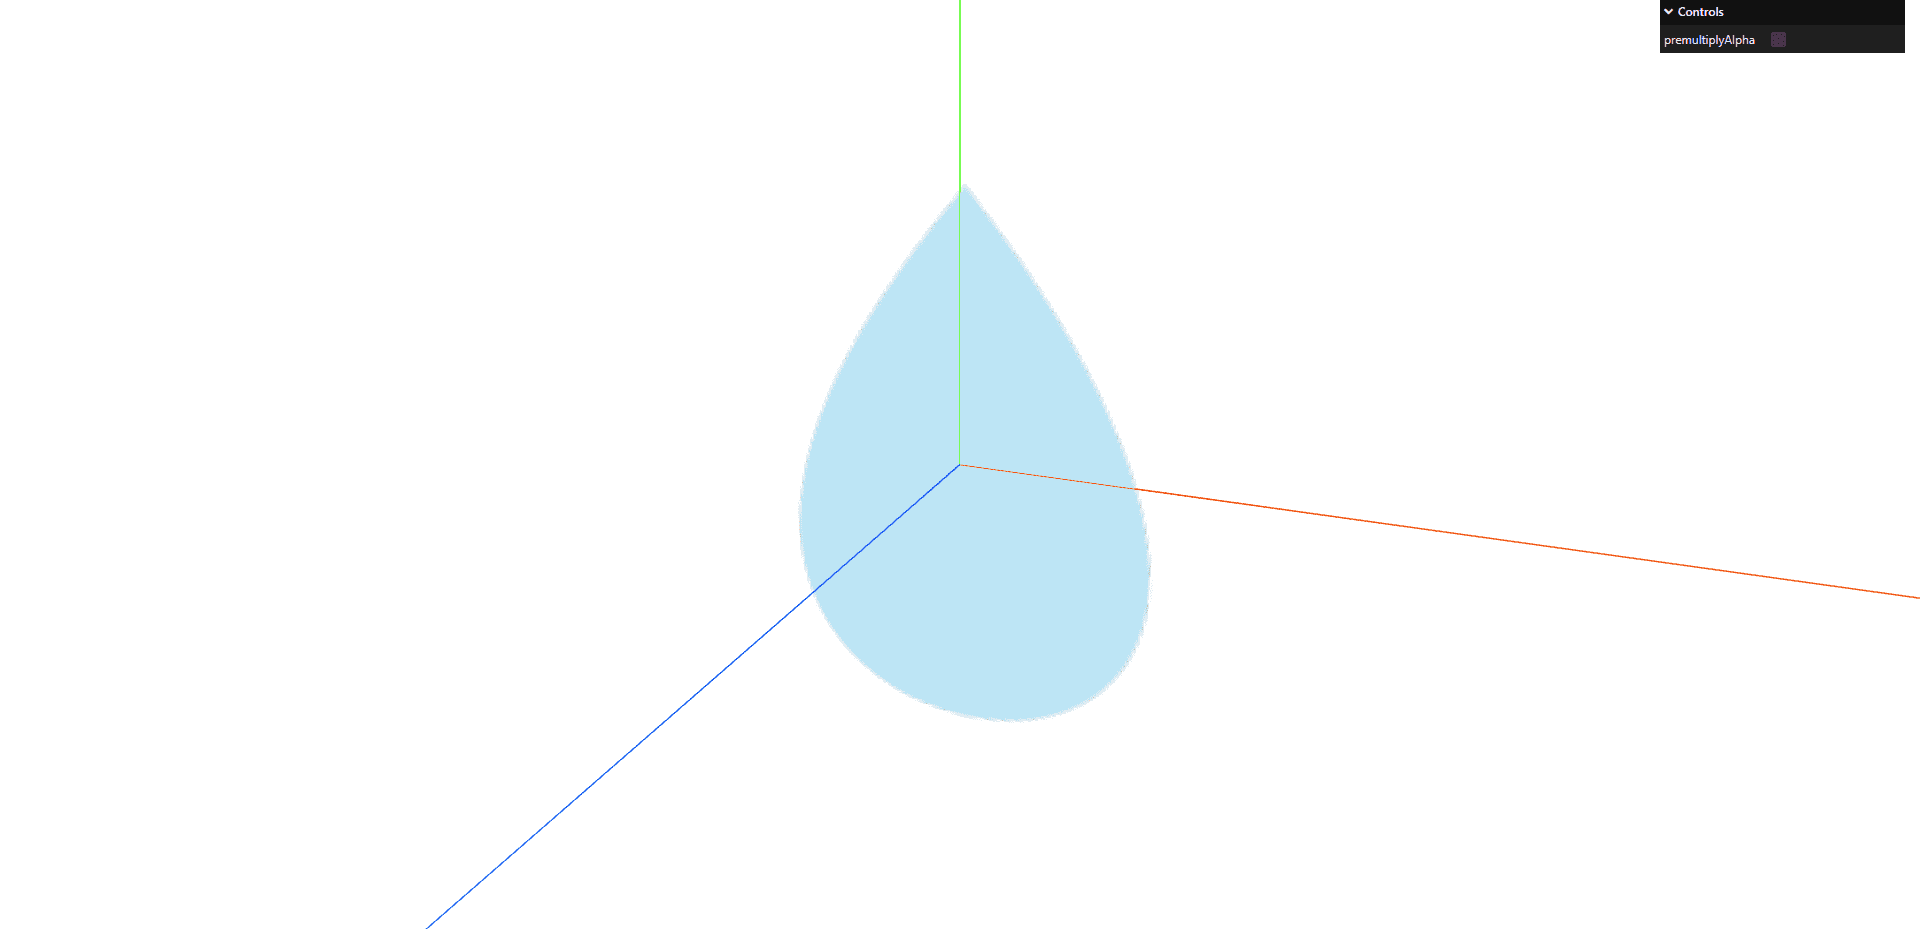
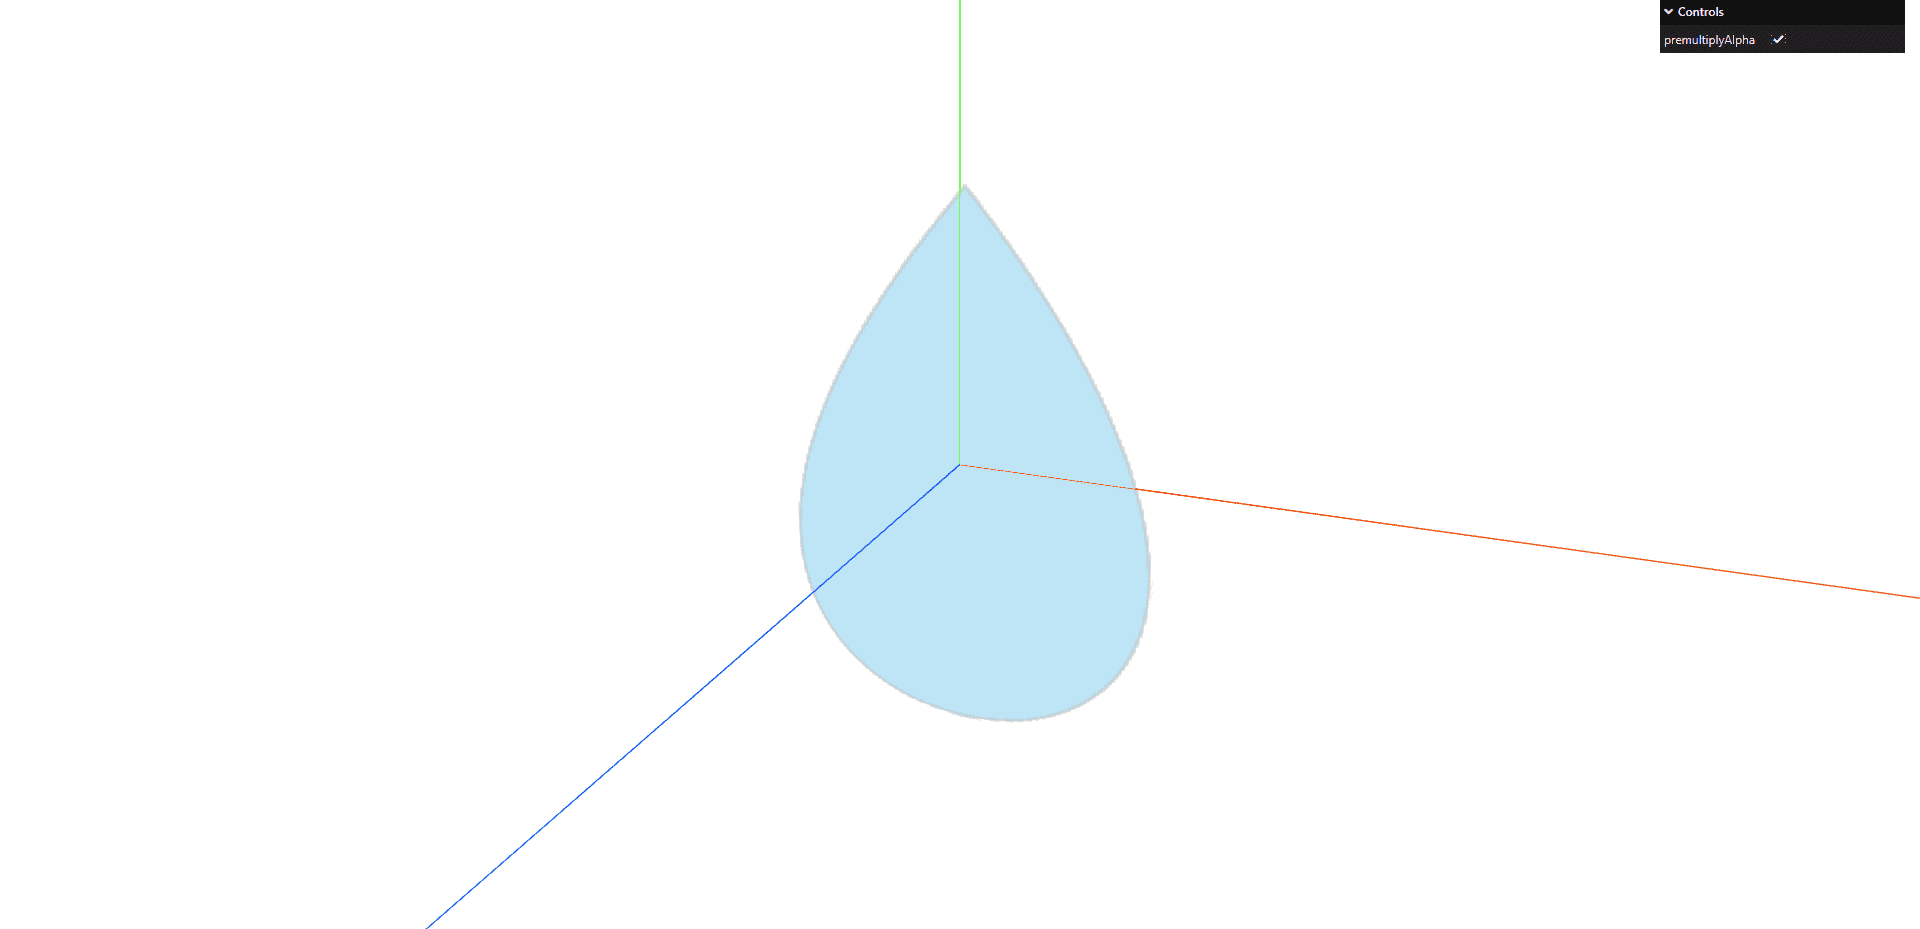
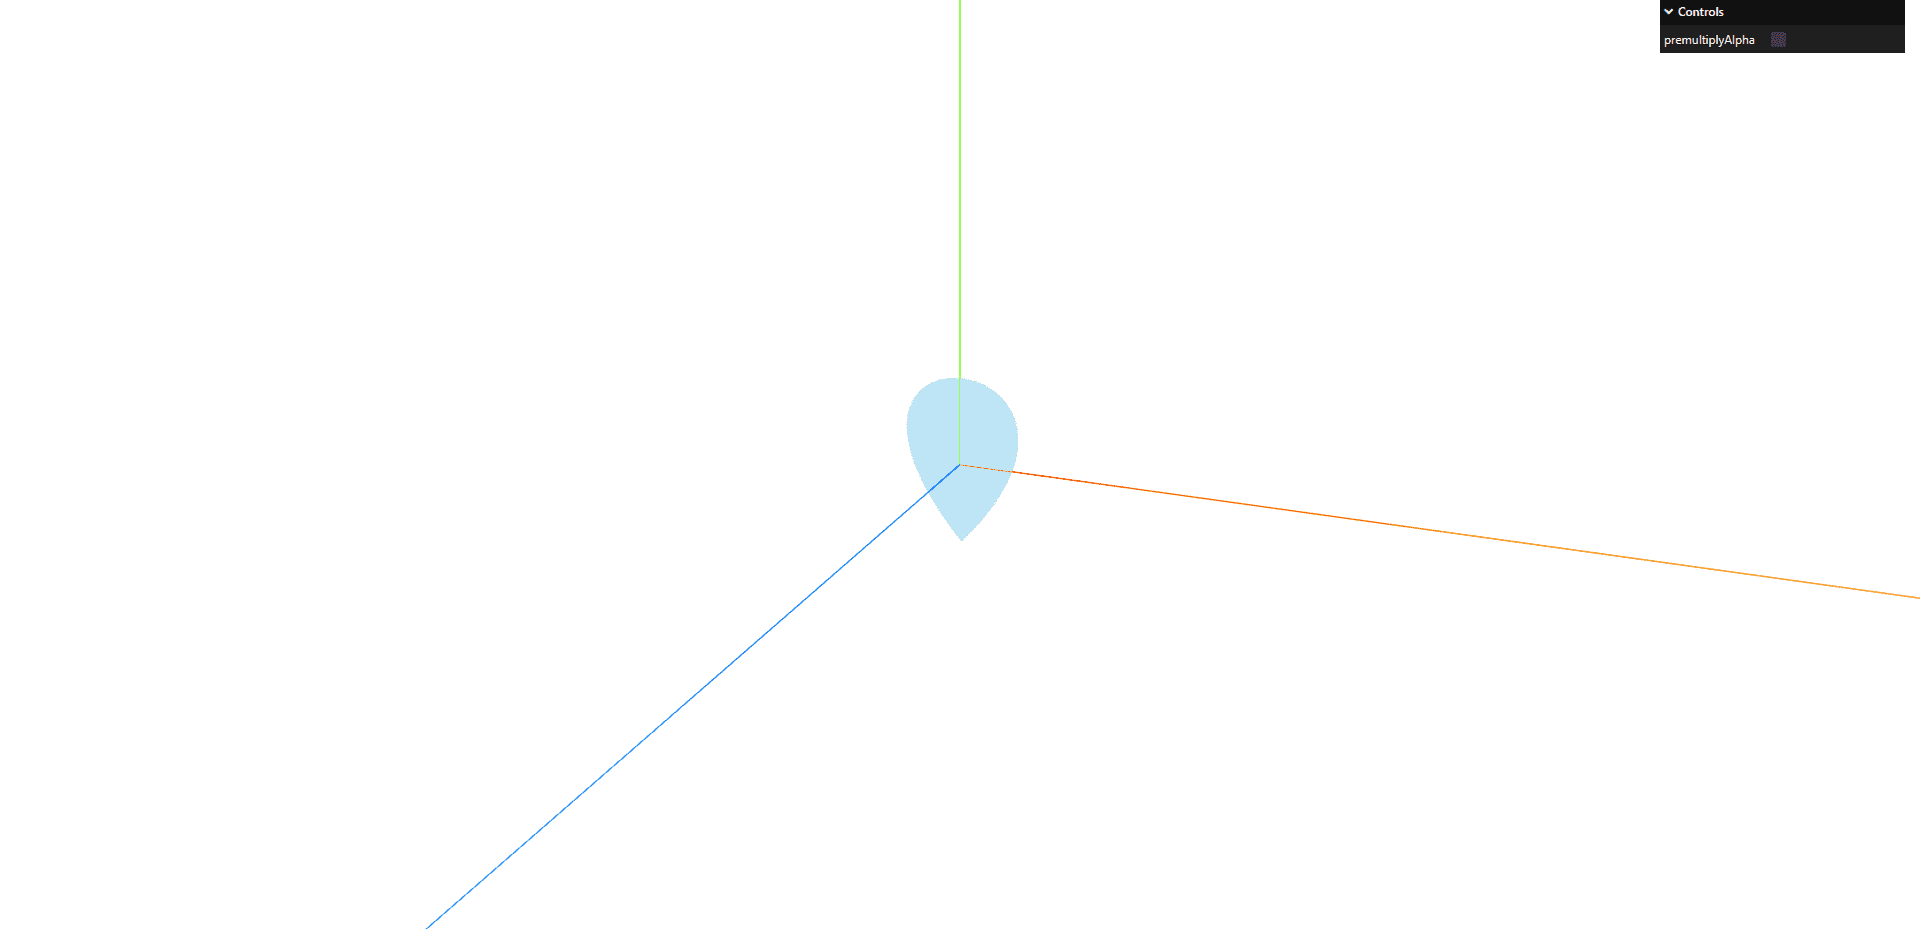
这个属性常用于透明度过渡的时候,如果有预乘,他会在透明变化的时候先乘以颜色,这样显示就会有一个border一样的效果
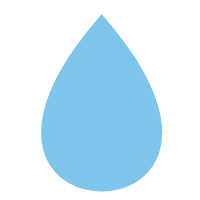
比如我们使用这样一张图片
图

1
2
3
4
5
6
7
8
9
10
11
12
13
14
15
16
17
18
19
20
21
22
23
24
25
26
// 创建GUI
const gui = new GUI();

// 创建纹理加载器
let textureLoader = new THREE.TextureLoader();
// 加载纹理
let texture = textureLoader.load("./texture/rain.png");
let planeGeometry = new THREE.PlaneGeometry(1, 1);
let planeMaterial = new THREE.MeshBasicMaterial({
color: 0xffffff,
map: texture,
// 允许透明
transparent: true,
});
let plane = new THREE.Mesh(planeGeometry, planeMaterial);
scene.add(plane);
// 场景背景
scene.background = new THREE.Color(0xffffff);

// gui 设置 premultiplyAlpha
gui
.add(texture, "premultiplyAlpha")
.name("premultiplyAlpha")
.onChange(() => {
texture.needsUpdate = true;
});

无预乘
有预乘
当然,预乘是需要耗费计算量的,如果在于没有啥需求的情况下,尽量还是不要使用

纹理翻转

我们用上面的雨滴进行翻转,这个值默认为true(因为坐标不一样)

1
texture.flipY = false;

效果图

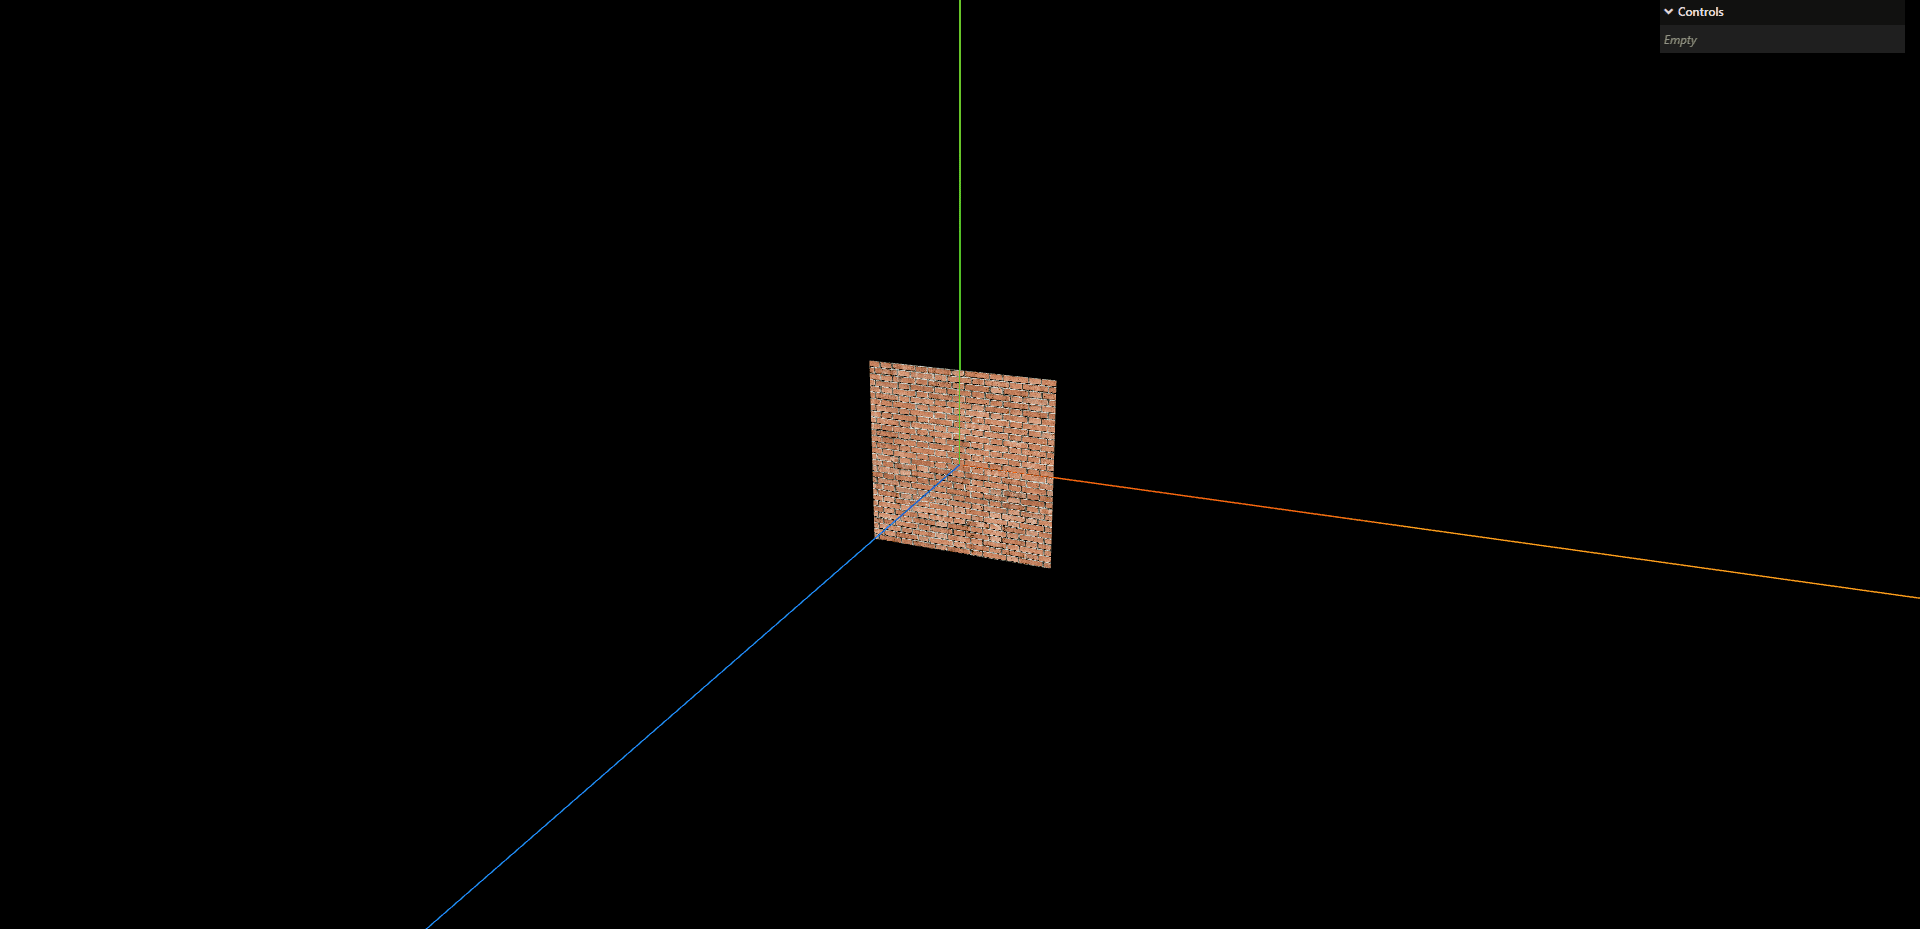
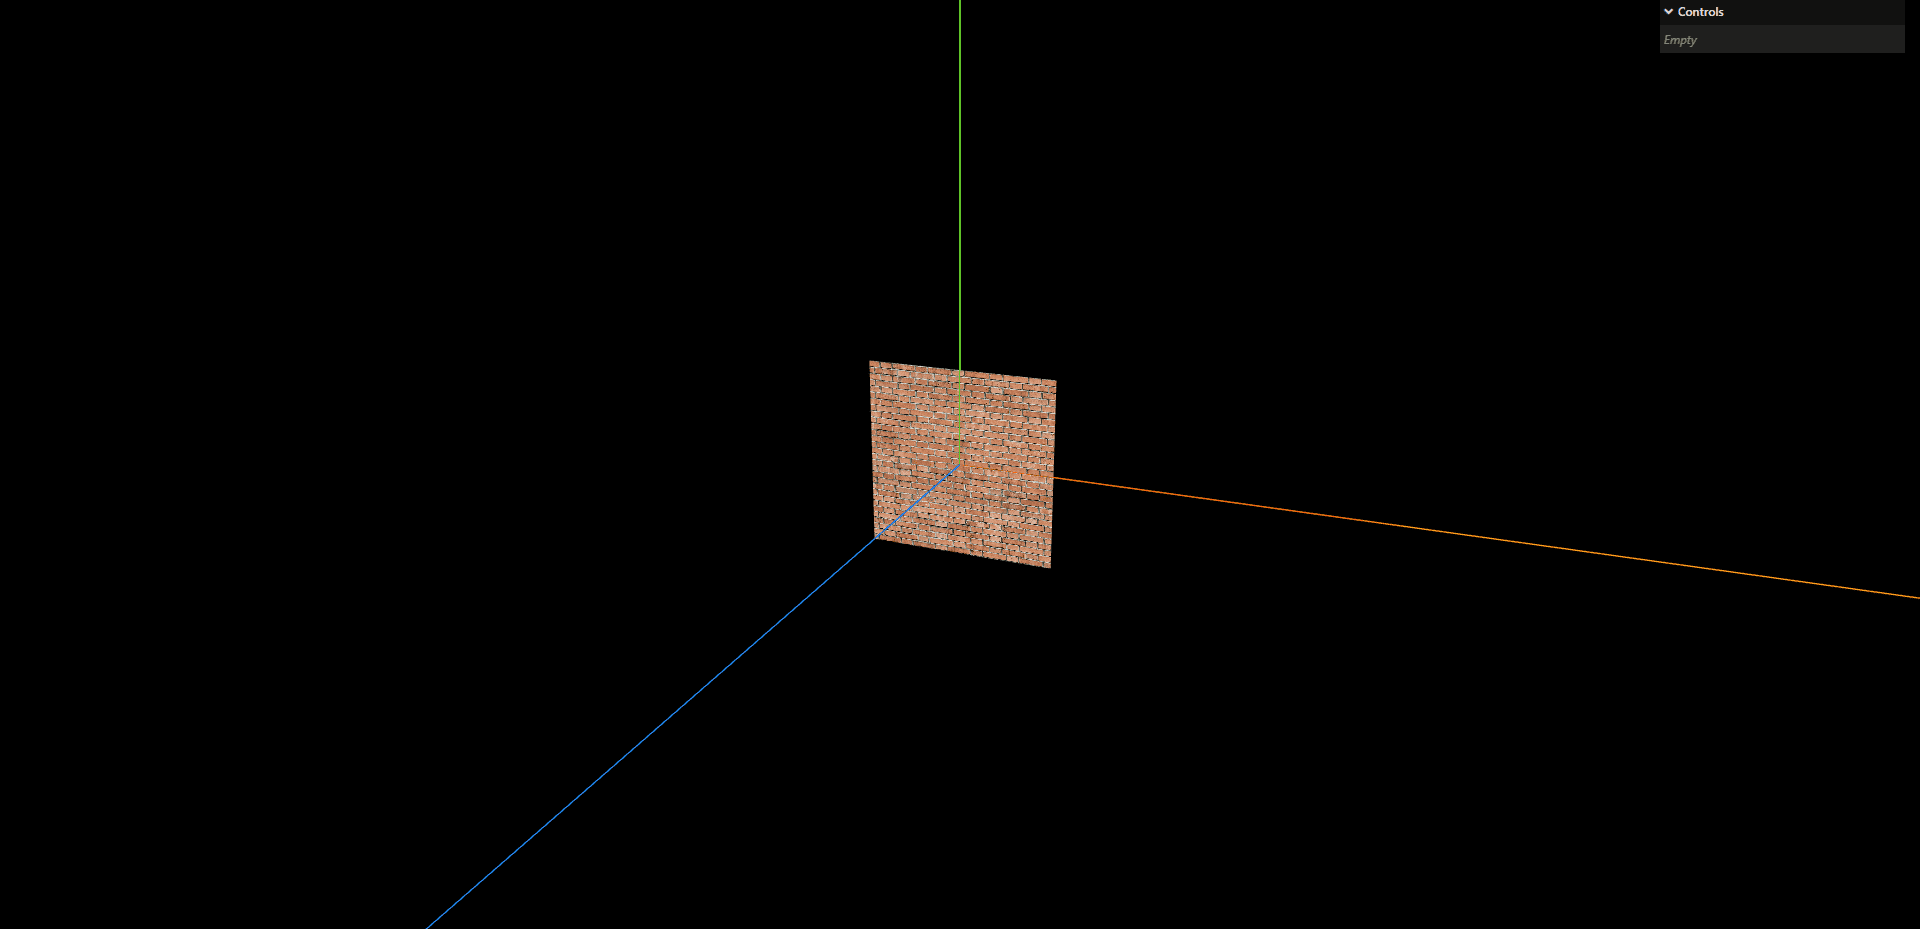
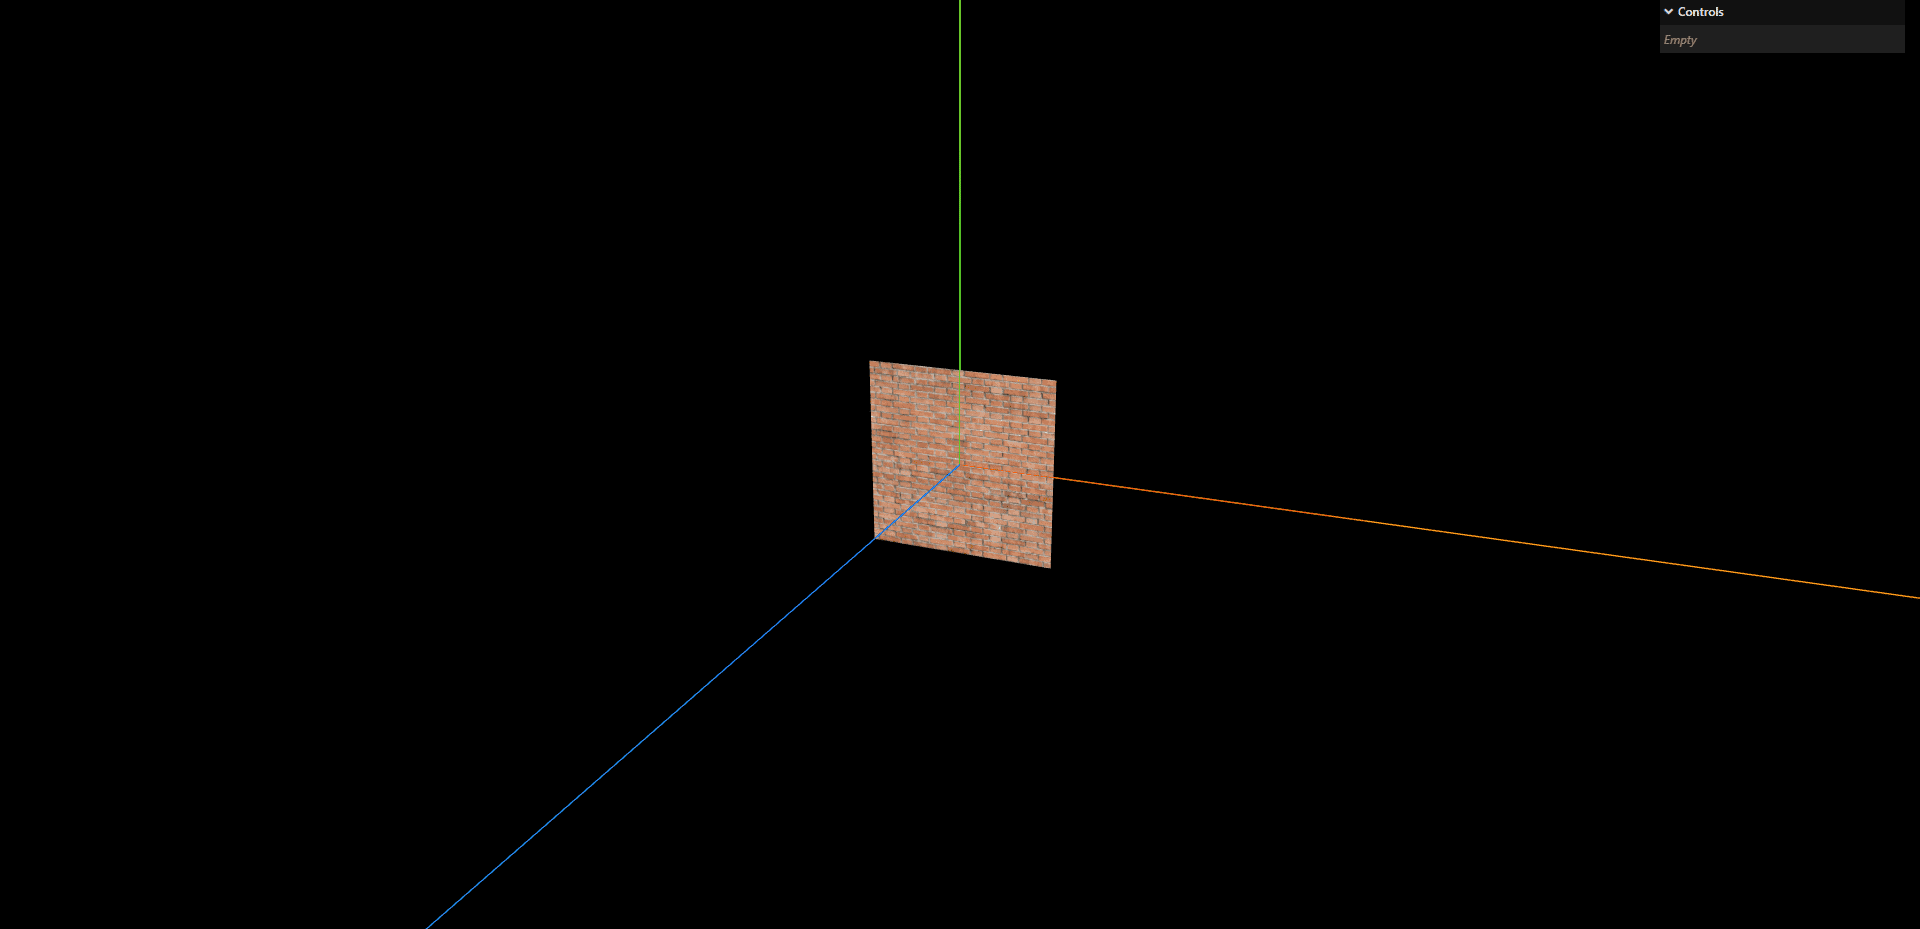
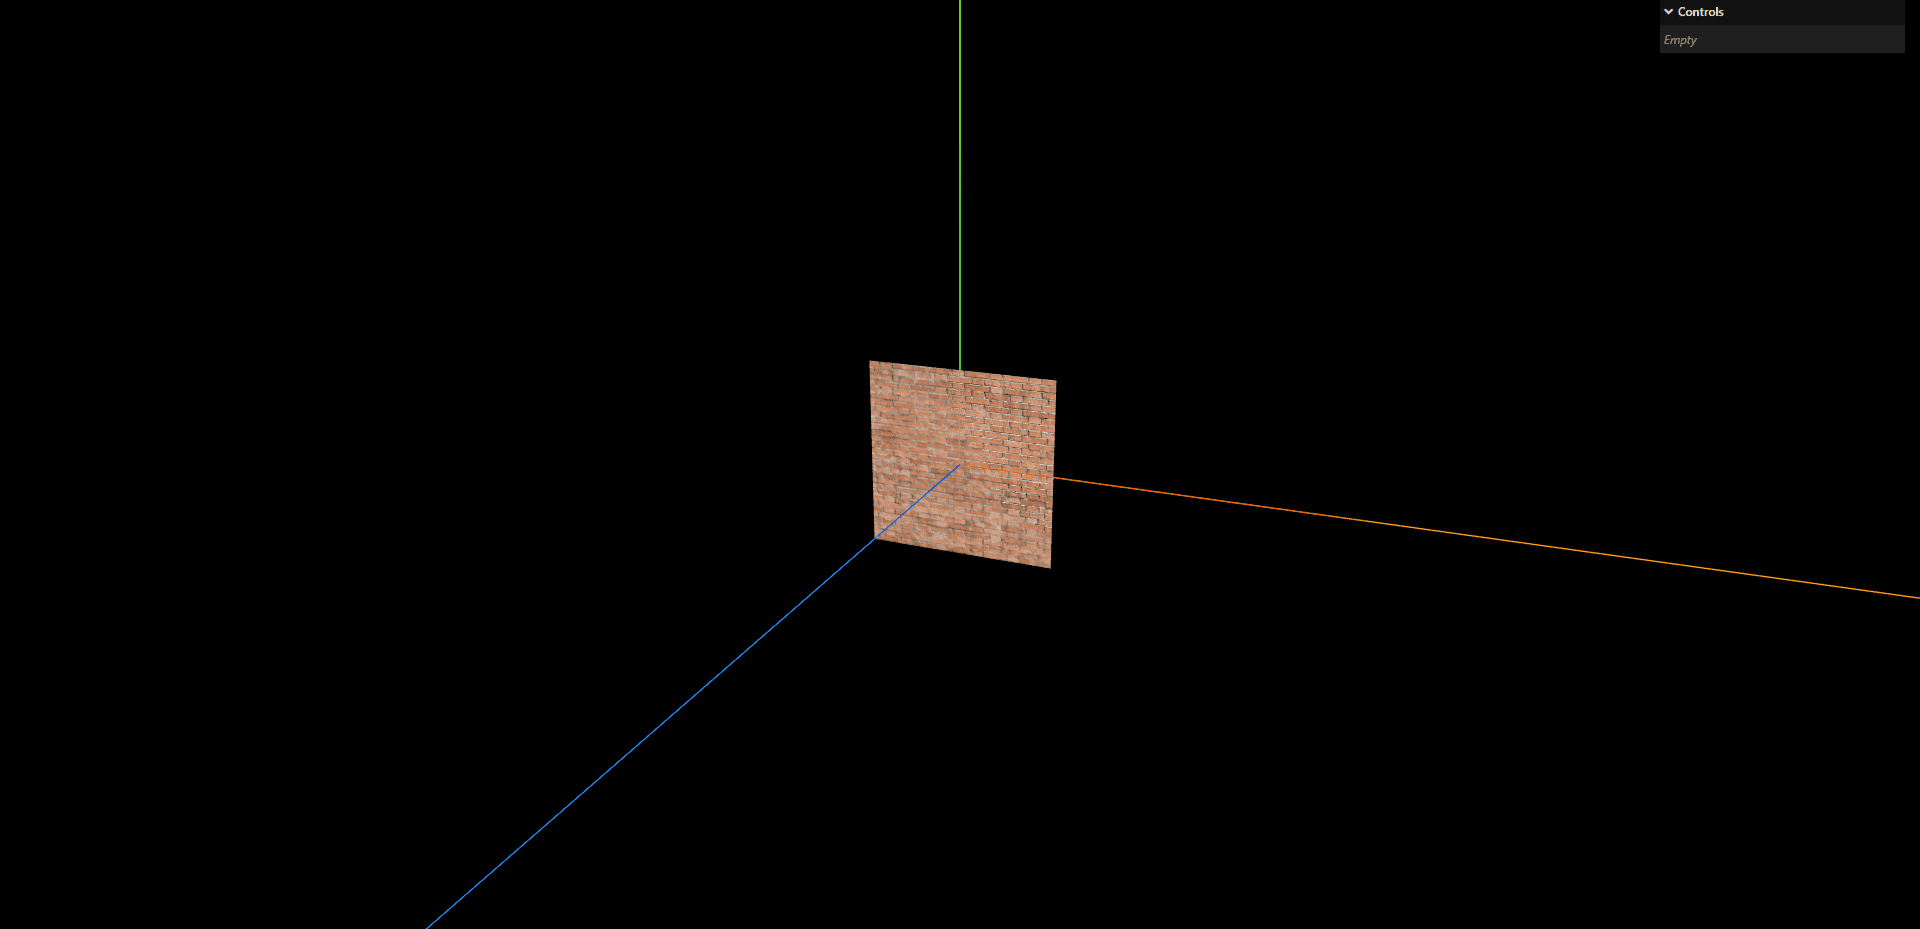
纹理显示算法

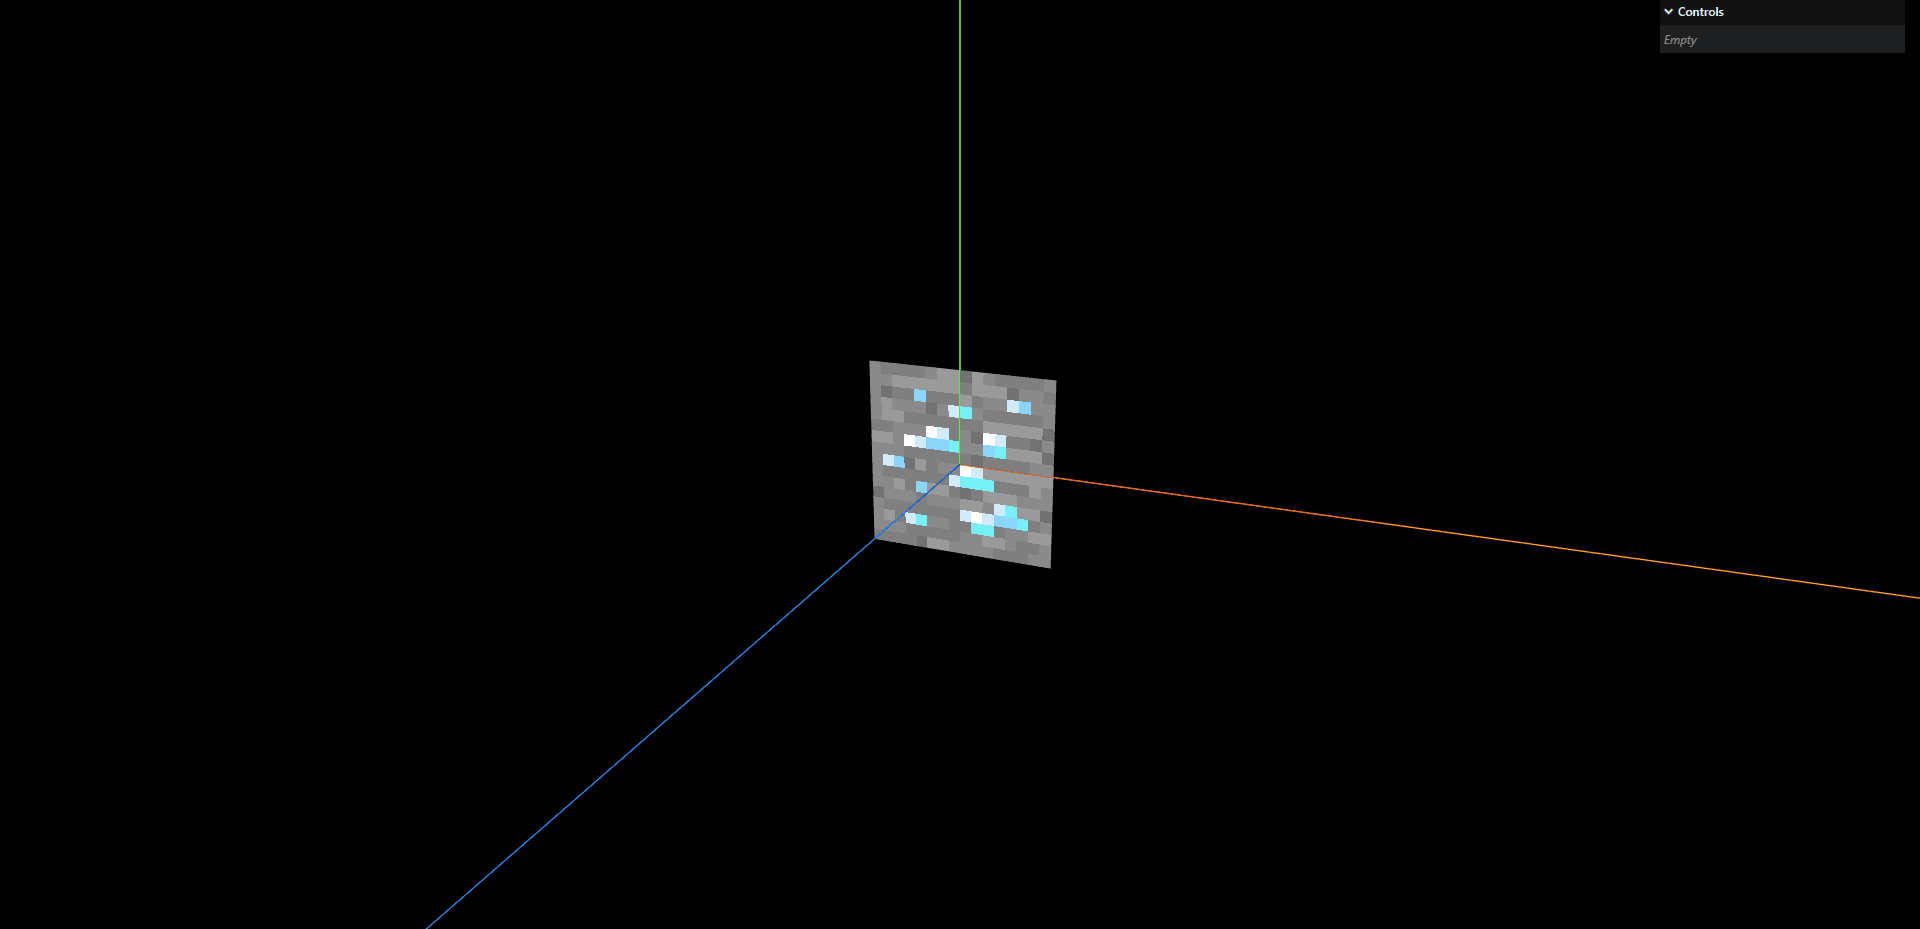
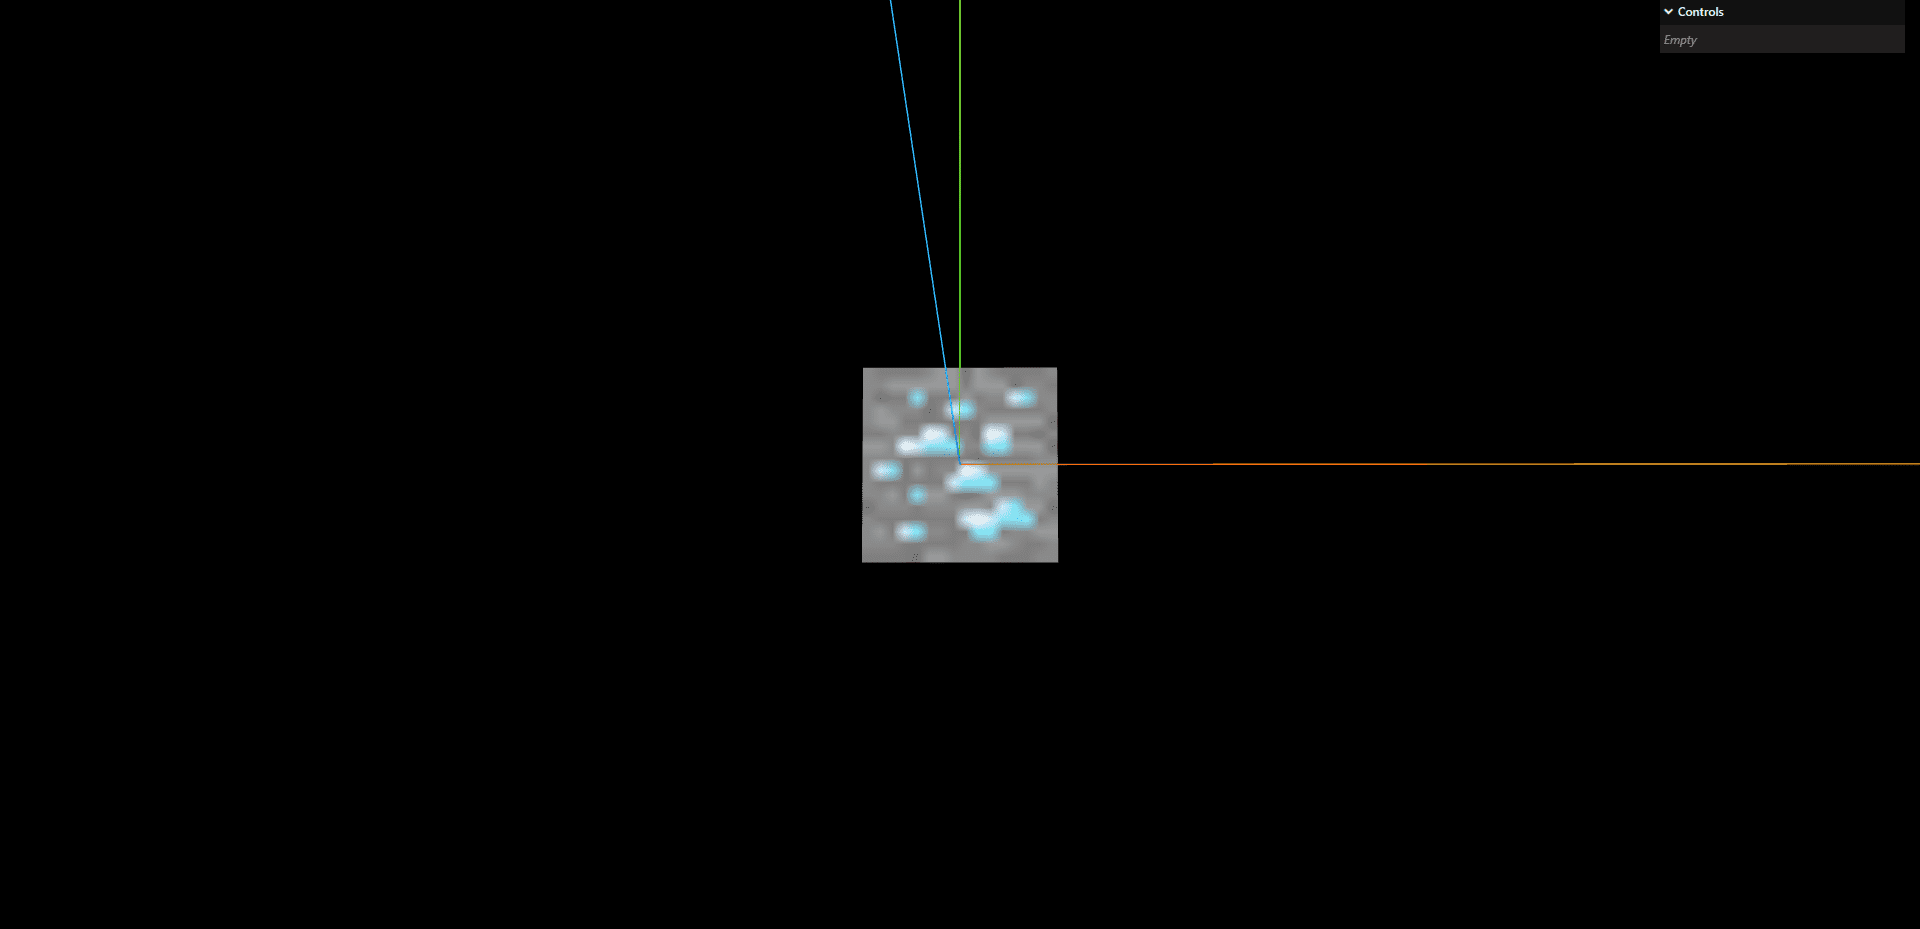
之前这个也简单提过一嘴,就是当我们把一张小图或者大图的时候,就会出现模糊的情况,这个时候我们就需要mipmap来设置

小图

默认使用的是THREE.LinearFilter

1
2
3
4
// 直接取映射到的最近的像素
texture.magFilter = THREE.NearestFilter;
// 取映射到的最近的四个像素的平均值
// texture.magFilter = THREE.LinearFilter;

已经变成了像素点
NearestFilter效果图
勉强还可以看一下,就是模糊了一点
LinearFilter效果图

大图

让我们依次看一下效果

1
texture.minFilter = THREE.NearestFilter;

NearestFilter效果图

1
texture.minFilter = THREE.LinearFilter;

LinearFilter效果图

1
texture.minFilter = THREE.LinearMipMapLinearFilter;

LinearMipMapLinearFilter效果图

1
texture.minFilter = THREE.LinearMipMapNearestFilter;

LinearMipMapNearestFilter效果图

1
texture.minFilter = THREE.NearestMipMapLinearFilter;

NearestMipMapLinearFilter效果图

1
texture.minFilter = THREE.NearestMipMapNearestFilter;

NearestMipMapNearestFilter效果图

关闭mipmap

1
texture.generateMipmaps = false;

generateMipmaps效果图

翻转模糊

我们可以看到当我们把这个贴图翻转一下,就非常的模糊了
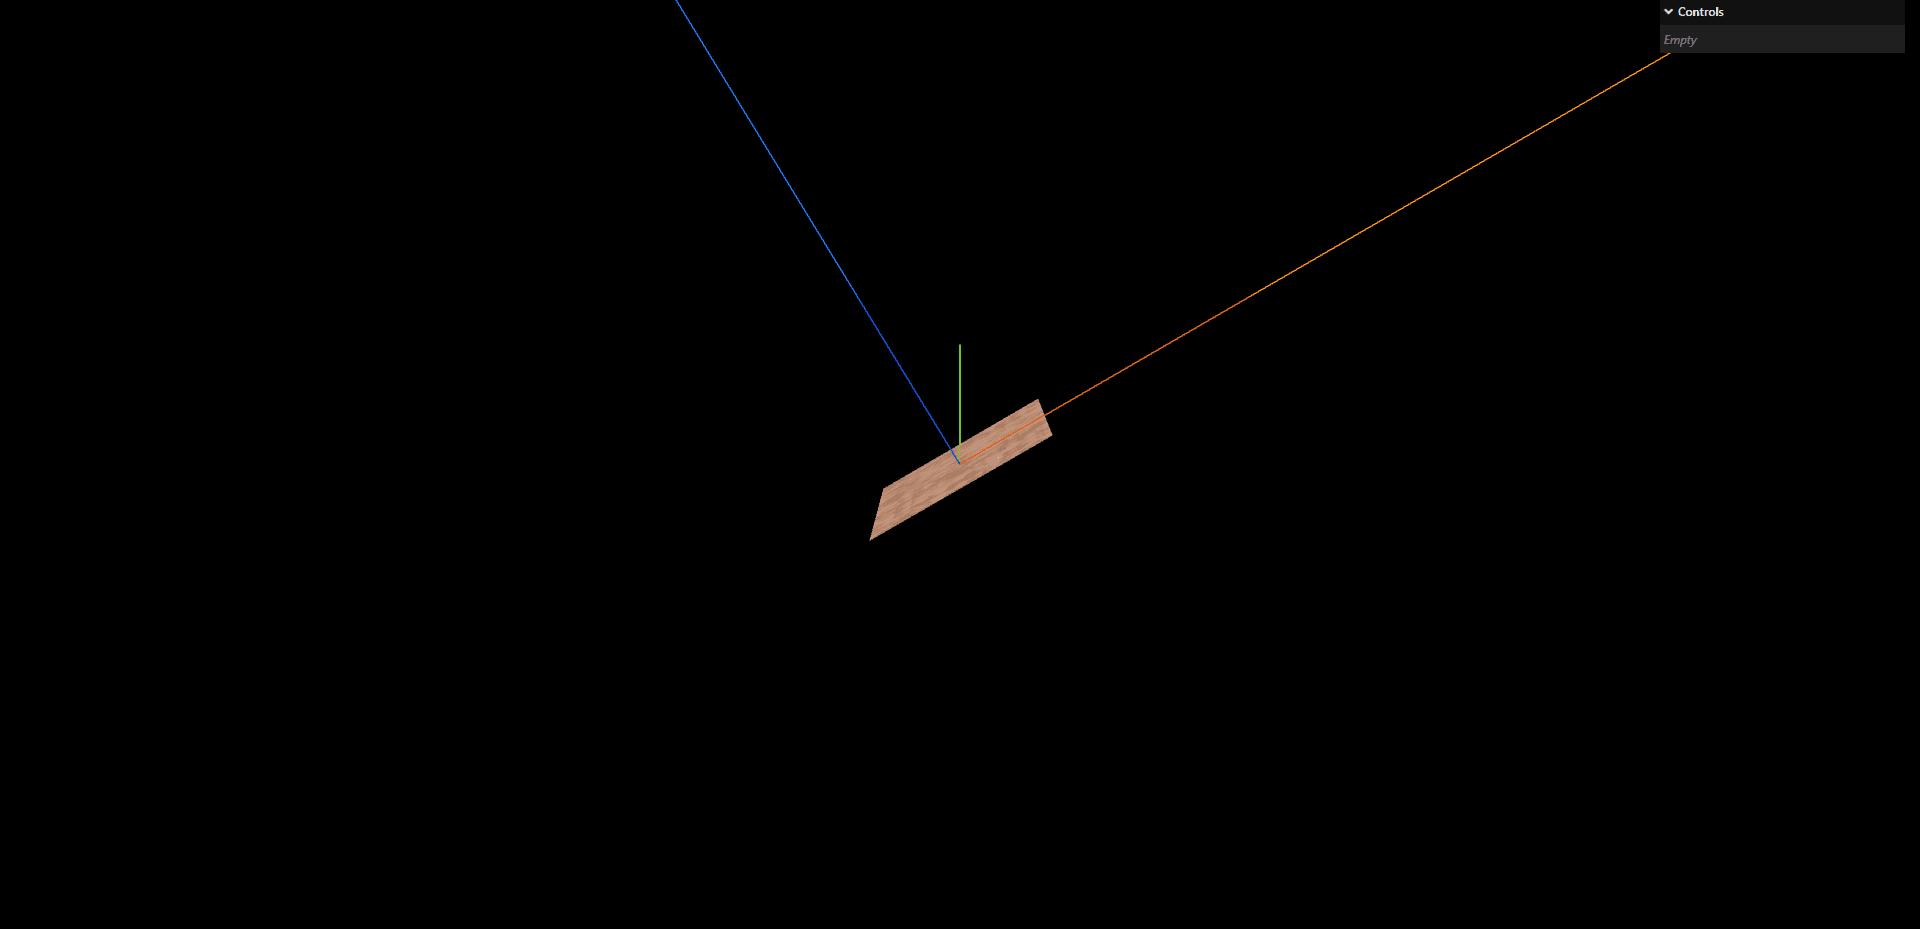
效果图
这时候我们需要各项异性来解决倾斜模糊问题

1
2
3
let maxAnisotropy = renderer.capabilities.getMaxAnisotropy();
texture.anisotropy = 4; //这个值小于maxAnisotropy即可,越大计算量越大,越清晰
console.log(maxAnisotropy);

效果图

各类纹理导入

1
2
3
4
5
6
7
8
9
10
11
12
13
14
15
16
17
18
19
20
21
22
23
24
25
26
27
28
29
30
31
32
33
34
35
36
37
38
39
40
41
42
43
44
45
46
47
48
49
50
51
52
53
54
55
56
57
58
59
60
61
62
63
64
65
66
67
68
69
70
71
72
73
74
75
76
77
78
79
80
81
82
83
84
85
86
87
88
89
90
91
92
93
94
95
96
97
98
99
100
101
102
103
104
105
106
107
108
109
110
111
112
113
114
115
116
117
118
119
120
121
122
123
124
125
126
127
128
129
130
131
132
133
134
135
136
137
138
139
140
141
142
143
144
145
146
147
148
149
150
151
152
153
154
155
156
157
158
159
160
161
162
163
164
165
166
167
168
169
170
171
172
173
174
175
176
177
178
179
180
181
182
183
184
185
186
187
// 导入threejs
import * as THREE from "three";
// 导入轨道控制器
import { OrbitControls } from "three/examples/jsm/controls/OrbitControls.js";
// 导入lil.gui
import { GUI } from "three/examples/jsm/libs/lil-gui.module.min.js";
// 导入hdr加载器
import { RGBELoader } from "three/examples/jsm/loaders/RGBELoader.js";
// 导入dds格式加载器
import { DDSLoader } from "three/examples/jsm/loaders/DDSLoader.js";
// ktx2格式加载器
import { KTX2Loader } from "three/examples/jsm/loaders/KTX2Loader.js";
// 导入tga
import { TGALoader } from "three/addons/loaders/TGALoader.js";

// 创建场景
const scene = new THREE.Scene();

// 创建相机
const camera = new THREE.PerspectiveCamera(
45, // 视角
window.innerWidth / window.innerHeight, // 宽高比
0.1, // 近平面
1000 // 远平面
);

// 创建渲染器
const renderer = new THREE.WebGLRenderer({
antialias: true, // 抗锯齿
});
renderer.setSize(window.innerWidth, window.innerHeight);
document.body.appendChild(renderer.domElement);

// 设置相机位置
camera.position.z = 5;
camera.position.y = 2;
camera.position.x = 2;
camera.lookAt(0, 0, 0);

// 添加世界坐标辅助器
const axesHelper = new THREE.AxesHelper(5);
scene.add(axesHelper);

// 添加轨道控制器
const controls = new OrbitControls(camera, renderer.domElement);
// 设置带阻尼的惯性
controls.enableDamping = true;
// 设置阻尼系数
controls.dampingFactor = 0.05;
// 设置旋转速度
// controls.autoRotate = true;

// 渲染函数
function animate() {
controls.update();
requestAnimationFrame(animate);
// 渲染
renderer.render(scene, camera);
}
animate();

// 监听窗口变化
window.addEventListener("resize", () => {
// 重置渲染器宽高比
renderer.setSize(window.innerWidth, window.innerHeight);
// 重置相机宽高比
camera.aspect = window.innerWidth / window.innerHeight;
// 更新相机投影矩阵
camera.updateProjectionMatrix();
});

let params = {};

// 创建GUI
const gui = new GUI();

// 创建纹理加载器
let textureLoader = new THREE.TextureLoader();
// 加载纹理
// let texture = textureLoader.load("./texture/filter/minecraft.png");
let texture = textureLoader.load("./texture/brick/brick_diffuse.jpg");
// let texture = textureLoader.load("./texture/rain.png");
let planeGeometry = new THREE.PlaneGeometry(1, 1);
let planeMaterial = new THREE.MeshBasicMaterial({
color: 0xffffff,
map: texture,
// 允许透明
transparent: true,
});
// planeMaterial.map = texture;
let plane = new THREE.Mesh(planeGeometry, planeMaterial);
scene.add(plane);

// texture.flipY = false;
// texture.flipY = true;

texture.colorSpace = THREE.SRGBColorSpace;
// 场景背景
// scene.background = new THREE.Color(0xffffff);
// 直接取映射到的最近的像素
// texture.magFilter = THREE.NearestFilter;
// 取映射到的最近的四个像素的平均值
// texture.magFilter = THREE.LinearFilter;

// texture.minFilter = THREE.NearestFilter;
// texture.minFilter = THREE.LinearFilter;
texture.minFilter = THREE.LinearMipMapLinearFilter;
// texture.minFilter = THREE.LinearMipMapNearestFilter;
// texture.minFilter = THREE.NearestMipMapLinearFilter;
// texture.minFilter = THREE.NearestMipMapNearestFilter;

// texture.generateMipmaps = false;

// 获取各项异性的最大值
let maxAnisotropy = renderer.capabilities.getMaxAnisotropy();
texture.anisotropy = 4;
console.log(maxAnisotropy);

// jpg/png纹理加载
// textureLoader.load(
// "./texture/opt/env/Alex_Hart-Nature_Lab_Bones_2k.jpg",
// (texture) => {
// texture.mapping = THREE.EquirectangularReflectionMapping;
// console.log("jpg/png", texture);
// scene.background = texture;
// scene.environment = texture;
// plane.material.map = texture;
// texture.magFilter = THREE.LinearFilter;
// texture.minFilter = THREE.LinearMipMapLinearFilter;
// texture.anisotropy = 16;
// }
// );

// ktx2加载器;
// let ktx2Loader = new KTX2Loader()
// .setTranscoderPath("basis/")
// .detectSupport(renderer);
// let ktx2Texture = ktx2Loader.load(
// "./texture/opt/ktx2/Alex_Hart-Nature_Lab_Bones_2k_uastc-mip-triangle.ktx2",
// (texture) => {
// console.log("ktx2", texture);
// texture.mapping = THREE.EquirectangularReflectionMapping;
// // texture.magFilter = THREE.LinearFilter;
// // texture.minFilter = THREE.LinearMipMapLinearFilter;
// texture.anisotropy = 16;
// // 不起效果texture.flipY = true;
// texture.needsUpdate = true;
// scene.background = texture;
// scene.environment = texture;
// plane.material.map = texture;
// }
// );

// dds加载器
// let ddsLoader = new DDSLoader();
// let ddsTexture = ddsLoader.load(
// "./texture/opt/env/Alex_Hart-Nature_Lab_Bones_2k_bc3_nomip.dds",
// (texture) => {
// console.log("dds", texture);
// texture.mapping = THREE.EquirectangularReflectionMapping;
// texture.flipY = true;
// texture.needsUpdate = true;
// scene.background = texture;
// scene.environment = texture;
// plane.material.map = texture;
// texture.center = new THREE.Vector2(0.5, 0.5);
// texture.rotation = Math.PI;
// texture.magFilter = THREE.LinearFilter;
// texture.minFilter = THREE.LinearMipMapLinearFilter;
// texture.anisotropy = 16;
// }
// );

// Alex_Hart - Nature_Lab_Bones_2k_bc7.tga;
// tga加载纹理;
// let tgaLoader = new TGALoader();
// tgaLoader.load(
// "./texture/opt/env/Alex_Hart-Nature_Lab_Bones_2k-mipmap.tga",
// (texture) => {
// texture.mapping = THREE.EquirectangularReflectionMapping;
// console.log("tga", texture);
// scene.background = texture;
// scene.environment = texture;
// plane.material.map = texture;
// }
// );

不同的纹理图大小和展示细节都是不一样的,纹理图的转化可以使用
nvidia-texture-tools工具

背景色调映射

仅有动态范围的图片生效,如hdr等。

1
2
3
4
5
6
7
8
9
10
11
12
13
14
15
16
17
18
19
20
21
22
23
24
25
26
27
28
29
30
31
// ktx2加载器;
let ktx2Loader = new KTX2Loader()
.setTranscoderPath("basis/")
.detectSupport(renderer);
let ktx2Texture = ktx2Loader.load(
"./texture/opt/memorial/Alex_Hart-Nature_Lab_Bones_2k_uastc_flipY_nomipmap.ktx2",
(texture) => {
console.log("ktx2", texture);
texture.mapping = THREE.EquirectangularReflectionMapping;
scene.background = texture;
scene.environment = texture;
plane.material.map = texture;
}
);
// 设置色调映射
renderer.toneMapping = THREE.ACESFilmicToneMapping;
// 设置色调映射曝光度
renderer.toneMappingExposure = 1;
gui.add(renderer, "toneMapping", {
// 无色调映射
No: THREE.NoToneMapping,
// 线性色调映射
Linear: THREE.LinearToneMapping,
// Reinhard色调映射。这是一种更复杂的色调映射方式,可以更好地处理高亮度的区域。它根据整个图像的平均亮度来调整每个像素的亮度。
Reinhard: THREE.ReinhardToneMapping,
// Cineon色调映射。这种方法起源于电影行业,尝试模仿电影胶片的颜色响应,使得图像在颜色上看起来更富有电影感。
Cineon: THREE.CineonToneMapping,
// ACES Filmic色调映射。这是一种模仿电影行业中常用的色调映射算法,可以产生类似于电影的视觉效果。
ACESFilmic: THREE.ACESFilmicToneMapping,
});
gui.add(renderer, "toneMappingExposure", 0, 3, 0.1);

通过以下视频可以查看不同的效果

exr-tif-png动态范围图片

如果我们使用的是exr,tif,png图片,那么就会让背景也跟着变化

1
2
3
4
5
6
7
8
9
10
11
12
13
14
15
16
17
18
19
20
21
22
23
24
25
26
27
28
29
30
31
32
33
34
35
36
37
38
39
40
41
42
43
44
45
// exrLoader 加载贴图
// let exrLoader = new EXRLoader();
// exrLoader.load(
// "./texture/opt/memorial/Alex_Hart-Nature_Lab_Bones_2k.exr",
// (texture) => {
// console.log("exr", texture);
// texture.mapping = THREE.EquirectangularReflectionMapping;
// scene.background = texture;
// scene.environment = texture;
// plane.material.map = texture;
// }
// );

// tif logLuv 加载贴图
// let logLuvLoader = new LogLuvLoader();
// logLuvLoader.load("./texture/opt/memorial/memorial.tif", (texture) => {
// console.log("exr", texture);
// // texture.mapping = THREE.EquirectangularReflectionMapping;
// scene.background = texture;
// scene.environment = texture;
// plane.material.map = texture;
// });
let rgbmLoader = new RGBMLoader();
rgbmLoader.load("./texture/opt/memorial/memorial.png", (texture) => {
scene.background = texture;
scene.environment = texture;
plane.material.map = texture;
});
// 设置色调映射
renderer.toneMapping = THREE.ACESFilmicToneMapping;
// 设置色调映射曝光度
renderer.toneMappingExposure = 1;
gui.add(renderer, "toneMapping", {
// 无色调映射
No: THREE.NoToneMapping,
// 线性色调映射
Linear: THREE.LinearToneMapping,
// Reinhard色调映射。这是一种更复杂的色调映射方式,可以更好地处理高亮度的区域。它根据整个图像的平均亮度来调整每个像素的亮度。
Reinhard: THREE.ReinhardToneMapping,
// Cineon色调映射。这种方法起源于电影行业,尝试模仿电影胶片的颜色响应,使得图像在颜色上看起来更富有电影感。
Cineon: THREE.CineonToneMapping,
// ACES Filmic色调映射。这是一种模仿电影行业中常用的色调映射算法,可以产生类似于电影的视觉效果。
ACESFilmic: THREE.ACESFilmicToneMapping,
});
gui.add(renderer, "toneMappingExposure", 0, 3, 0.1);

深度模式_深度写入_深度检测

先丢个代码

1
2
3
4
5
6
7
8
9
10
11
12
13
14
15
16
17
18
19
20
21
22
23
24
25
26
27
28
29
30
31
32
33
34
35
36
37
38
39
40
41
42
43
44
45
46
47
48
49
50
51
52
53
54
55
56
57
58
59
60
61
62
63
64
65
66
67
68
69
70
71
72
73
74
75
76
77
78
79
80
81
82
83
84
85
86
87
88
89
90
91
92
93
94
95
96
97
98
99
100
101
102
103
104
105
106
107
108
109
110
111
112
113
114
115
116
117
118
119
120
121
122
123
124
125
126
127
128
129
130
131
132
133
134
135
136
137
138
139
140
141
142
143
144
145
146
147
148
149
150
151
152
153
154
155
156
157
158
159
160
161
162
163
164
165
166
167
168
169
170
171
172
173
174
175
176
177
178
179
180
181
182
183
184
185
186
187
// 导入threejs
import * as THREE from "three";
// 导入轨道控制器
import { OrbitControls } from "three/examples/jsm/controls/OrbitControls.js";
// 导入lil.gui
import { GUI } from "three/examples/jsm/libs/lil-gui.module.min.js";
// 导入hdr加载器
import { RGBELoader } from "three/examples/jsm/loaders/RGBELoader.js";
// 导入gltf加载器
import { GLTFLoader } from "three/examples/jsm/loaders/GLTFLoader.js";
// 导入draco解码器
import { DRACOLoader } from "three/examples/jsm/loaders/DRACOLoader.js";
// 创建场景
const scene = new THREE.Scene();

// 创建相机
const camera = new THREE.PerspectiveCamera(
45, // 视角
window.innerWidth / window.innerHeight, // 宽高比
0.1, // 近平面
1000 // 远平面
);

// 创建渲染器
const renderer = new THREE.WebGLRenderer({
antialias: true, // 开启抗锯齿
});
renderer.shadowMap.enabled = true;
renderer.setSize(window.innerWidth, window.innerHeight);
document.body.appendChild(renderer.domElement);

// 设置相机位置
camera.position.z = 15;
// camera.position.y = 2;
// camera.position.x = 2;
camera.lookAt(0, 0, 0);

// 添加世界坐标辅助器
const axesHelper = new THREE.AxesHelper(5);
// scene.add(axesHelper);

// 添加轨道控制器
const controls = new OrbitControls(camera, renderer.domElement);
// 设置带阻尼的惯性
controls.enableDamping = true;
// 设置阻尼系数
controls.dampingFactor = 0.05;
// 设置旋转速度
// controls.autoRotate = true;

// 渲染函数
function animate() {
controls.update();
requestAnimationFrame(animate);
// 渲染
renderer.render(scene, camera);
}
animate();

// 监听窗口变化
window.addEventListener("resize", () => {
// 重置渲染器宽高比
renderer.setSize(window.innerWidth, window.innerHeight);
// 重置相机宽高比
camera.aspect = window.innerWidth / window.innerHeight;
// 更新相机投影矩阵
camera.updateProjectionMatrix();
});

let eventObj = {
Fullscreen: function () {
// 全屏
document.body.requestFullscreen();
console.log("全屏");
},
ExitFullscreen: function () {
document.exitFullscreen();
console.log("退出全屏");
},
};

// rgbeLoader 加载hdr贴图
let rgbeLoader = new RGBELoader();
rgbeLoader.load(
"./texture/opt/memorial/Alex_Hart-Nature_Lab_Bones_2k.hdr",
(envMap) => {
// 设置球形贴图
envMap.mapping = THREE.EquirectangularReflectionMapping;
// 设置环境贴图
scene.background = envMap;
// 设置环境贴图
scene.environment = envMap;
// plane.material.map = envMap;
}
);

// 创建GUI
const gui = new GUI();

// 创建平面
const planeGeometry = new THREE.PlaneGeometry(10, 10);
const planeMaterial = new THREE.MeshBasicMaterial({
// map: new THREE.TextureLoader().load("./texture/brick/brick_diffuse.jpg"),
map: new THREE.TextureLoader().load("./texture/sprite0.png"),
side: THREE.DoubleSide,
});
const plane = new THREE.Mesh(planeGeometry, planeMaterial);
plane.renderOrder = 0;
scene.add(plane);
// 创建平面2
const planeGeometry1 = new THREE.PlaneGeometry(10, 10);
const planeMaterial1 = new THREE.MeshBasicMaterial({
map: new THREE.TextureLoader().load("./texture/lensflare0_alpha.png"),
side: THREE.DoubleSide,
});
const plane1 = new THREE.Mesh(planeGeometry1, planeMaterial1);
plane1.position.z = 3;
plane1.renderOrder = 0;
scene.add(plane1);

// 设置2个材质为透明
plane.material.transparent = true;
plane1.material.transparent = true;

// 设置深度模式
plane.material.depthFunc = THREE.LessEqualDepth;
plane.material.depthWrite = true;
plane.material.depthTest = true;
plane1.material.depthFunc = THREE.LessEqualDepth;
plane1.material.depthWrite = true;
plane1.material.depthTest = true;

// gui
const gui1 = gui.addFolder("plane");
gui1
.add(plane.material, "depthFunc", {
"THREE.NeverDepth": THREE.NeverDepth,
"THREE.AlwaysDepth": THREE.AlwaysDepth,
"THREE.LessDepth": THREE.LessDepth,
"THREE.LessEqualDepth": THREE.LessEqualDepth,
"THREE.GreaterEqualDepth": THREE.GreaterEqualDepth,
"THREE.GreaterDepth": THREE.GreaterDepth,
"THREE.NotEqualDepth": THREE.NotEqualDepth,
})
.name("深度模式");
gui1
.add(plane.material, "depthWrite")
.name("深度写入")
.onChange(() => {
plane.material.needsUpdate = true;
});
gui1
.add(plane.material, "depthTest")
.name("深度测试")
.onChange(() => {
plane.material.needsUpdate = true;
});

gui1.add(plane, "renderOrder", 0, 10).step(1).name("渲染顺序");

const gui2 = gui.addFolder("plane1");
gui2
.add(plane1.material, "depthFunc", {
"THREE.NeverDepth": THREE.NeverDepth,
"THREE.AlwaysDepth": THREE.AlwaysDepth,
"THREE.LessDepth": THREE.LessDepth,
"THREE.LessEqualDepth": THREE.LessEqualDepth,
"THREE.GreaterEqualDepth": THREE.GreaterEqualDepth,
"THREE.GreaterDepth": THREE.GreaterDepth,
"THREE.NotEqualDepth": THREE.NotEqualDepth,
})
.name("深度模式");
gui2
.add(plane1.material, "depthWrite")
.name("深度写入")
.onChange(() => {
plane1.material.needsUpdate = true;
});
gui2
.add(plane1.material, "depthTest")
.name("深度测试")
.onChange(() => {
plane1.material.needsUpdate = true;
});

gui2.add(plane1, "renderOrder", 0, 10).step(1).name("渲染顺序");

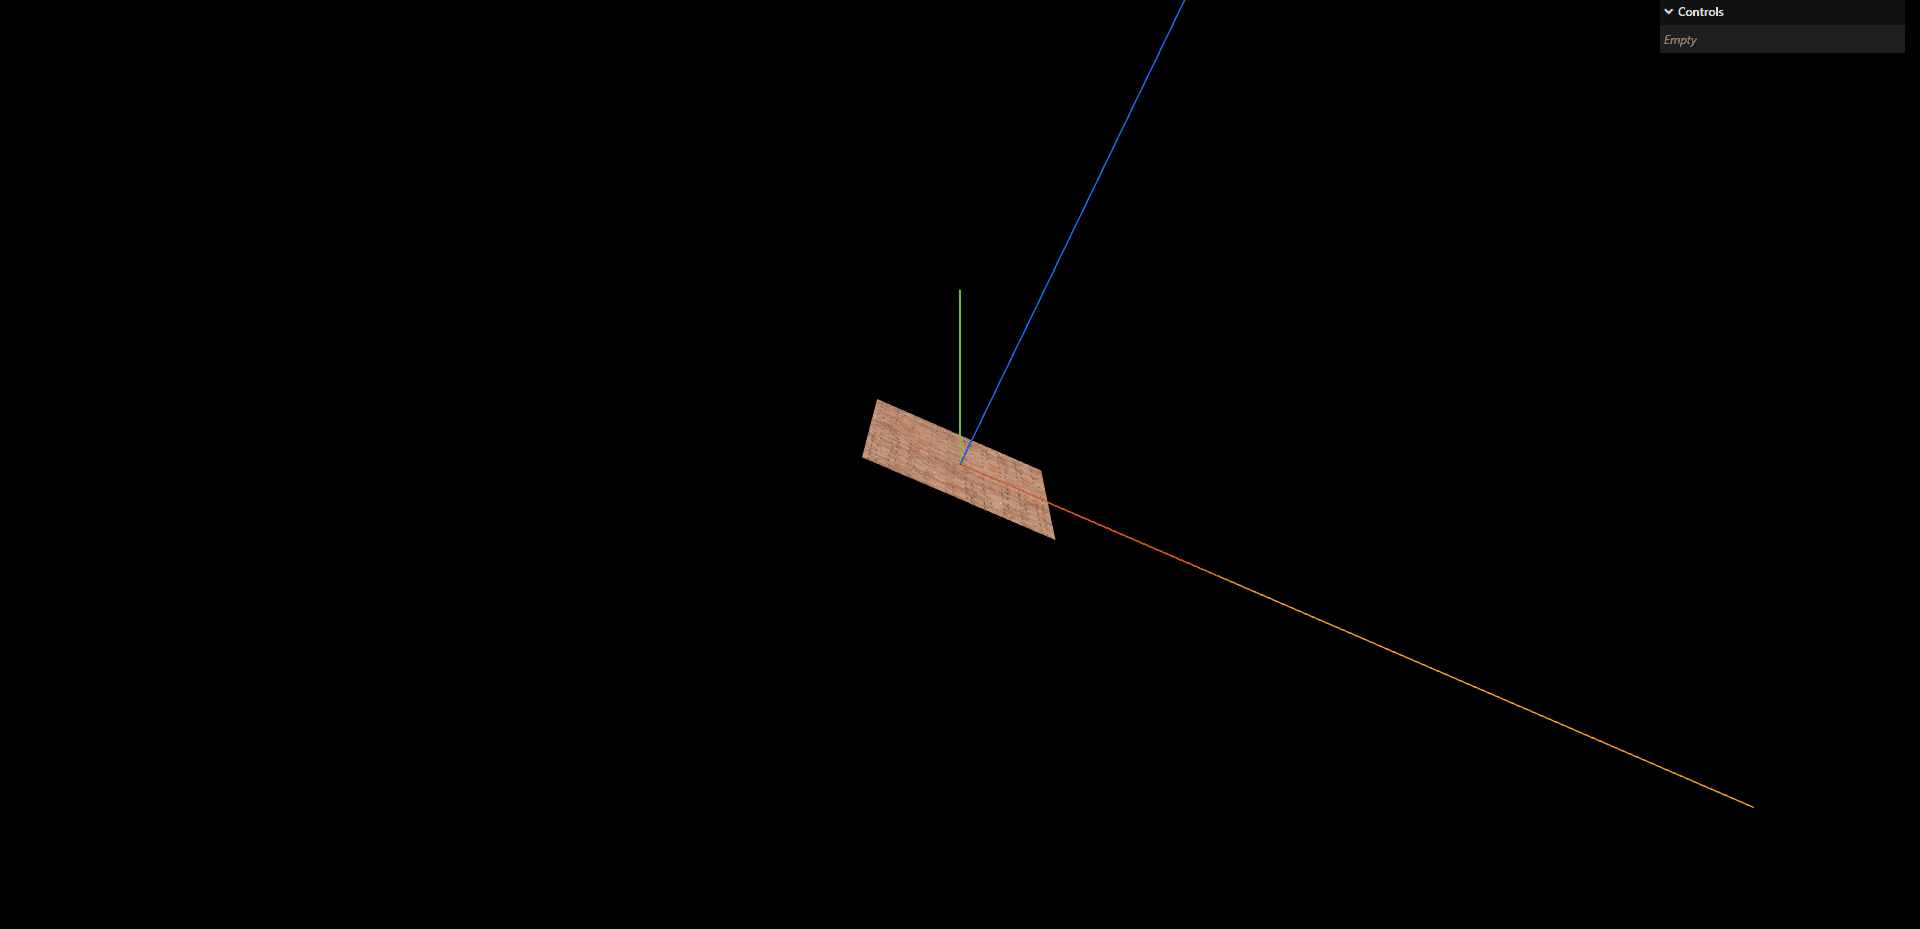
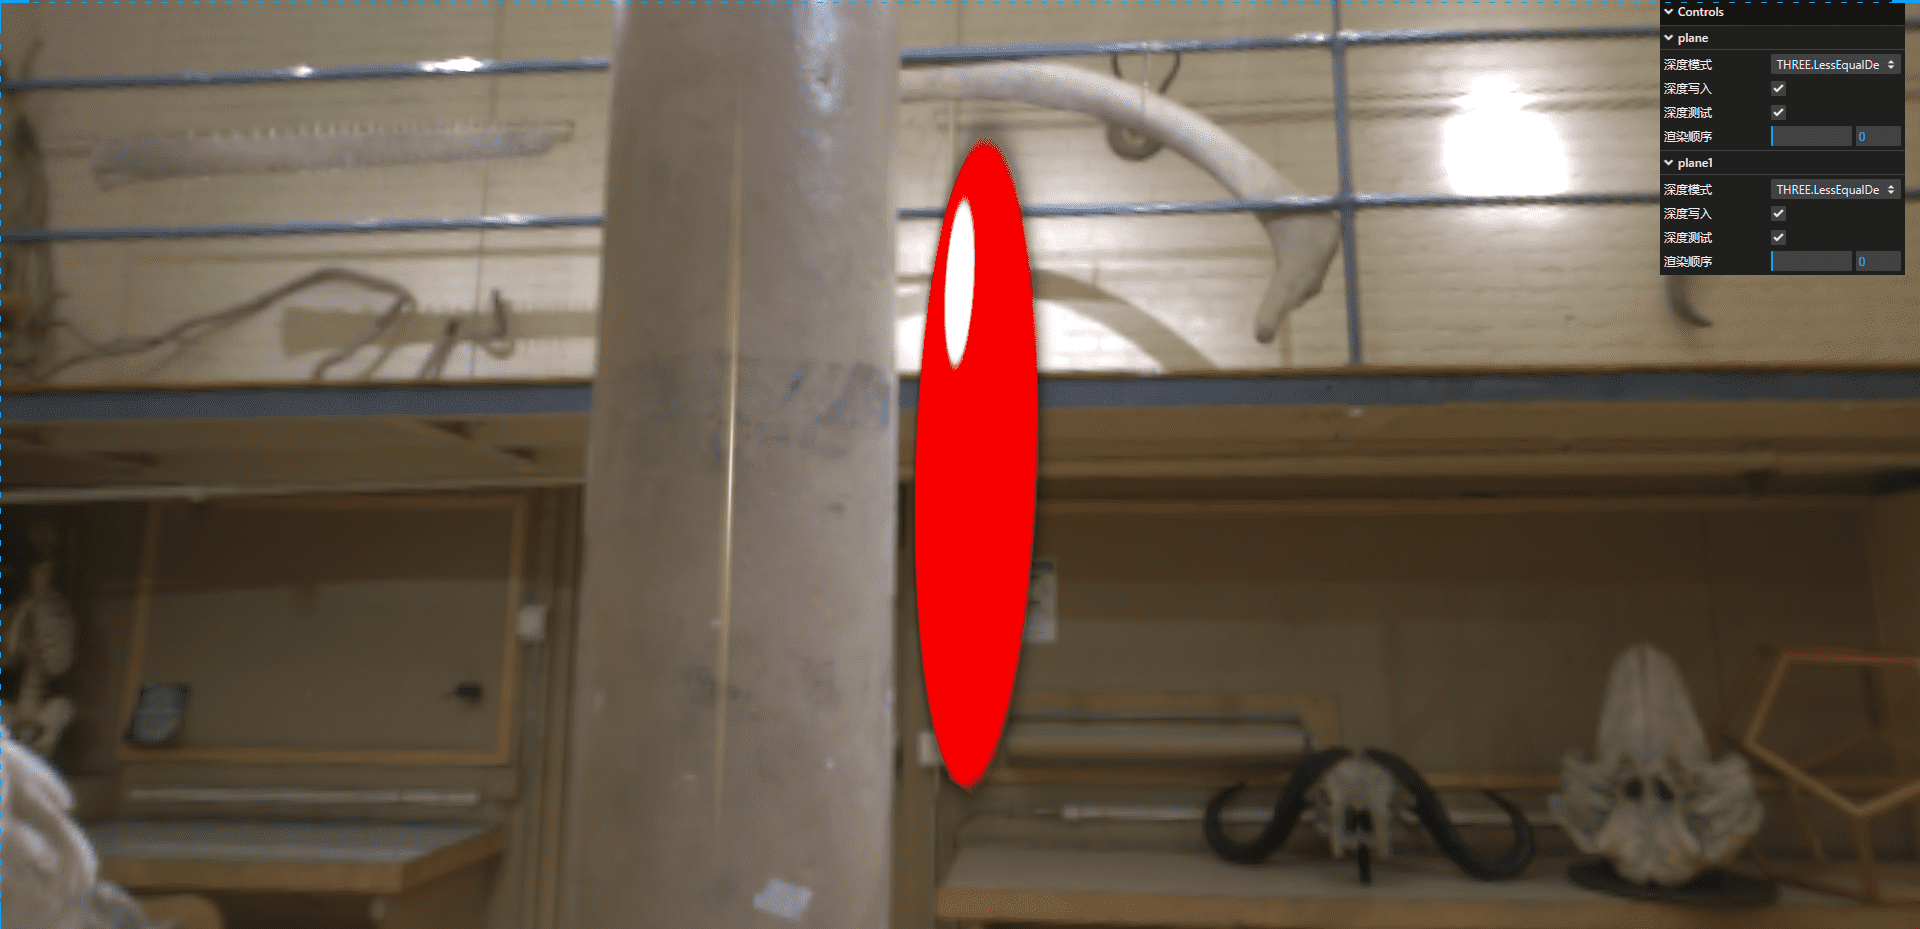
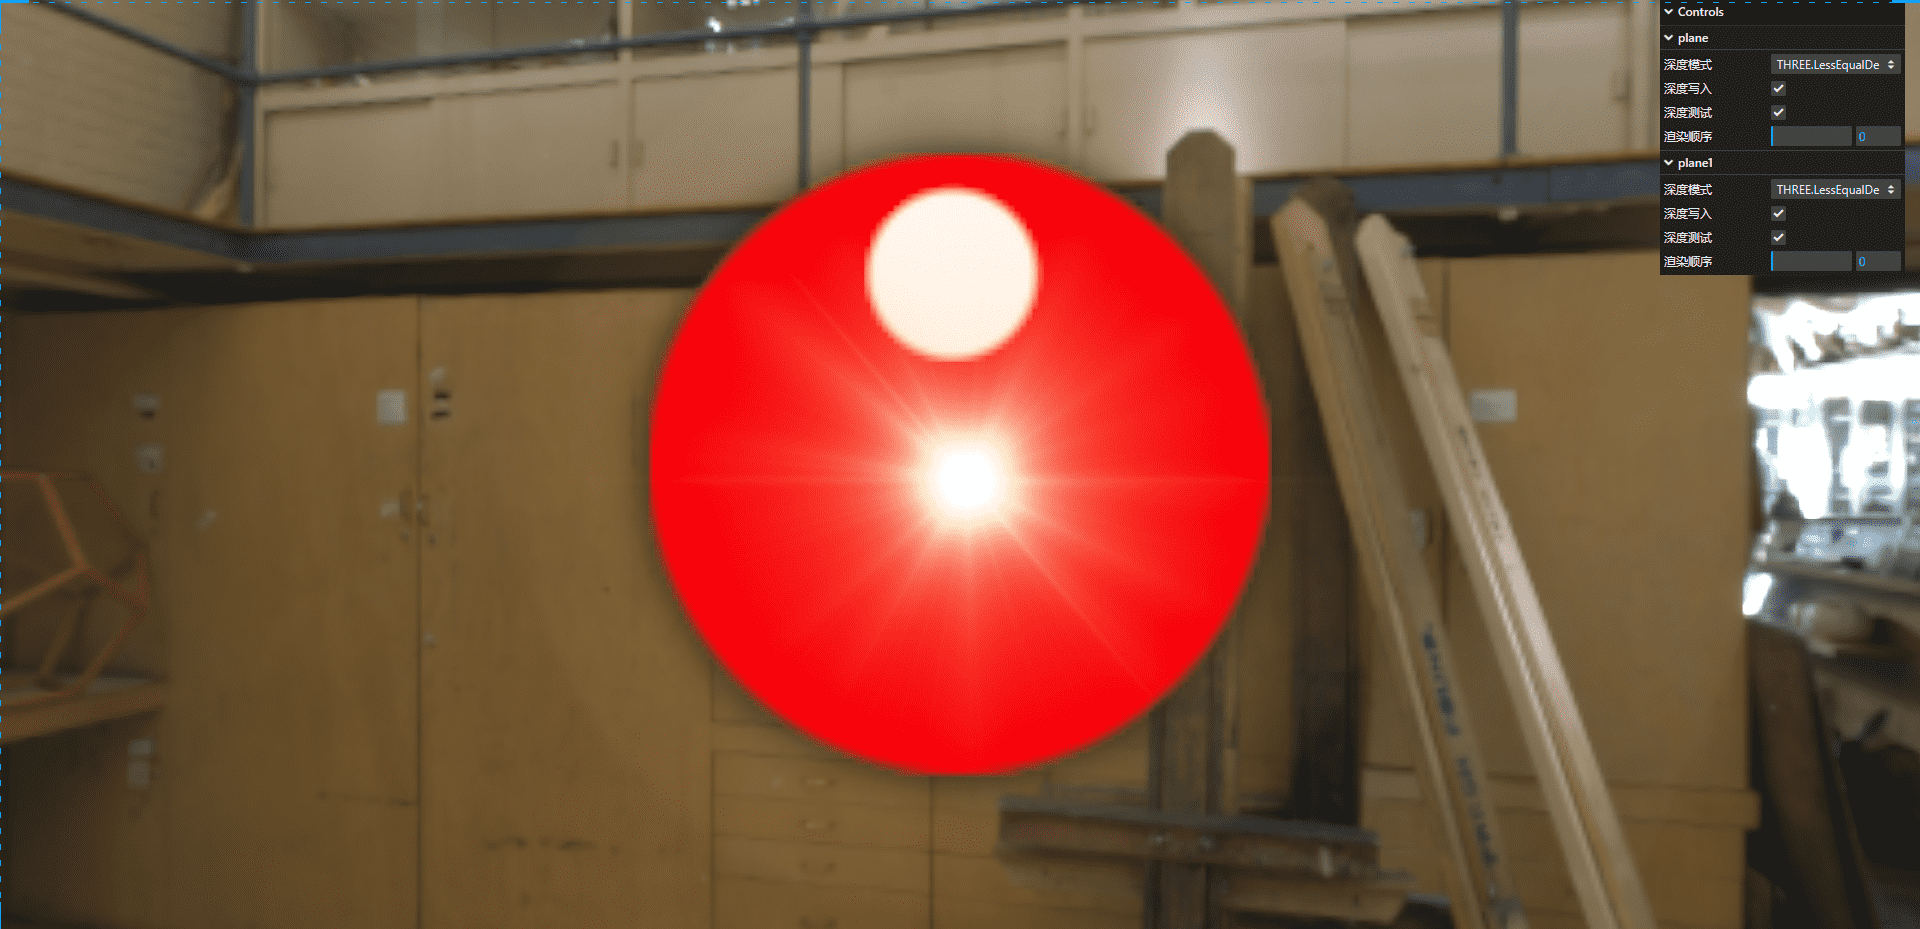
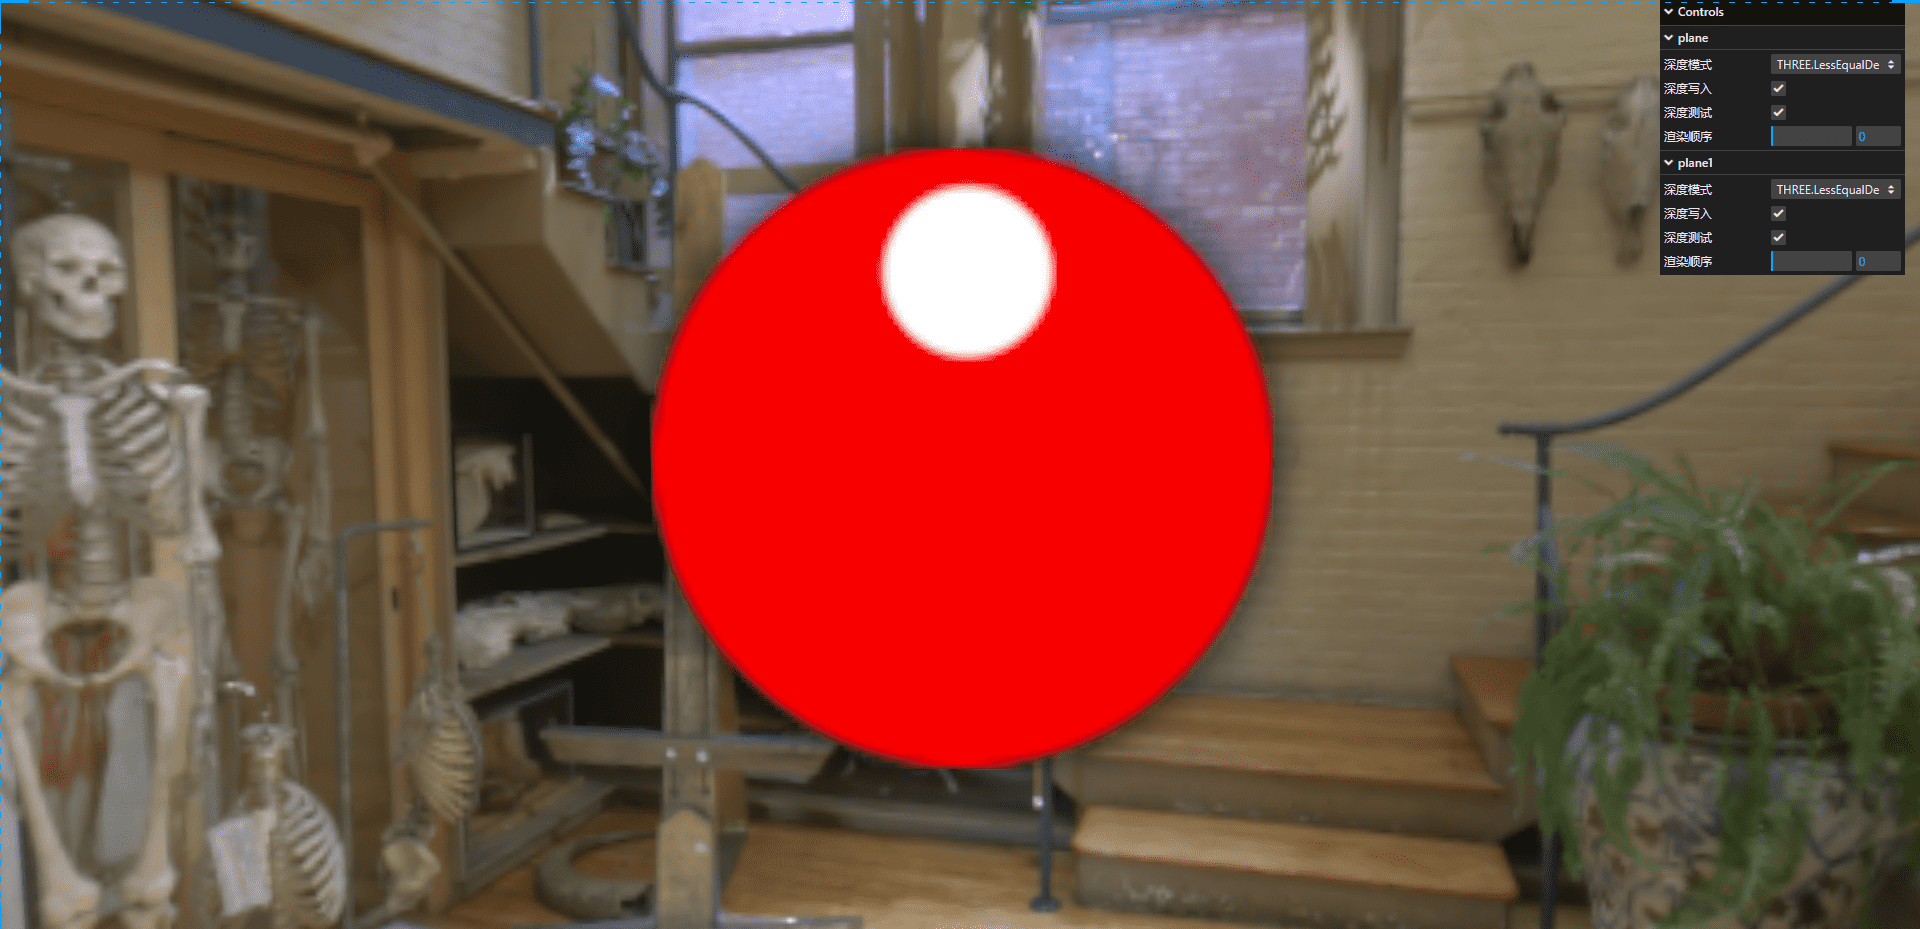
从侧面和代码,我们可以看出来,这是俩平面,都有透明度,灯光平面在前,红色品名在后
侧面效果图
正面效果图
反面效果图
接下来我们解释一下这几个深度检测的意思,其实也很简单

深度模式介绍

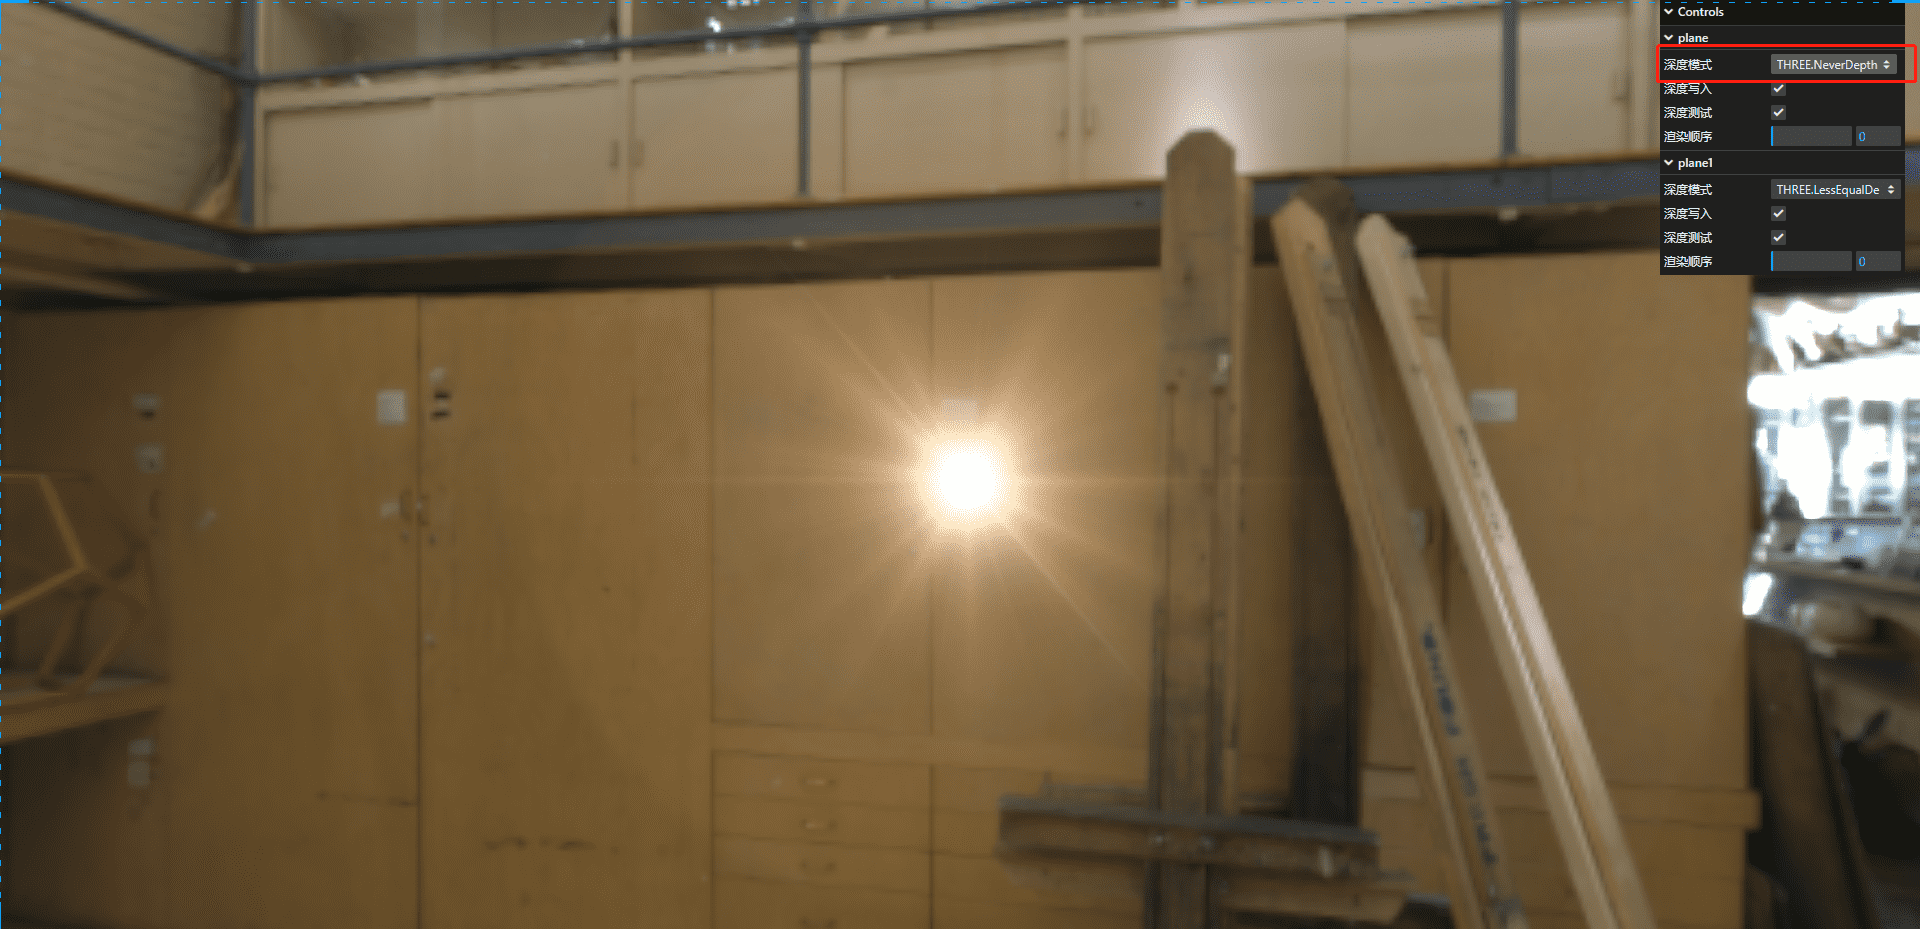
THREE.NeverDepth

永远不显示
效果图

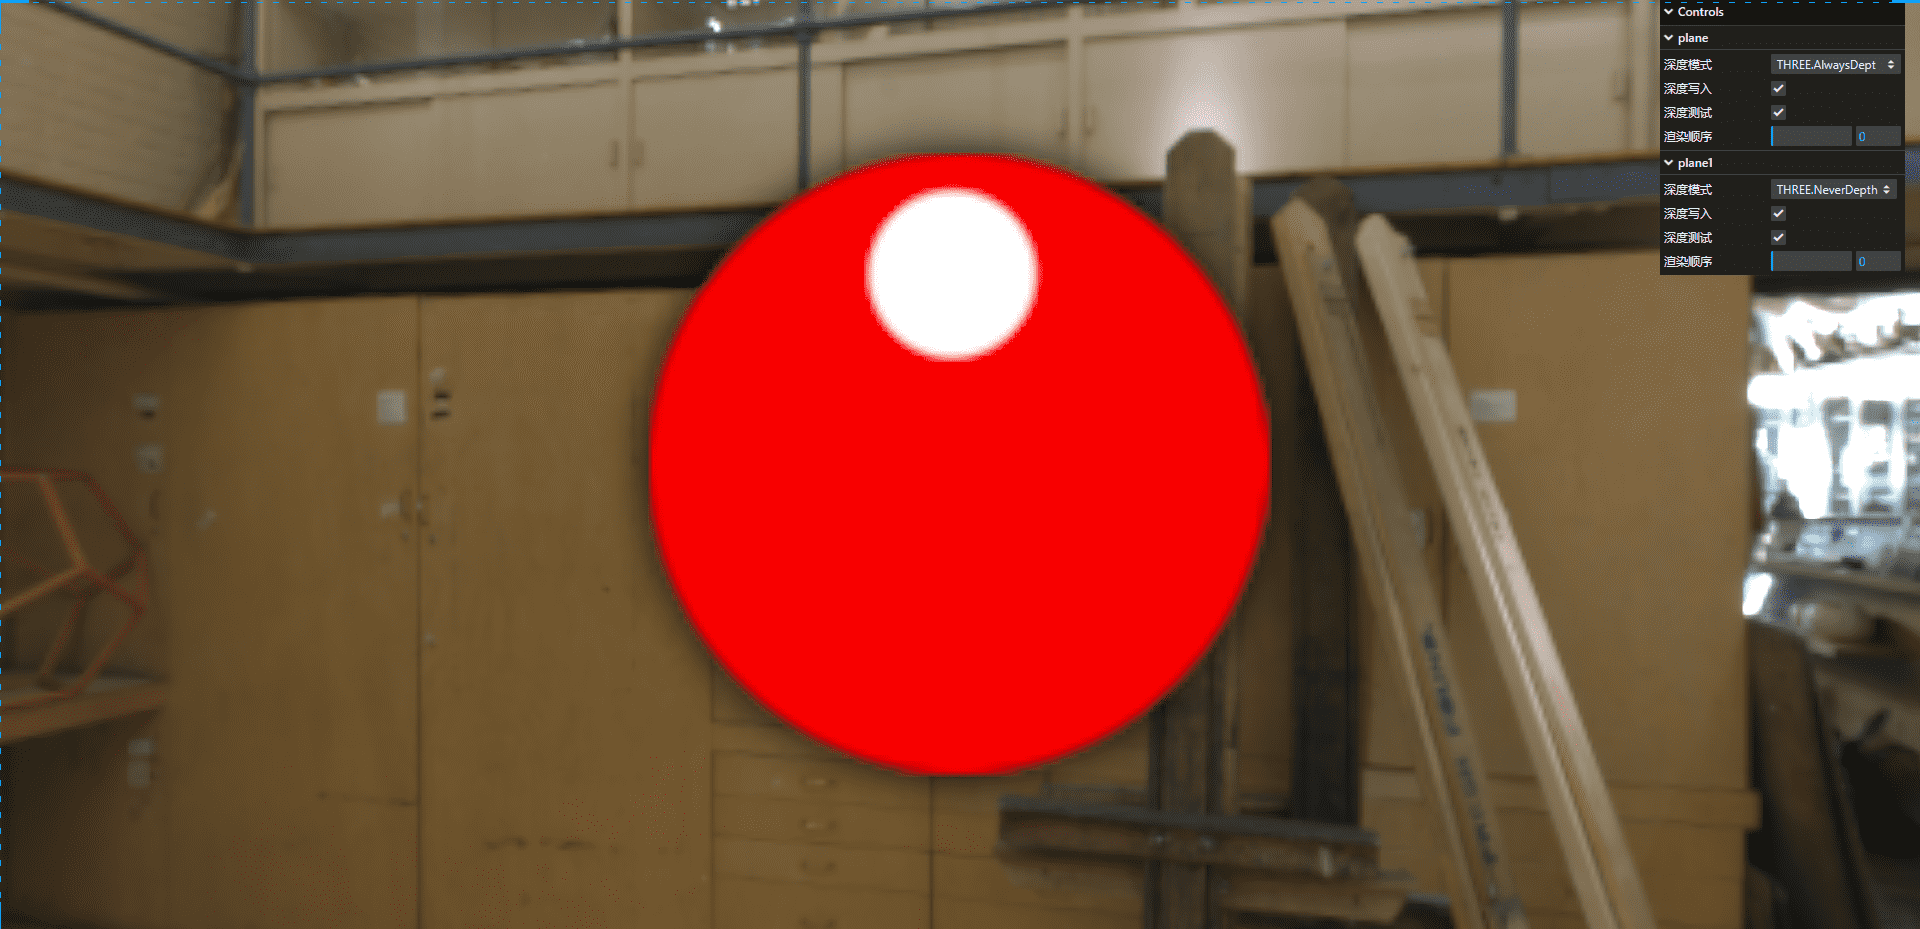
THREE.AlwaysDepth

一直显示
灯光平面设置不显示,红色平面设置显示效果图

THREE.LessDepth

小于深度值显示,因为我们用的是全景图,深度就是无限大,因此会显示

THREE.LessEqualDepth

小于等于深度值显示,同LessDepth一个道理

THREE.GreaterEqualDepth

大于等于深度值显示,因为我们用的是全景图,深度就是无限大,因此不显示

THREE.GreaterDepth

大于深度值显示,因为我们用的是全景图,深度就是无限大,因此不显示

THREE.NotEqualDepth

不等于深度值显示,因为我们用的是全景图,深度就是无限大,因此显示

深度测试

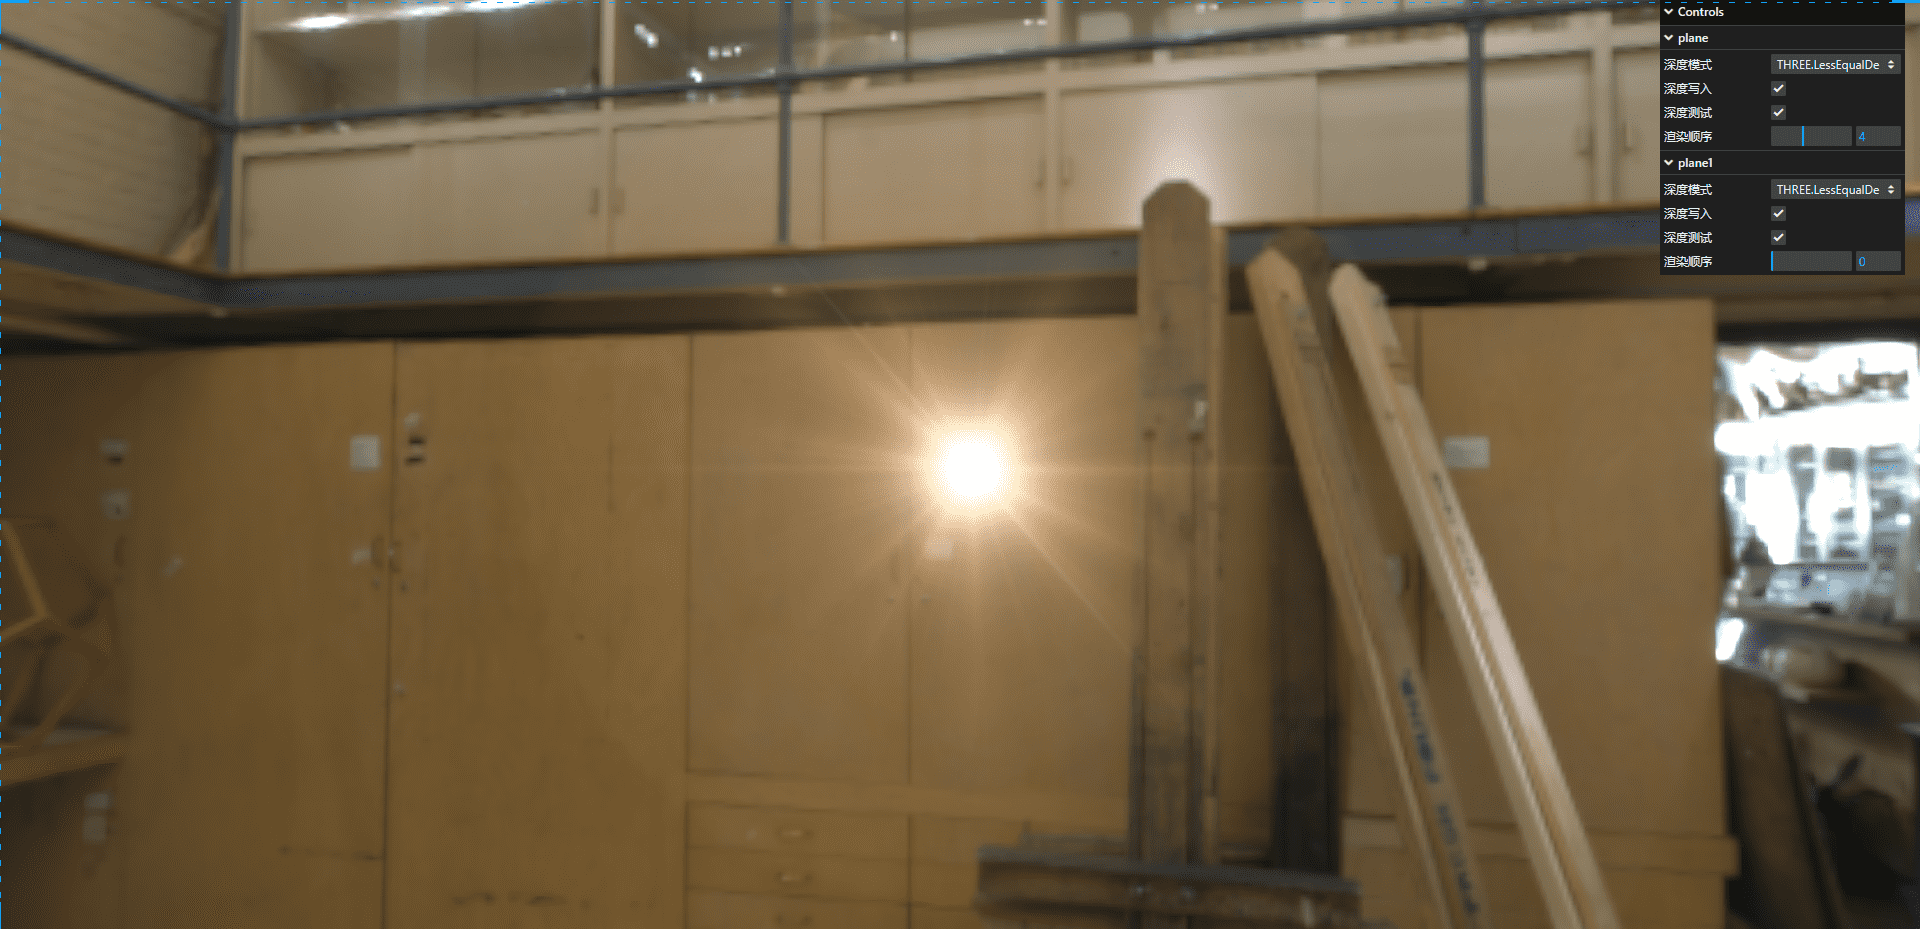
当我们把渲染顺序改一下,改成红色先渲染
renderOrder 解释 :图层渲染的顺序,值越小越先渲染,值越大越后渲染,后渲染的会对先渲染的图层有遮挡
效果图

深度写入

如果把这个设置为false,就相当于生成这个图片放上去的适合,深度图没有生成,这样的话就会让深度检测失效

上一篇:
【SVG学习】01-了解svg
下一篇:
【可视化学习】27-材质进阶