【可视化学习】33-GEOJson生成可视化地图
发表于:2023-08-28 |

前言

好久没见了,最近又有点懒了,没怎么学习,今天就简单和大家分享下利用threejs和geojson的数据生成地图

什么是GeoJSON

GeoJSON (Geo+ JSON ) 这个名字本身就是一个赠品。GeoJSON 是一种使用JavaScript 对象表示法(JSON) 对地理数据结构进行编码的格式。简而言之,GeoJSON 为你提供了一种简单的格式来表示简单的地理特征以及它们的非空间属性。

GeoJSON 对象可以定义以下内容:

  • 空间中的几何对象:例如,点、线串或多边形等。
  • 特征:特征是空间有界的实体。
  • 特征集合: 也称为 FeatureCollection。

就这样简单介绍下好了,具体的大家可以去查百度了解下,还是和之前一样,理论性的东西我在博客中就不多阐述。

geo数据下载地址

github镜像

功能实现

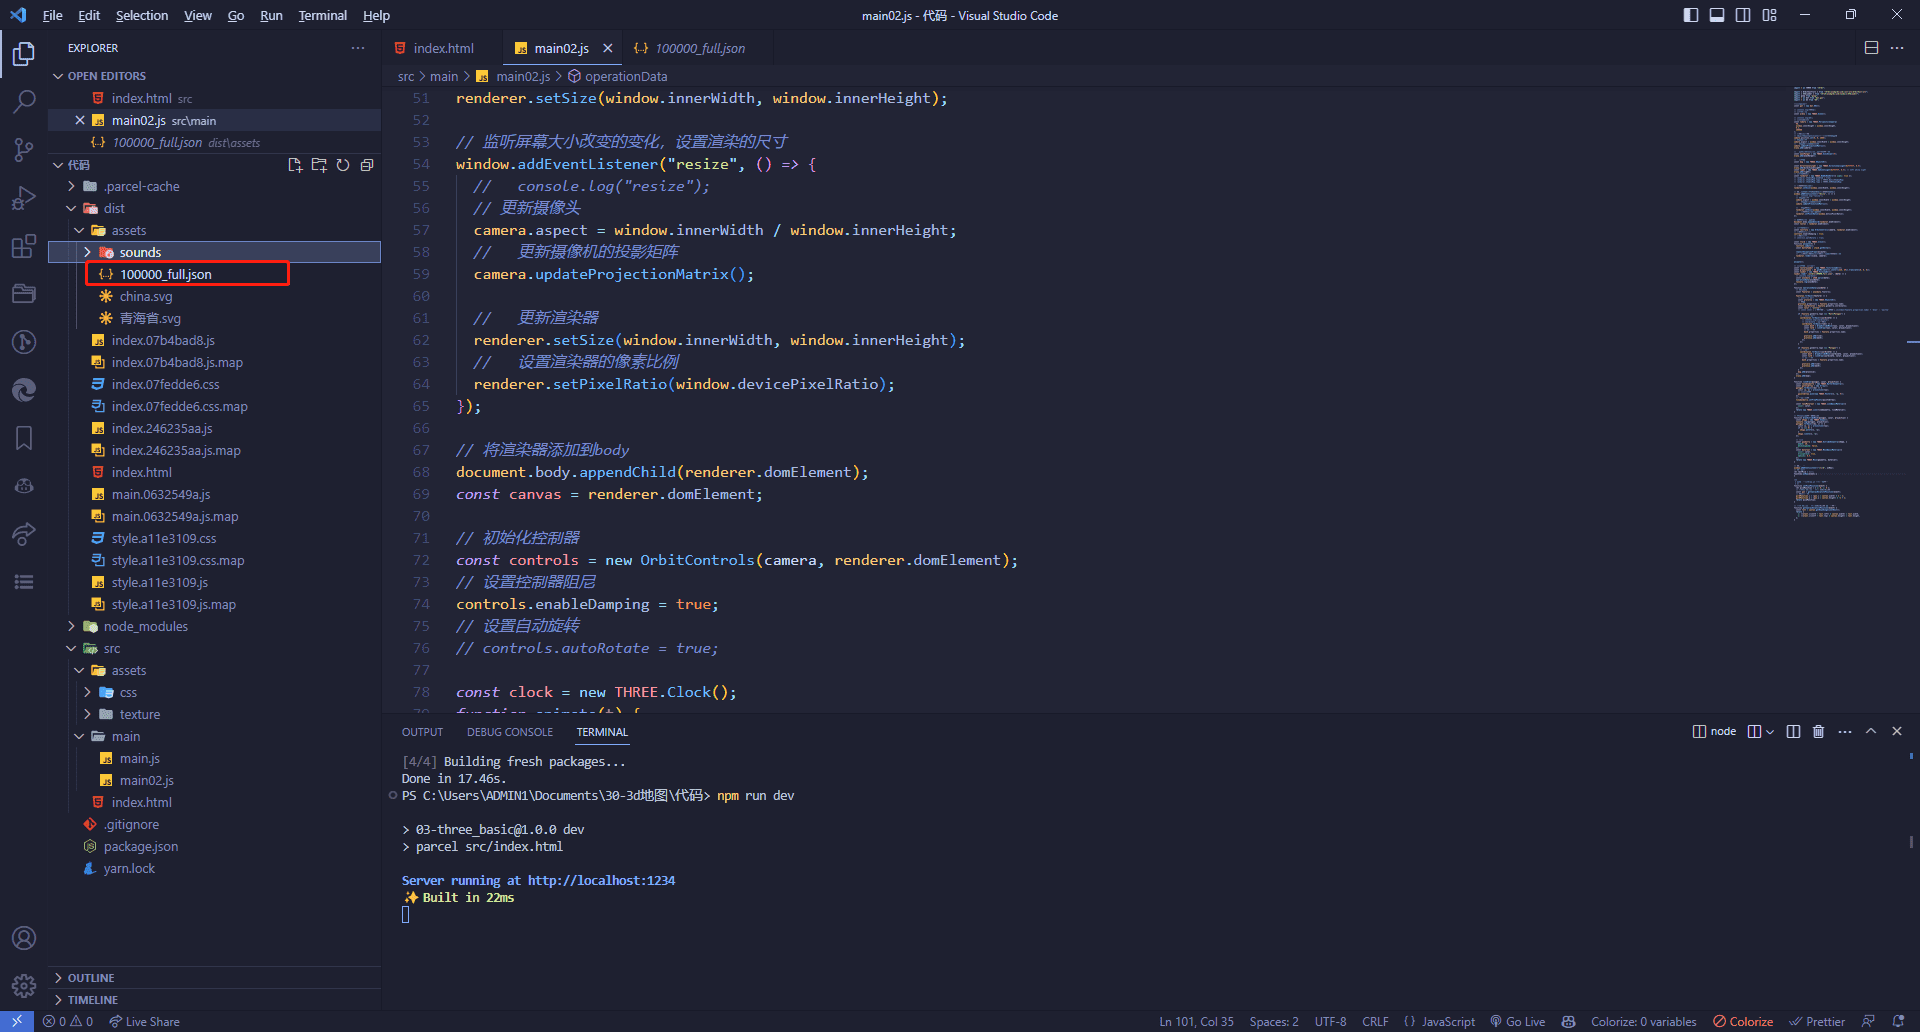
1.将json数据放到我们打包之后dist文件的assets下

文件目录

2.基础代码实现,安装d3的包

1
npm i d3
1
2
3
4
5
6
7
8
9
10
11
12
13
14
15
16
17
18
19
20
21
22
23
24
25
26
27
28
29
30
31
32
33
34
35
36
37
38
39
40
41
42
43
44
45
46
47
48
49
50
51
52
53
54
55
56
57
58
59
60
61
62
63
64
65
66
67
68
69
70
71
72
73
74
75
76
77
78
79
80
81
82
83
84
85
86
87
88
89
import * as THREE from "three";

import { OrbitControls } from "three/examples/jsm/controls/OrbitControls";
import { SVGLoader } from "three/examples/jsm/loaders/SVGLoader";
import gsap from "gsap";
import * as dat from "dat.gui";
import * as d3 from "d3";

//创建gui对象
const gui = new dat.GUI();

// console.log(THREE);
// 初始化场景
const scene = new THREE.Scene();

// console.log(d3);
// 创建透视相机
const camera = new THREE.PerspectiveCamera(
90,
window.innerHeight / window.innerHeight,
0.1,
100000
);
// 设置相机位置
// object3d具有position,属性是1个3维的向量
camera.position.set(0, 0, 1000);
// 更新摄像头
camera.aspect = window.innerWidth / window.innerHeight;
// 更新摄像机的投影矩阵
camera.updateProjectionMatrix();
scene.add(camera);

// 加入辅助轴,帮助我们查看3维坐标轴
const axesHelper = new THREE.AxesHelper(5);
scene.add(axesHelper);

// 加载纹理
const map = new THREE.Object3D();

const directionalLight = new THREE.DirectionalLight(0xffffff, 0.5);
scene.add(directionalLight);
const light = new THREE.AmbientLight(0xffffff, 0.5); // soft white light
scene.add(light);
// 初始化渲染器
const renderer = new THREE.WebGLRenderer({ alpha: true });
// renderer.shadowMap.enabled = true;
// renderer.shadowMap.type = THREE.BasicShadowMap;
// renderer.shadowMap.type = THREE.VSMShadowMap;

// 设置渲染尺寸大小
renderer.setSize(window.innerWidth, window.innerHeight);

// 监听屏幕大小改变的变化,设置渲染的尺寸
window.addEventListener("resize", () => {
// console.log("resize");
// 更新摄像头
camera.aspect = window.innerWidth / window.innerHeight;
// 更新摄像机的投影矩阵
camera.updateProjectionMatrix();

// 更新渲染器
renderer.setSize(window.innerWidth, window.innerHeight);
// 设置渲染器的像素比例
renderer.setPixelRatio(window.devicePixelRatio);
});

// 将渲染器添加到body
document.body.appendChild(renderer.domElement);
const canvas = renderer.domElement;

// 初始化控制器
const controls = new OrbitControls(camera, renderer.domElement);
// 设置控制器阻尼
controls.enableDamping = true;
// 设置自动旋转
// controls.autoRotate = true;

const clock = new THREE.Clock();
function animate(t) {
controls.update();
const deltaTime = clock.getDelta();

requestAnimationFrame(animate);
// 使用渲染器渲染相机看这个场景的内容渲染出来
renderer.render(scene, camera);
}

animate();

基础代码效果图

使用loader加载数据

1
2
3
4
5
const loader = new THREE.FileLoader();
loader.load("./assets/100000_full.json", (data) => {
const jsonData = JSON.parse(data);
console.log(jsonData);
});

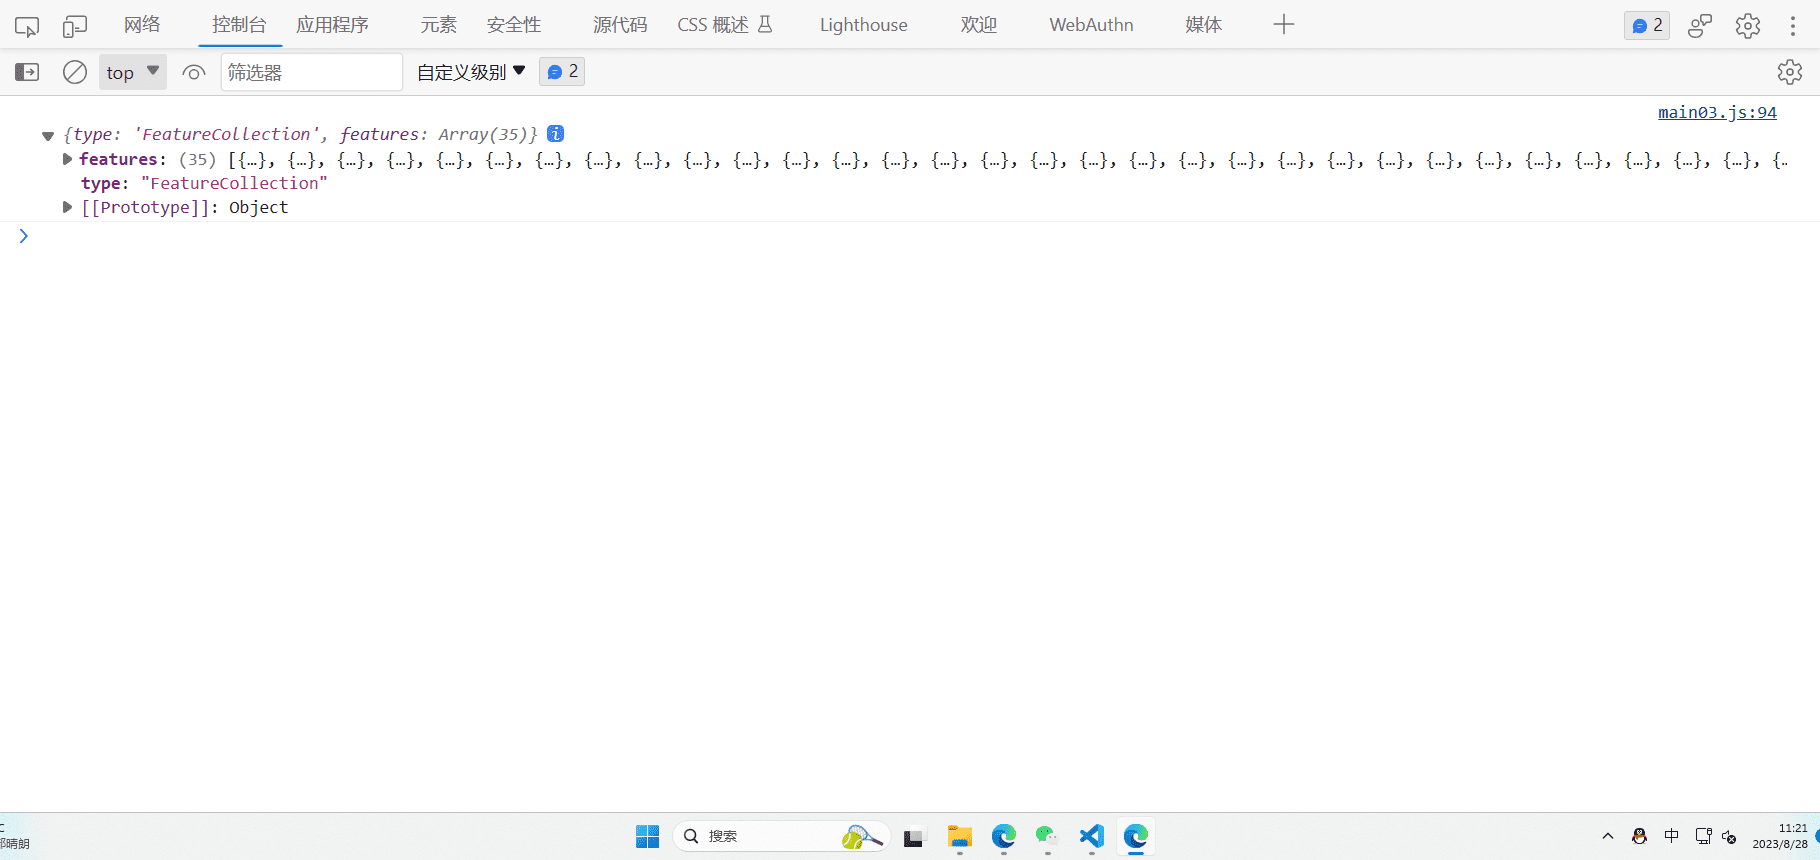
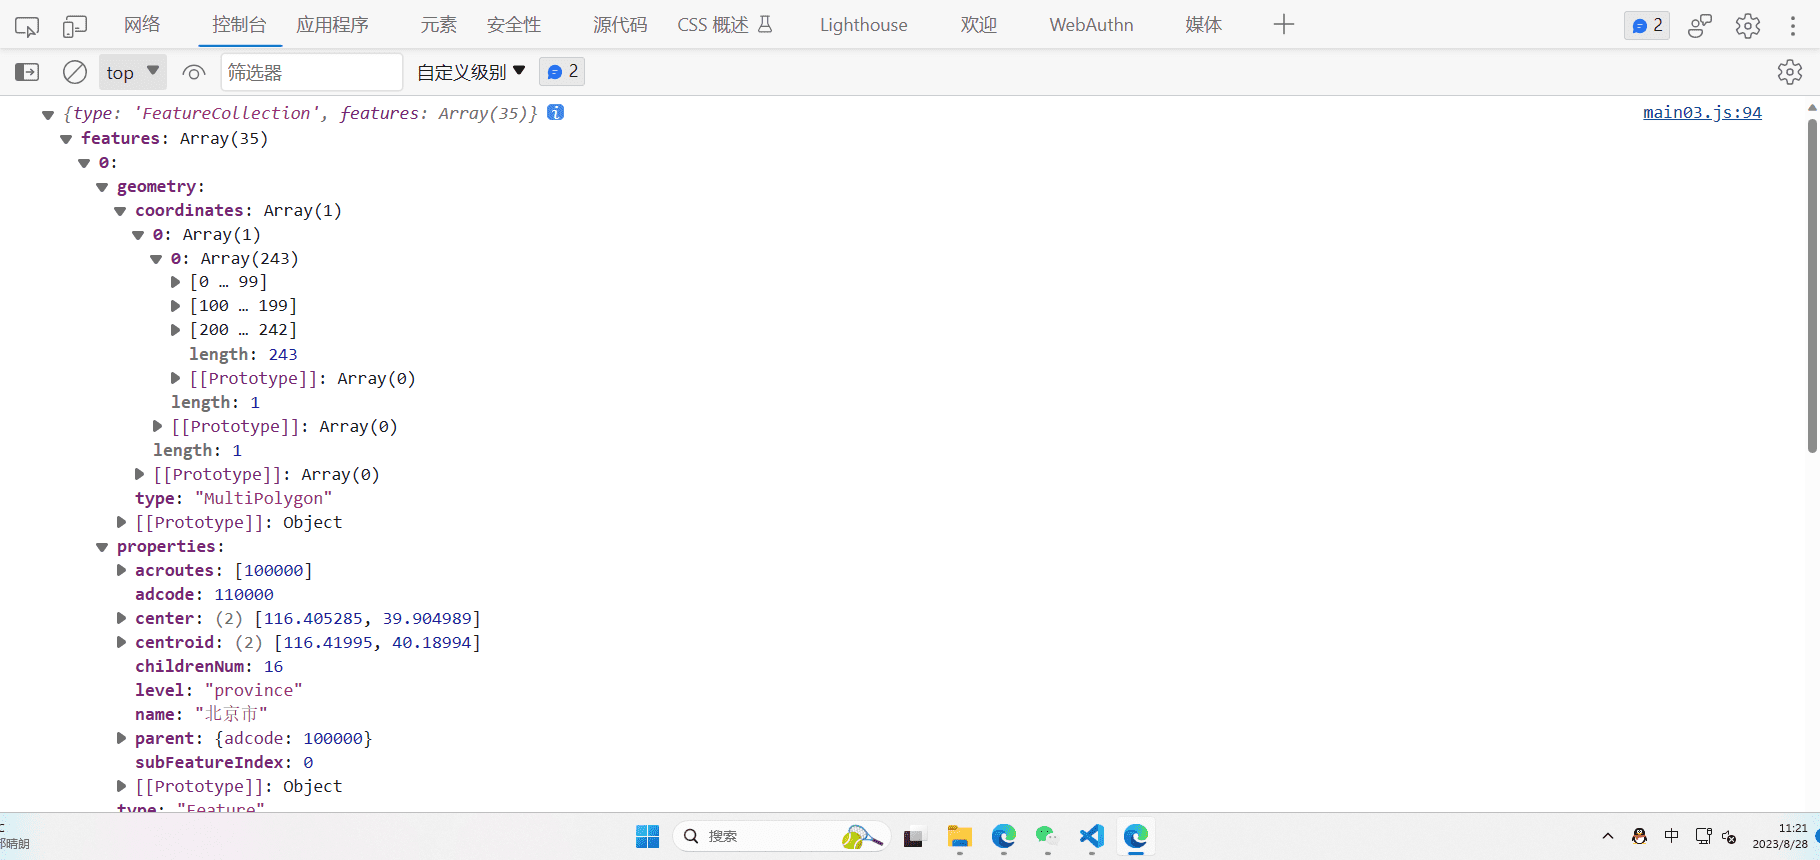
json数据结构图
json数据结构图

其实本质上非常简单,就是画线和多边形即可,但是这里有个问题,就是我们的数据是经纬度的,而我们的threejs是三维的,所以我们需要将经纬度转换成三维的坐标,这里我们使用d3的geoMercator方法来转换

1
2
3
4
5
6
7
8
// 以经纬度116,39为中心,进行投影的函数转换函数
const projection1 = d3.geoMercator().center([116, 39]).translate([0, 0, 0]);
const loader = new THREE.FileLoader();
loader.load("./assets/100000_full.json", (data) => {
const jsonData = JSON.parse(data);
operationData(jsonData);
console.log(jsonData);
});

处理数据

首先遍历循环每个省份,然后判断是多边形还是多个多边形,然后再遍历每个多边形,然后再遍历每个多边形的每个点,然后将每个点进行投影转换,然后再将每个点进行连线,最后将每个点进行拉伸,生成一个个的物体,然后将物体添加到场景中即可

1
2
3
4
5
6
7
8
9
10
11
12
13
14
15
16
17
18
19
20
21
22
23
24
25
26
27
28
29
30
31
32
33
34
35
36
37
38
39
40
41
42
43
44
45
46
47
48
49
50
51
52
53
54
55
56
57
58
59
60
61
62
63
64
65
66
67
68
69
70
71
72
73
74
75
76
77
78
79
80
81
82
83
84
function operationData(jsondata) {
// 全国信息
const features = jsondata.features;

features.forEach((feature) => {
// 单个省份 对象
const province = new THREE.Object3D();
// 地址
province.properties = feature.properties.name;
const coordinates = feature.geometry.coordinates;
const color = "yellow";
if (feature.geometry.type === "MultiPolygon") {
// 多个,多边形
coordinates.forEach((coordinate) => {
// coordinate 多边形数据
coordinate.forEach((rows) => {
const mesh = drawExtrudeMesh(rows, color, projection1);
const line = lineDraw(rows, color, projection1);
// 唯一标识
mesh.properties = feature.properties.name;

province.add(line);
province.add(mesh);
});
});
}

if (feature.geometry.type === "Polygon") {
// 多边形
coordinates.forEach((coordinate) => {
const mesh = drawExtrudeMesh(coordinate, color, projection1);
const line = lineDraw(coordinate, color, projection1);
// 唯一标识
mesh.properties = feature.properties.name;

province.add(line);
province.add(mesh);
});
}
map.add(province);
});
scene.add(map);
}

function lineDraw(polygon, color, projection) {
const lineGeometry = new THREE.BufferGeometry();
const pointsArray = new Array();
polygon.forEach((row) => {
const [x, y] = projection(row);
// 创建三维点
pointsArray.push(new THREE.Vector3(x, -y, 9));
});
// 放入多个点
lineGeometry.setFromPoints(pointsArray);

const lineMaterial = new THREE.LineBasicMaterial({
color: color,
});
return new THREE.Line(lineGeometry, lineMaterial);
}

// 根据经纬度坐标生成物体
function drawExtrudeMesh(polygon, color, projection) {
const shape = new THREE.Shape();
polygon.forEach((row, i) => {
const [x, y] = projection(row);
if (i === 0) {
shape.moveTo(x, -y);
}
shape.lineTo(x, -y);
});

// 拉伸
const geometry = new THREE.ExtrudeGeometry(shape, {
depth: 10,
bevelEnabled: false,
});
const material = new THREE.MeshBasicMaterial({
color: color,
transparent: true,
opacity: 0.5,
});
return new THREE.Mesh(geometry, material);
}

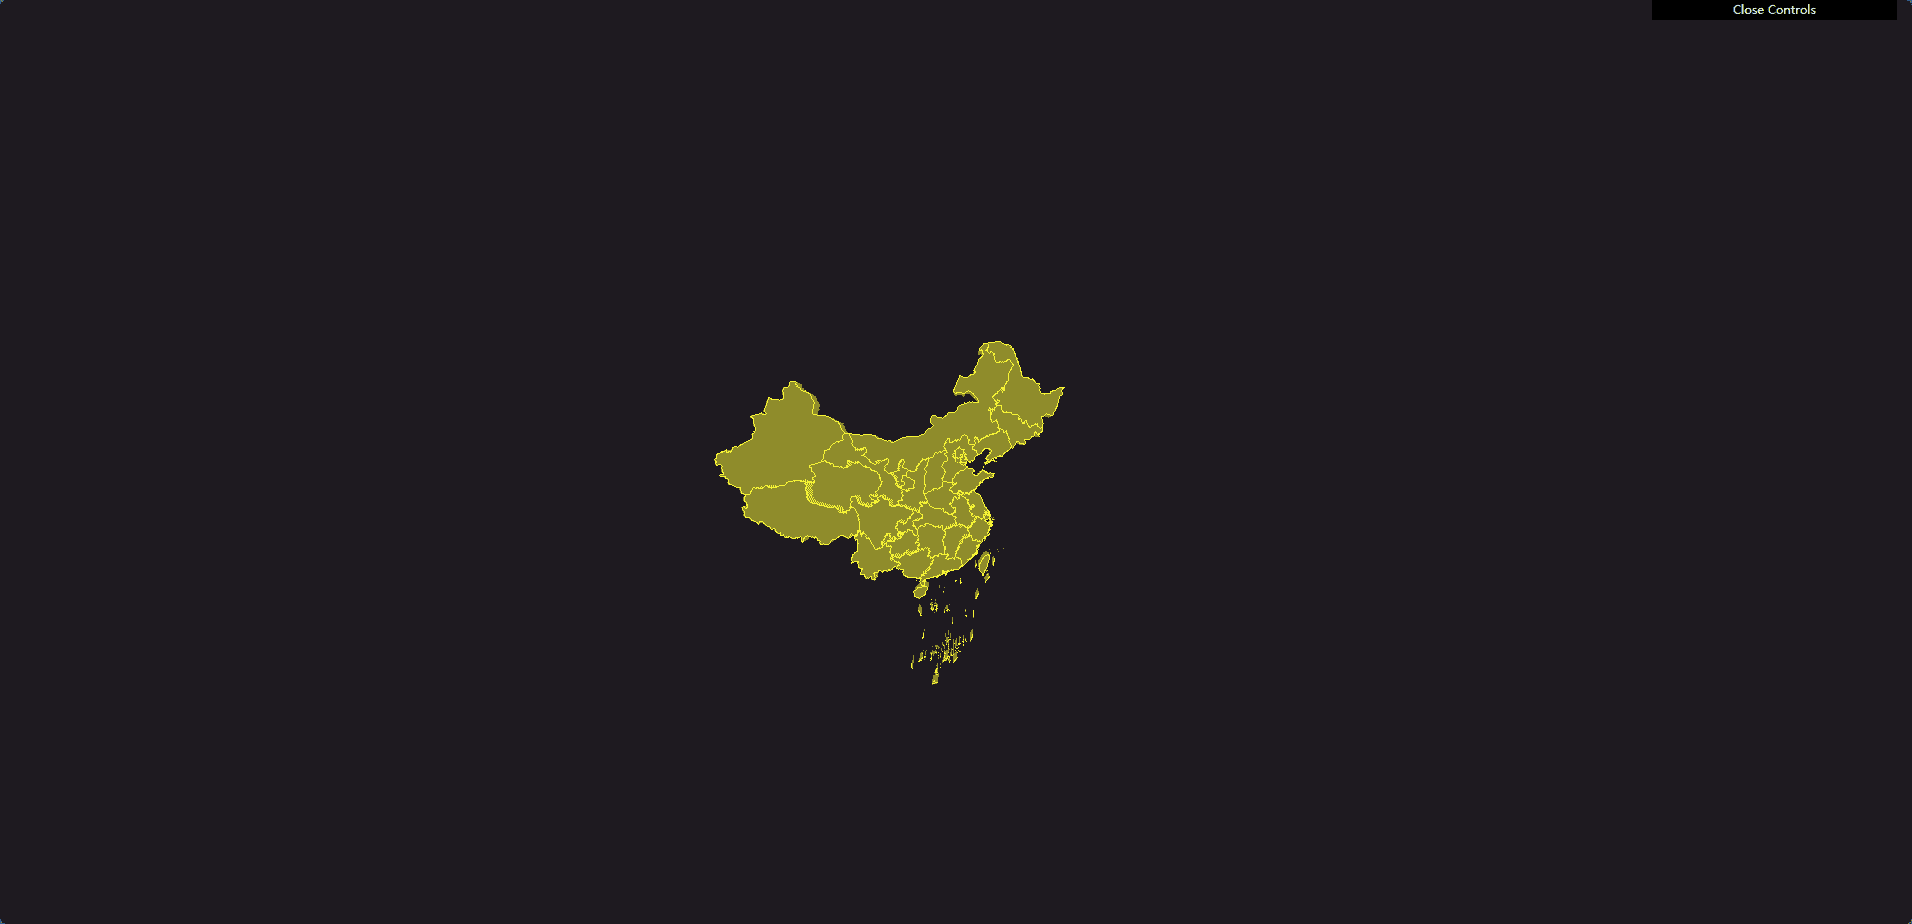
效果图

添加个鼠标点击变色效果

这里用到了之前学过的镭射射线的知识,具体的可以看之前的文章

1
2
3
4
5
6
7
8
9
10
11
12
13
14
15
16
17
18
19
20
21
22
23
24
25
26
27
28
29
30
31
32
33
34
35
36
37
38
39
40
41
42
43
44
45
46
47
48
49
50
51
52
53
54
// 监听鼠标
window.addEventListener("click", onRay);
// 全局对象
let lastPick = null;
function onRay(event) {
let pickPosition = setPickPosition(event);
const raycaster = new THREE.Raycaster();
raycaster.setFromCamera(pickPosition, camera);
// 计算物体和射线的交点
const intersects = raycaster.intersectObjects([map], true);
// 数组大于0 表示有相交对象
if (intersects.length > 0) {
if (lastPick) {
if (lastPick.object.properties !== intersects[0].object.properties) {
lastPick.object.material.color.set("yellow");
lastPick = null;
}
}
if (intersects[0].object.properties) {
intersects[0].object.material.color.set("blue");
}
lastPick = intersects[0];
} else {
if (lastPick) {
// 复原
if (lastPick.object.properties) {
lastPick.object.material.color.set("yellow");
lastPick = null;
}
}
}
}

/**
* 获取鼠标在three.js 中归一化坐标
* */
function setPickPosition(event) {
let pickPosition = { x: 0, y: 0 };
// 计算后 以画布 开始为 (0,0)点
const pos = getCanvasRelativePosition(event);
// 数据归一化
pickPosition.x = (pos.x / canvas.width) * 2 - 1;
pickPosition.y = (pos.y / canvas.height) * -2 + 1;
return pickPosition;
}

// 计算 以画布 开始为(0,0)点 的鼠标坐标
function getCanvasRelativePosition(event) {
const rect = canvas.getBoundingClientRect();
return {
x: ((event.clientX - rect.left) * canvas.width) / rect.width,
y: ((event.clientY - rect.top) * canvas.height) / rect.height,
};
}

优化显示效果-设置随机颜色

1
2
3
4
5
6
7
8
9
10
11
12
13
14
15
16
17
18
19
20
21
22
23
24
25
26
27
28
29
30
31
32
33
34
35
36
37
38
39
40
41
42
43
44
45
46
47
48
49
50
51
52
53
54
55
56
57
58
59
60
61
62
63
64
65
66
// 根据经纬度坐标生成物体
function drawExtrudeMesh(polygon, color, projection) {
const shape = new THREE.Shape();
// console.log(polygon, projection);
polygon.forEach((row, i) => {
const [x, y] = projection(row);
// console.log(row, [x, y]);
if (i === 0) {
// 创建起点,使用moveTo方法
// 因为计算出来的y是反过来,所以要进行颠倒
shape.moveTo(x, -y);
}
shape.lineTo(x, -y);
});

// 拉伸
const geometry = new THREE.ExtrudeGeometry(shape, {
depth: 5,
bevelEnabled: true,
});

// 随机颜色
const randomColor = (0.5 + Math.random() * 0.5) * 0xffffff;
const material = new THREE.MeshBasicMaterial({
color: randomColor,
transparent: true,
opacity: 0.5,
});
return new THREE.Mesh(geometry, material);
}

// 监听鼠标
window.addEventListener("click", onRay);
// 全局对象
let lastPick = null;
let lastPickColor = null;
function onRay(event) {
let pickPosition = setPickPosition(event);
const raycaster = new THREE.Raycaster();
raycaster.setFromCamera(pickPosition, camera);
// 计算物体和射线的交点
const intersects = raycaster.intersectObjects([map], true);
// 数组大于0 表示有相交对象
if (intersects.length > 0) {
if (lastPick) {
if (lastPick.object.properties !== intersects[0].object.properties) {
lastPick.object.material.color.set(lastPickColor);
lastPick = null;
}
}
lastPick = intersects[0]
lastPickColor = intersects[0].object.material.color.getHex()
if (intersects[0].object.properties) {
intersects[0].object.material.color.set("red");
}
} else {
if (lastPick) {
console.log(lastPick)
// 复原
if (lastPick.object.properties) {
lastPick.object.material.color.set(lastPickColor);
lastPick = null;
}
}
}
}

好了,本篇文章就分享到这里,下期再见

上一篇:
【项目配置】1-axios结合ts封装
下一篇:
dispatchEvent