前言 不知道大家是否玩过一些游戏,比如GTA之类的,就是通过WSAD来实现人物的移动,通过鼠标来实现视角的移动,这种游戏就是第一人称游戏,今天我们就来学习一下第一人称游戏的基础知识
初始化一个项目 这里我就不多阐述了,简单的聊一下就好
我选择了vue进行创建
再安装three.js
再把style.css中的样式清空
1
2
3
4
5
6
7
8
9
10
11
12
13
14
15
16
17
18
19
20
21
22
23
24
25
26
27
28
29
30
31
32
33
34
35
36
37
38
39
40
<template> <div id="container"></div> </template> <script setup> import * as THREE from "three"; import { OrbitControls } from "three/examples/jsm/controls/OrbitControls.js"; import { onMounted } from "vue"; onMounted(()=>{ const scene = new THREE.Scene(); const camera = new THREE.PerspectiveCamera( 75, window.innerWidth / window.innerHeight, 0.1, 1000 ); const renderer = new THREE.WebGLRenderer(); renderer.setSize(window.innerWidth, window.innerHeight); document.getElementById("container").appendChild(renderer.domElement); camera.position.z = 5; const controls = new OrbitControls(camera, renderer.domElement); controls.target.set(0, 0, 0); const animate = function () { requestAnimationFrame(animate); controls.update(); renderer.render(scene, camera); }; animate(); }) </script> <style> * { margin: 0; padding: 0; } #container { width: 100vw; height: 100vh; } </style>
效果图如下
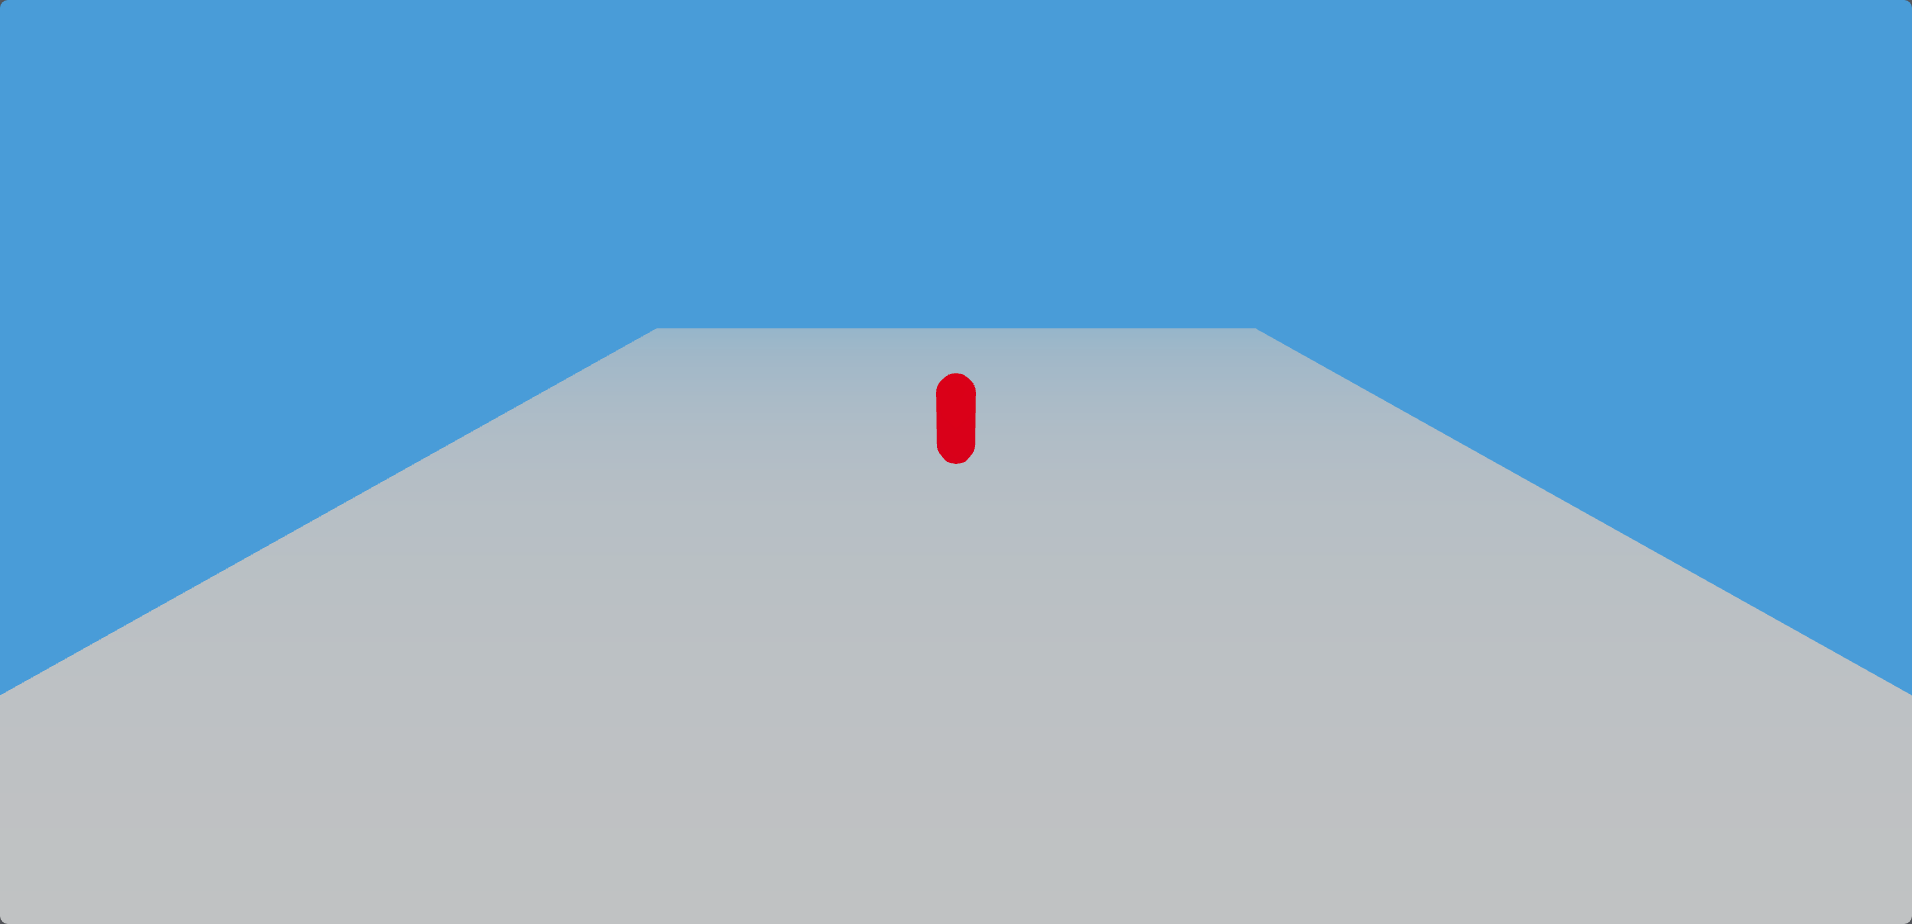
添加基础样式 这里我们添加一个胶囊和地面
基础配置
这里我修改了scene的background,为了显示清楚,添加fog效果
调整一下renderer
antialias:渲染器锯齿属性
shadowMap:阴影,enabled为是否开启, type为阴影类型
outputEncoding:渲染输出编码
toneMapping:基于物理的色调映射算法
为了能够显示,我把camera的position也调整了一下,然后创建平面就好了
具体的参数逻辑可以自己去查阅文档
1
2
3
4
5
6
7
8
9
10
11
12
13
14
15
16
17
18
19
20
21
22
23
24
25
26
const scene = new THREE .Scene ();scene.background = new THREE .Color (0x88ccee ); scene.fog = new THREE .Fog (0x88ccee , 0 , 50 ); const camera = new THREE .PerspectiveCamera ( 75 , window .innerWidth / window .innerHeight , 0.1 , 1000 ); const renderer = new THREE .WebGLRenderer ({ antialias : true });renderer.setPixelRatio (window .devicePixelRatio ); renderer.setSize (window .innerWidth , window .innerHeight ); renderer.shadowMap .enabled = true ; renderer.shadowMap .type = THREE .VSMShadowMap ; renderer.outputEncoding = THREE .SRGBColorSpace ; renderer.toneMapping = THREE .ACESFilmicToneMapping ; document .getElementById ("container" ).appendChild (renderer.domElement );camera.position .set (0 ,5 ,10 ); const controls = new OrbitControls (camera, renderer.domElement );controls.target .set (0 , 0 , 0 ); const animate = function ( requestAnimationFrame (animate); controls.update (); renderer.render (scene, camera); }; animate ();
添加平面 1 2 3 4 5 6 7 8 9 10 const planeGeometry = new THREE .PlaneGeometry (20 , 20 , 1 , 1 ); const planeMaterial = new THREE .MeshBasicMaterial ({ color : 0xffffff , side : THREE .DoubleSide , }); const plane = new THREE .Mesh (planeGeometry, planeMaterial); plane.receiveShadow = true ; plane.rotation .x = -Math .PI / 2 ; scene.add (plane);
添加胶囊 1 2 3 4 5 6 7 8 9 const capsuleGeometry = new THREE .CapsuleGeometry (0.35 , 1 , 32 );const capsuleMaterial = new THREE .MeshBasicMaterial ({ color : 0xff0000 , side : THREE .DoubleSide , }); const capsule = new THREE .Mesh (capsuleGeometry, capsuleMaterial);capsule.position .set (0 , 0.85 , 0 ); scene.add (capsule);
添加重力以及碰撞检测 添加重力效果 这里我们添加一个重力效果,让胶囊物体能够下落
创建Capsule.js实例来表示一个胶囊体 1 2 3 4 5 6 7 import { Capsule } from "three/examples/jsm/math/Capsule.js" ;const playerCollider = new Capsule ( new THREE .Vector3 (0 , 0.35 , 0 ), new THREE .Vector3 (0 , 1.35 , 0 ), 0.35 );
自由下落 设置重力和速度,然后每一帧计算玩家的位置,然后进行位置的更新设置
1 2 3 4 5 6 7 8 9 10 11 12 13 14 15 16 17 18 19 20 21 22 const clock = new THREE .Clock ();const gravity = -9.8 ;const playerVelocity = new THREE .Vector3 (0 , 0 , 0 );function updatePlayer (deltaTime ) { playerVelocity.y += gravity * deltaTime; const playerMoveDistance = playerVelocity.clone ().multiplyScalar (deltaTime); playerCollider.translate (playerMoveDistance); playerCollider.getCenter (capsule.position ); } const animate = function ( let delta = clock.getDelta (); updatePlayer (delta); requestAnimationFrame (animate); controls.update (); renderer.render (scene, camera); }; animate ();
效果展示 我们可以通过下面这个视频看到,胶囊在持续坠落。
Your browser does not support the video tag.
碰撞检测 我们添加一个碰撞检测,让物体归位,这里我使用了八叉树检测
添加检测 1 2 3 4 5 6 7 8 9 10 11 12 13 14 15 16 17 18 19 20 21 22 23 24 25 26 27 28 29 30 31 32 33 34 35 36 37 38 39 40 41 42 43 44 45 46 47 48 49 50 51 52 53 54 55 56 import { Octree } from "three/examples/jsm/math/Octree.js" ;const worldOctree = new Octree ();worldOctree.fromGraphNode (plane); const playerDirection = new THREE .Vector3 (0 , 0 , 0 );let playerOnFloor = false ;function playerCollisions ( const result = worldOctree.capsuleIntersect (playerCollider); playerOnFloor = false ; if (result) { playerOnFloor = result.normal .y > 0 ; playerCollider.translate (result.normal .multiplyScalar (result.depth )); } } function resetPlayer ( if (capsule.position .y < -20 ) { playerCollider.start .set (0 , 2.35 , 0 ); playerCollider.end .set (0 , 3.35 , 0 ); playerCollider.radius = 0.35 ; playerVelocity.set (0 , 0 , 0 ); playerDirection.set (0 , 0 , 0 ); } } function updatePlayer (deltaTime ) { if (playerOnFloor){ playerVelocity.y = 0 ; } else { playerVelocity.y += gravity * deltaTime; } const playerMoveDistance = playerVelocity.clone ().multiplyScalar (deltaTime); playerCollider.translate (playerMoveDistance); playerCollider.getCenter (capsule.position ); playerCollisions () } const animate = function ( let delta = clock.getDelta (); updatePlayer (delta); resetPlayer () requestAnimationFrame (animate); controls.update (); renderer.render (scene, camera); };
添加测试代码 为了测试,我们给updatePlayer在平面上的时候添加一个z轴的移动
效果展示 我们可以通过下面这个视频看到,胶囊平面上不会掉落,离开平面之后会继续掉落,掉落一段距离之后会归位。
Your browser does not support the video tag.
添加资源监控 这里我们添加一个资源监控,让我们能够看到当前的资源使用情况
导入 1 import Stats from "three/examples/jsm/libs/stats.module.js" ;
添加 1 2 3 4 5 const container=document .getElementById ("container" )const stats = new Stats ();stats.domElement .style .position = "absolute" ; stats.domElement .style .top = "0px" ; container.appendChild (stats.domElement );
更新 在animate中更新
效果图
通过键盘进行移动 添加键盘事件 1 2 3 4 5 6 7 8 9 10 11 12 13 14 15 16 17 18 19 20 21 22 23 24 25 26 const keyStates = { KeyW : false , KeyA : false , KeyS : false , KeyD : false , Space : false , isDown : false , }; document .addEventListener ( "keydown" , (event ) => { keyStates[event.code ] = true ; keyStates.isDown = true ; }, false ); document .addEventListener ( "keyup" , (event ) => { keyStates[event.code ] = false ; keyStates.isDown = false ; }, false );
处理键盘事件 1 2 3 4 5 6 7 8 9 10 11 12 13 14 15 16 17 18 19 20 21 22 23 24 25 26 27 28 29 30 31 32 33 34 35 36 37 38 39 40 41 42 43 44 45 46 47 48 function controlPlayer (deltaTime ) { if (keyStates["KeyW" ]) { playerDirection.z = 1 ; const capsuleFront = new THREE .Vector3 (0 , 0 , 0 ); capsule.getWorldDirection (capsuleFront); playerVelocity.add (capsuleFront.multiplyScalar (deltaTime)); } if (keyStates["KeyS" ]) { playerDirection.z = 1 ; const capsuleFront = new THREE .Vector3 (0 , 0 , 0 ); capsule.getWorldDirection (capsuleFront); playerVelocity.add (capsuleFront.multiplyScalar (-deltaTime)); } if (keyStates["KeyA" ]) { playerDirection.x = 1 ; const capsuleFront = new THREE .Vector3 (0 , 0 , 0 ); capsule.getWorldDirection (capsuleFront); capsuleFront.cross (capsule.up ); playerVelocity.add (capsuleFront.multiplyScalar (-deltaTime)); } if (keyStates["KeyD" ]) { playerDirection.x = 1 ; const capsuleFront = new THREE .Vector3 (0 , 0 , 0 ); capsule.getWorldDirection (capsuleFront); capsuleFront.cross (capsule.up ); playerVelocity.add (capsuleFront.multiplyScalar (deltaTime)); } if (keyStates["Space" ]) { playerVelocity.y = 15 ; } }
修改updatePlayer 这里添加了damping的阻力,让玩家在地面上的时候能够停下来
1 2 3 4 5 6 7 8 let damping = -0.05 ;if (playerOnFloor) { playerVelocity.y = 0 ; keyStates.isDown || playerVelocity.addScaledVector (playerVelocity, damping); } else { playerVelocity.y += gravity * deltaTime; }
animate中添加 效果 Your browser does not support the video tag.
相机跟随物体 创建蓝色平面 1 2 3 4 5 6 7 const capsuleBodyGeometry = new THREE .PlaneGeometry (1 , 0.5 , 1 , 1 );const capsuleBodyMaterial = new THREE .MeshBasicMaterial ({ color : 0x0000ff , side : THREE .DoubleSide , }); const capsuleBody = new THREE .Mesh (capsuleBodyGeometry, capsuleBodyMaterial);capsuleBody.position .set (0 , 0.5 , 0 );
添加相机 1 2 3 4 5 6 7 camera.position .set (0 , 2 , -5 ); camera.lookAt (capsule.position ); capsule.add (camera); capsule.add (capsuleBody); scene.add (capsule);
效果 Your browser does not support the video tag.
自定义鼠标转向 关闭原有controls animate中的部分
这样我们就将默认的控制器给关了,接下来我们进行添加自定义的控制器
自定义控制器 1 2 3 4 5 6 7 8 window .addEventListener ( "mousemove" , (event ) => { capsule.rotation .y -= event.movementX * 0.003 ; }, false );
效果 Your browser does not support the video tag.
结语 本篇文章就介绍到这里,更多内容敬请期待下一篇文章


