前言
公司项目进入收尾阶段,我本人感冒也好了,这段时间将提升更新频率,敬请期待~
本篇文章回顾一下之前的灯光和阴影的基础知识,就稍微讲一下,本篇文章会比之前的灯光文章稍微详细一点,大家当然可以和之前的文章对比学习一下。之前文章地址:https://myblog-5g89ixpbbf1fbfad-1316695488.ap-shanghai.app.tcloudbase.com/2023/05/21/three-7/
灯光和阴影
基础创建和物体环境贴图添加
依赖安装那些我就不说了哈,我直接贴基础代码了,这里添加了一个场景和几个物体
1
2
3
4
5
6
7
8
9
10
11
12
13
14
15
16
17
18
19
20
21
22
23
24
25
26
27
28
29
30
31
32
33
34
35
36
37
38
39
40
41
42
43
44
45
46
47
48
49
50
51
52
53
54
55
56
57
58
59
60
61
62
63
64
65
66
67
68
69
70
71
72
73
74
75
76
77
78
79
80
81
82
83
84
85
86
87
88
89
90
91
92
93
94
95
96
97
98
99
100
101
102
103
104
105
106
107
108
109
110
111
112
113
114
115
116
|
import * as THREE from "three";
import { OrbitControls } from "three/examples/jsm/controls/OrbitControls.js";
import { GUI } from "three/examples/jsm/libs/lil-gui.module.min.js";
import { RGBELoader } from "three/examples/jsm/loaders/RGBELoader.js";
const scene = new THREE.Scene();
const camera = new THREE.PerspectiveCamera(
45,
window.innerWidth / window.innerHeight,
0.1,
1000
);
const renderer = new THREE.WebGLRenderer({
antialias: true,
});
renderer.setSize(window.innerWidth, window.innerHeight);
renderer.outputColorSpace = THREE.SRGBColorSpace;
renderer.toneMapping = THREE.ACESFilmicToneMapping;
renderer.toneMappingExposure = 1;
document.body.appendChild(renderer.domElement);
camera.position.z = 15;
camera.position.y = 2.4;
camera.position.x = 0.4;
camera.lookAt(0, 0, 0);
const axesHelper = new THREE.AxesHelper(5);
scene.add(axesHelper);
const controls = new OrbitControls(camera, renderer.domElement);
controls.enableDamping = true;
controls.dampingFactor = 0.05;
controls.addEventListener("change", () => {
renderer.render(scene, camera);
});
function animate() {
controls.update();
requestAnimationFrame(animate);
renderer.render(scene, camera);
}
animate();
window.addEventListener("resize", () => {
renderer.setSize(window.innerWidth, window.innerHeight);
camera.aspect = window.innerWidth / window.innerHeight;
camera.updateProjectionMatrix();
});
const gui = new GUI();
let rgbeLoader = new RGBELoader();
rgbeLoader.load("./texture/Video_Copilot-Back Light_0007_4k.hdr", (envMap) => {
envMap.mapping = THREE.EquirectangularReflectionMapping;
scene.background = envMap;
});
const geometry = new THREE.TorusKnotGeometry(1, 0.3, 100, 16);
const material1 = new THREE.MeshPhysicalMaterial({
color: 0xccccff,
});
const torusKnot = new THREE.Mesh(geometry, material1);
torusKnot.position.set(4, 0, 0);
scene.add(torusKnot);
let sphereGeometry = new THREE.SphereGeometry(1, 32, 32);
const material2 = new THREE.MeshPhysicalMaterial({
color: 0xffffff,
});
const sphere = new THREE.Mesh(sphereGeometry, material2);
scene.add(sphere);
let boxGeometry = new THREE.BoxGeometry(1, 1, 1);
const material3 = new THREE.MeshPhysicalMaterial({
color: 0xffcccc,
});
const box = new THREE.Mesh(boxGeometry, material3);
box.position.set(-4, 0, 0);
scene.add(box);
let planeGeometry = new THREE.PlaneGeometry(24, 24, 1, 1);
let planeMaterial = new THREE.MeshPhysicalMaterial({
color: 0x999999,
});
let planeMesh = new THREE.Mesh(planeGeometry, planeMaterial);
planeMesh.rotation.x = -Math.PI / 2;
planeMesh.position.set(0, -1, 0);
scene.add(planeMesh);
|
此时的效果图大概如下

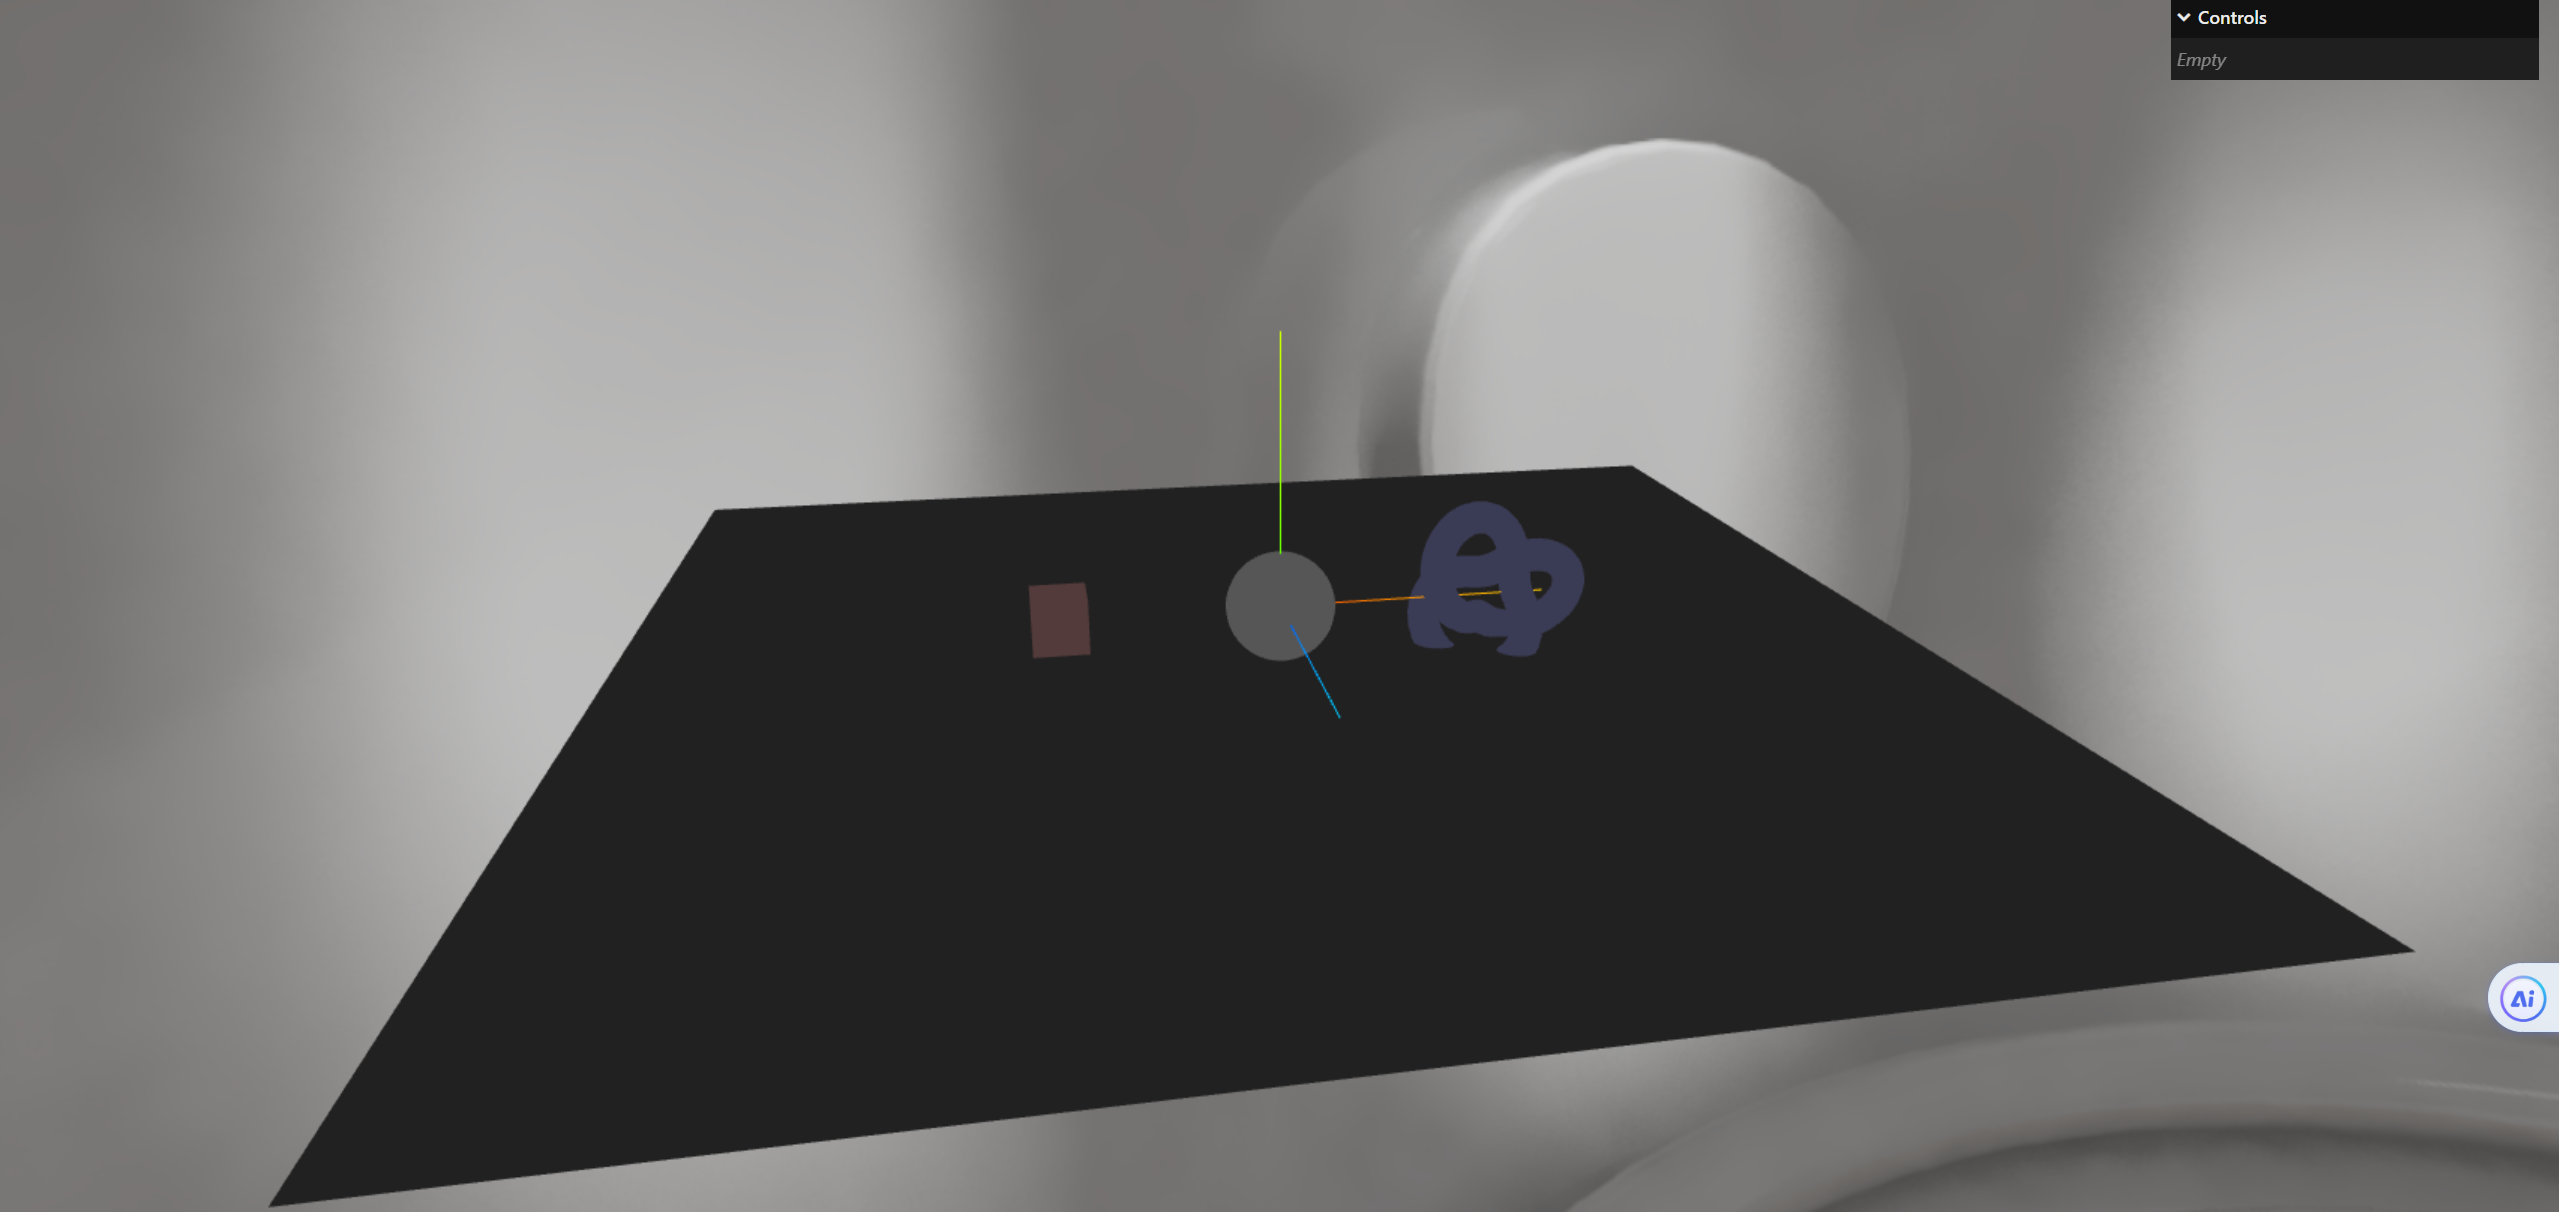
环境光
此时如果要让物体亮起来,就需要添加光源,这里我们添加一个环境光
1
2
3
|
let ambientLight = new THREE.AmbientLight(0xffffff, 0.1);
scene.add(ambientLight);
|
此时效果图如下:
平行光
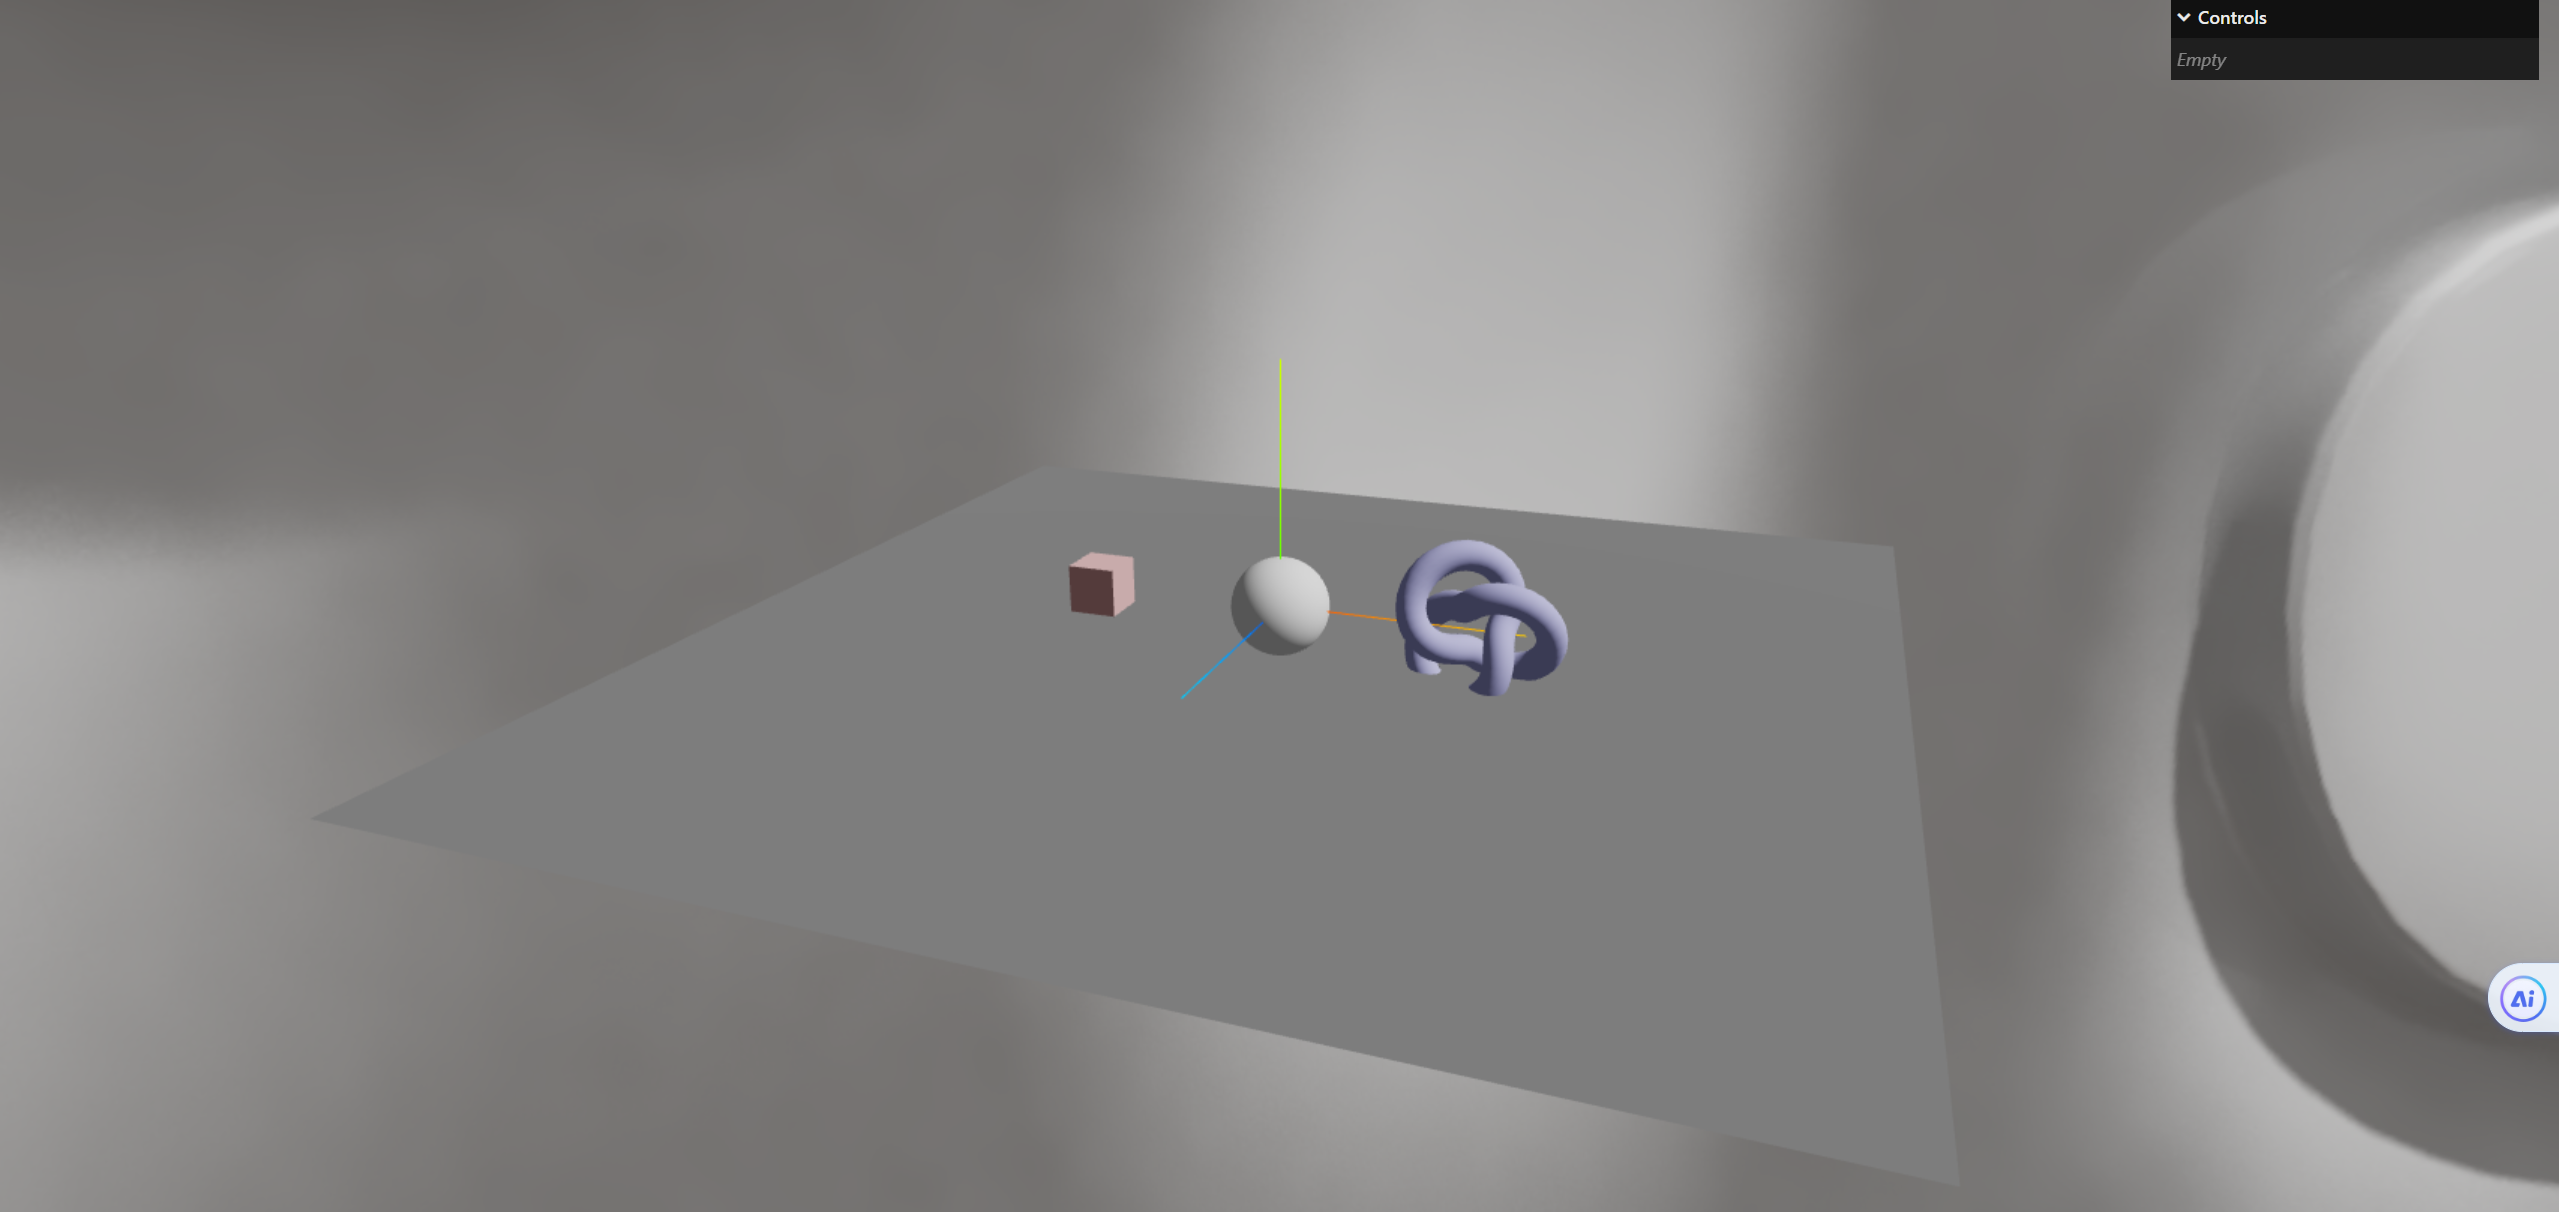
如果我们要让平面亮起来以及物体有阴影,就需要添加平行光
1
2
3
4
5
6
|
let directionalLight = new THREE.DirectionalLight(0xffffff, 0.6);
directionalLight.position.set(10, 10, 0);
directionalLight.target.position.set(0, 0, 0);
scene.add(directionalLight);
|
平行光辅助器
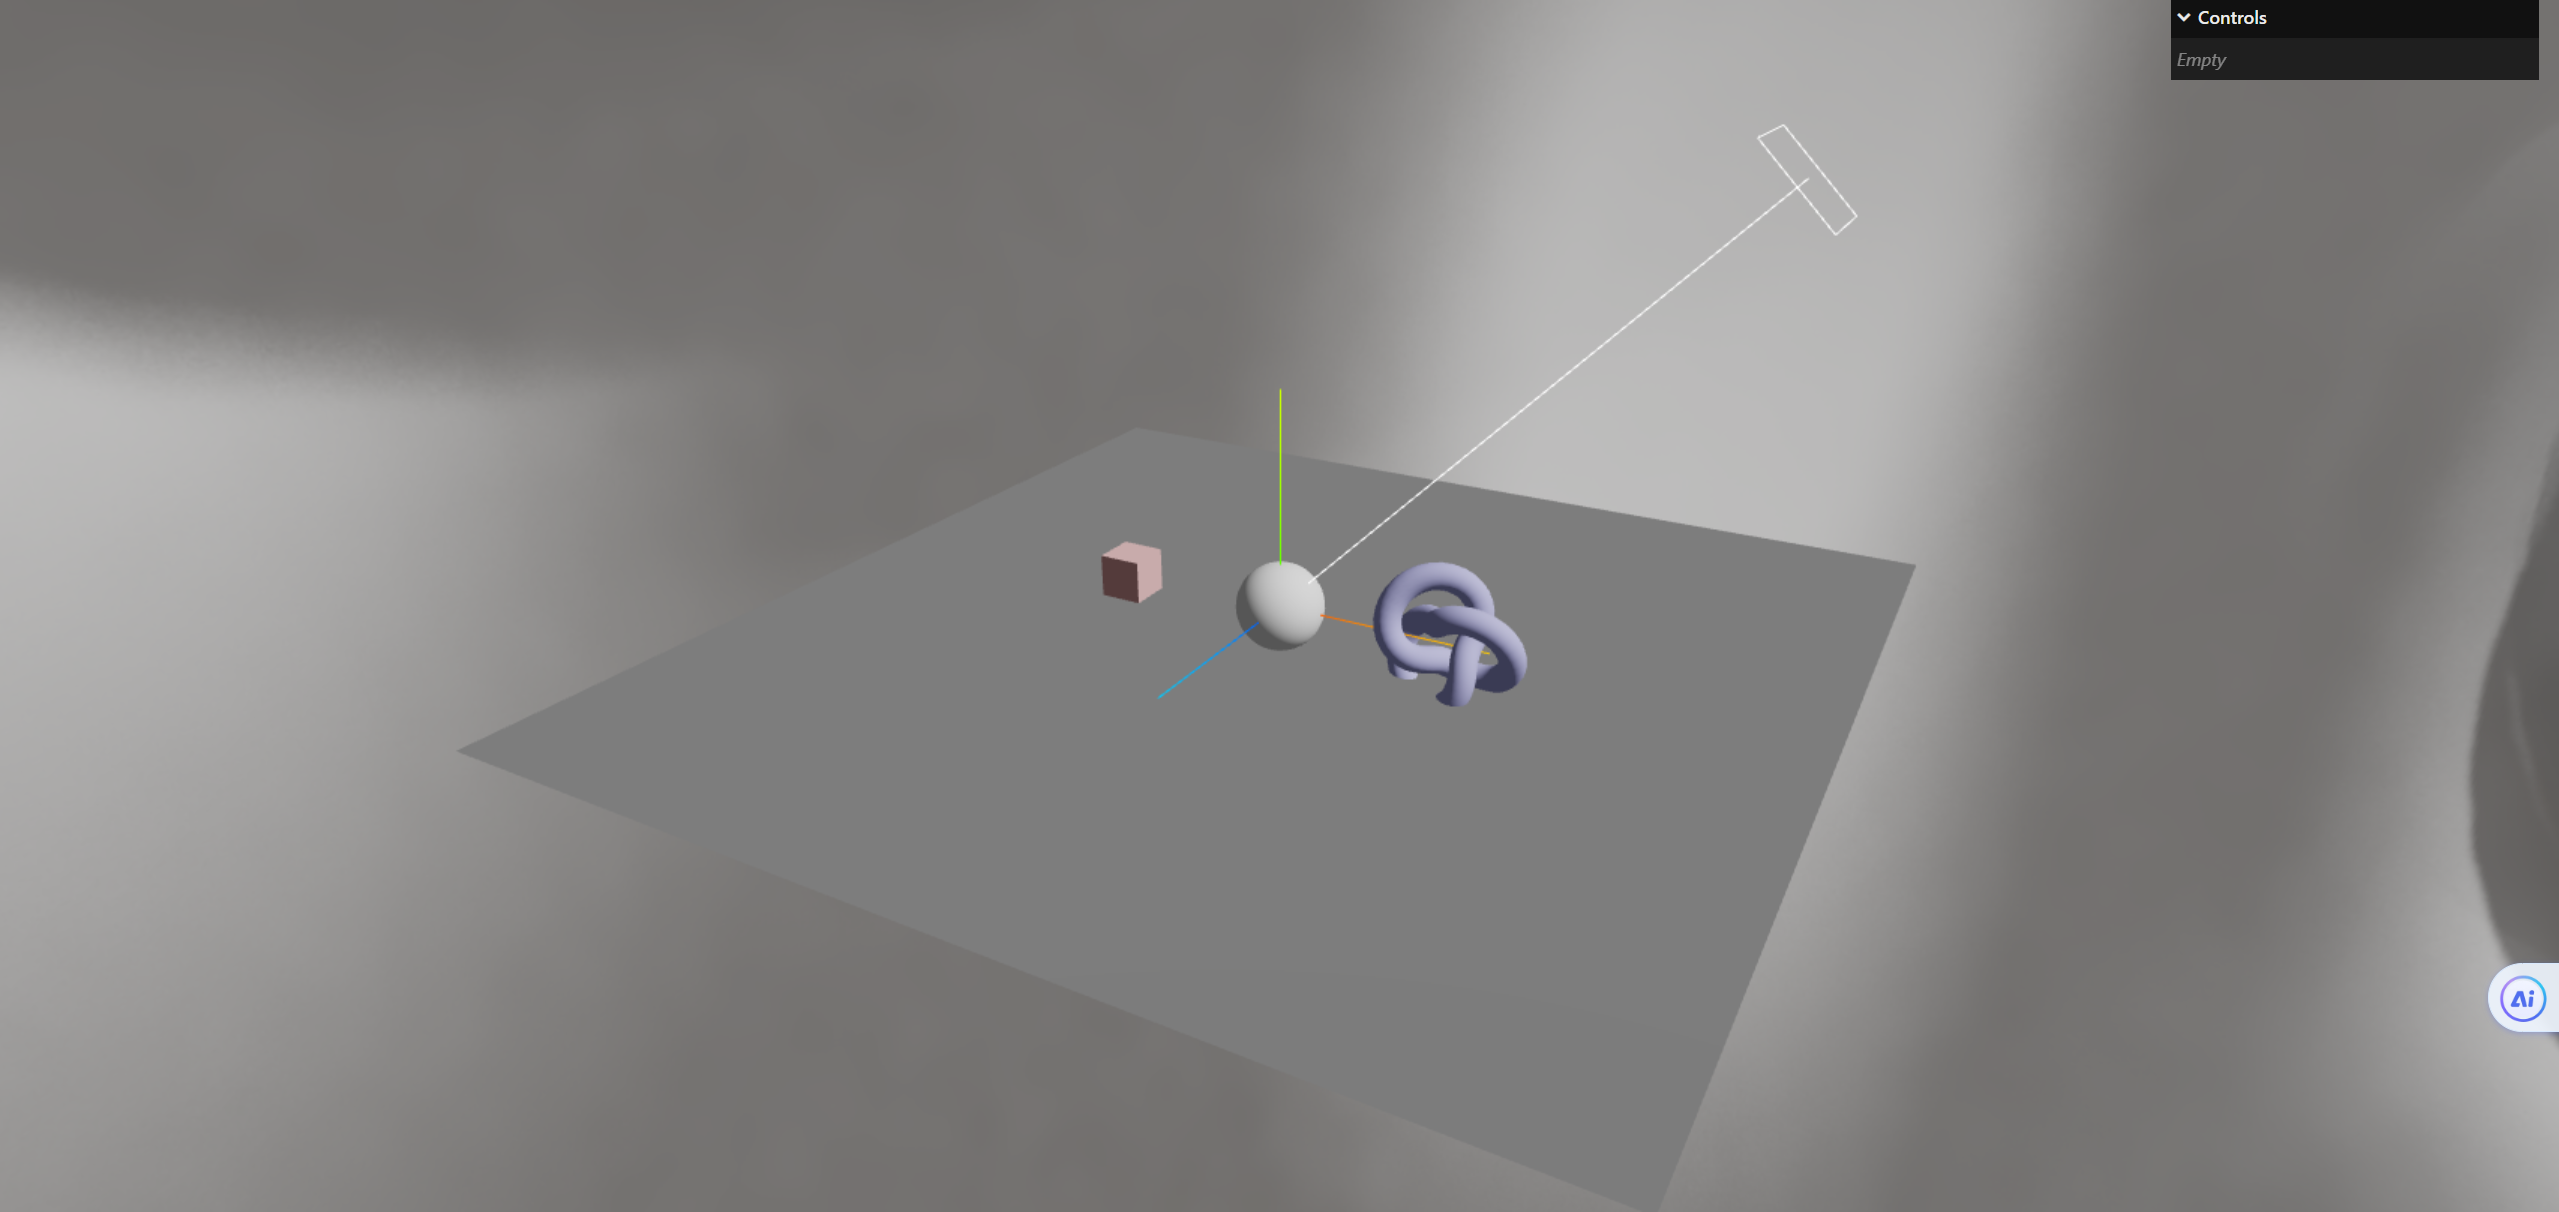
我们在开发的时候,完全可以把平行光的辅助器给打开
1
2
3
|
let directionalLightHelper = new THREE.DirectionalLightHelper(directionalLight);
scene.add(directionalLightHelper);
|
接受阴影和投射阴影
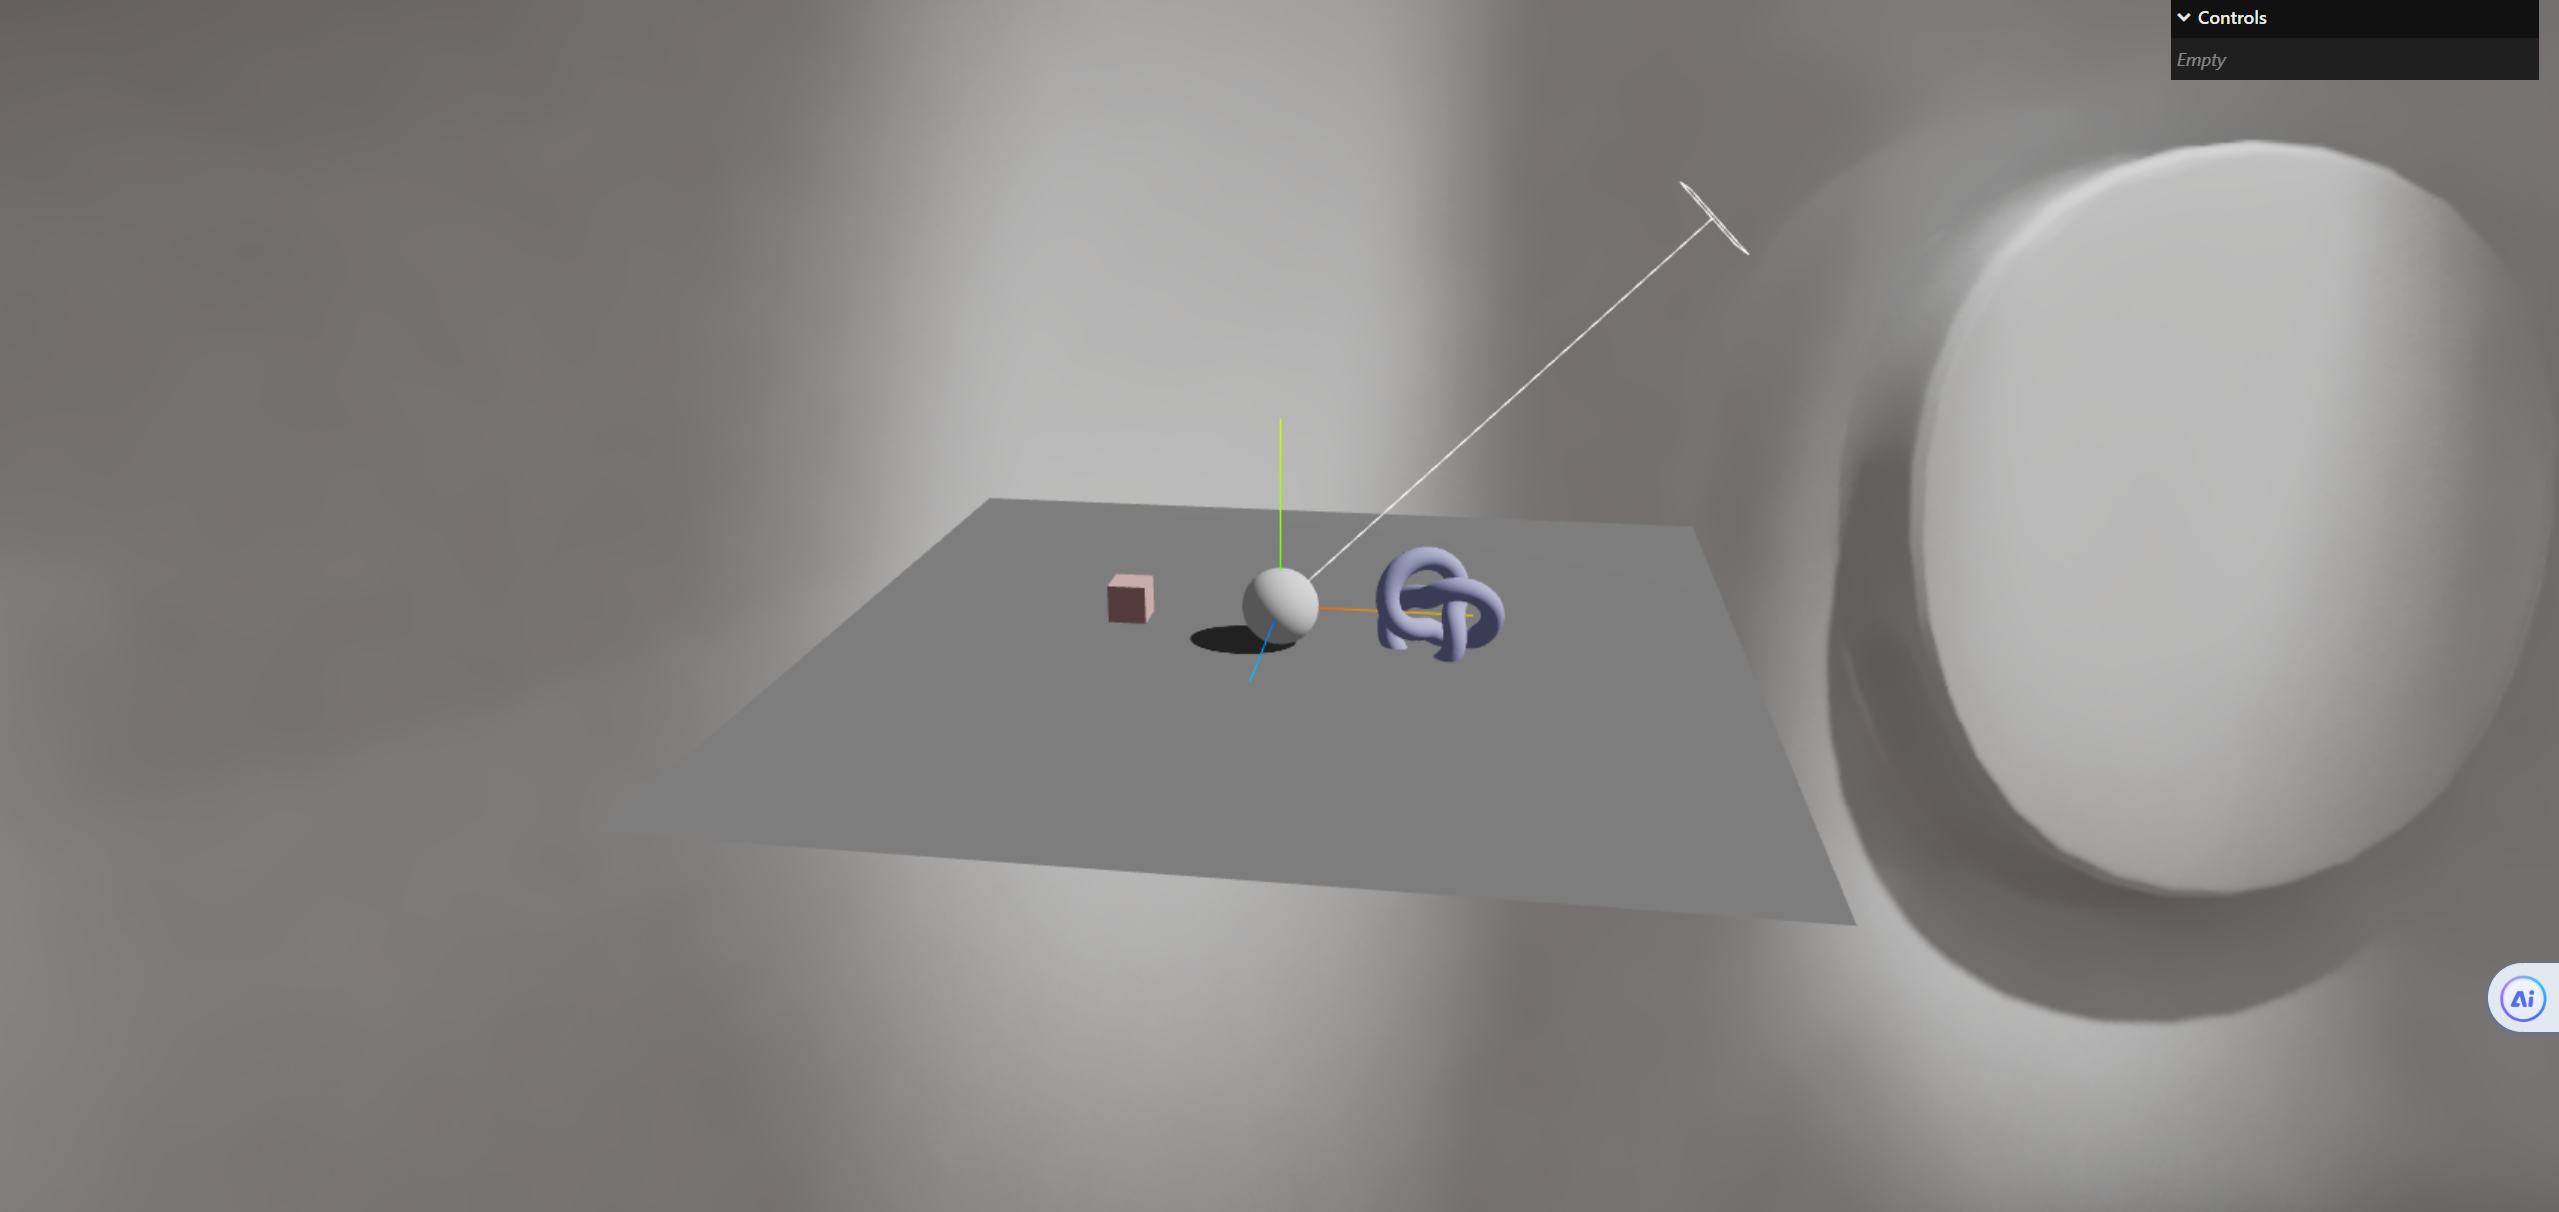
这个我们之前就说过了,总共分四步
- 设置渲染器允许投射阴影
- 设置平行光允许投射阴影
- 设置平面接受阴影
- 设置物体投射接受阴影
设置渲染器允许投射阴影
1
2
|
renderer.shadowMap.enabled = true;
|
设置平行光允许投射阴影
1
2
|
directionalLight.castShadow = true;
|
设置平面接受阴影
1
2
3
|
planeMesh.receiveShadow = true;
planeMesh.castShadow = true;
|
设置物体投射接受阴影
1
2
| sphere.castShadow = true;
sphere.receiveShadow = true;
|
阴影裁剪问题
问题描述与产生原因
我们将平行光进行调整
1
| directionalLight.position.set(0, 10, 0);
|
添加gui的数据
1
| gui.add(sphere.position, "z", -10, 10).name("z");
|
从上面这个视频我们可以看到我们的阴影被裁剪了,超出某个范围直接不见了
这是因为我们的相机是一个正交相机,你可以想象为某个区域范围内,他将物体生成快照,这个范围内的物体才会有阴影这个东西。
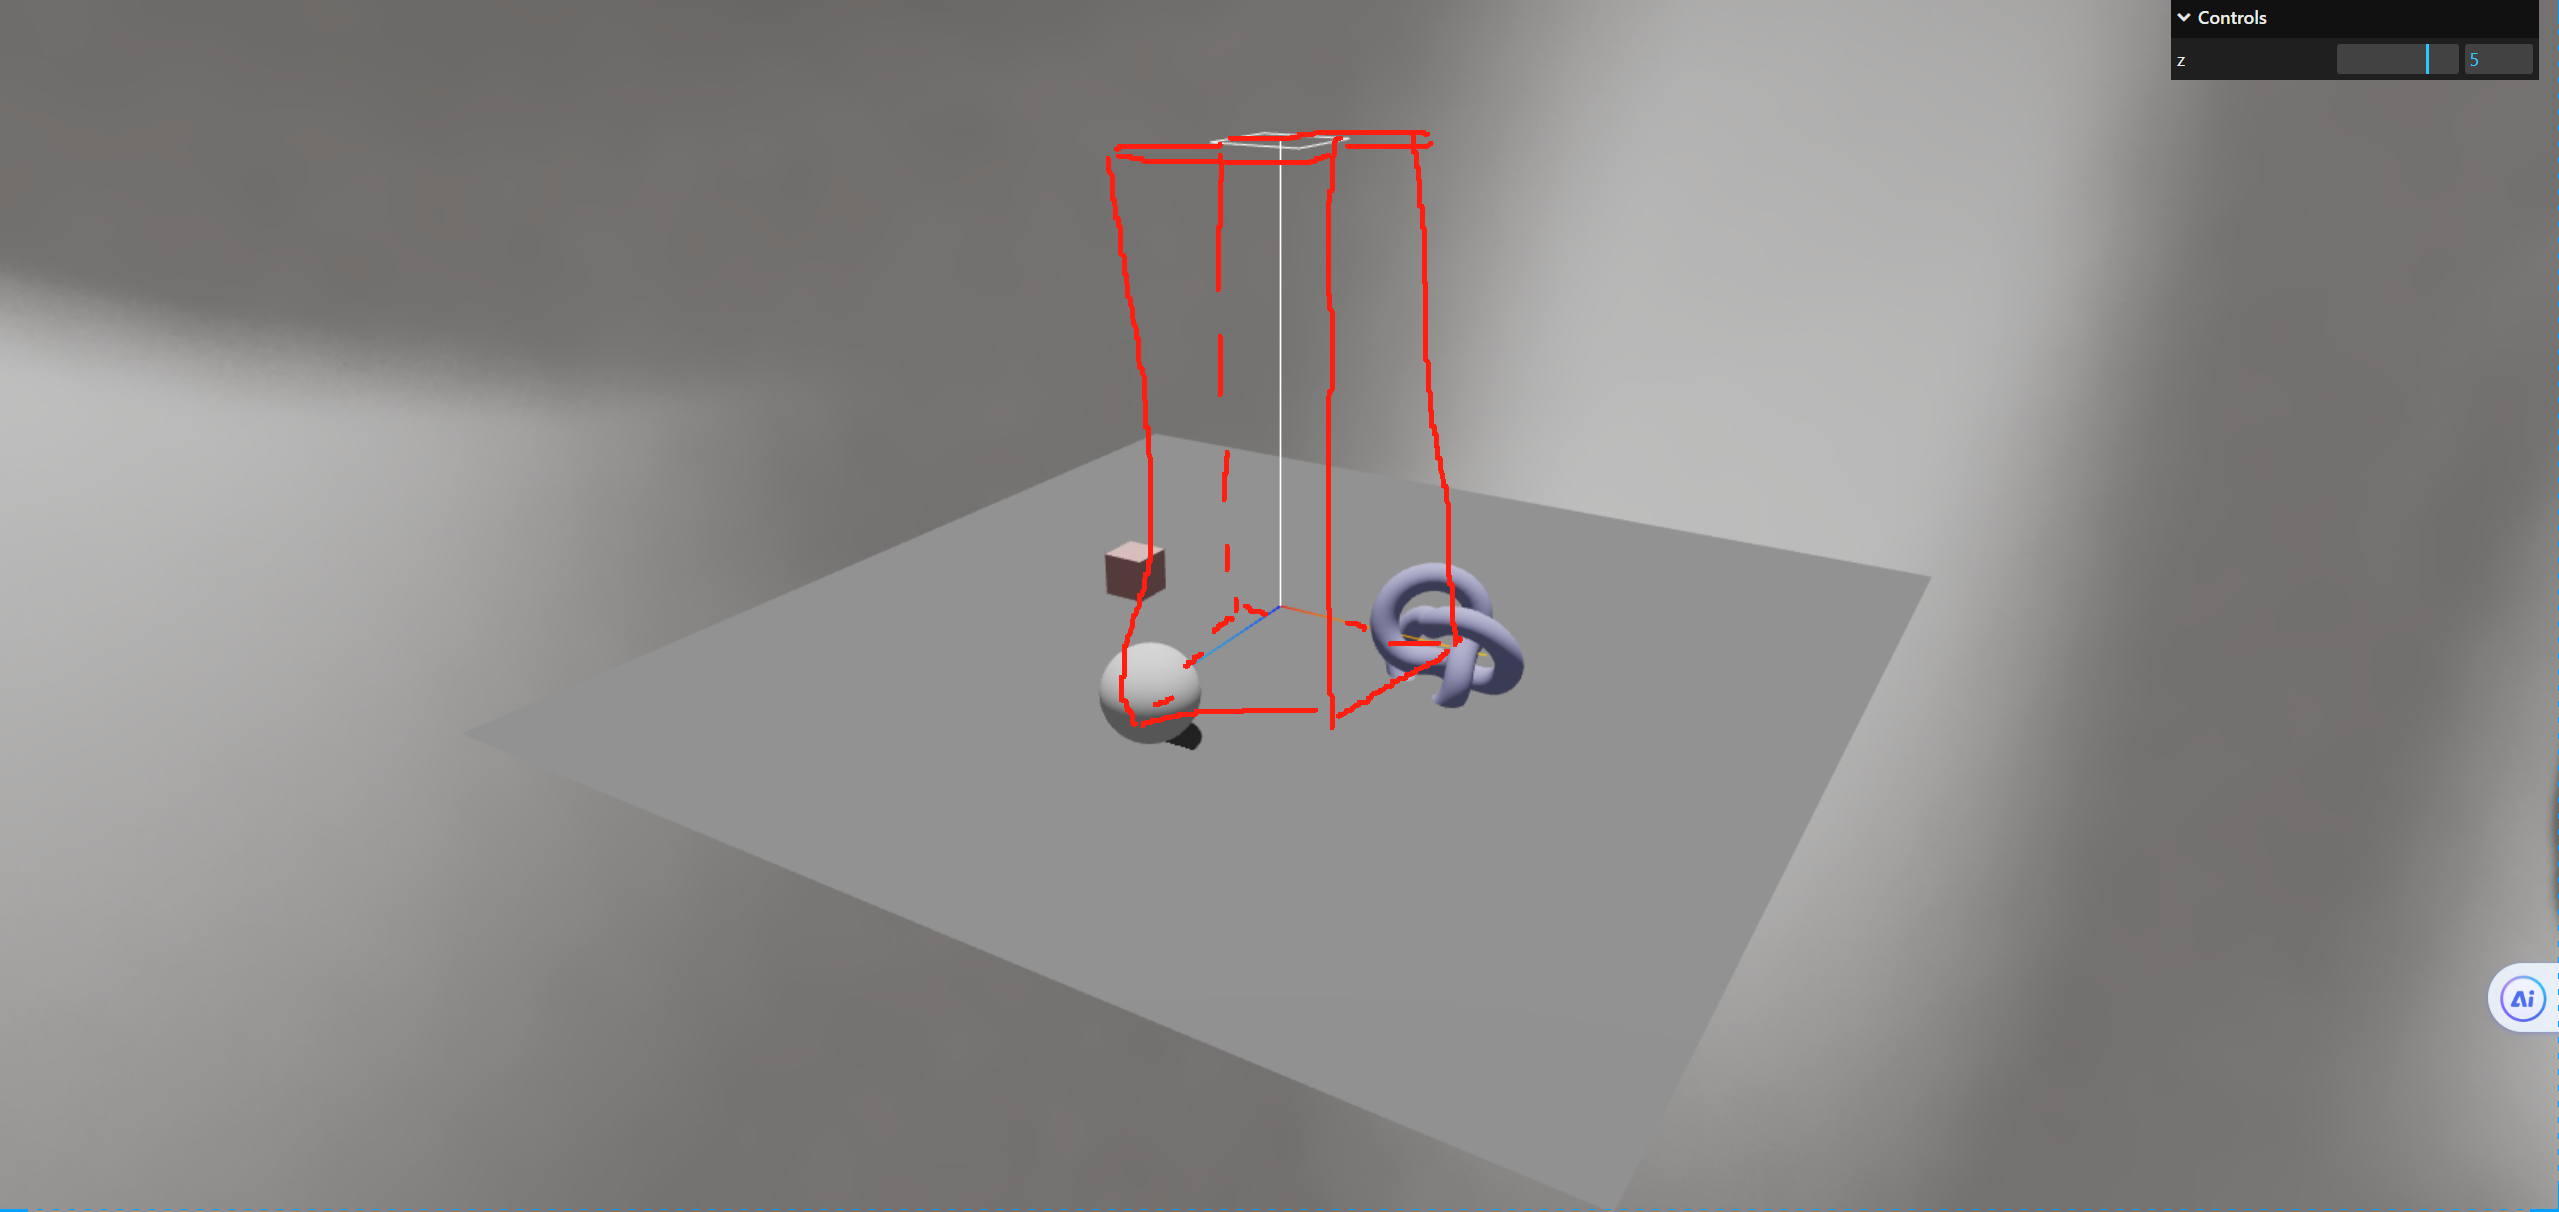
我画了一个示意图,差不多就是这个意思。
解决方案
我们可以通过调整相机的范围来解决这个问题
1
2
3
4
5
6
7
| console.log(directionalLight);
directionalLight.shadow.camera.left = -10;
directionalLight.shadow.camera.right = 10;
directionalLight.shadow.camera.top = 10;
directionalLight.shadow.camera.bottom = -10;
directionalLight.shadow.camera.near = 0.5;
directionalLight.shadow.camera.far = 50;
|
调整最远距离
这上面的六个属性就是这个正交相机的范围的六个面了,比如我们将最远的距离调整小
1
| directionalLight.shadow.camera.far = 5;
|
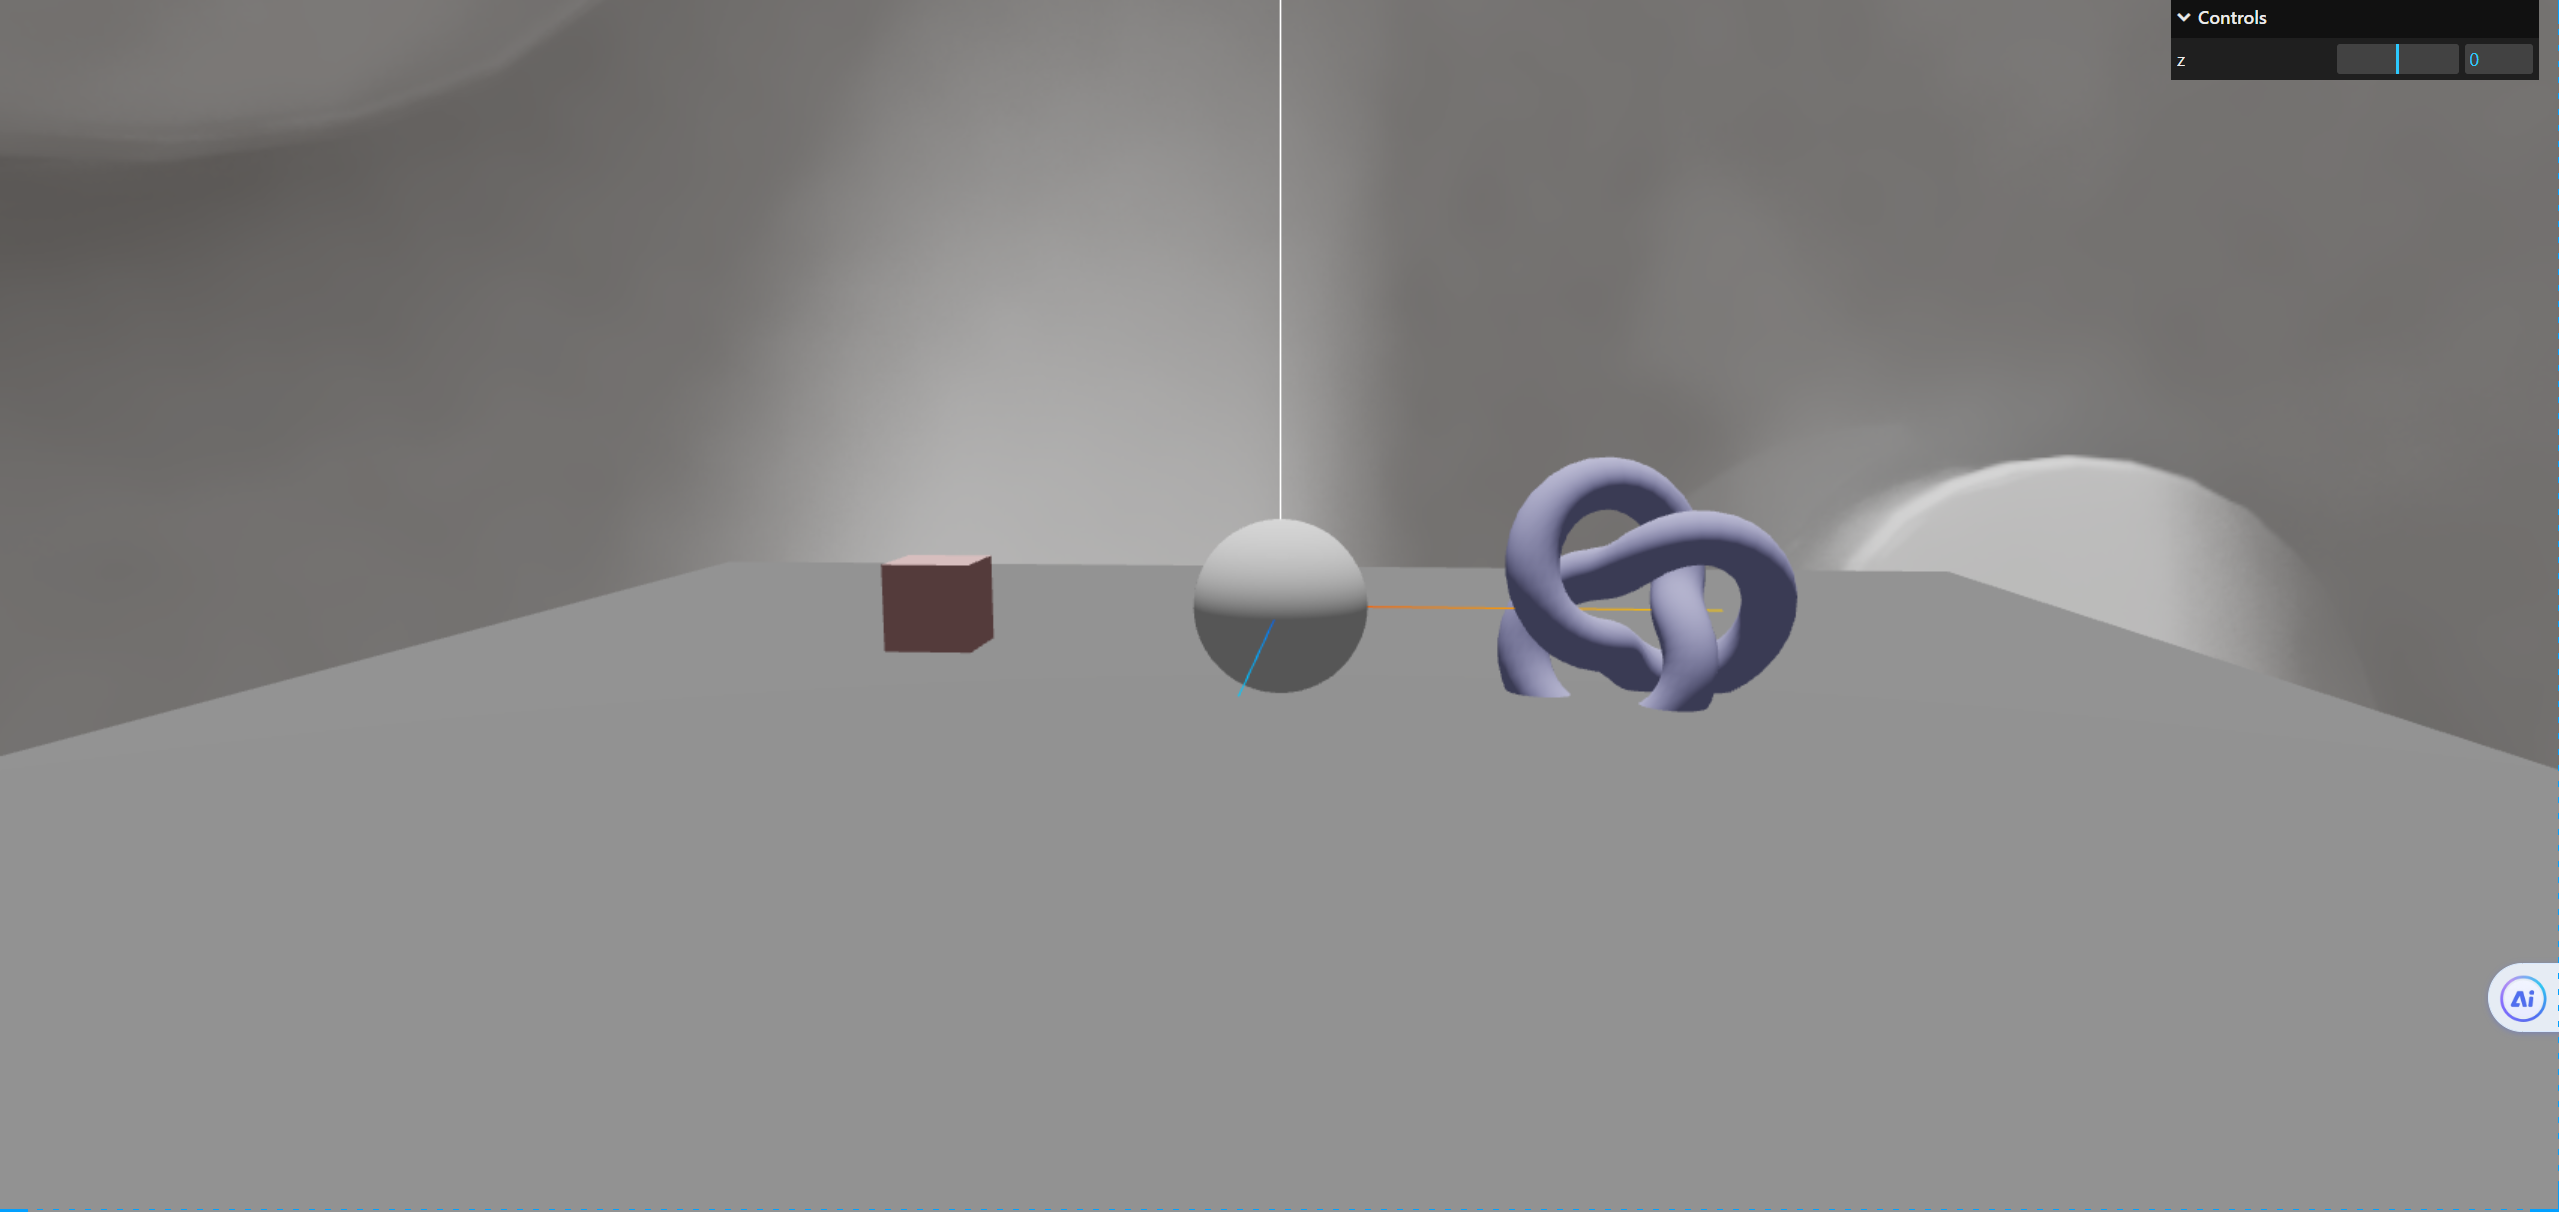
同样的道理,如果我们调整最近的距离near,或者其他的属性,只要这个相机形成的立方体不包括我们的物体,那么就会造成阴影缺失或者裁剪。
阴影锯齿感
我们上面的阴影还有一个问题,就是锯齿感,这个问题我们可以通过调整阴影的纹理大小来解决,默认为512,我们可以调整为2048
1
2
3
|
directionalLight.shadow.mapSize.width = 2048;
directionalLight.shadow.mapSize.height = 2048;
|
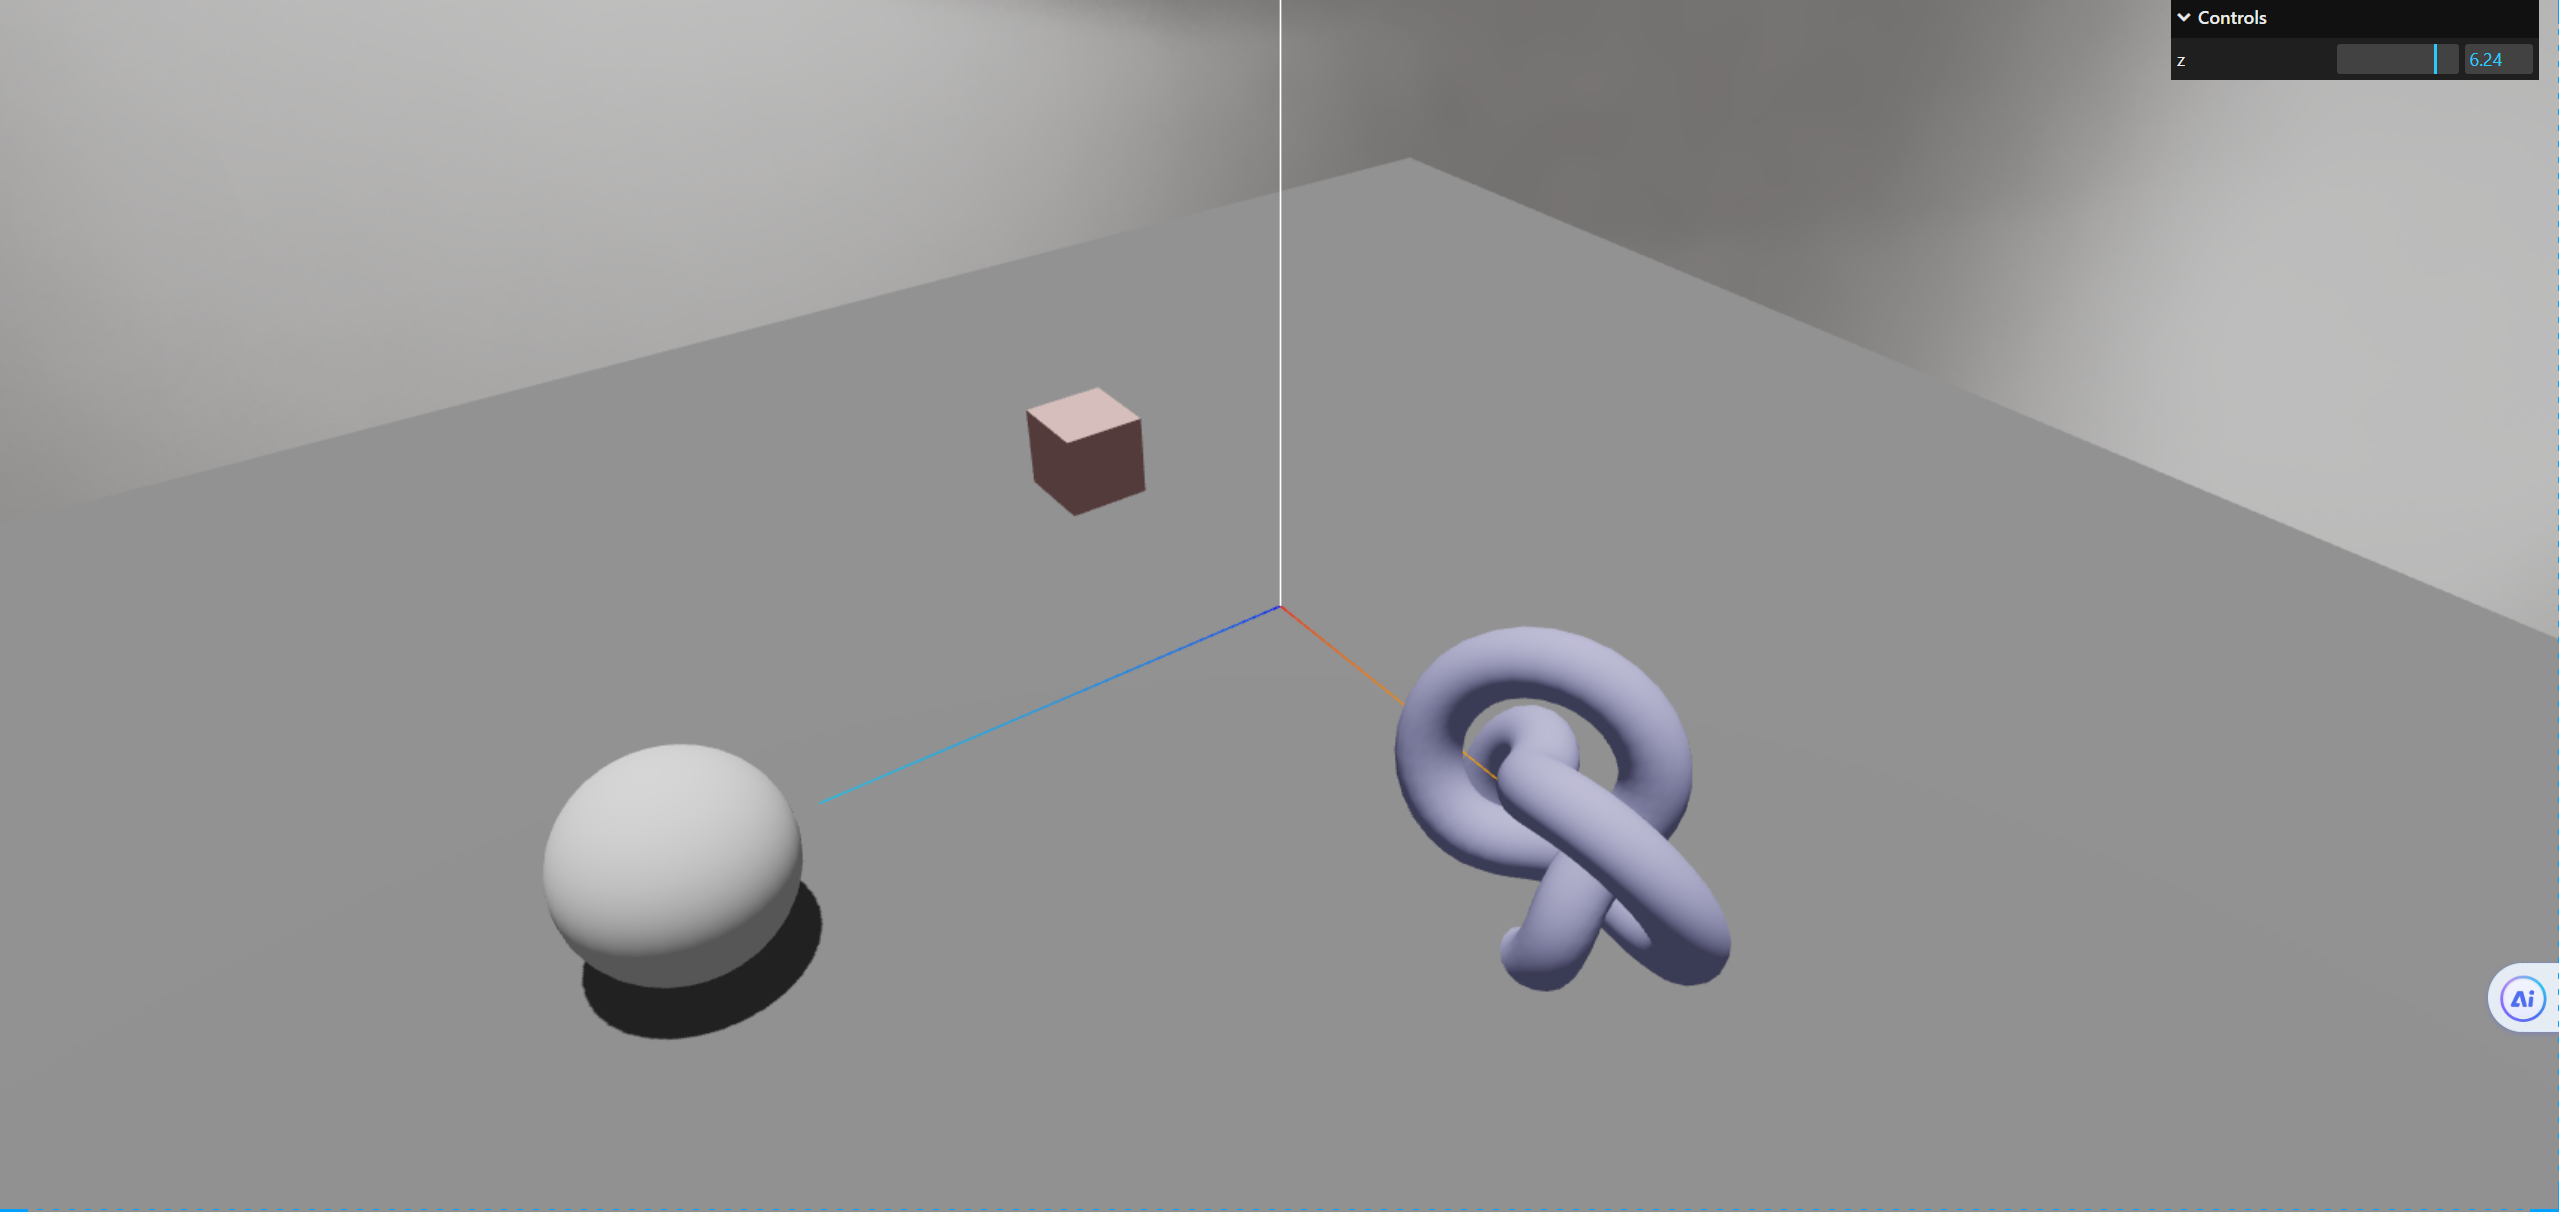
当然,一切效果的提升也就意味着性能消耗的提升,这个大家可以在实际开发中自己权衡一下。
聚光灯属性详解
聚光灯添加并设置阴影
我们先要将上面的平行光环境光给注释掉
1
2
3
4
5
| let spotLight = new THREE.SpotLight(0xffffff, 2);
spotLight.position.set(0, 10, 0);
spotLight.target.position.set(0, 0, 0);
spotLight.castShadow = true;
scene.add(spotLight);
|
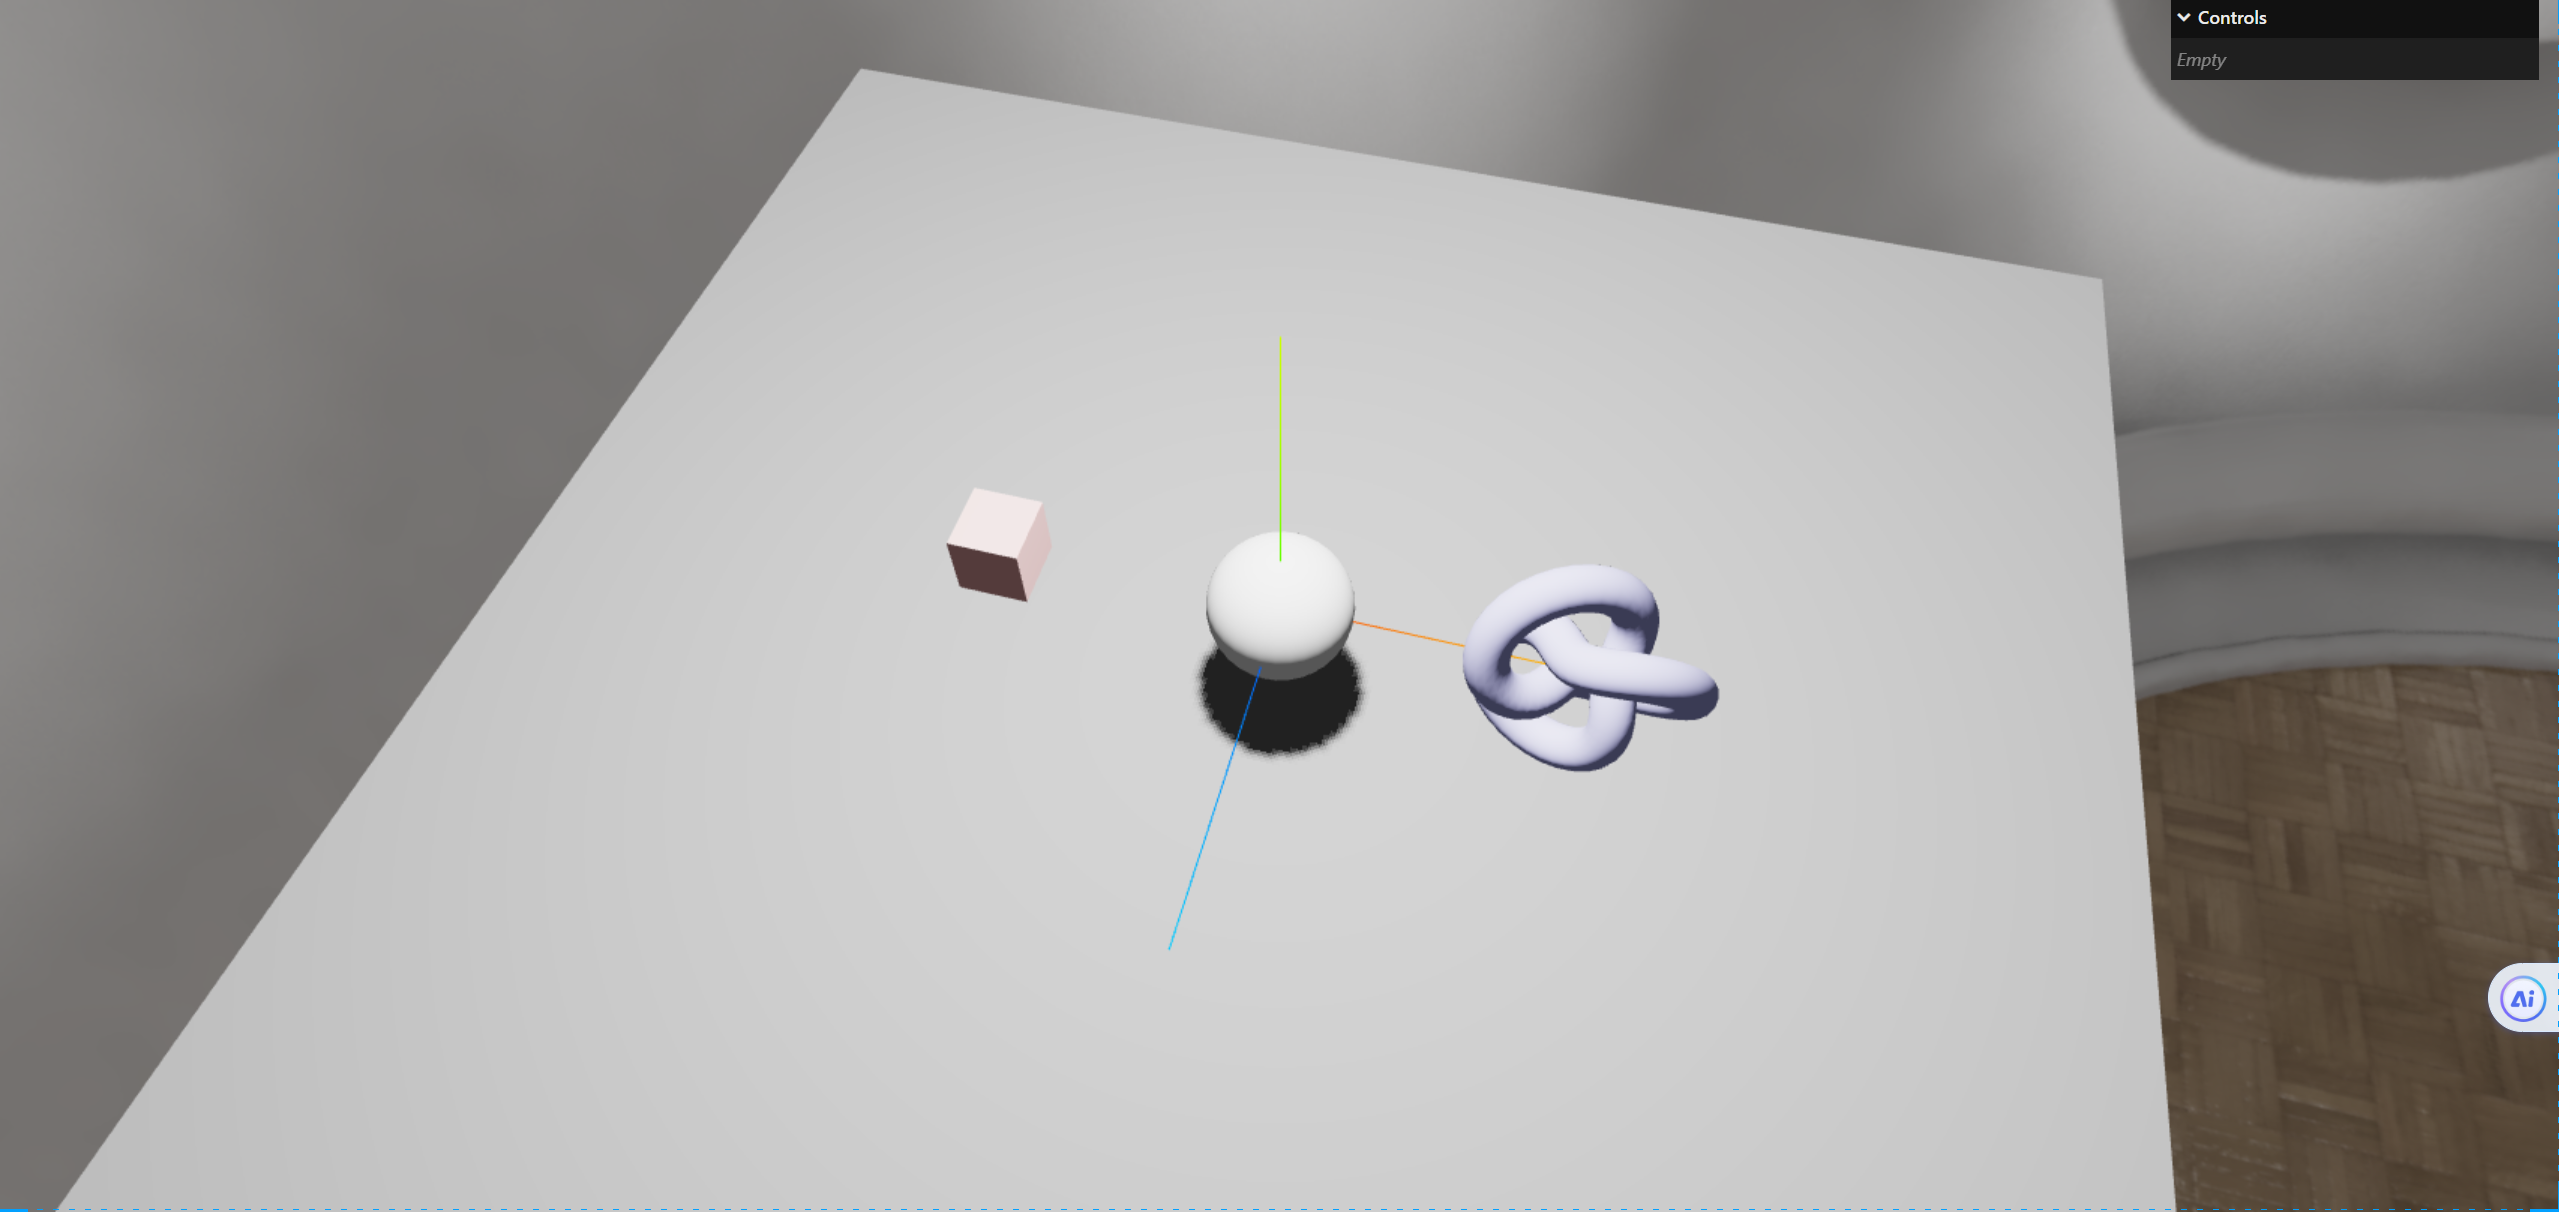
聚光灯辅助器
1
2
3
|
let spotLightHelper = new THREE.SpotLightHelper(spotLight);
scene.add(spotLightHelper);
|
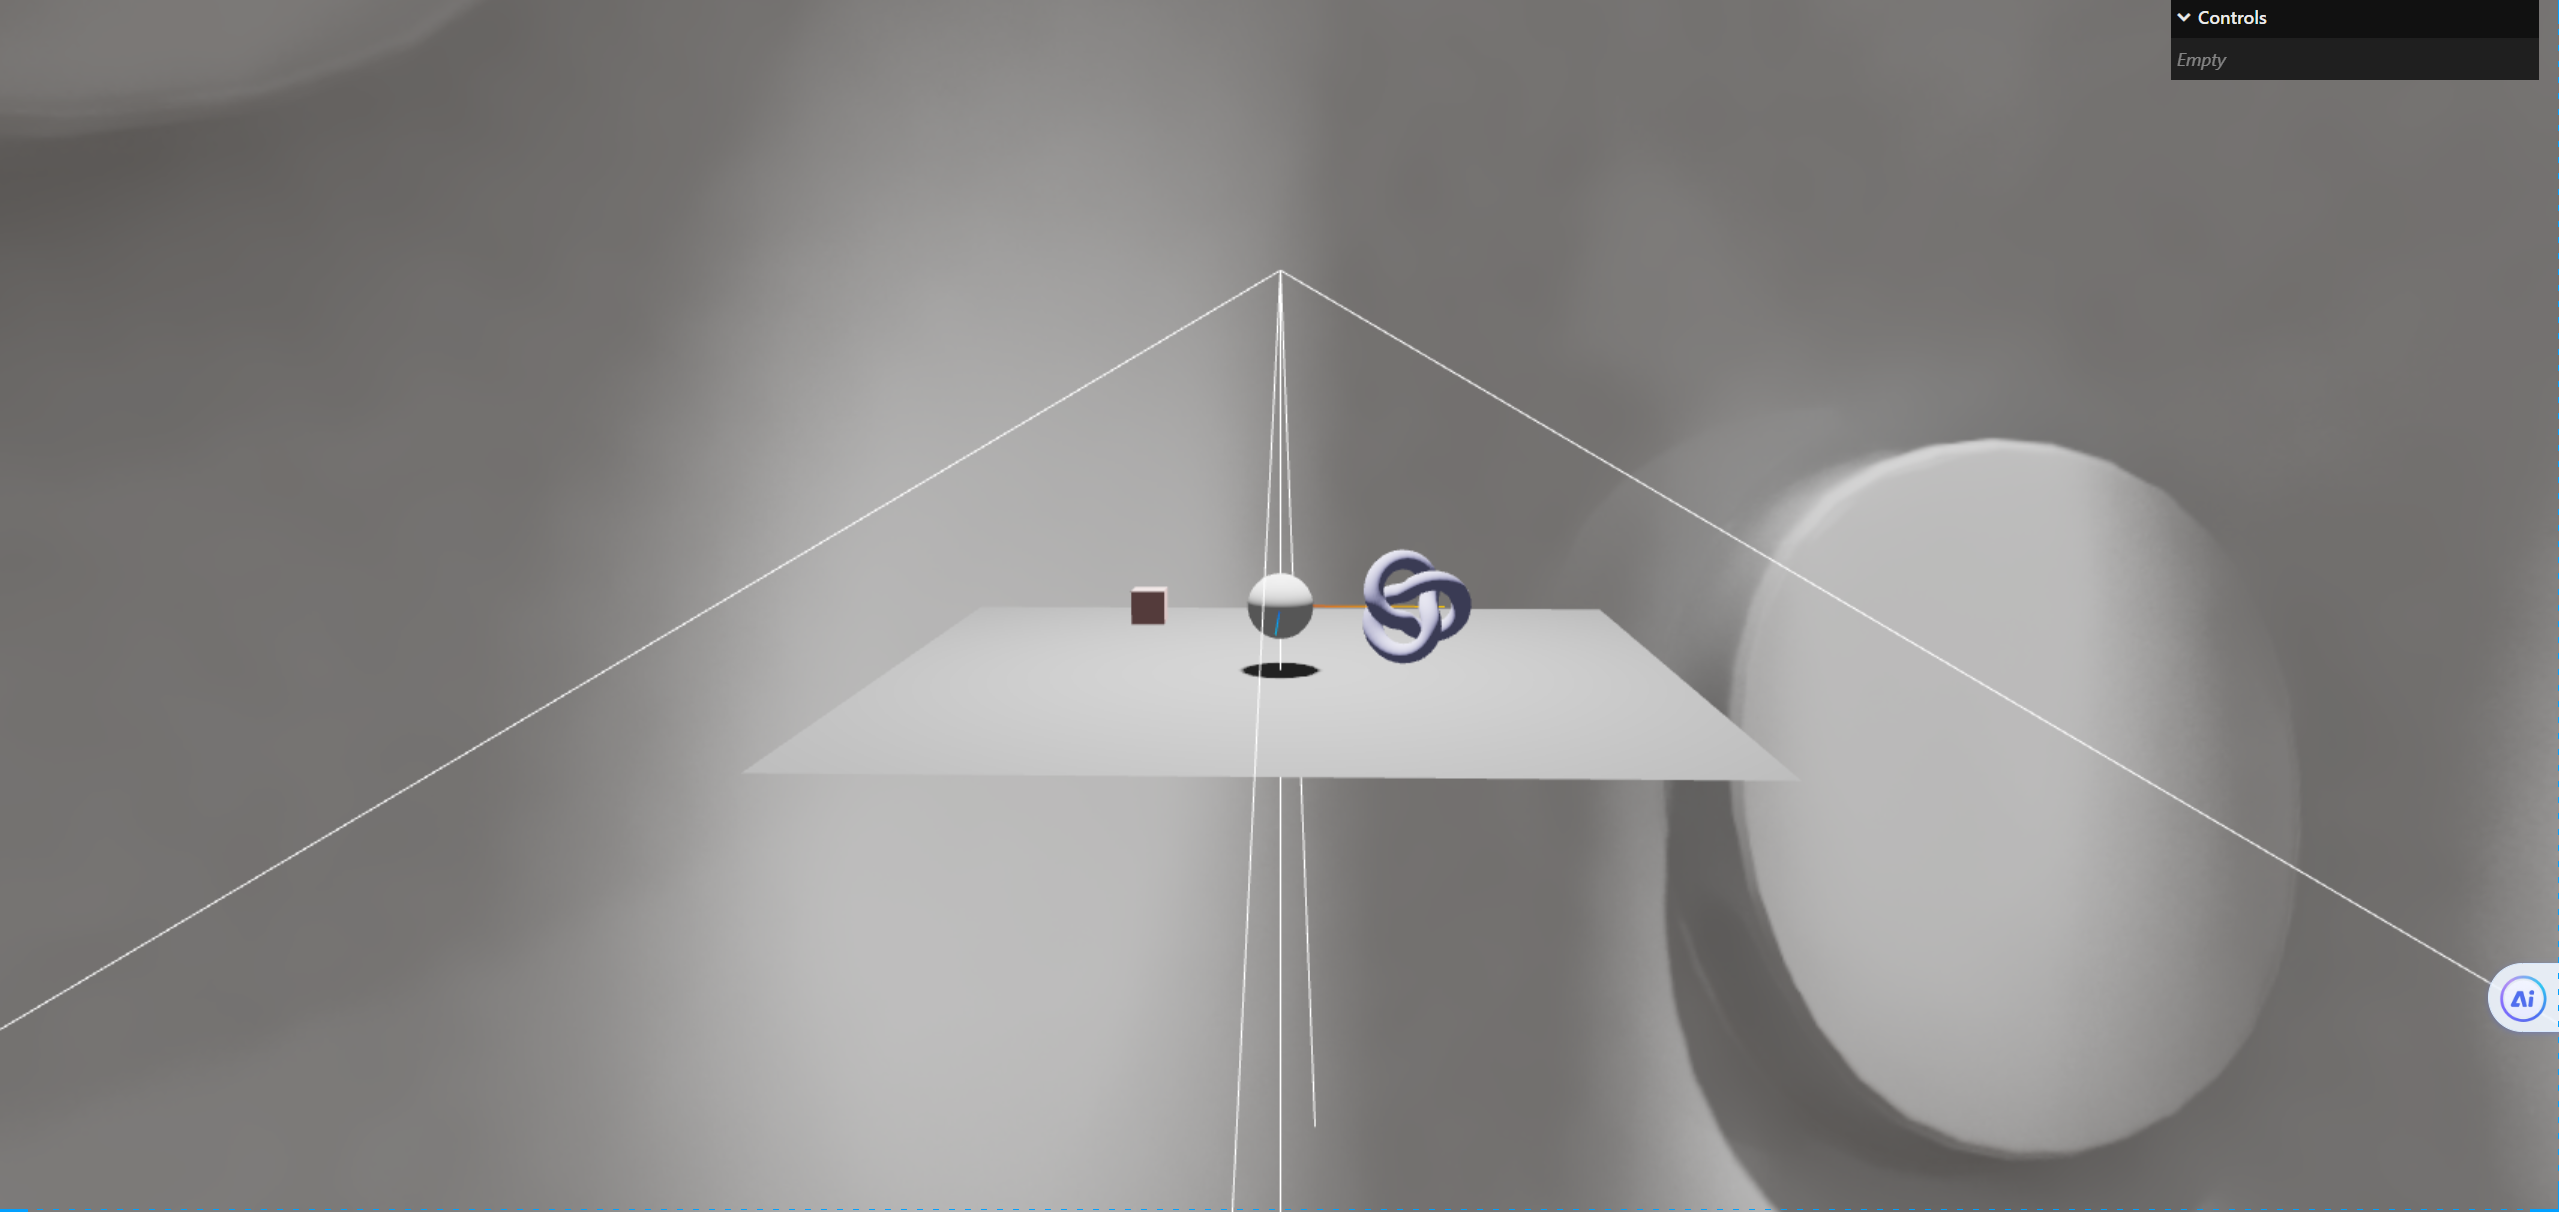
聚光灯角度
此时我们可以看到聚光灯的角度变小了
1
| spotLight.angle = Math.PI / 8;
|
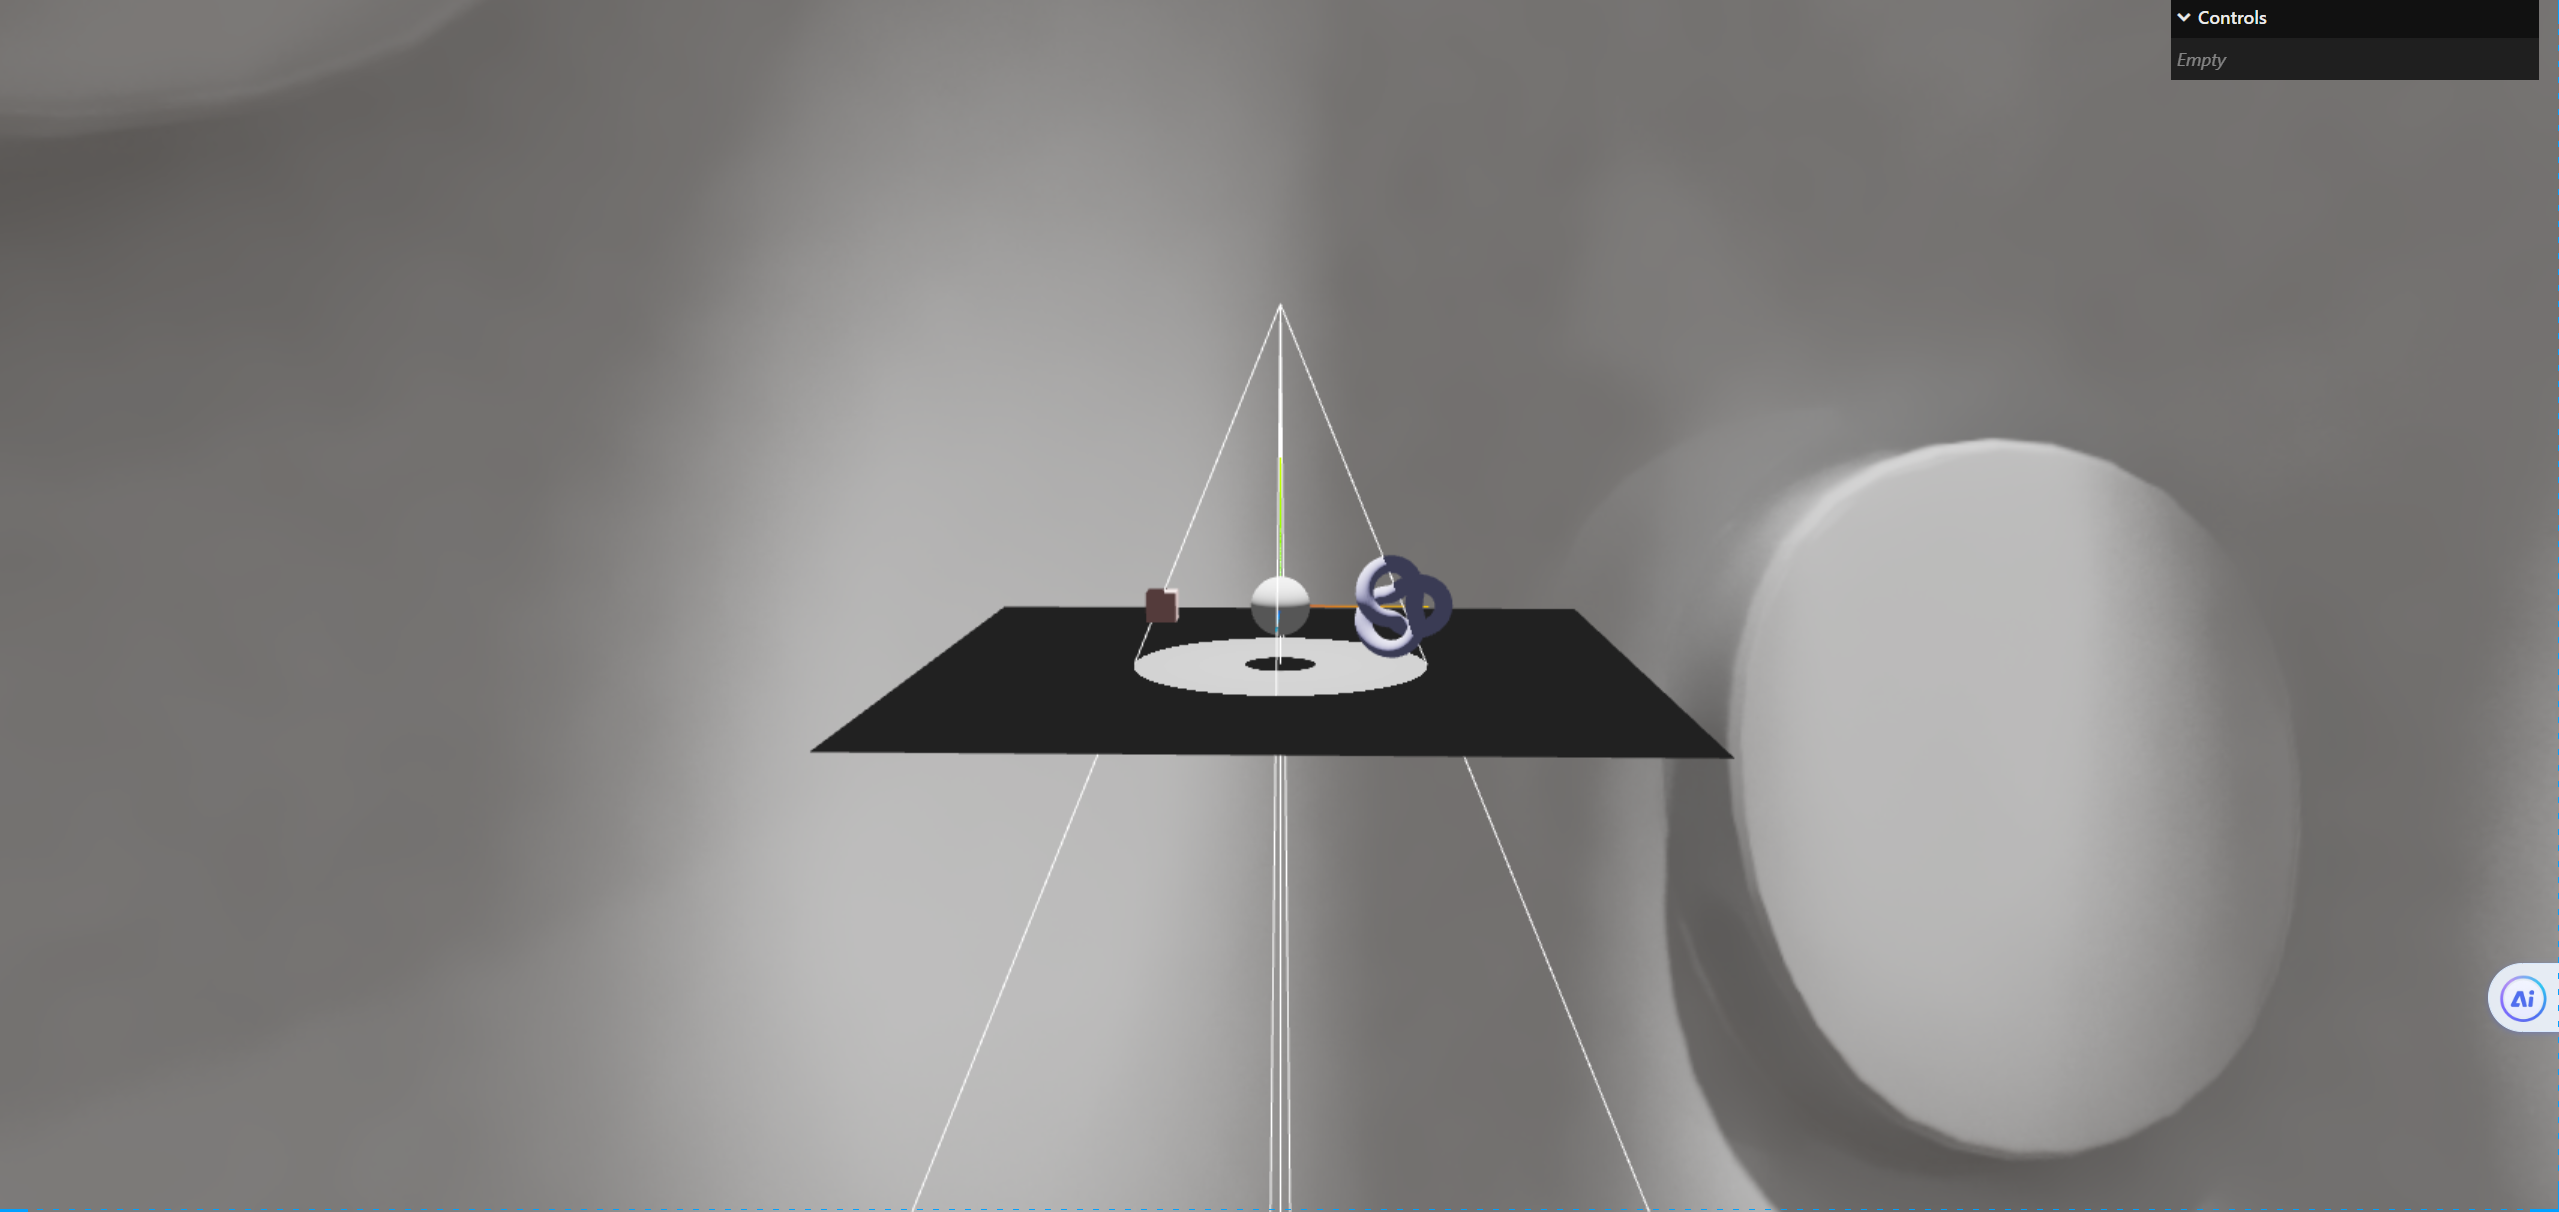
聚光灯距离
默认我们的聚光灯是没有距离的,我们可以设置距离,又因为我们聚光灯效果是衰减的,当我们把距离设置小,而物体距离聚光灯结束的地方比较近的时候,就会出现聚光灯效果不明显的情况
1
| spotLight.distance = 15;
|
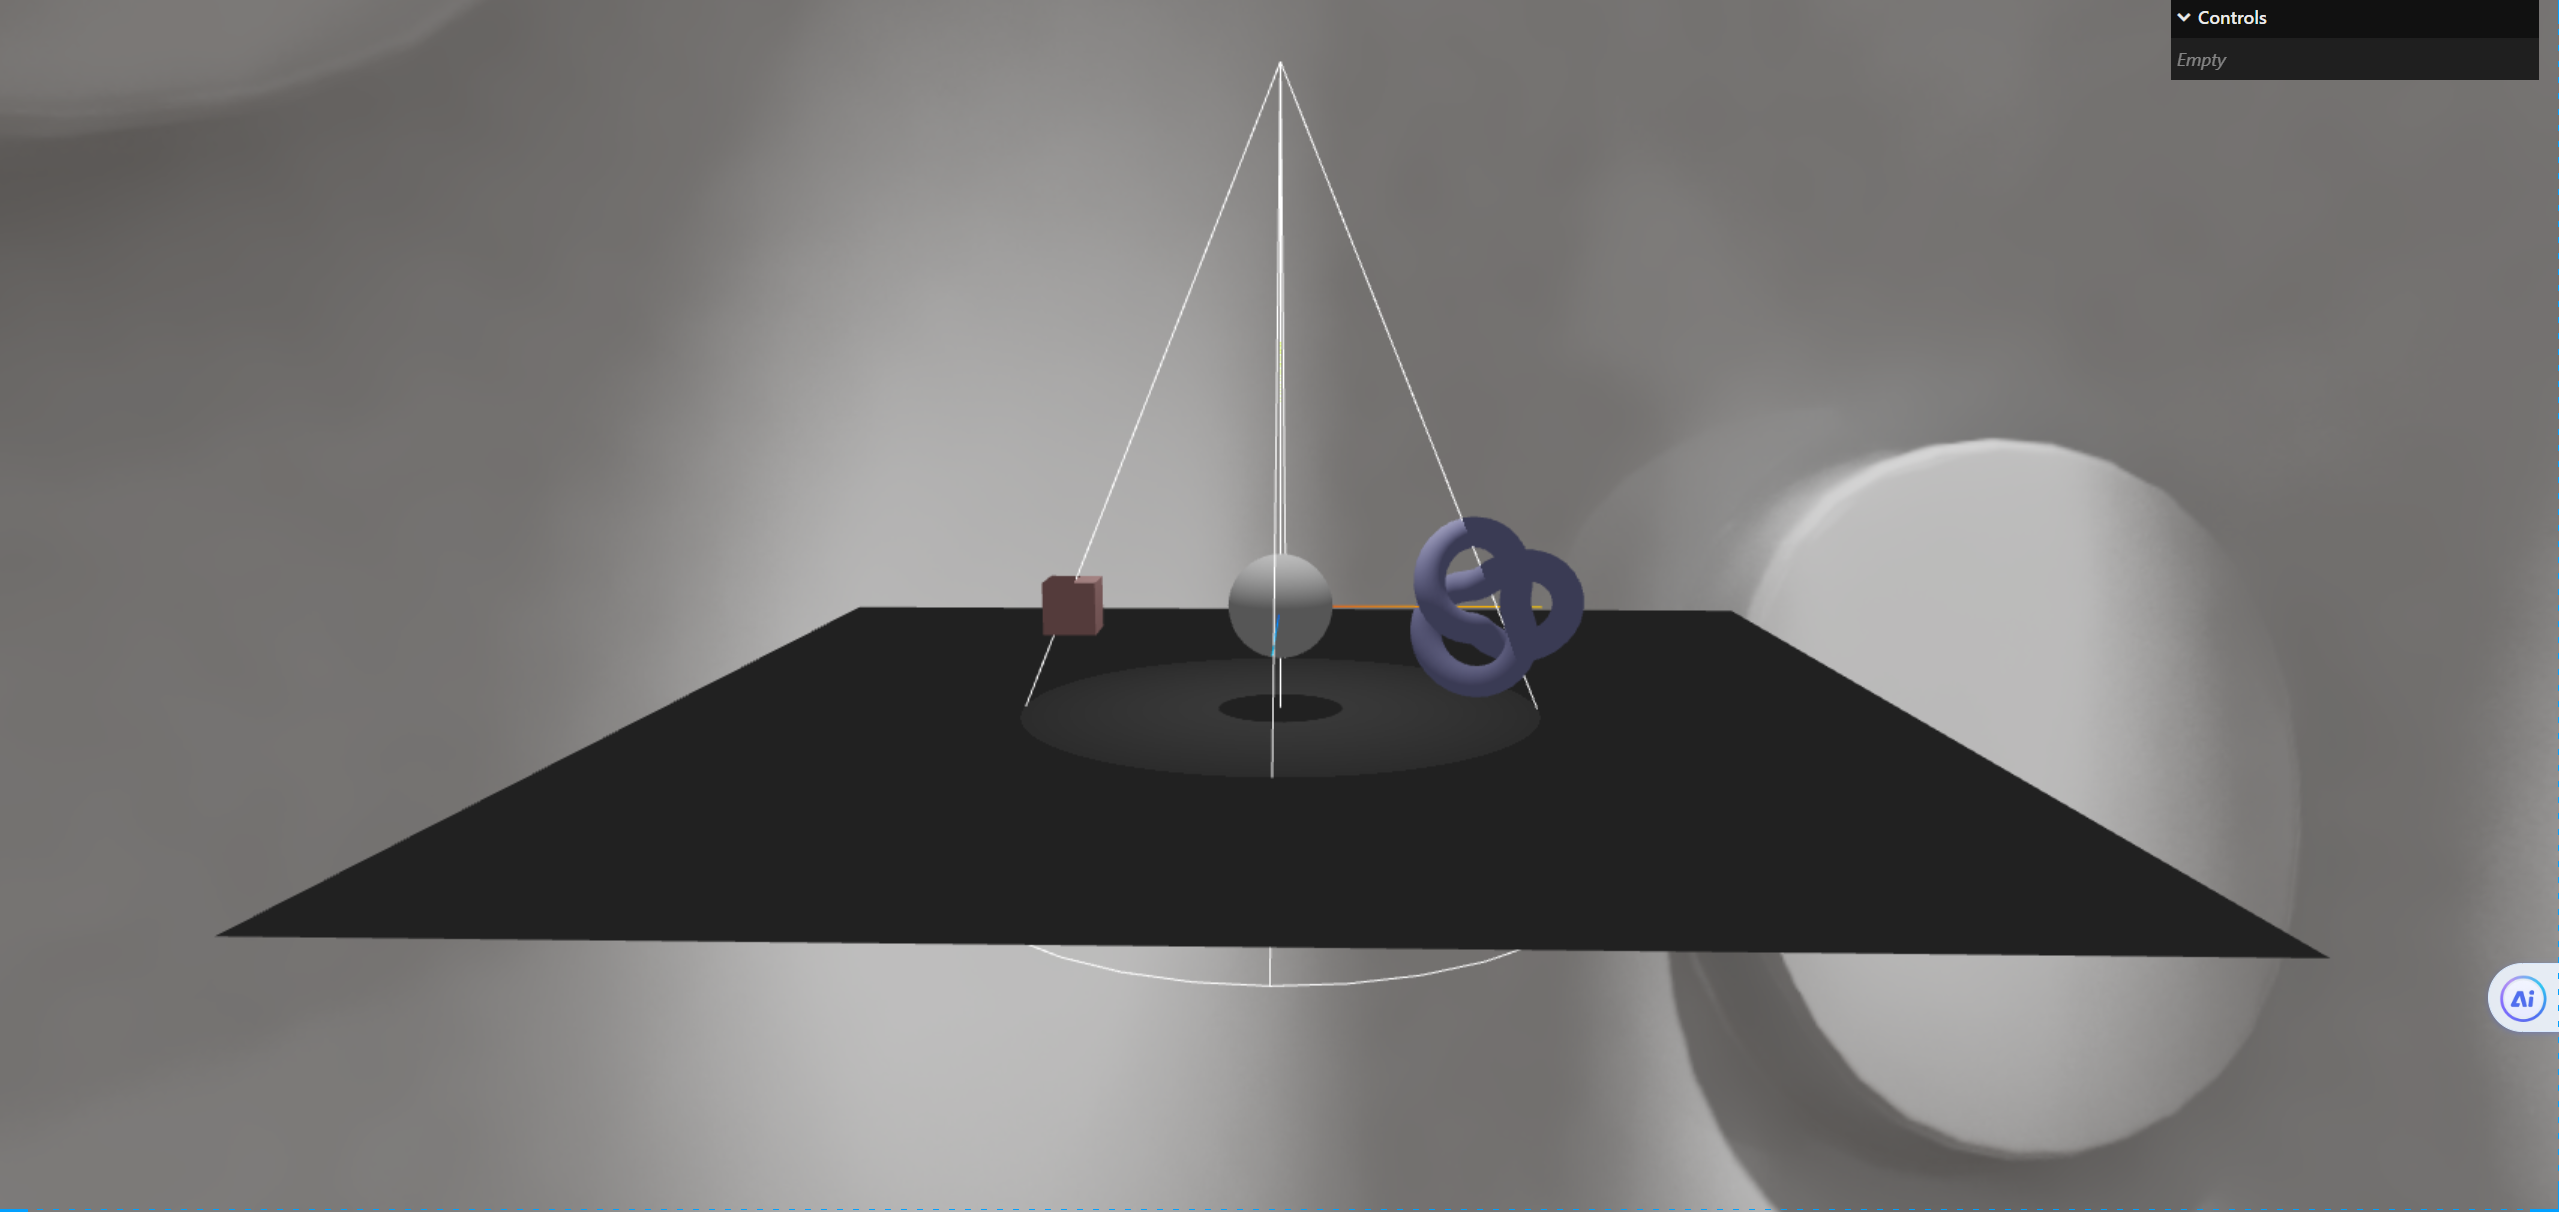
聚光灯衰减
此时我们将聚光灯的距离设置为50
1
| spotLight.distance = 50;
|
这是我们正常的聚光灯
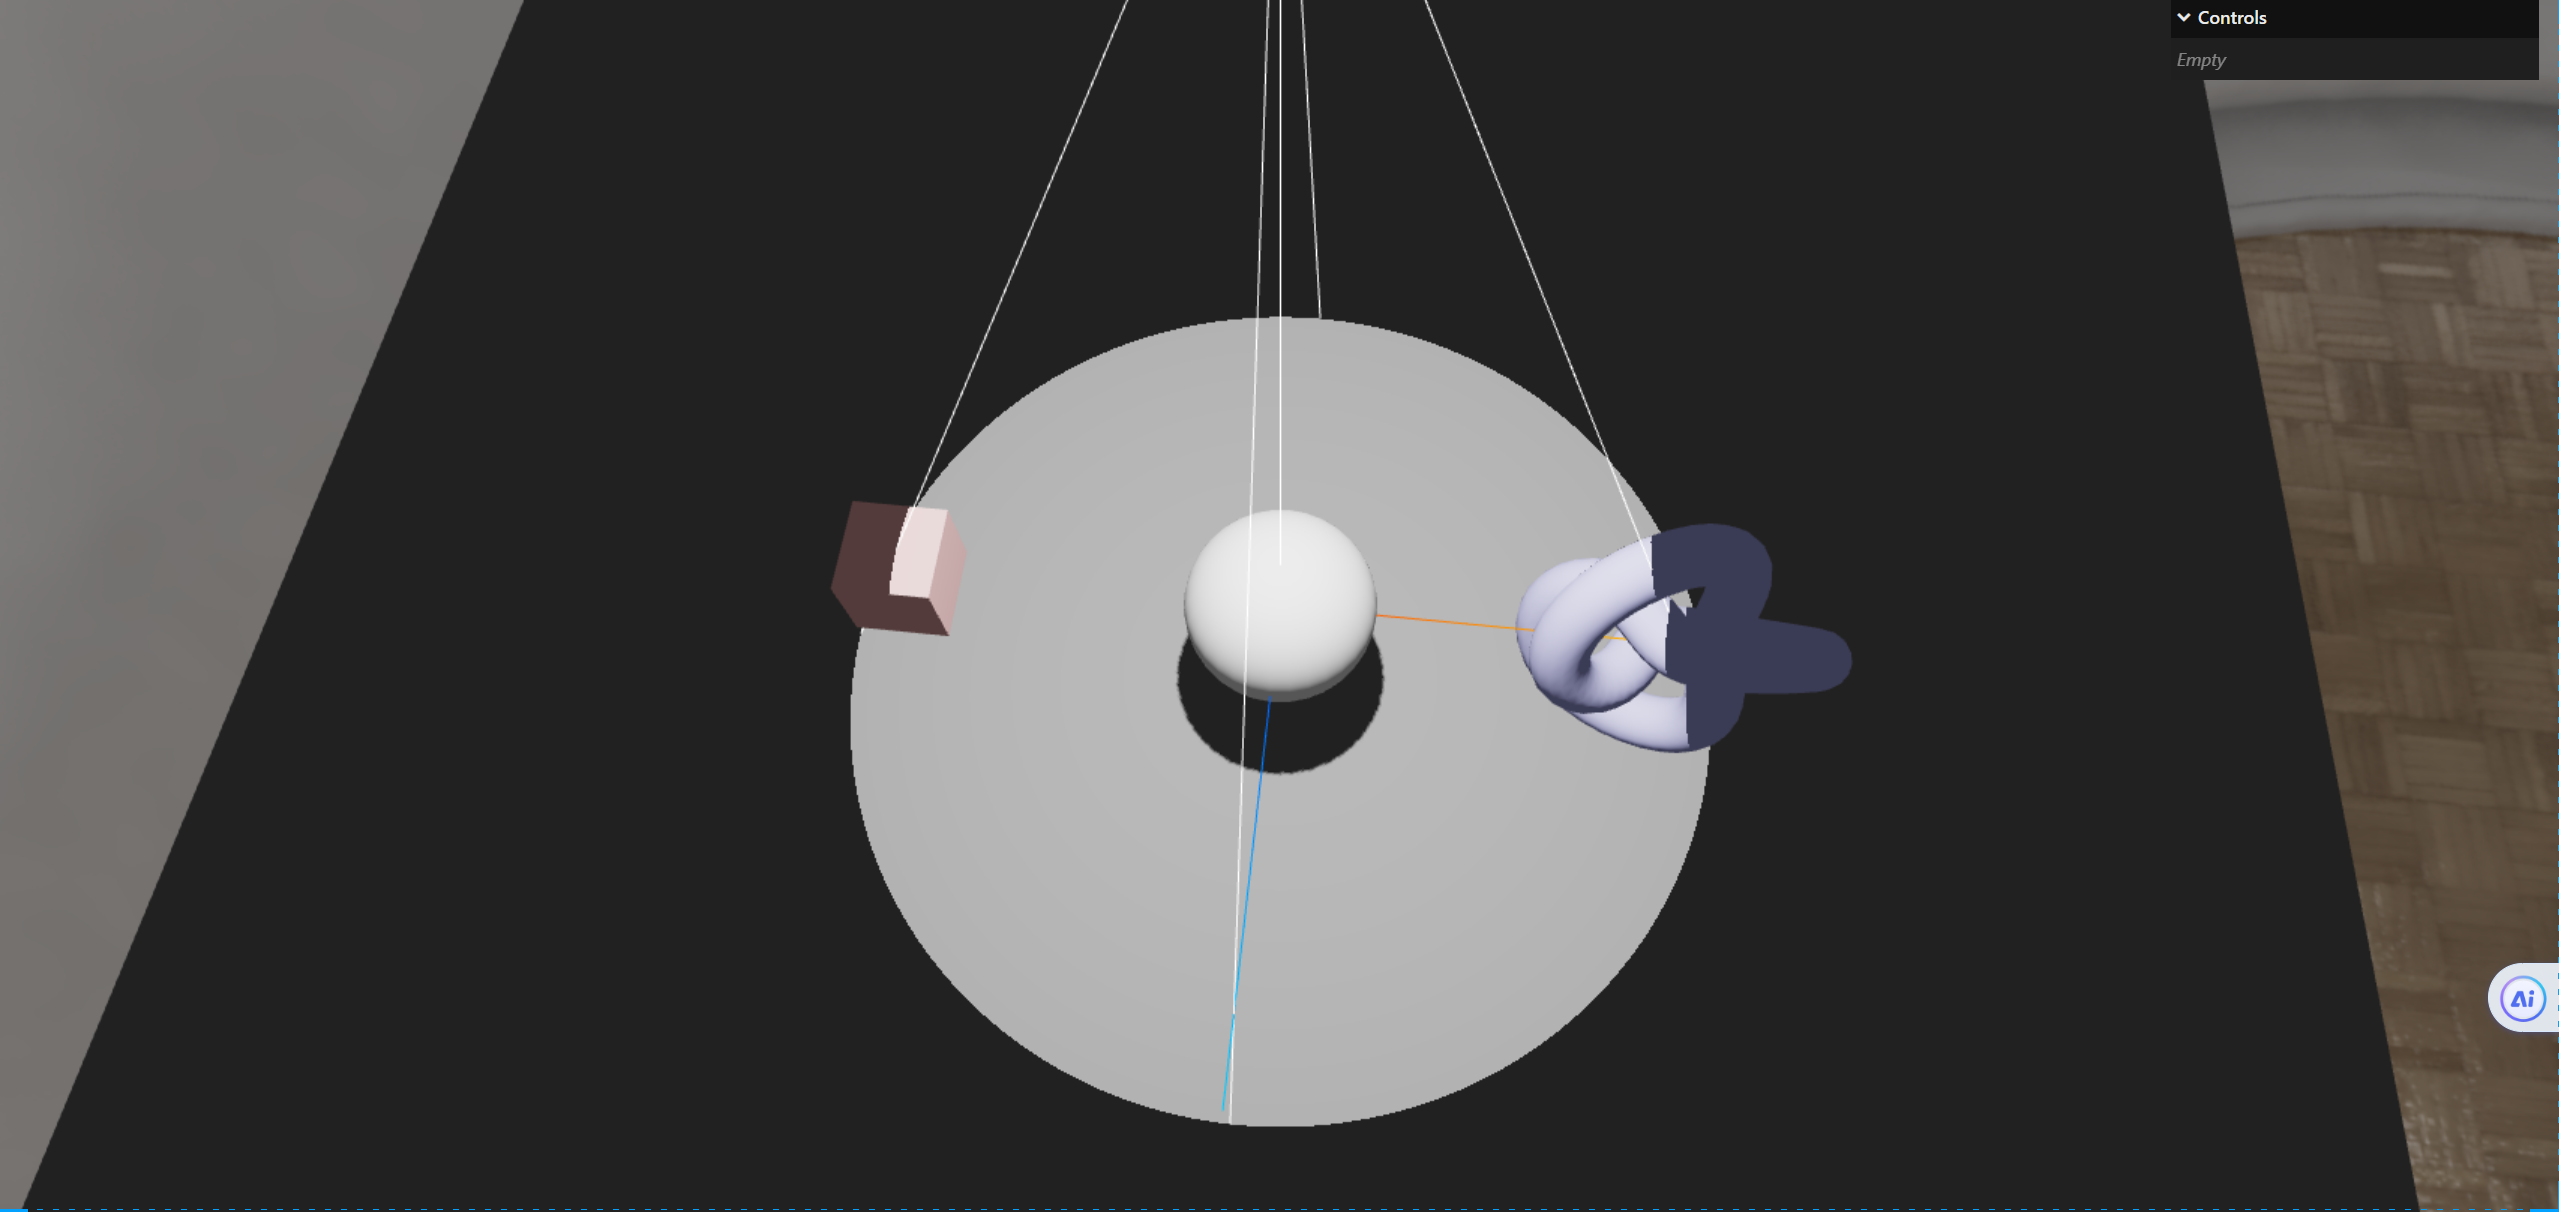
我们可以添加衰减,penumbra是衰减的范围,decay是衰减的速度
1
2
| spotLight.penumbra = 0.5;
spotLight.decay = 2;
|
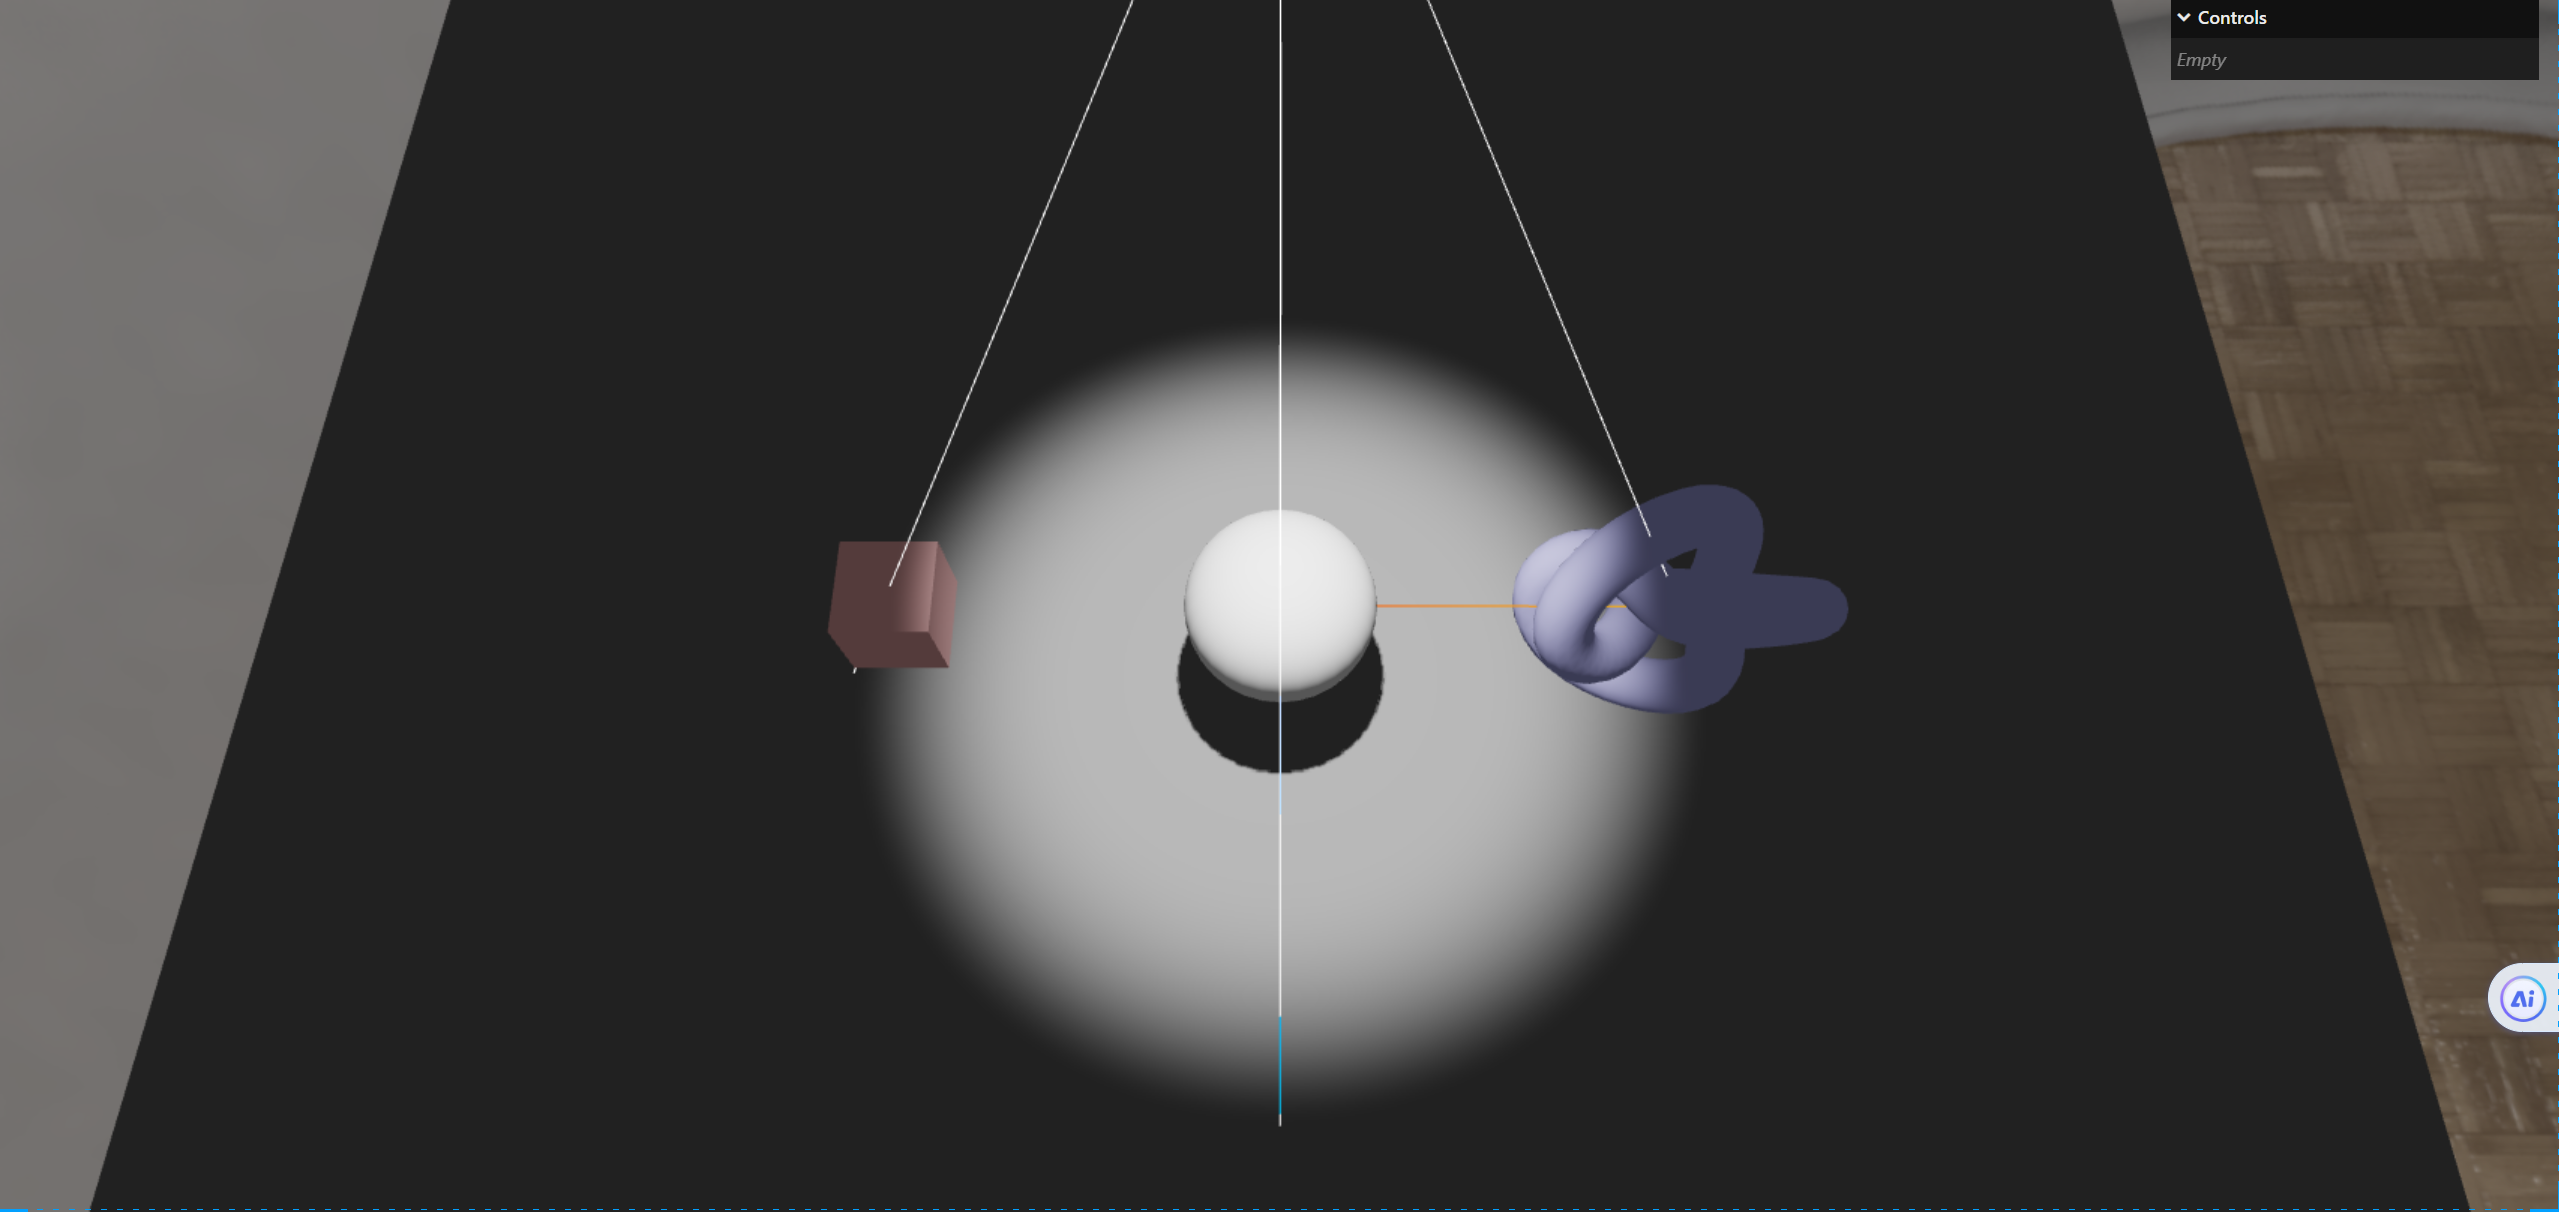
阴影纹理大小
当然我们可以让阴影也清晰一点,没那么模糊有锯齿感
1
2
| spotLight.shadow.mapSize.width = 2048;
spotLight.shadow.mapSize.height = 2048;
|
点光源
这个点光源和我们的聚光灯属性是一样的,我这里就不多介绍了,将直接贴代码了,不贴图片了,点光源其实就是聚光灯从四面照过来,所以性能的消耗会比较大
创建点光源
1
2
3
| let pointLight = new THREE.PointLight(0xffffff, 1);
pointLight.position.set(0, 5, 0);
scene.add(pointLight);
|
点光源阴影
1
| pointLight.castShadow = true;
|
点光源辅助器
1
2
| let pointLightHelper = new THREE.PointLightHelper(pointLight);
scene.add(pointLightHelper);
|
点光源距离
1
| pointLight.distance = 15;
|
点光源衰减
1
2
| spotLight.penumbra = 0.5;
pointLight.decay = 2;
|
点光源消除锯齿感
1
2
| pointLight.shadow.mapSize.width = 2048;
pointLight.shadow.mapSize.height = 2048;
|
阴影作用透明度纹理与阴影常见问题
我先给其他俩物体加上阴影,并且将点光源距离变成15
调整阴影
点光源距离
1
| pointLight.distance = 15;
|
box接受投射阴影
1
2
| box.receiveShadow = true;
box.castShadow = true;
|
torusKnot接受投射阴影
1
2
| torusKnot.receiveShadow = true;
torusKnot.castShadow = true;
|
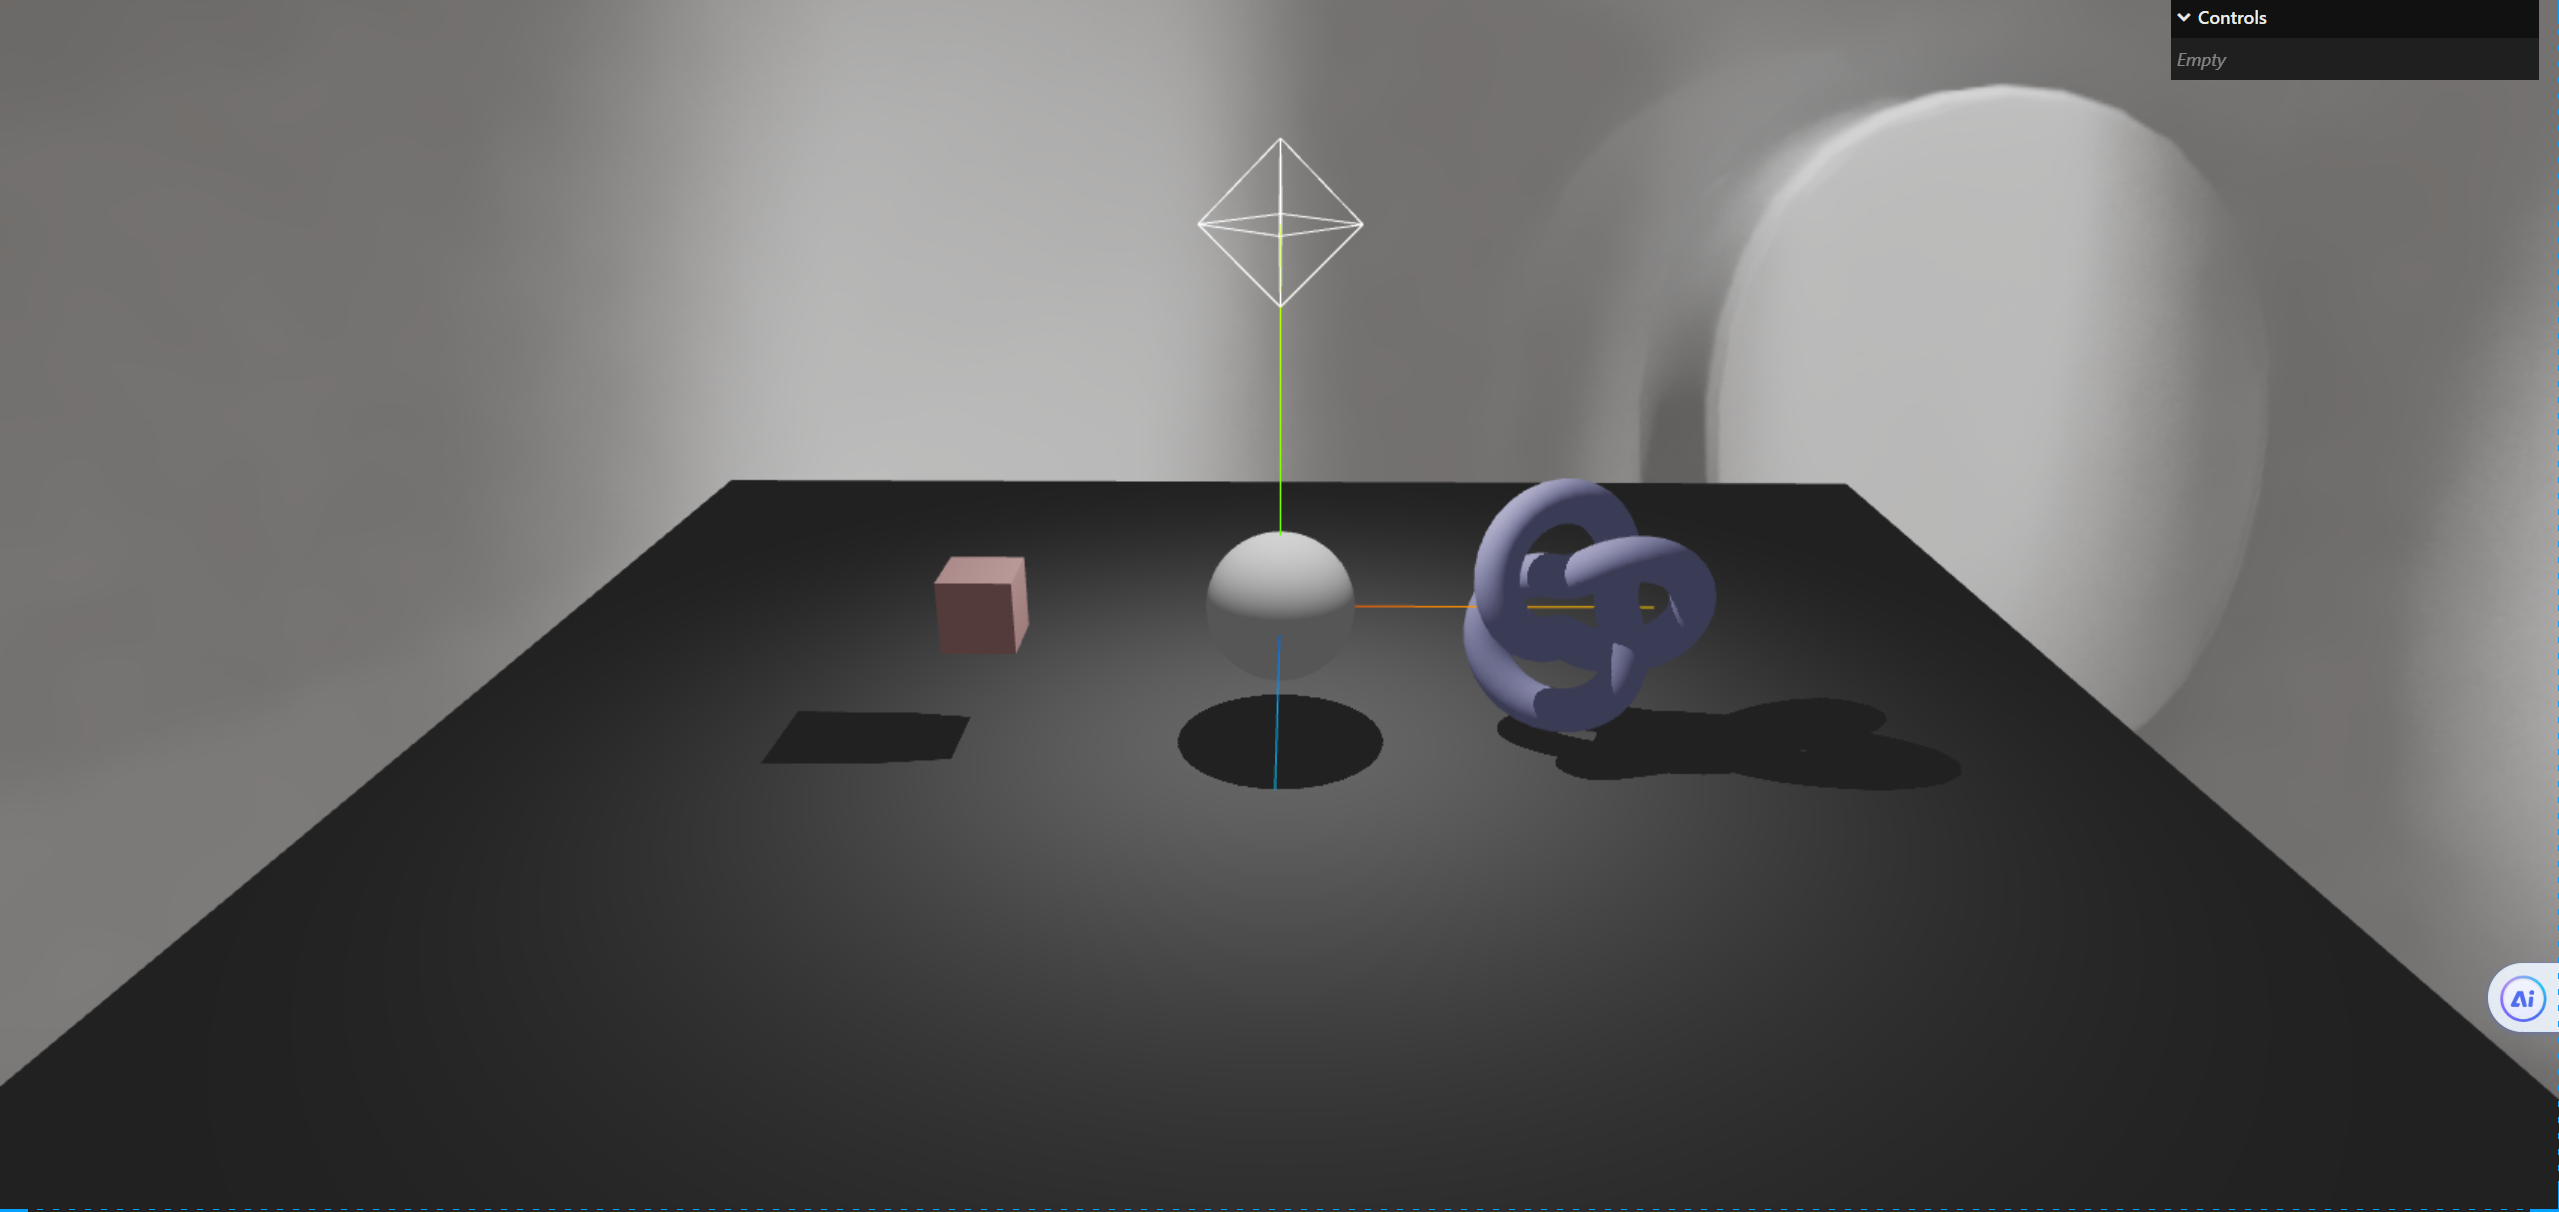
添加透明贴图
我用这张图片给立方体做一个透明贴图

1
2
3
4
5
6
7
| let alphaTexture = new THREE.TextureLoader().load("./texture/16.jpg");
const material3 = new THREE.MeshPhysicalMaterial({
color: 0xffcccc,
alphaMap: alphaTexture,
transparent: true,
side: THREE.DoubleSide,
});
|
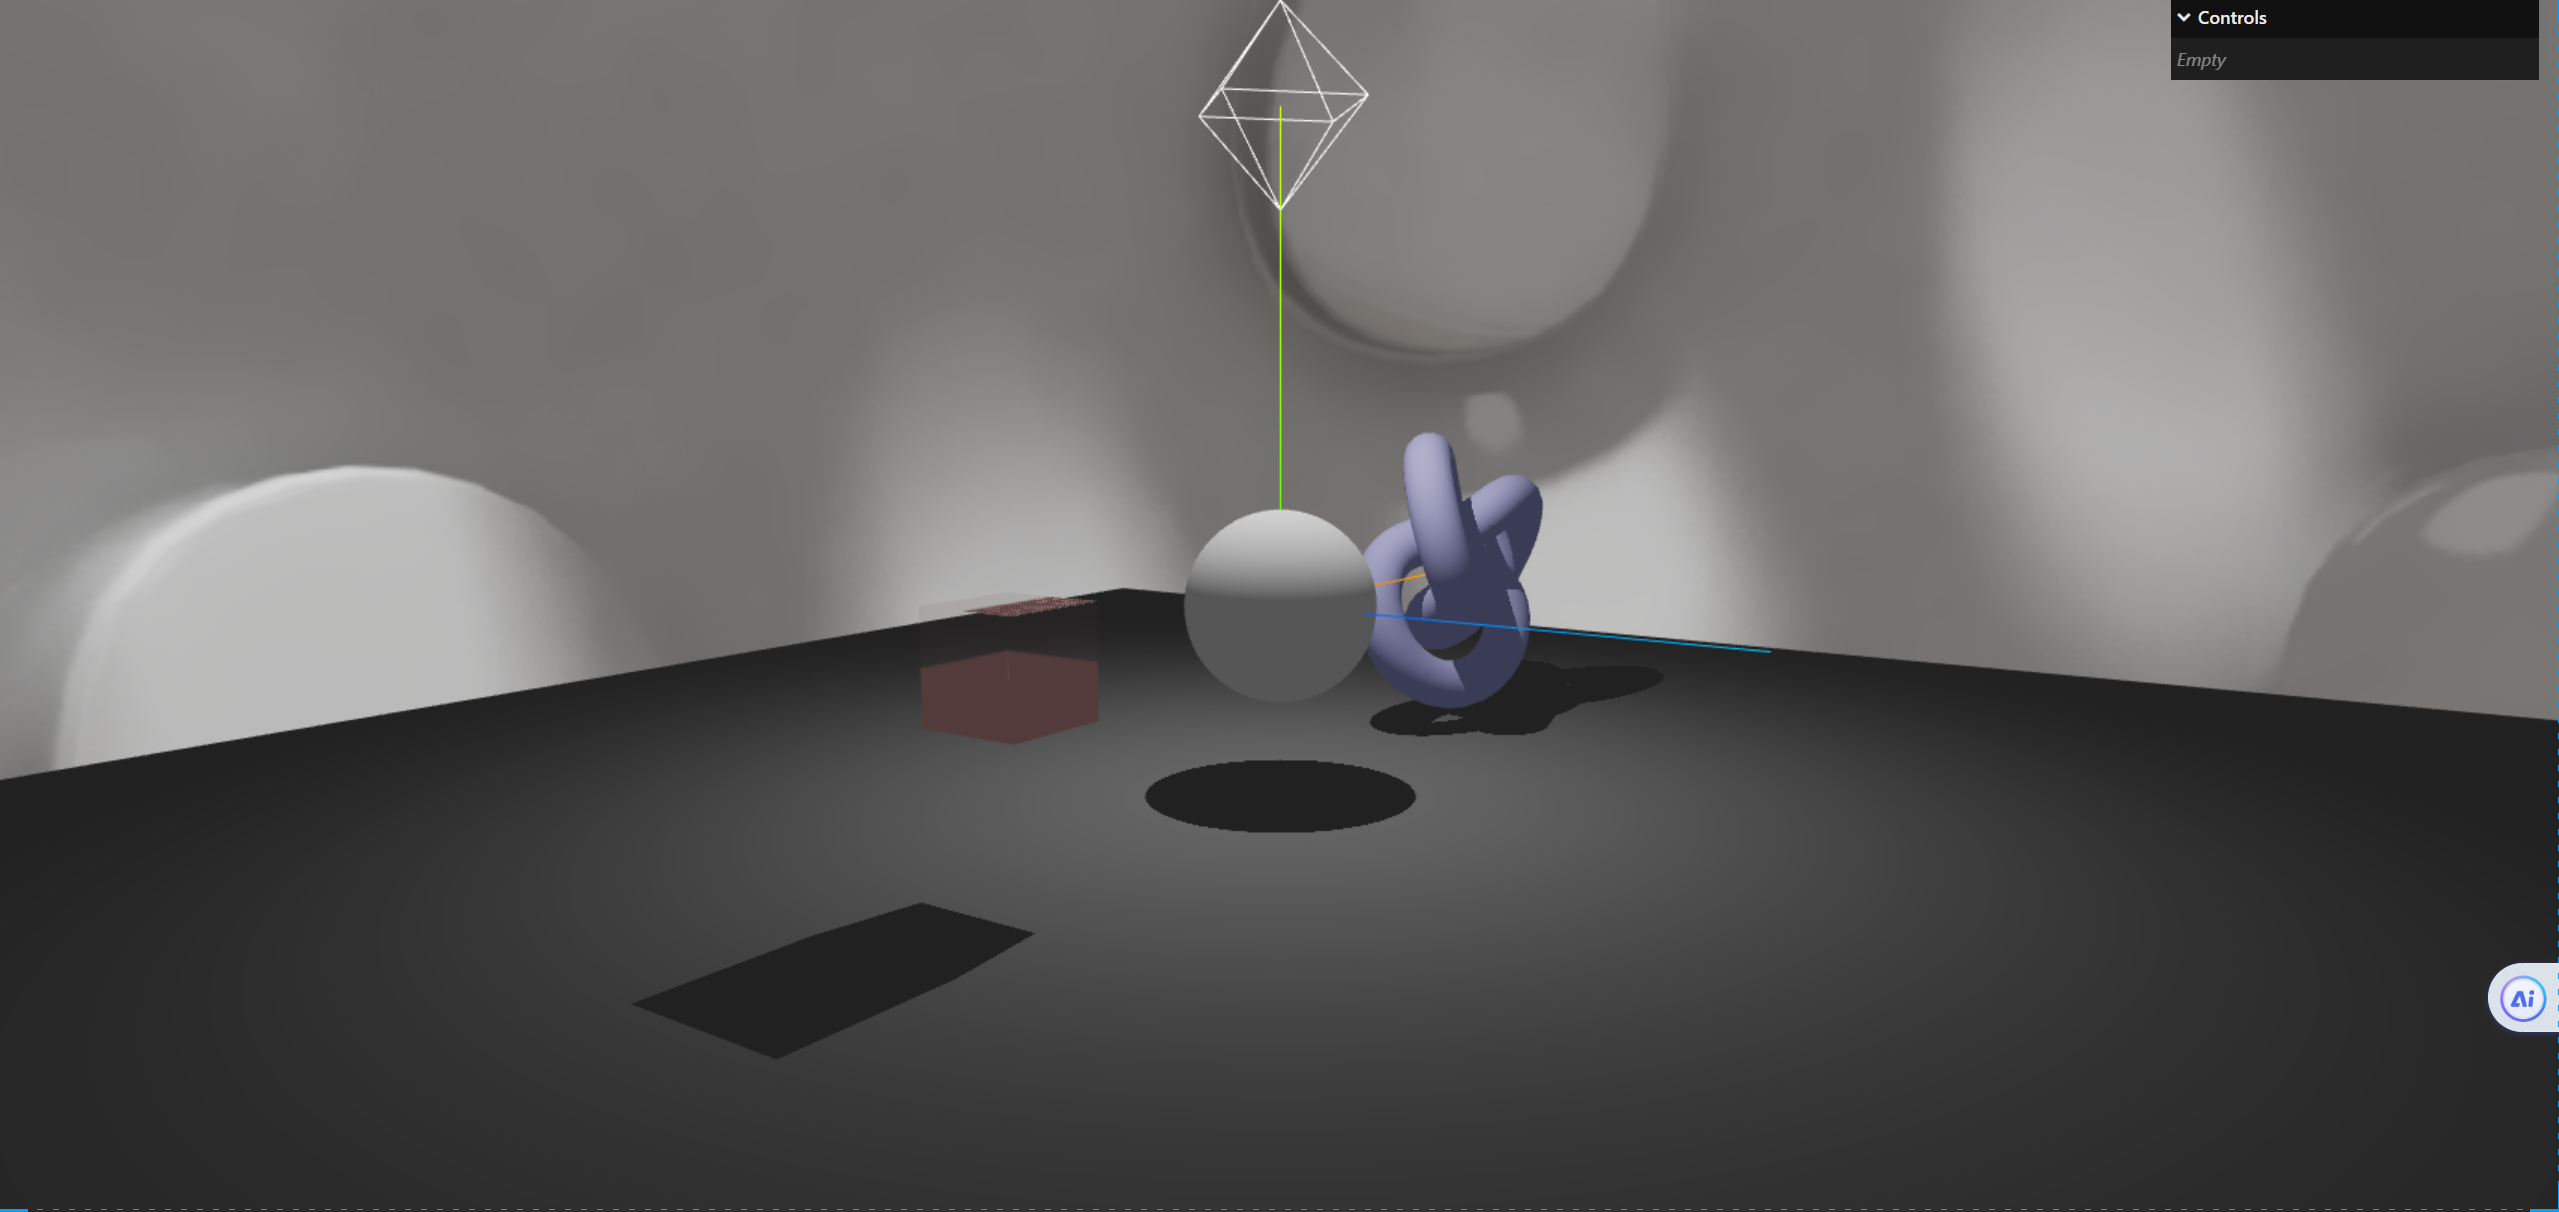
透明阴影检测
我们可以看到我们的物体的确透明了,但是阴影并没有随之变化,这里我们只需要加上一个属性即可
1
2
3
4
5
6
7
| const material3 = new THREE.MeshPhysicalMaterial({
color: 0xffcccc,
alphaMap: alphaTexture,
transparent: true,
side: THREE.DoubleSide,
alphaTest: 0.5,
});
|
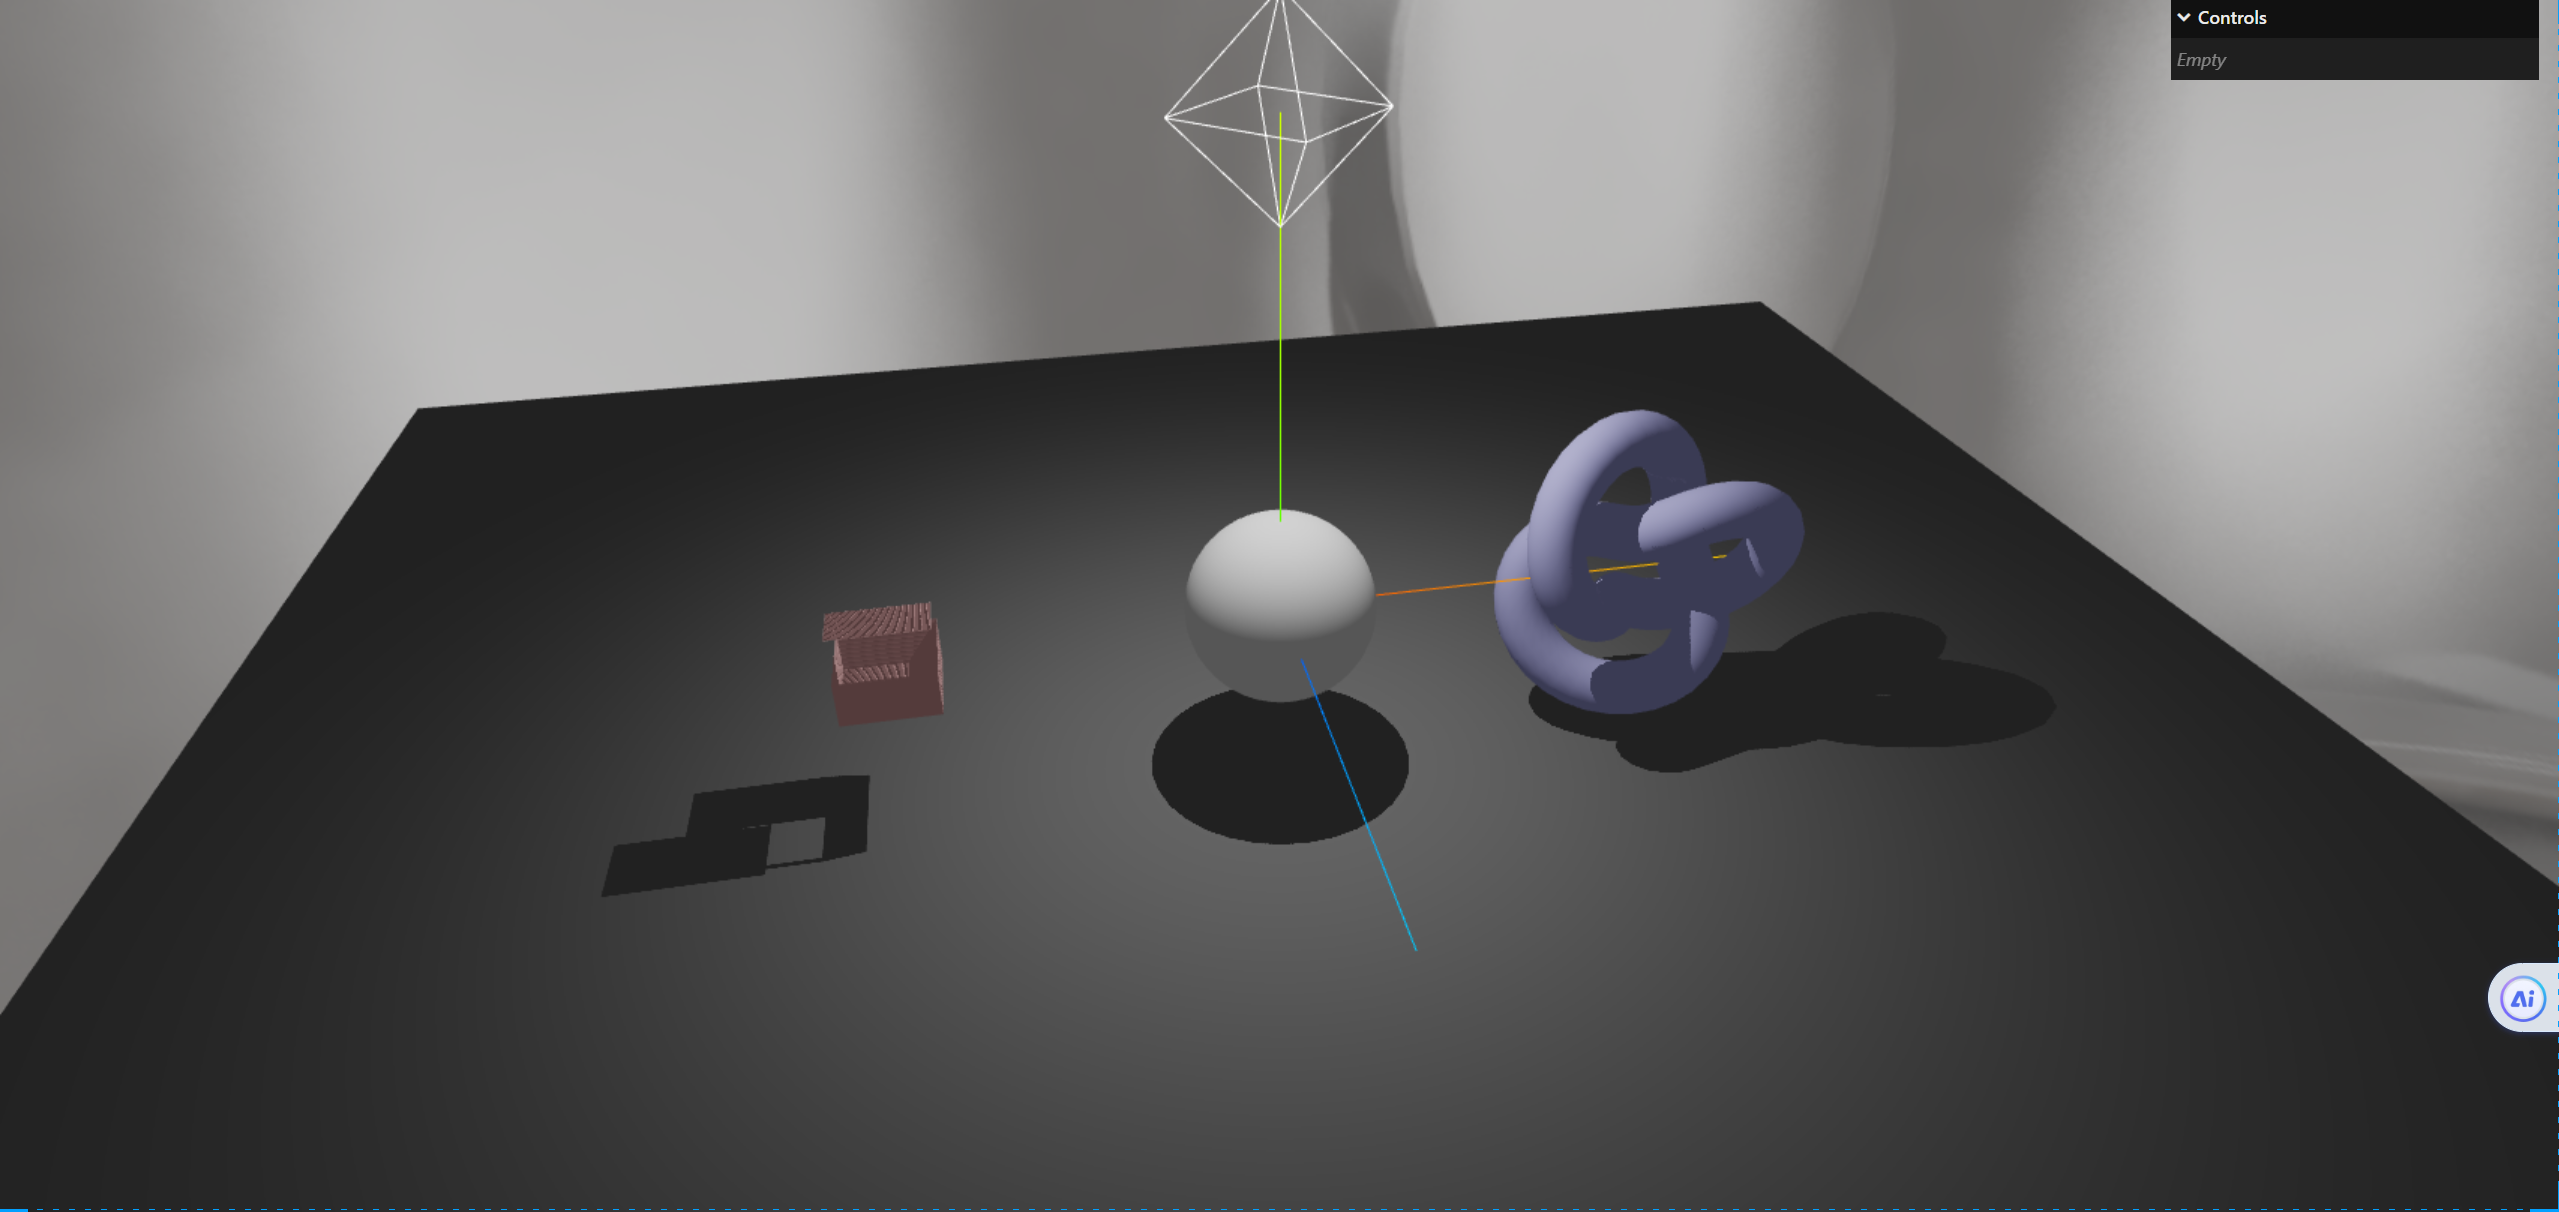
消除因为计算导致的物体阴影条纹
我们可以看到因为计算透明阴影,导致了我们物体上有条纹,这个我们可以通过调整阴影的偏移量和选择背面来计算阴影来缓解这个问题
通过背面计算
1
2
3
4
5
6
7
8
| const material3 = new THREE.MeshPhysicalMaterial({
color: 0xffcccc,
alphaMap: alphaTexture,
transparent: true,
side: THREE.DoubleSide,
alphaTest: 0.5,
shadowSide: THREE.BackSide,
});
|
调整阴影偏移量
1
| pointLight.shadow.bias = -0.01;
|
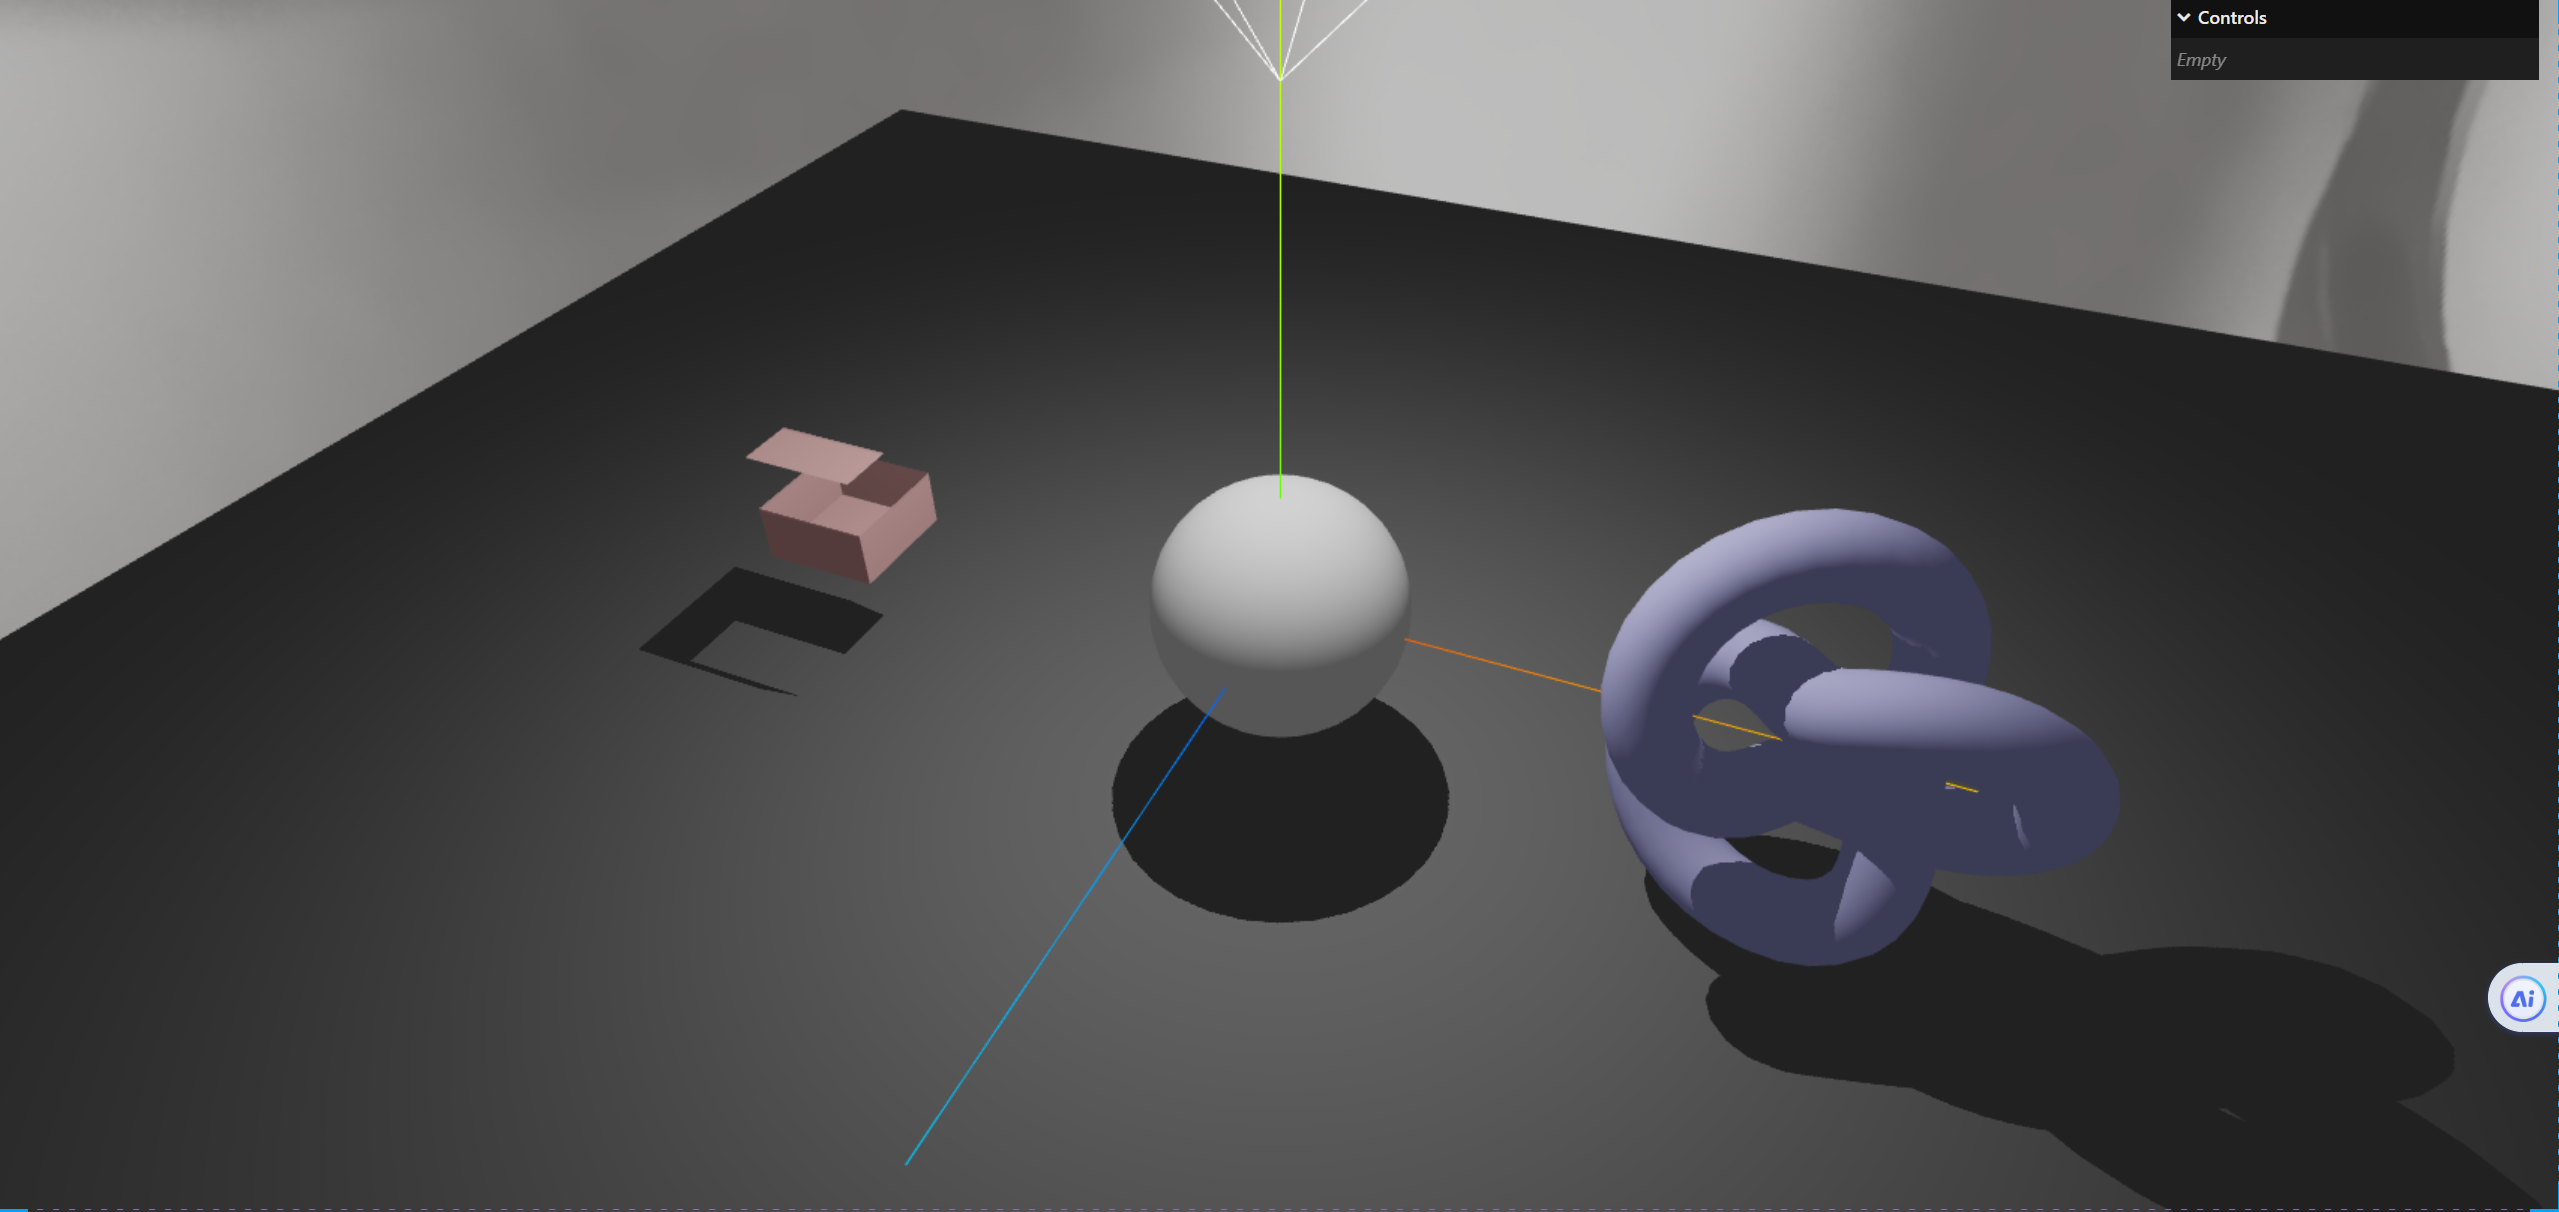
此时条纹的情况就会好很多了
级联阴影
为什么需要级联阴影
代码回滚
讲这个我们先把代码回滚成之前平行光的时候
1
2
3
4
5
6
7
8
9
10
11
12
13
14
15
16
17
18
19
20
21
22
23
24
25
26
27
28
29
30
31
32
33
34
35
36
37
38
39
40
41
42
43
44
45
46
47
48
49
50
51
52
53
54
55
56
57
58
59
60
61
62
63
64
65
66
67
68
69
70
71
72
73
74
75
76
77
78
79
80
81
82
83
84
85
86
87
88
89
90
91
92
93
94
95
96
97
98
99
100
101
102
103
104
105
106
107
108
109
110
111
112
113
114
115
116
117
118
119
120
121
122
123
124
125
126
127
128
129
130
131
132
133
134
135
136
137
138
139
140
141
142
143
144
145
146
147
148
149
150
151
152
153
|
import * as THREE from "three";
import { OrbitControls } from "three/examples/jsm/controls/OrbitControls.js";
import { GUI } from "three/examples/jsm/libs/lil-gui.module.min.js";
import { RGBELoader } from "three/examples/jsm/loaders/RGBELoader.js";
const scene = new THREE.Scene();
const camera = new THREE.PerspectiveCamera(
45,
window.innerWidth / window.innerHeight,
0.1,
1000
);
const renderer = new THREE.WebGLRenderer({
antialias: true,
});
renderer.shadowMap.enabled = true;
renderer.setSize(window.innerWidth, window.innerHeight);
renderer.outputColorSpace = THREE.SRGBColorSpace;
renderer.toneMapping = THREE.ACESFilmicToneMapping;
renderer.toneMappingExposure = 1;
document.body.appendChild(renderer.domElement);
camera.position.z = 15;
camera.position.y = 2.4;
camera.position.x = 0.4;
camera.lookAt(0, 0, 0);
const axesHelper = new THREE.AxesHelper(5);
scene.add(axesHelper);
const controls = new OrbitControls(camera, renderer.domElement);
controls.enableDamping = true;
controls.dampingFactor = 0.05;
controls.addEventListener("change", () => {
renderer.render(scene, camera);
});
function animate() {
controls.update();
requestAnimationFrame(animate);
renderer.render(scene, camera);
}
animate();
window.addEventListener("resize", () => {
renderer.setSize(window.innerWidth, window.innerHeight);
camera.aspect = window.innerWidth / window.innerHeight;
camera.updateProjectionMatrix();
});
const gui = new GUI();
let rgbeLoader = new RGBELoader();
rgbeLoader.load("./texture/Video_Copilot-Back Light_0007_4k.hdr", (envMap) => {
envMap.mapping = THREE.EquirectangularReflectionMapping;
scene.background = envMap;
});
const geometry = new THREE.TorusKnotGeometry(1, 0.3, 100, 16);
const material1 = new THREE.MeshPhysicalMaterial({
color: 0xccccff,
});
const torusKnot = new THREE.Mesh(geometry, material1);
torusKnot.position.set(4, 0, 0);
scene.add(torusKnot);
let sphereGeometry = new THREE.SphereGeometry(1, 32, 32);
const material2 = new THREE.MeshPhysicalMaterial({
color: 0xffffff,
});
const sphere = new THREE.Mesh(sphereGeometry, material2);
sphere.castShadow = true;
sphere.receiveShadow = true;
scene.add(sphere);
let boxGeometry = new THREE.BoxGeometry(1, 1, 1);
const material3 = new THREE.MeshPhysicalMaterial({
color: 0xffcccc,
});
const box = new THREE.Mesh(boxGeometry, material3);
box.position.set(-4, 0, 0);
scene.add(box);
let planeGeometry = new THREE.PlaneGeometry(24, 24, 1, 1);
let planeMaterial = new THREE.MeshPhysicalMaterial({
color: 0x999999,
});
let planeMesh = new THREE.Mesh(planeGeometry, planeMaterial);
planeMesh.rotation.x = -Math.PI / 2;
planeMesh.position.set(0, -1, 0);
scene.add(planeMesh);
planeMesh.receiveShadow = true;
planeMesh.castShadow = true;
let ambientLight = new THREE.AmbientLight(0xffffff, 0.1);
scene.add(ambientLight);
let directionalLight = new THREE.DirectionalLight(0xffffff, 0.6);
directionalLight.position.set(10, 10, 0);
directionalLight.target.position.set(0, 0, 0);
scene.add(directionalLight);
directionalLight.castShadow = true;
let directionalLightHelper = new THREE.DirectionalLightHelper(directionalLight);
scene.add(directionalLightHelper);
gui.add(sphere.position, "z", -10, 10).name("z");
console.log(directionalLight);
directionalLight.shadow.camera.left = -10;
directionalLight.shadow.camera.right = 10;
directionalLight.shadow.camera.top = 10;
directionalLight.shadow.camera.bottom = -10;
directionalLight.shadow.camera.near = 0.5;
directionalLight.shadow.camera.far = 50;
directionalLight.shadow.mapSize.width = 2048;
directionalLight.shadow.mapSize.height = 2048;
|

开启相机辅助器
1
2
| let cameraHelper = new THREE.CameraHelper(directionalLight.shadow.camera);
scene.add(cameraHelper);
|
我们可以通过相机辅助器看到我们的相机的范围,此时有部分阴影被裁剪了
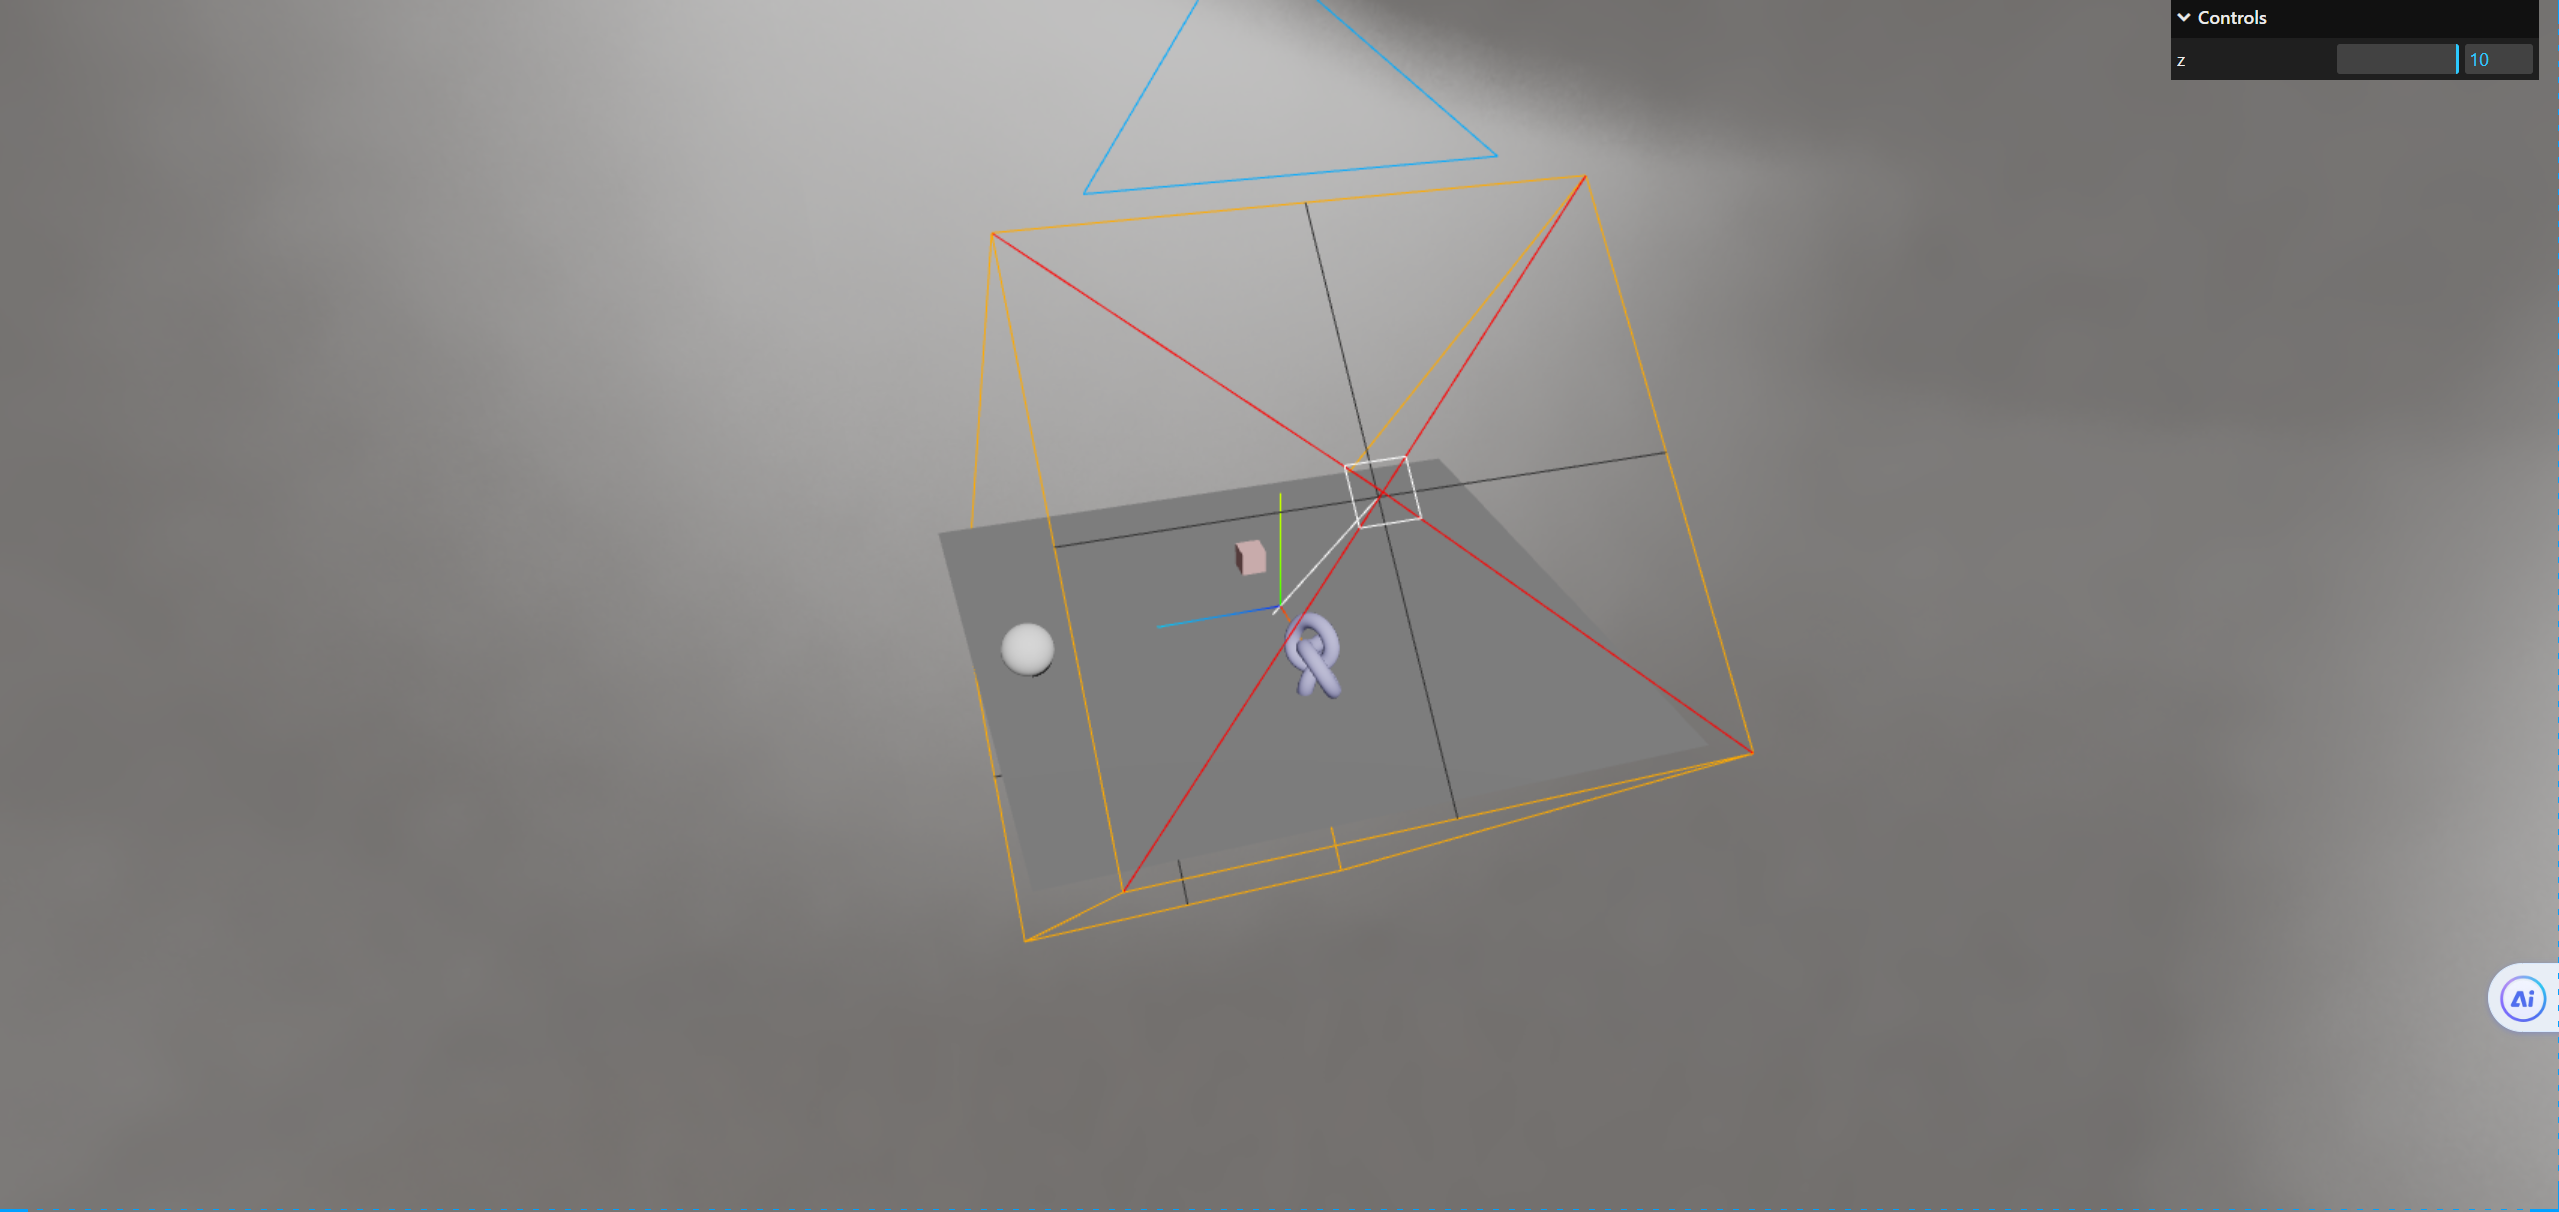
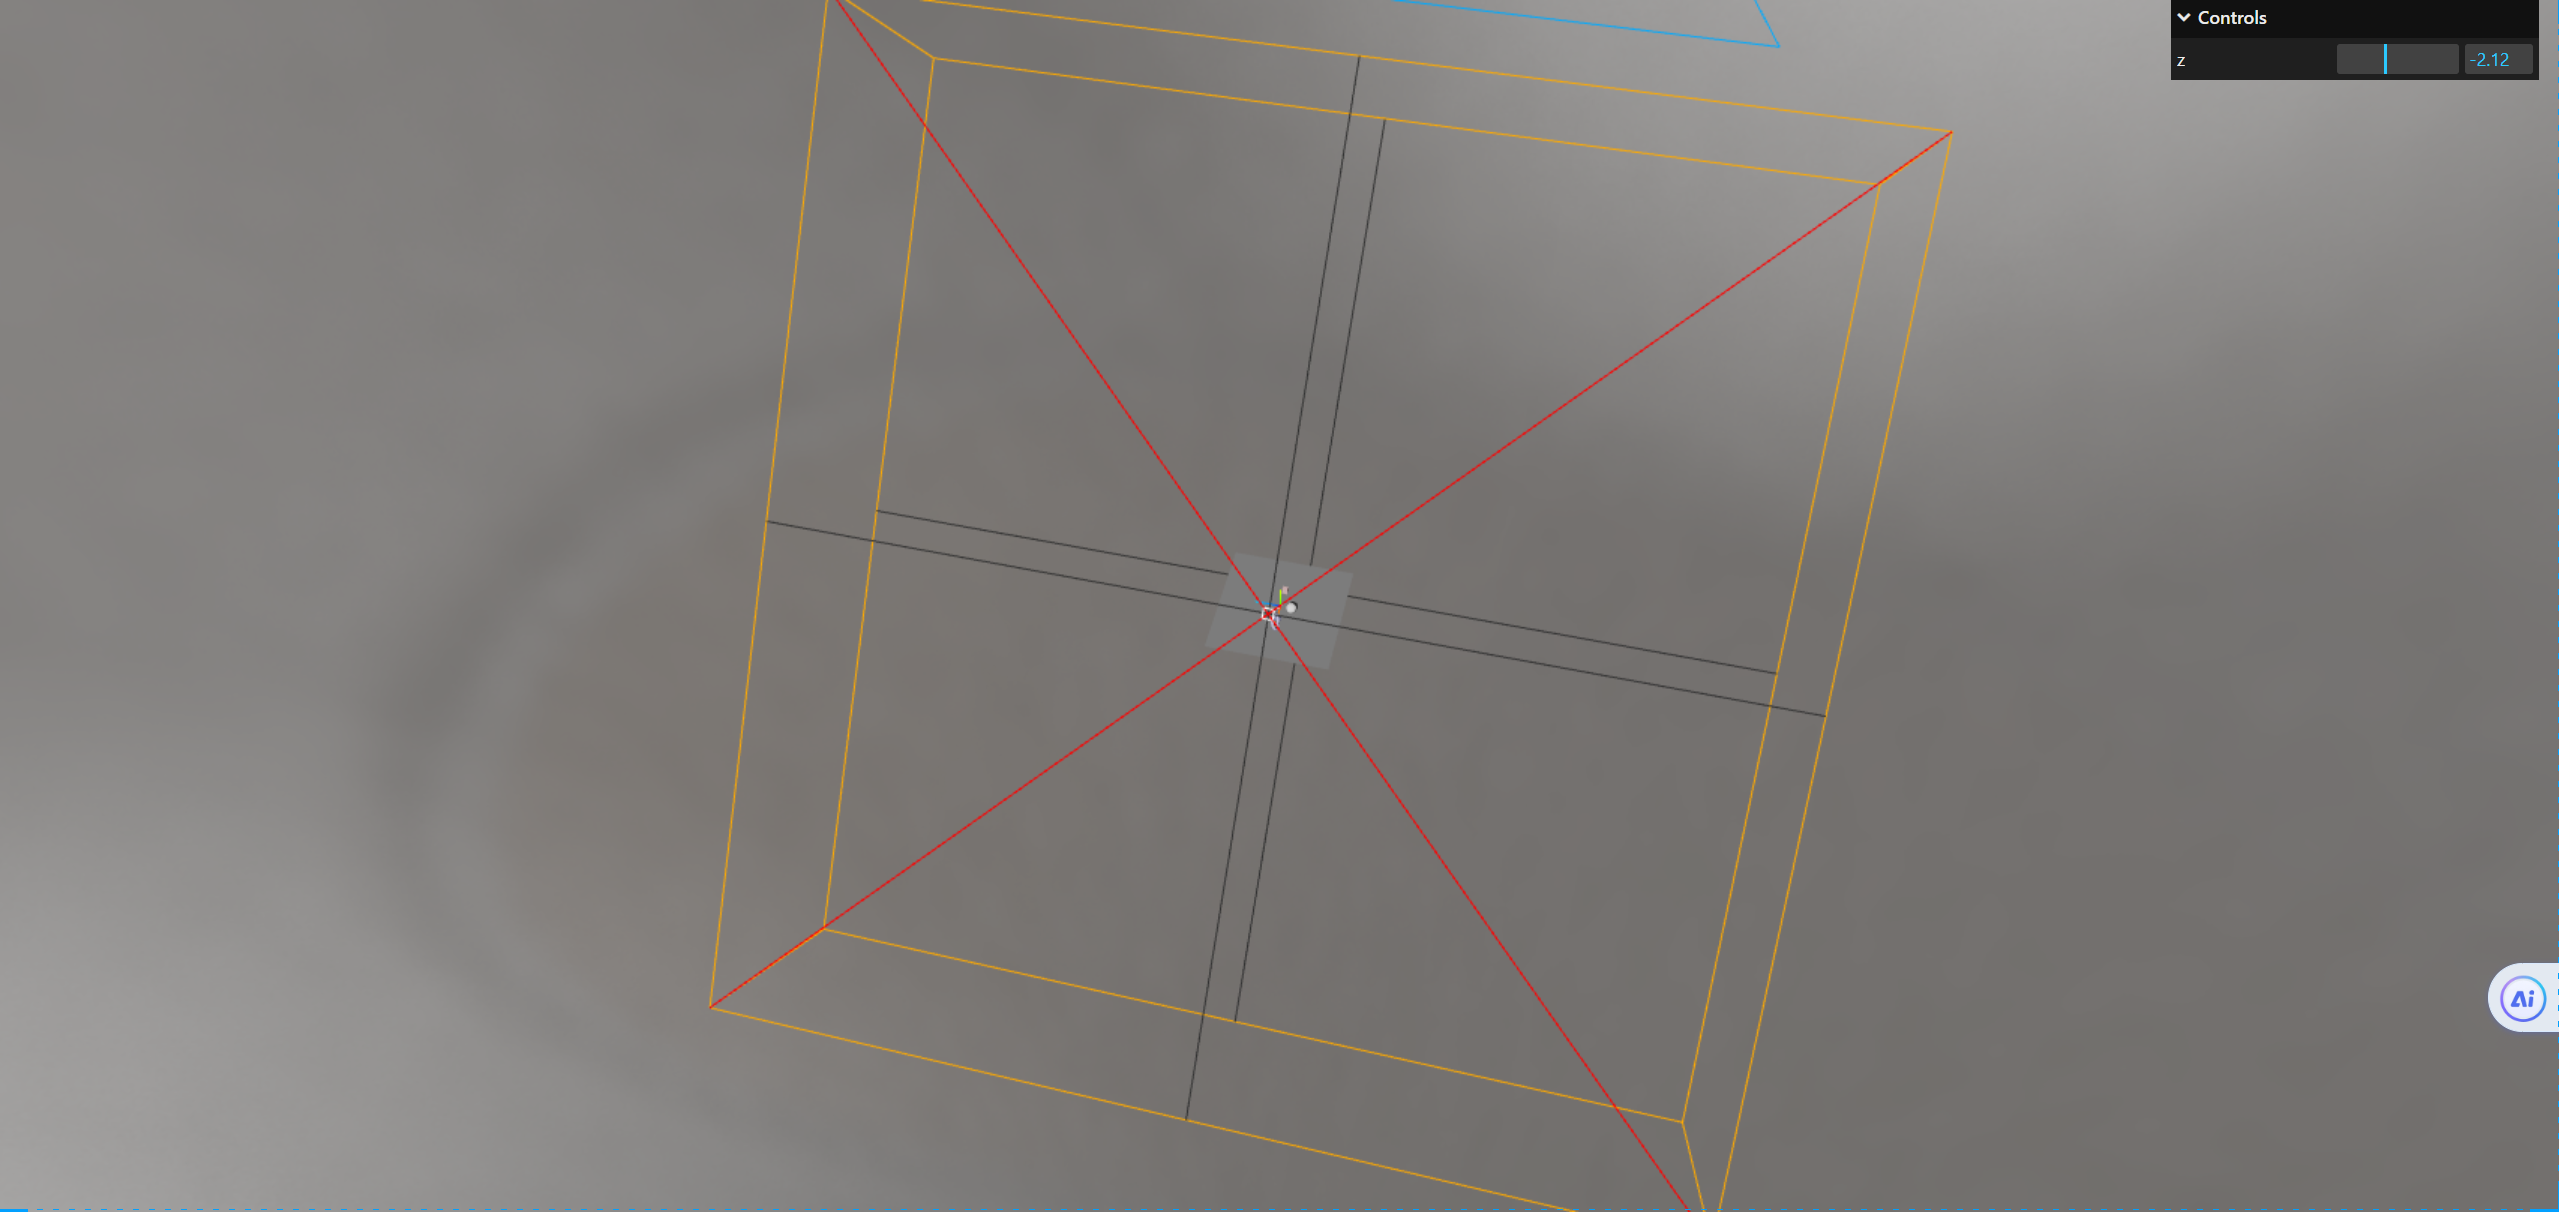
按照我们之前的做法,就是将相机的范围调整一下
调整相机范围
1
2
3
4
| directionalLight.shadow.camera.left = -100;
directionalLight.shadow.camera.right = 100;
directionalLight.shadow.camera.top = 100;
directionalLight.shadow.camera.bottom = -100;
|
锯齿感问题
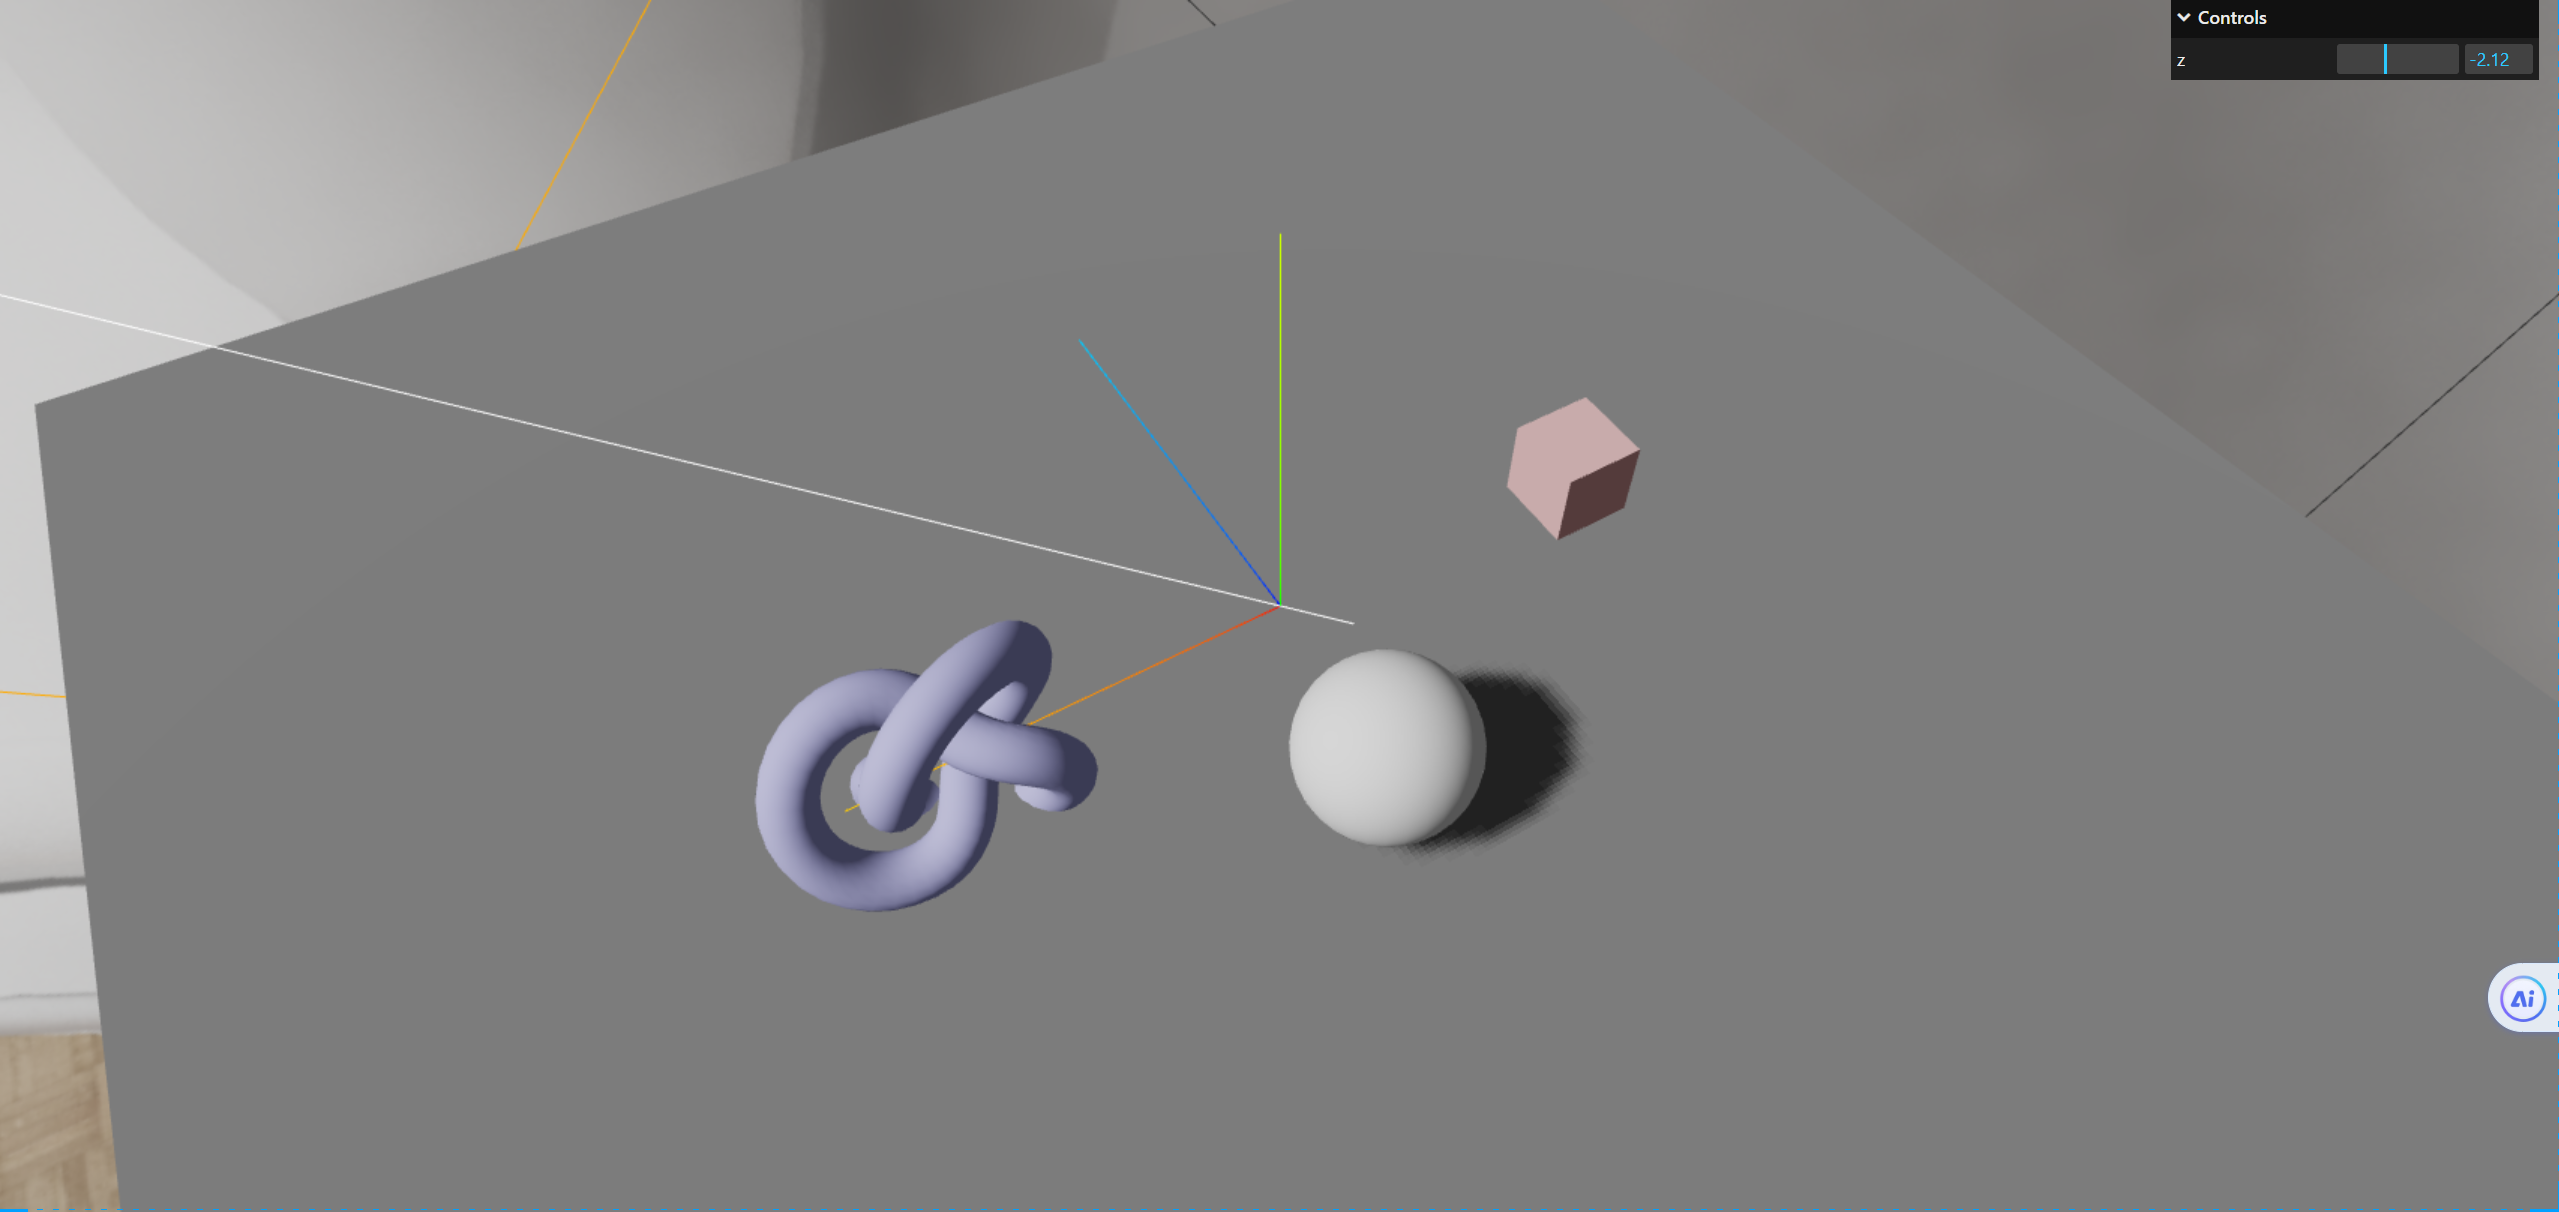
我们可以看到虽然我们的阴影的确不被切割了,能完整显示了,但是当我们把相机拖近,物体的阴影就会非常模糊,这是因为我们把2048*2048的大小分配给了一个非常大的范围,这个范围内的物体都会有阴影,每个点位分配得到的像素就会少,那我们增大阴影的纹理大小呗,这当然是不可取的,如果范围特别大,我们不可能一直增加这个阴影的纹理大小,这样会导致性能的消耗非常大,那么我们就需要级联阴影了。
级联阴影的使用
去除自己设置阴影代码
首先我们把这些自己设置阴影的代码去除了
1
2
3
4
5
6
7
8
9
10
| directionalLight.castShadow = true;
directionalLight.shadow.camera.left = -100;
directionalLight.shadow.camera.right = 100;
directionalLight.shadow.camera.top = 100;
directionalLight.shadow.camera.bottom = -100;
directionalLight.shadow.camera.near = 0.5;
directionalLight.shadow.camera.far = 50;
directionalLight.shadow.mapSize.width = 2048;
directionalLight.shadow.mapSize.height = 2048;
|
导入级联阴影
1
| import { CSM } from "three/addons/csm/CSM.js";
|
创建csm
1
2
3
4
5
6
7
8
9
10
11
12
13
14
15
16
17
18
19
20
21
22
23
24
25
26
27
28
| const params = {
orthographic: false,
fade: false,
far: 1000,
mode: "practical",
lightX: -1,
lightY: -1,
lightZ: -1,
margin: 100,
lightFar: 1000,
lightNear: 1,
autoUpdateHelper: true,
updateHelper: function () {
csmHelper.update();
},
};
let csm = new CSM({
maxFar: params.far,
cascades: 4,
parent: scene,
shadowMapSize: 1024,
lightDirection: new THREE.Vector3(
params.lightX,
params.lightY,
params.lightZ
).normalize(),
camera: camera,
});
|
更新csm参数
在渲染函数中渲染csm
在animate中添加camera.updateMatrixWorld();csm.update();
1
2
3
4
5
6
7
8
9
|
function animate() {
controls.update();
camera.updateMatrixWorld();
csm.update();
requestAnimationFrame(animate);
renderer.render(scene, camera);
}
|
给各个材质添加阴影
1
| csm.setupMaterial(material1);
|
1
| csm.setupMaterial(material2);
|
1
| csm.setupMaterial(material3);
|
1
| csm.setupMaterial(planeMaterial);
|
修改光源的方向应该和csm的方向一致
1
2
3
4
| directionalLight.position
.set(params.lightX, params.lightY, params.lightZ)
.normalize()
.multiplyScalar(-200);
|
渲染器接受软阴影
1
| renderer.shadowMap.type = THREE.PCFSoftShadowMap;
|
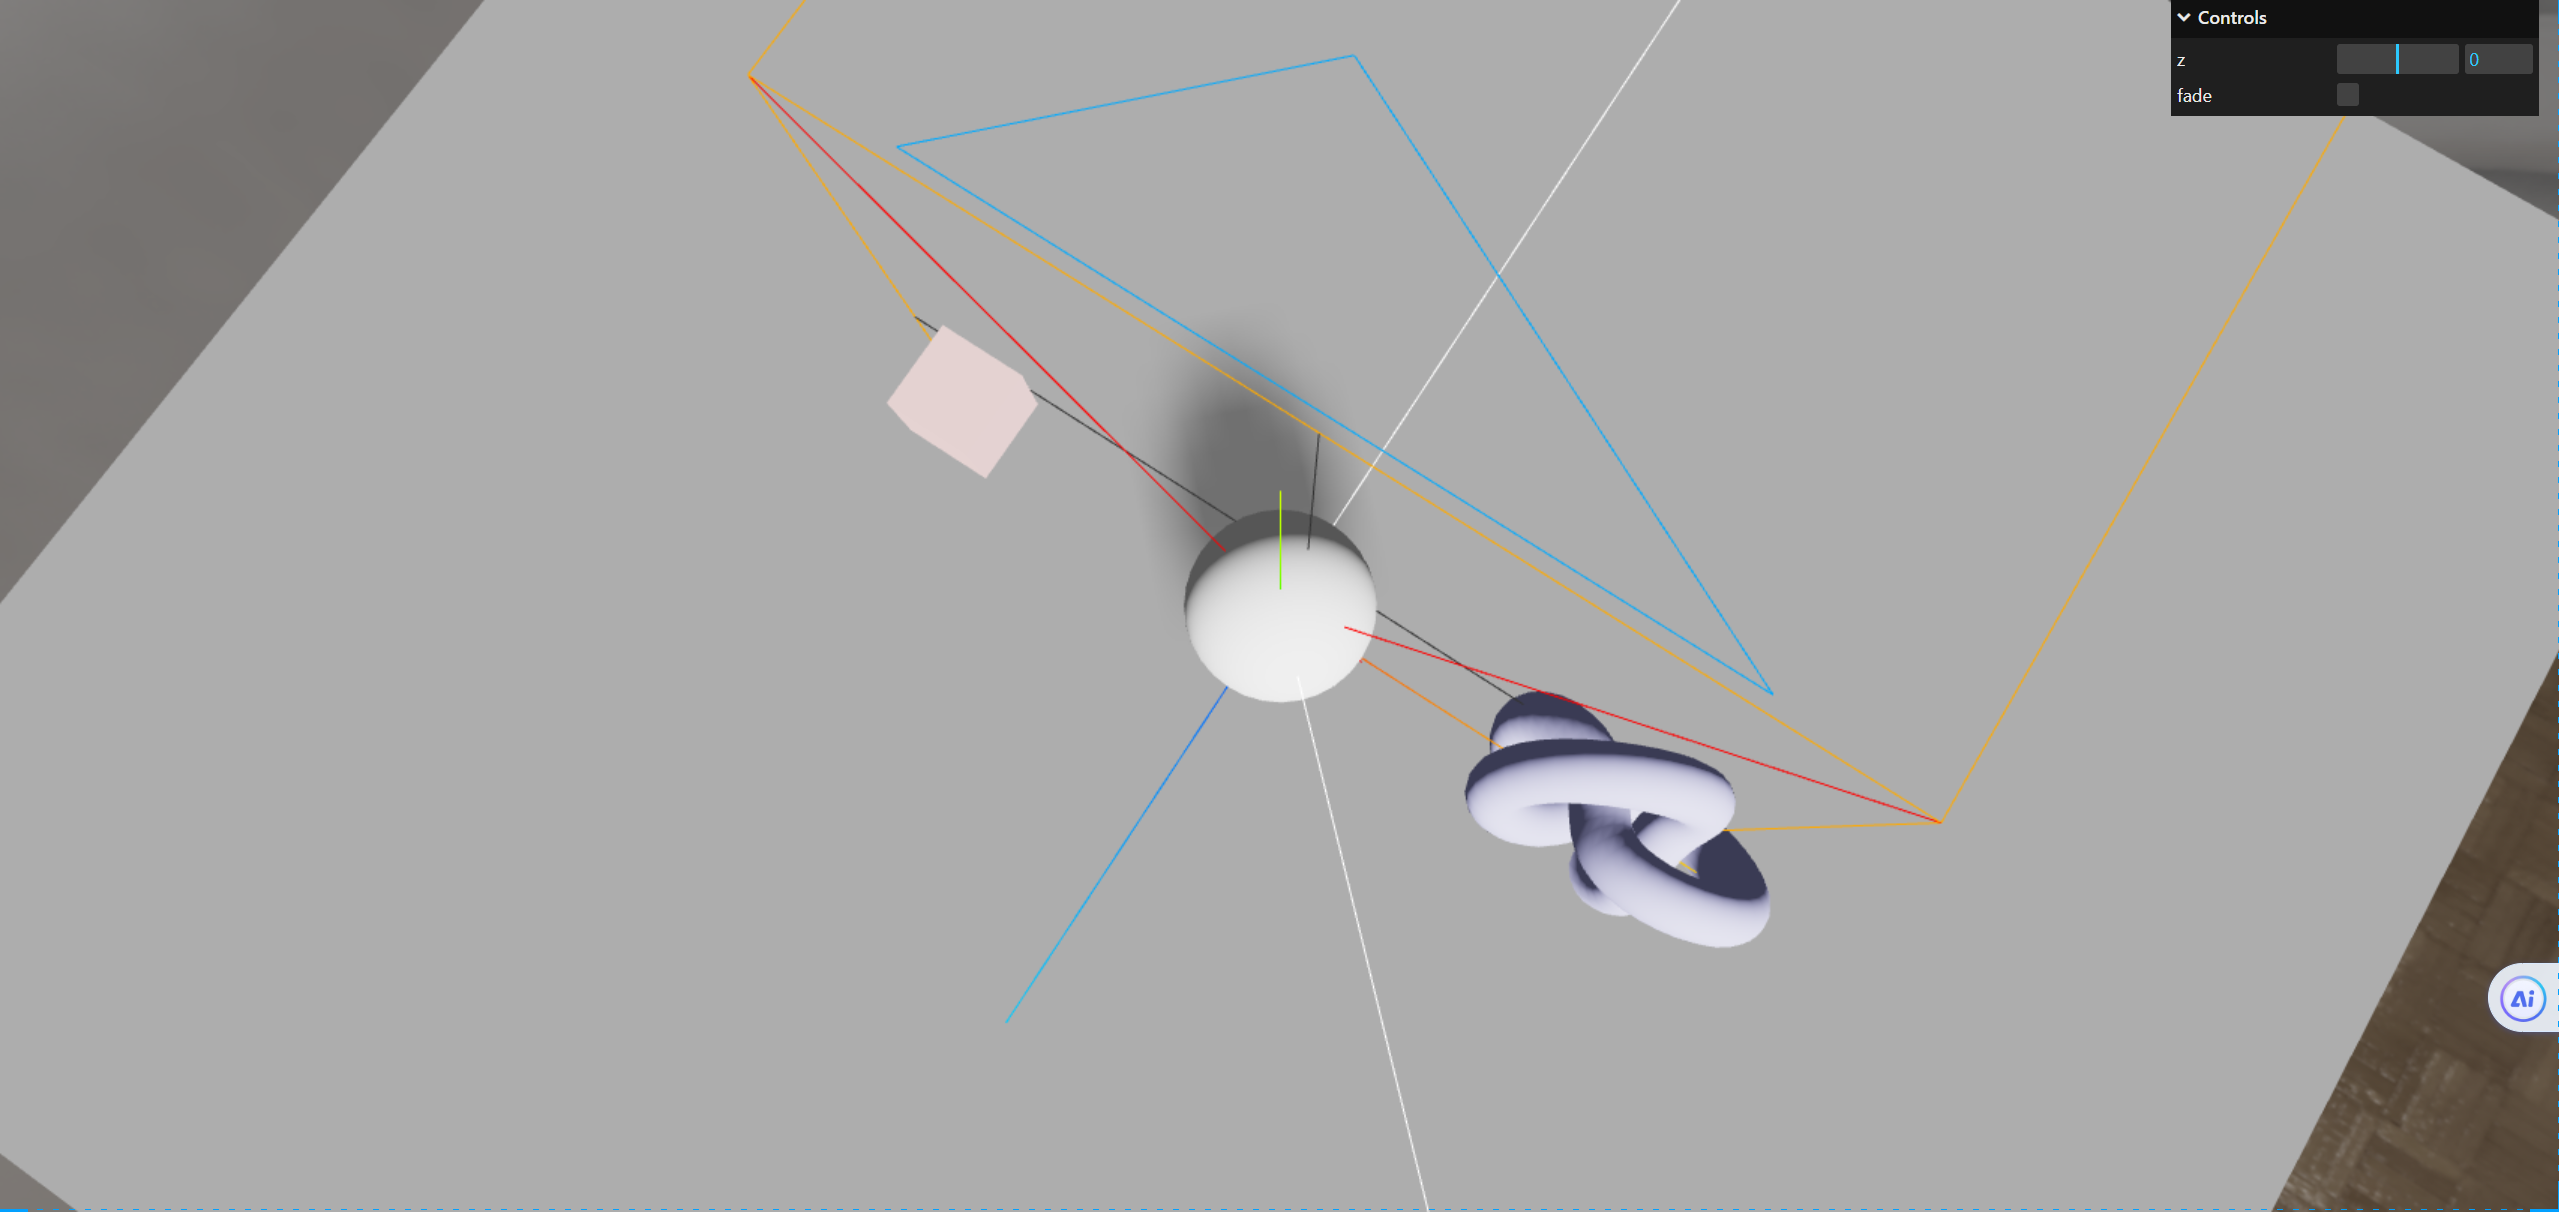
渐变效果
这个有点不太明显,大家可以看着加
结语
本篇文章就讲到这里了,更多内容大家敬请期待~~~~


