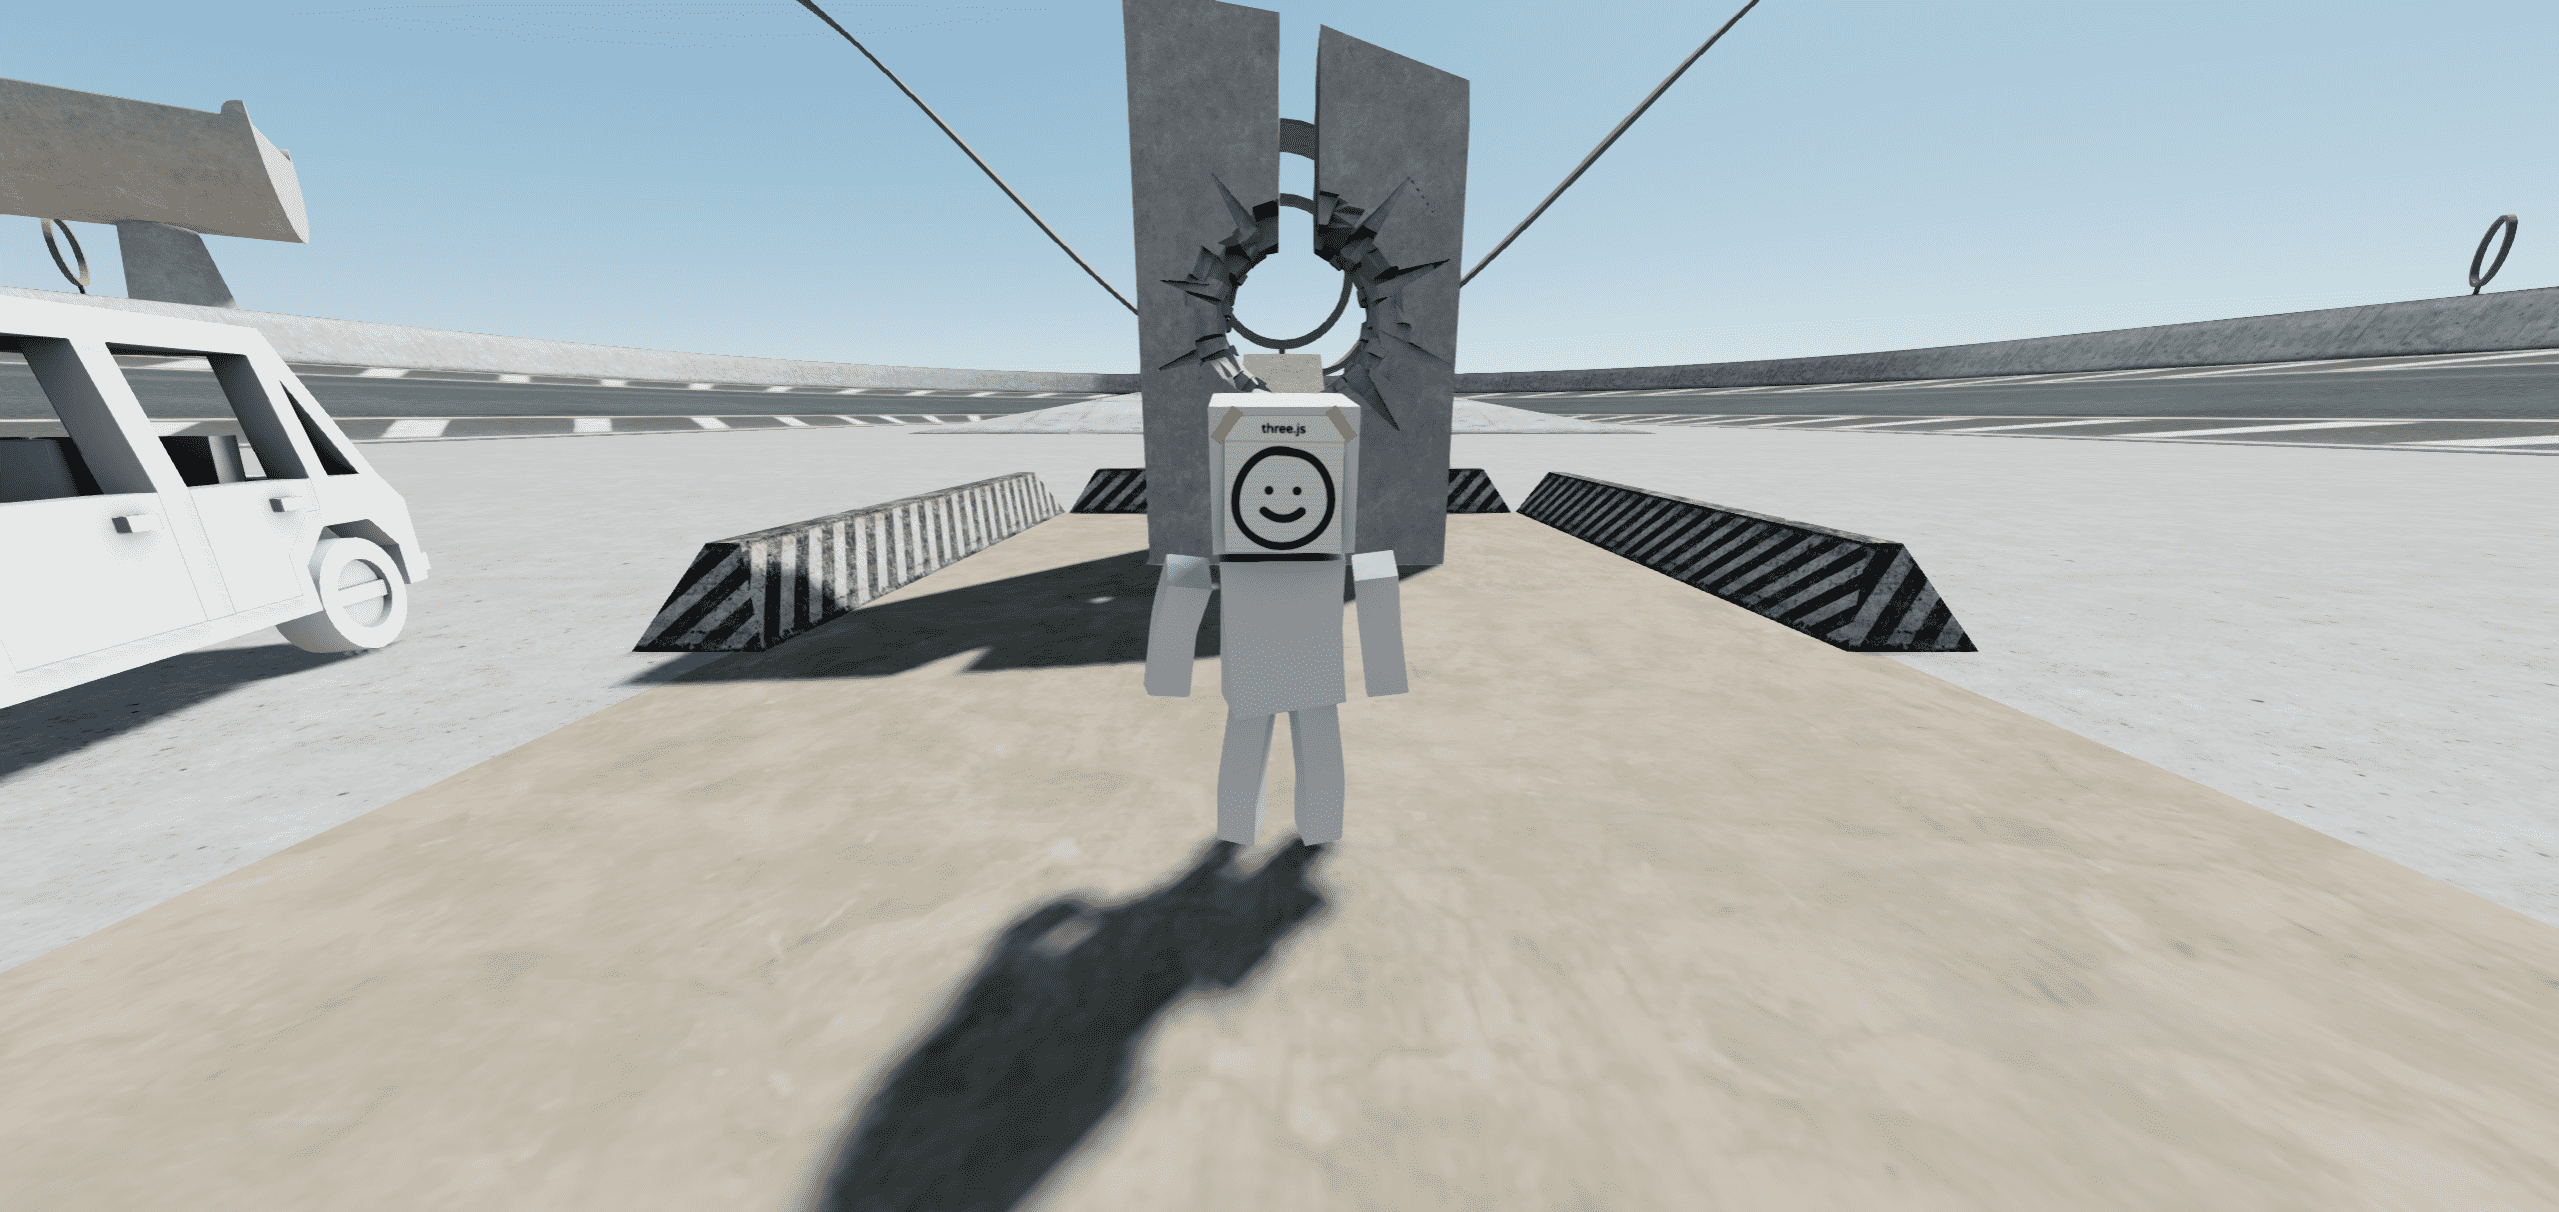
前言 用这篇文章作为2024年第一篇文章,再合适不过了,内容略长,3D基础不好和没兴趣的同学可能会看不下去,本篇文章我将和大家一起学习使用SketchBook来快速开发自己的开放世界,这里主要讲解源码是干什么的,后续等我把建模学一下,再根据这个源码来做一个自己的开放世界,这里我就不多说了,就简单介绍一下源码内容,我也只是囫囵吞枣,大佬的代码的确需要好好观摩学习。
资源介绍 这是一个大佬开源的库,大家可以去github支持一下,用这个库可以更快更高效的完成我们自己的开放世界项目,如果大家不想去下载的话我也把这个文件放到了百度网盘上https://pan.baidu.com/s/1BHt72QV_r_913ctDHe6tjg?pwd=3q52
温馨提示 使用这个库的时候建议node版本不要太高,我16版本是正常的,18版本的时候就有问题了
项目地址 这里给出的是我改完的代码https://gujyang.gitee.io/open-world/(已失效) https://gitee.com/guJyang/open-world
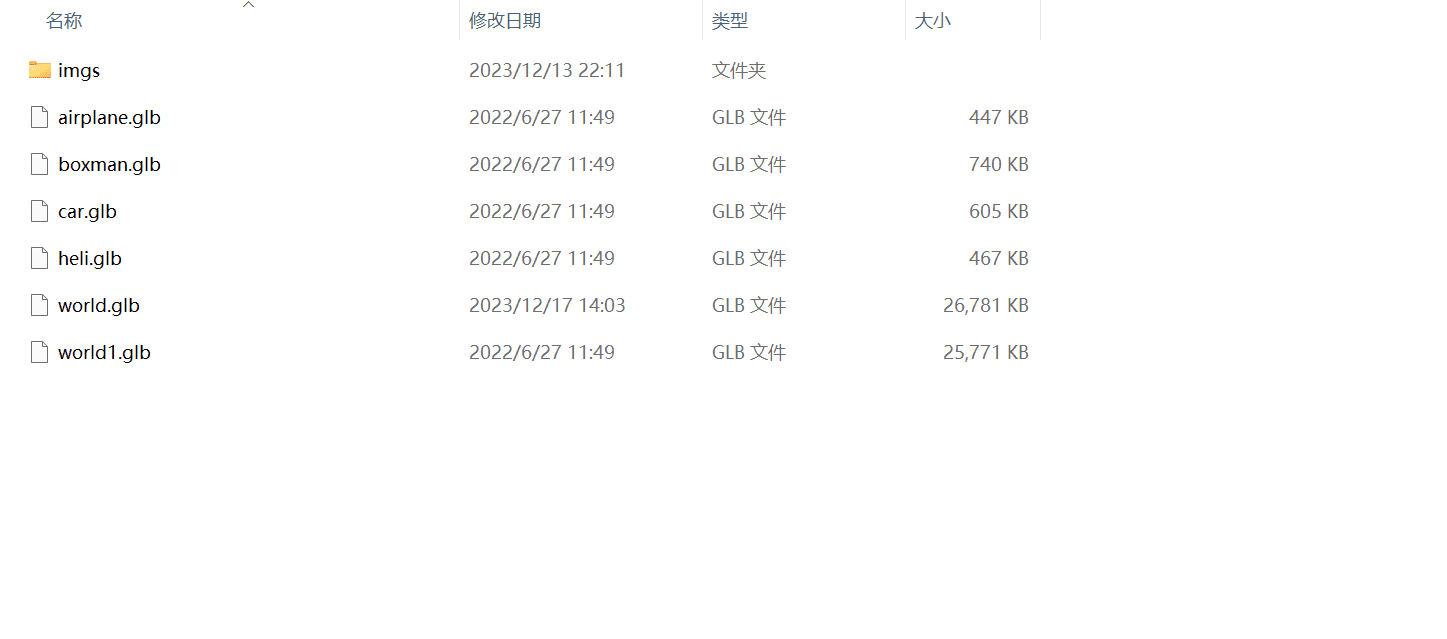
目录结构简单介绍 这里就简单的和大家过一下,这个项目由webpack进行打包,目录下的核心结构是blend文件夹,这个文件夹放着我们用到的所有blend文件,通过webpack打包之后会变成glb,这样我们的网页就能识别,css文件夹下是样式,lib下面有cannon文件夹,里面都是物理世界的一些操作,shaders里面是着色器,里面有俩个默认的着色器,天空和水,utils文件夹下是一些库,比如dat.gui,这个大家都知道是用来操作gui控制面板设置的,还有detector.js是用来检测浏览器的,还有一些更多的文件目录,大家可以拉代码自己看看,这里就不一一介绍了
源码介绍 目录结构大家过一下之后,我们就开始真正的内容了,开始源码模块的介绍
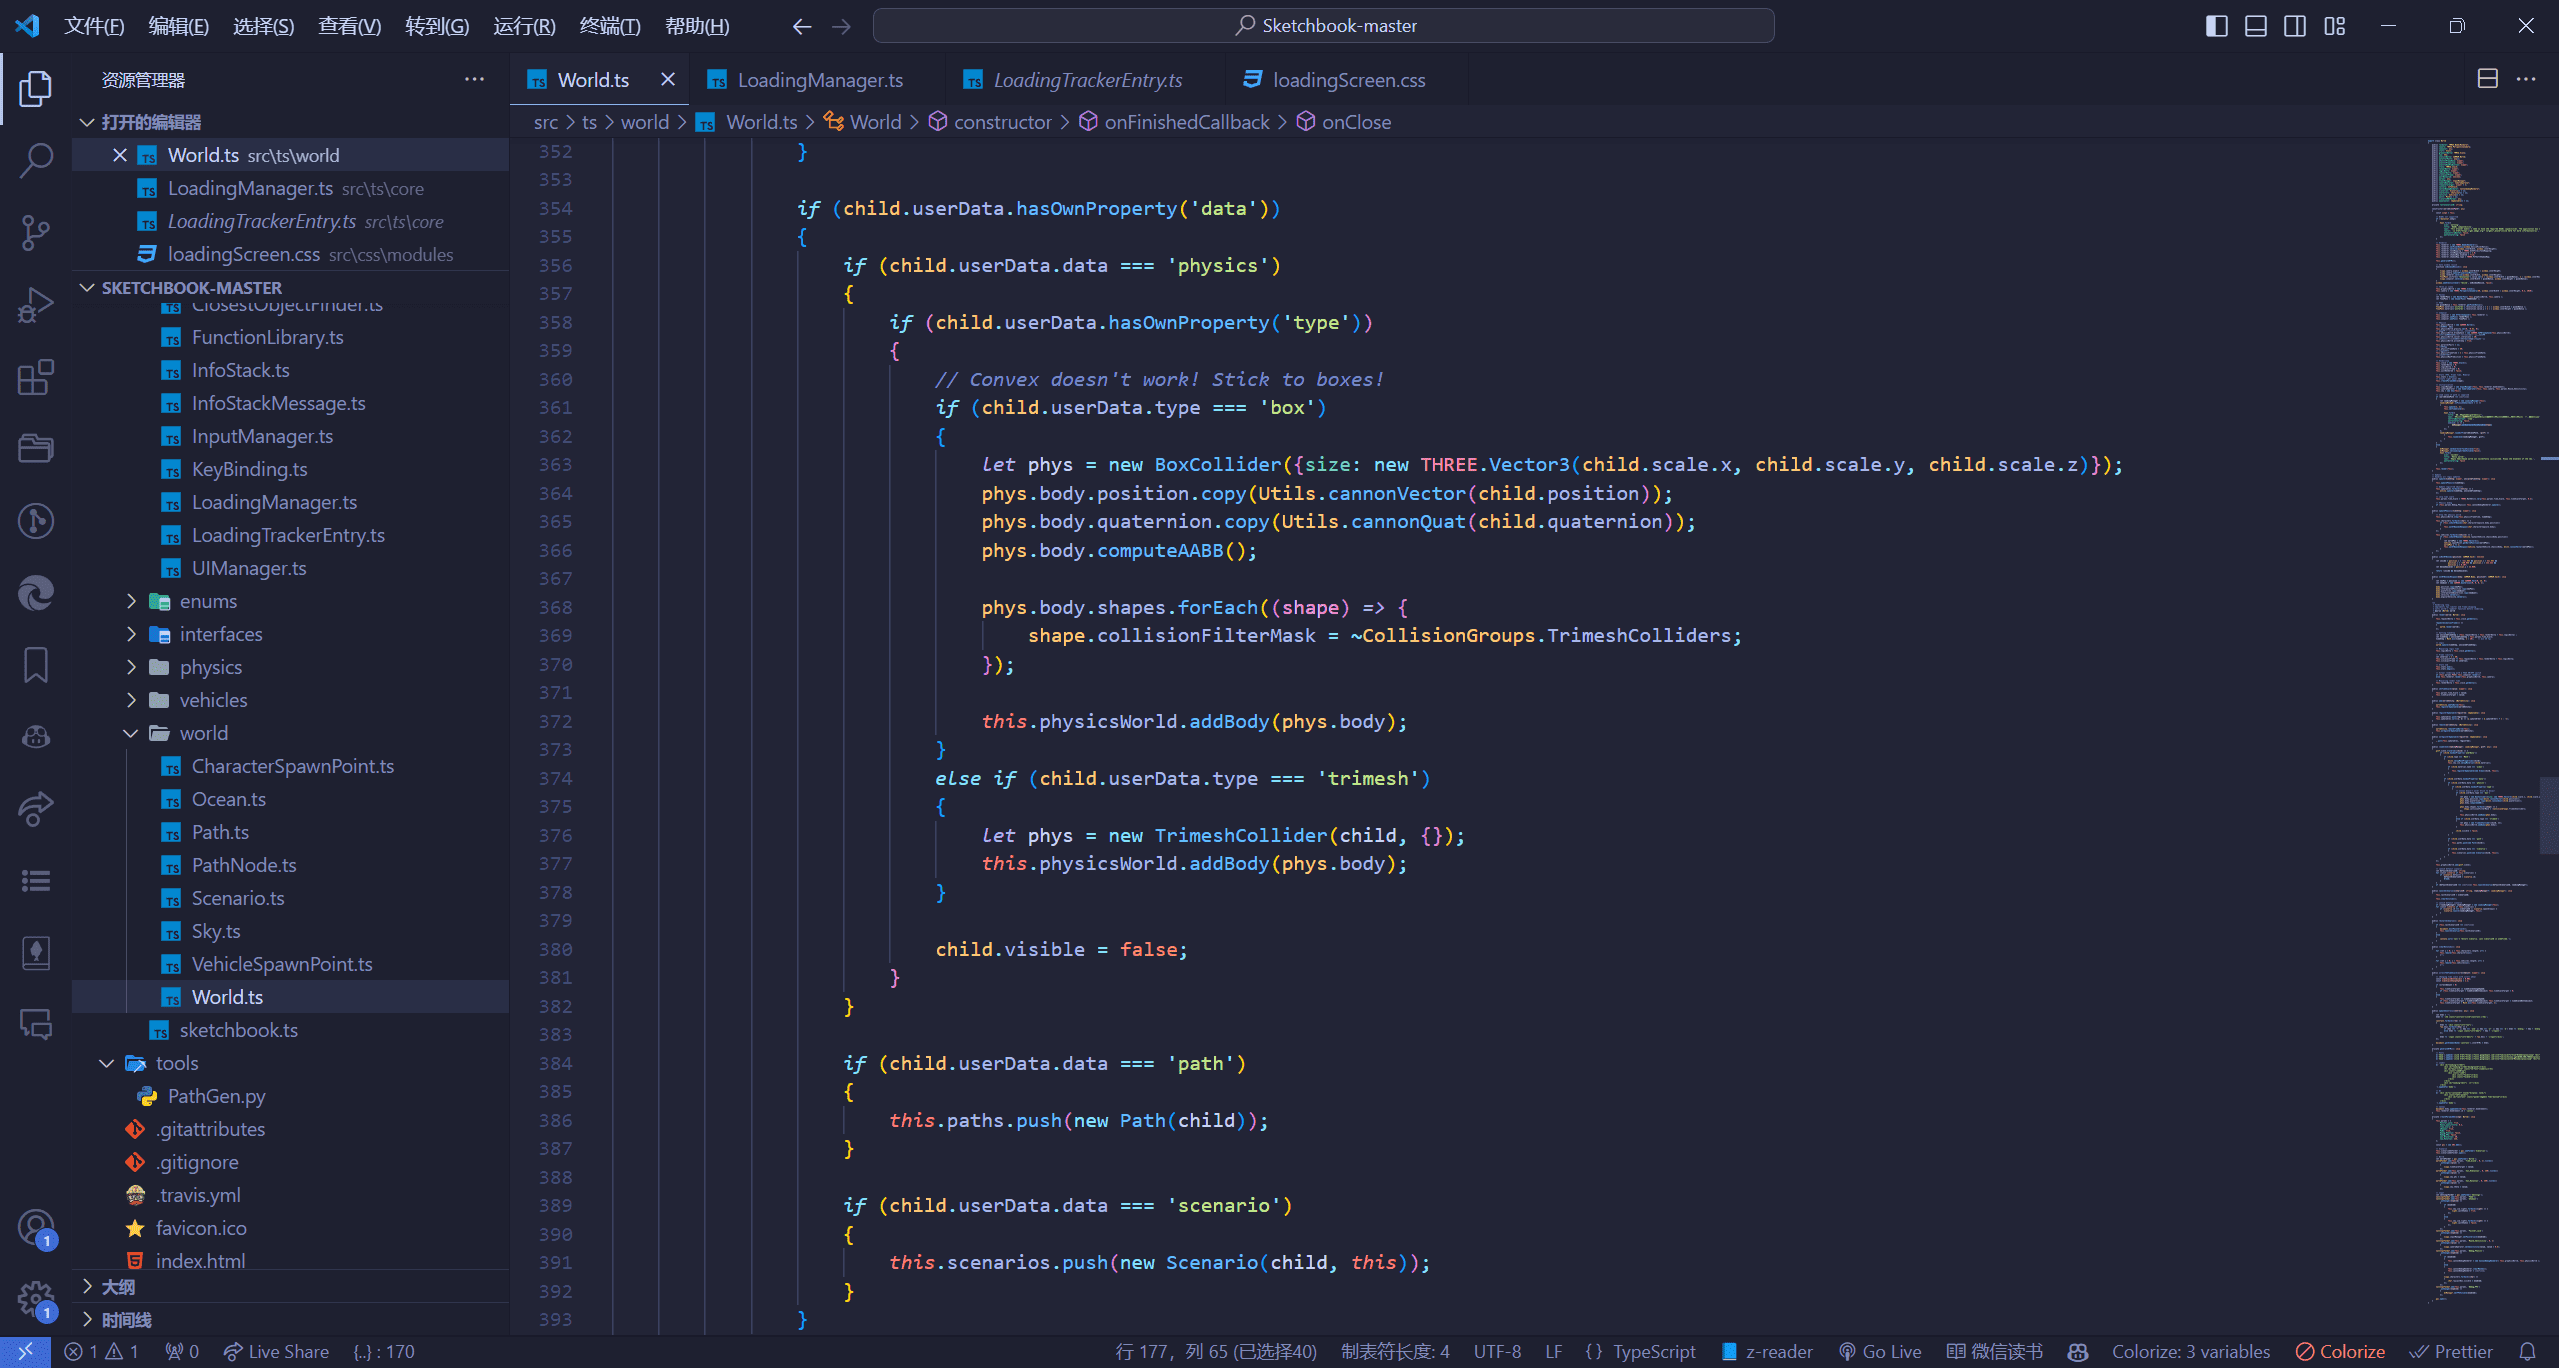
初始化开放世界 ts/world/World.ts 首先我们来看一下ts文件夹下的world文件夹下的World.ts文件,这个文件是我们的开放世界的入口文件,我们来看一下里面的代码,代码太多就不贴了,大家自己找一下
设置构造器 我们从构造器里面开始讲解,首先是scope用来存储this指向
检测webgl是否支持 下面的内容是检测浏览器是否支持webgl,如果不支持的话就会弹出一个提示框,这里用到sweetalert2弹窗库,大家可以自行去了解一下,我在这里就不多阐述了
1 2 3 4 5 6 7 8 9 10 11 12 if (!Detector .webgl ){ Swal .fire ({ icon : 'warning' , title : 'WebGL compatibility' , text : 'This browser doesn\'t seem to have the required WebGL capabilities. The application may not work correctly.' , footer : '<a href="https://get.webgl.org/" target="_blank">Click here for more information</a>' , showConfirmButton : false , buttonsStyling : false }); }
初始化渲染器 如果我们的浏览器是支持webgl的话,那么我们就会初始化渲染器,这部分代码就不多介绍了,大家都看到这里了,应该都很熟悉
1
2
3
4
5
6
7
this .renderer = new THREE .WebGLRenderer ();this .renderer .setPixelRatio (window .devicePixelRatio );this .renderer .setSize (window .innerWidth , window .innerHeight );this .renderer .toneMapping = THREE .ACESFilmicToneMapping ;this .renderer .toneMappingExposure = 1.0 ;this .renderer .shadowMap .enabled = true ;this .renderer .shadowMap .type = THREE .PCFSoftShadowMap ;
初始化页面 然后接下来就是初始化我们的页面
我们进入到generateHTML方法里,这里一开始引入了一些文字的字体样式,
1 2 3 4 $('head' ).append ('<link href="https://fonts.googleapis.com/css2?family=Alfa+Slab+One&display=swap" rel="stylesheet">' ); $('head' ).append ('<link href="https://fonts.googleapis.com/css2?family=Solway:wght@400;500;700&display=swap" rel="stylesheet">' ); $('head' ).append ('<link href="https://fonts.googleapis.com/css2?family=Cutive+Mono&display=swap" rel="stylesheet">' );
然后是我们的loading效果
1 2 3 4 5 6 7 8 9 10 11 12 13 $(` <div id="loading-screen"> <div id="loading-screen-background"></div> <h1 id="main-title" class="sb-font">Sketchbook 0.4</h1> <div class="cubeWrap"> <div class="cube"> <div class="faces1"></div> <div class="faces2"></div> </div> </div> <div id="loading-text">Loading...</div> </div> ` ).appendTo ('body' );
我们先来看一下他的默认loading效果
Your browser does not support the video tag.
我们将代码改成这样
1 2 3 4 5 6 7 8 9 10 11 12 $(` <div id="loading-screen"> <div id="loading-screen-background"></div> <h1 id="main-title" class="sb-font">我的世界</h1> <div class="cubeWrap"> <div class="cube"> <div class="faces1"></div> <div class="faces2"></div> </div> </div> <div id="loading-text">加载中</div> </div> ` ).appendTo ('body' );
然后在css/modules/loadingScreen.css中我们可以自己加个背景图
1
2
3
4
#loading-screen-background { background : url (/build/assets/imgs/bg.png ) !important ; background-size : cover; }
此时我们的loading就变成了这样
Your browser does not support the video tag.
然后接下来那一段代码是页面左上角的github地址
1 2 3 4 5 6 7 8 9 10 11 12 13 14 15 16 17 (` <div id="ui-container" style="display: none;"> <div class="github-corner"> <a href="https://github.com/swift502/Sketchbook" target="_blank" title="Fork me on GitHub"> <svg viewbox="0 0 100 100" fill="currentColor"> <title>Fork me on GitHub</title> <path d="M0 0v100h100V0H0zm60 70.2h.2c1 2.7.3 4.7 0 5.2 1.4 1.4 2 3 2 5.2 0 7.4-4.4 9-8.7 9.5.7.7 1.3 2 1.3 3.7V99c0 .5 1.4 1 1.4 1H44s1.2-.5 1.2-1v-3.8c-3.5 1.4-5.2-.8-5.2-.8-1.5-2-3-2-3-2-2-.5-.2-1-.2-1 2-.7 3.5.8 3.5.8 2 1.7 4 1 5 .3.2-1.2.7-2 1.2-2.4-4.3-.4-8.8-2-8.8-9.4 0-2 .7-4 2-5.2-.2-.5-1-2.5.2-5 0 0 1.5-.6 5.2 1.8 1.5-.4 3.2-.6 4.8-.6 1.6 0 3.3.2 4.8.7 2.8-2 4.4-2 5-2z"></path> </svg> </a> </div> <div class="left-panel"> <div id="controls" class="panel-segment flex-bottom"></div> </div> </div> ` ).appendTo ('body' );
我们做自己的东西,那就不需要了,当然你也可以加上,改成自己的github地址什么的,我这里就去掉了类名为github-corner的部分,类名为left-panel的部分是我们左下方的操作栏提示,暂时先不去掉了,去了有其他文件影响。
接下来一段就是把canvas添加进去了
1
2
document .body .appendChild (this .renderer .domElement );this .renderer .domElement .id = 'canvas' ;
ok,这个方法看完了之后,让我们把视野重新返回上去
屏幕适配 下面这段代码做的就是屏幕适配,fxaaPass是抗锯齿,那一行代码是设置我们的宽高比例,scope.composer是合成渲染器的像素比例,其他的大家都认识,我就不多阐述了。
1 2 3 4 5 6 7 8 9 10 function onWindowResize (void { scope.camera .aspect = window .innerWidth / window .innerHeight ; scope.camera .updateProjectionMatrix (); scope.renderer .setSize (window .innerWidth , window .innerHeight ); fxaaPass.uniforms ['resolution' ].value .set (1 / (window .innerWidth * pixelRatio), 1 / (window .innerHeight * pixelRatio)); scope.composer .setSize (window .innerWidth * pixelRatio, window .innerHeight * pixelRatio); } window .addEventListener ('resize' , onWindowResize, false );
创建场景和相机 下面这段代码大家也认识
1 2 3 this .graphicsWorld = new THREE .Scene (); this .camera = new THREE .PerspectiveCamera (80 , window .innerWidth / window .innerHeight , 0.1 , 1010 );
渲染通道和着色器通道 这里使用了new RenderPass生成渲染通道,这个是用来操作我们后期效果的,new ShaderPass生成着色器通道,这个着色器通道是用来做抗锯齿操作的
1 2 3 4 5 6 7 8 9 10 11 12 13 let renderPass = new RenderPass ( this .graphicsWorld , this .camera ); let fxaaPass = new ShaderPass ( FXAAShader ); let pixelRatio = this .renderer .getPixelRatio (); fxaaPass.material ['uniforms' ].resolution .value .x = 1 / ( window .innerWidth * pixelRatio ); fxaaPass.material ['uniforms' ].resolution .value .y = 1 / ( window .innerHeight * pixelRatio ); this .composer = new EffectComposer ( this .renderer ); this .composer .addPass ( renderPass ); this .composer .addPass ( fxaaPass );
物理世界初始化 下面这段代码初始化了我们的物理世界
1 2 3 4 5 6 this .physicsWorld = new CANNON .World (); this .physicsWorld .gravity .set (0 , -9.81 , 0 ); this .physicsWorld .broadphase = new CANNON .SAPBroadphase (this .physicsWorld ); this .physicsWorld .solver .iterations = 10 ; this .physicsWorld .allowSleep = true ;
下面这段代码定义了我们物理世界的帧
1
2
3
4
5
6
7
this .parallelPairs = [];this .physicsFrameRate = 60 ;this .physicsFrameTime = 1 / this .physicsFrameRate ;this .physicsMaxPrediction = this .physicsFrameRate ;
时间操作 这一段代码我们用到了我们再说
1 2 3 4 5 6 this .clock = new THREE .Clock ();this .renderDelta = 0 ;this .logicDelta = 0 ;this .sinceLastFrame = 0 ;this .justRendered = false ;
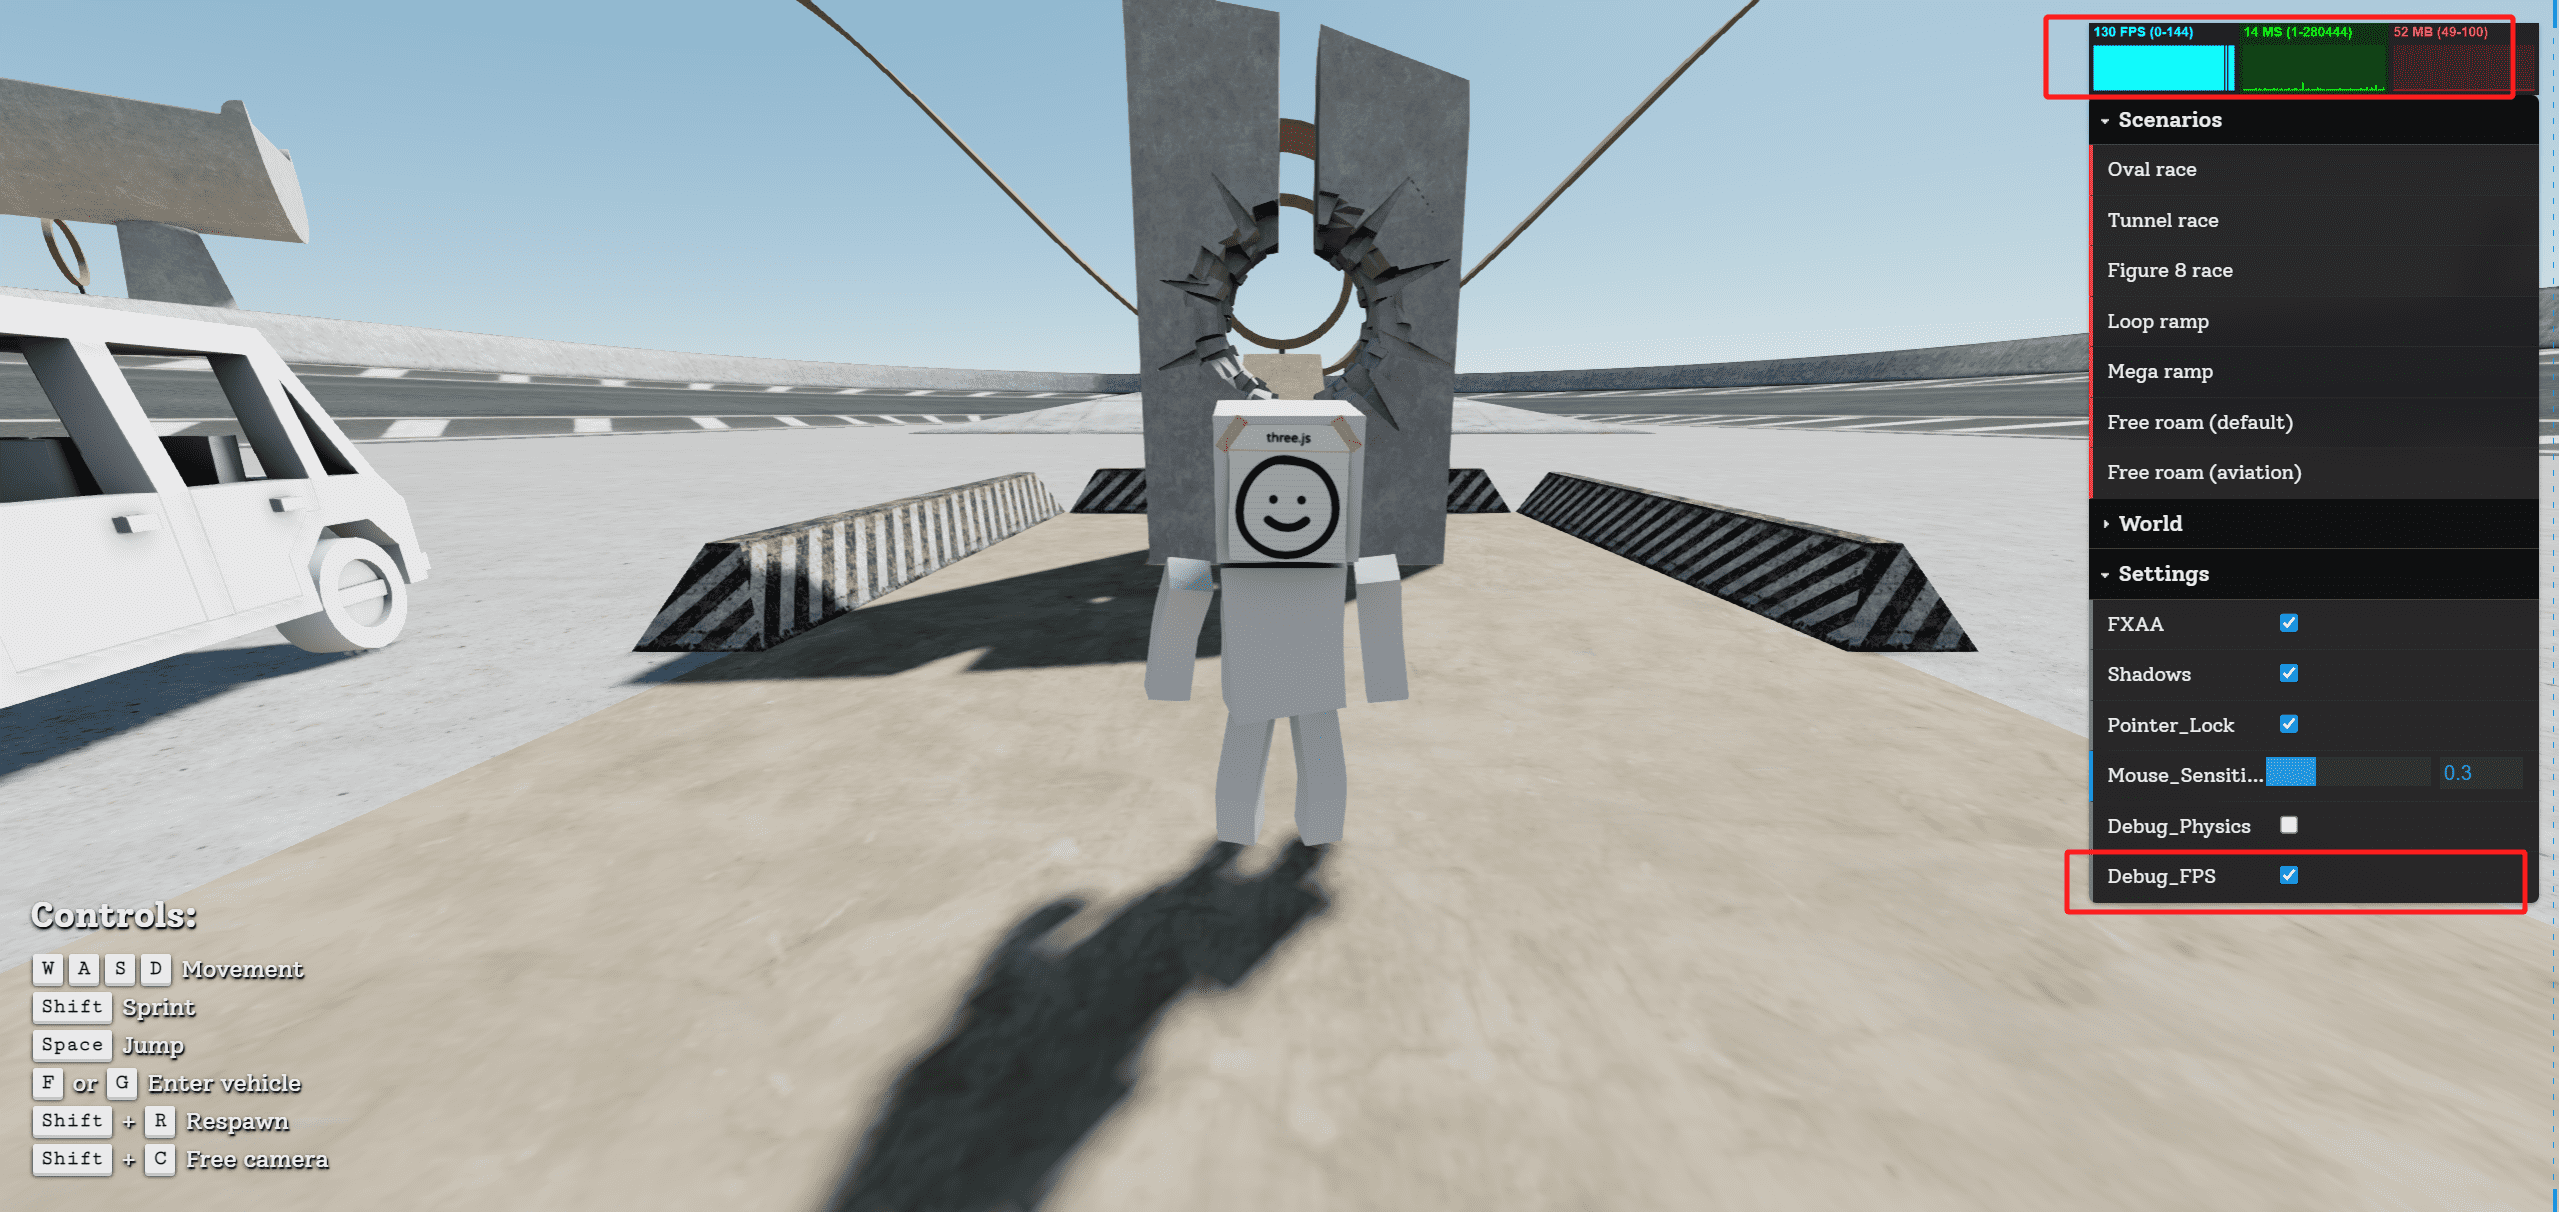
FPS检测 这个就是检测我们的FPS,占用GPU大小什么的
创建右侧GUI 具体的挖个坑,后面再说
1 2 this .createParamsGUI (scope);
初始化输入管理器,相机操作,天空 这里也先描述下,后面具体再说
1 2 3 4 this .inputManager = new InputManager (this , this .renderer .domElement );this .cameraOperator = new CameraOperator (this , this .camera , this .params .Mouse_Sensitivity );this .sky = new Sky (this );
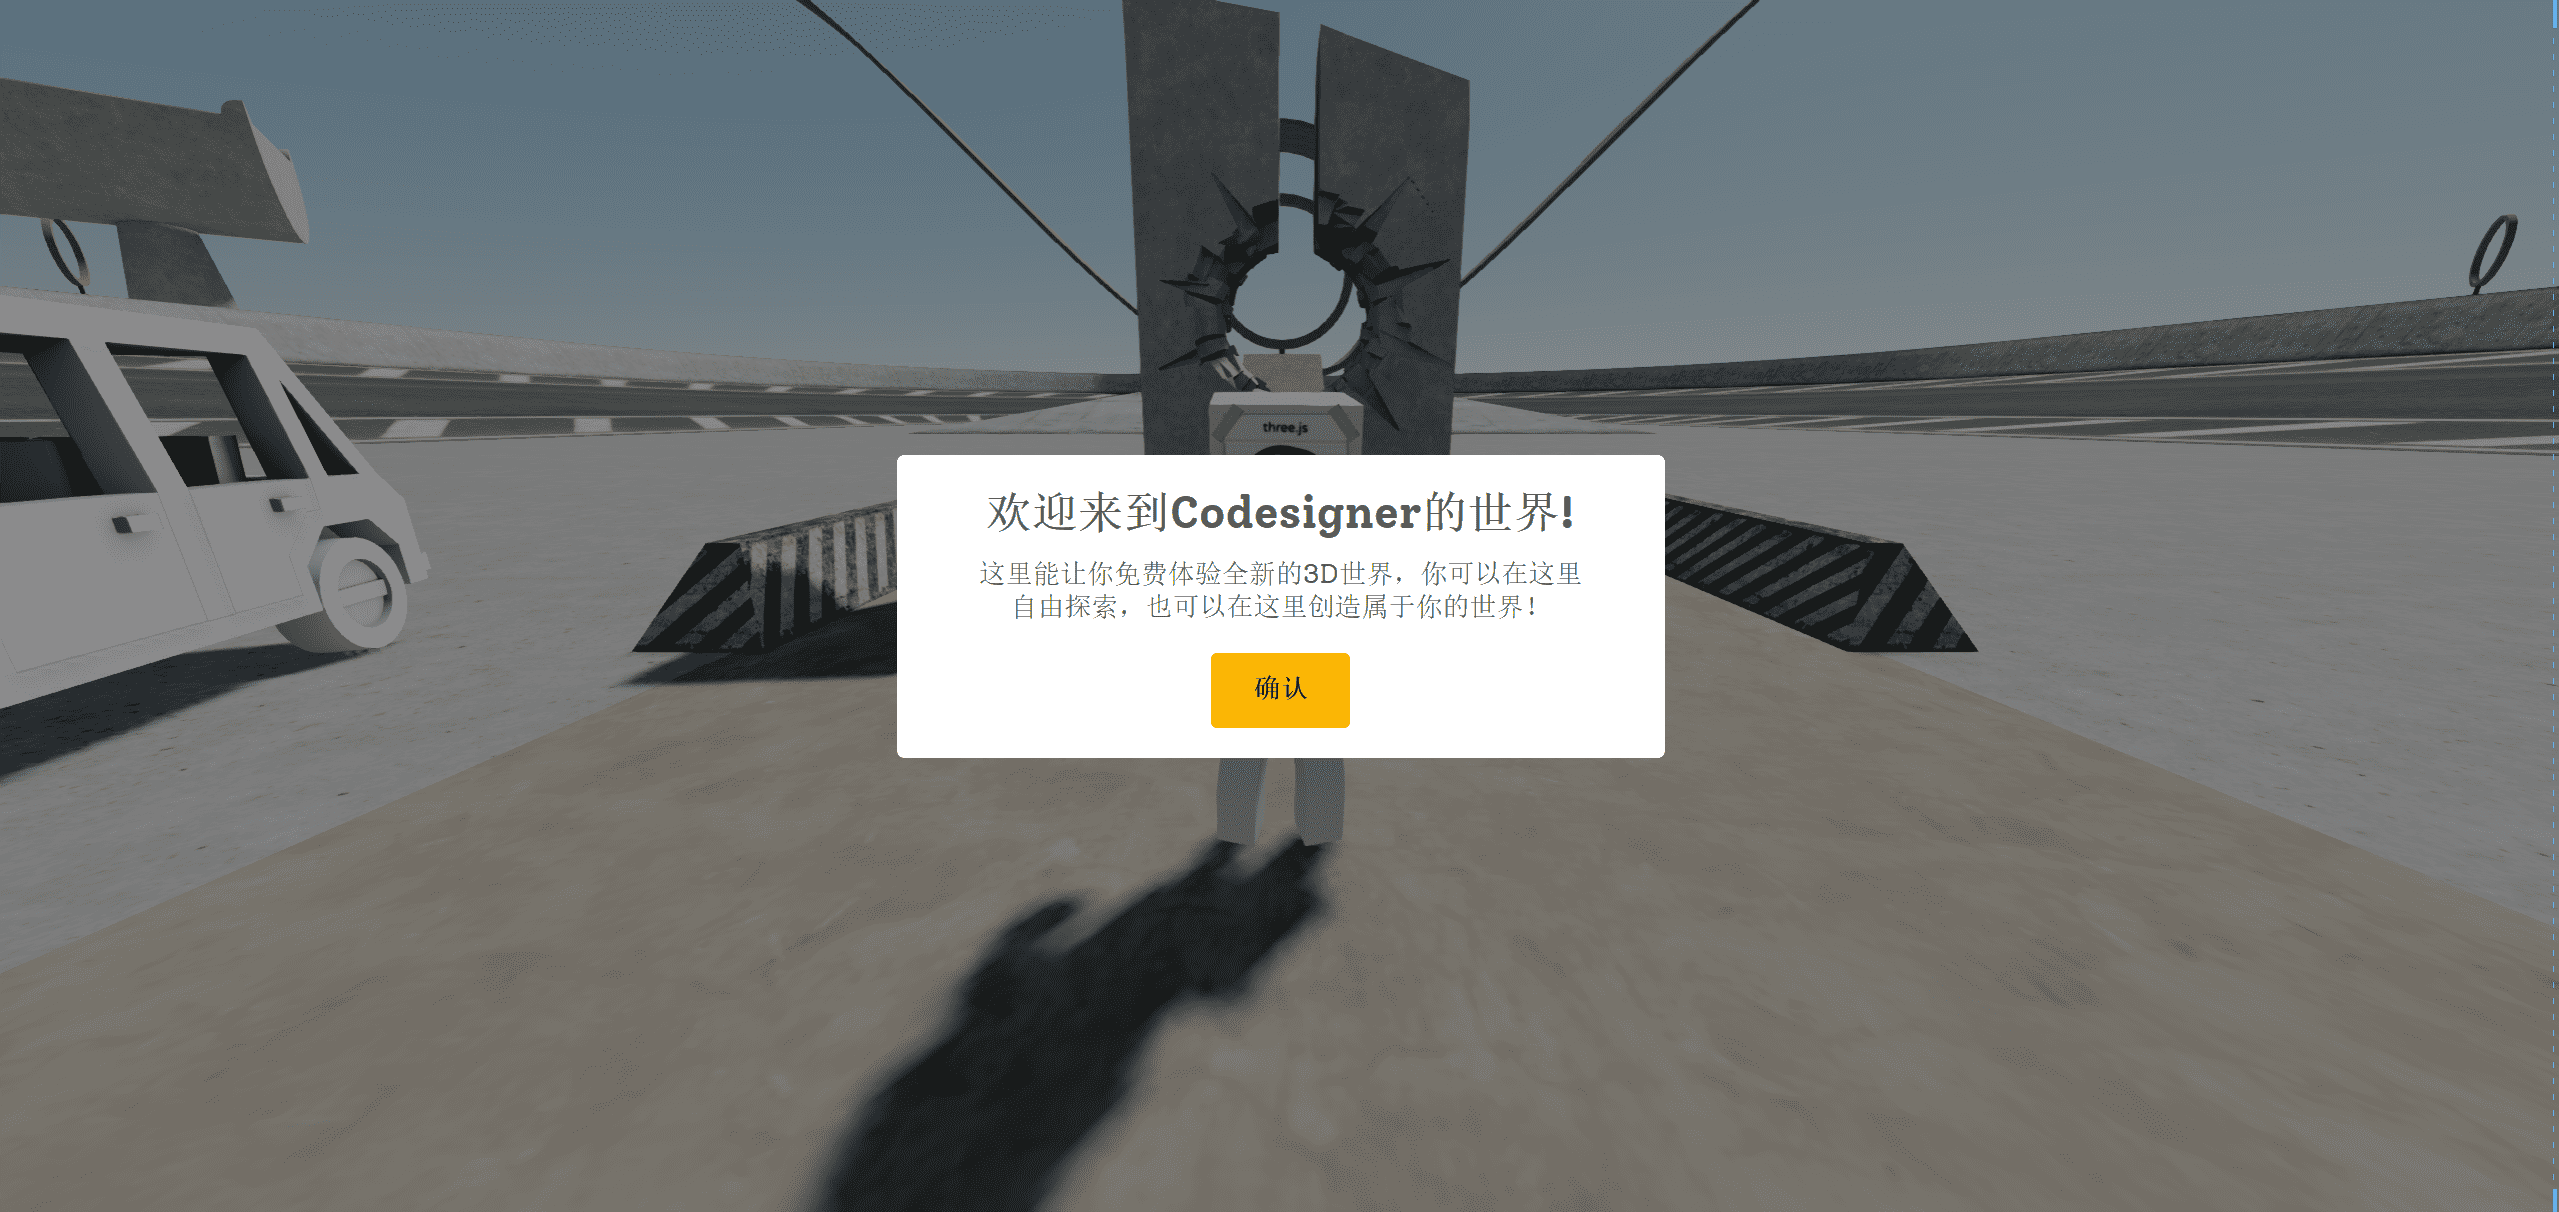
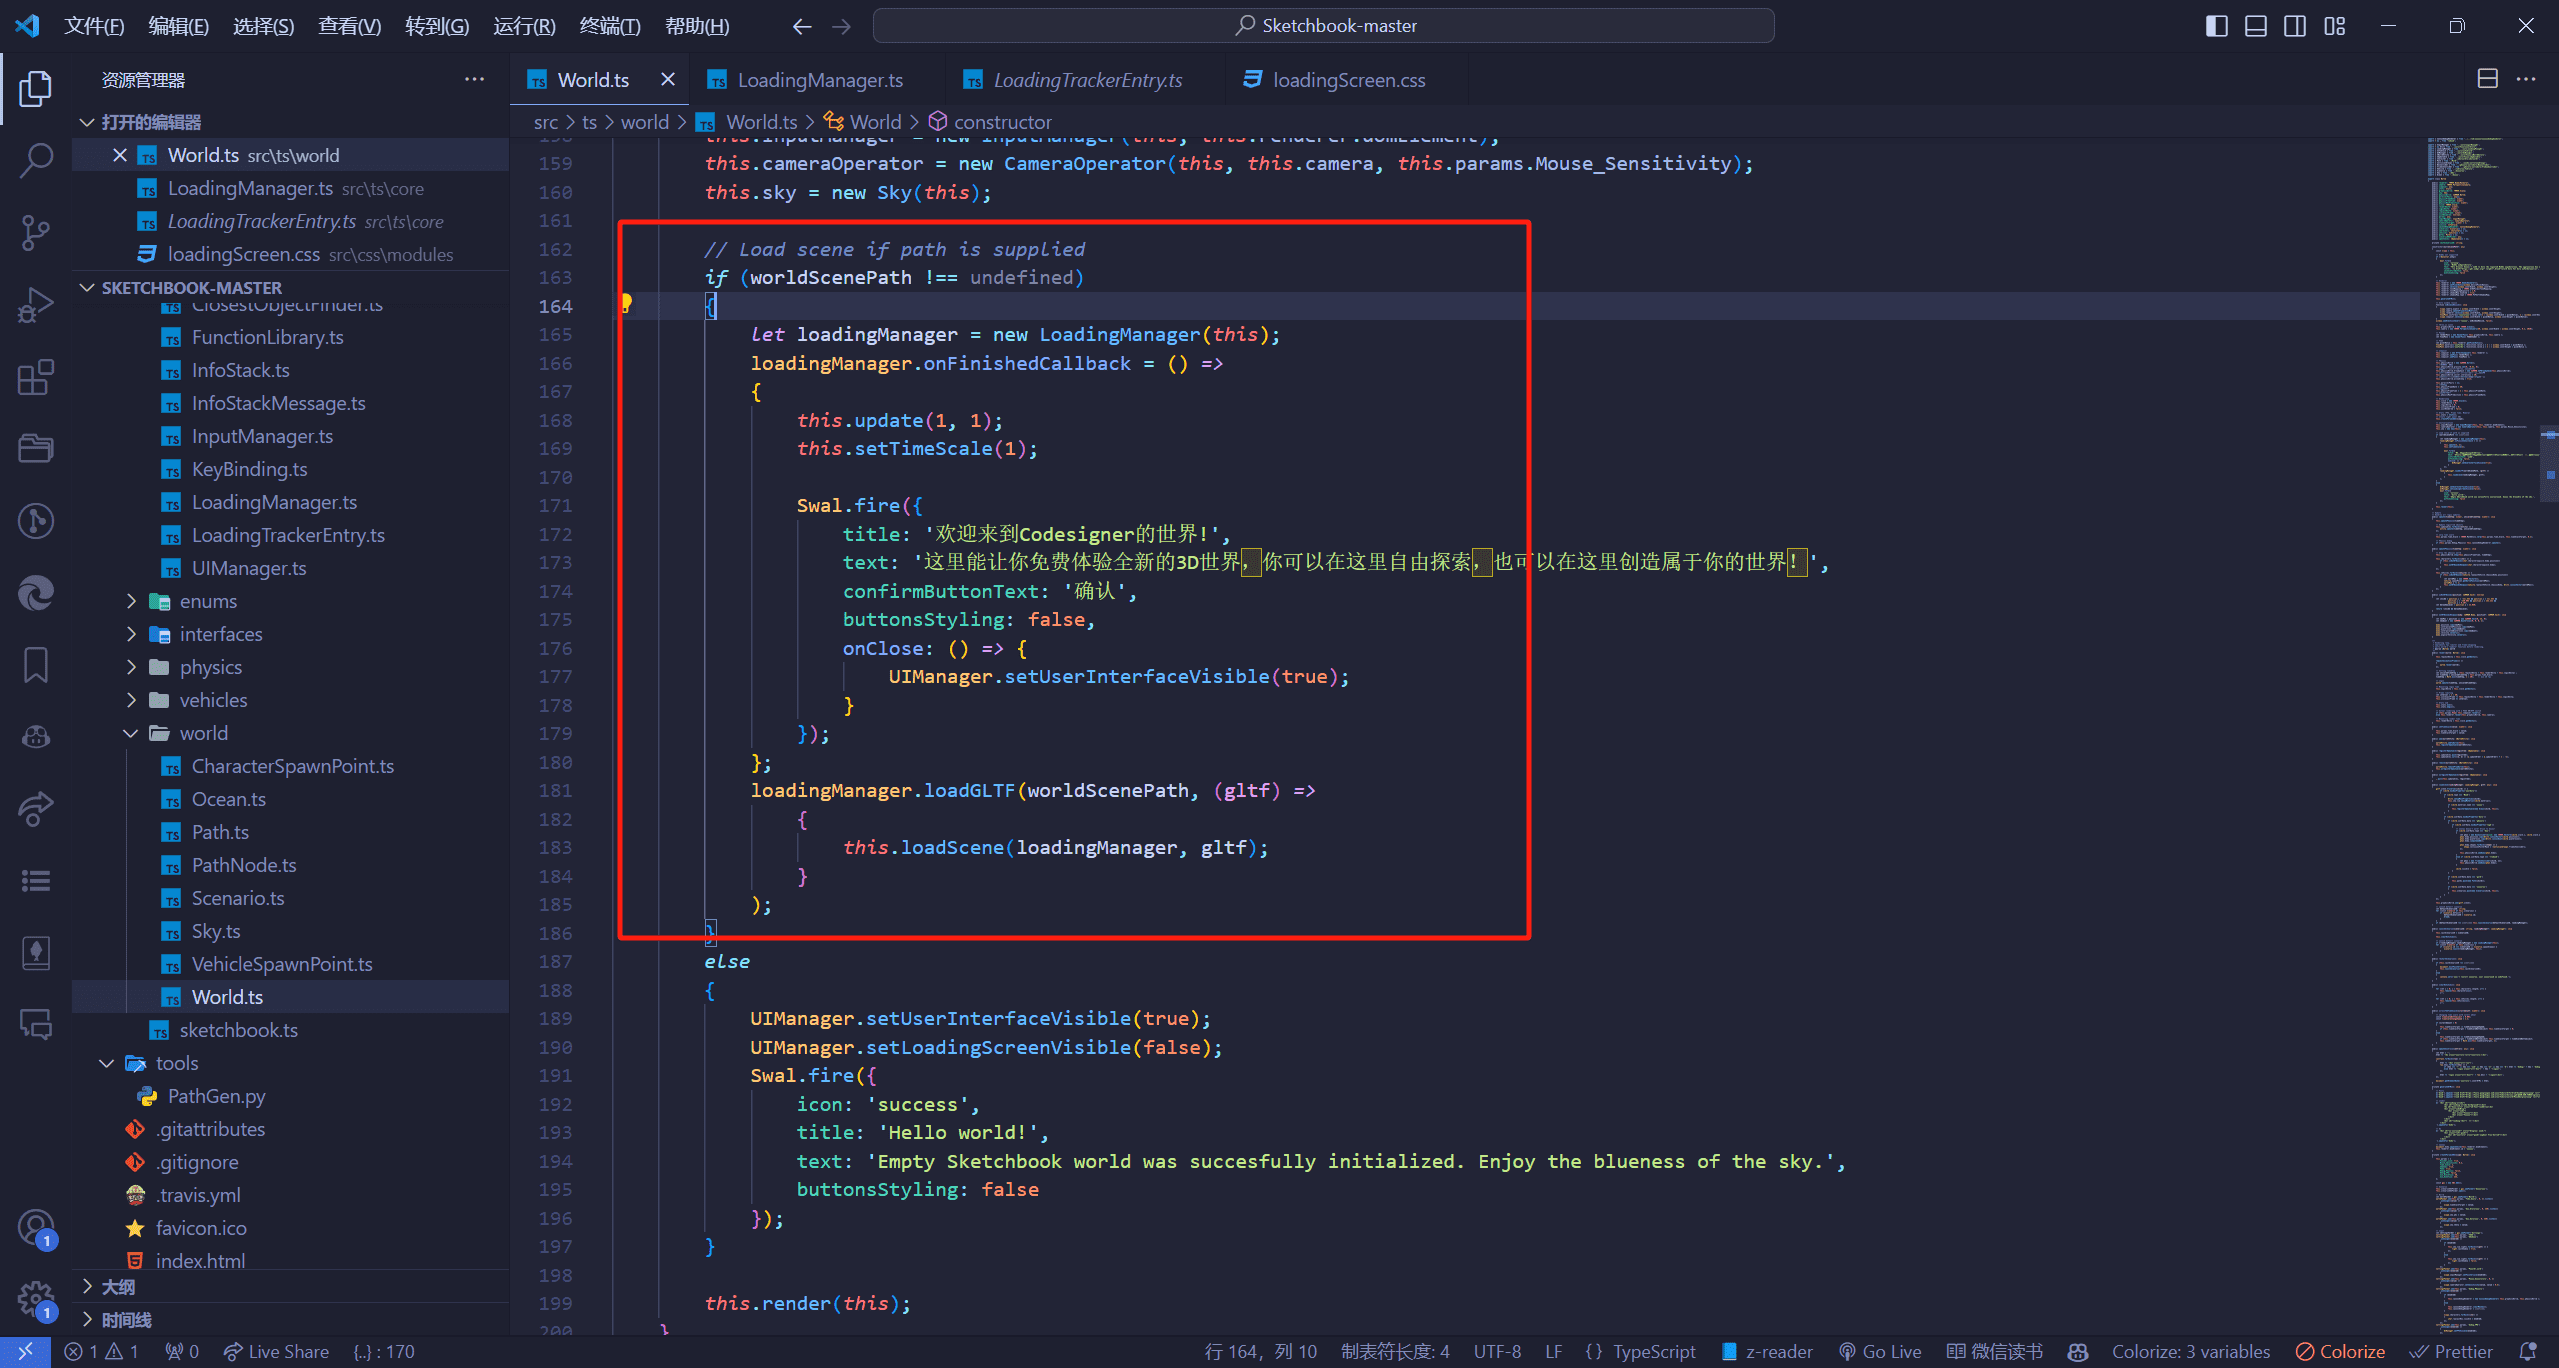
加载完毕 这里就是加载完毕的情况,如果你没有场景就执行else那块的代码,创建个弹窗提示你这是个空的世界,我们这里可以把加载完毕之后的弹窗自己优化一下
1 2 3 4 5 6 7 8 9 10 11 12 13 14 15 16 17 18 19 20 21 22 23 24 25 26 27 28 29 30 31 32 33 34 35 36 37 38 if (worldScenePath !== undefined ) { let loadingManager = new LoadingManager (this ); loadingManager.onFinishedCallback = () => { this .update (1 , 1 ); this .setTimeScale (1 ); Swal .fire ({ title : 'Welcome to Sketchbook!' , text : 'Feel free to explore the world and interact with available vehicles. There are also various scenarios ready to launch from the right panel.' , footer : '<a href="https://github.com/swift502/Sketchbook" target="_blank">GitHub page</a><a href="https://discord.gg/fGuEqCe" target="_blank">Discord server</a>' , confirmButtonText : 'Okay' , buttonsStyling : false , onClose : () => { UIManager .setUserInterfaceVisible (true ); } }); }; loadingManager.loadGLTF (worldScenePath, (gltf ) => { this .loadScene (loadingManager, gltf); } ); } else { UIManager .setUserInterfaceVisible (true ); UIManager .setLoadingScreenVisible (false ); Swal .fire ({ icon : 'success' , title : 'Hello world!' , text : 'Empty Sketchbook world was succesfully initialized. Enjoy the blueness of the sky.' , buttonsStyling : false }); }
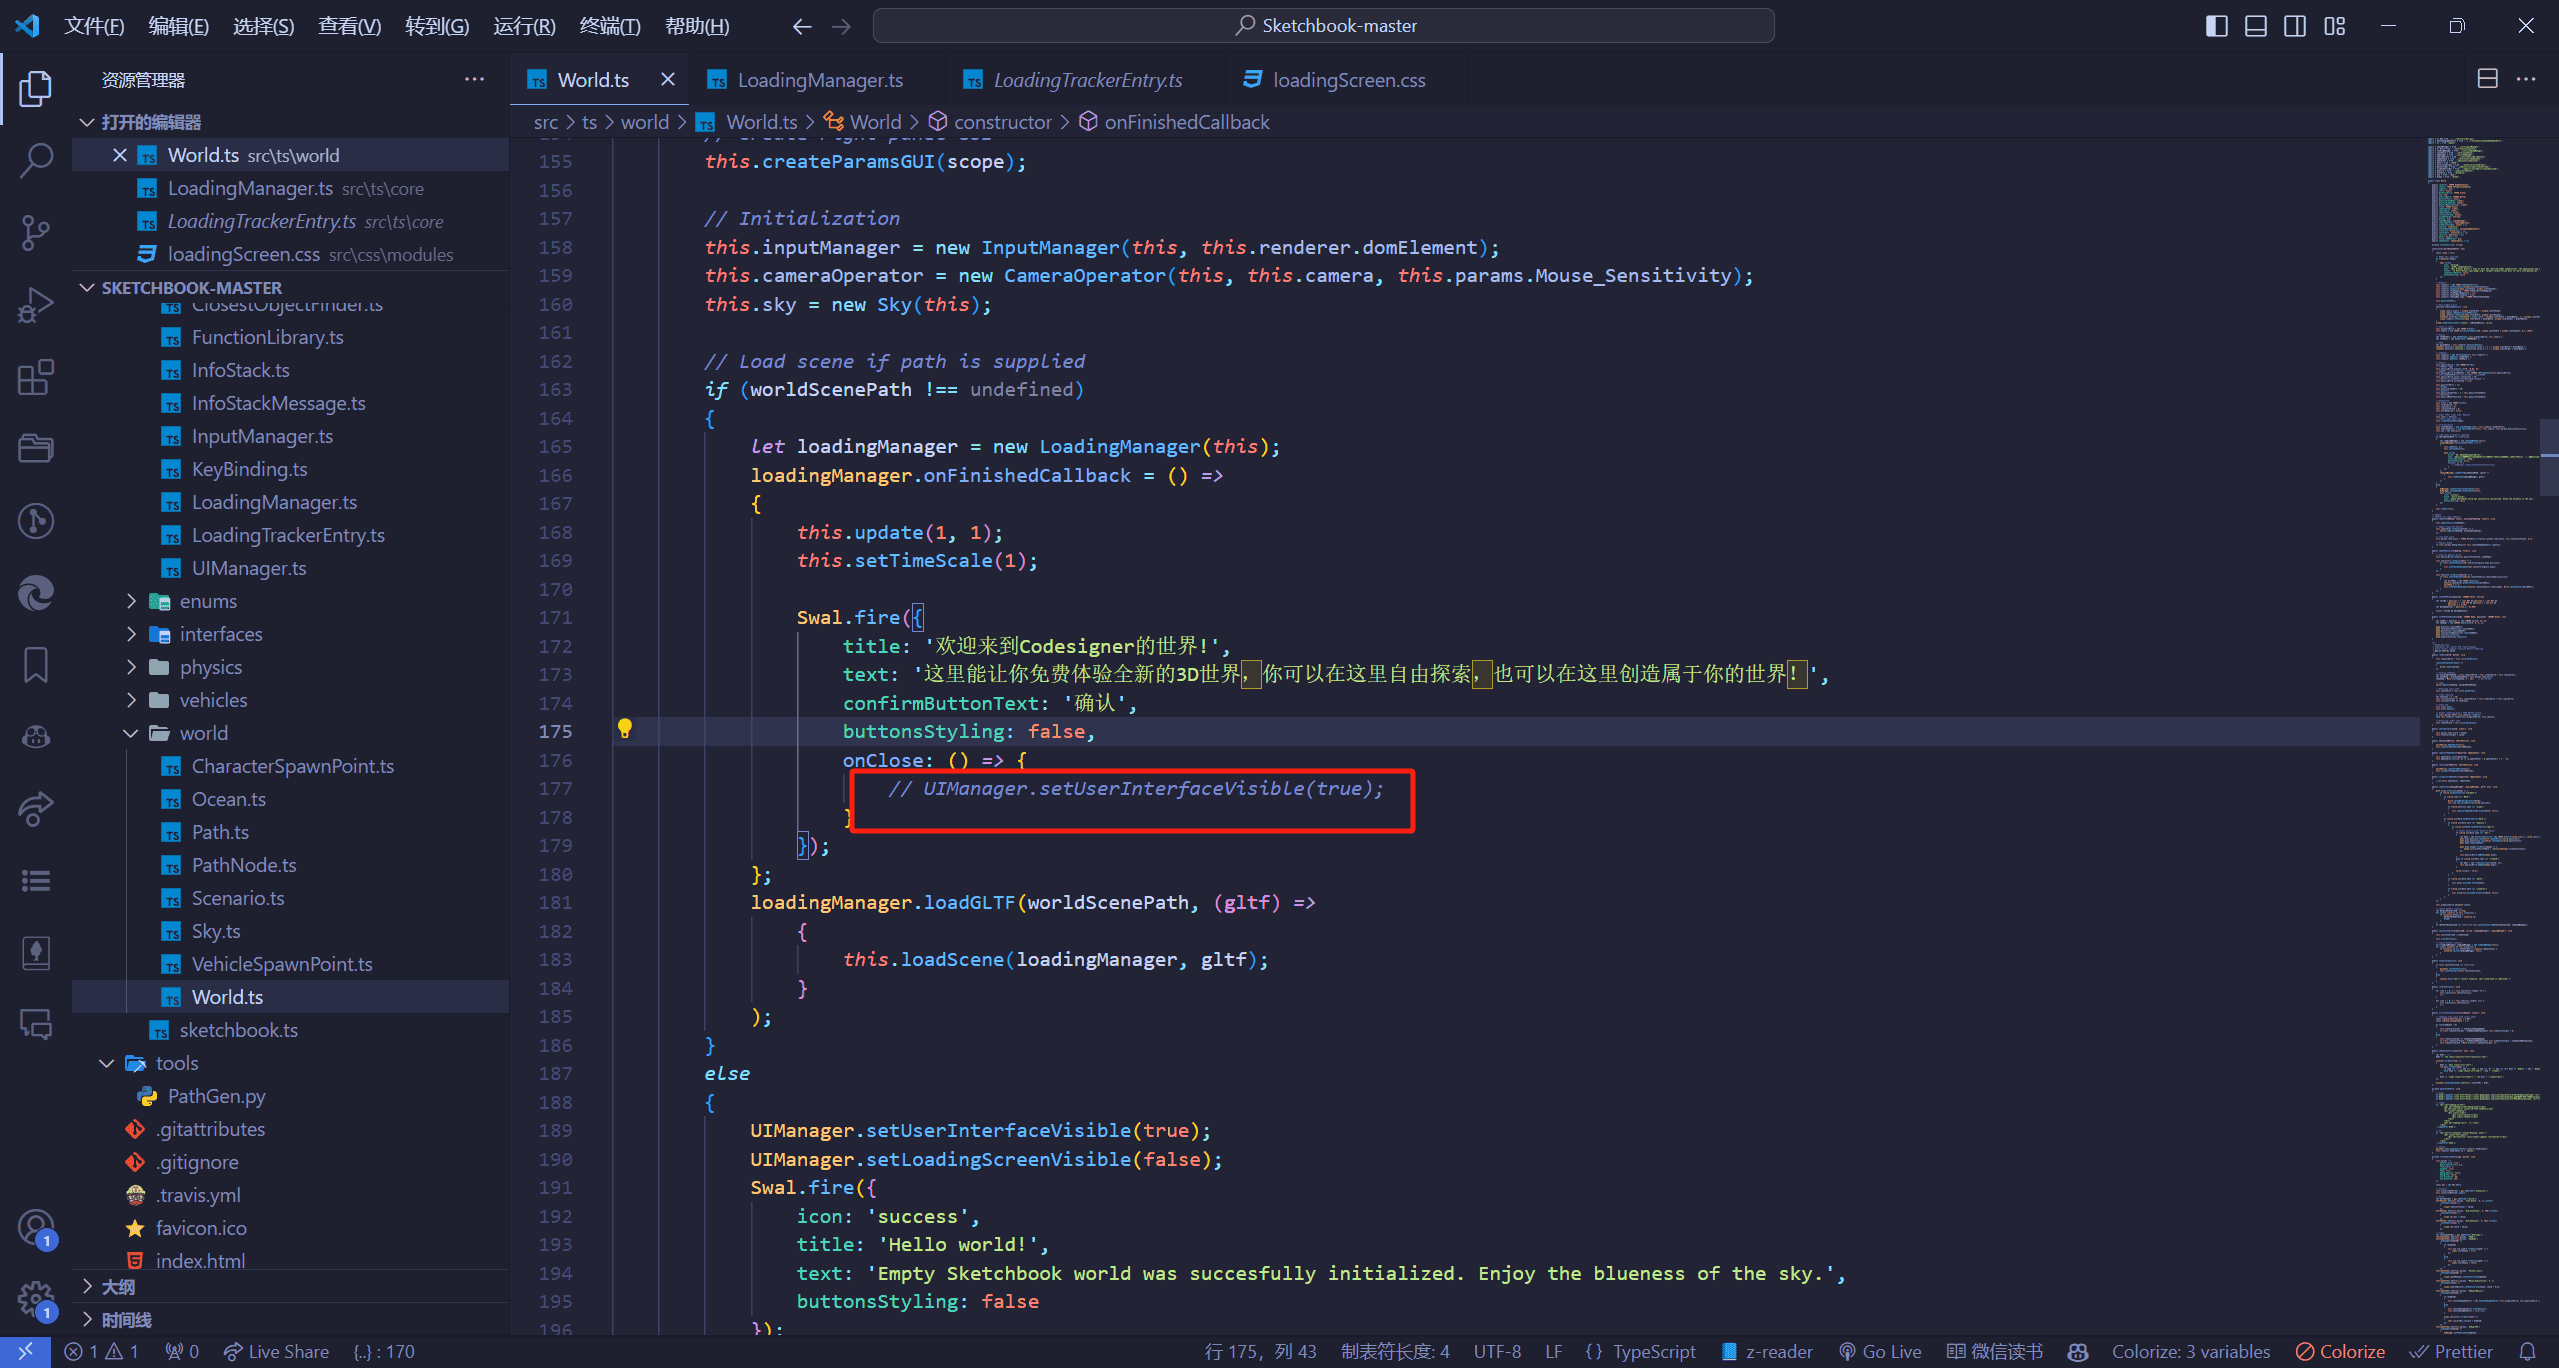
我这里就改成了
1 2 3 4 5 6 7 8 9 Swal .fire ({ title : '欢迎来到Codesigner的世界!' , text : '这里能让你免费体验全新的3D世界,你可以在这里自由探索,也可以在这里创造属于你的世界!' , confirmButtonText : '确认' , buttonsStyling : false , onClose : () => { UIManager .setUserInterfaceVisible (true ); } });
好了,到这里初始化我们就差不多完成了
物理世界初始化和输入管理模块 物理世界初始化内容介绍 其中的含义我都打备注了,大家自己看
1 2 3 4 5 6 7 8 9 10 this .physicsWorld = new CANNON .World ();this .physicsWorld .gravity .set (0 , -9.81 , 0 );this .physicsWorld .broadphase = new CANNON .SAPBroadphase (this .physicsWorld );this .physicsWorld .solver .iterations = 10 ;this .physicsWorld .allowSleep = true ;
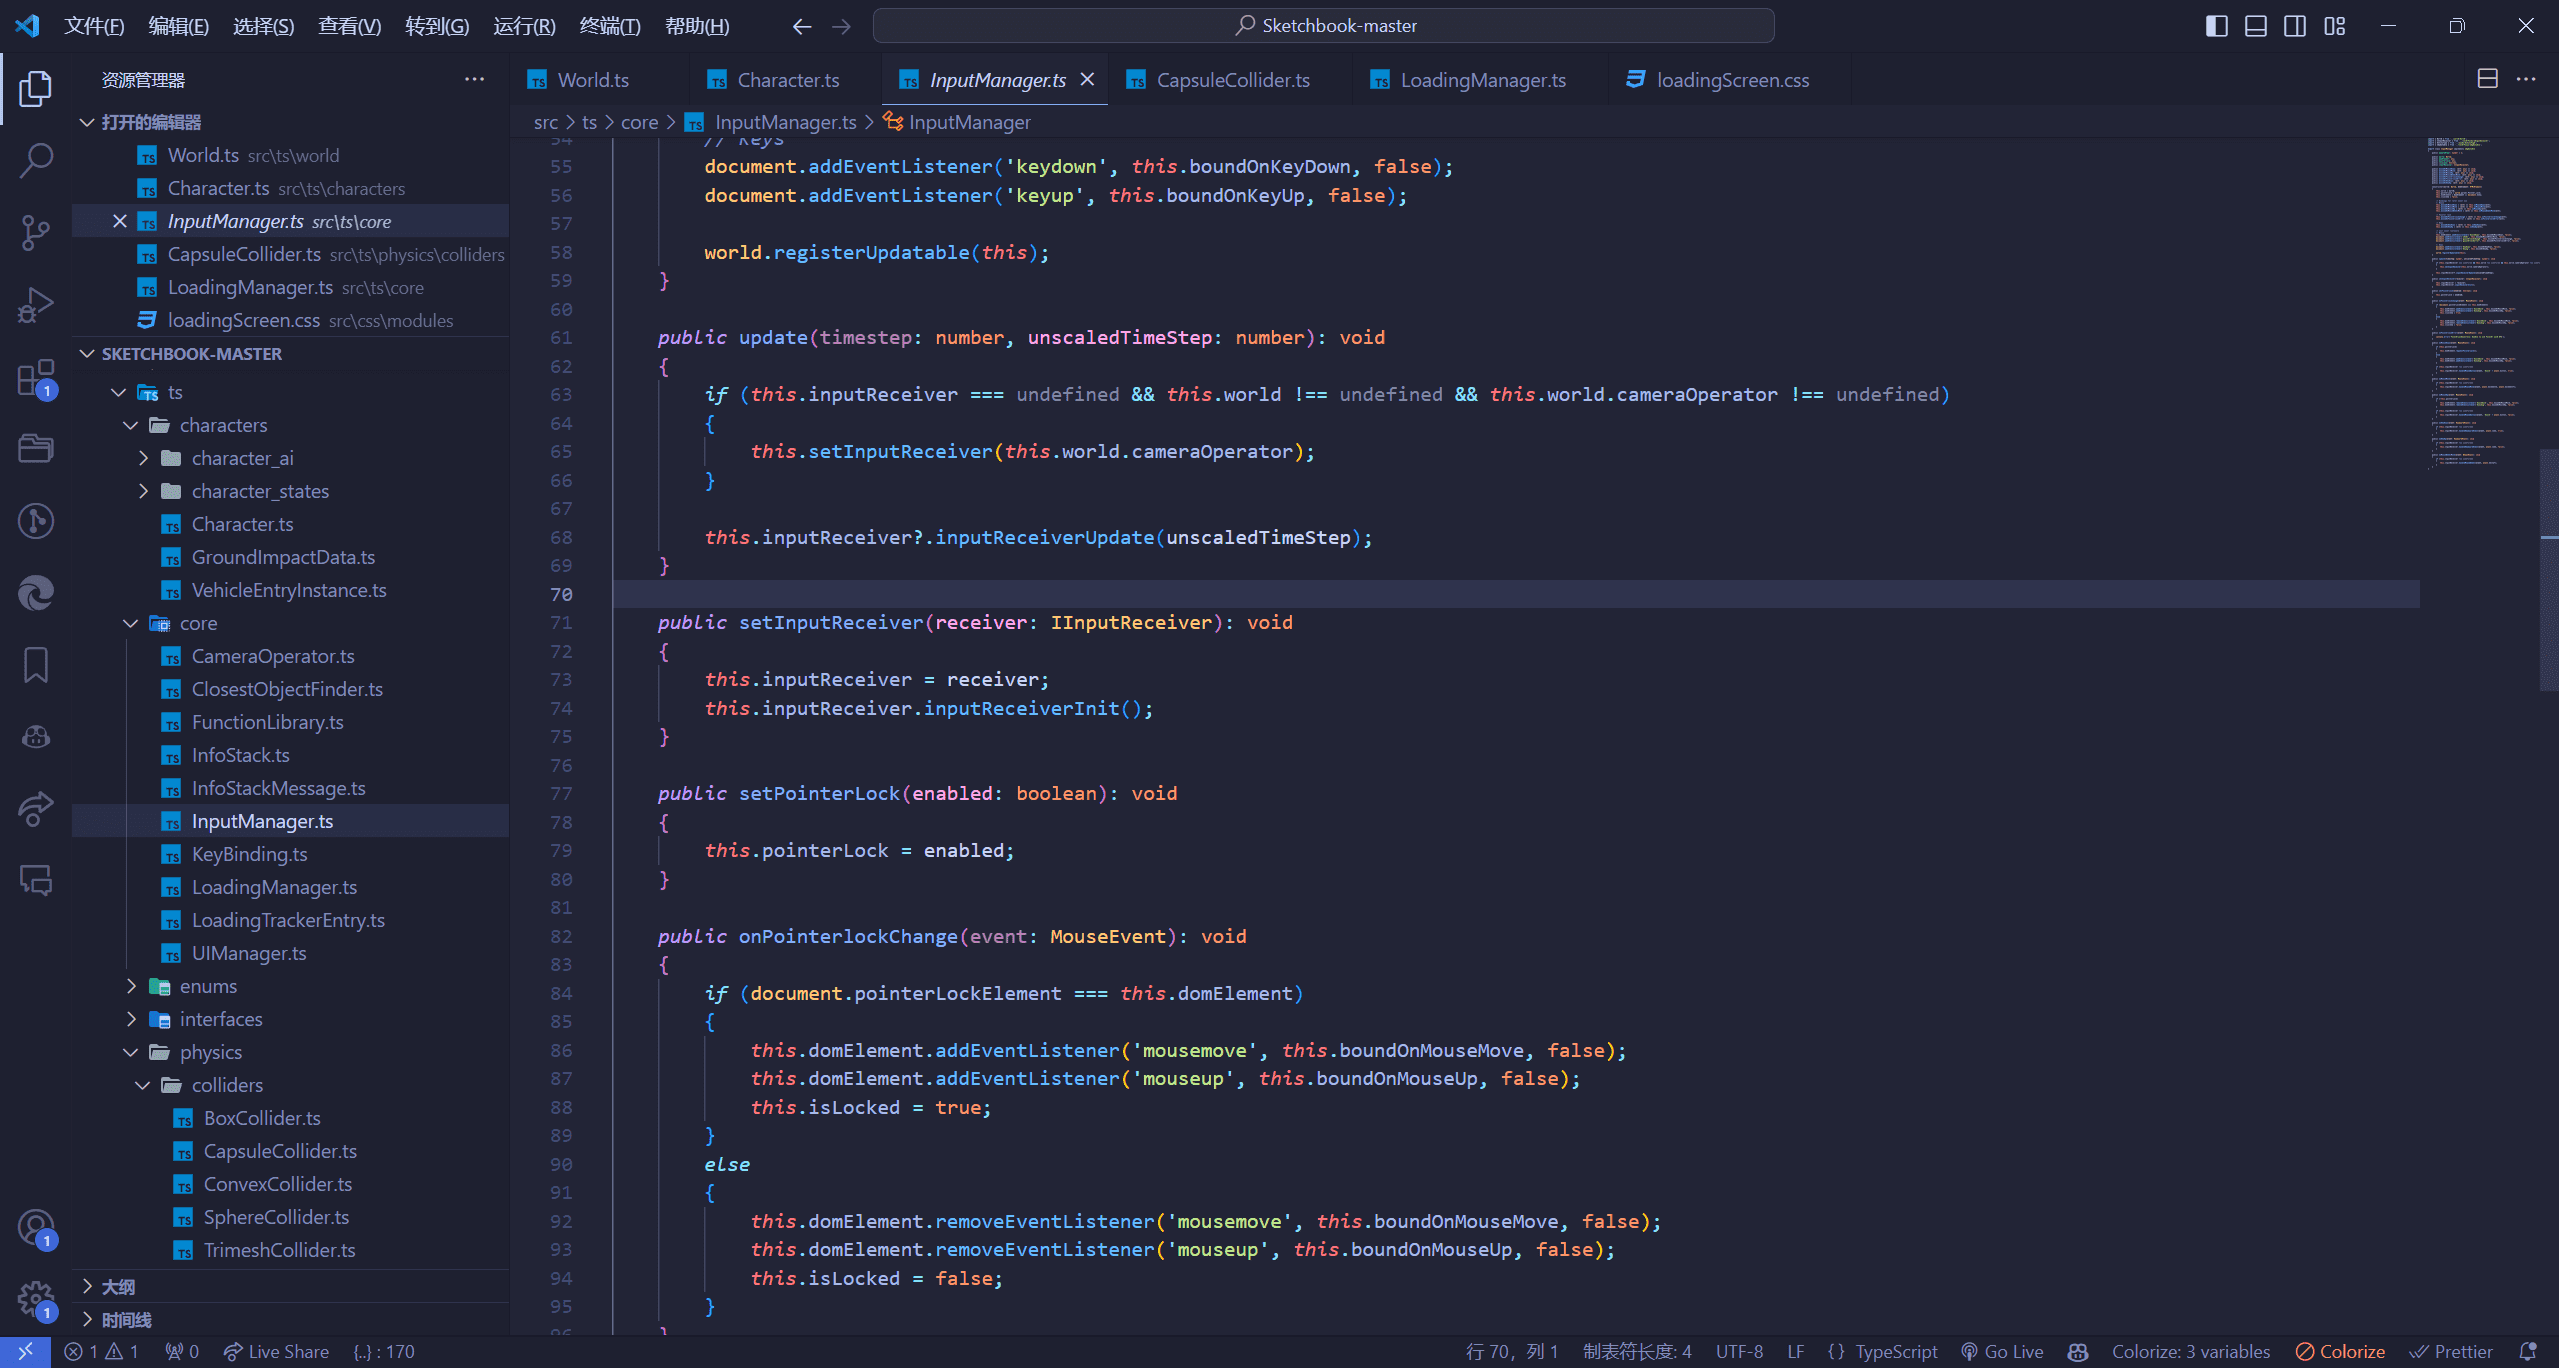
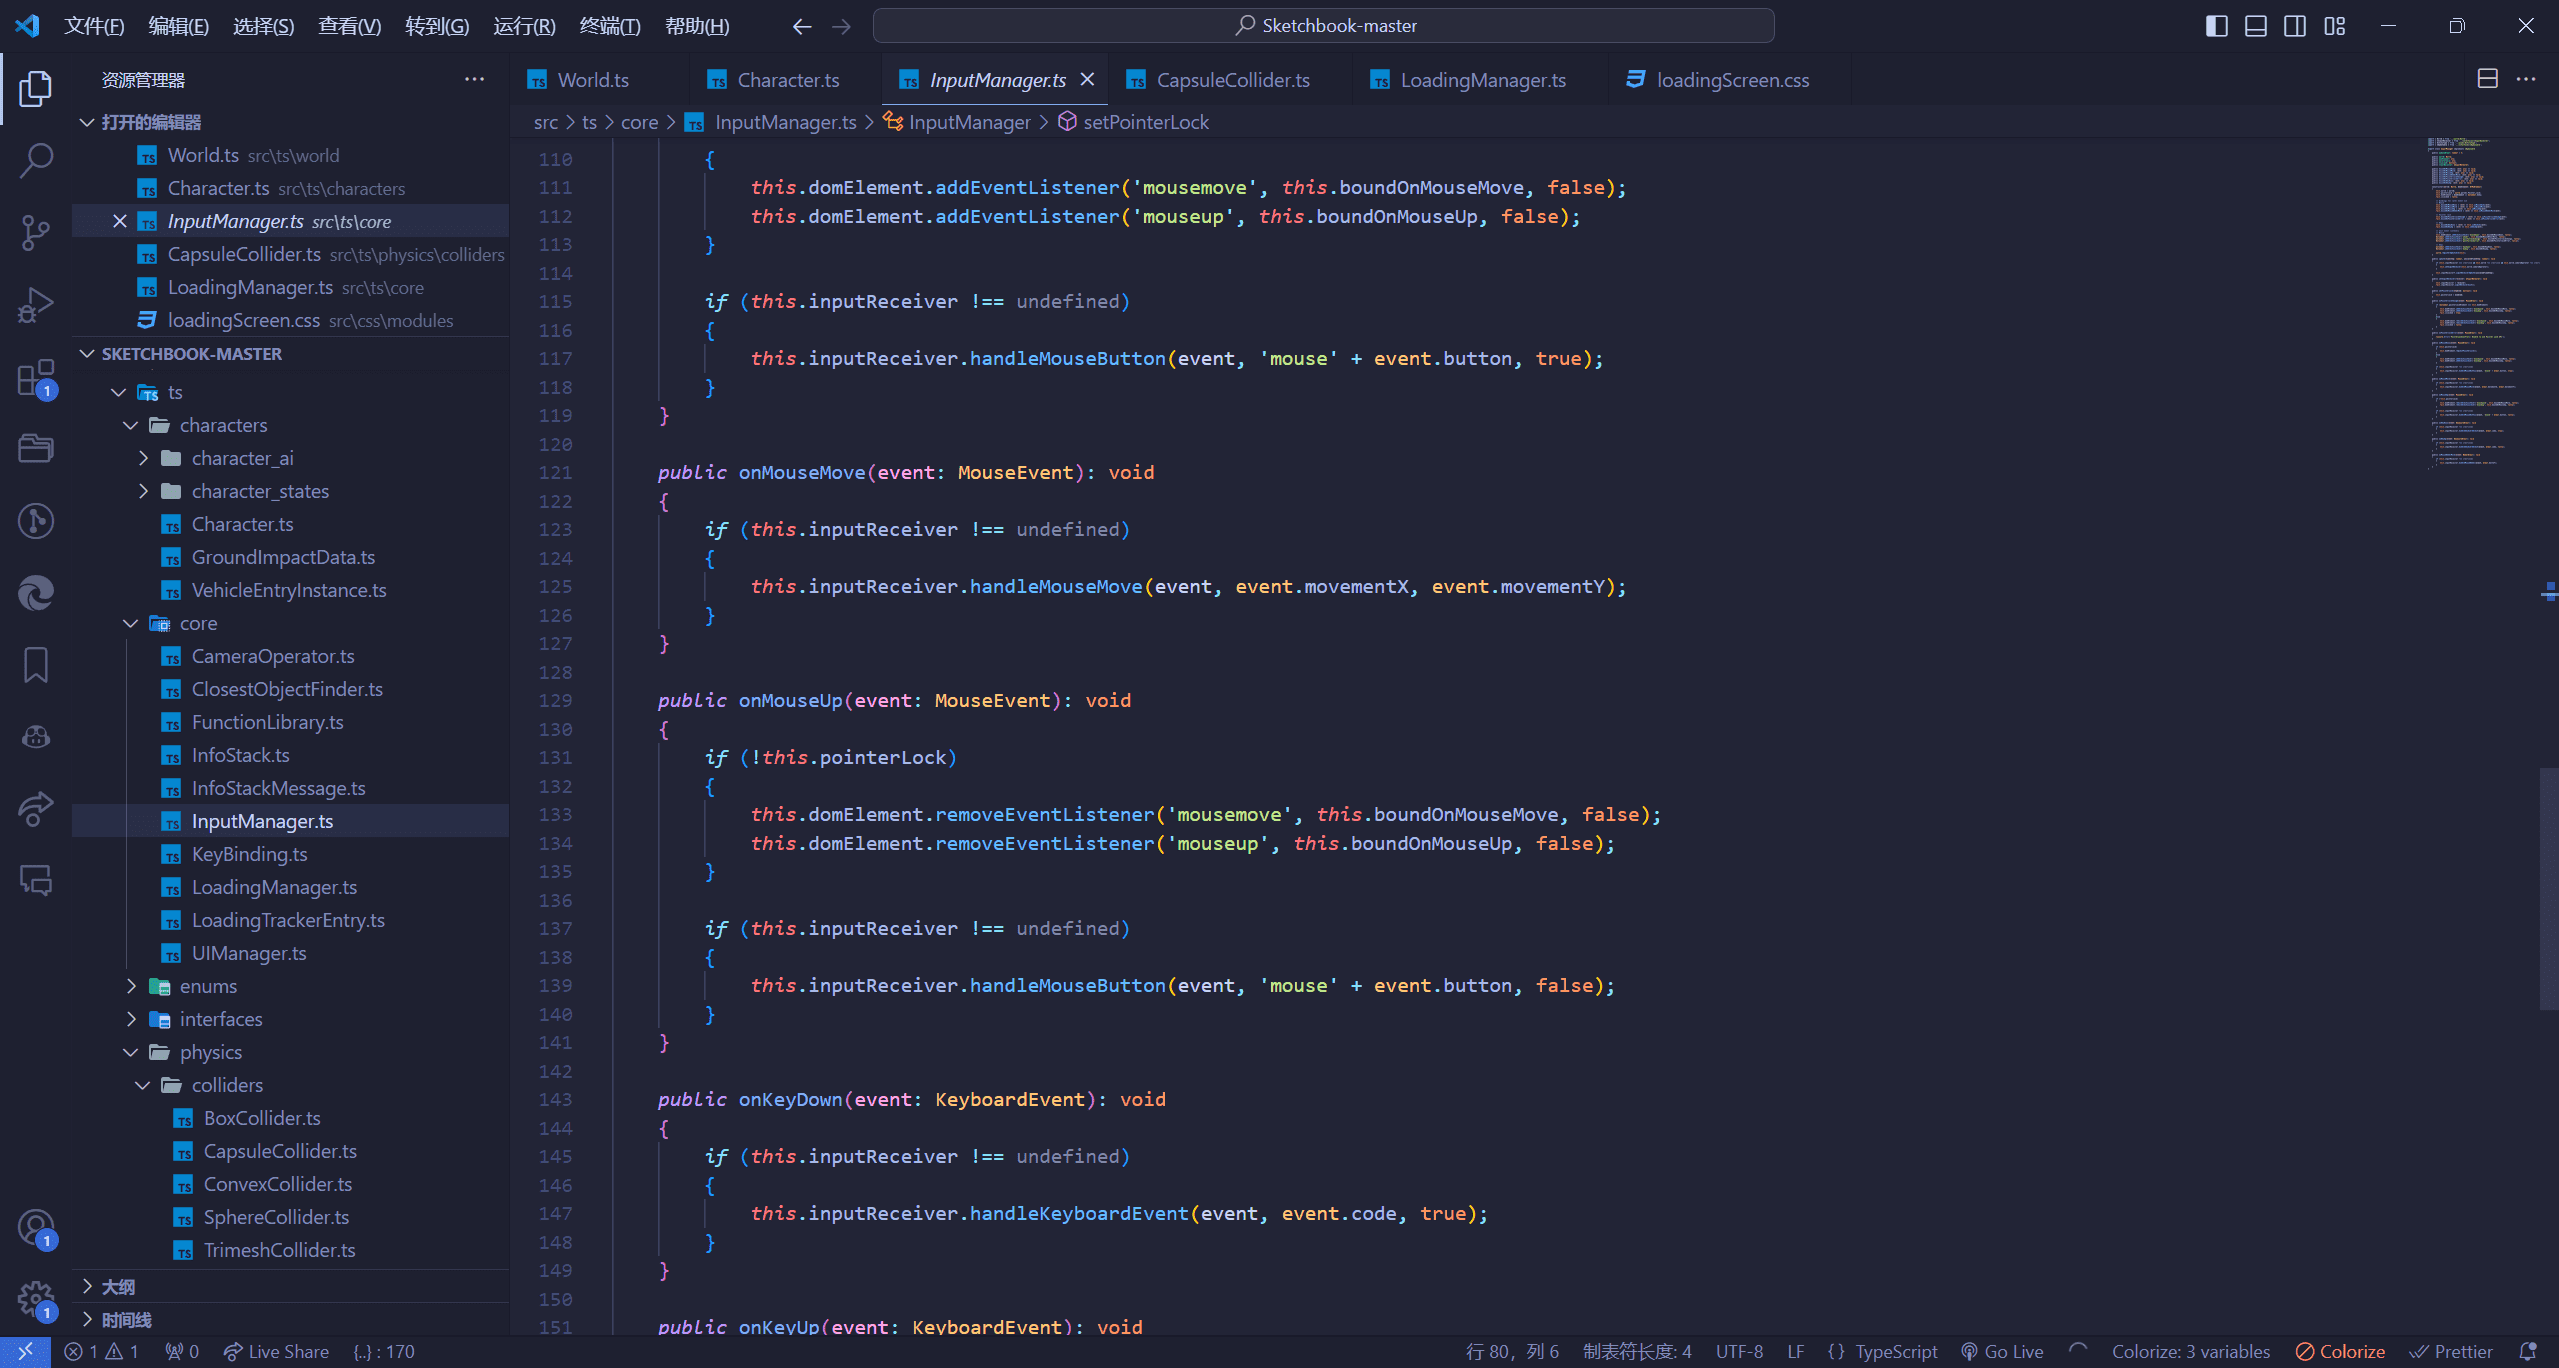
输入管理 我们将视线移动到目录ts/core/InputManager.ts中,带大家简单过一下
参数解释 这里的world是从我们初始化传入的this,这里面有我们的物理世界和三维显示世界
1 2 3 4 5 public world : World ;public domElement : any ;public pointerLock : any ;public isLocked : boolean ;public inputReceiver : IInputReceiver ;
然后后面的那些都是一些事件的注册,通过监听来改变,然后通过下面这行代码,把这些事件绑定到注册表上,然后世界更新的时候把这些事件也跟着更新
1 world.registerUpdatable (this );
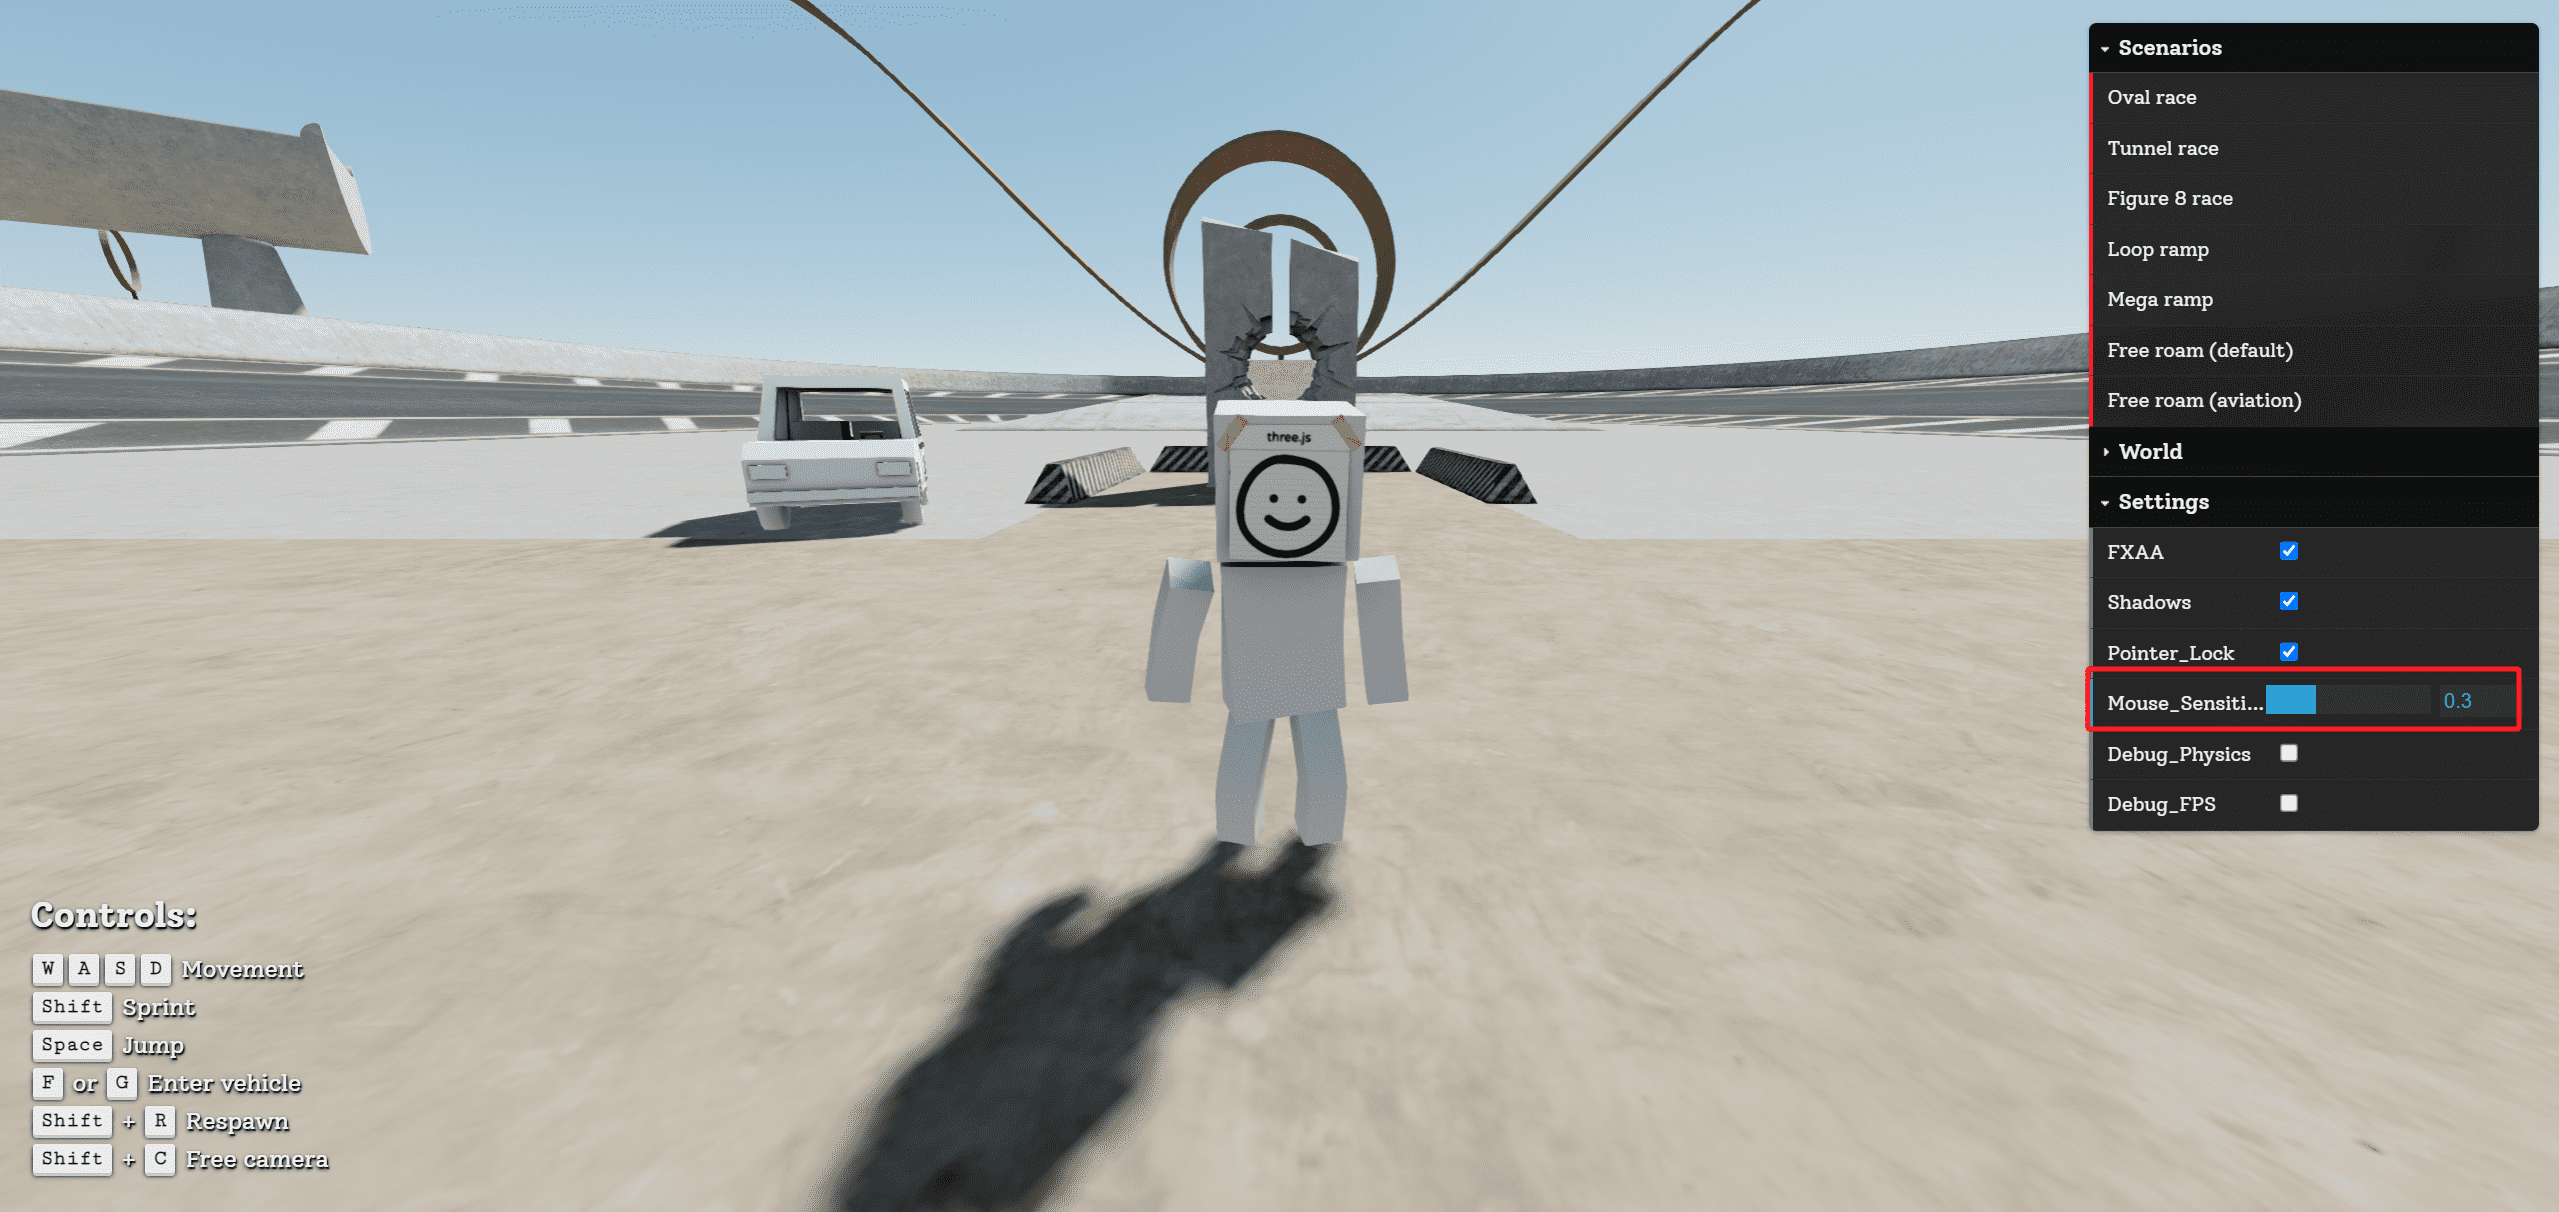
天空模块和物理世界 相机模块 接下来,我们先来看一下相机事件,这里我们传入了三个参数,世界,相机和鼠标灵敏度
1 this .cameraOperator = new CameraOperator (this , this .camera , this .params .Mouse_Sensitivity );
我们可以在页面上调节这个来改变鼠标灵敏度,这样我们切换视角的时候的速度也会随之变化
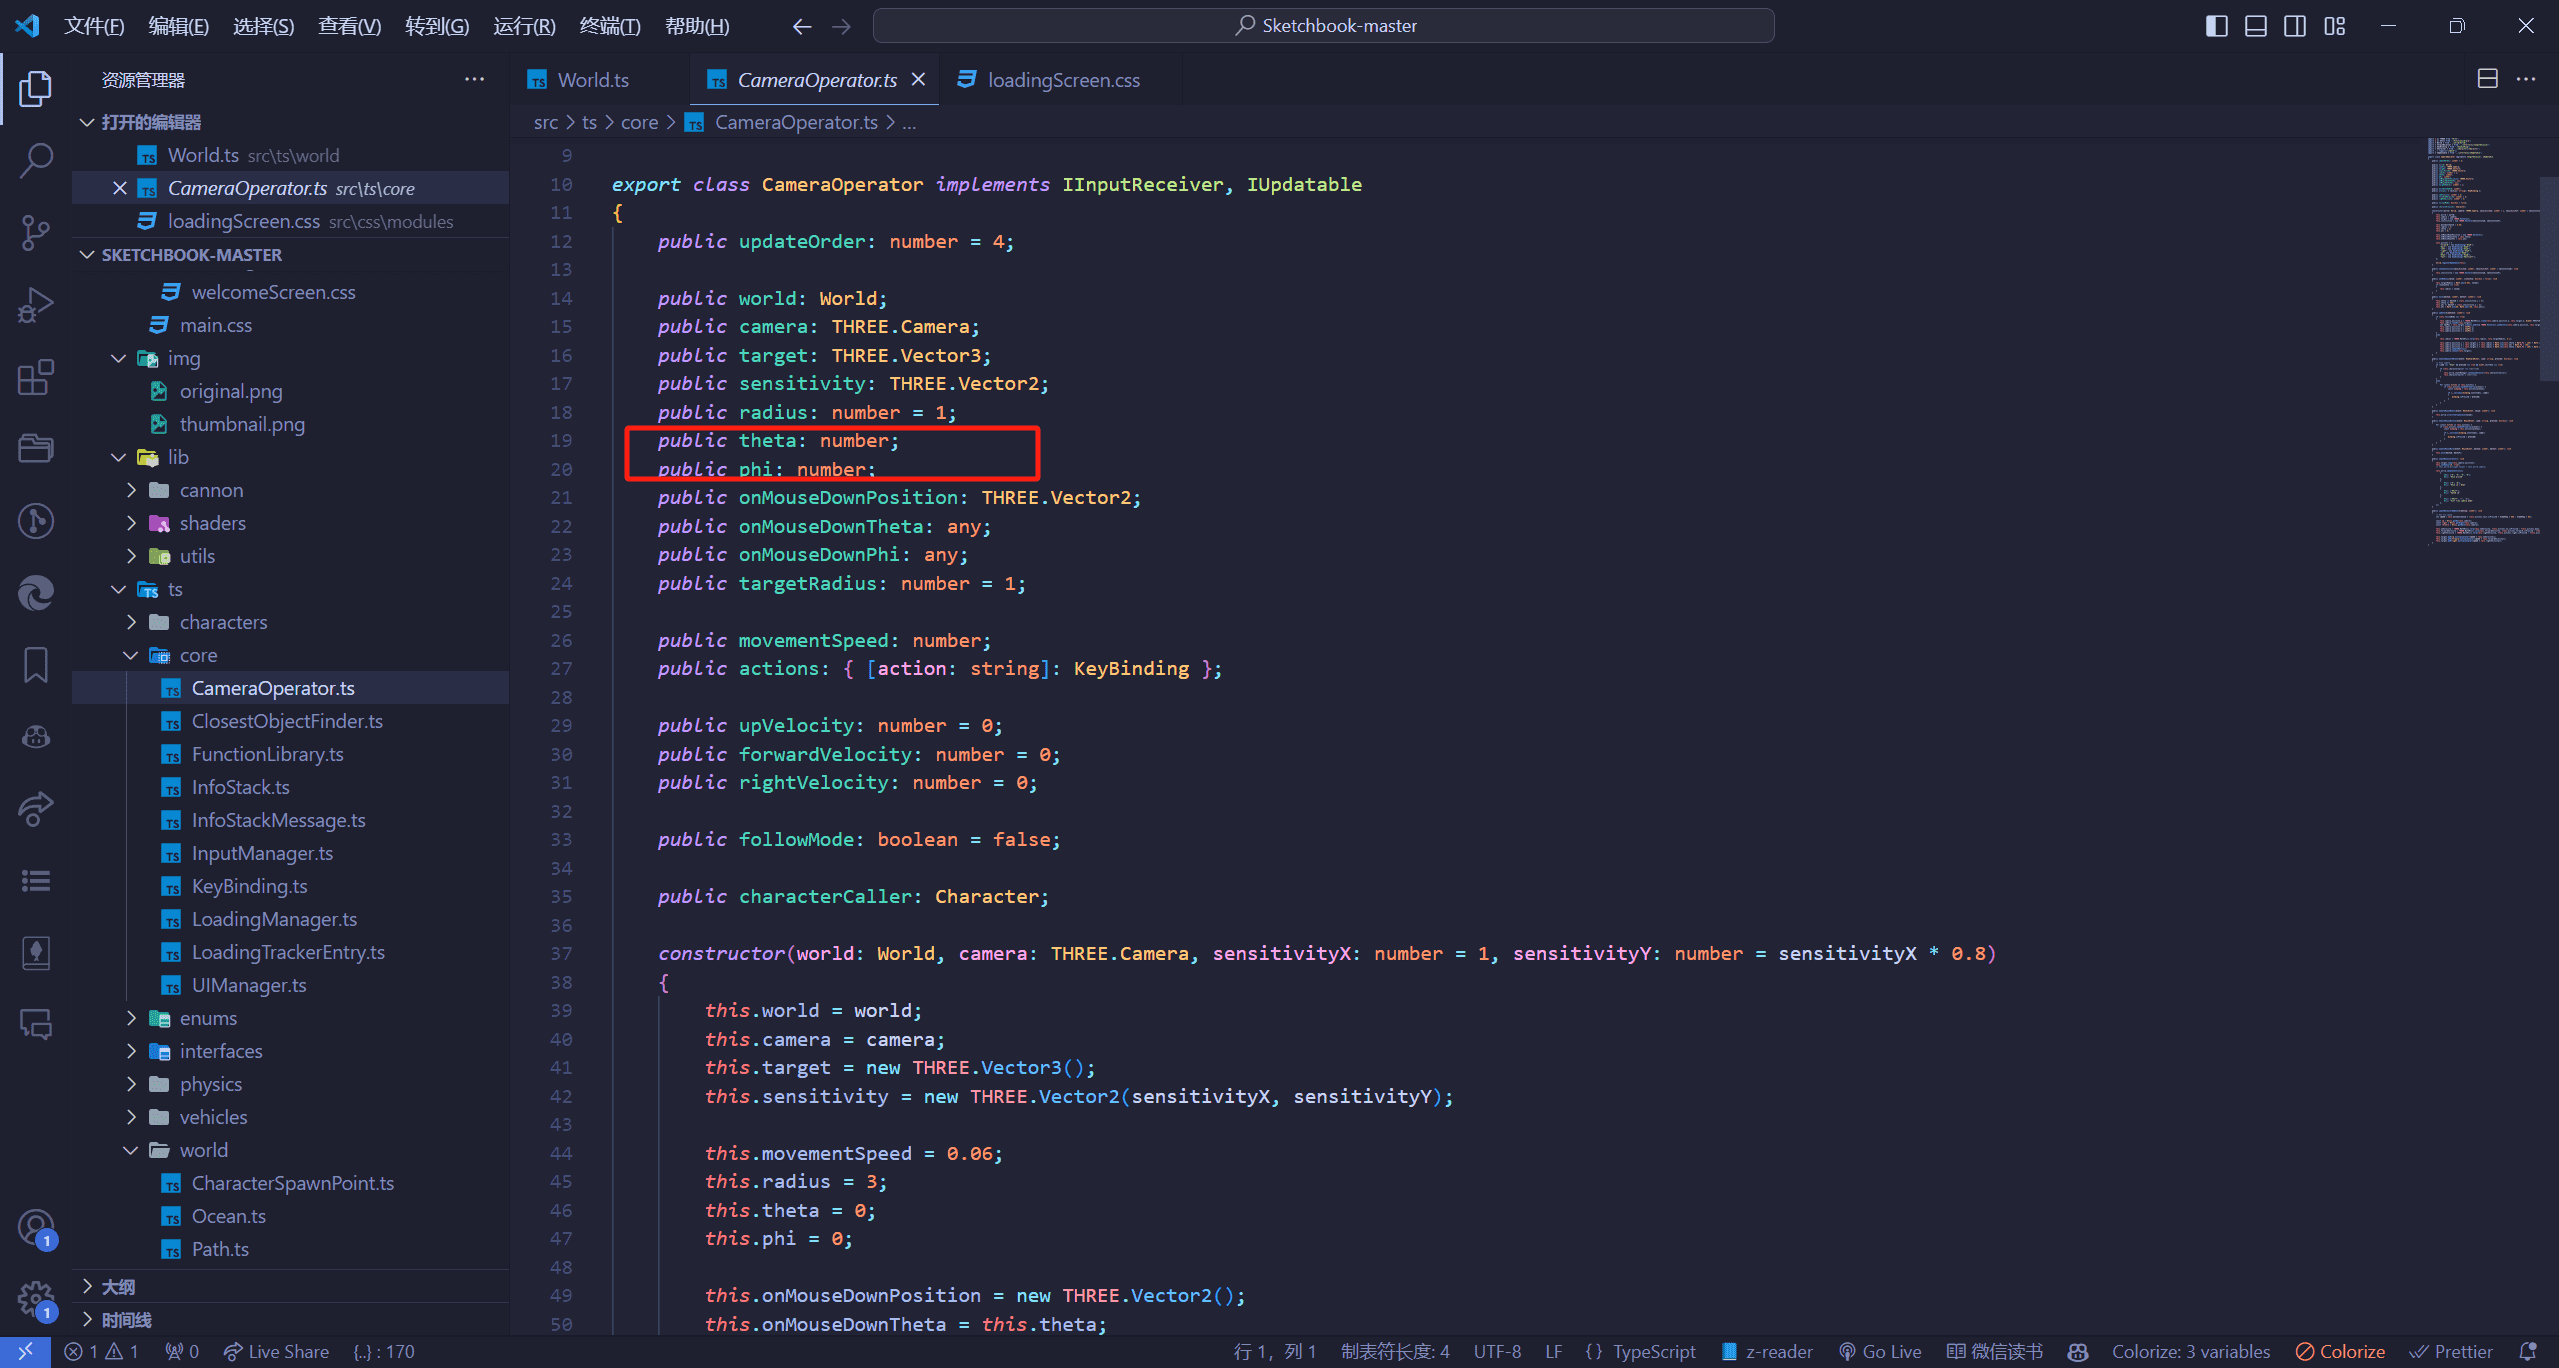
我们可以看到这个,这俩个参数是因为我们相机旋转是一个经纬度的球,我们可以调节这两个参数来控制相机的旋转
1 2 3 this .onMouseDownPosition = new THREE .Vector2 ();this .onMouseDownTheta = this .theta ;this .onMouseDownPhi = this .phi ;
这三行代码就是我们鼠标的位置和鼠标水平旋转角度和鼠标垂直旋转角度,其他的部分我们就后面再说,我们将视线移动到world.ts中
天空模块 1 this .sky = new Sky (this );
我们看看这个Sky.ts文件
1 public sunPosition : THREE .Vector3 = new THREE .Vector3 ();
上面这个代码定义了太阳的位置,太阳的升起和降落和我们的相机是一样的,都是通过经纬度来控制的,我们同样有这个俩个参数theta和phi来进行位置的控制。
1 2 3 4 5 this .skyMesh = new THREE .Mesh ( new THREE .SphereBufferGeometry (1000 , 24 , 12 ), this .skyMaterial );
通过这些代码设置了环境的半球光
1 2 3 4 5 6 7 this .hemiLight = new THREE .HemisphereLight ( 0xffffff , 0xffffff , 1.0 );this .refreshHemiIntensity ();this .hemiLight .color .setHSL ( 0.59 , 0.4 , 0.6 );this .hemiLight .groundColor .setHSL ( 0.095 , 0.2 , 0.75 );this .hemiLight .position .set ( 0 , 50 , 0 );this .world .graphicsWorld .add ( this .hemiLight );
下面这段代码使用了级联阴影,因为我们的场景非常的大,近距离的阴影,比如我们的小人就应该比较清晰,而那种远一些的建筑物的阴影就没必要那么清晰了,splitsCallback就是我们自定义阴影级联的函数。
1 2 3 4 5 6 7 8 9 10 11 12 this .csm = new CSM ({ fov : 80 , far : 250 , lightIntensity : 2.5 , cascades : 3 , shadowMapSize : 2048 , camera : world.camera , parent : world.graphicsWorld , mode : 'custom' , customSplitsCallback : splitsCallback }); this .csm .fade = true ;
加载管理和UI界面管理 UI界面设置 我们来看一下ts/core/LoadingManager.ts文件
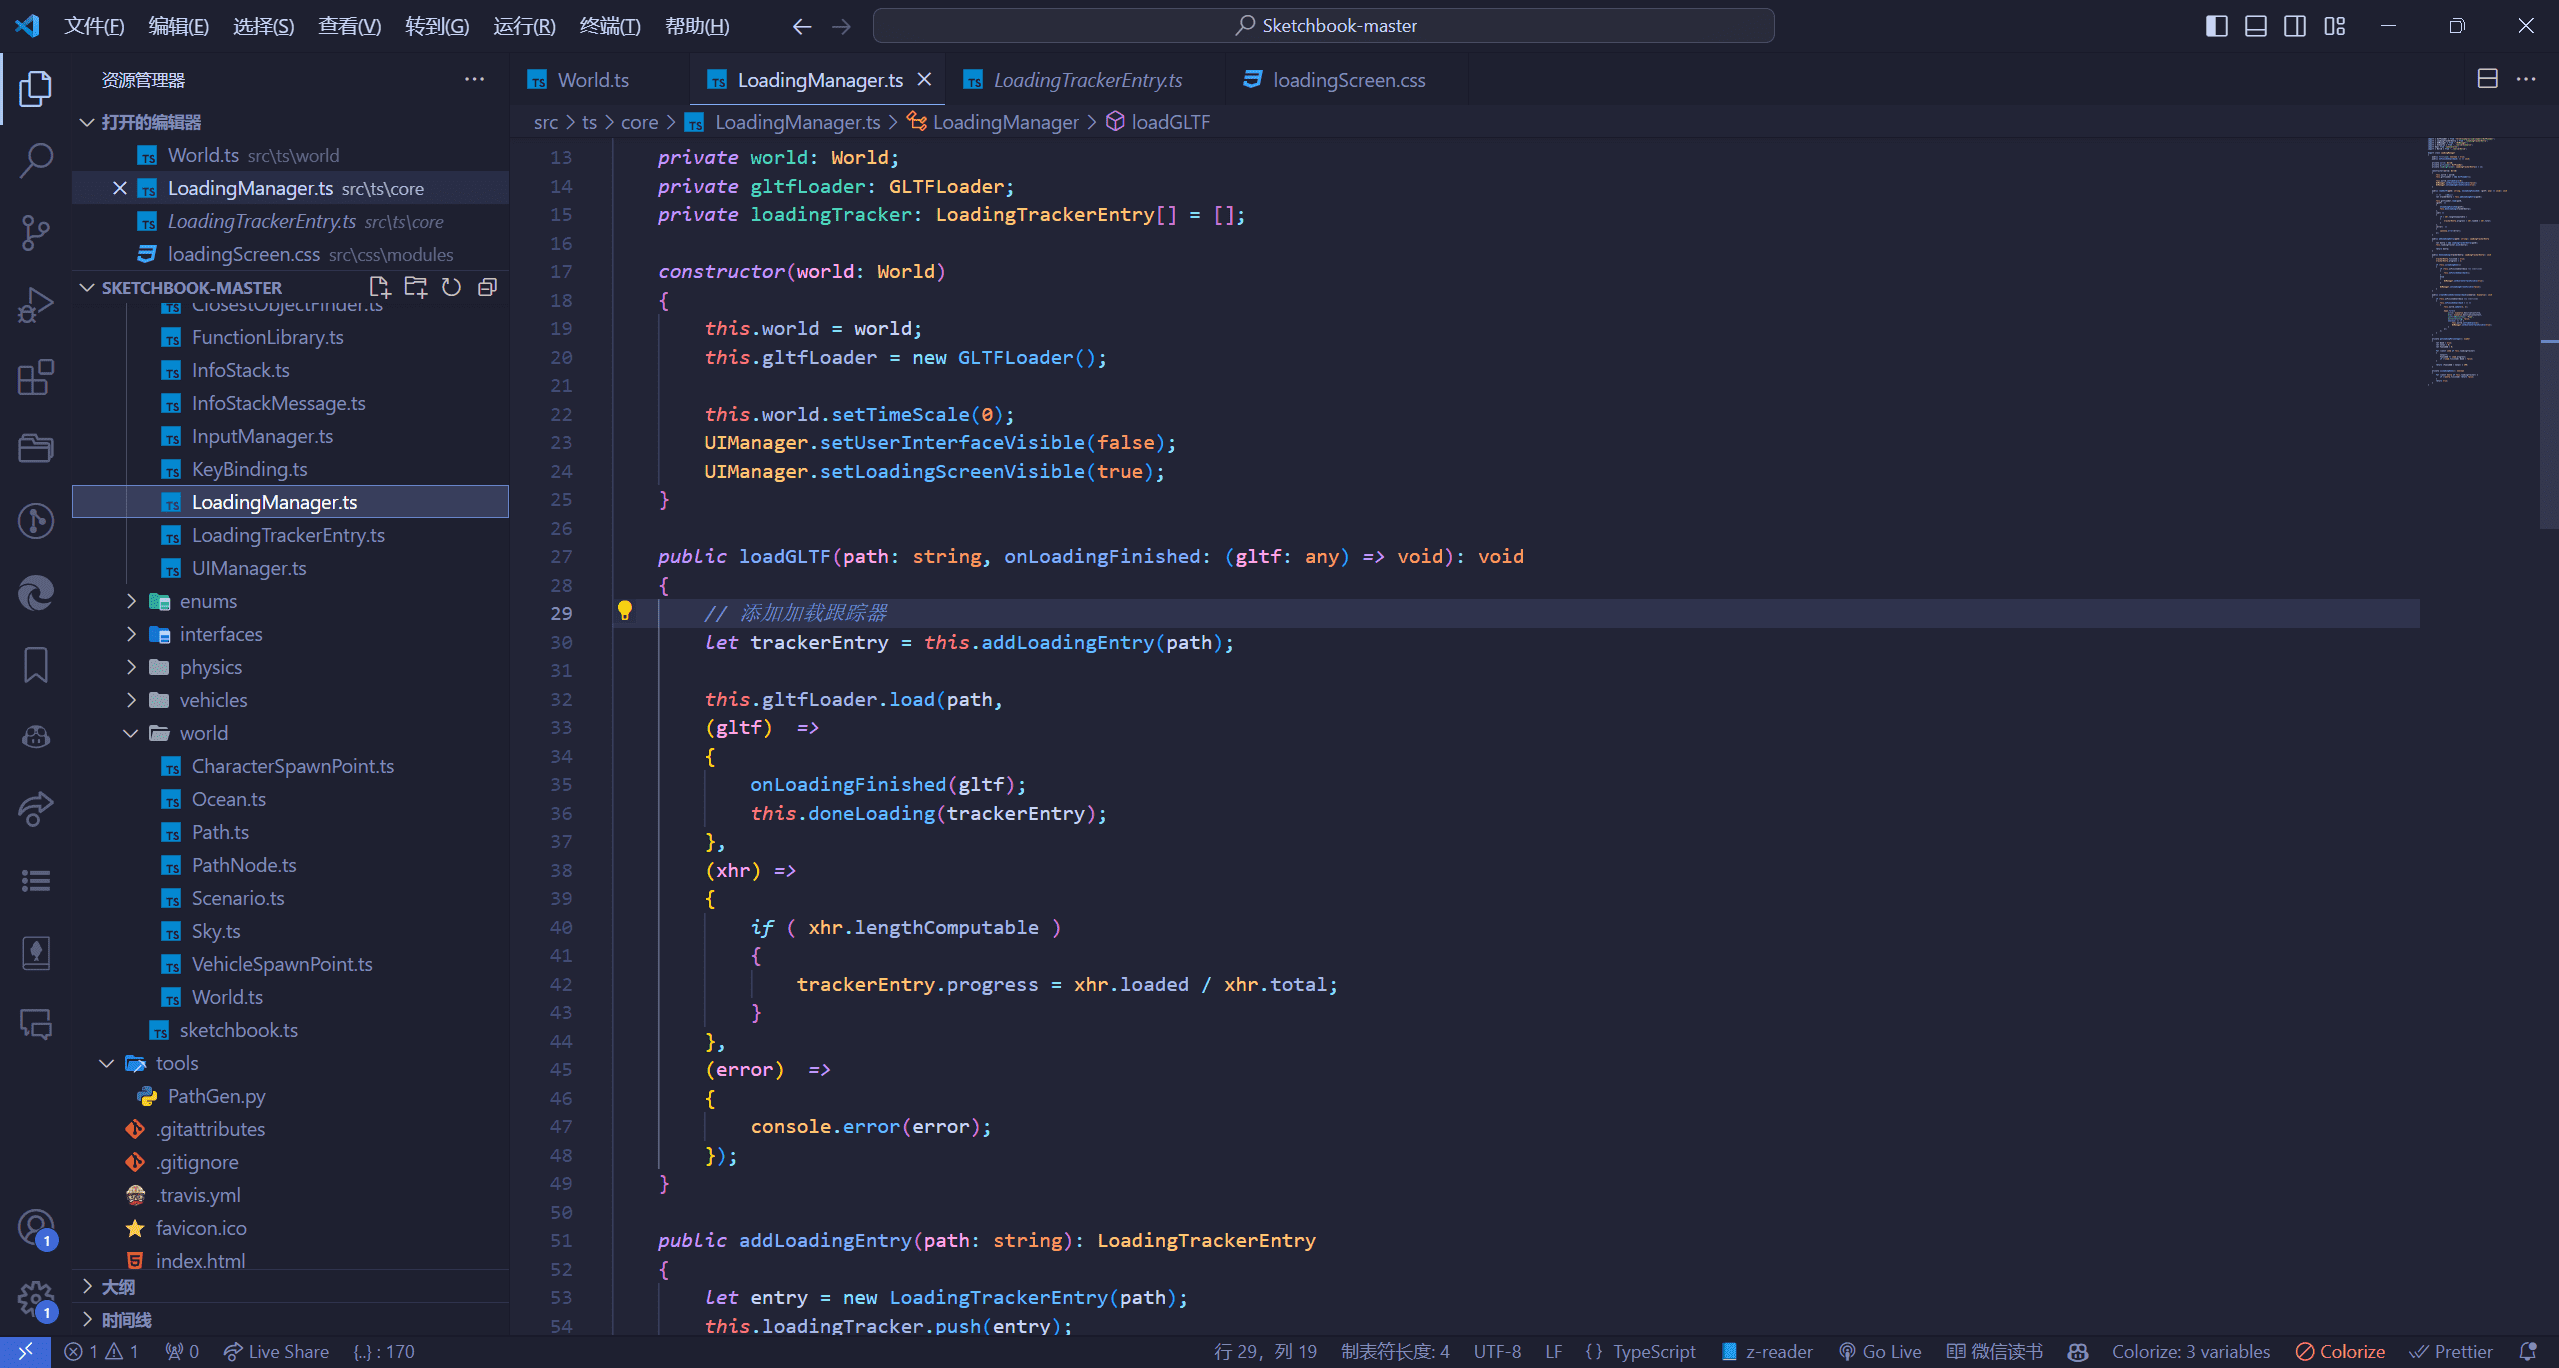
1 2 3 this .world .setTimeScale (0 );UIManager .setUserInterfaceVisible (false );UIManager .setLoadingScreenVisible (true );
上面这段代码就是通过UIManager来控制我们UI界面内容的显示的ts/core/UIManager.ts文件
1 2 3 4 5 6 7 8 9 10 11 12 13 14 15 16 17 18 export class UIManager { public static setUserInterfaceVisible (value : boolean ): void { document .getElementById ('ui-container' ).style .display = value ? 'block' : 'none' ; } public static setLoadingScreenVisible (value : boolean ): void { document .getElementById ('loading-screen' ).style .display = value ? 'flex' : 'none' ; } public static setFPSVisible (value : boolean ): void { document .getElementById ('statsBox' ).style .display = value ? 'block' : 'none' ; document .getElementById ('dat-gui-container' ).style .top = value ? '48px' : '0px' ; } }
加载实现 我们可以看到World.ts中的这段代码,这里就是调用glft加载,等加载完成之后就会调用我们的回调函数GLTFLoader来加载的,let trackerEntry = this.addLoadingEntry(path);这段代码添加了一个进度跟踪,等待gltf加载完调用回调函数,然后我们的世界World.ts就会执行后续函数。
给场景加载模型和各类型碰撞体 了解模型加载原理代码
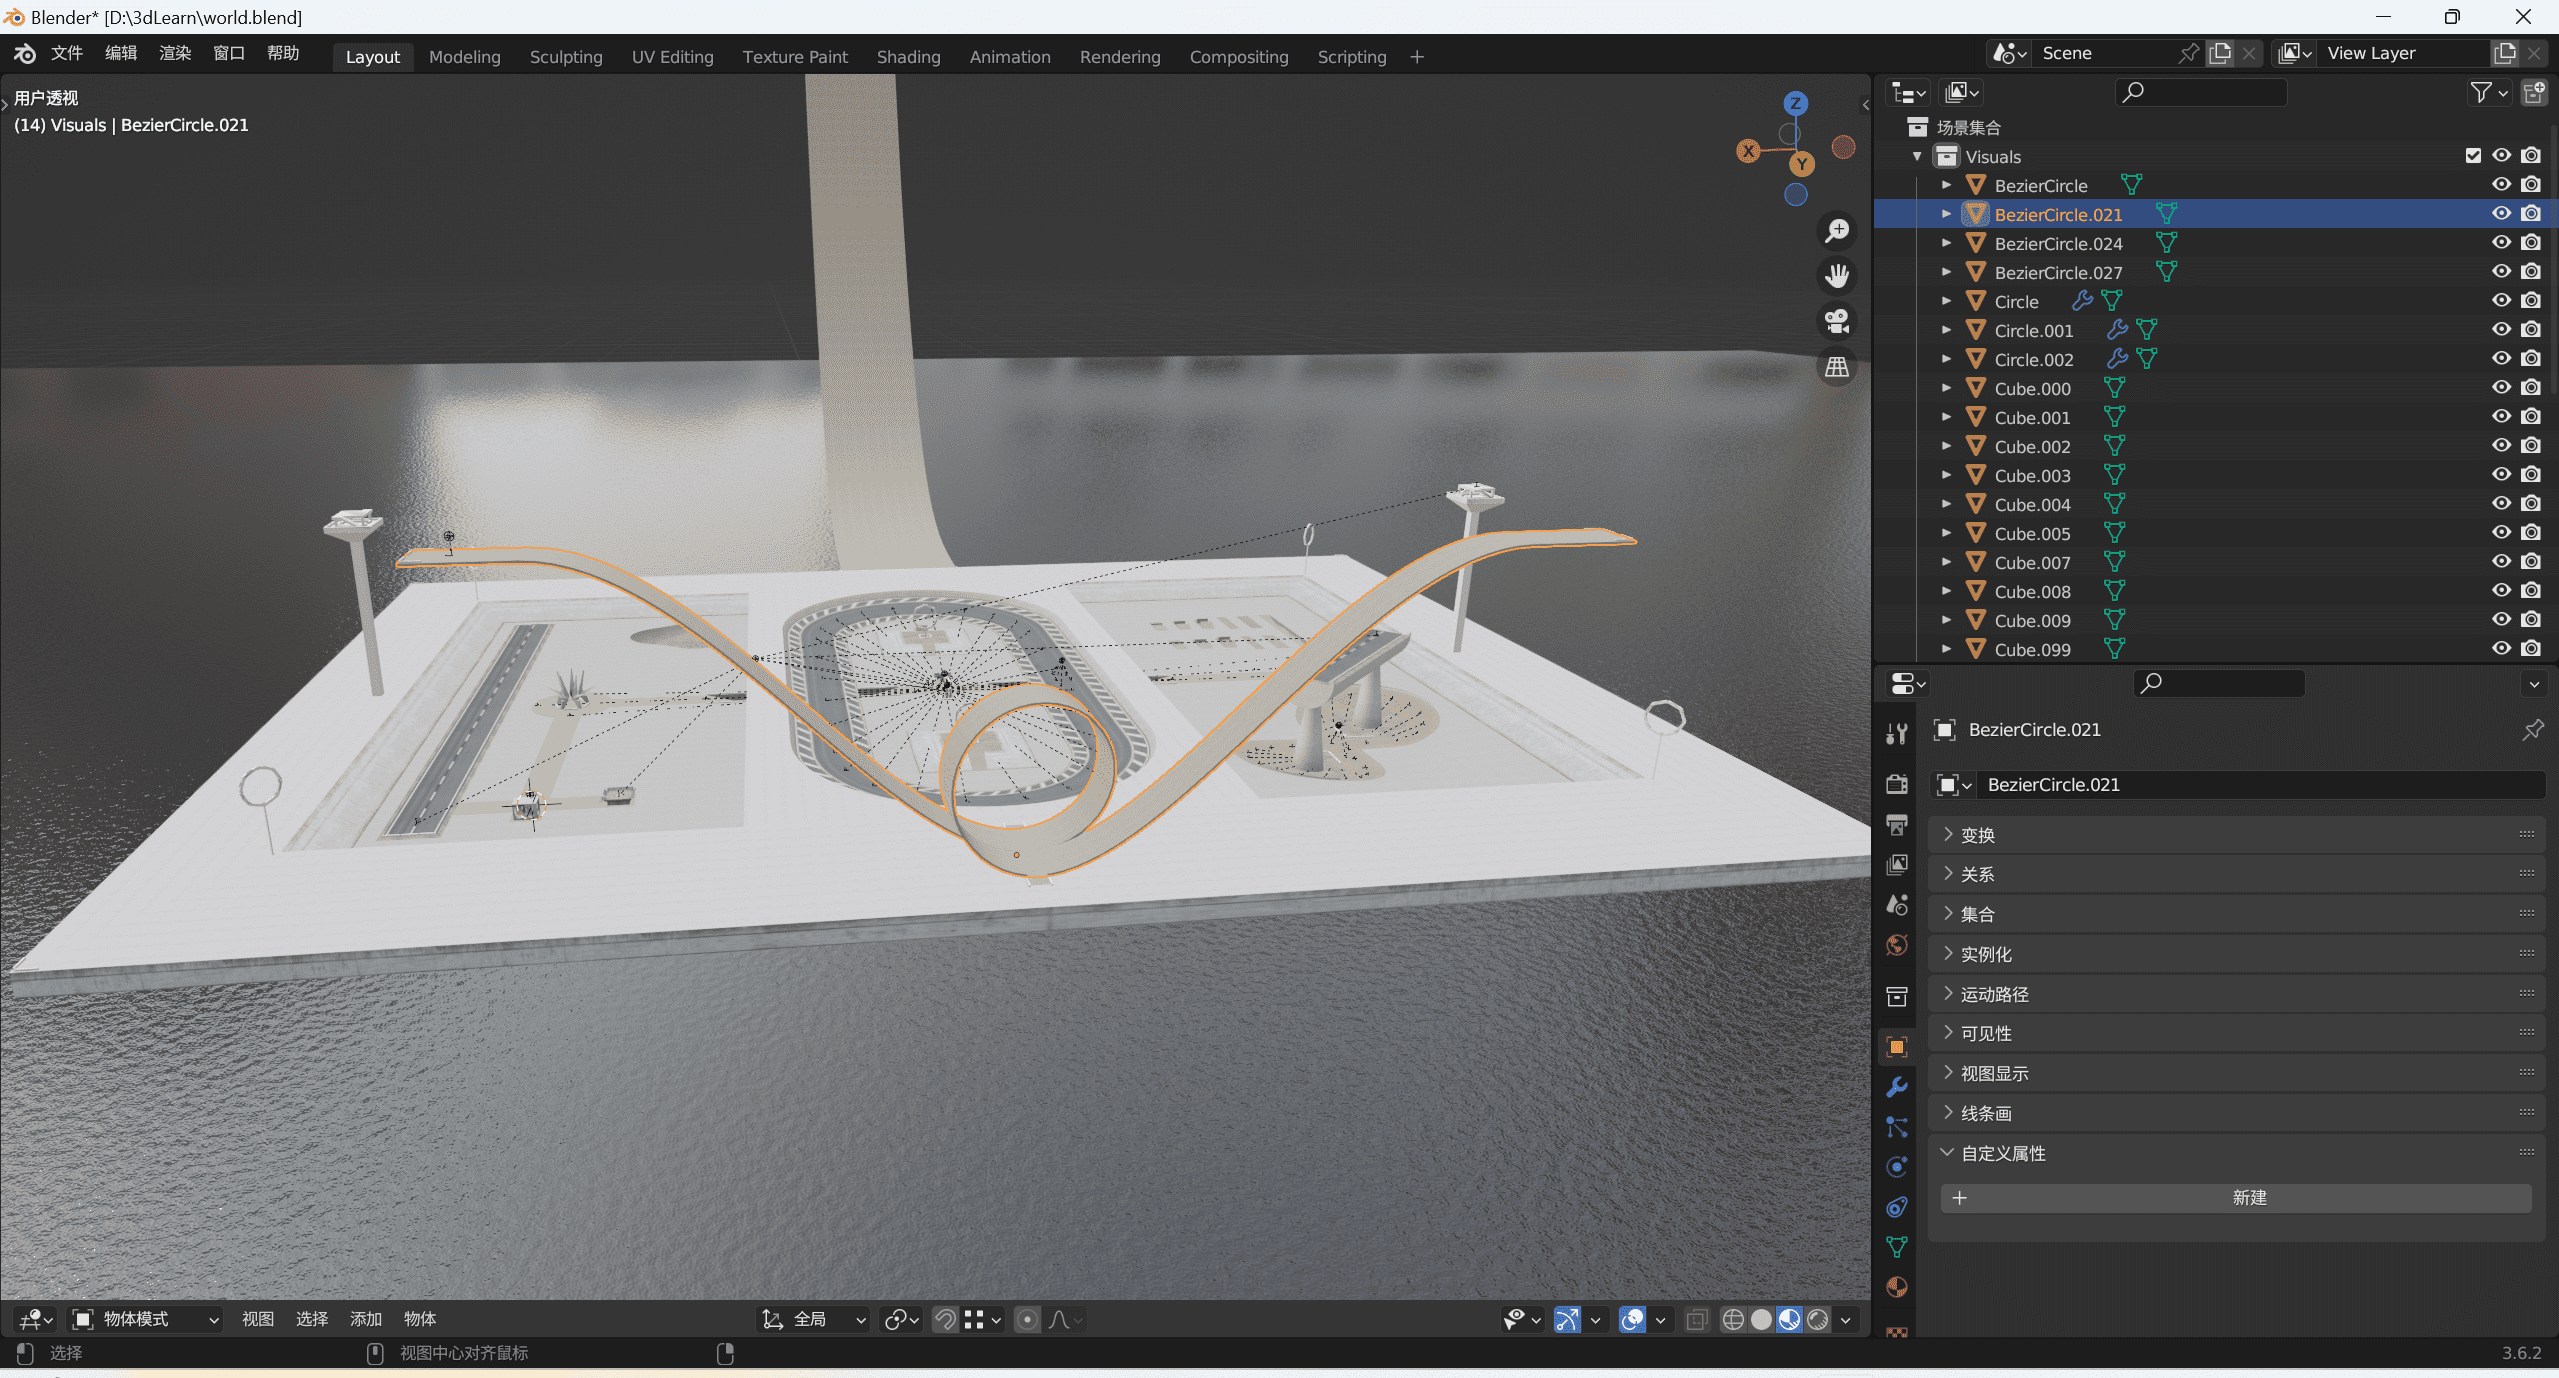
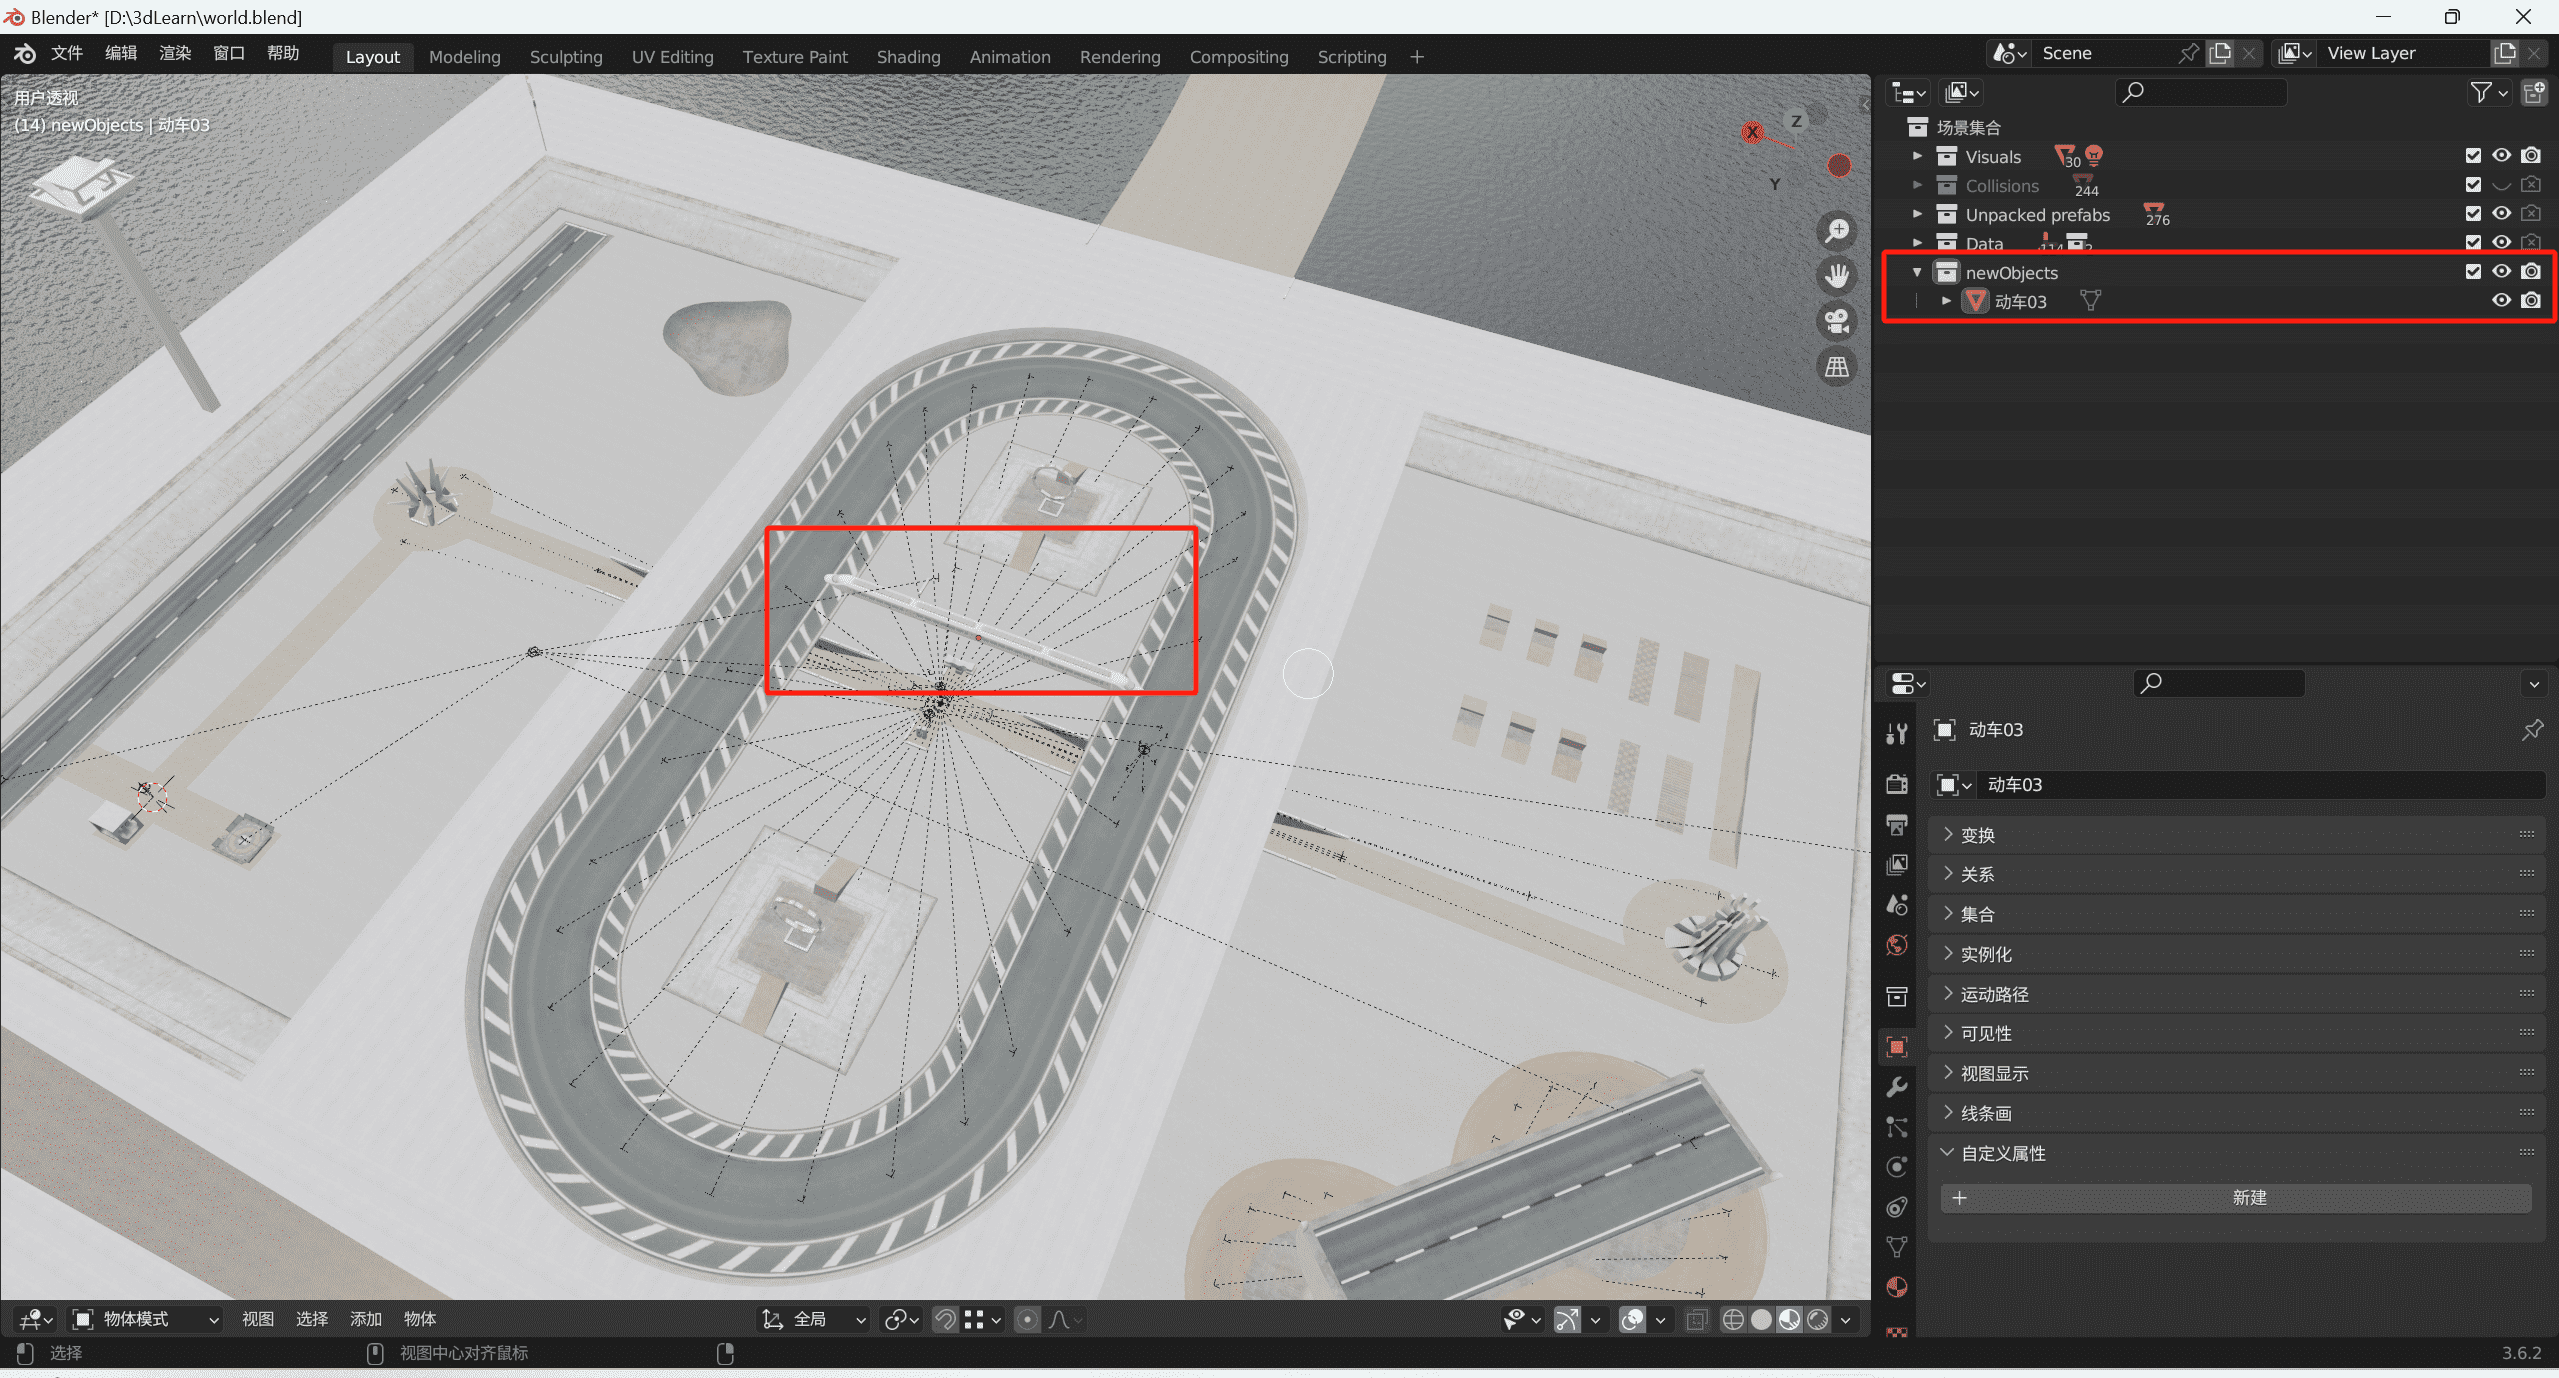
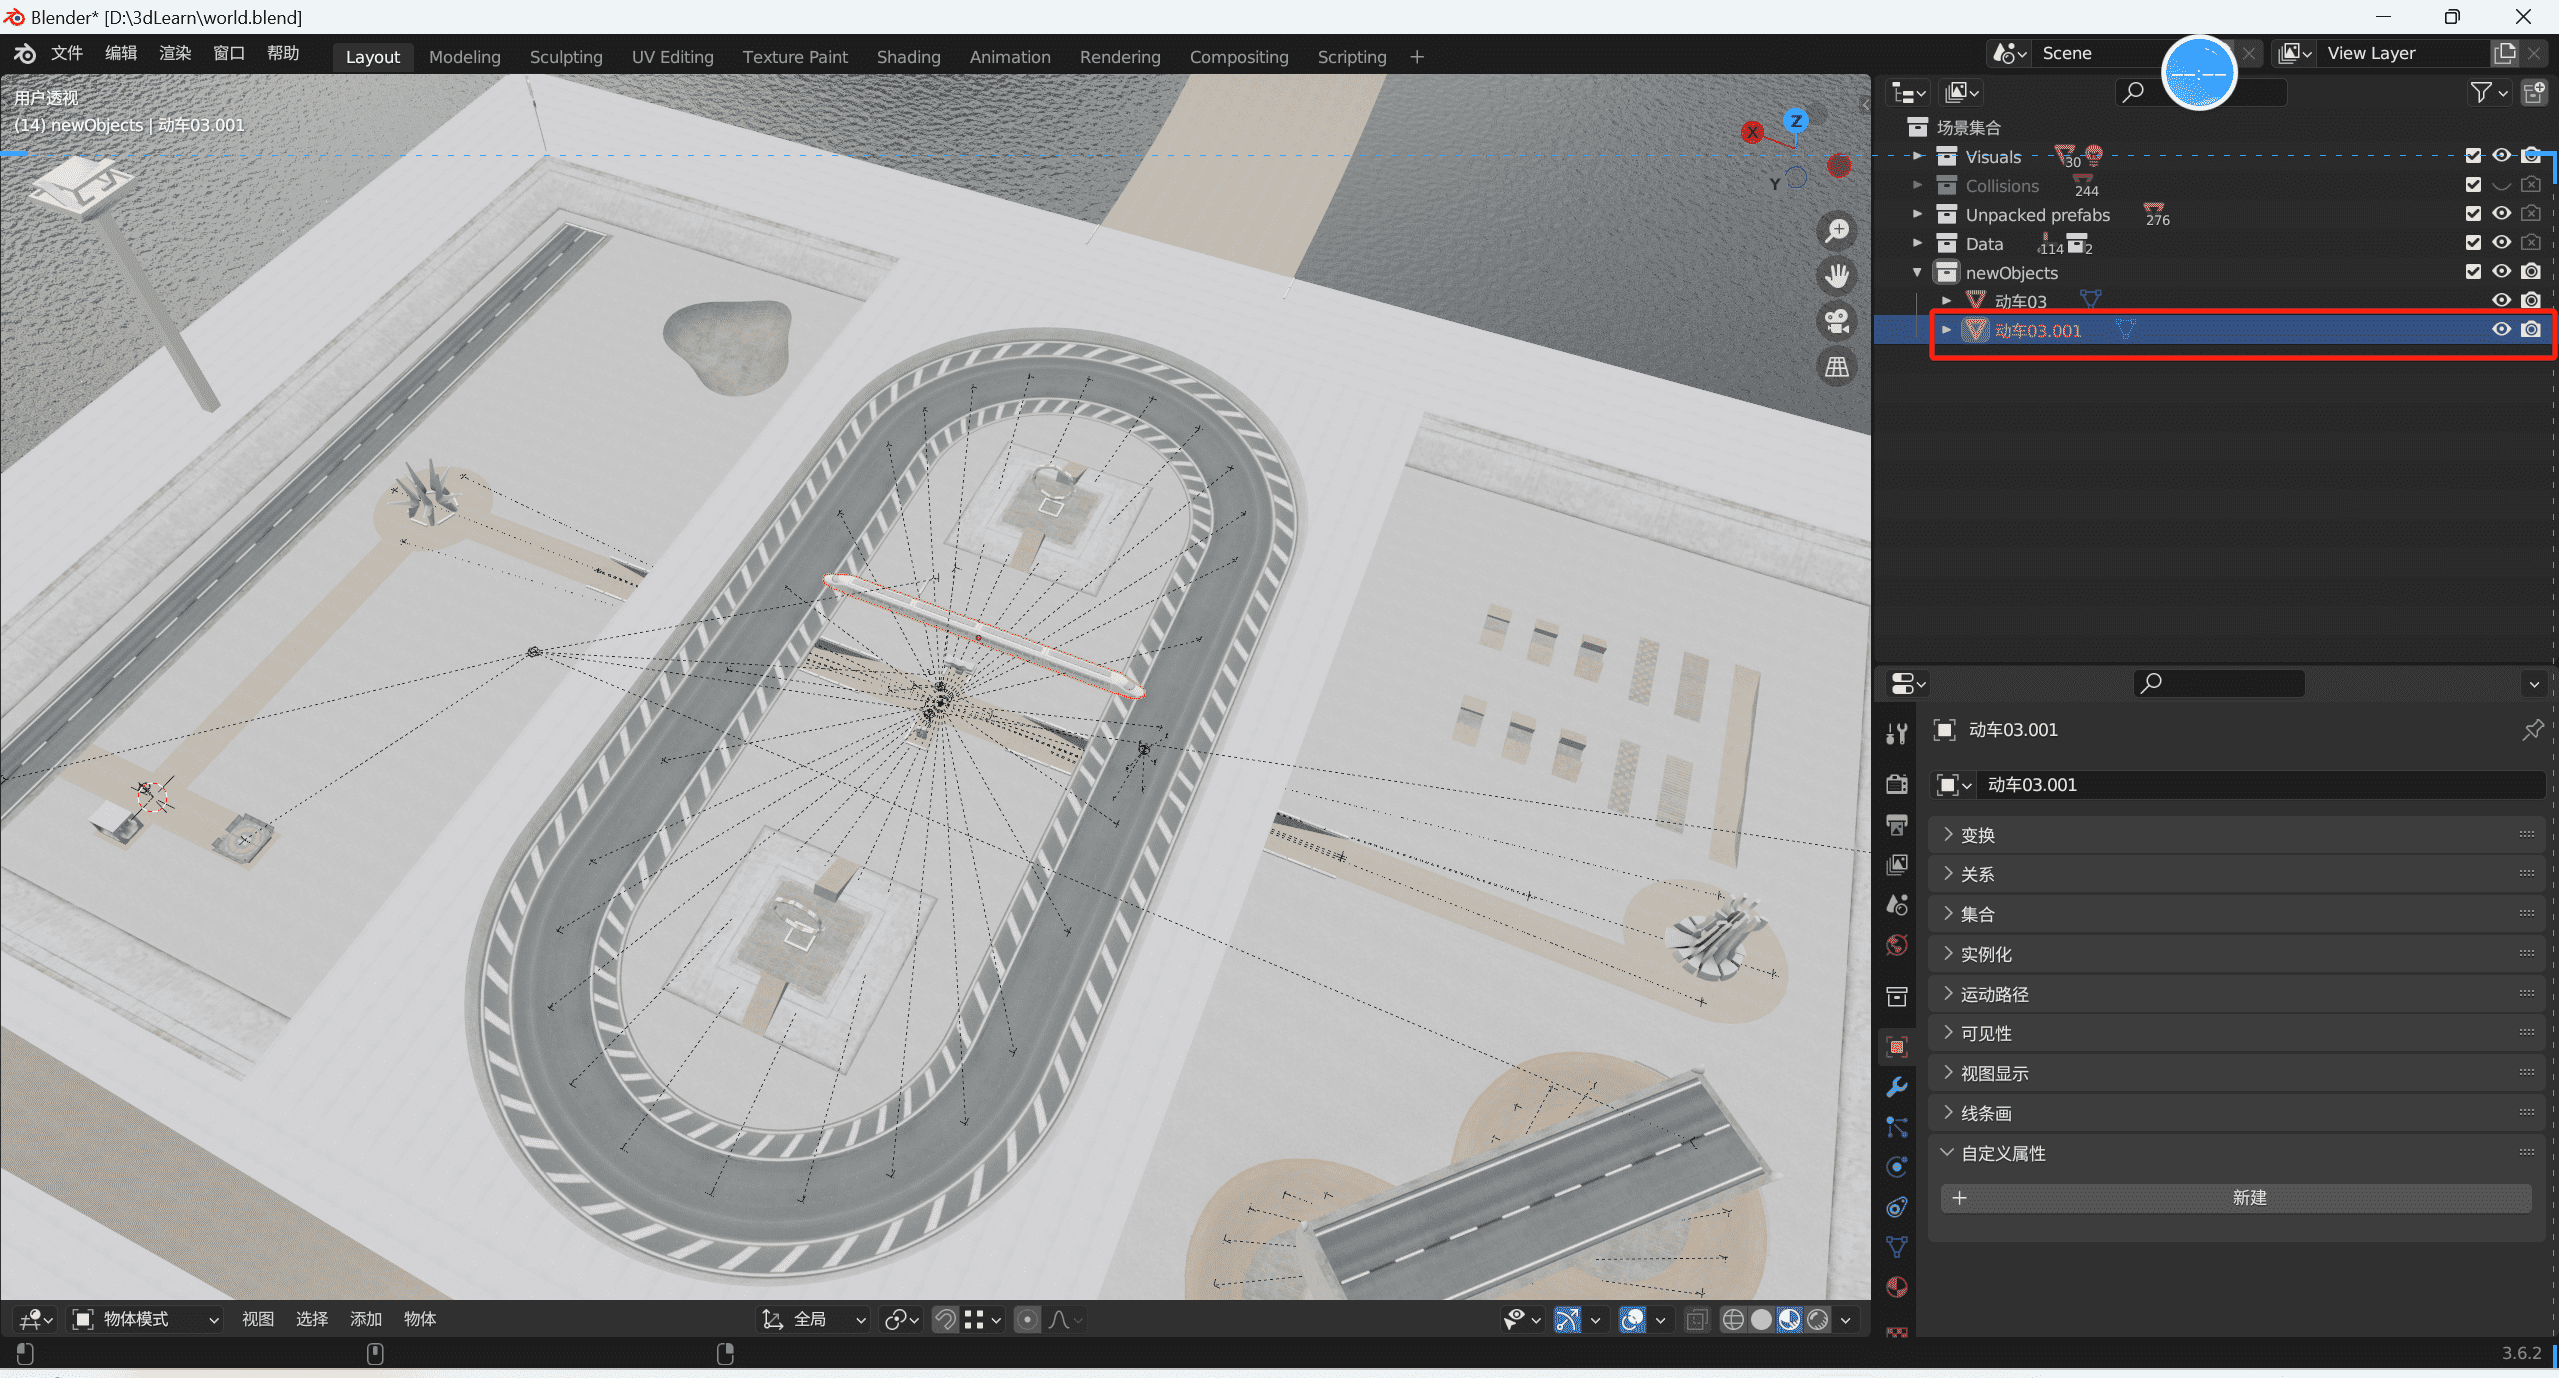
添加列车 ok,我们给我们的模型添加个列车的模型试一下效果
Your browser does not support the video tag.
通过上面的视频我们可以清楚看到列车是加载进来了,但是我们是会穿模的,这是因为我们的列车并没有碰撞体
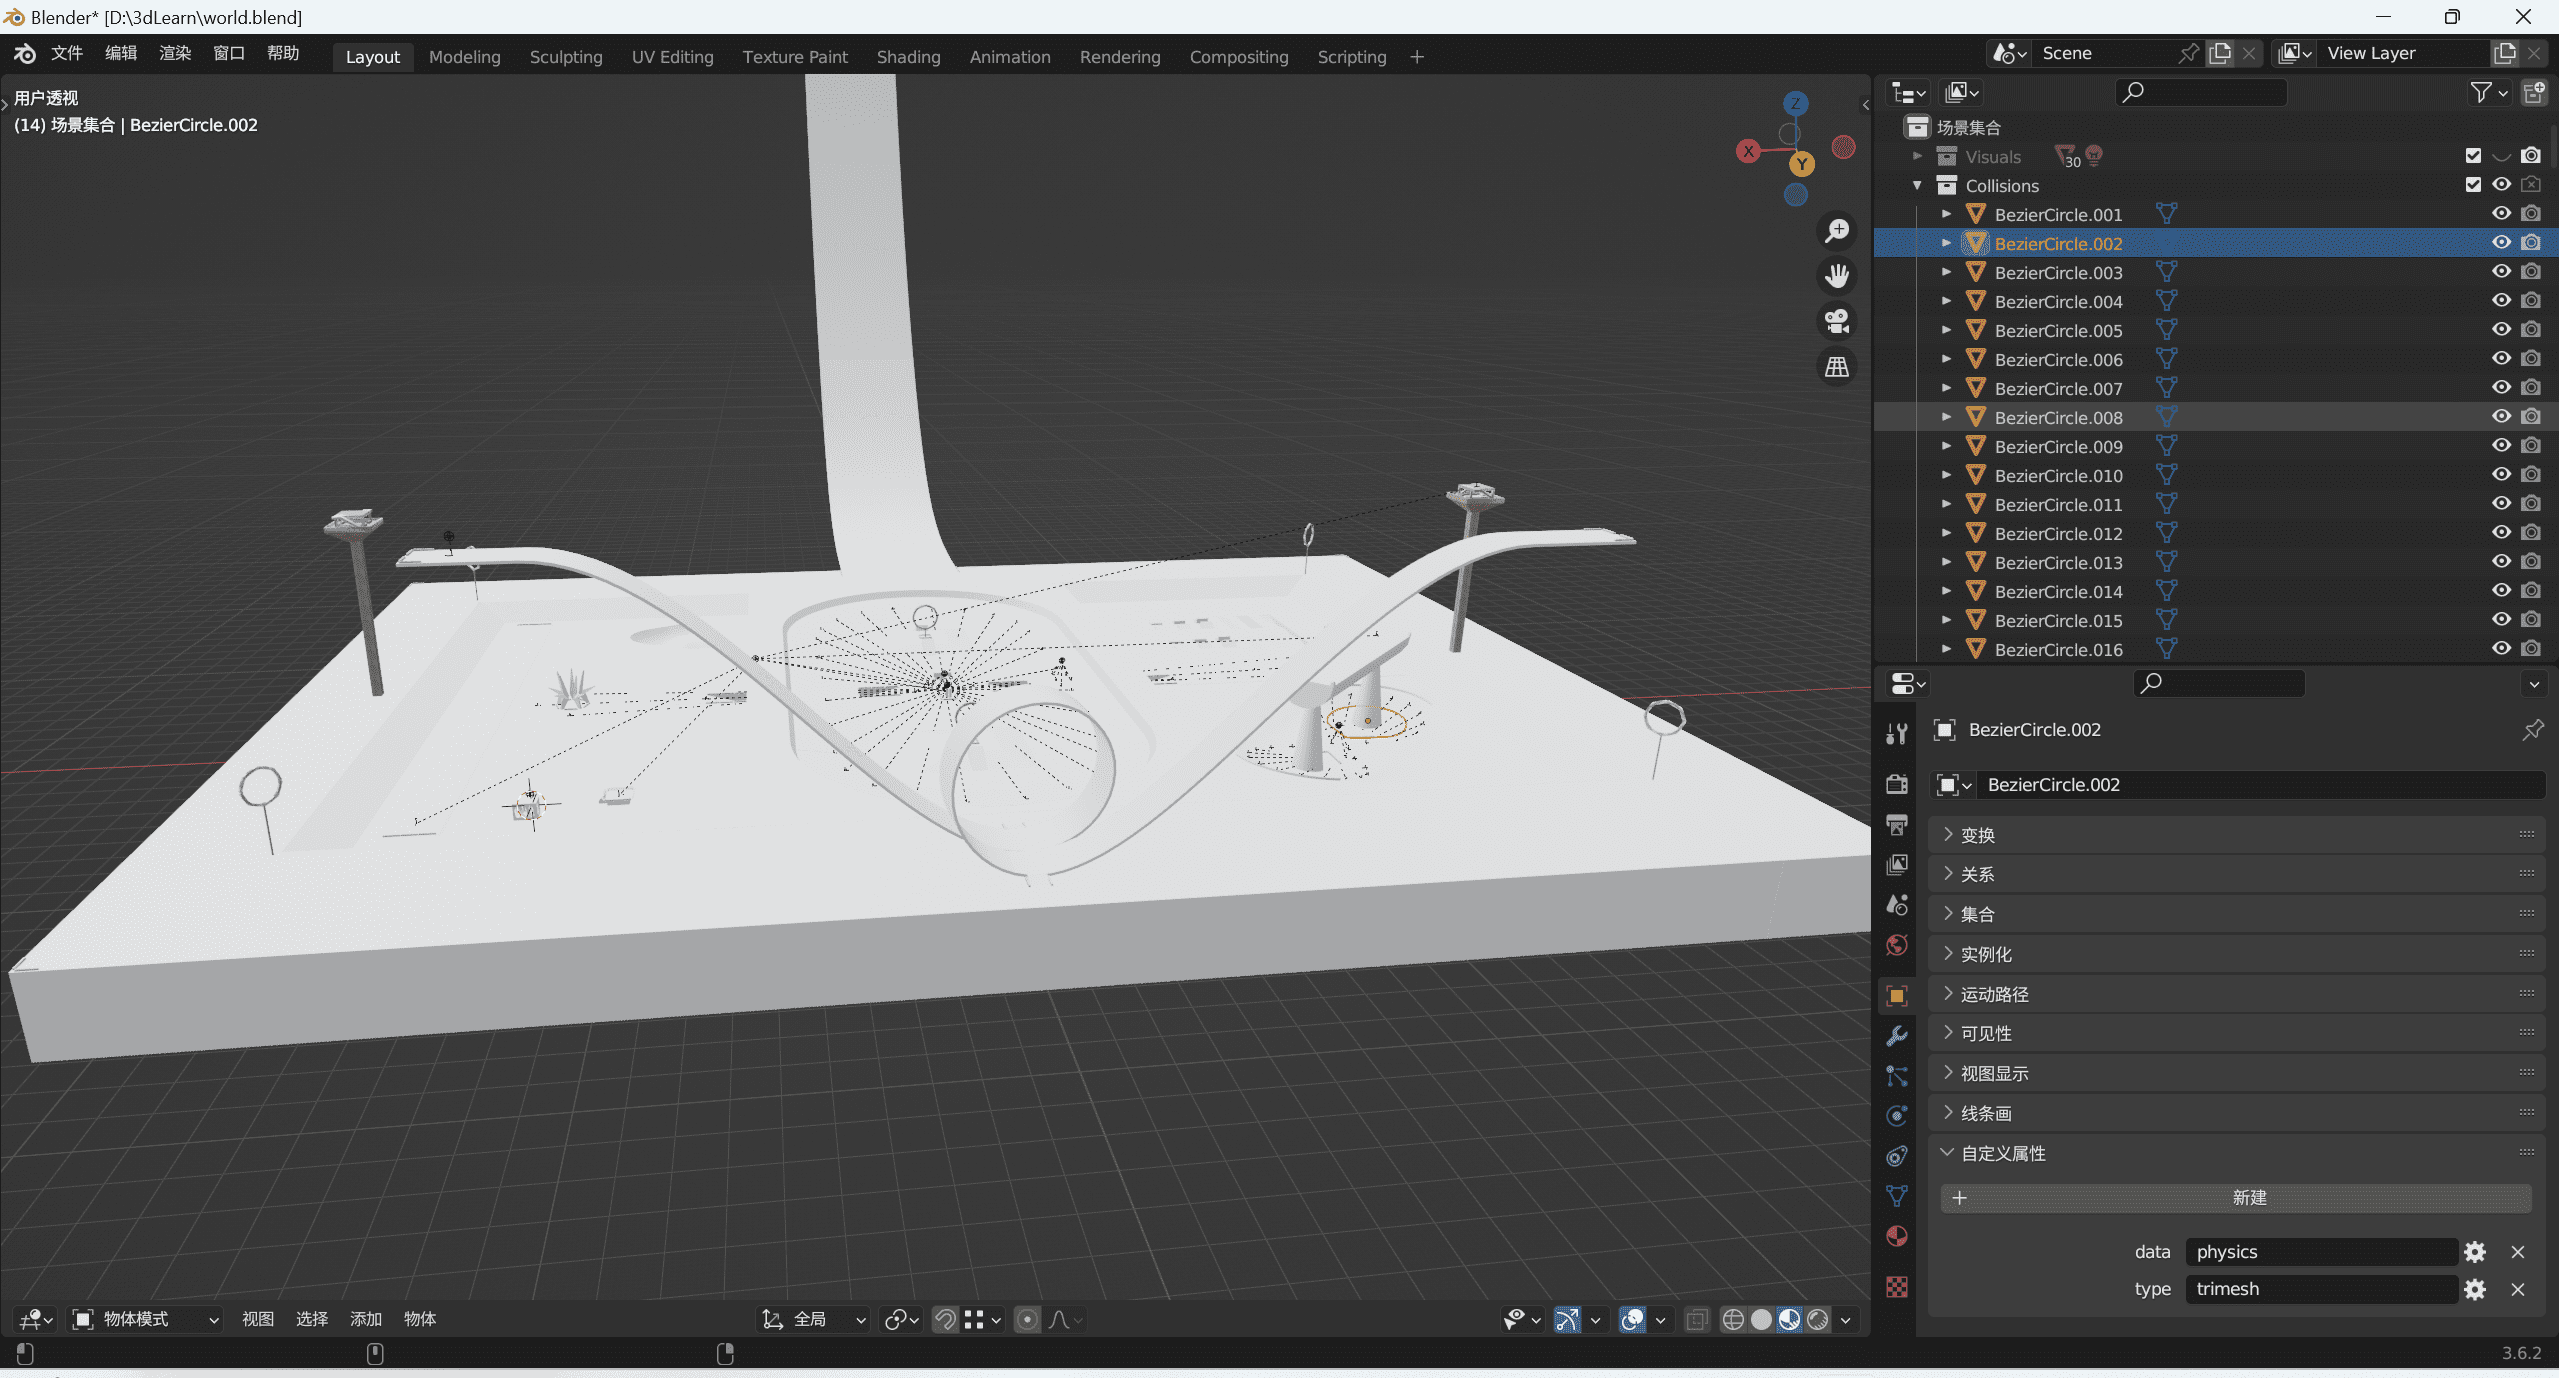
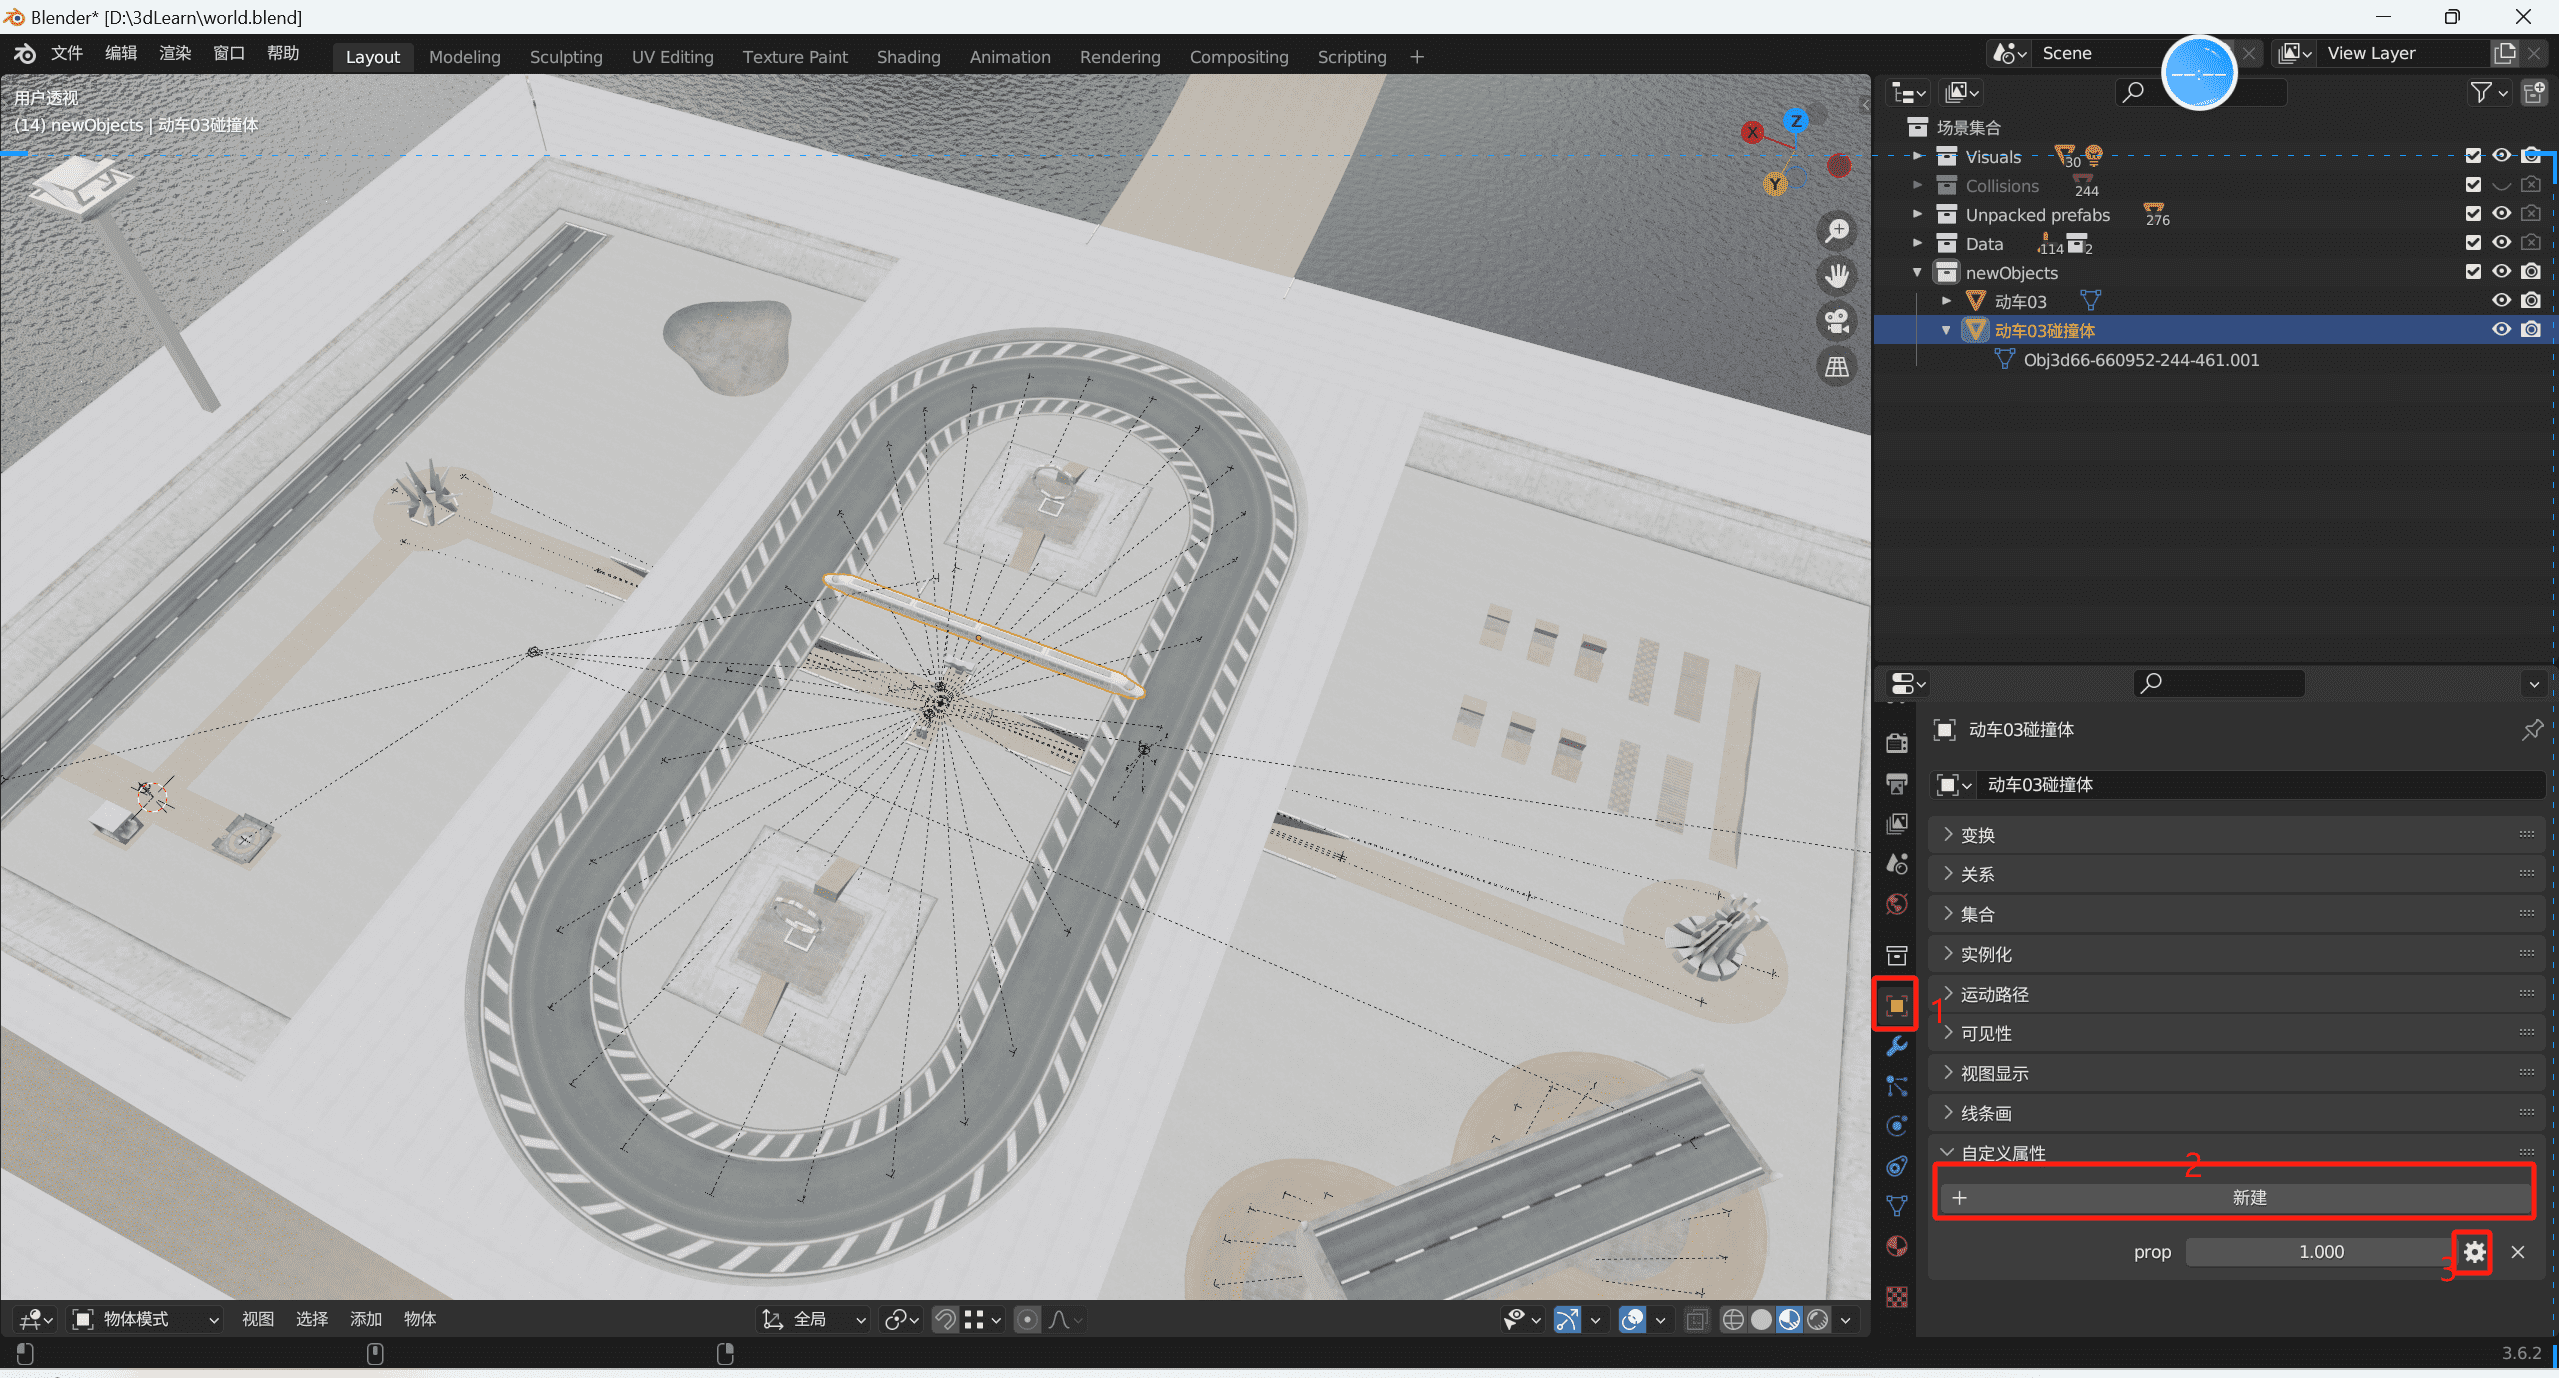
添加碰撞体 接下来我们来创建一下这个列车的碰撞体
首先我们先复制一份模型
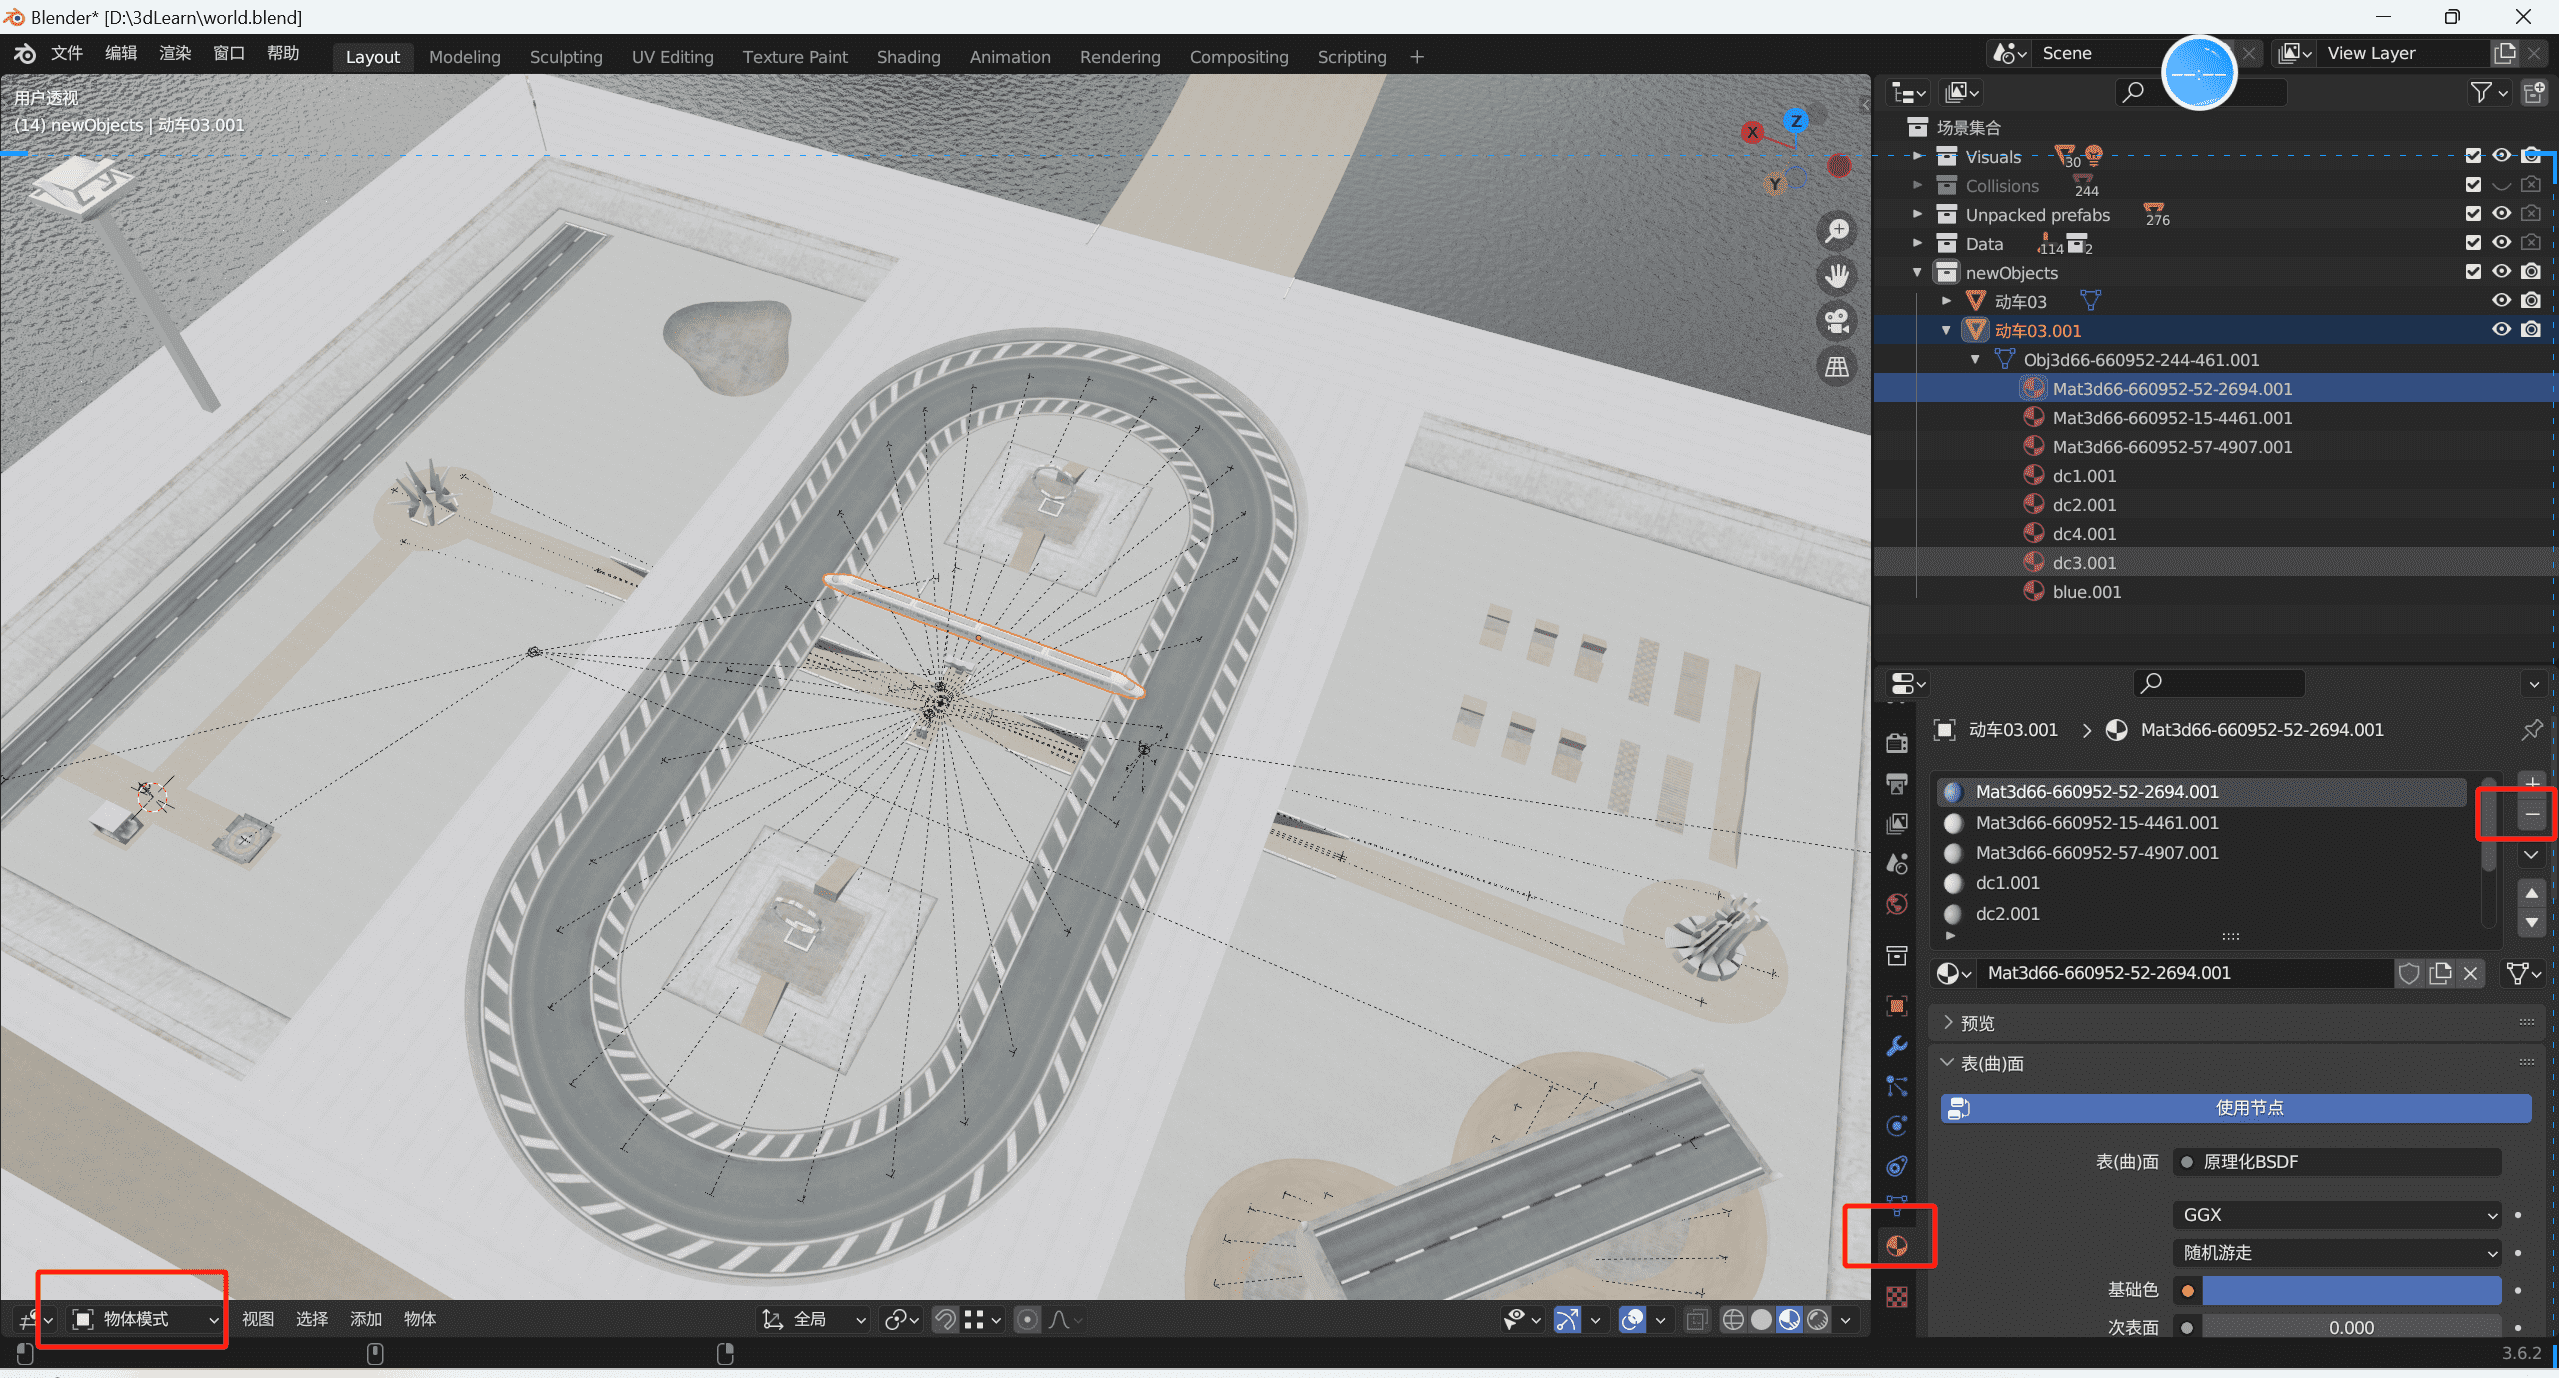
移除碰撞体纹理
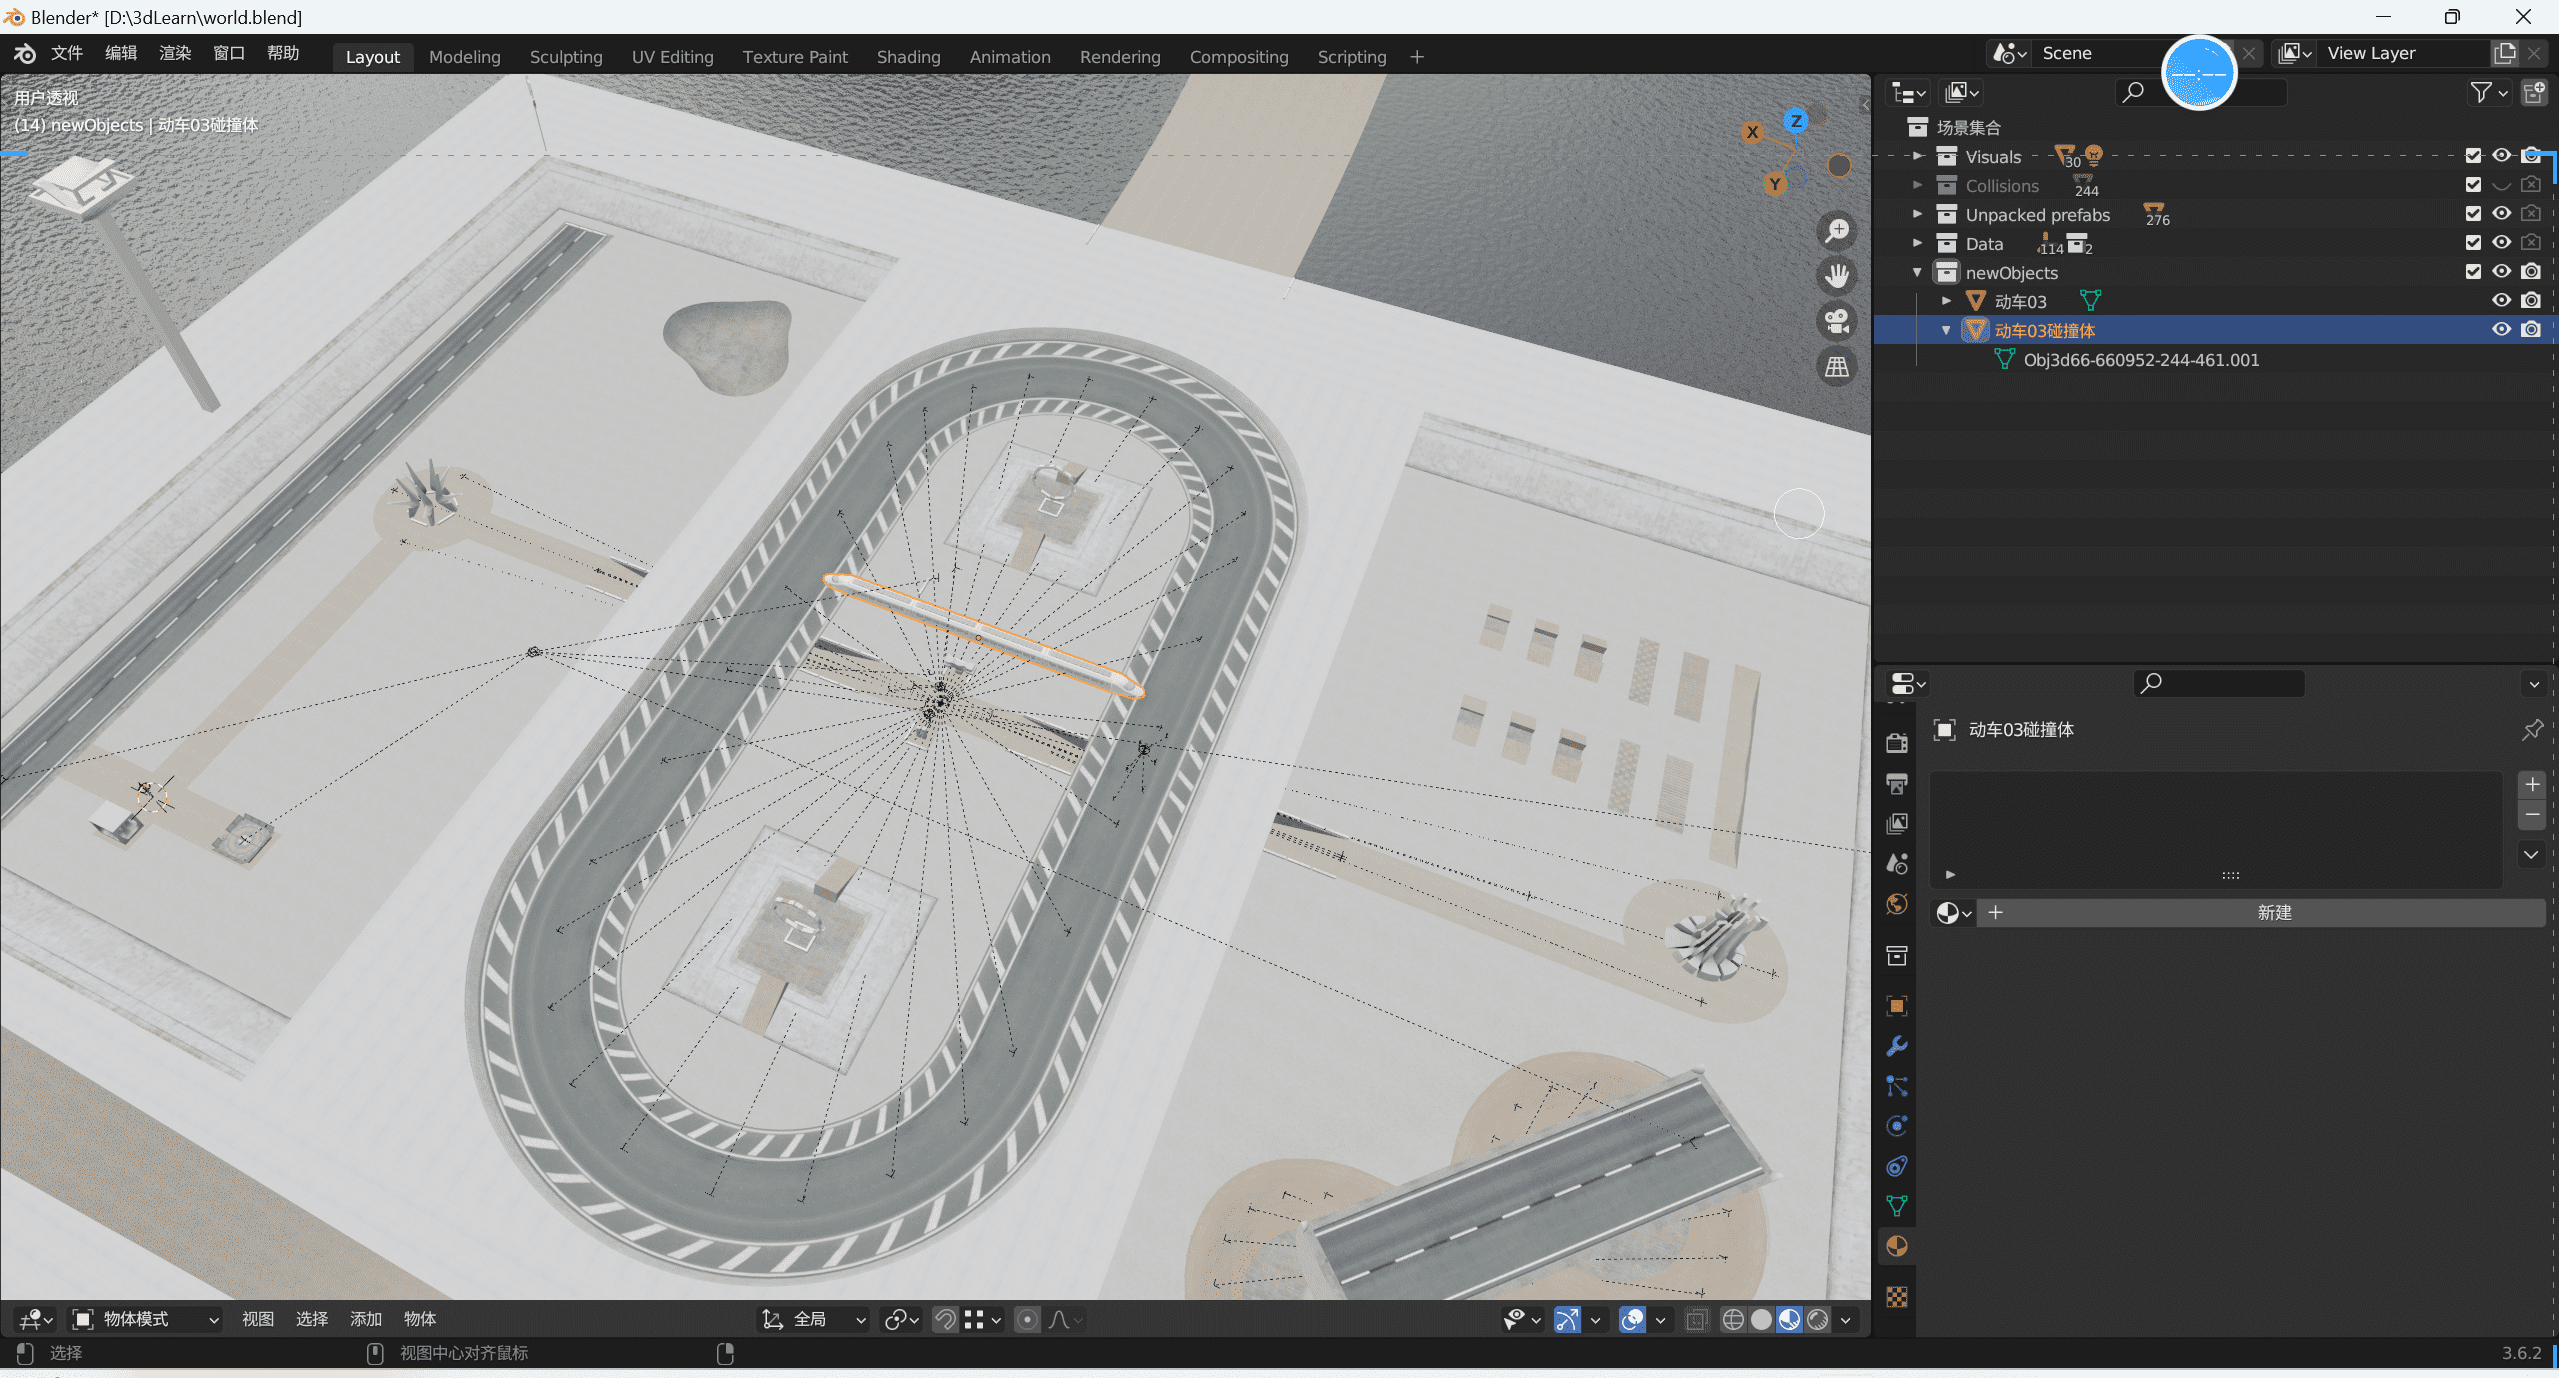
删除成这样就大功告成了
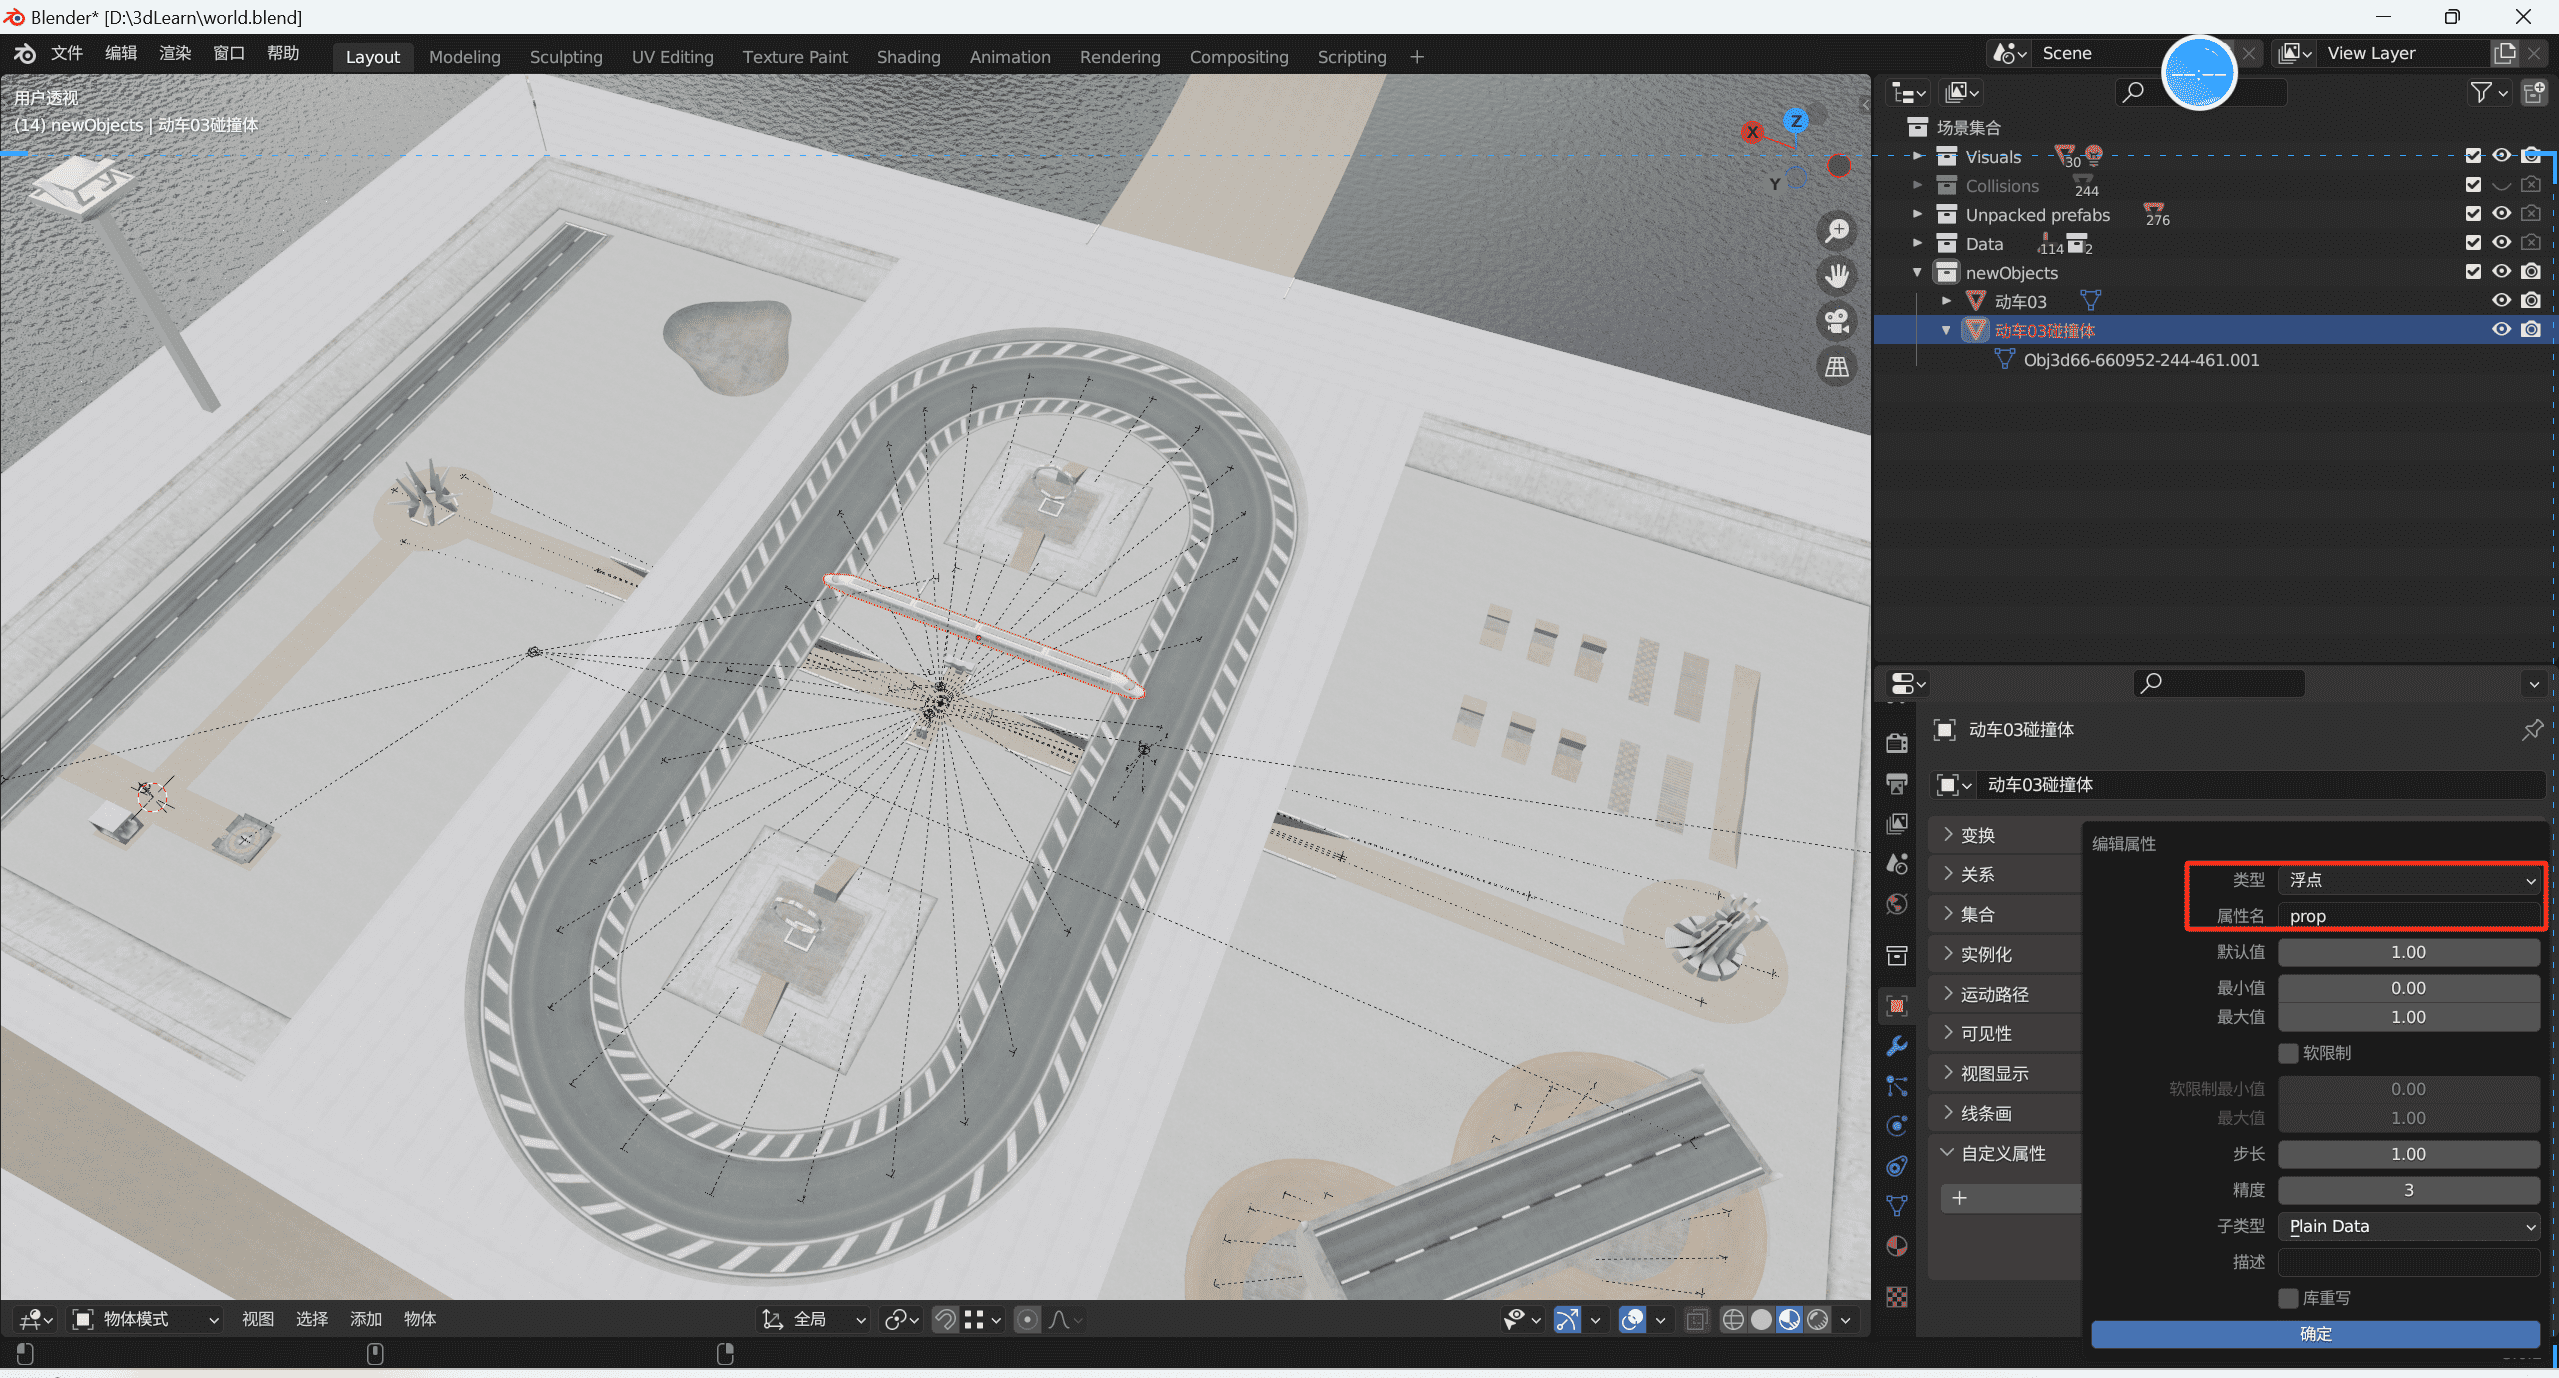
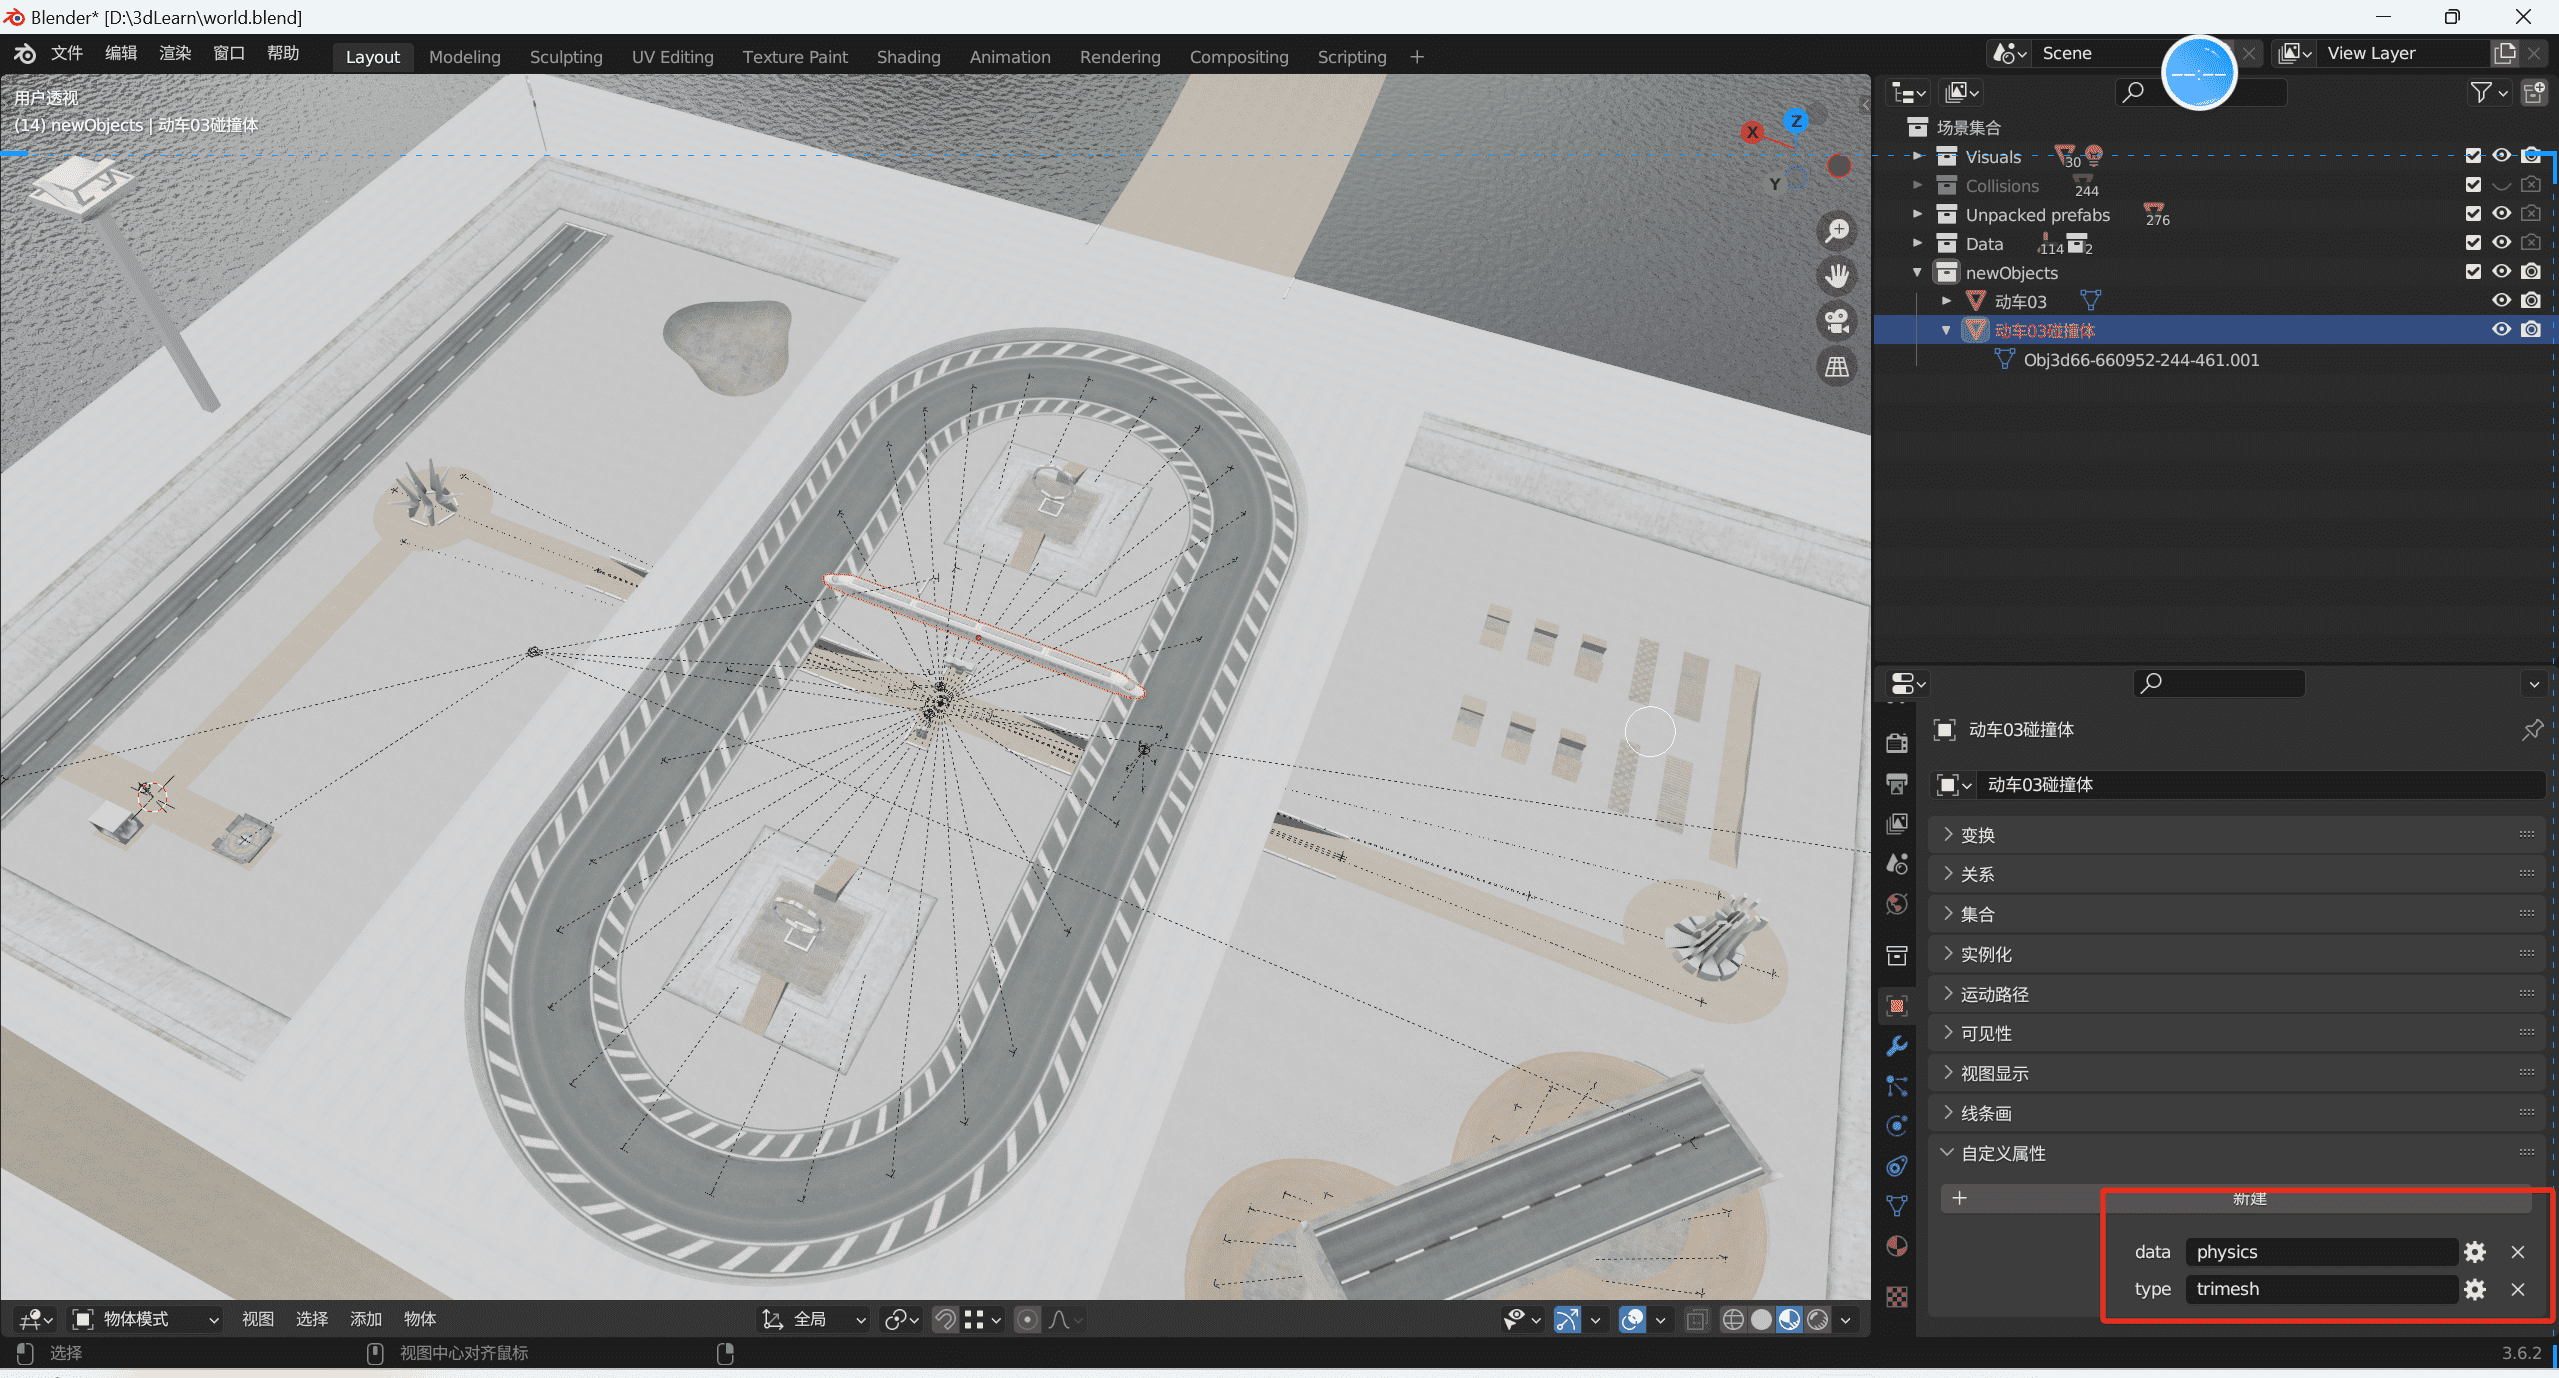
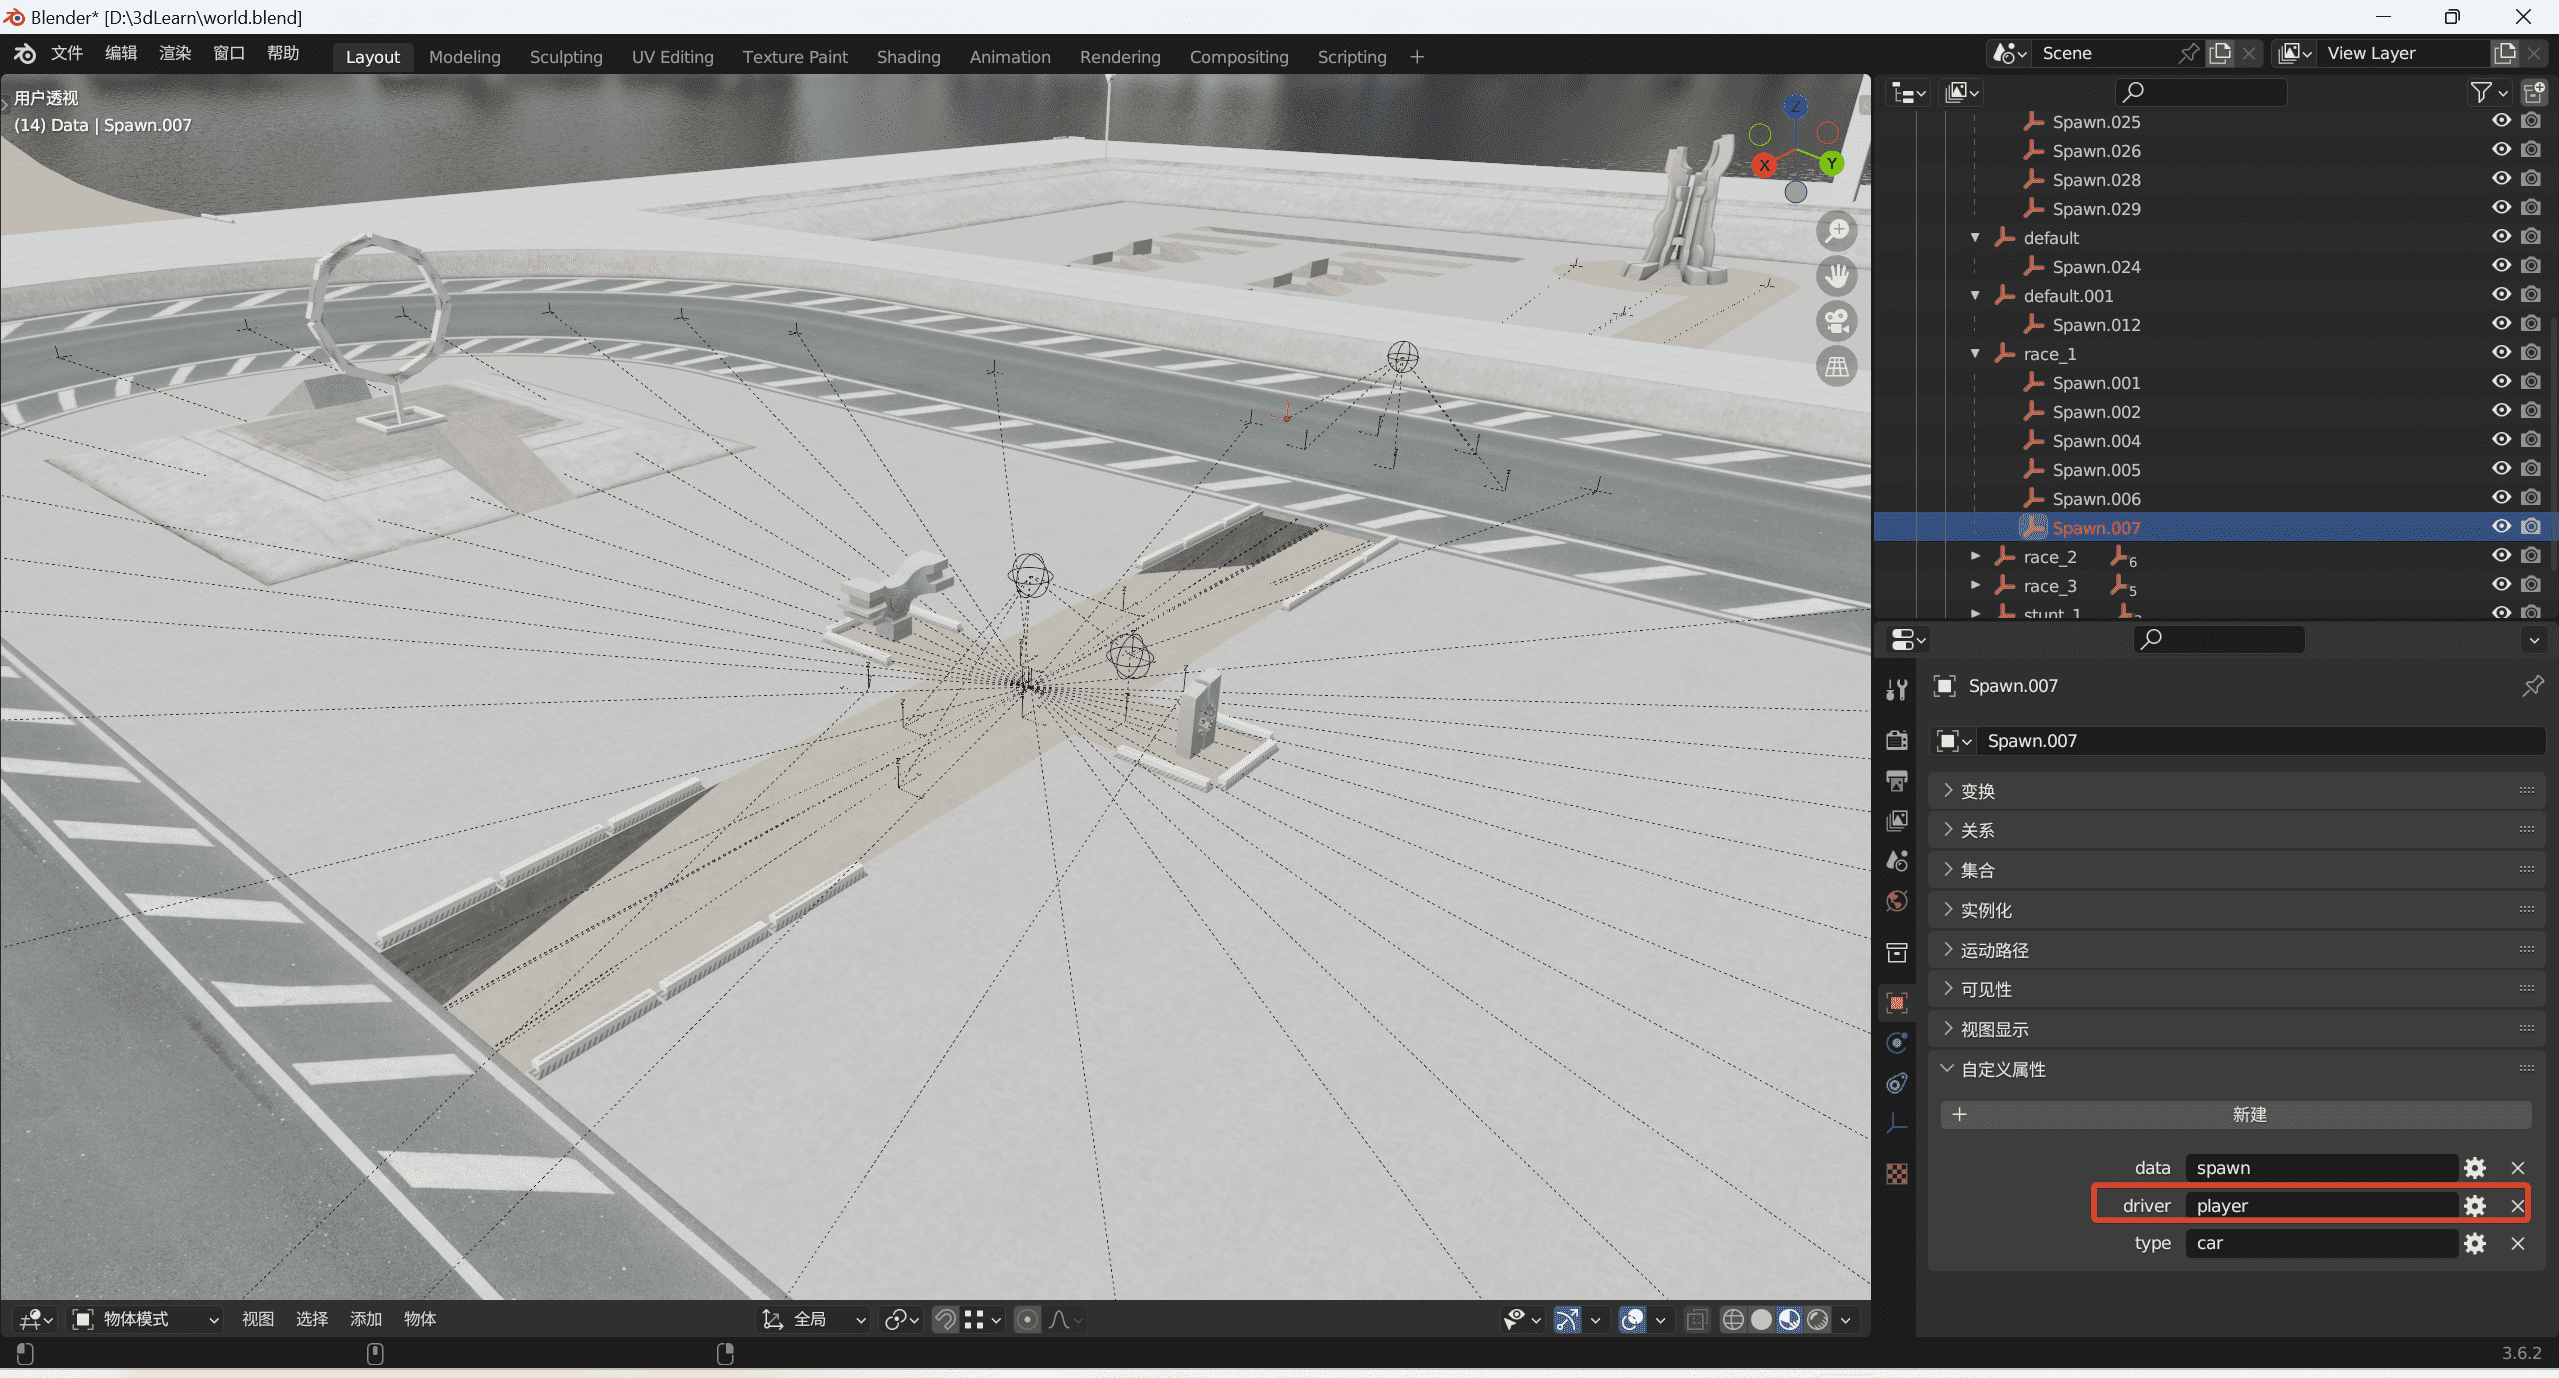
添加自定义属性physics,同理添加一个type属性,值为trimesh
导出查看效果
Your browser does not support the video tag.
这时候我们就会发现我们的列车就不会穿模了。注意:当然这样的做法一般在大型项目中是不太合格的,一般这种边界比较简单的模型,我们完全可以自己新建一个立方体,通过挤出等方式包裹住我们的物体来减少顶点的检测,从而提升我们的性能,这个我就不多阐述怎么做了,大家可以自己去尝试一下。
场景初始化与场景空对象解析 接下来我们来简单了解下World.ts中的这段代码的含义
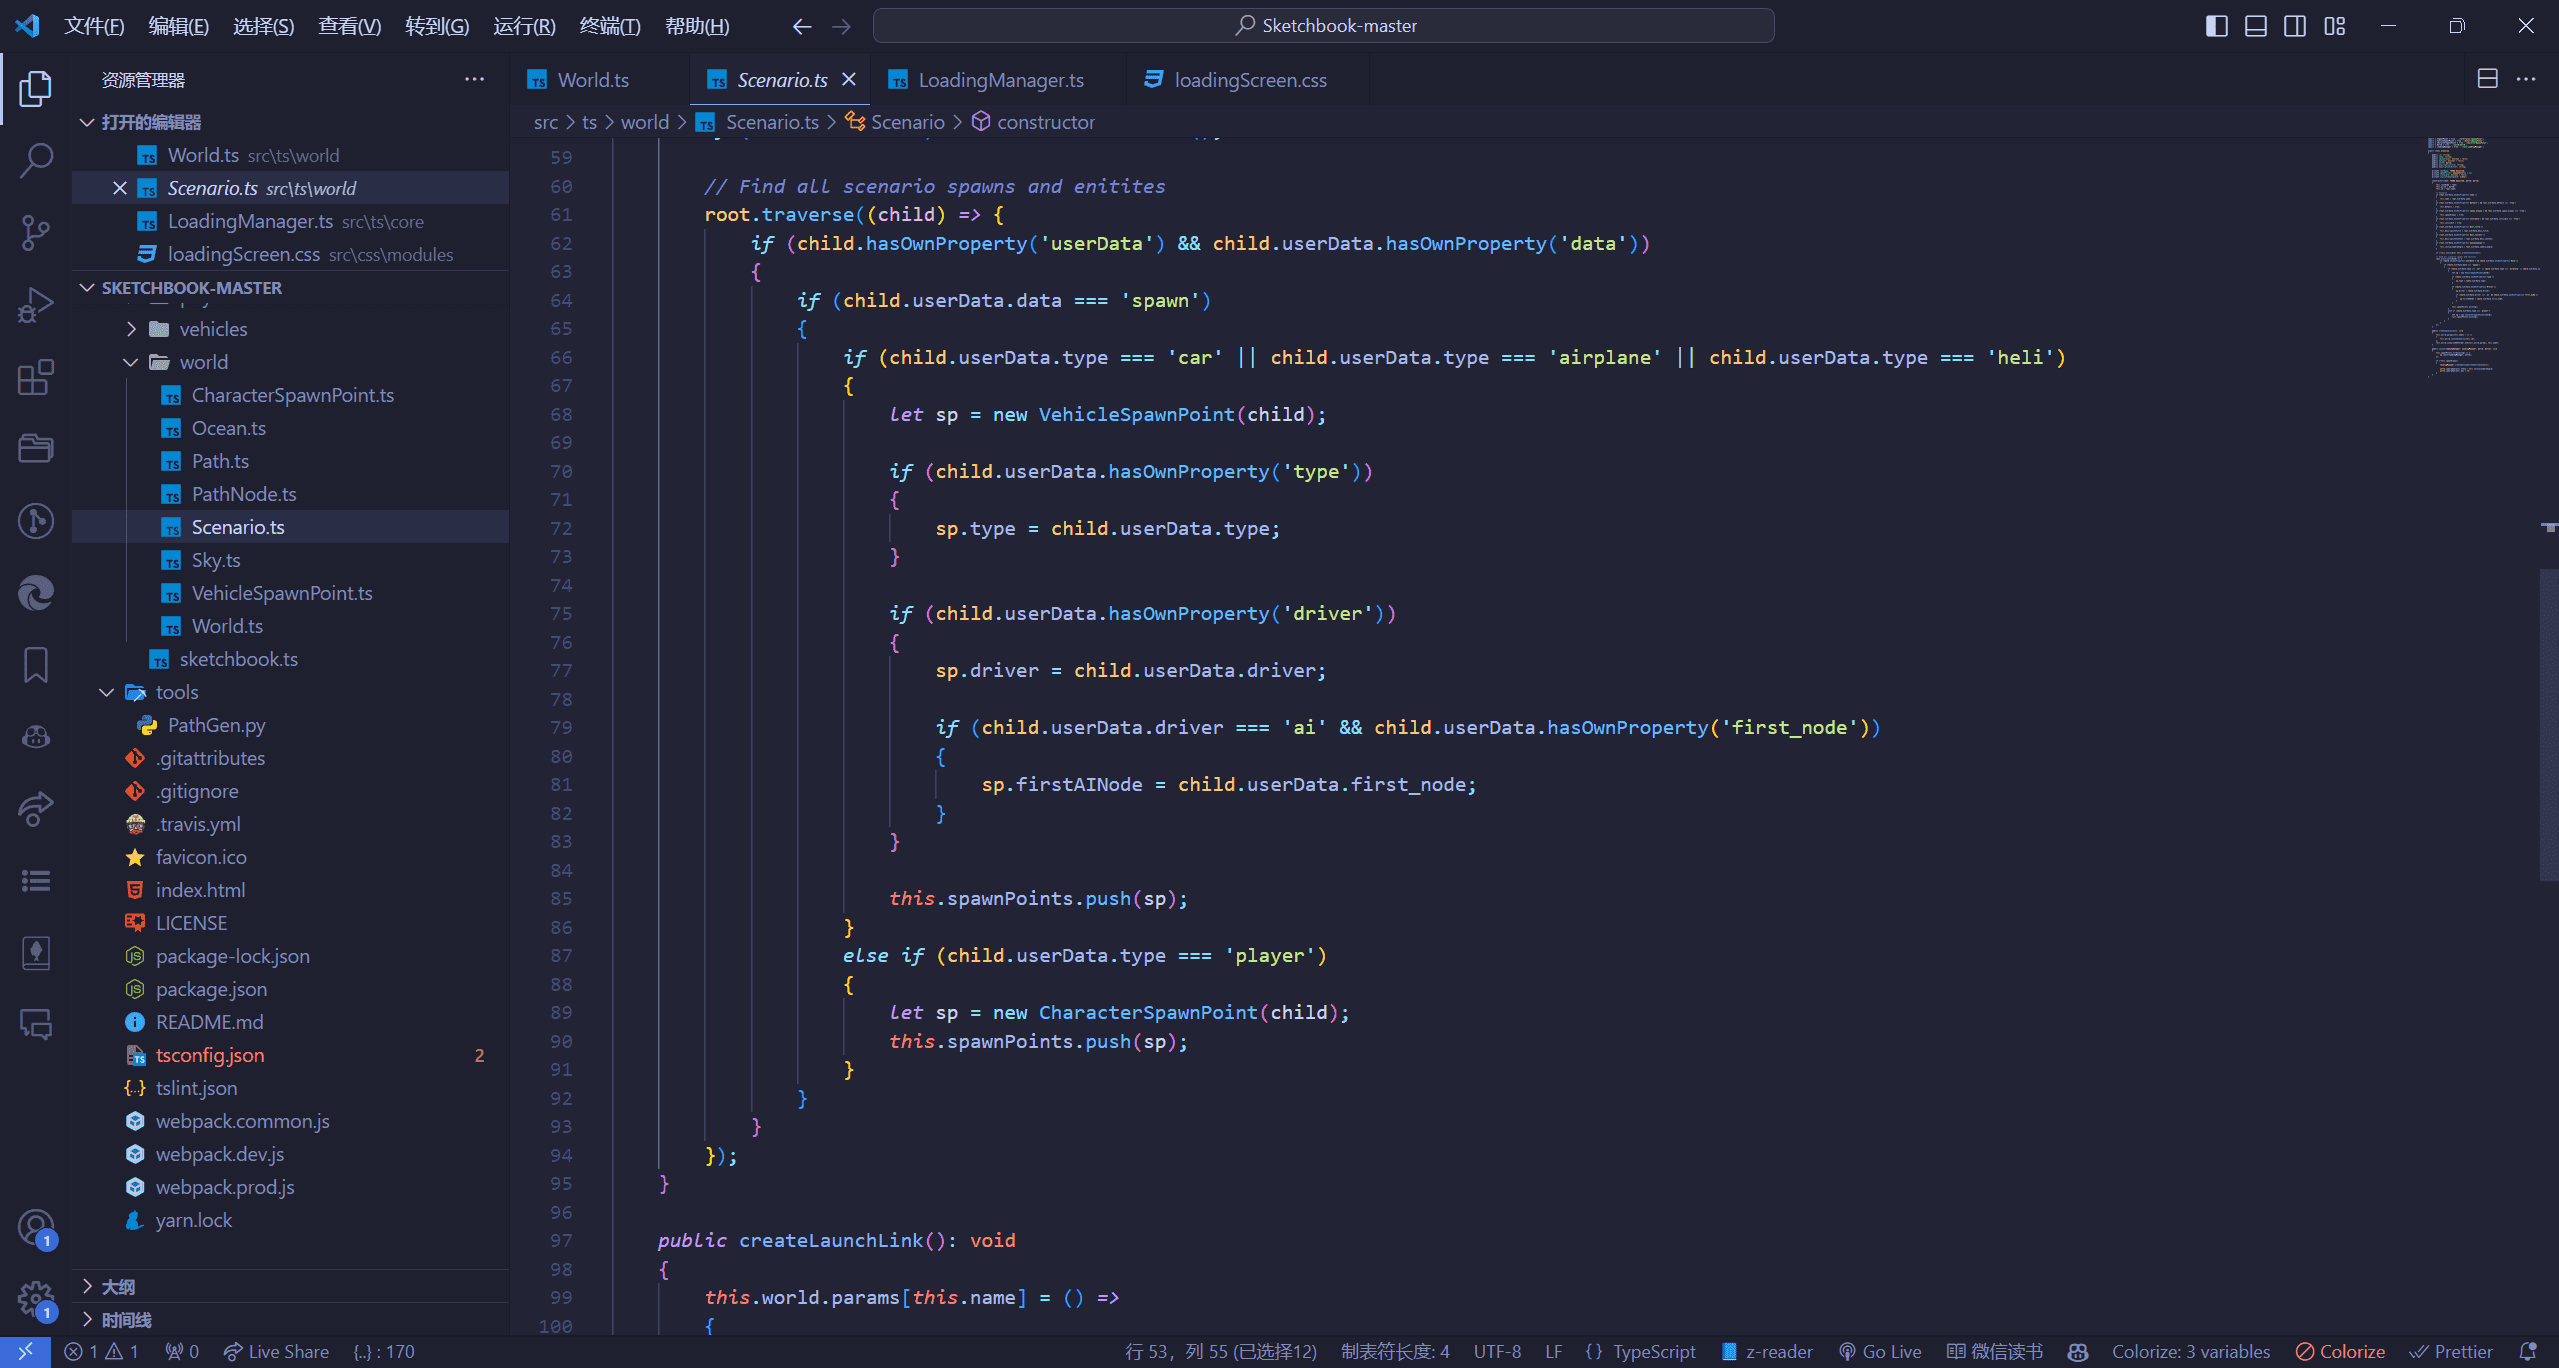
1 2 3 4 if (child.userData .data === 'scenario' ){ this .scenarios .push (new Scenario (child, this )); }
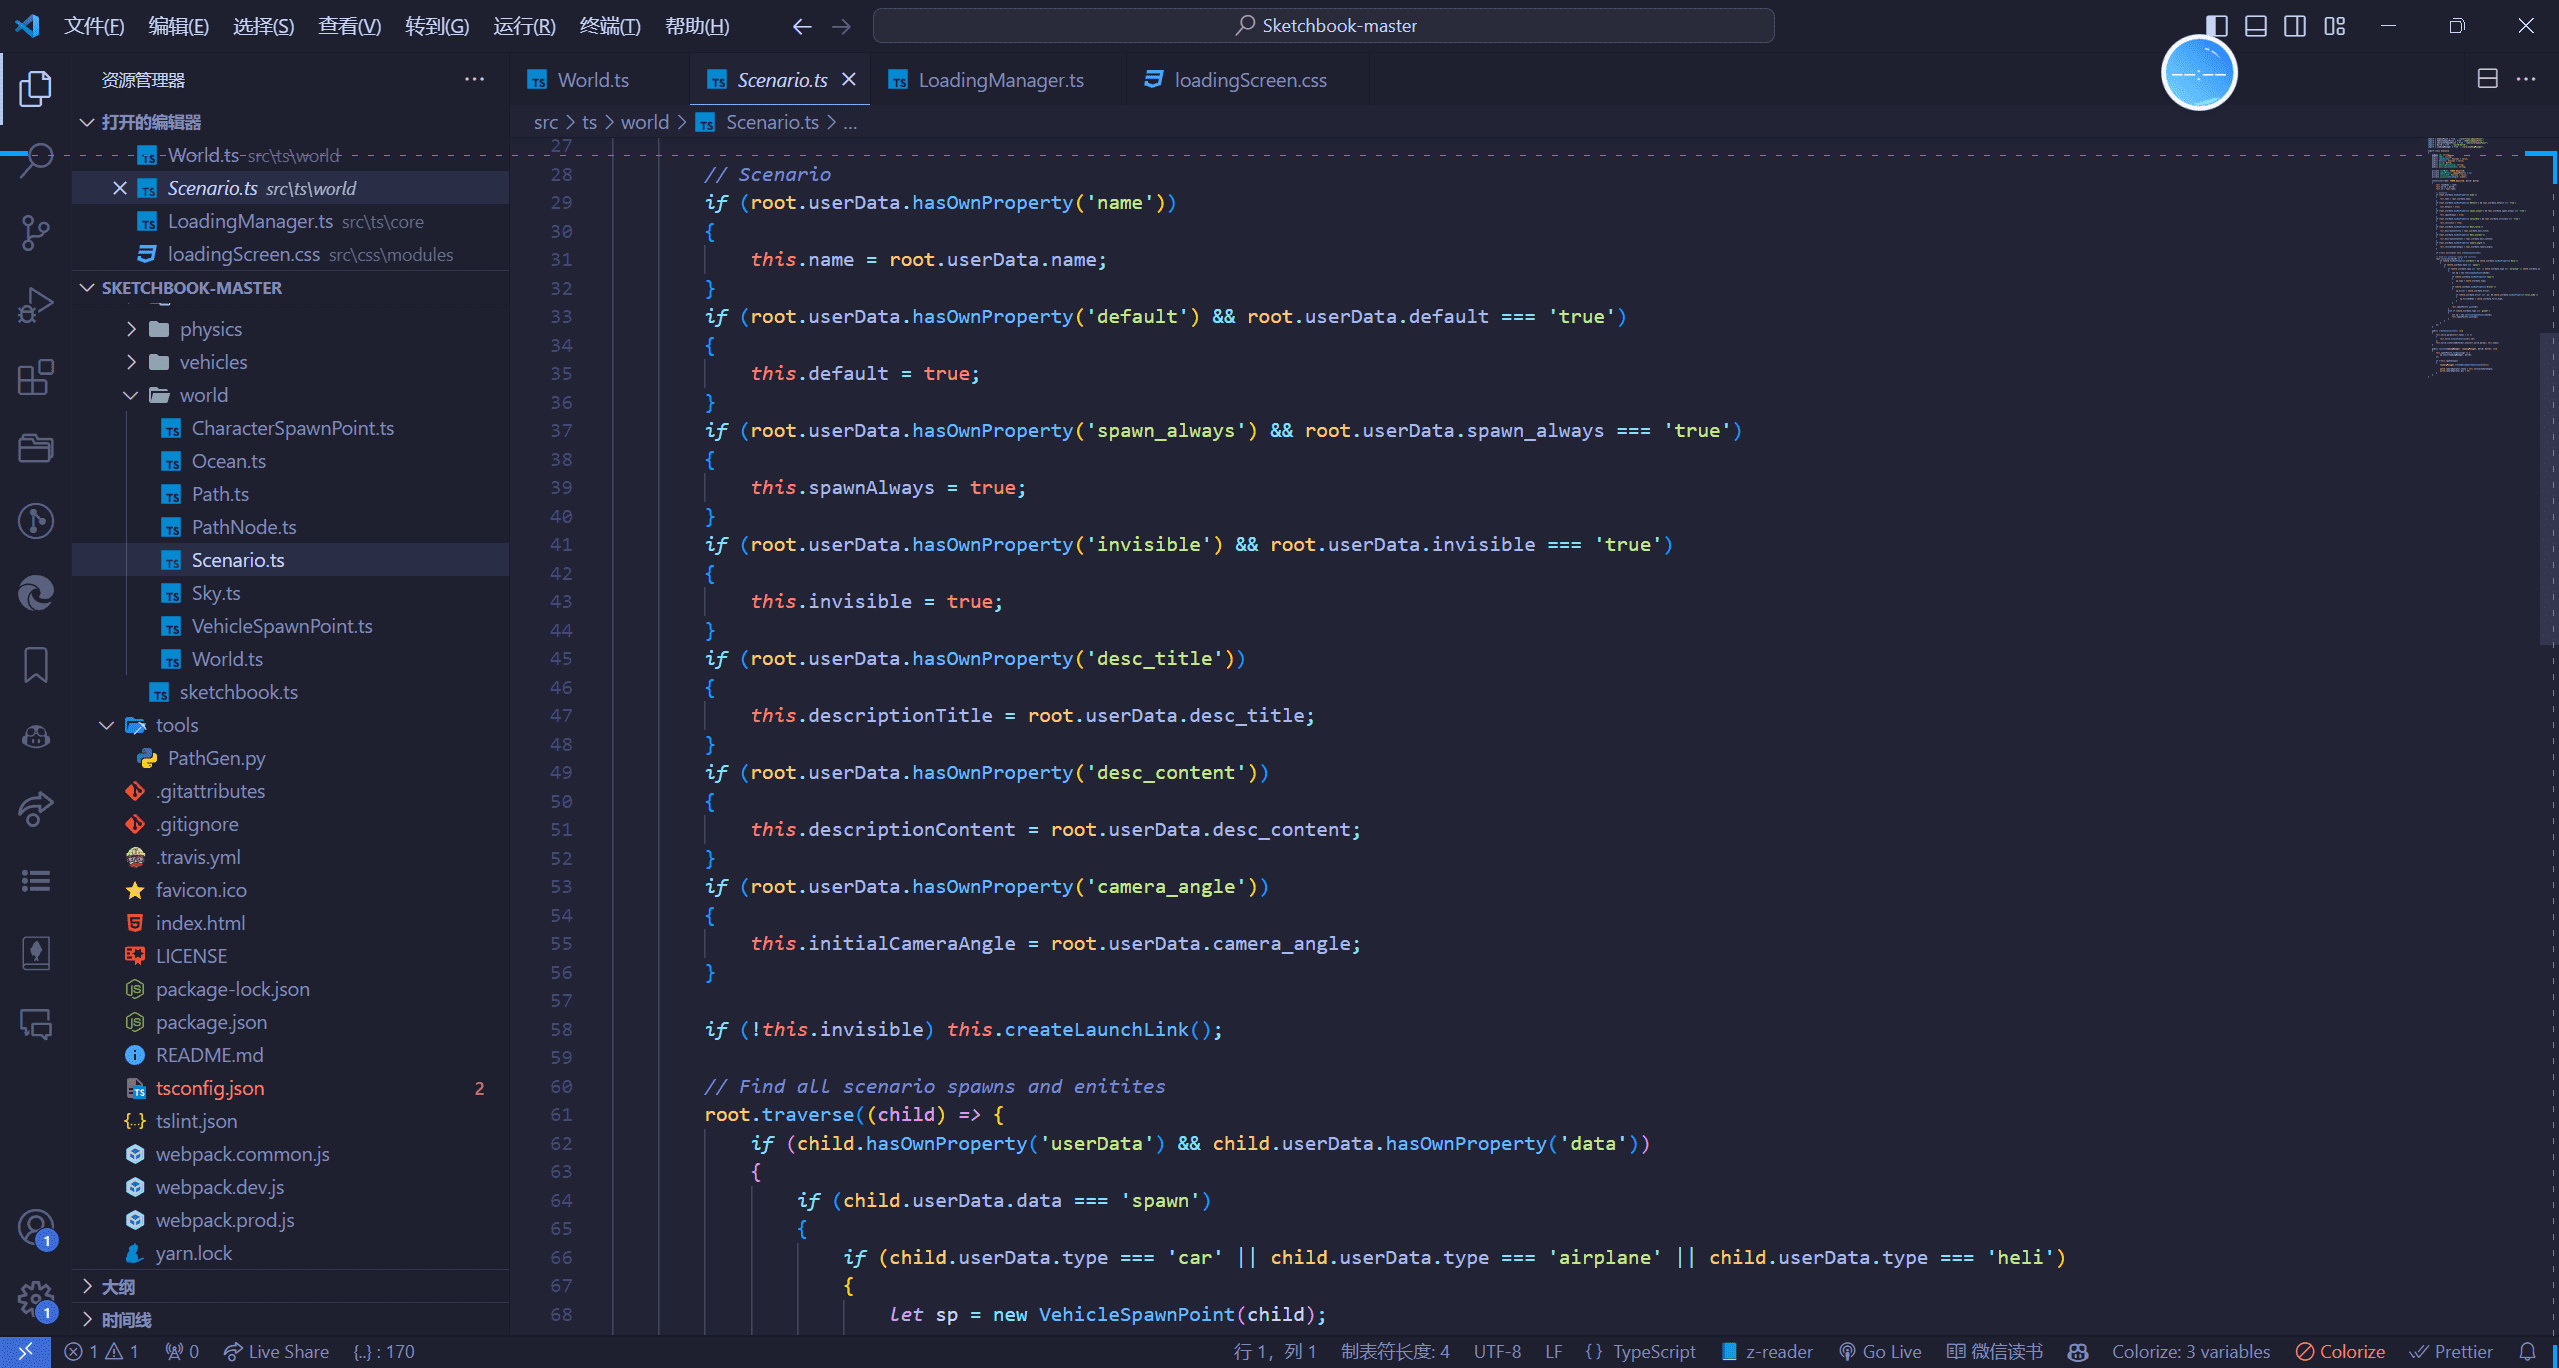
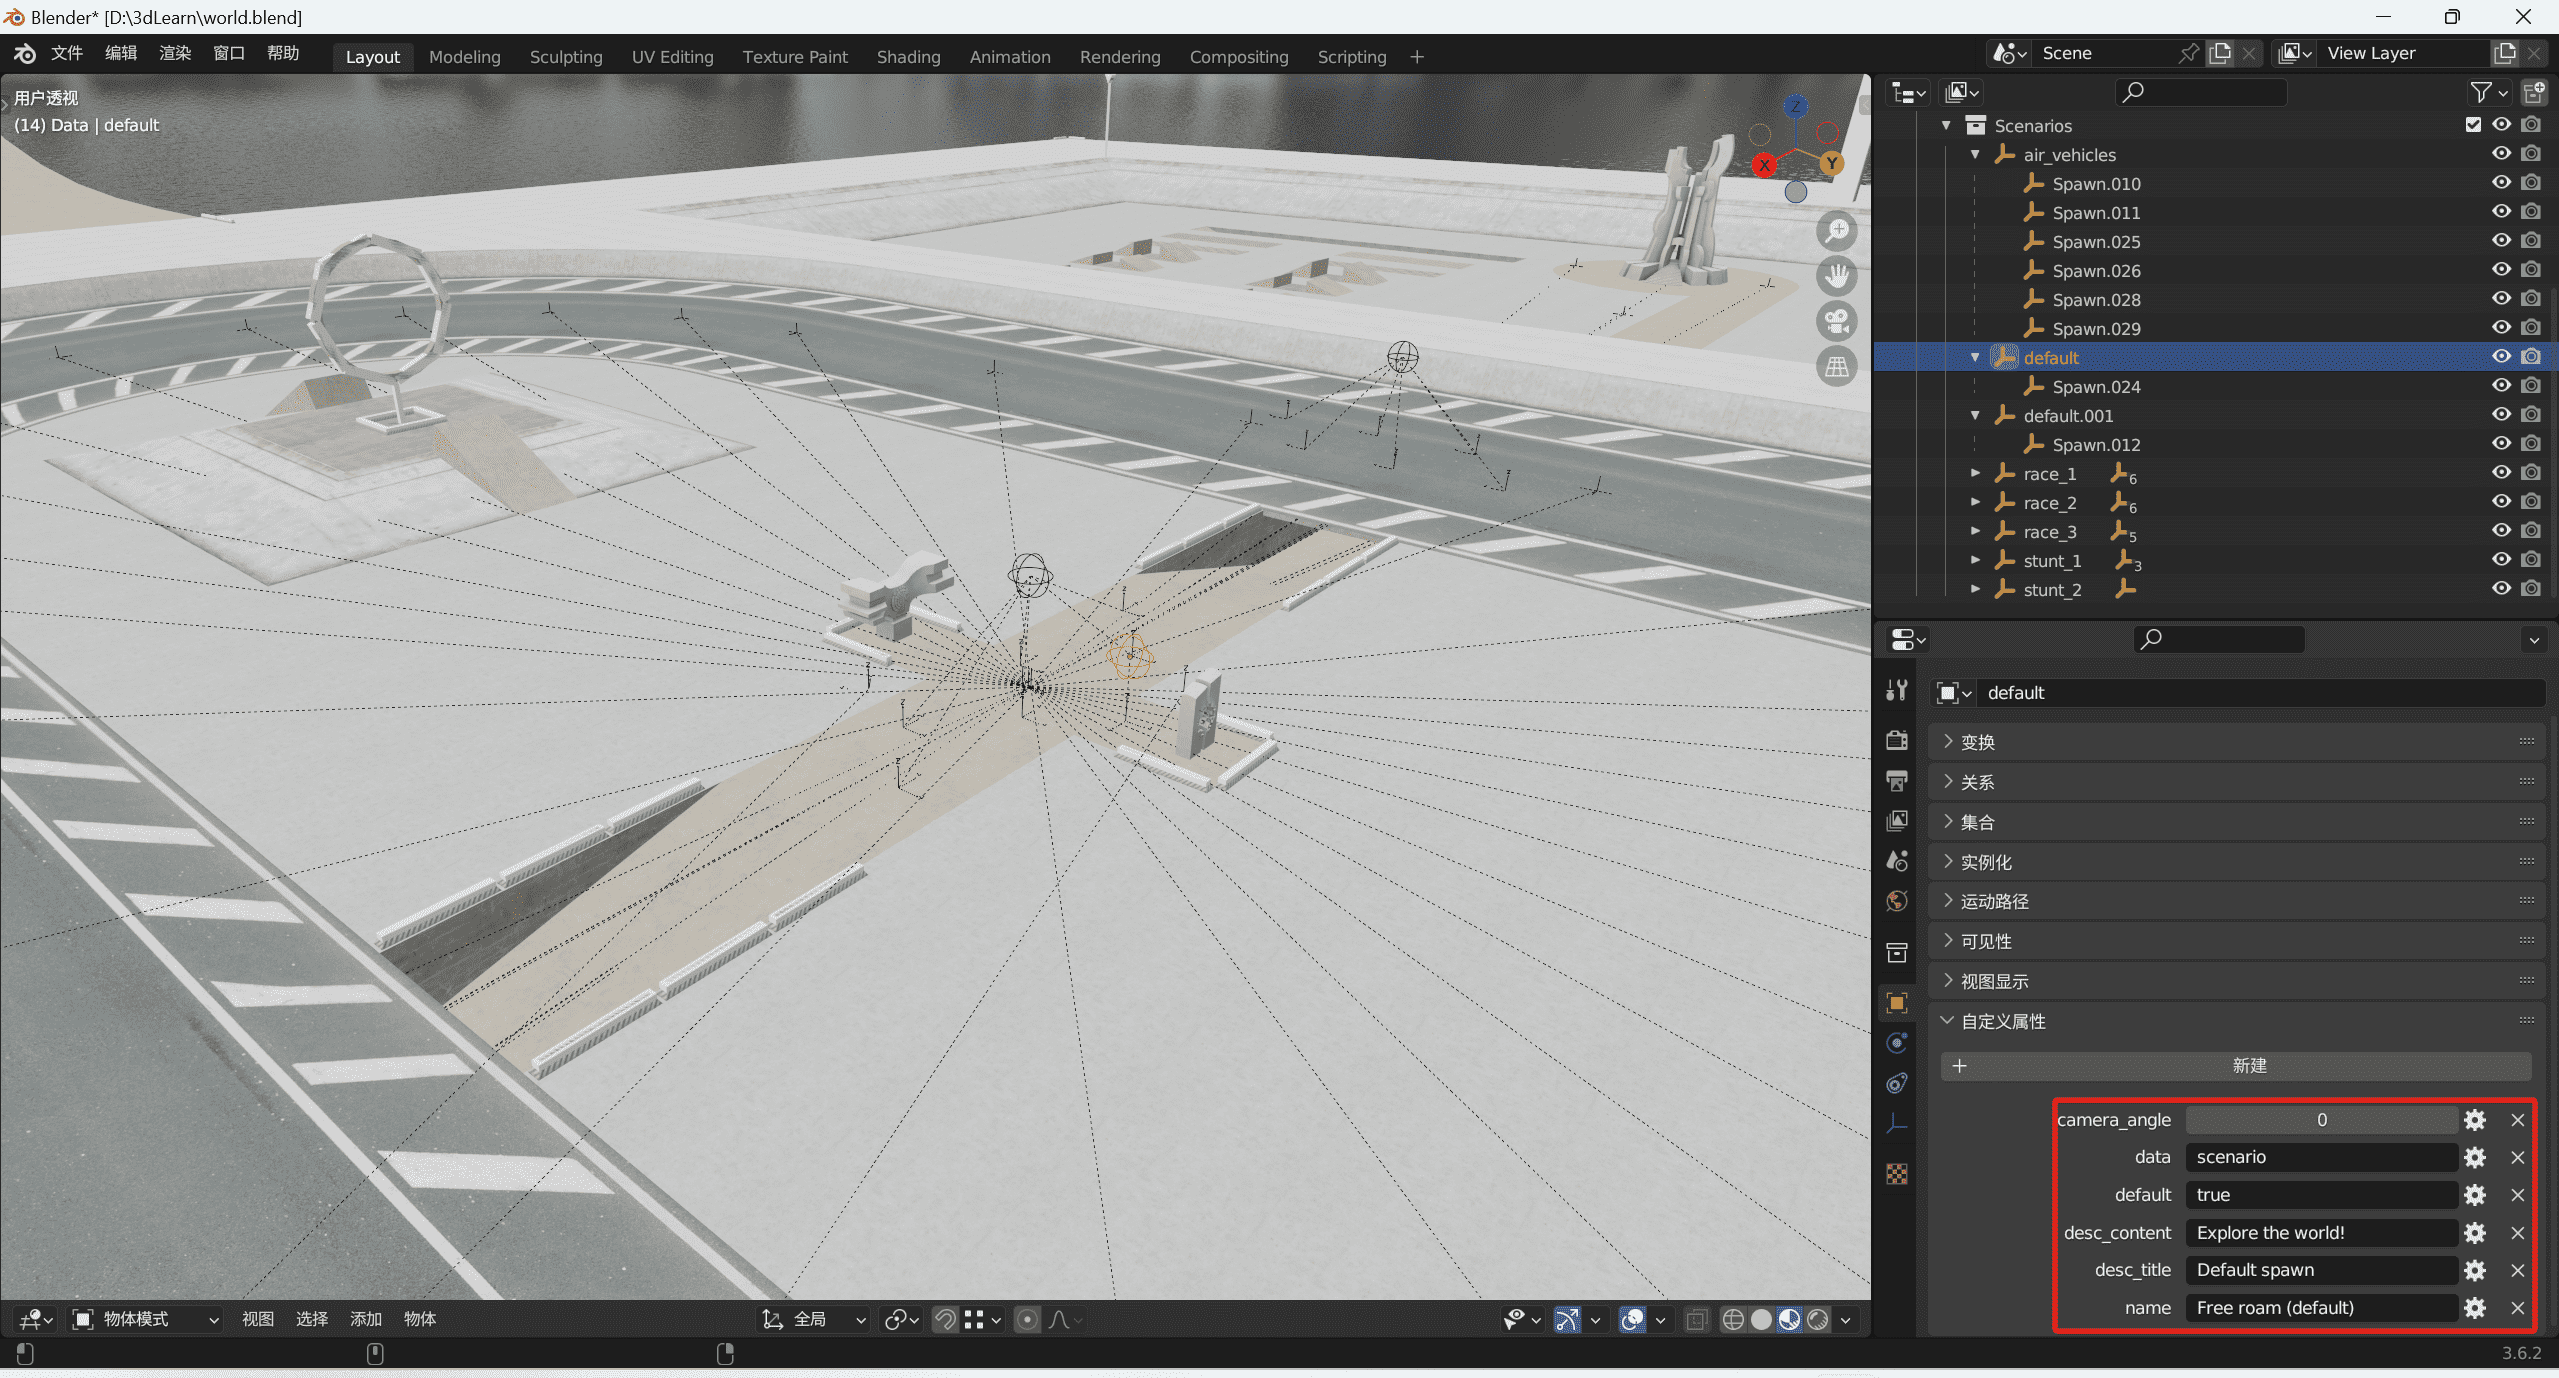
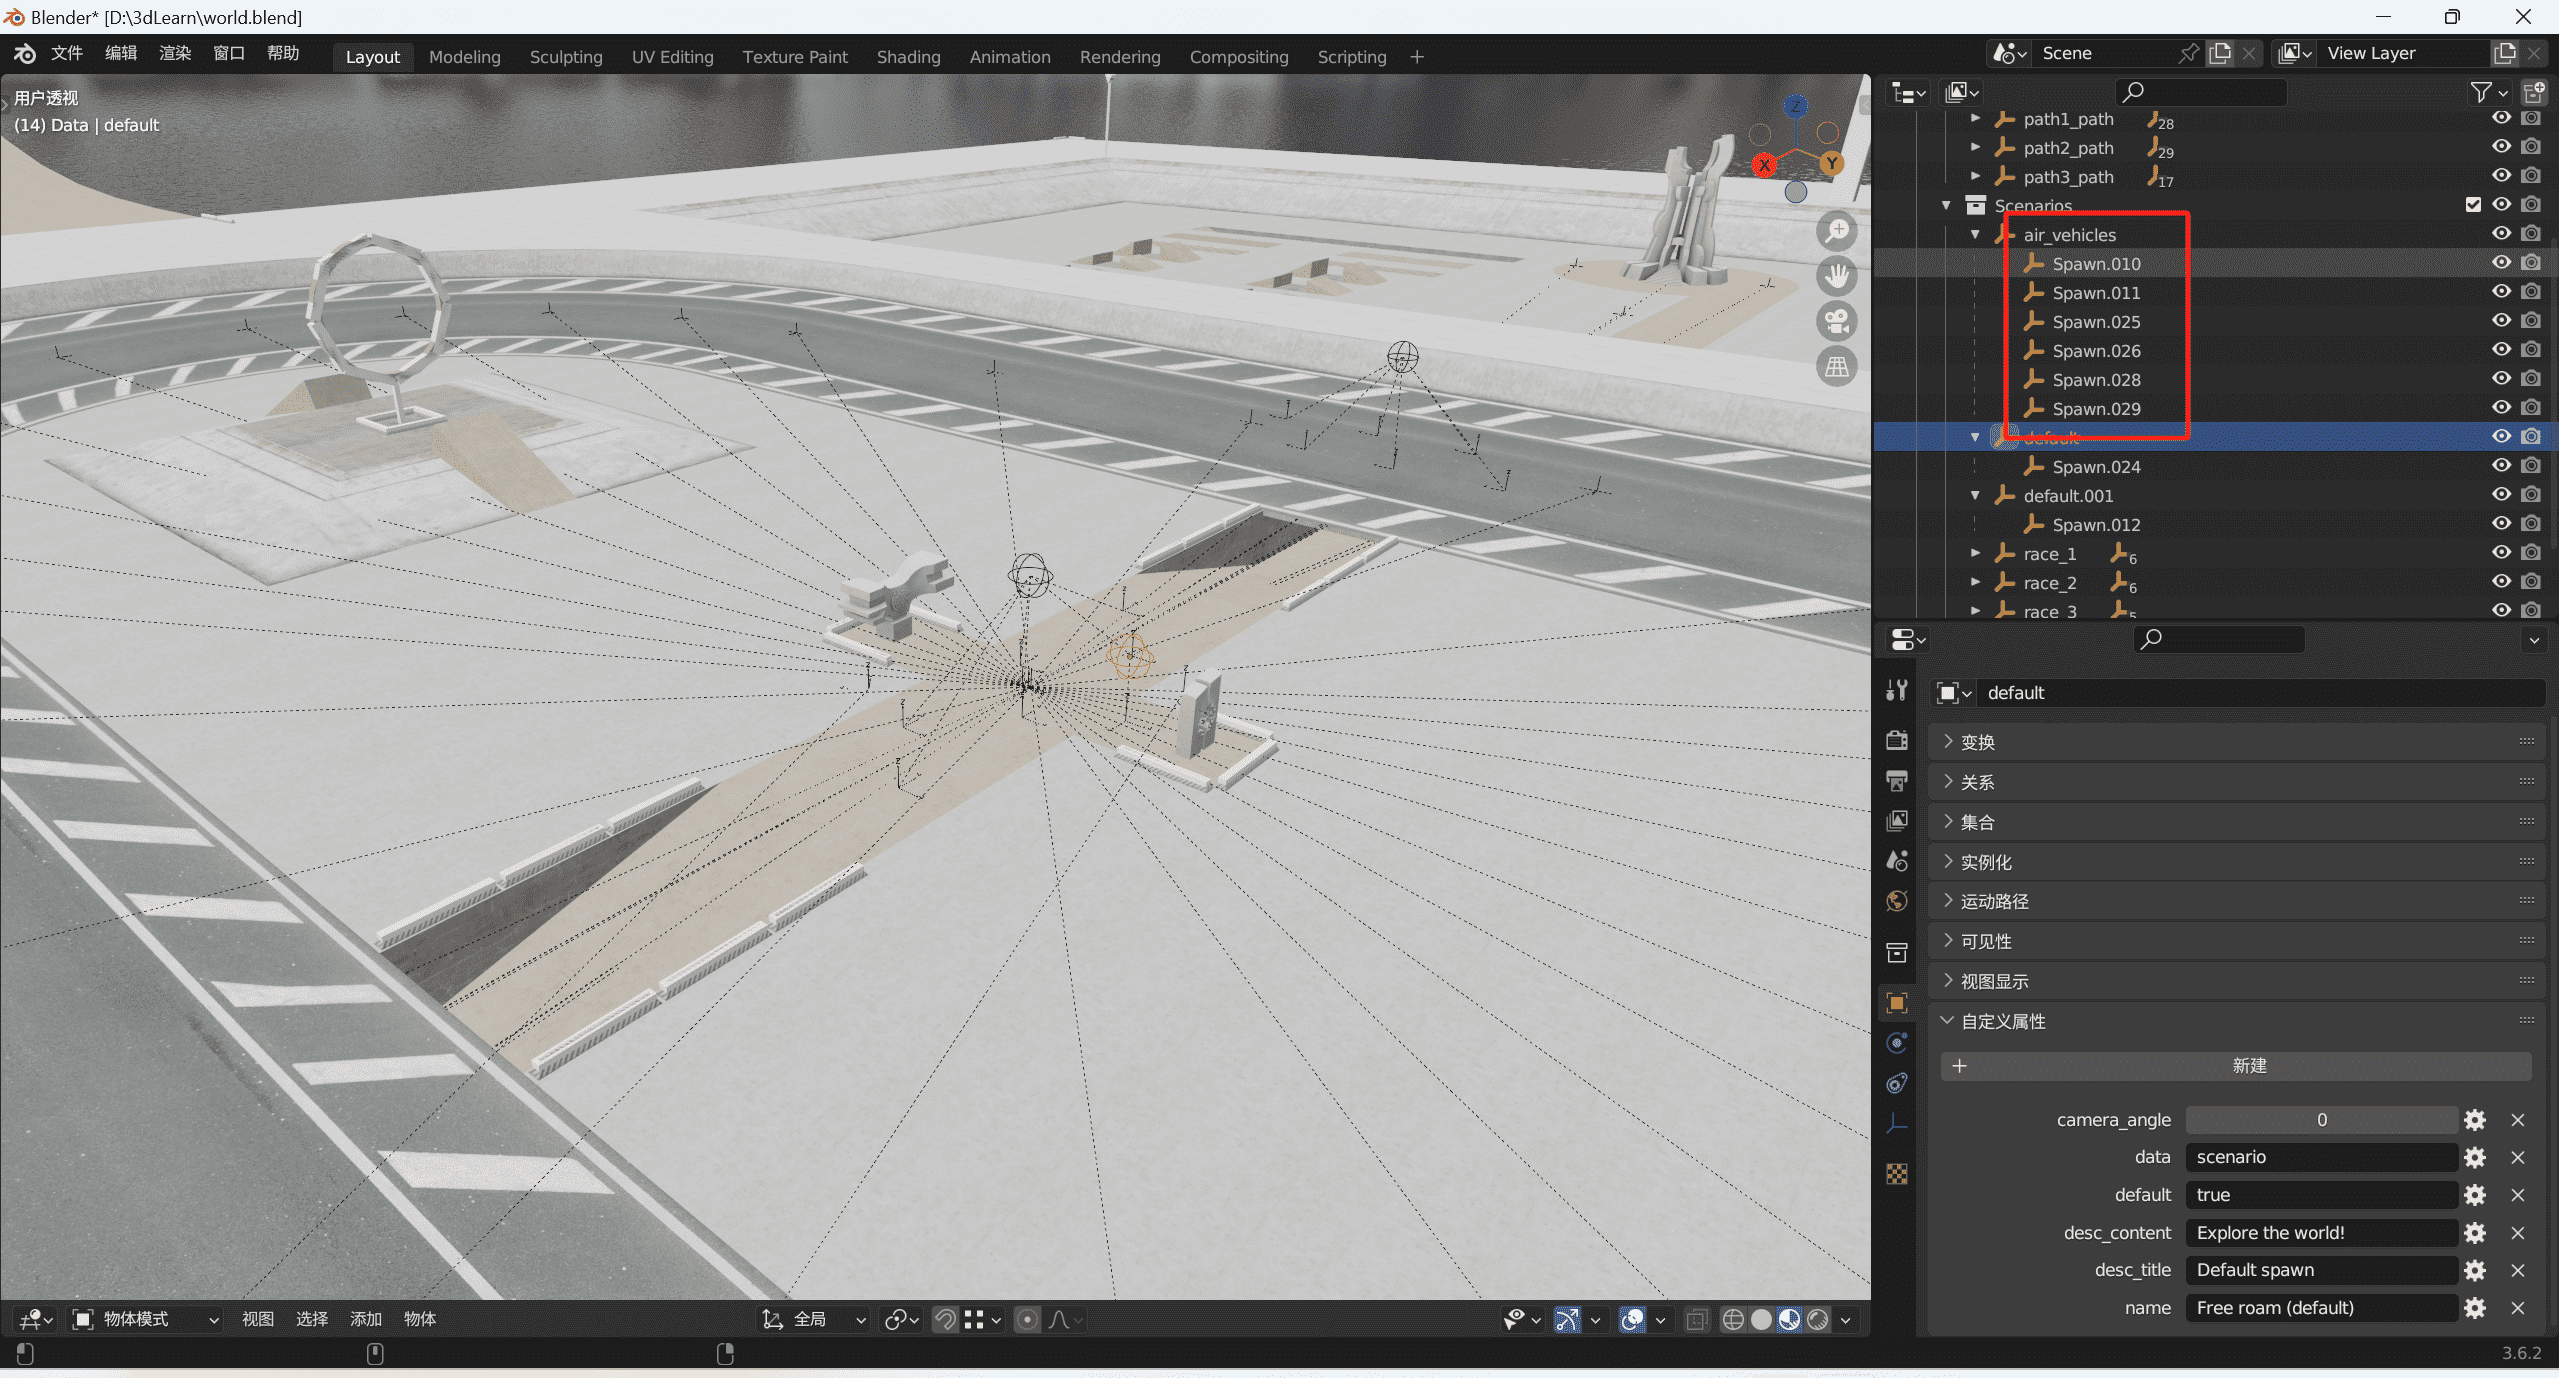
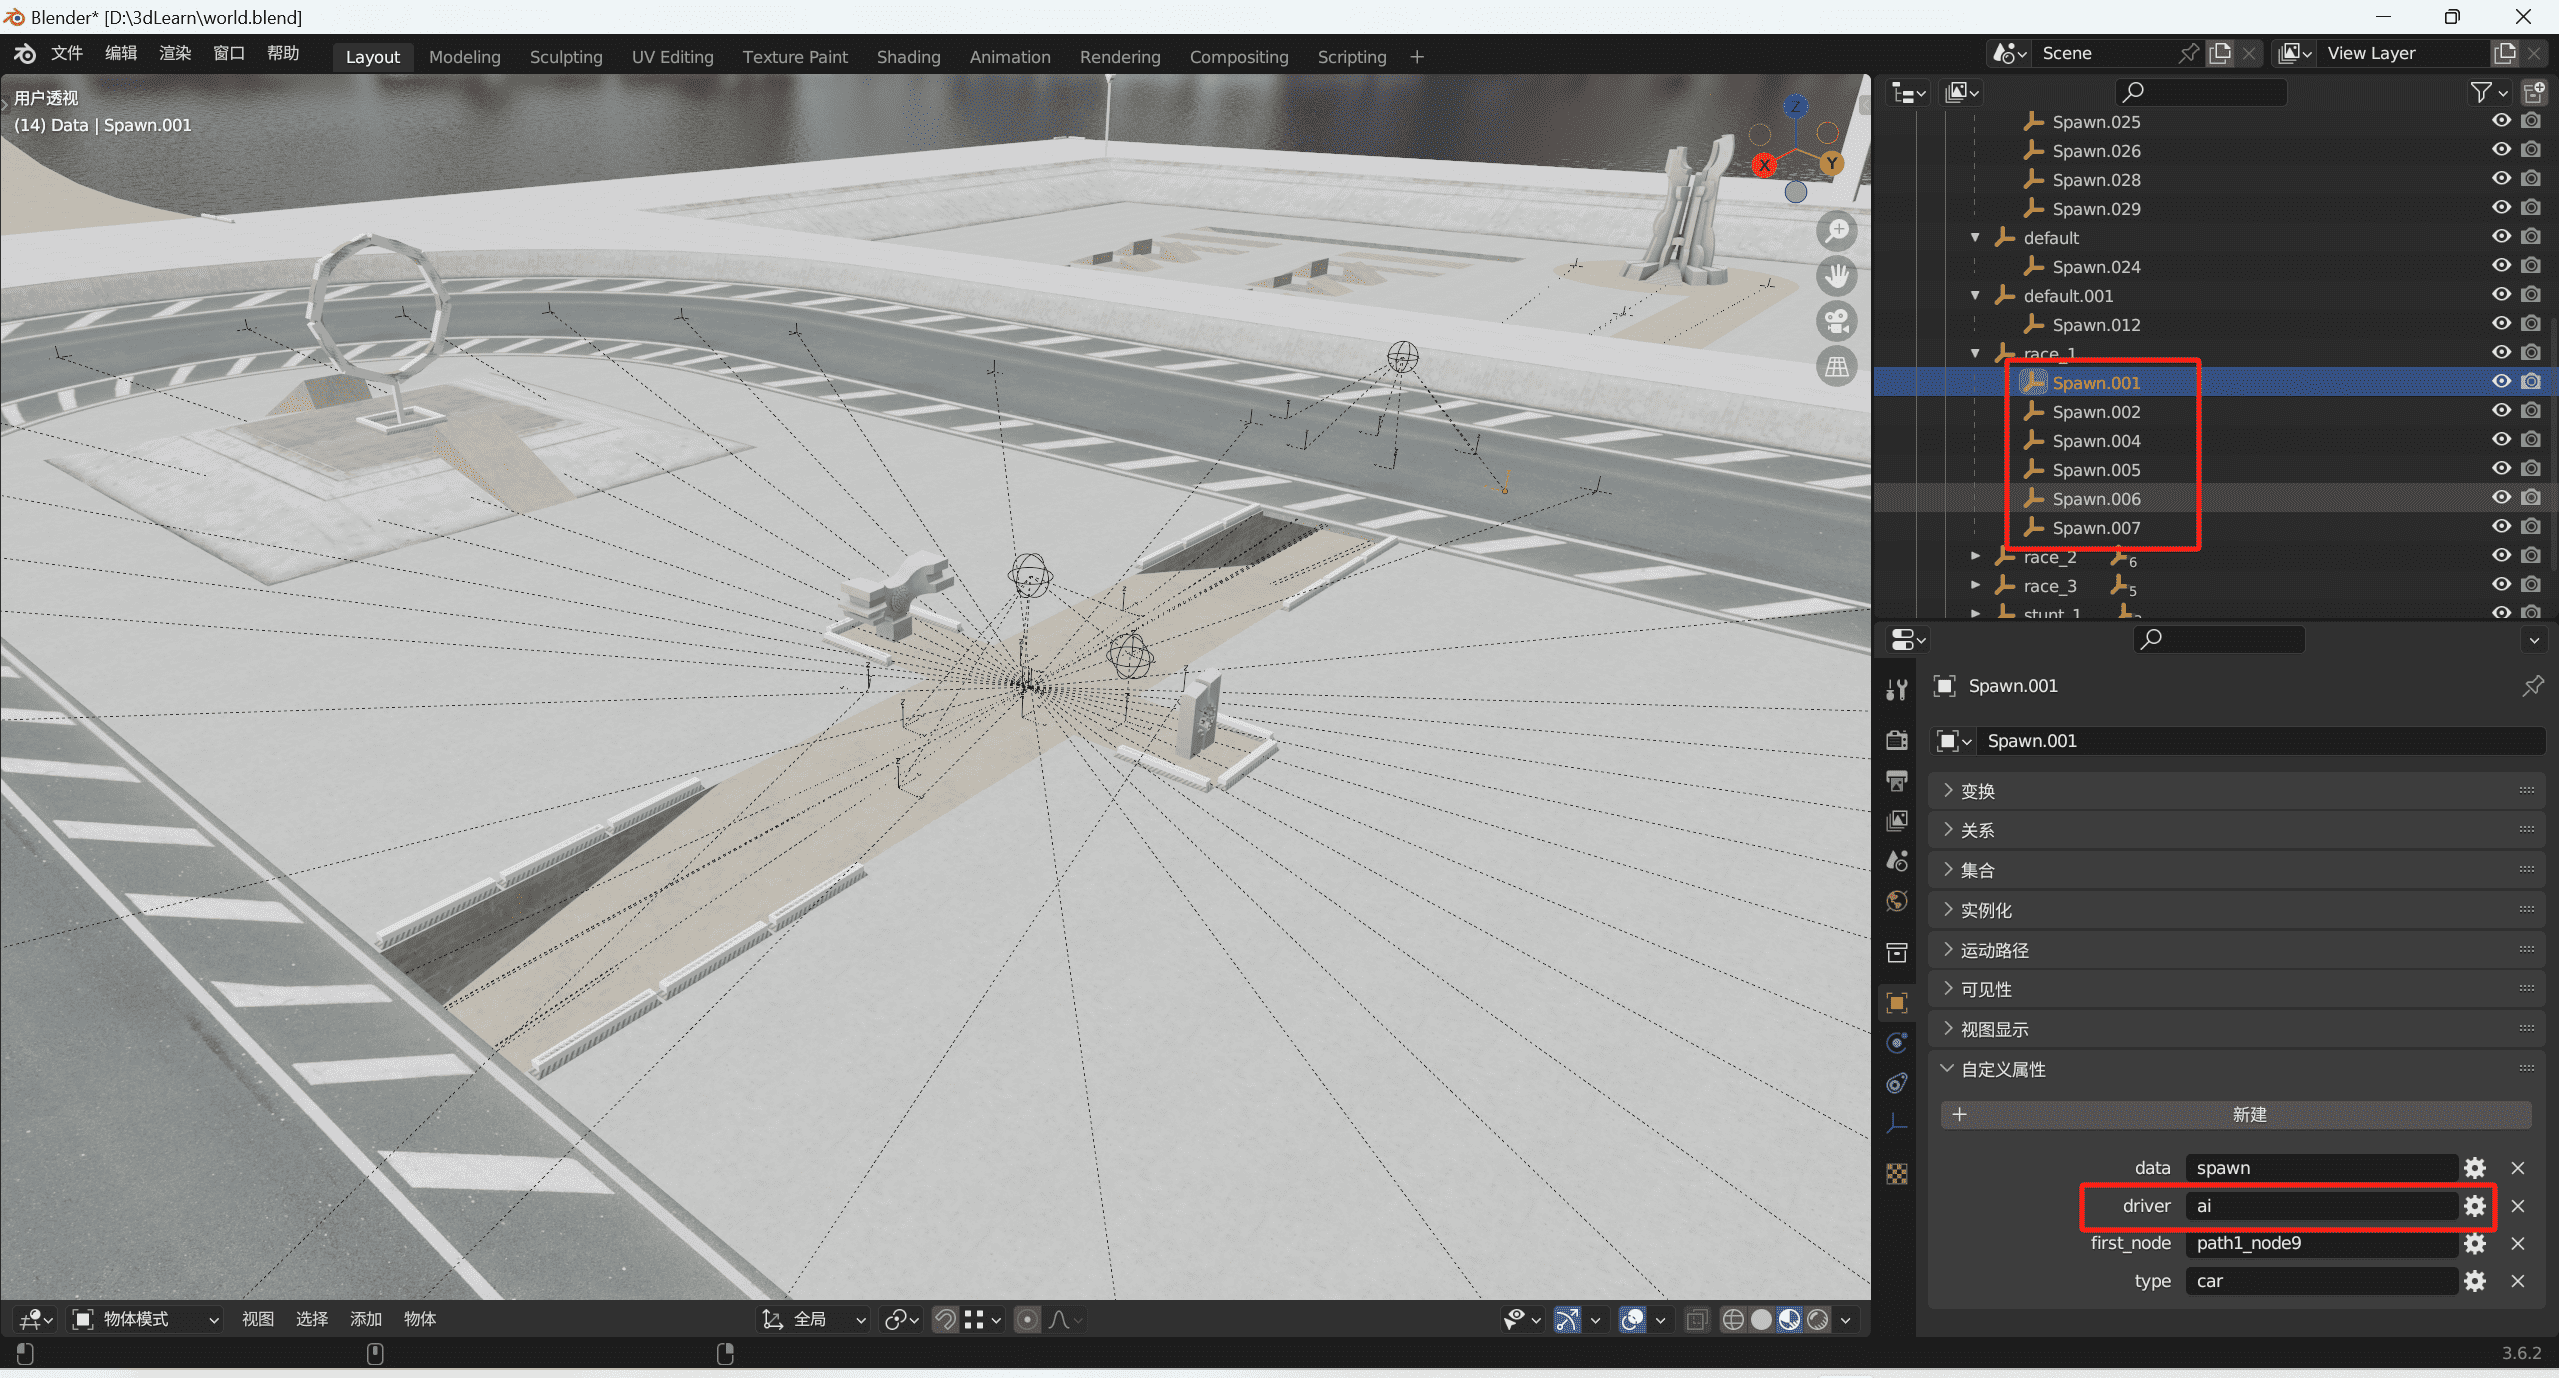
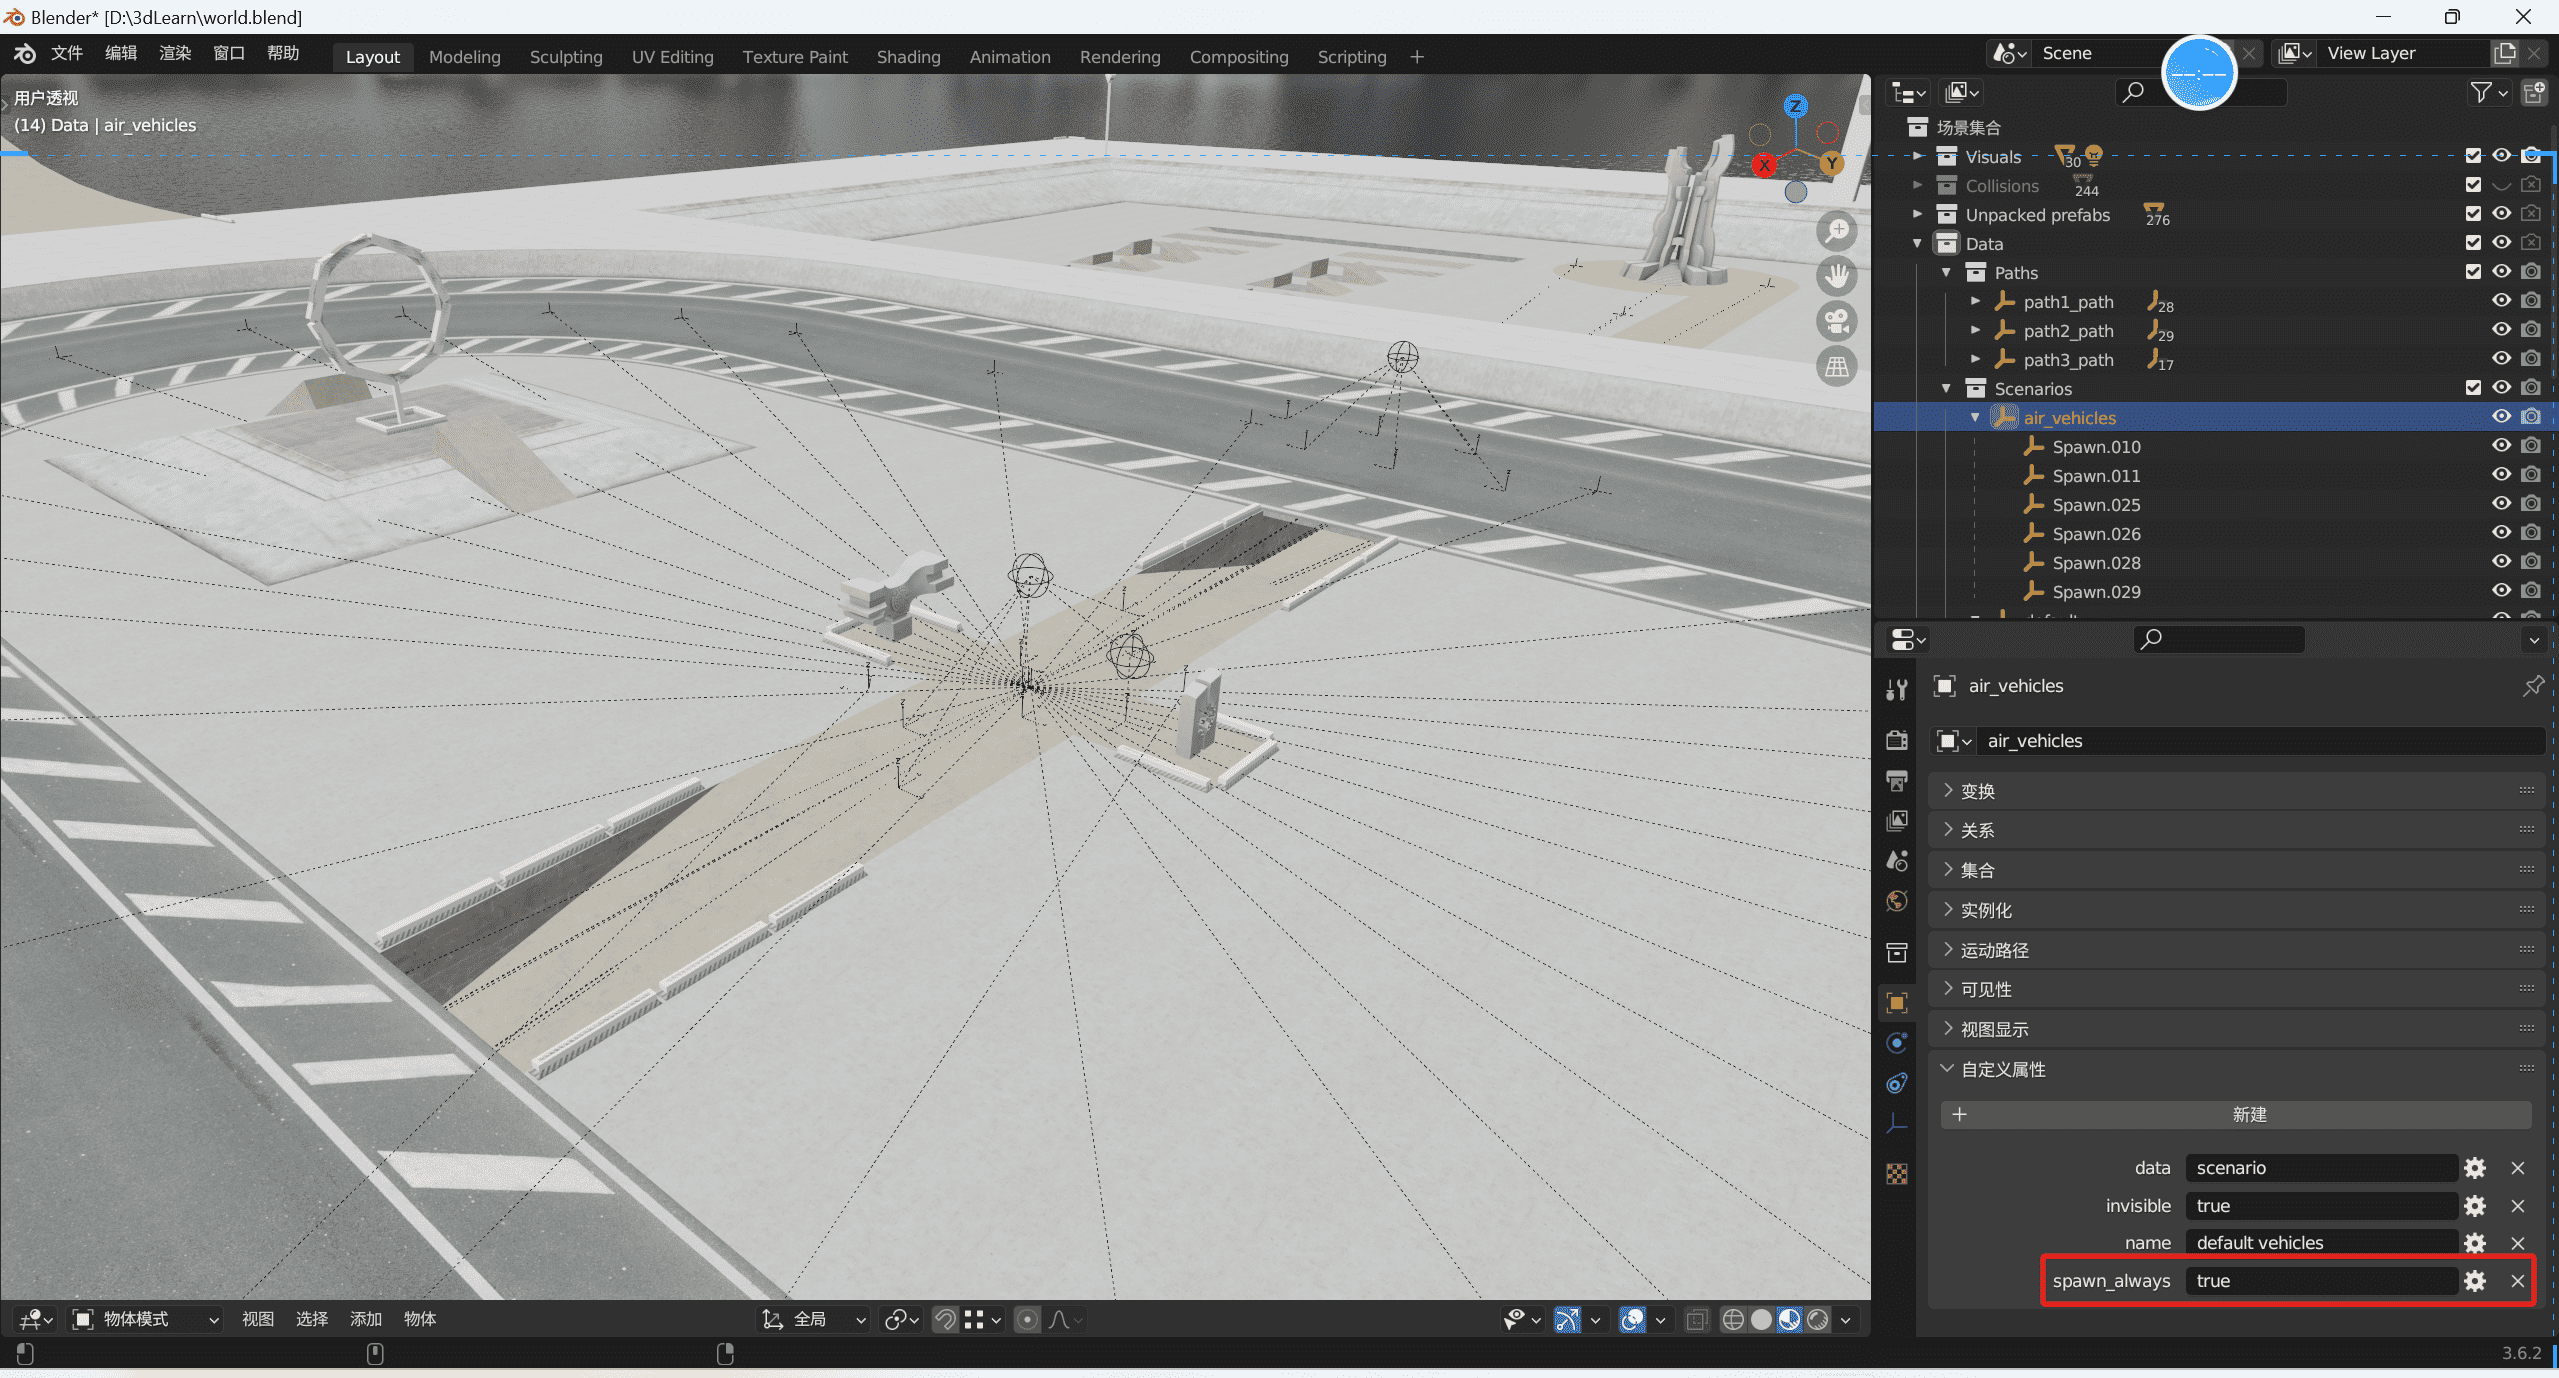
这段代码的意思就是我们遇到data是scenario的时候,就会把这个场景添加进来invisible就生成gui数据链接场景并在右边的gui那边显示,desc_title是有没有描述标题,desc_content是有没有描述内容,camera_angle则是相机角度,上面这些代码就相当于将我们模型中的自定义属性渲染到对应的场景对象中去car,airplane,heli这些交通工具就创建重生点,如果有这个type属性,就赋值进去,如果是驾驶员driver就赋值驾驶员,如果是ai操作的,就赋值ai节点
1 2 3 4 5 else if (child.userData .type === 'player' ){ let sp = new CharacterSpawnPoint (child); this .spawnPoints .push (sp); }
这段代码的意思就是如果是我们玩家的话就将这个角色创建出来,然后将这个角色添加到我们的场景中去
然后就是这段代码
1 2 3 4 5 6 7 8 9 if (!this .invisible ) this .createLaunchLink ();public createLaunchLink (): void { this .world .params [this .name ] = () => { this .world .launchScenario (this .id ); }; this .world .scenarioGUIFolder .add (this .world .params , this .name ); }
当invisible为false的时候就会创建一个场景的链接,这个链接就是我们右边的GUI,我们可以通过这个GUI来控制我们的场景
Your browser does not support the video tag.
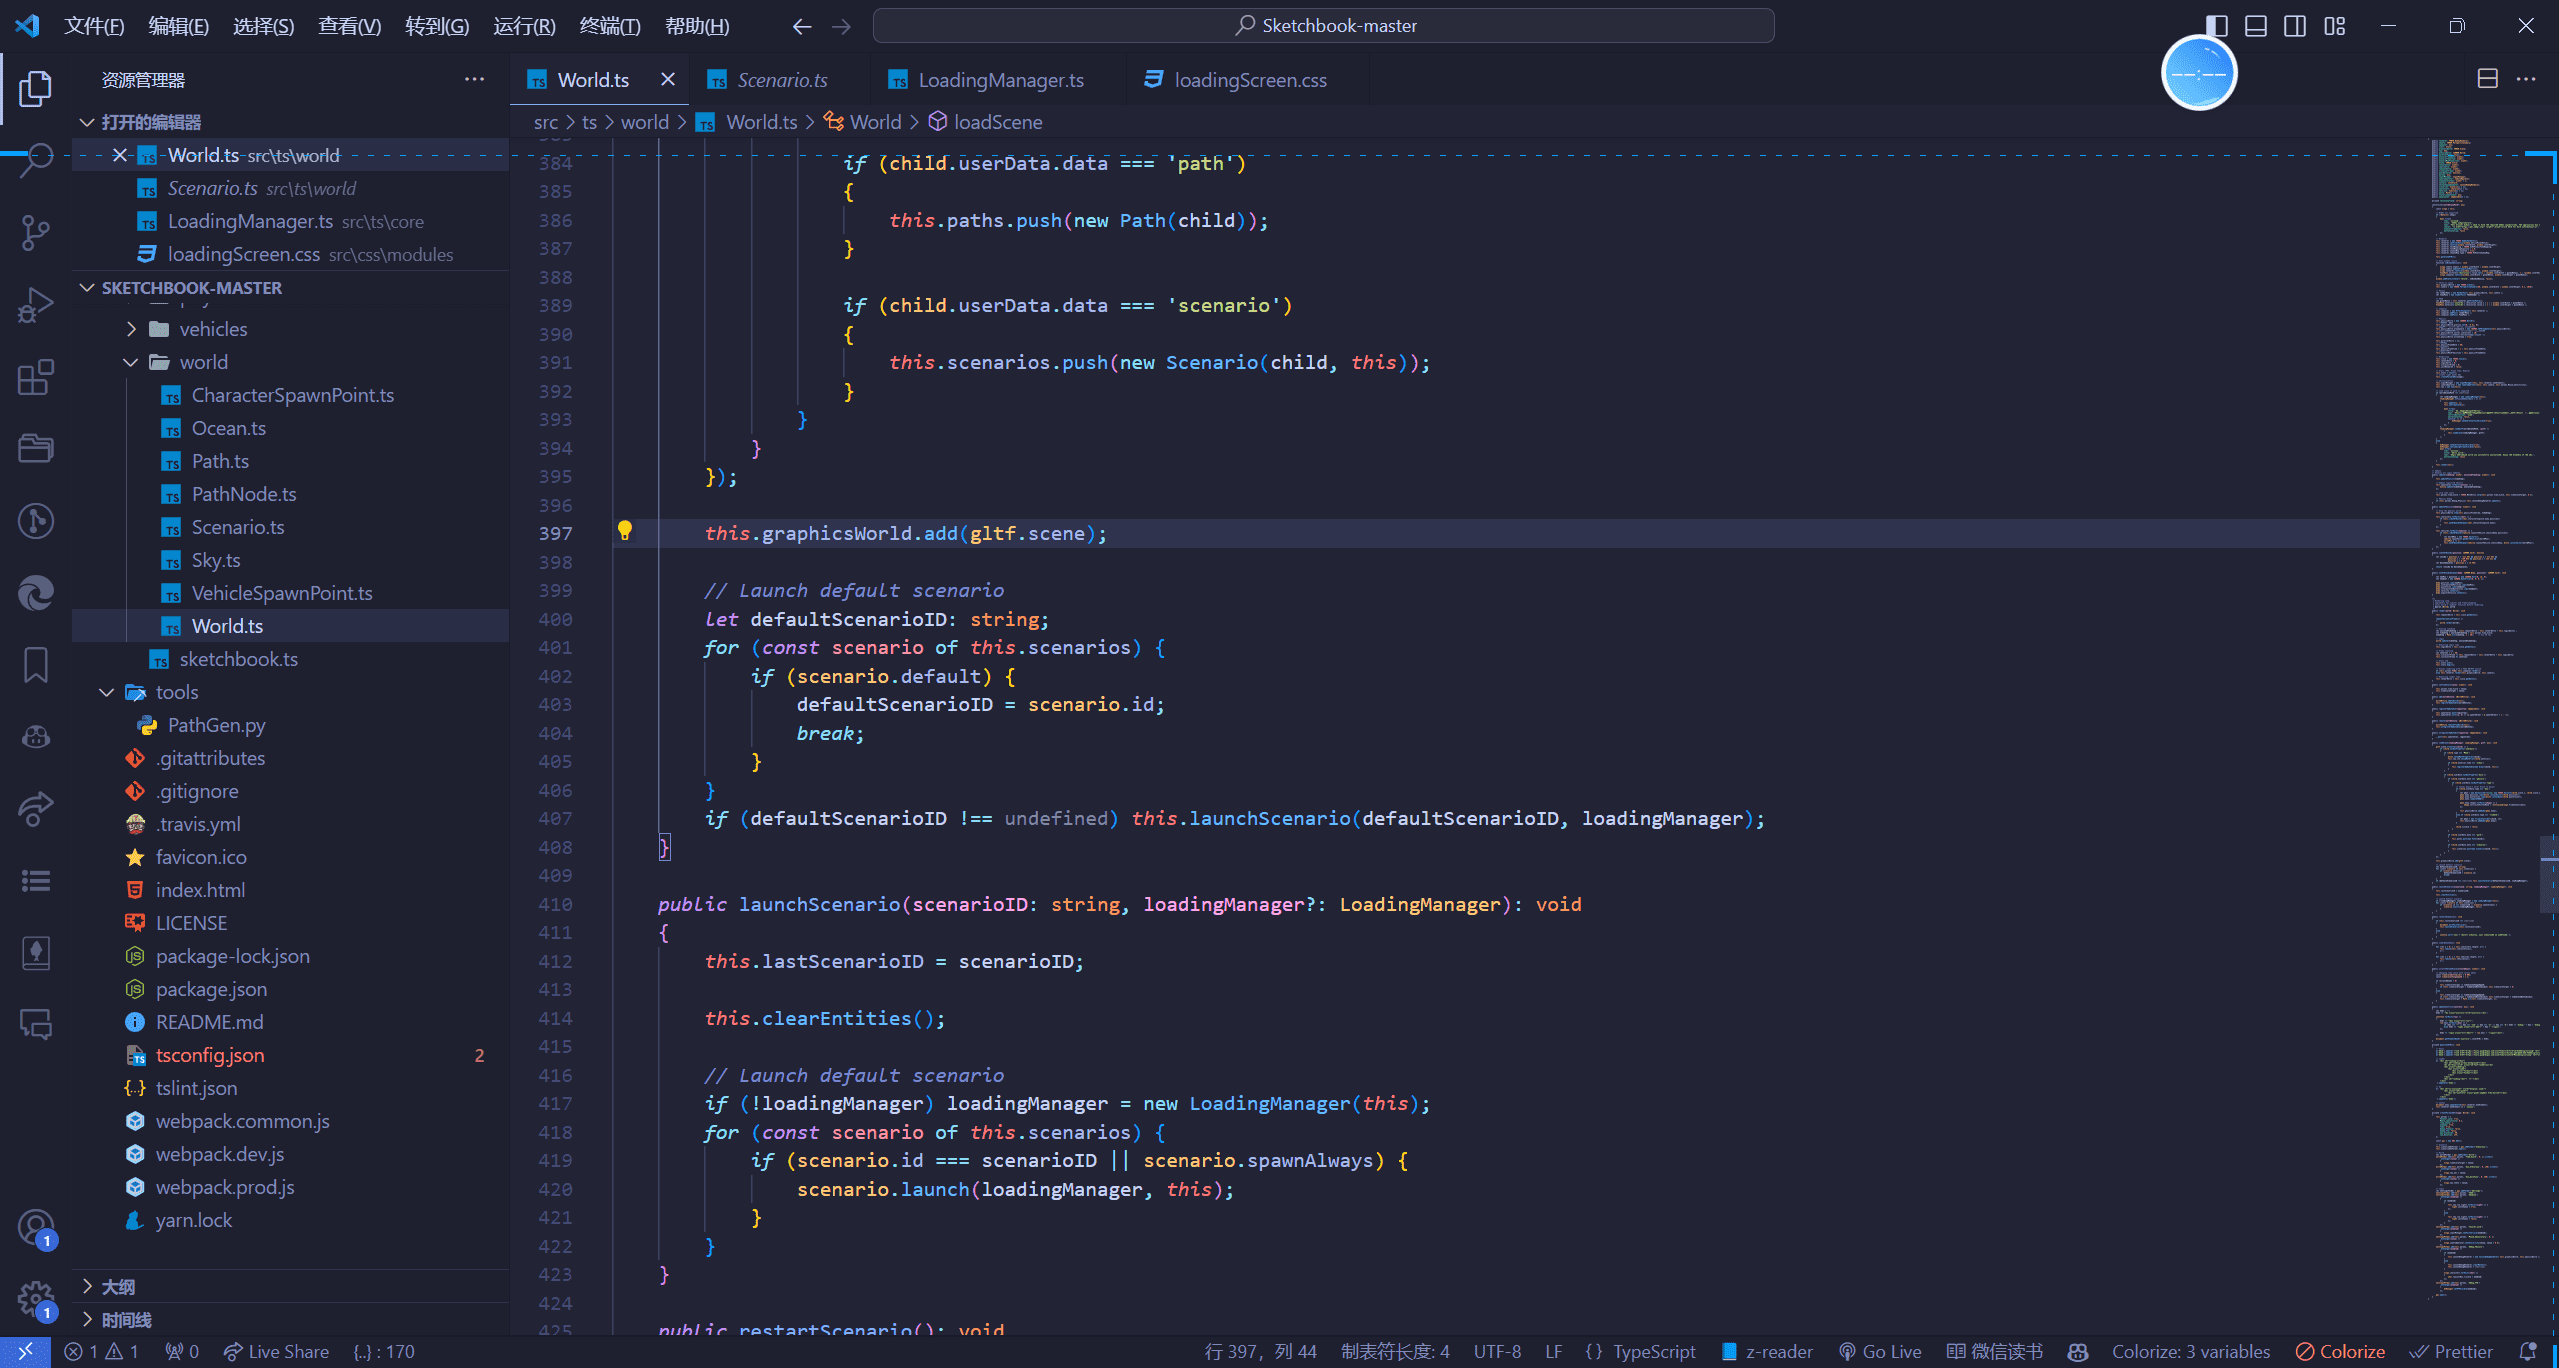
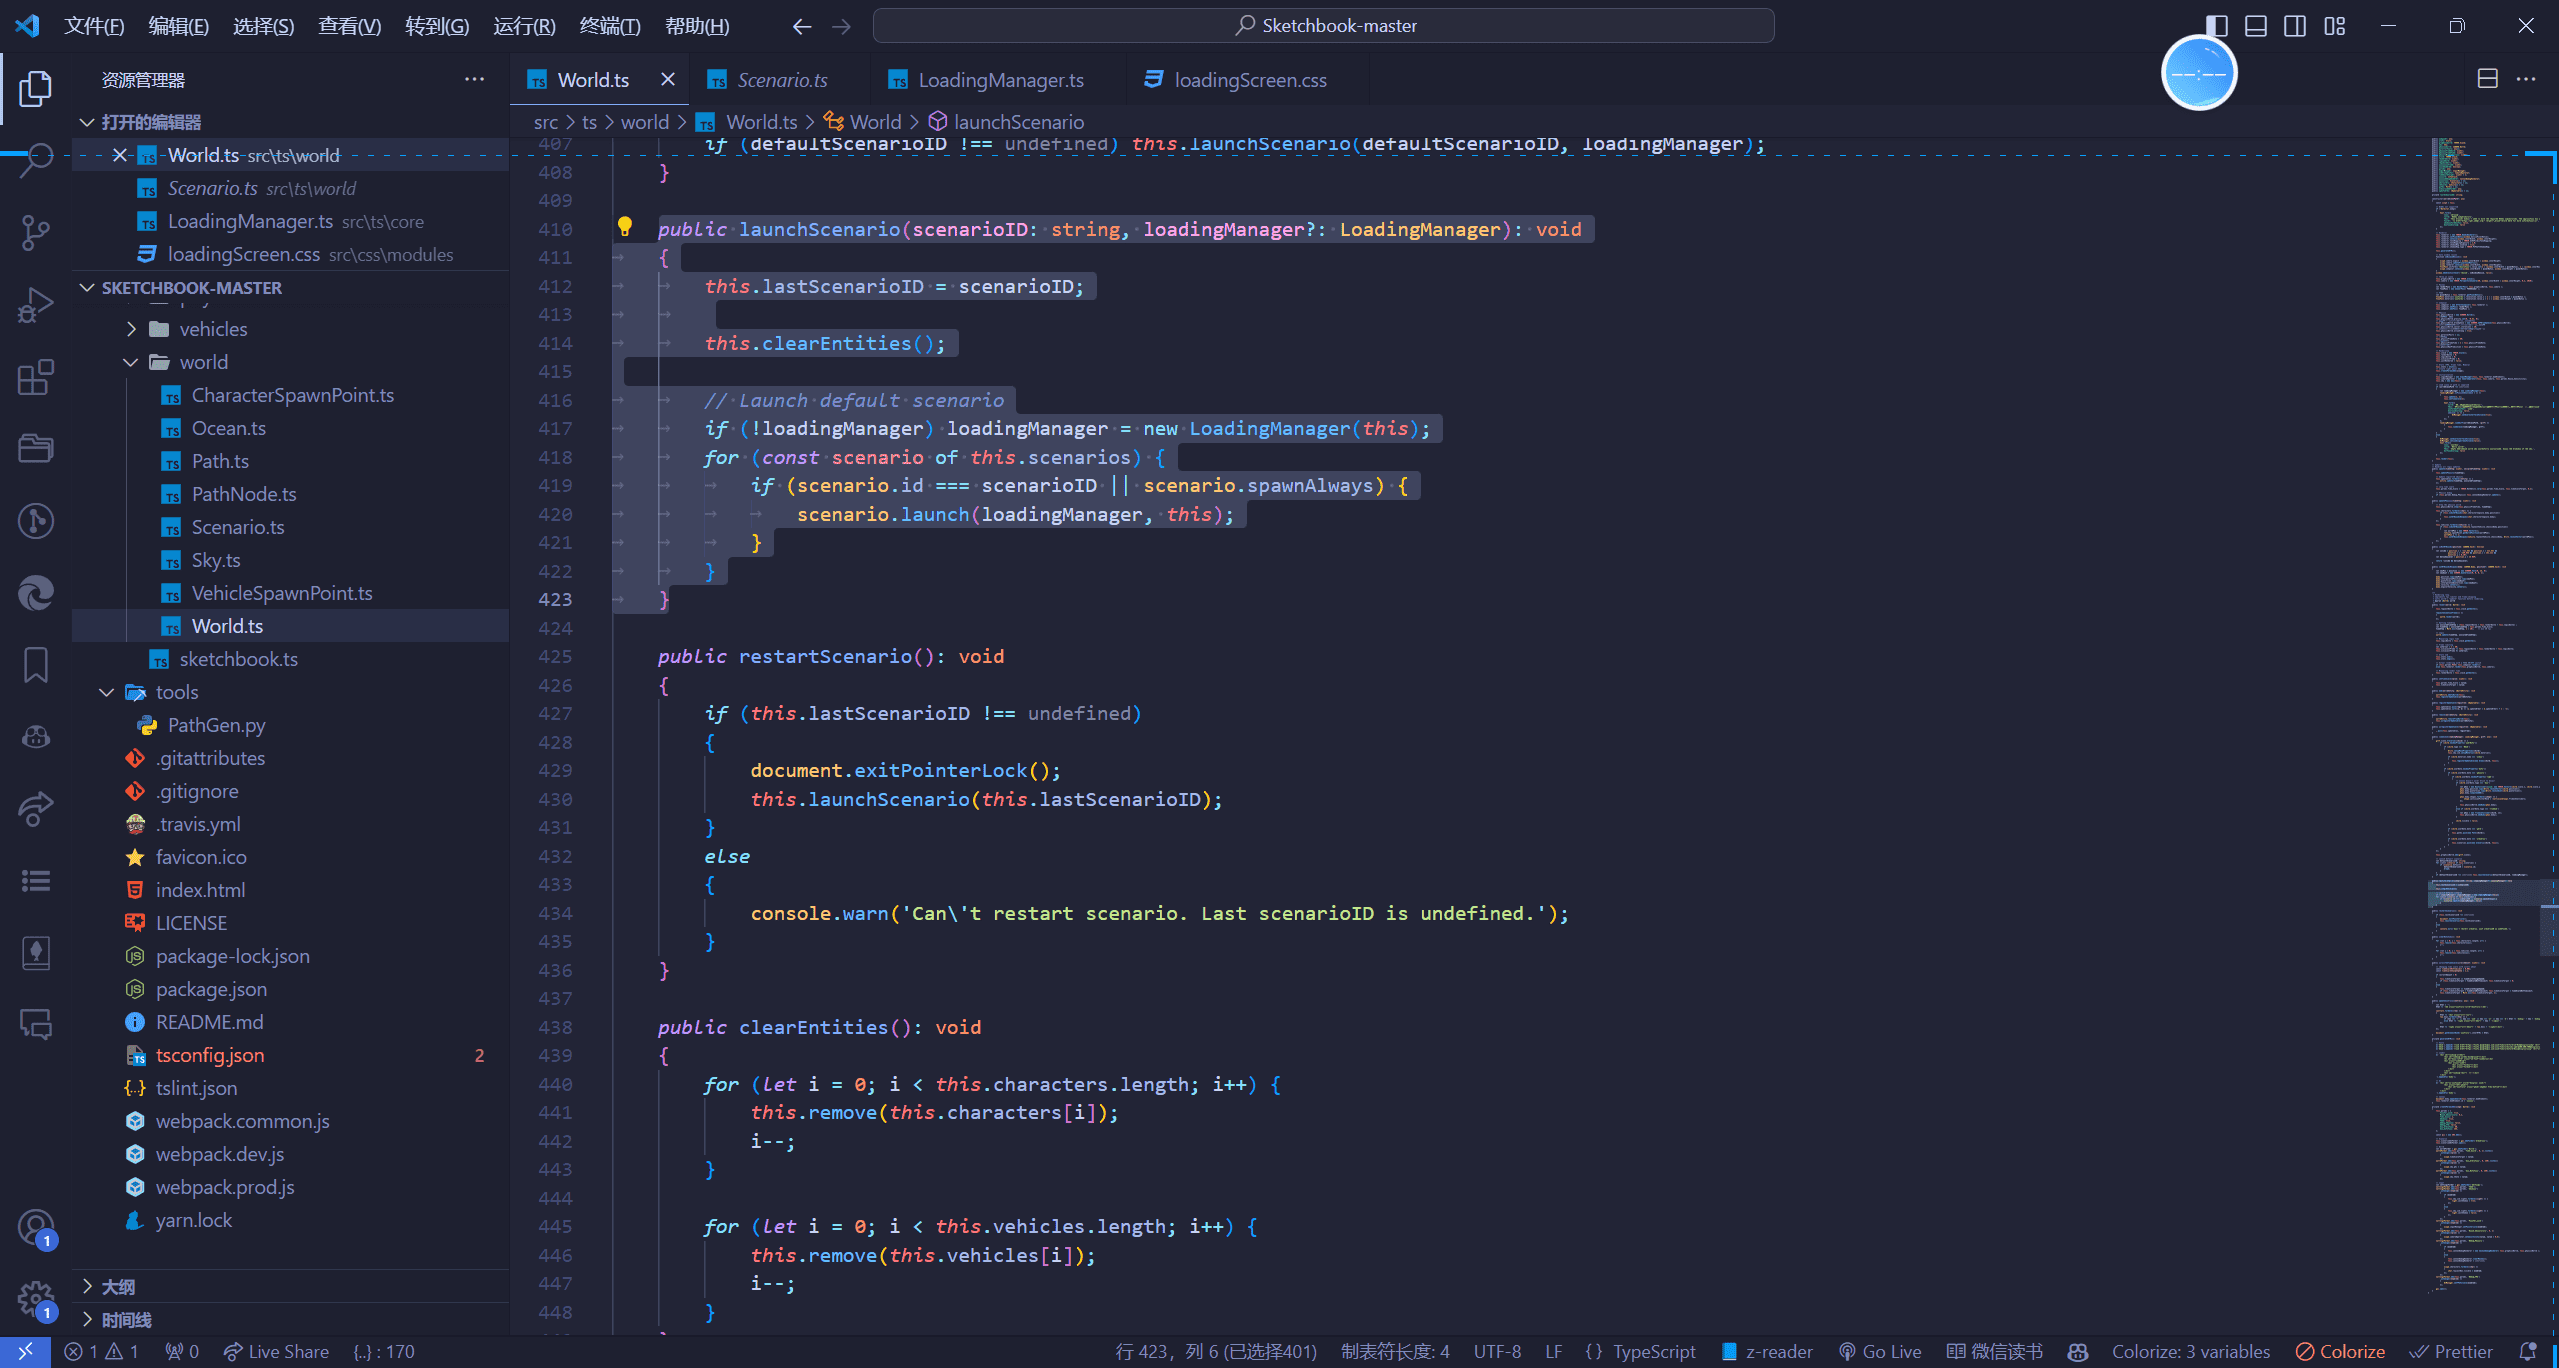
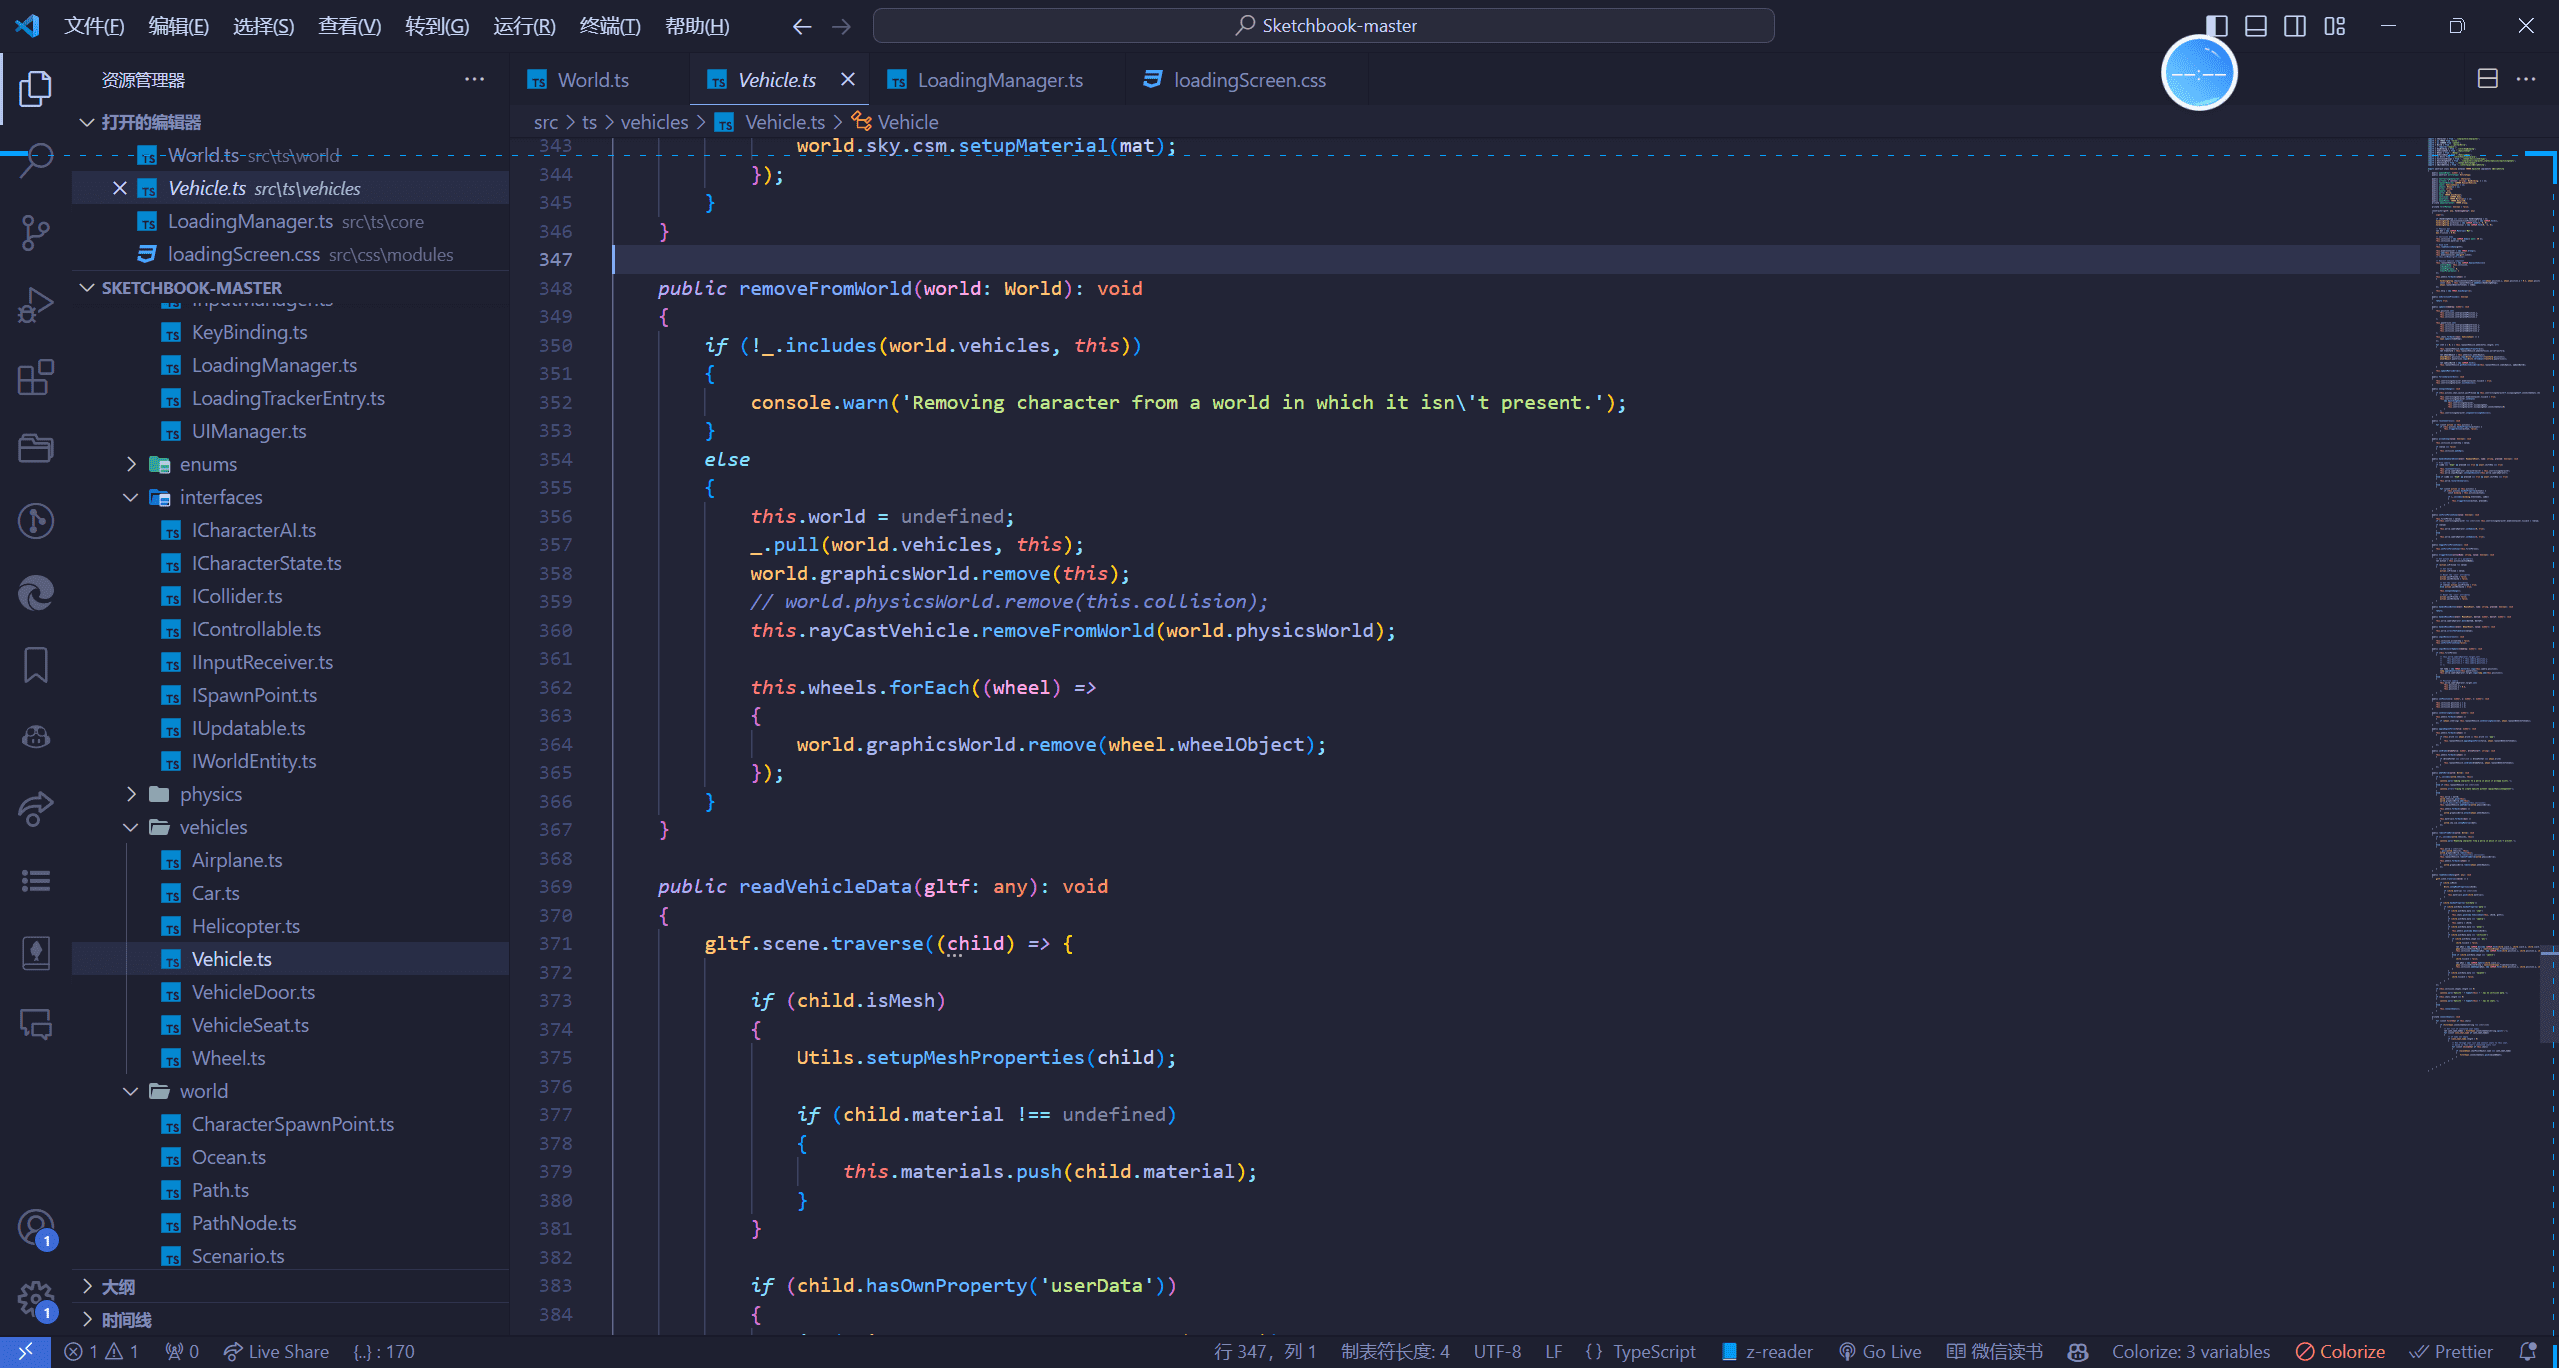
加载默认场景和重生交通工具 加载默认场景 launchScenario方法加载,这里面先调用this.clearEntities()清除了实体,clearEntities方法中,我们通过remove方法移除了所有的characters角色,vehicles车辆。而这个remove方法中的代码是这样的
1 2 worldEntity.removeFromWorld (this ); this .unregisterUpdatable (worldEntity);
这俩行代码就是通过注册表来移除我们的实体launchScenario方法,移除完实体之后,loadingManage加载管理器重新载入场景
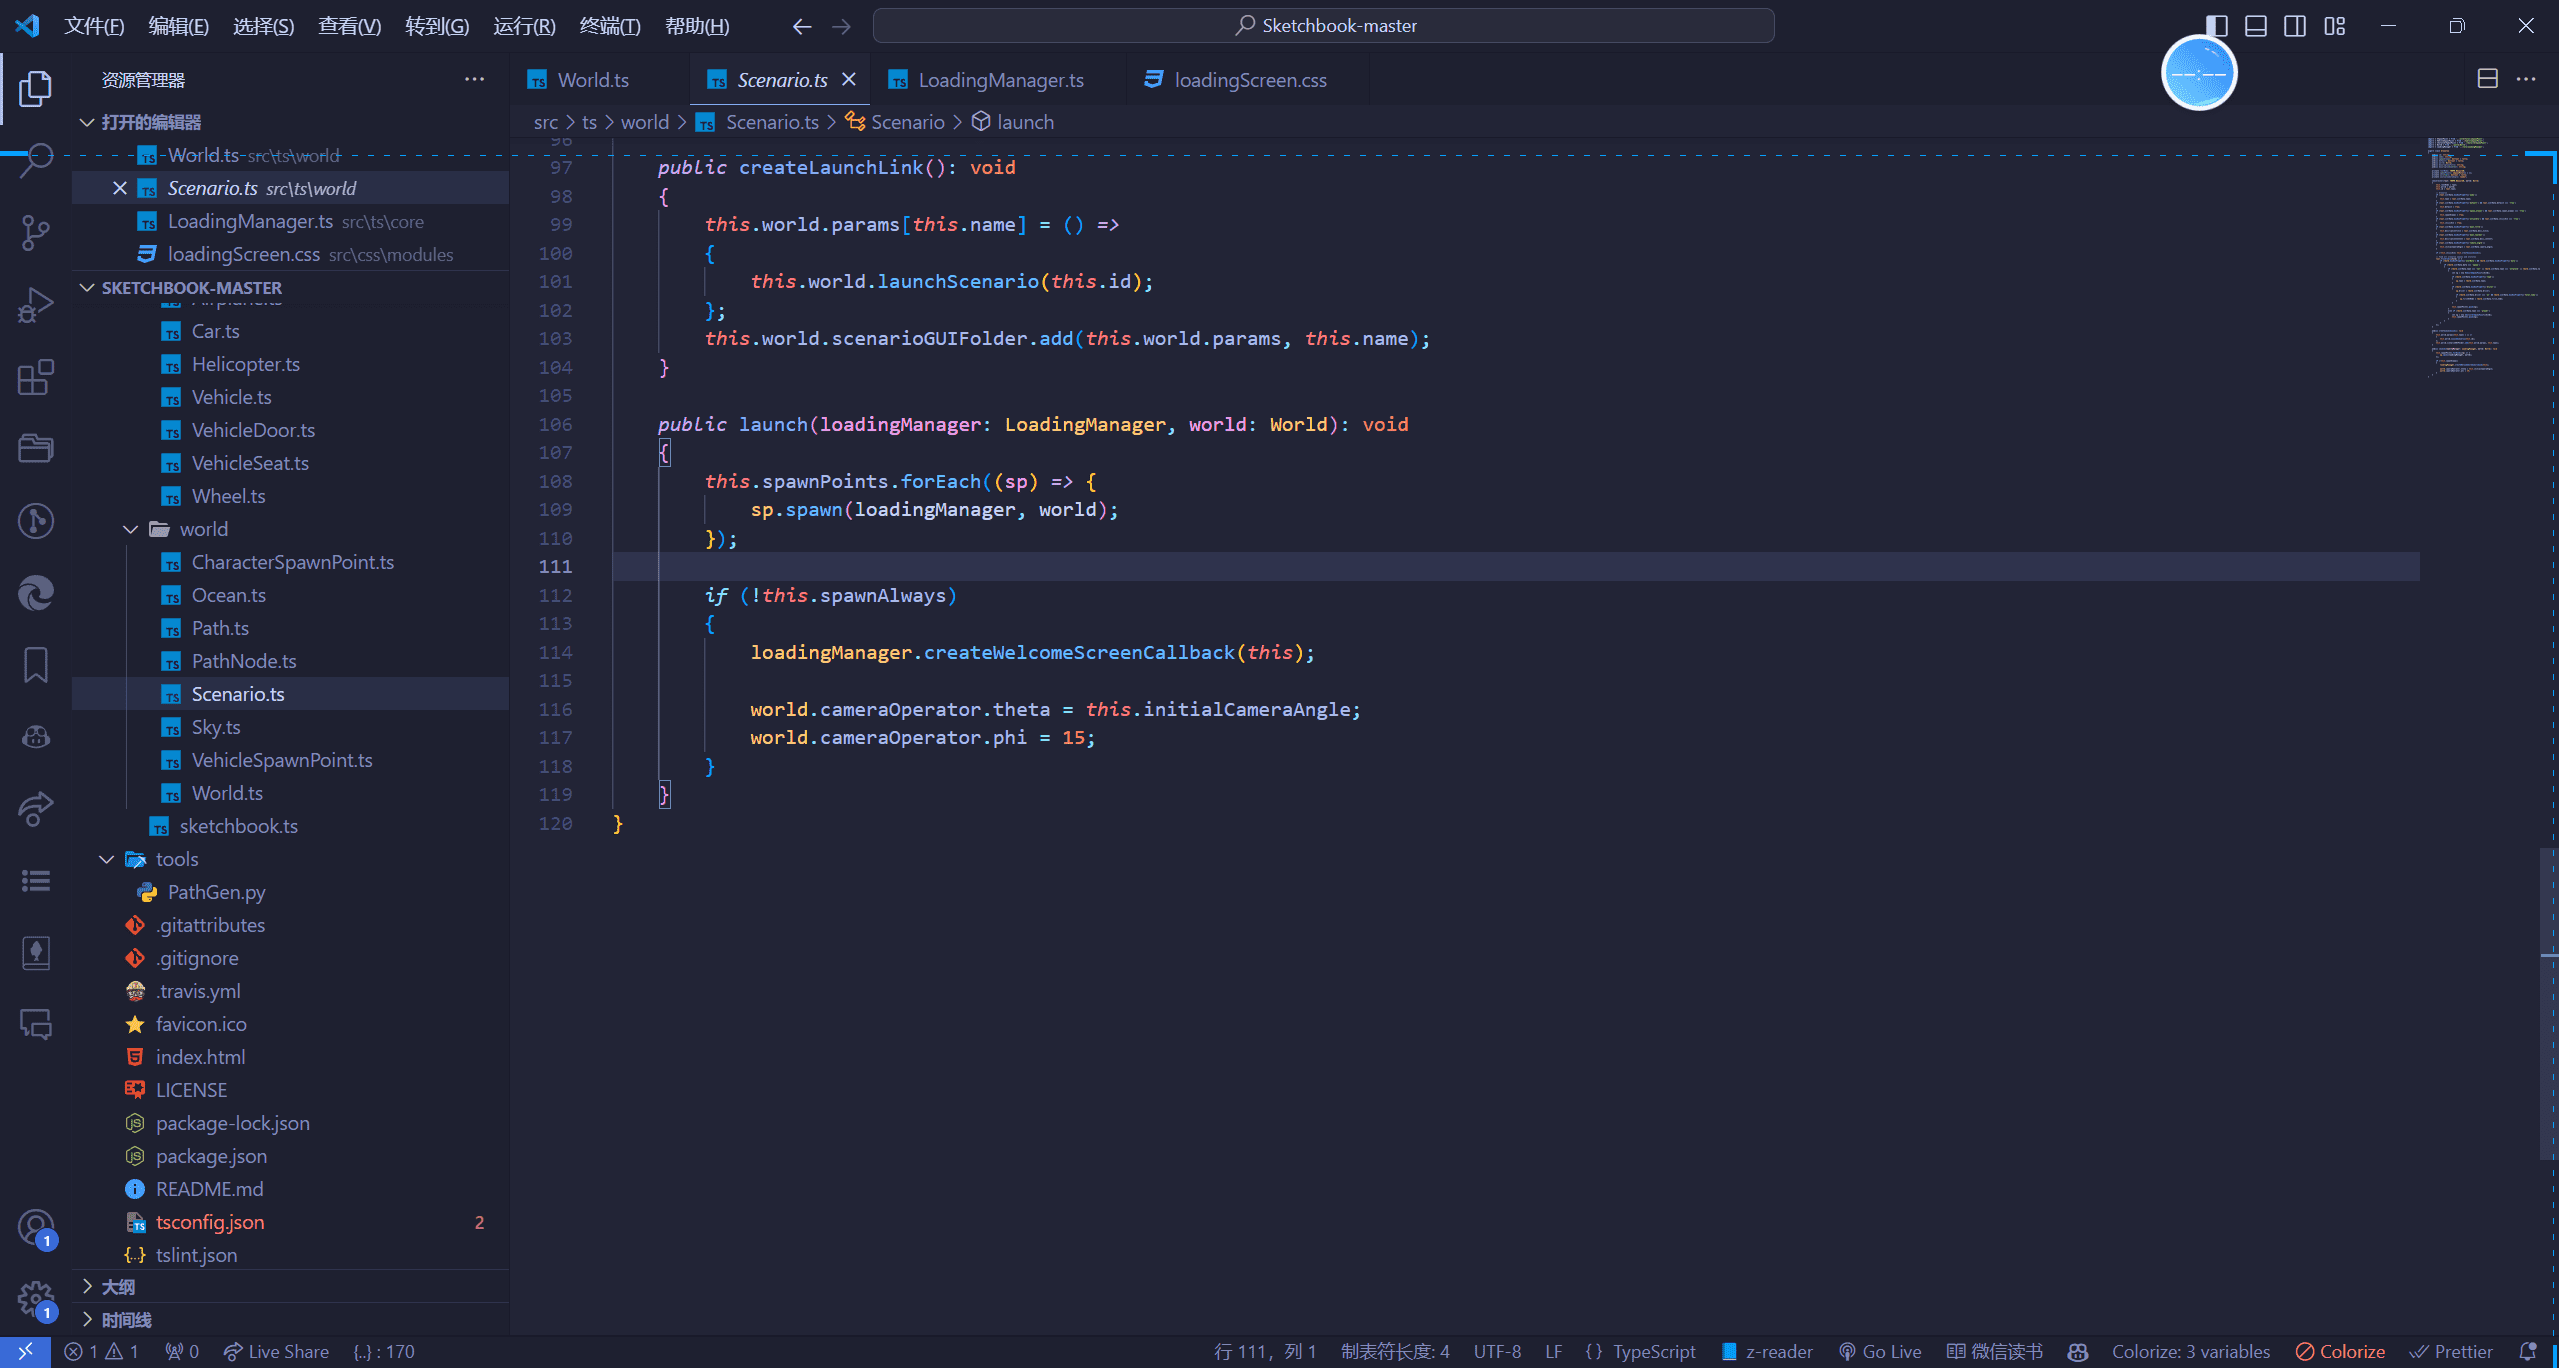
重生交通工具 1 2 3 4 5 for (const scenario of this .scenarios ) { if (scenario.id === scenarioID || scenario.spawnAlways ) { scenario.launch (loadingManager, this ); } }
然后这段代码,我们将当前场景和需要总是重生的交通工具进行加载
我们的launch方法就会被调用,我们来看看这个方法
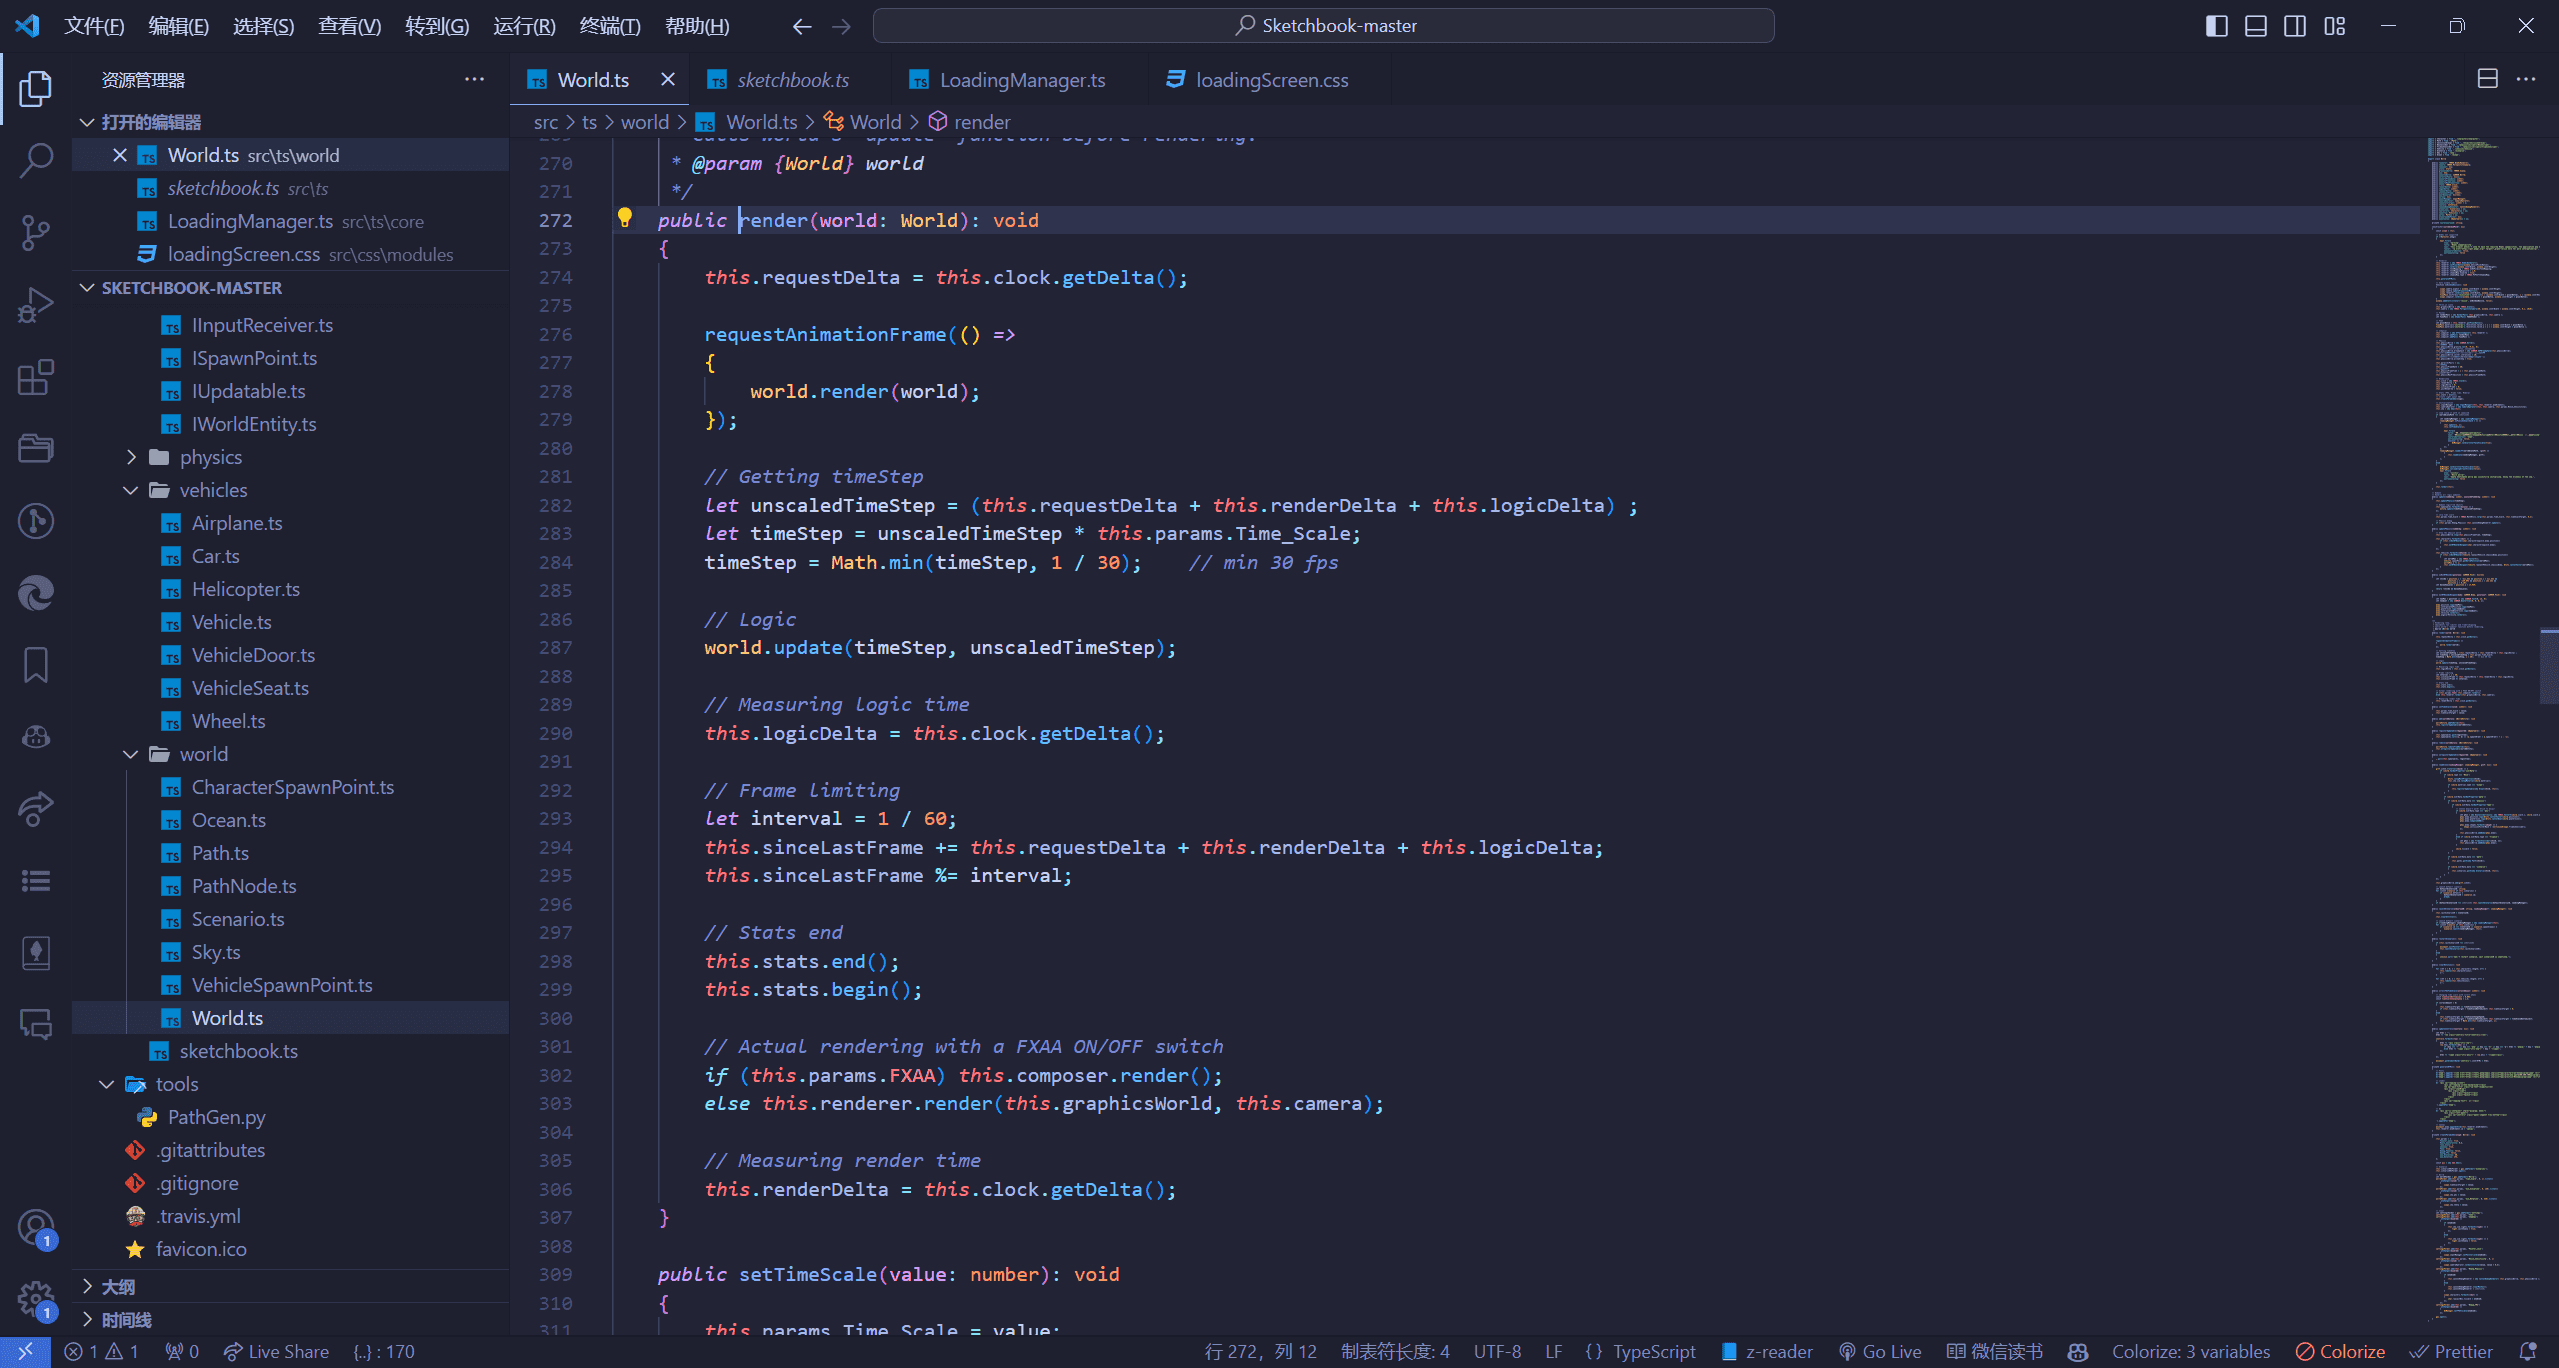
场景渲染的执行流程 这里就是我们之前做的循环渲染函数
不成比例时间步长 这里有个核心的逻辑:
1 2 3 4 5 6 7 let unscaledTimeStep = (this .requestDelta + this .renderDelta + this .logicDelta ) ;let timeStep = unscaledTimeStep * this .params .Time_Scale ;timeStep = Math .min (timeStep, 1 / 30 );
一般我们渲染的逻辑就是一个两帧之间的时间差,在这种大场景中,需要考虑到代码执行的时间和物理世界变化的时间。
物理世界更新 1 2 3 4 5 6 world.update (timeStep, unscaledTimeStep); this .logicDelta = this .clock .getDelta ();
默认帧率设置 1 2 3 4 5 let interval = 1 / 60 ;this .sinceLastFrame += this .requestDelta + this .renderDelta + this .logicDelta ;this .sinceLastFrame %= interval;
性能监控 1 2 3 4 this .stats .end ();this .stats .begin ();
后期合成 1 2 3 4 if (this .params .FXAA ) this .composer .render ();else this .renderer .render (this .graphicsWorld , this .camera );
渲染代码时间 1 2 3 this .renderDelta = this .clock .getDelta ();
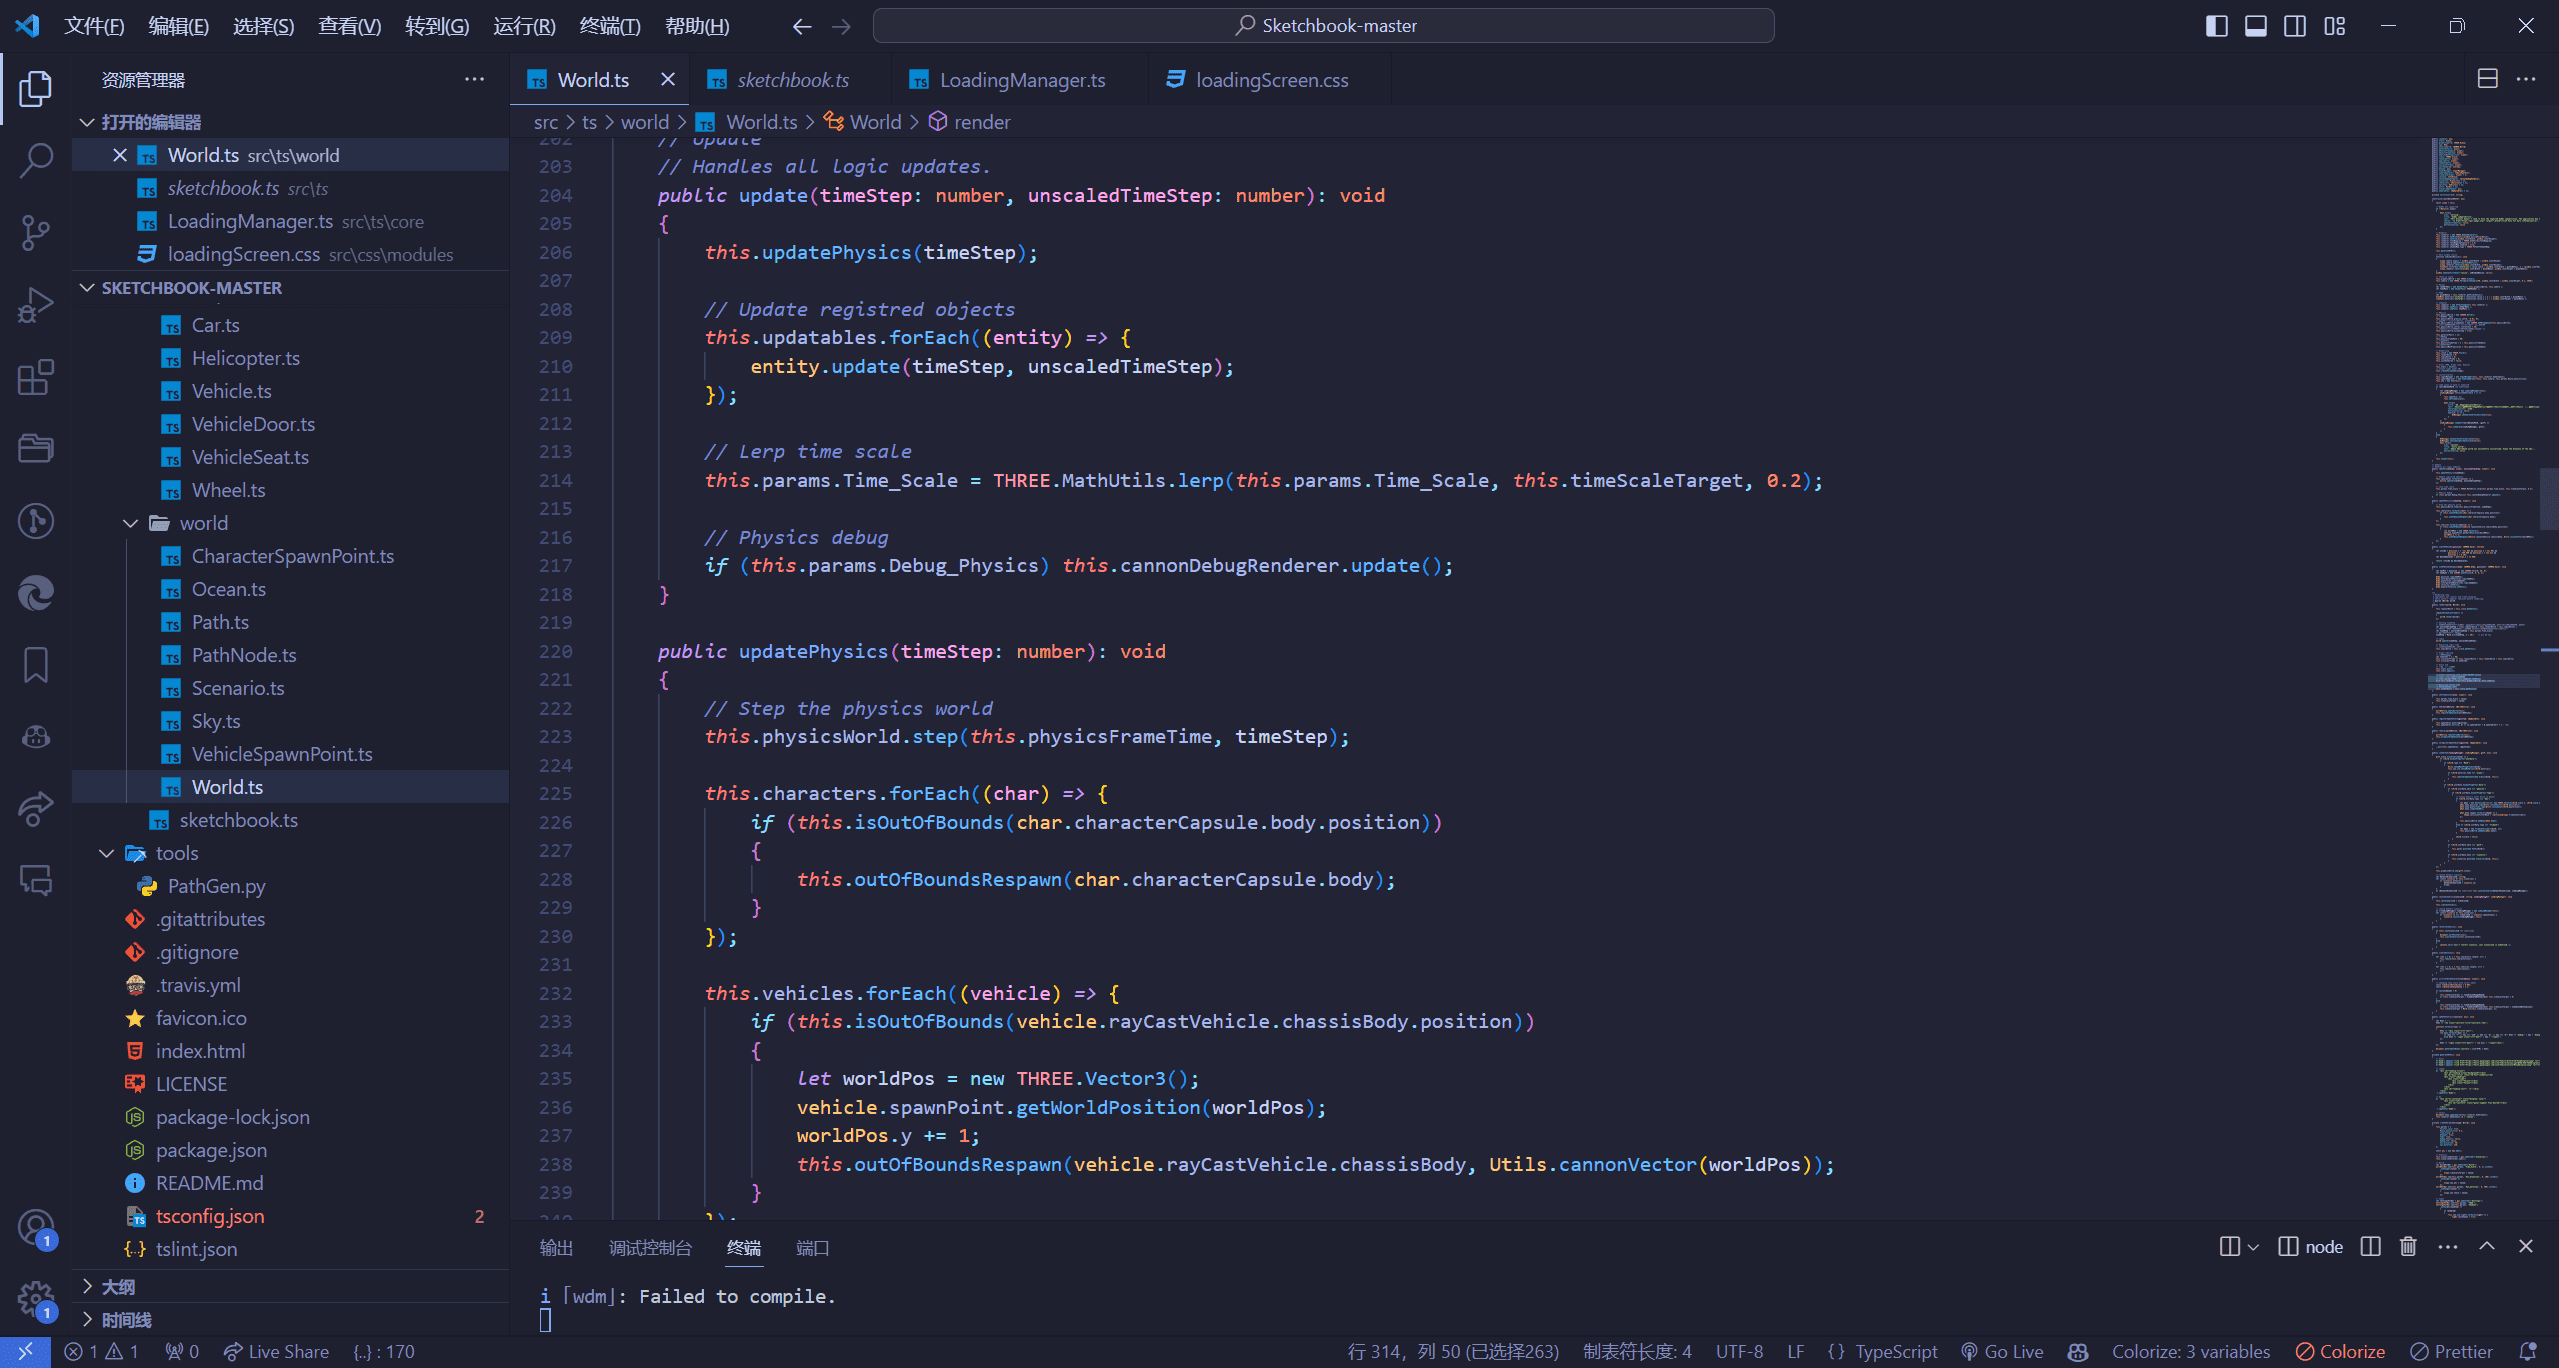
更新世界的执行流程 ok,接下来我们看一下这段代码
更新物理世界 1 2 this .updatePhysics (timeStep);
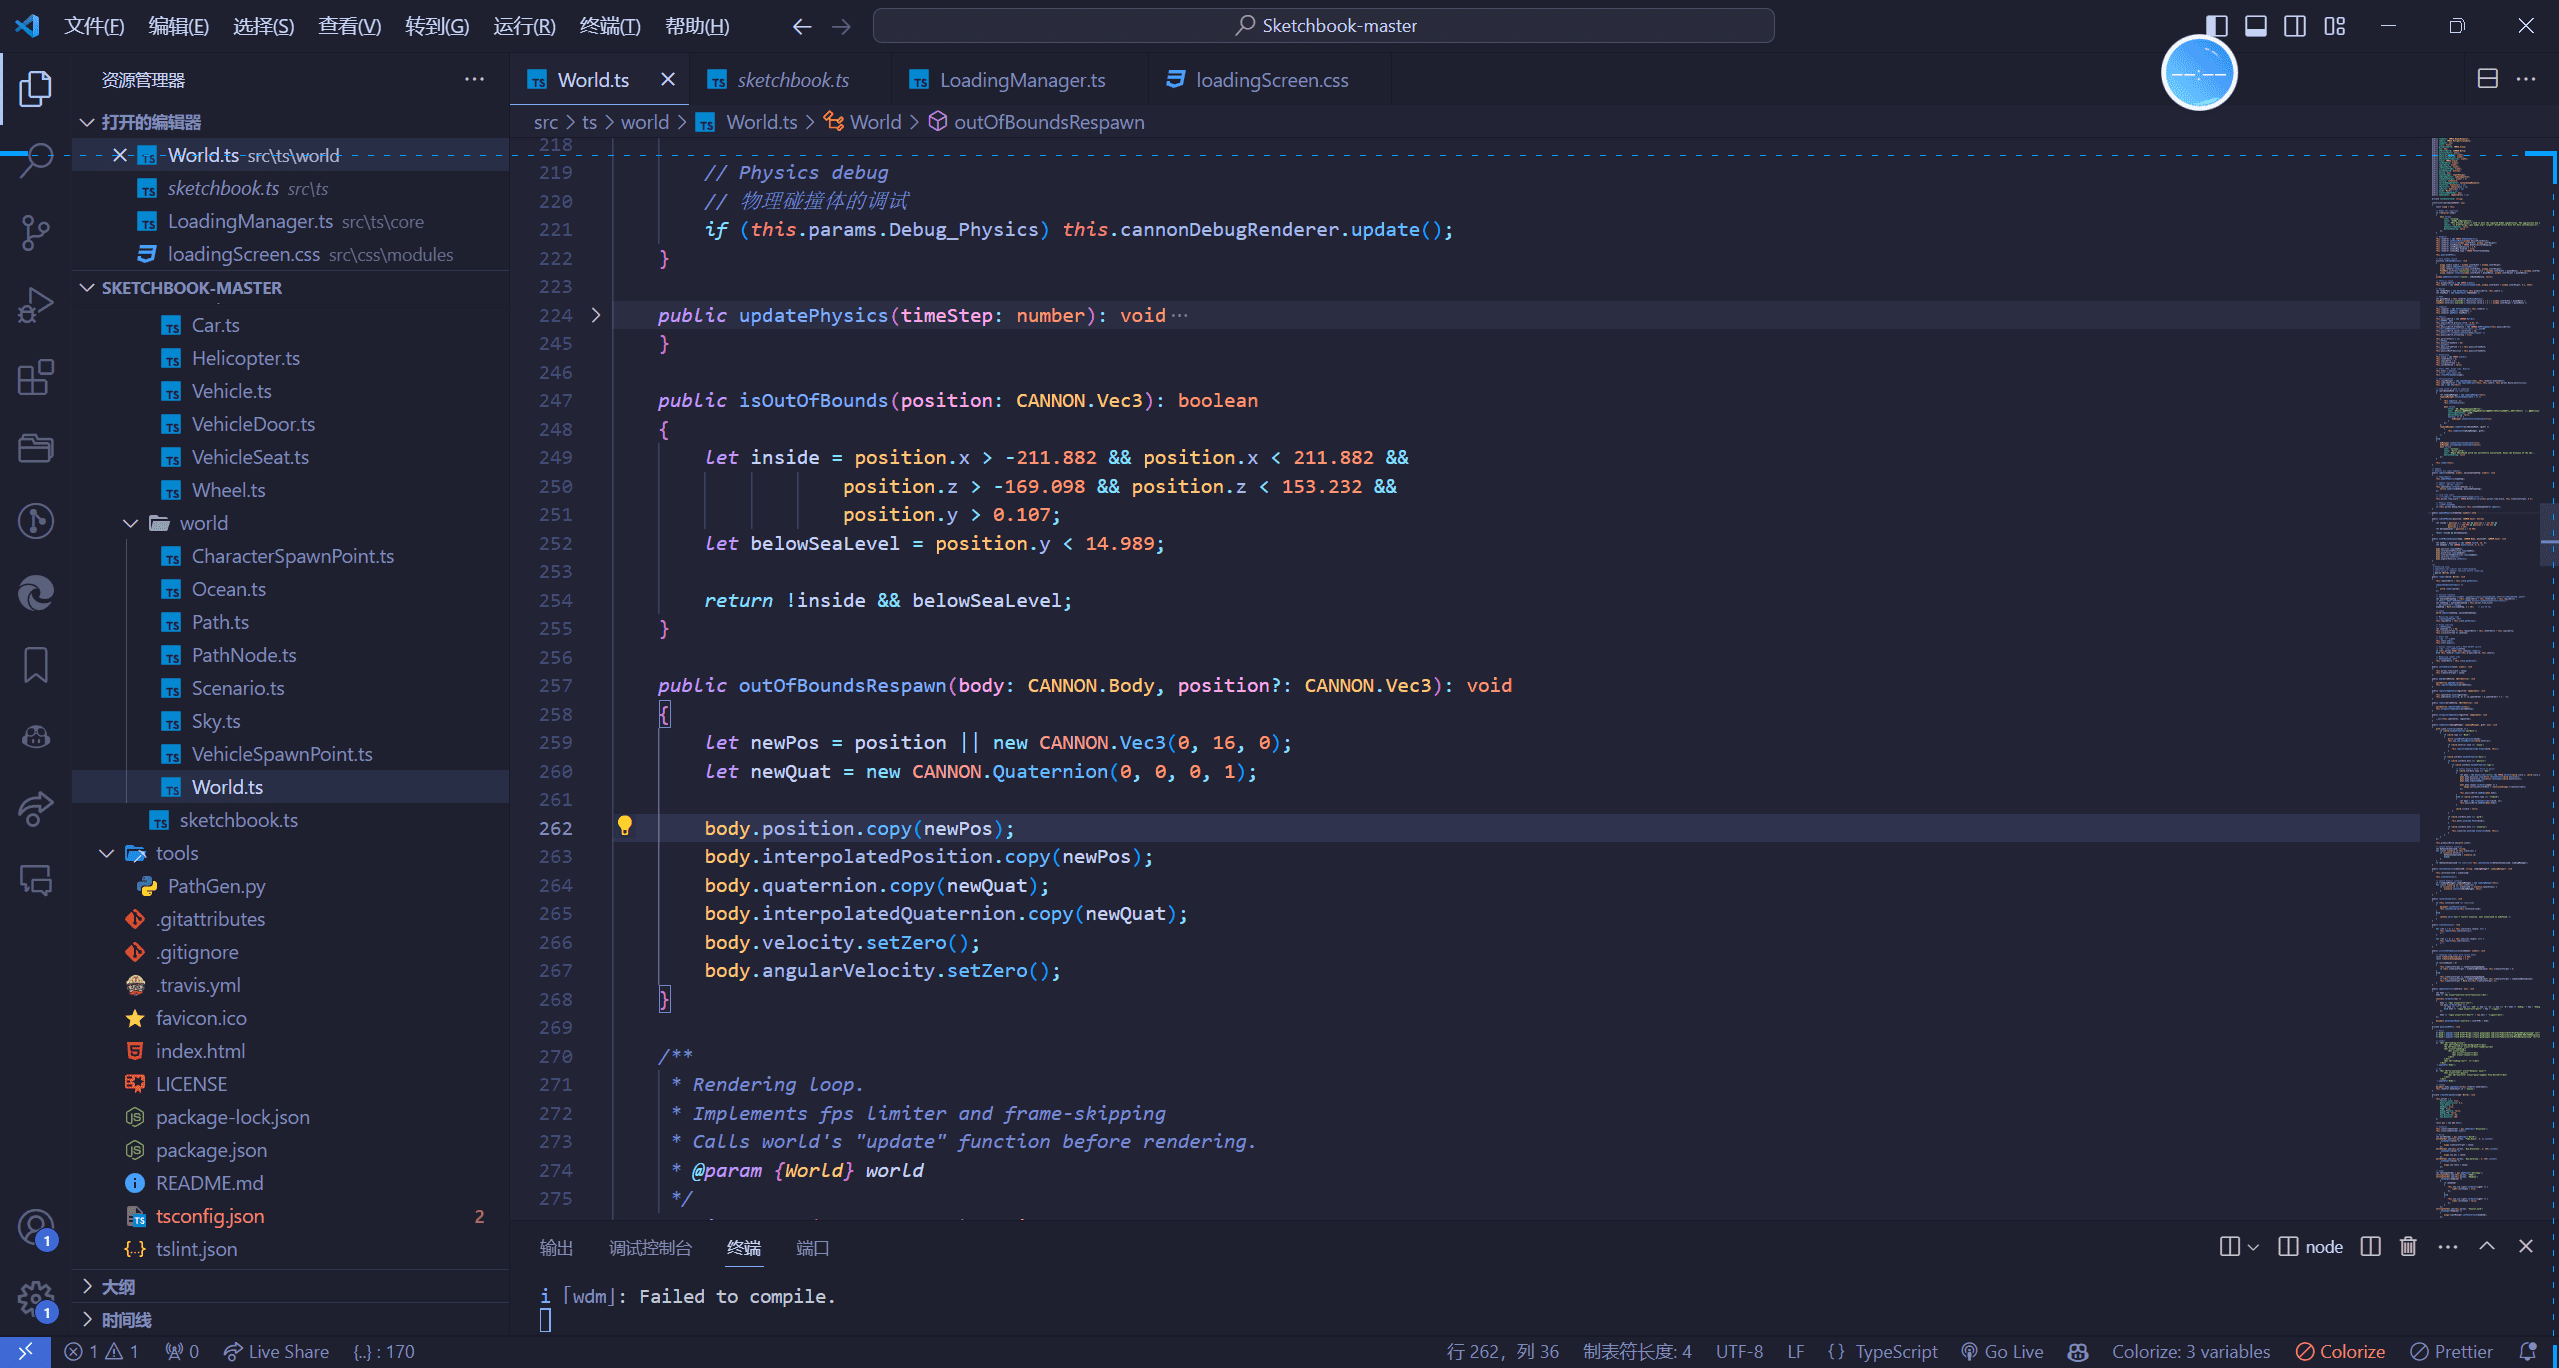
updatePhysics方法 我们接下来详细看一下updatePhysics方法
1 2 3 4 5 6 7 8 9 10 11 12 13 14 15 16 17 18 19 20 21 22 23 24 25 26 this .physicsWorld .step (this .physicsFrameTime , timeStep);this .characters .forEach ((char ) => { if (this .isOutOfBounds (char.characterCapsule .body .position )) { this .outOfBoundsRespawn (char.characterCapsule .body ); } }); this .vehicles .forEach ((vehicle ) => { if (this .isOutOfBounds (vehicle.rayCastVehicle .chassisBody .position )) { let worldPos = new THREE .Vector3 (); vehicle.spawnPoint .getWorldPosition (worldPos); worldPos.y += 1 ; this .outOfBoundsRespawn (vehicle.rayCastVehicle .chassisBody , Utils .cannonVector (worldPos)); } });
超出边界判断与重生
1 2 3 4 5 6 7 8 9 10 11 12 13 14 let newPos = position || new CANNON .Vec3 (0 , 16 , 0 );let newQuat = new CANNON .Quaternion (0 , 0 , 0 , 1 );body.position .copy (newPos); body.interpolatedPosition .copy (newPos); body.quaternion .copy (newQuat); body.interpolatedQuaternion .copy (newQuat); body.velocity .setZero (); body.angularVelocity .setZero ();
效果差不多就是这样
Your browser does not support the video tag.
更新物理注册表 1 2 3 4 this .updatables .forEach ((entity ) => { entity.update (timeStep, unscaledTimeStep); });
插值函数 这里通过这个函数让我们的时间因子虽然是一次性变化的,使得页面的动画是慢慢逼近目标值的,而不是一次性变化的
1 2 3 this .params .Time_Scale = THREE .MathUtils .lerp (this .params .Time_Scale , this .timeScaleTarget , 0.2 );
差不多效果就是如下
Your browser does not support the video tag.
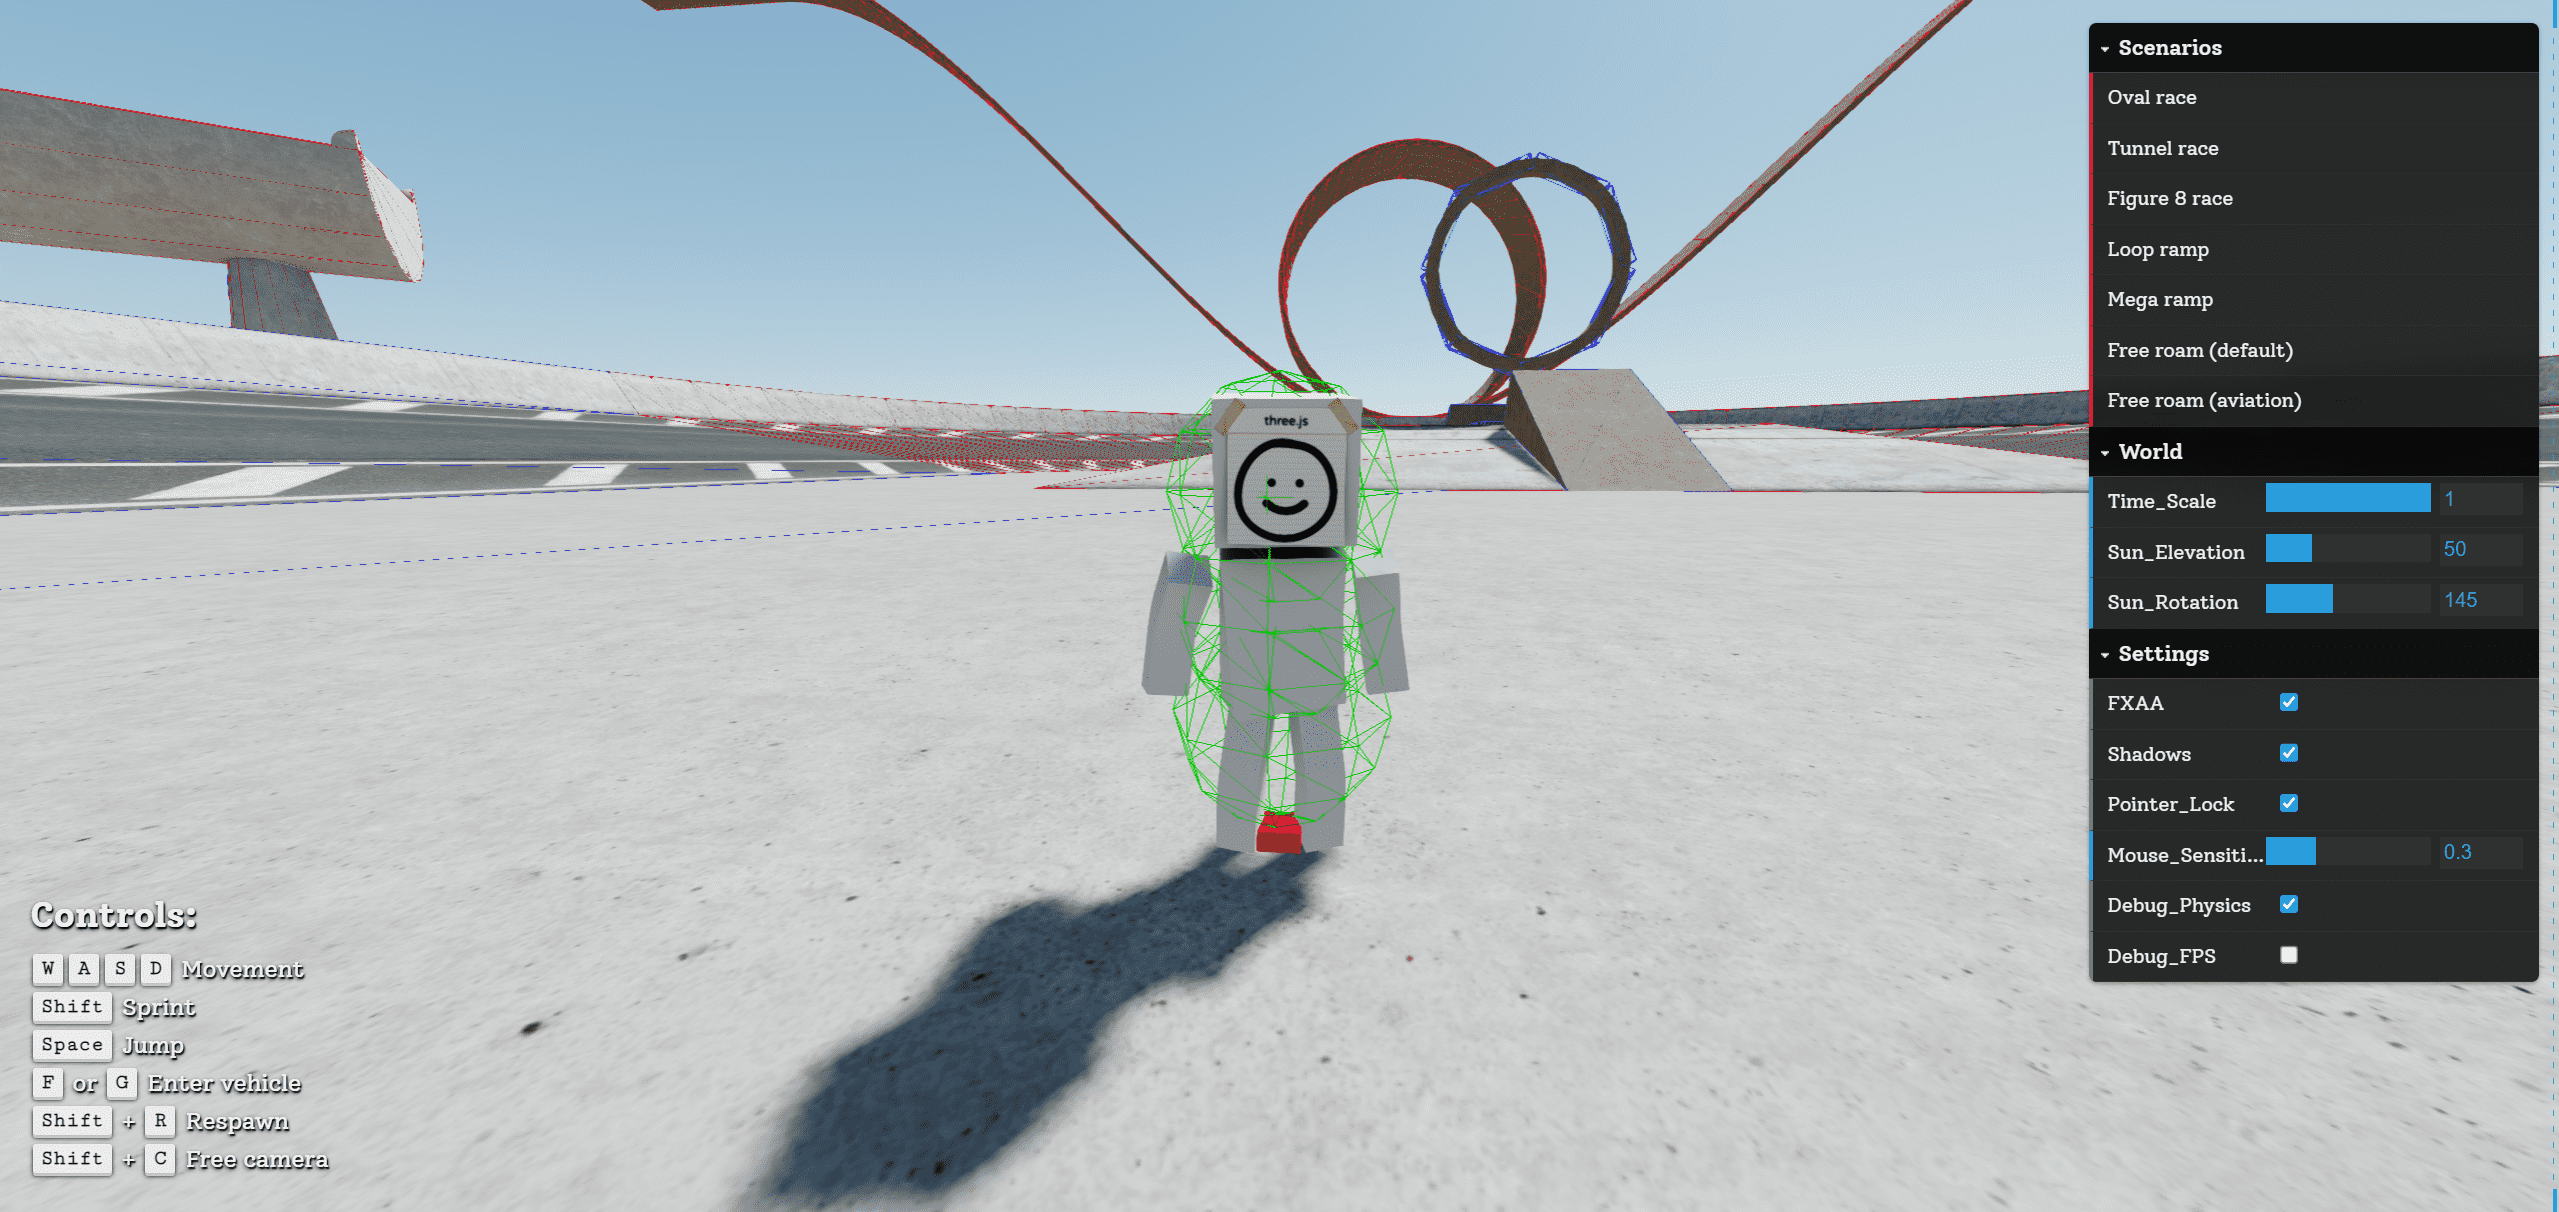
物理碰撞体的调试 1 2 3 if (this .params .Debug_Physics ) this .cannonDebugRenderer .update ();
开启之后我们可以看到物体的碰撞的线框
角色初始化
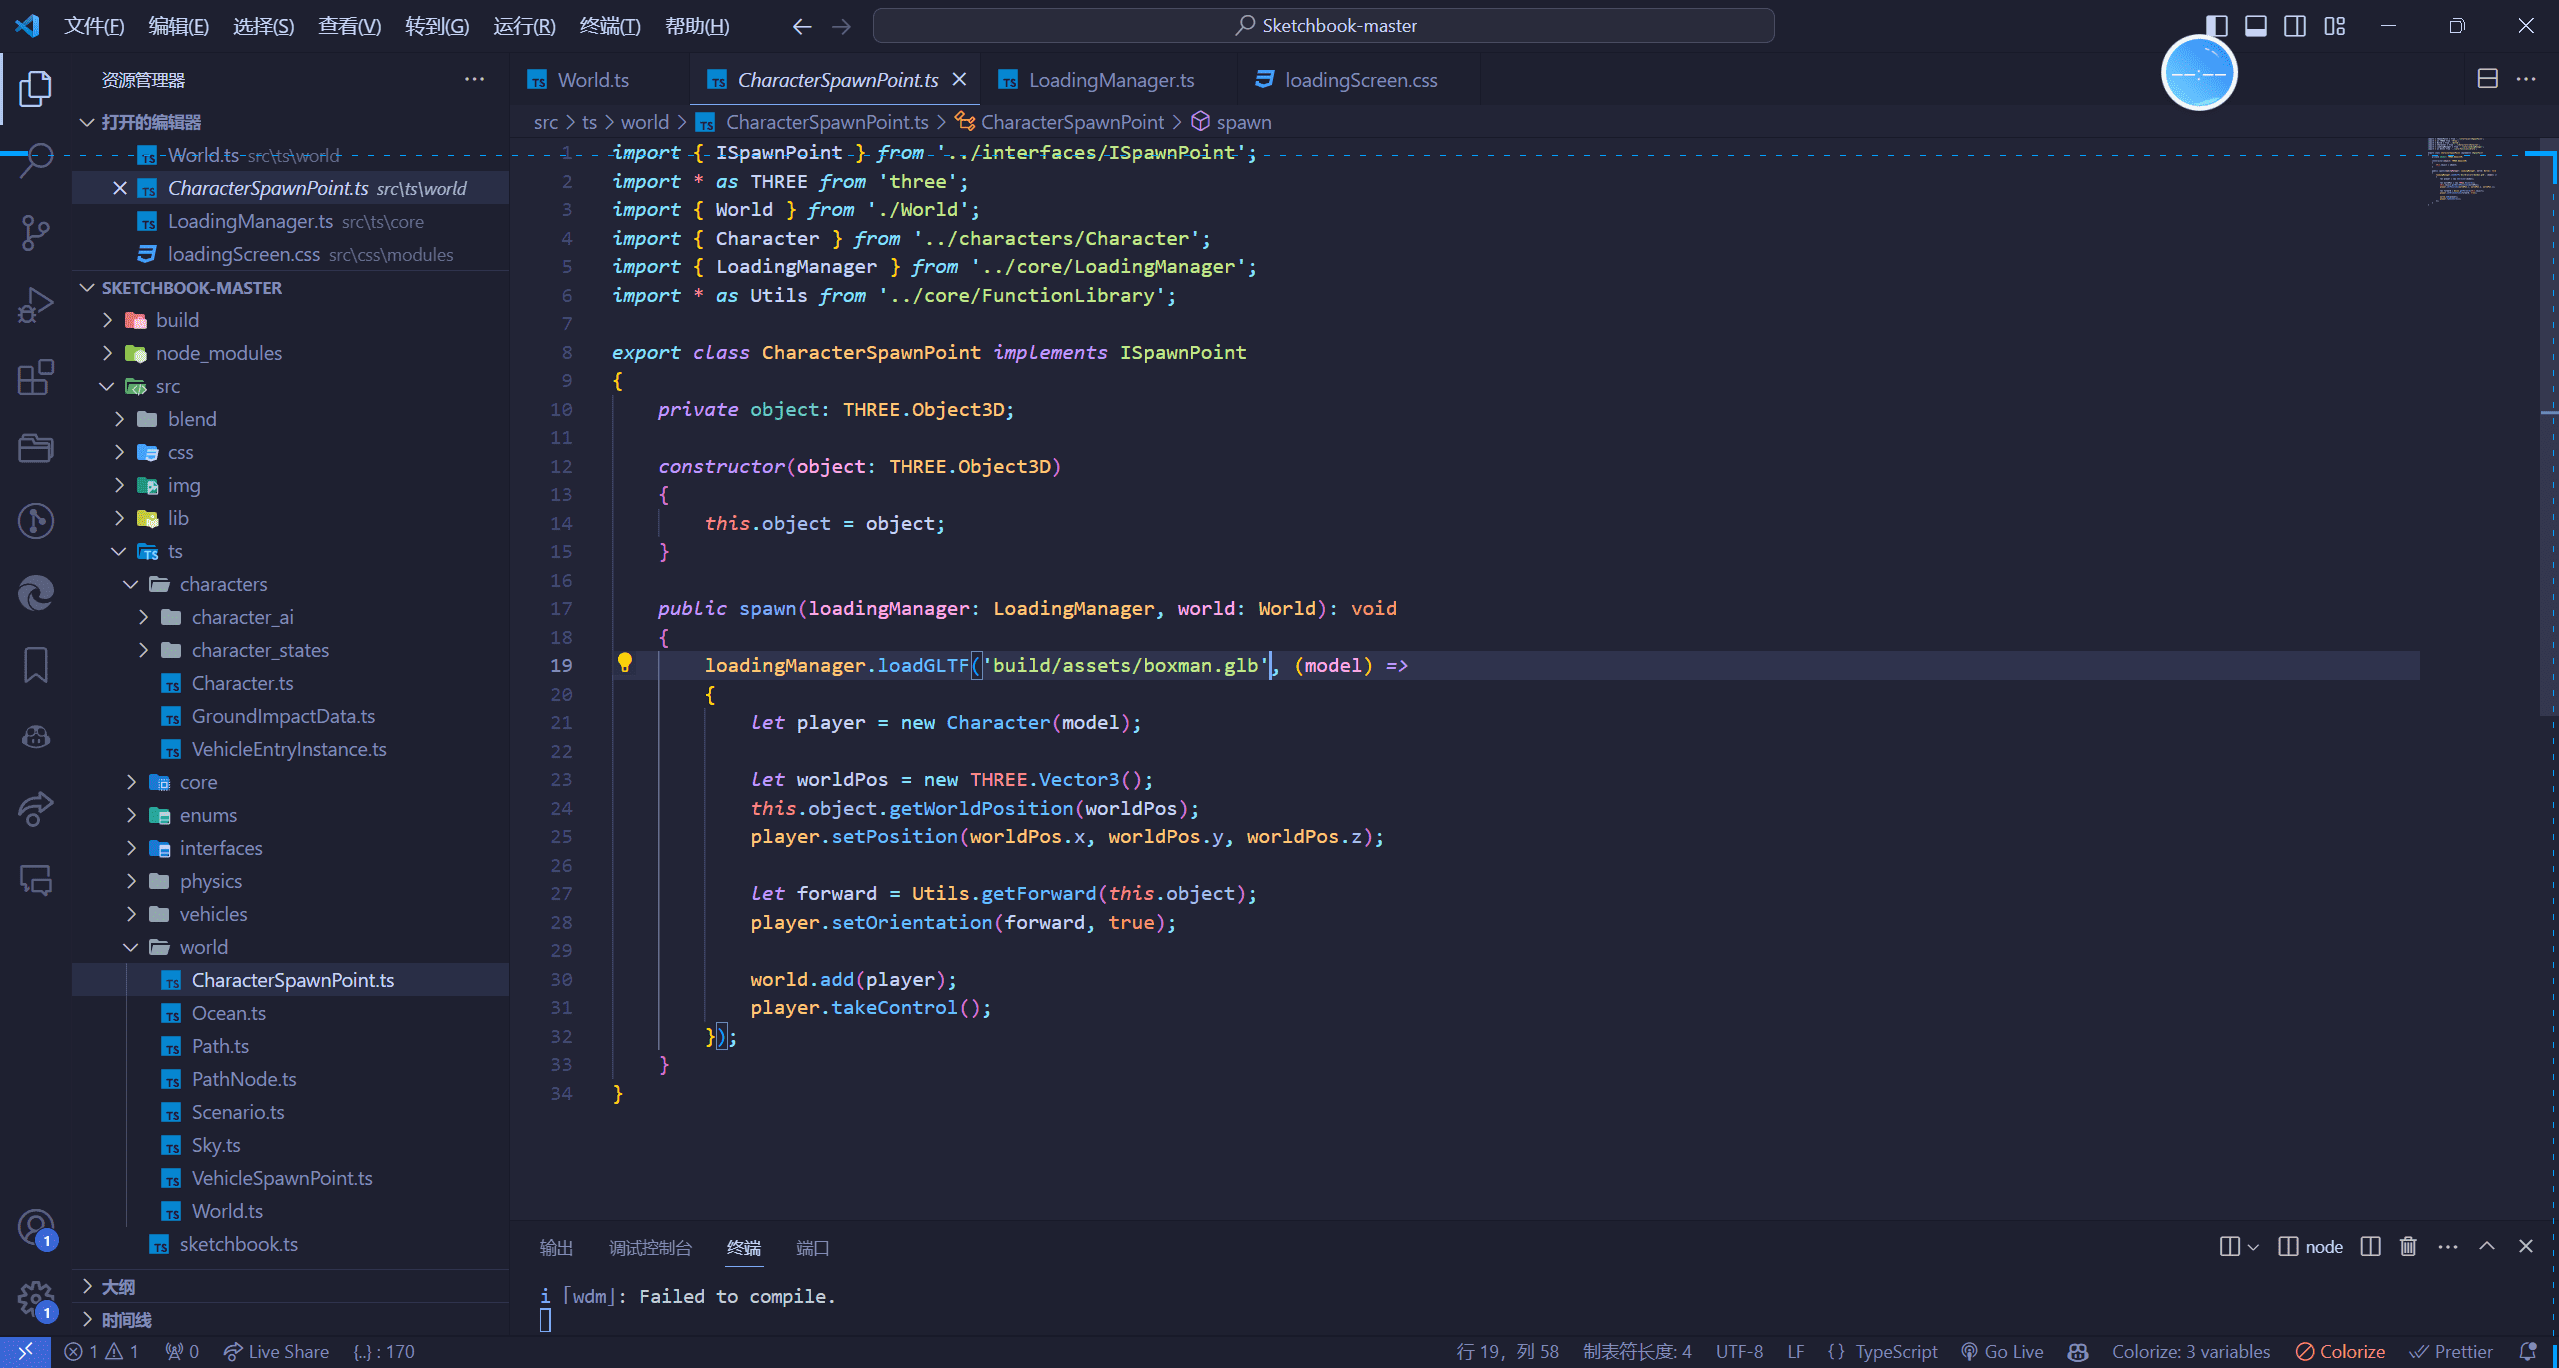
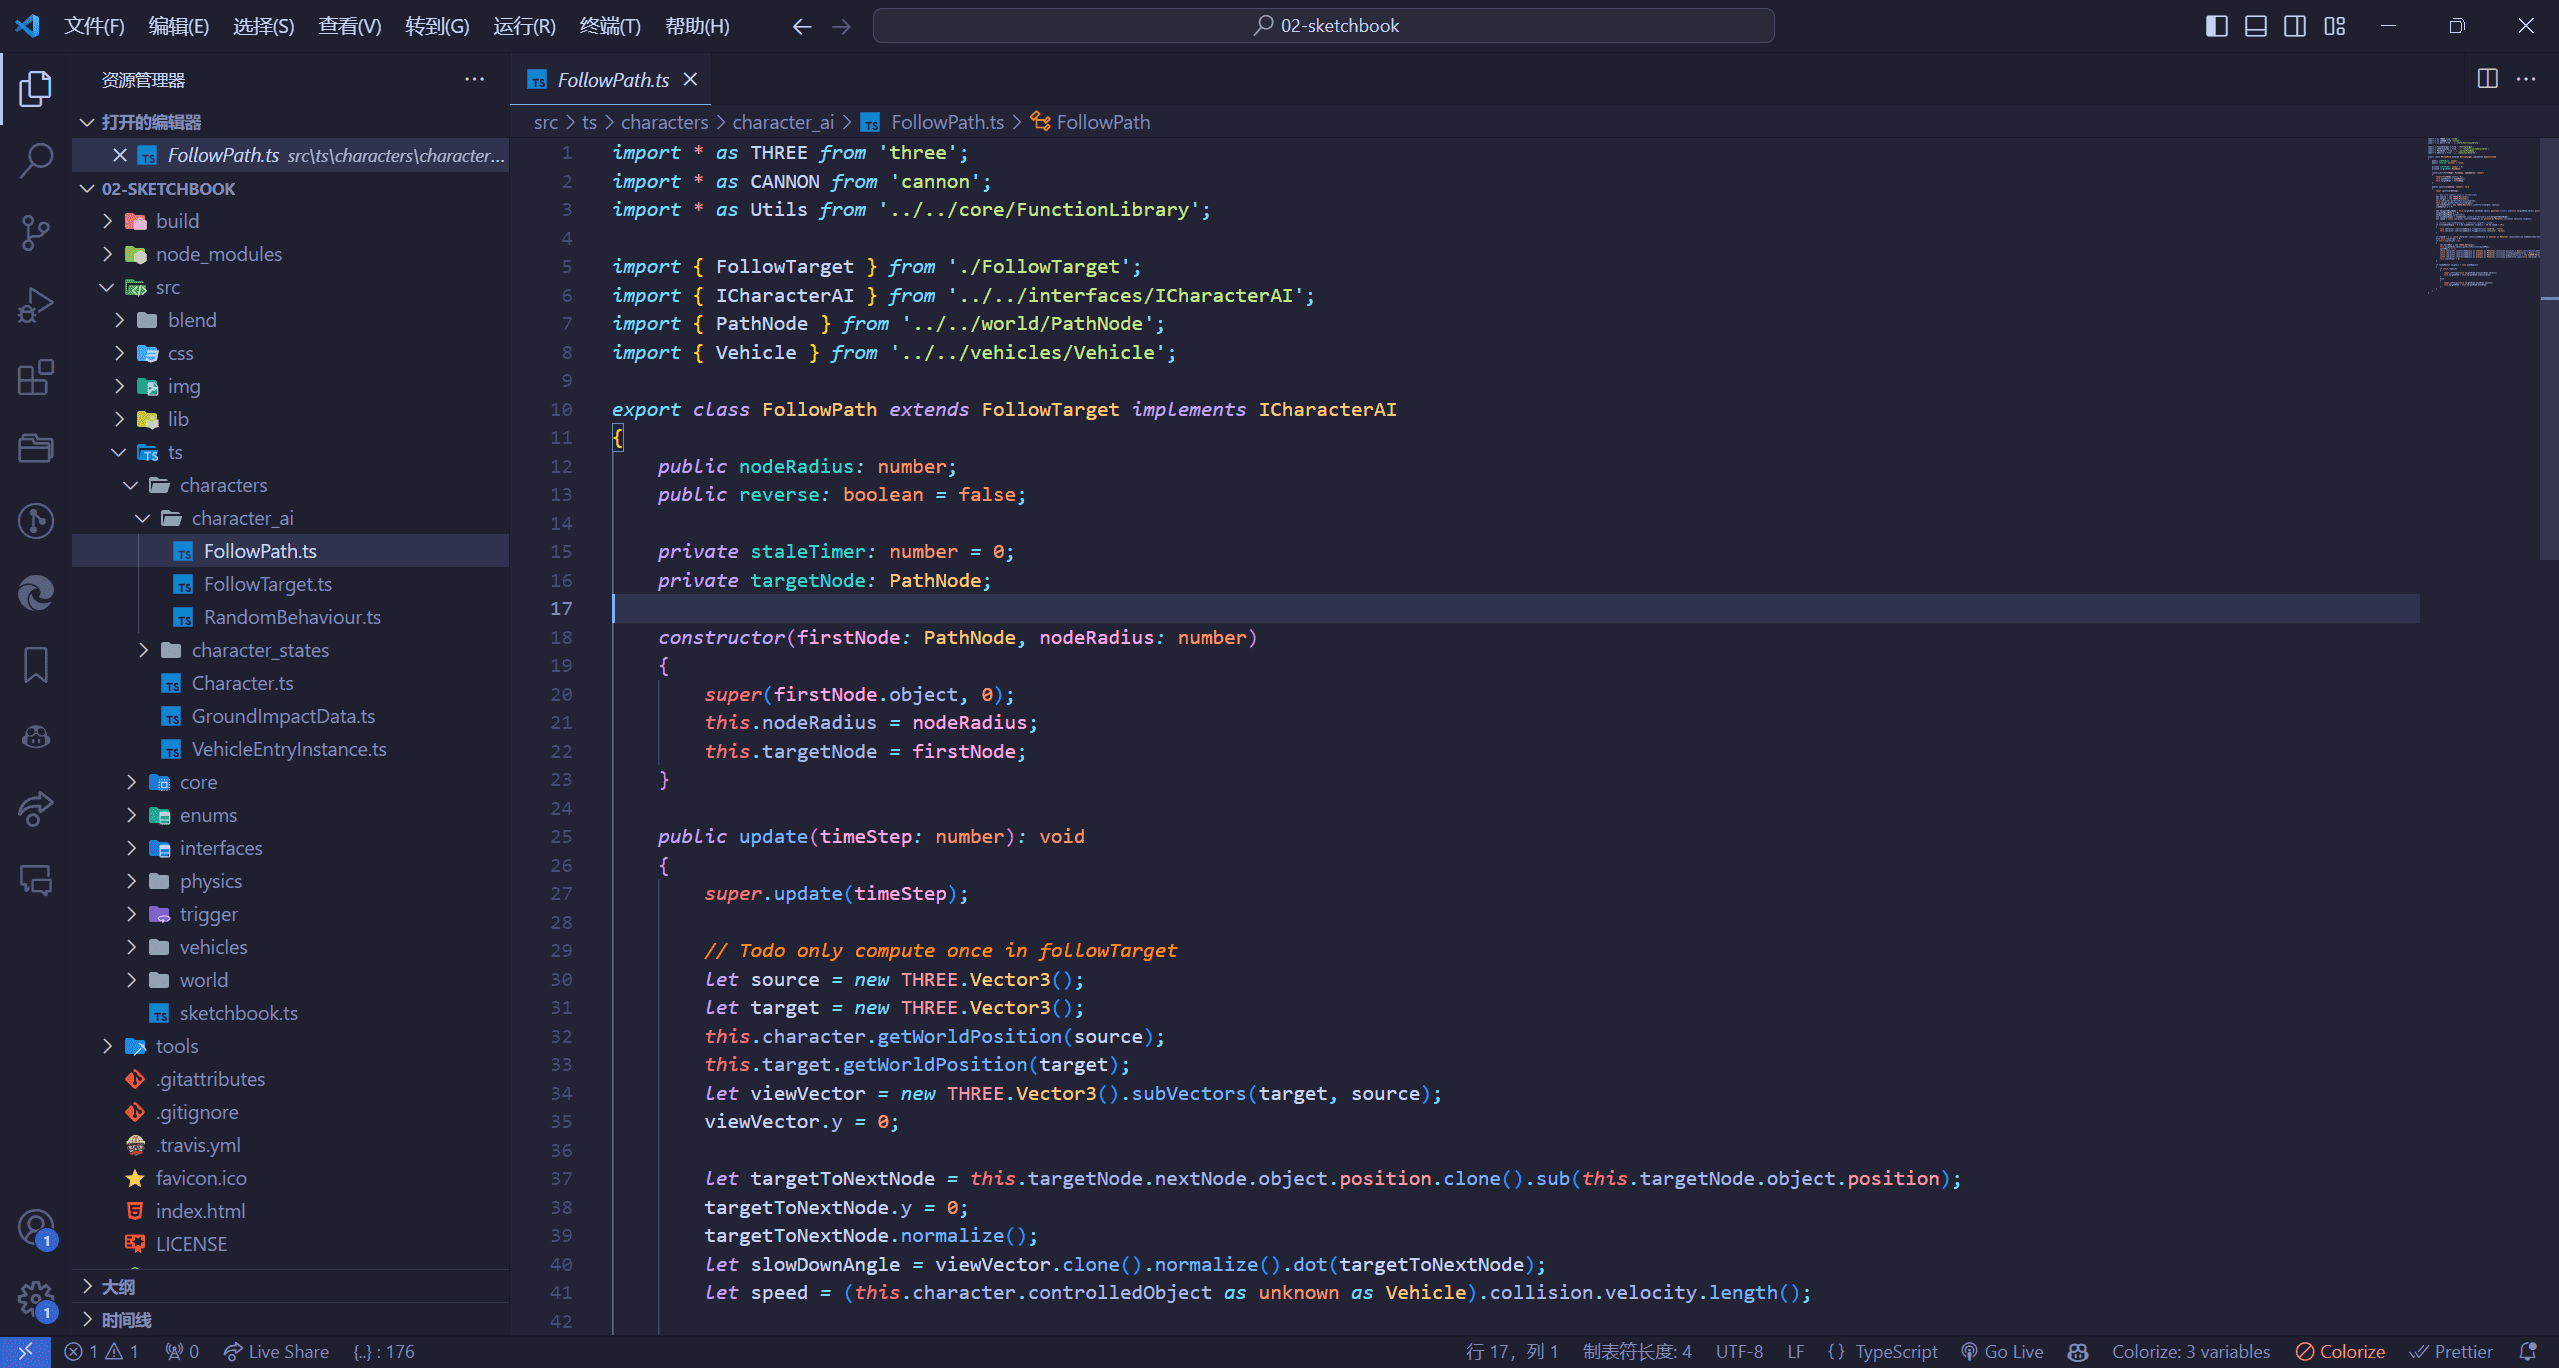
重生点文件 而我们这个构造器调用的地方是在这个重生点的文件中创建的
构造器代码 ok,我们接着讲构造器中的内容
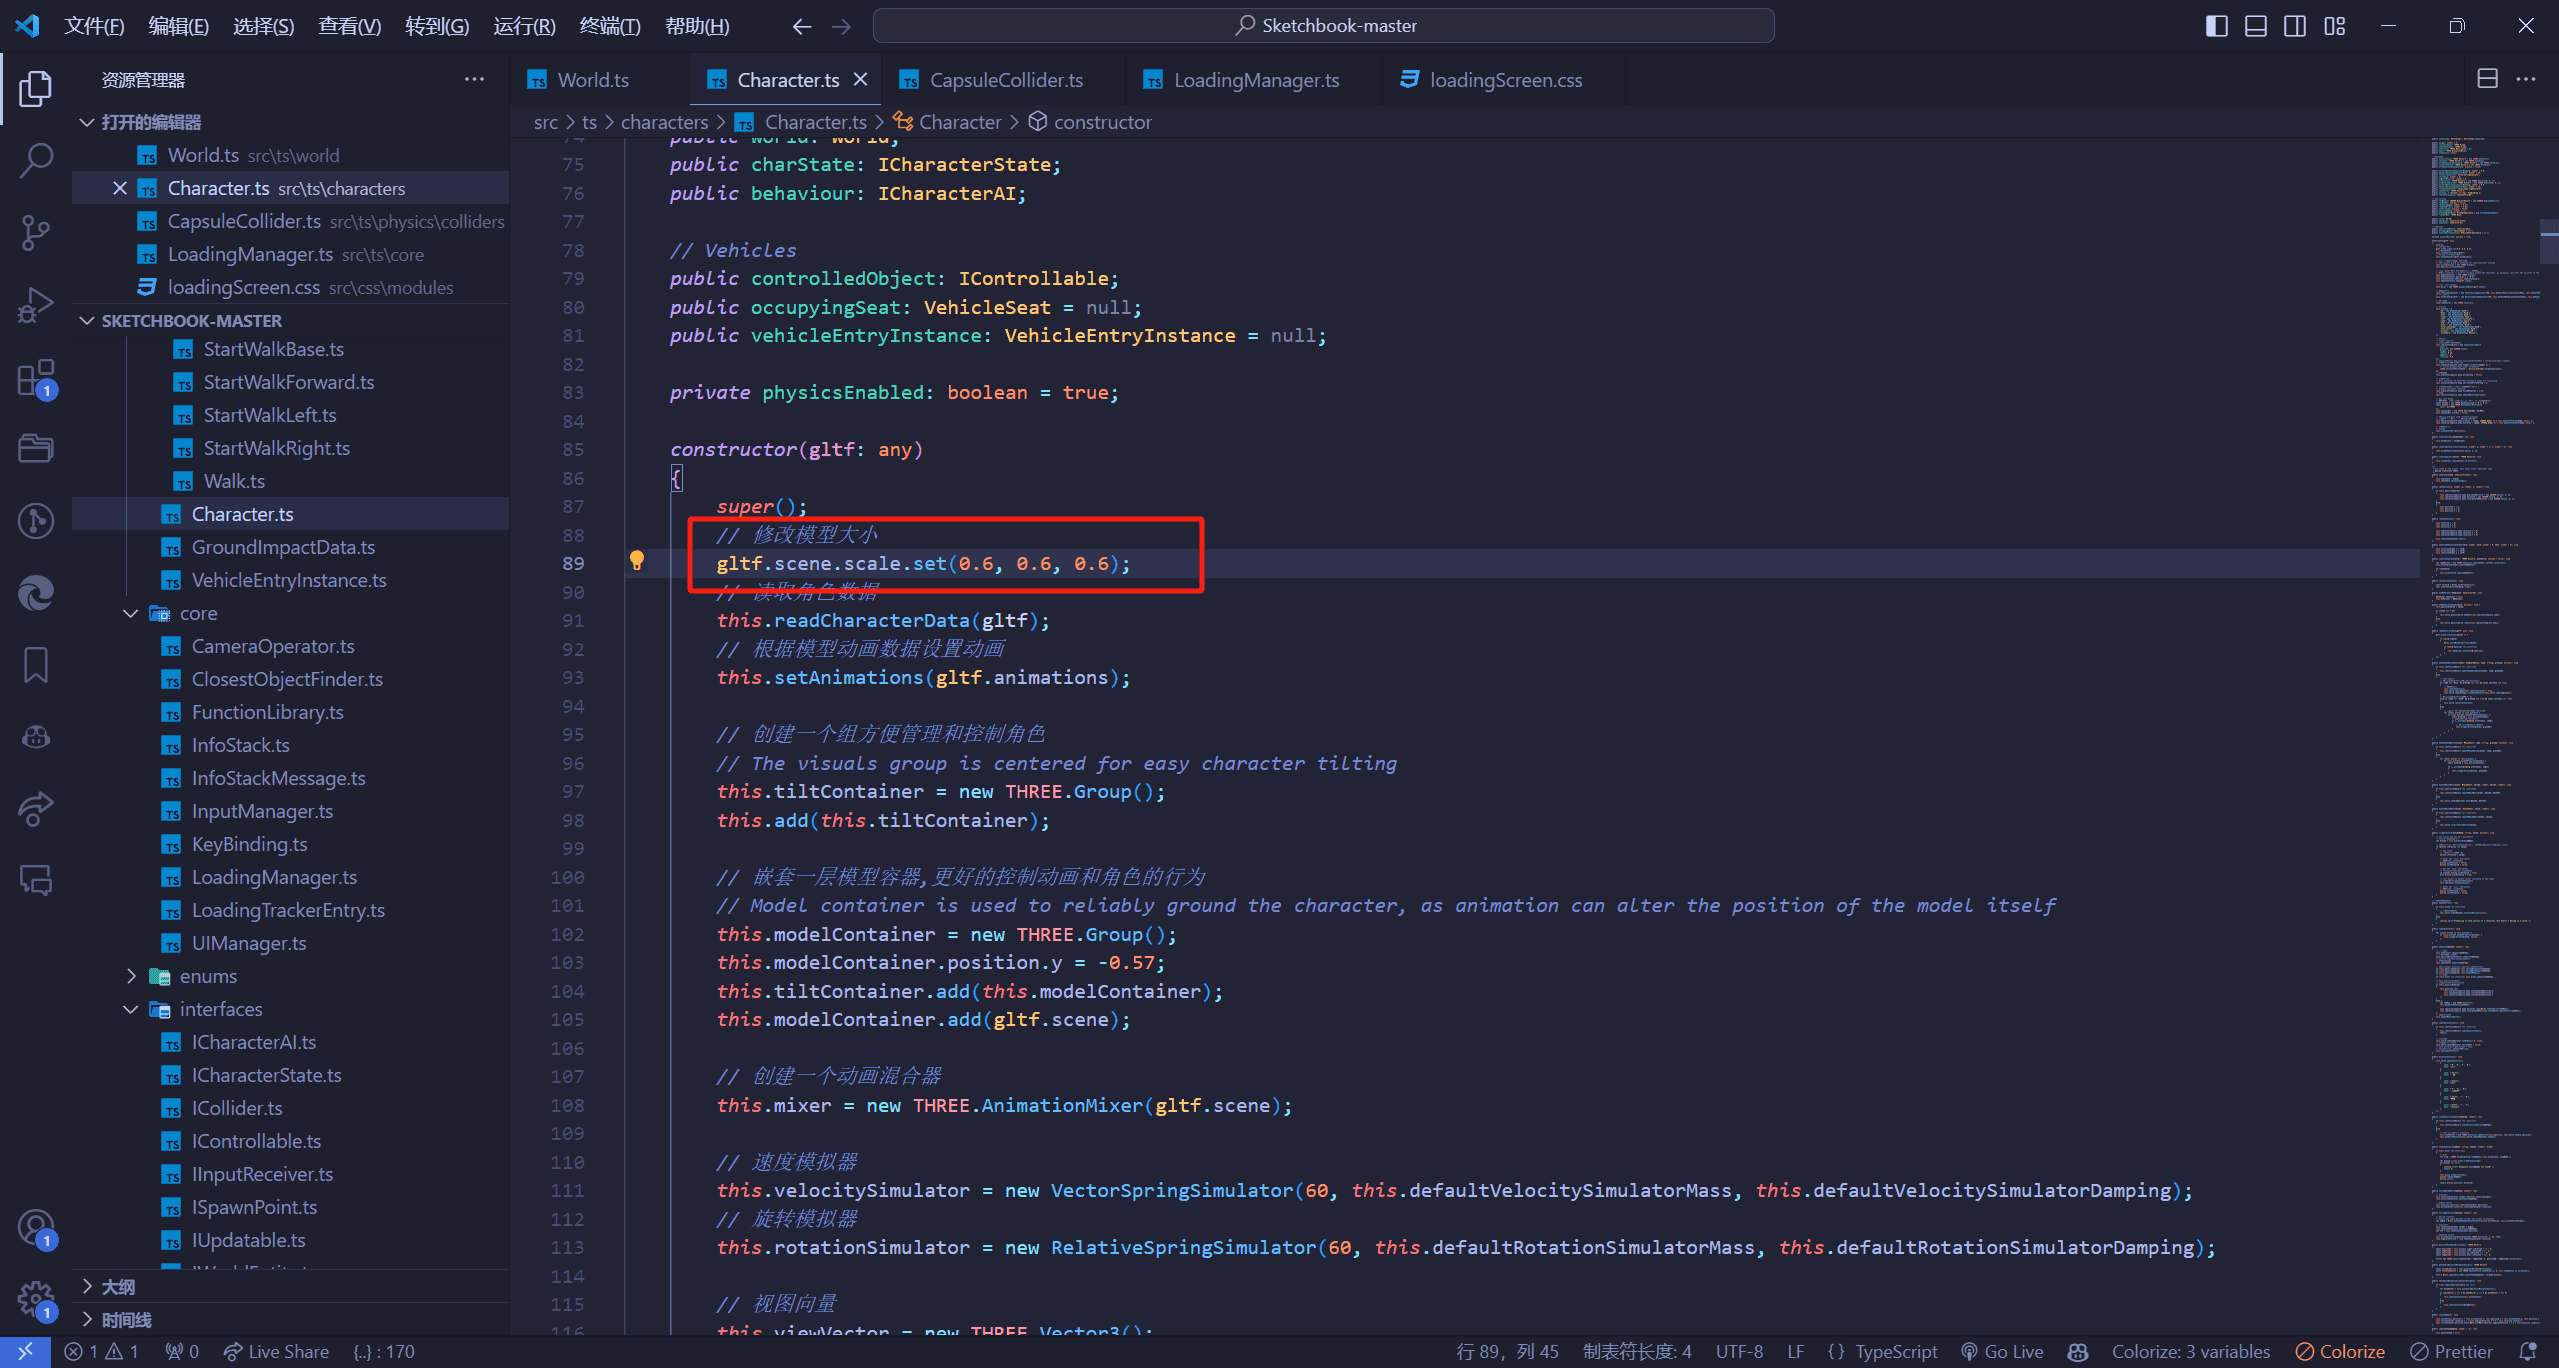
读取角色数据 1 2 this .readCharacterData (gltf);
根据模型动画数据设置动画 1 2 this .setAnimations (gltf.animations );
创建一个组方便管理和控制角色 1 2 3 4 this .tiltContainer = new THREE .Group ();this .add (this .tiltContainer );
嵌套一层模型容器 1 2 3 4 5 6 this .modelContainer = new THREE .Group ();this .modelContainer .position .y = -0.57 ;this .tiltContainer .add (this .modelContainer );this .modelContainer .add (gltf.scene );
创建一个动画混合器 1 2 this .mixer = new THREE .AnimationMixer (gltf.scene );
模拟器 1 2 3 4 this .velocitySimulator = new VectorSpringSimulator (60 , this .defaultVelocitySimulatorMass , this .defaultVelocitySimulatorDamping );this .rotationSimulator = new RelativeSpringSimulator (60 , this .defaultRotationSimulatorMass , this .defaultRotationSimulatorDamping );
视图向量 1 2 this .viewVector = new THREE .Vector3 ();
动作和值绑定 1 2 3 4 5 6 7 8 9 10 11 12 13 14 15 this .actions = { 'up' : new KeyBinding ('KeyW' ), 'down' : new KeyBinding ('KeyS' ), 'left' : new KeyBinding ('KeyA' ), 'right' : new KeyBinding ('KeyD' ), 'run' : new KeyBinding ('ShiftLeft' ), 'jump' : new KeyBinding ('Space' ), 'use' : new KeyBinding ('KeyE' ), 'enter' : new KeyBinding ('KeyF' ), 'enter_passenger' : new KeyBinding ('KeyG' ), 'seat_switch' : new KeyBinding ('KeyX' ), 'primary' : new KeyBinding ('Mouse0' ), 'secondary' : new KeyBinding ('Mouse1' ), };
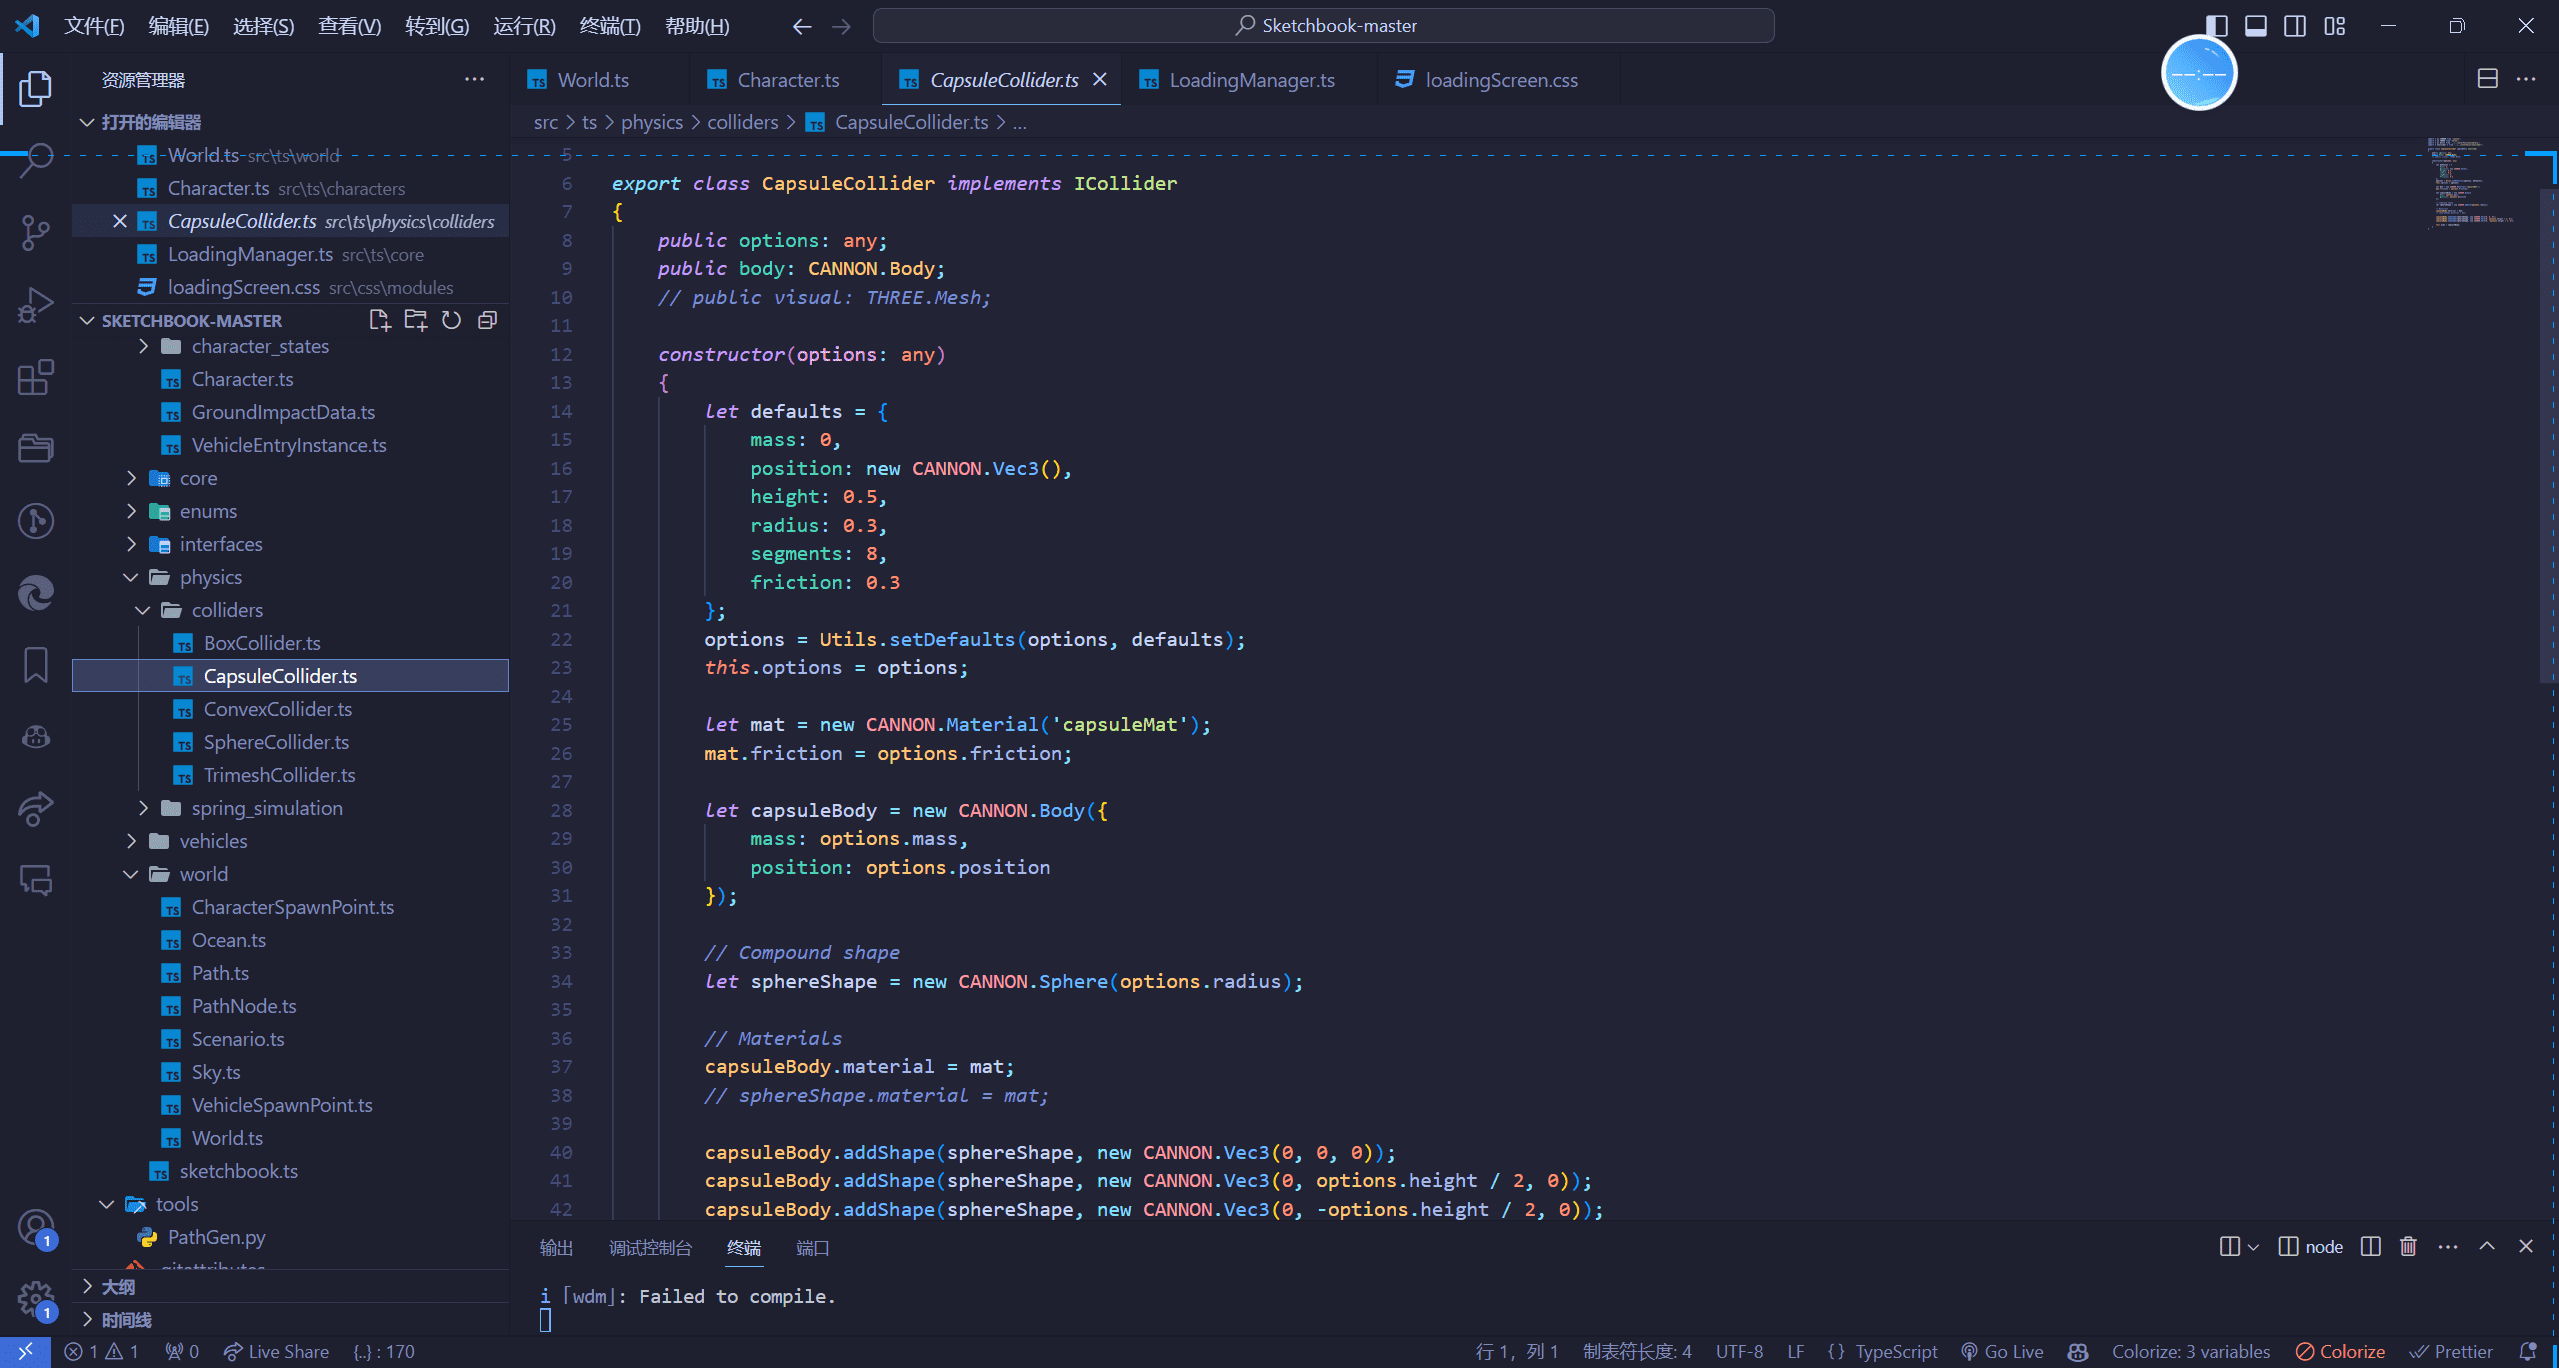
创建物理碰撞的角色胶囊 1 2 3 4 5 6 7 8 9 10 11 this .characterCapsule = new CapsuleCollider ({ mass : 1 , position : new CANNON .Vec3 (), height : 0.5 , radius : 0.25 , segments : 8 , friction : 0.0 });
我们简单看一下这个创建角色胶囊的代码,其实也没啥好讲的,和我之前在cannon的介绍使用中都讲过这部分内容friction摩擦,mass质量等参数
设置匹配能够碰撞的碰撞组 1 2 3 4 5 this .characterCapsule .body .shapes .forEach ((shape ) => { shape.collisionFilterMask = ~CollisionGroups .TrimeshColliders ; });
允许休眠 1 2 this .characterCapsule .body .allowSleep = false ;
设置碰撞组 1 2 3 this .characterCapsule .body .collisionFilterGroup = 2 ;
固定碰撞体旋转 1 2 3 4 5 this .characterCapsule .body .fixedRotation = true ;this .characterCapsule .body .updateMassProperties ();
盒子检测碰撞 1 2 3 4 5 6 7 8 const boxGeo = new THREE .BoxGeometry (0.1 , 0.1 , 0.1 );const boxMat = new THREE .MeshLambertMaterial ({ color : 0xff0000 }); this .raycastBox = new THREE .Mesh (boxGeo, boxMat);this .raycastBox .visible = false ;
碰撞回调 1 2 3 4 this .characterCapsule .body .preStep = (body: CANNON.Body ) => { this .physicsPreStep (body, this ); };this .characterCapsule .body .postStep = (body: CANNON.Body ) => { this .physicsPostStep (body, this ); };
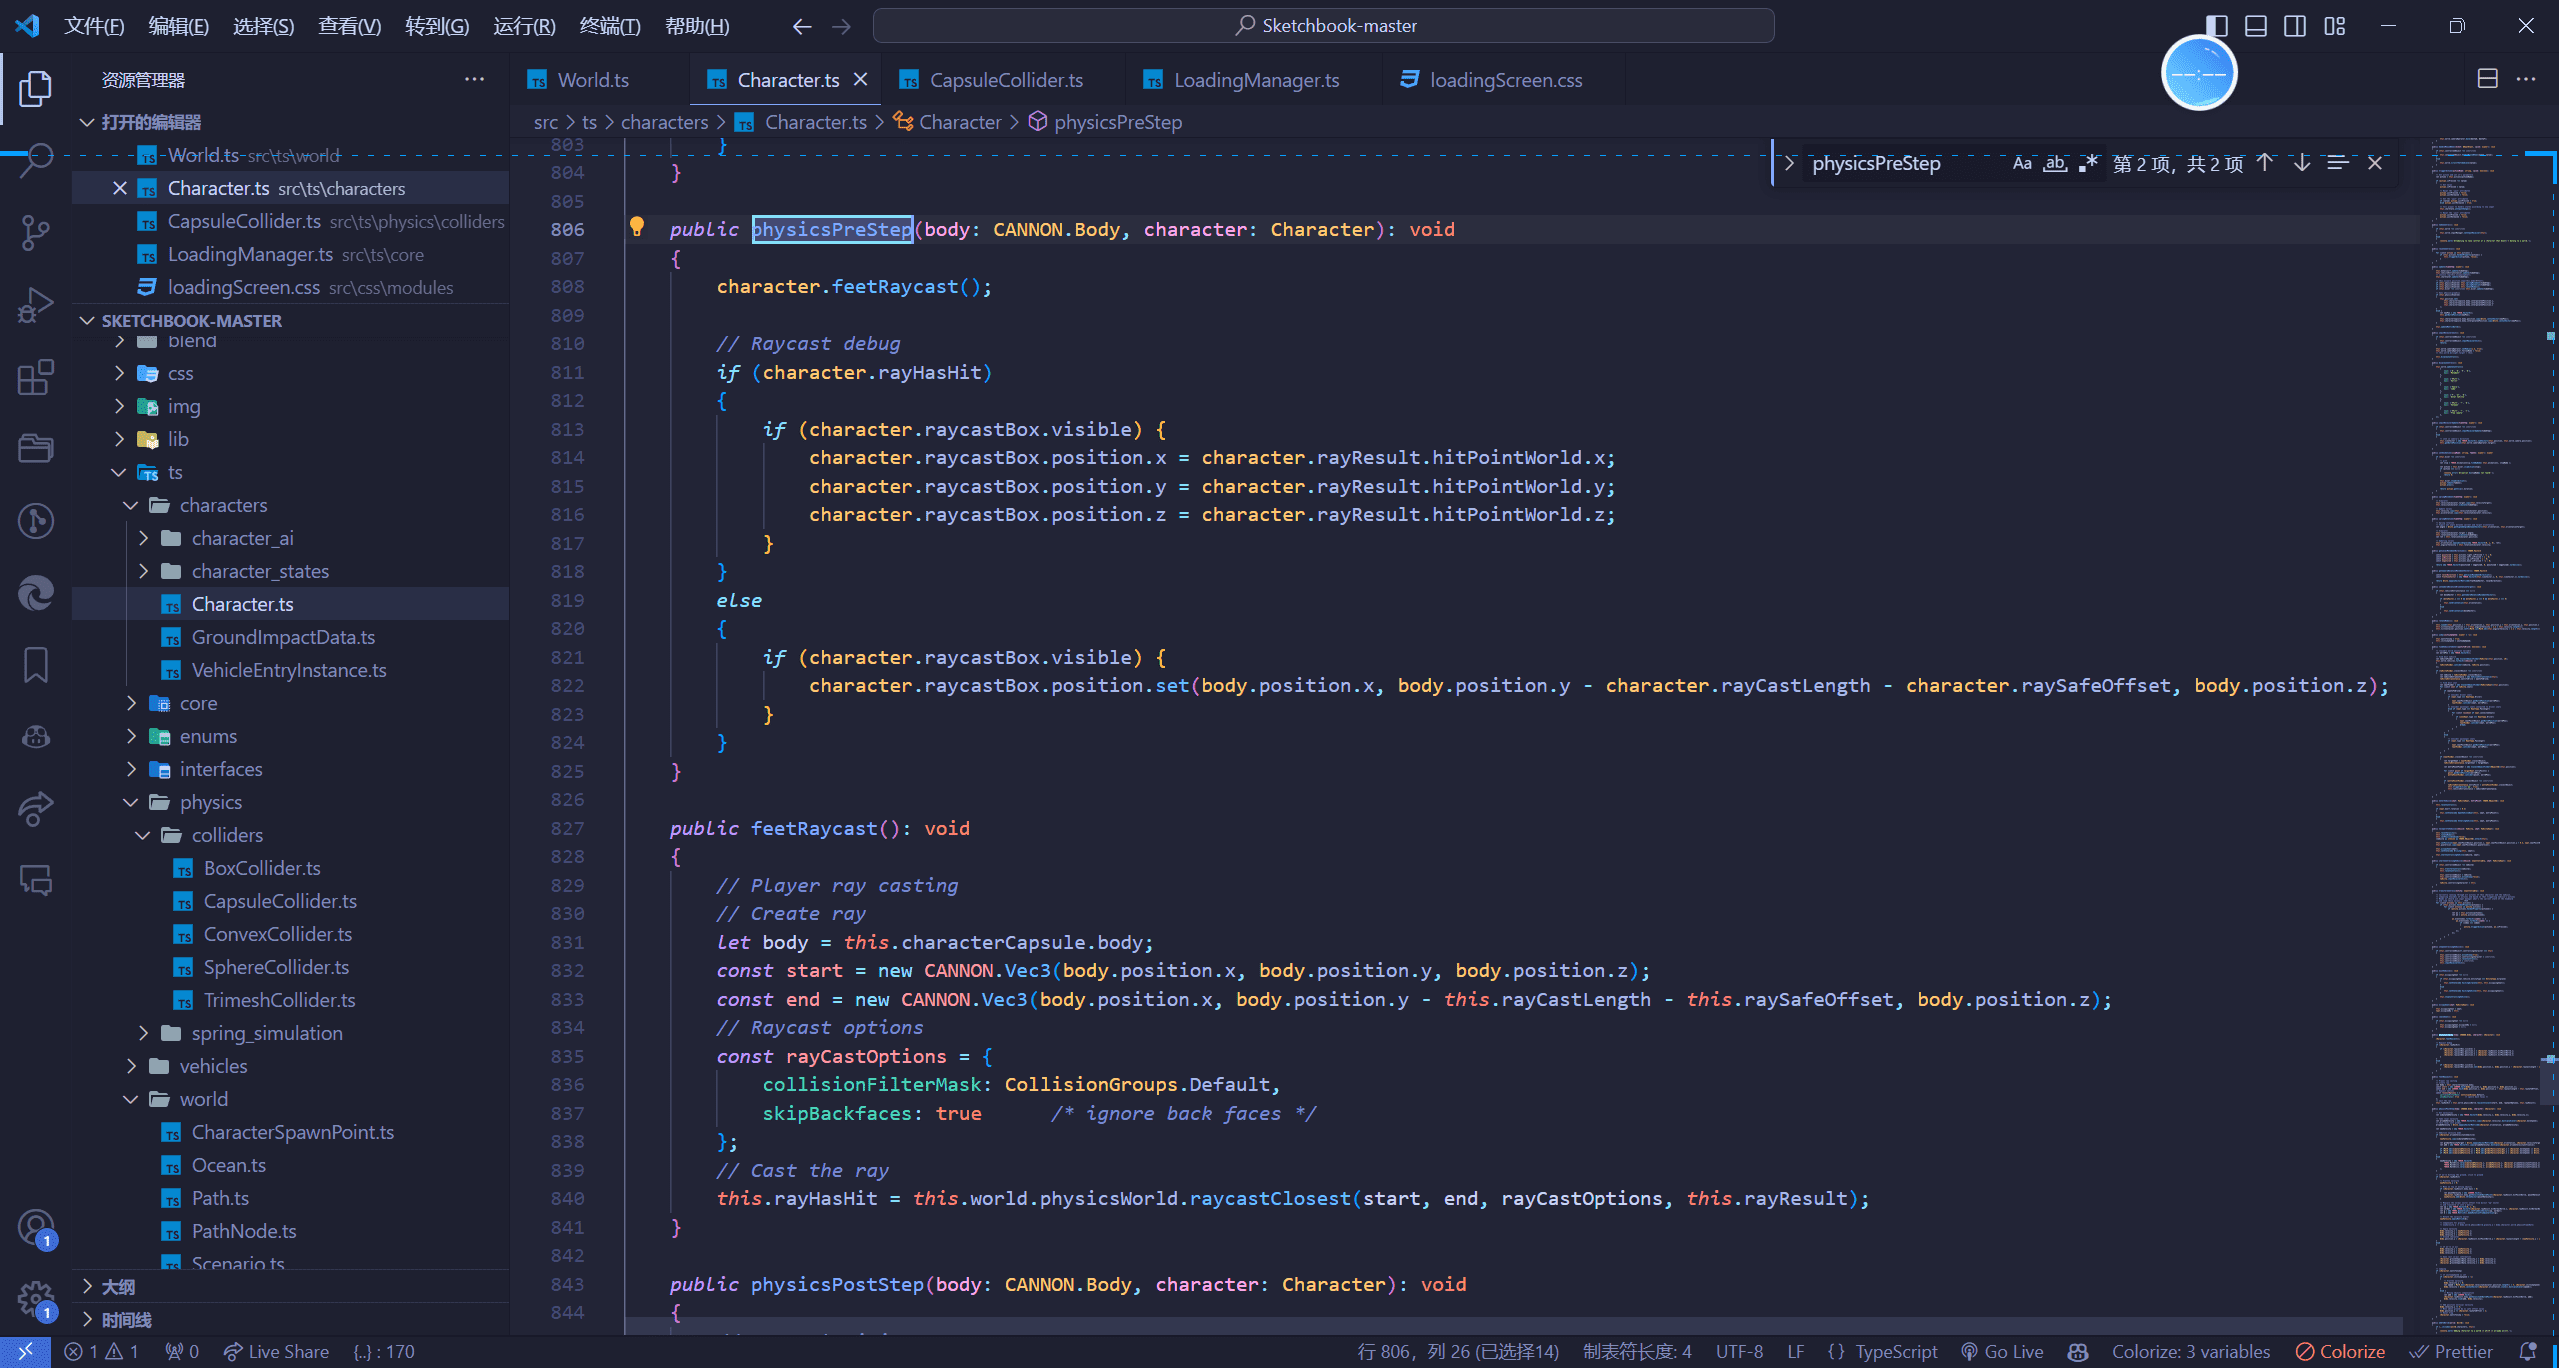
接下来我们看一下物理碰撞执行之前和执行之后的回调函数
1 2 3 4 5 6 7 8 9 10 11 12 13 14 15 16 public feetRaycast (): void { let body = this .characterCapsule .body ; const start = new CANNON .Vec3 (body.position .x , body.position .y , body.position .z ); const end = new CANNON .Vec3 (body.position .x , body.position .y - this .rayCastLength - this .raySafeOffset , body.position .z ); const rayCastOptions = { collisionFilterMask : CollisionGroups .Default , skipBackfaces : true }; this .rayHasHit = this .world .physicsWorld .raycastClosest (start, end, rayCastOptions, this .rayResult ); }
而下面这段代码的意思是判断射线有没有击中,如果有的话就固定在地面上,如果没有就设置偏移那么多的位置
1 2 3 4 5 6 7 8 9 10 11 12 13 14 15 if (character.rayHasHit ) { if (character.raycastBox .visible ) { character.raycastBox .position .x = character.rayResult .hitPointWorld .x ; character.raycastBox .position .y = character.rayResult .hitPointWorld .y ; character.raycastBox .position .z = character.rayResult .hitPointWorld .z ; } } else { if (character.raycastBox .visible ) { character.raycastBox .position .set (body.position .x , body.position .y - character.rayCastLength - character.raySafeOffset , body.position .z ); } }
碰撞结束的代码我就直接贴了,上面有一些注释,大家可以自己看一下
1 2 3 4 5 6 7 8 9 10 11 12 13 14 15 16 17 18 19 20 21 22 23 24 25 26 27 28 29 30 31 32 33 34 35 36 37 38 39 40 41 42 43 44 45 46 47 48 49 50 51 52 53 54 55 56 57 58 59 60 61 62 63 64 65 66 67 68 69 70 71 72 73 74 75 76 77 78 79 80 81 82 83 84 85 86 87 88 89 90 91 92 93 94 95 96 97 98 99 100 101 102 103 104 105 106 107 108 109 110 111 112 113 114 115 116 117 118 119 120 121 122 123 public physicsPostStep (body : CANNON .Body , character : Character ): void { let simulatedVelocity = new THREE .Vector3 (body.velocity .x , body.velocity .y , body.velocity .z ); let arcadeVelocity = new THREE .Vector3 ().copy (character.velocity ).multiplyScalar (character.moveSpeed ); arcadeVelocity = Utils .appplyVectorMatrixXZ (character.orientation , arcadeVelocity); let newVelocity = new THREE .Vector3 (); if (character.arcadeVelocityIsAdditive ) { newVelocity.copy (simulatedVelocity); let globalVelocityTarget = Utils .appplyVectorMatrixXZ (character.orientation , character.velocityTarget ); let add = new THREE .Vector3 ().copy (arcadeVelocity).multiply (character.arcadeVelocityInfluence ); if (Math .abs (simulatedVelocity.x ) < Math .abs (globalVelocityTarget.x * character.moveSpeed ) || Utils .haveDifferentSigns (simulatedVelocity.x , arcadeVelocity.x )) { newVelocity.x += add.x ; } if (Math .abs (simulatedVelocity.y ) < Math .abs (globalVelocityTarget.y * character.moveSpeed ) || Utils .haveDifferentSigns (simulatedVelocity.y , arcadeVelocity.y )) { newVelocity.y += add.y ; } if (Math .abs (simulatedVelocity.z ) < Math .abs (globalVelocityTarget.z * character.moveSpeed ) || Utils .haveDifferentSigns (simulatedVelocity.z , arcadeVelocity.z )) { newVelocity.z += add.z ; } } else { newVelocity = new THREE .Vector3 ( THREE .MathUtils .lerp (simulatedVelocity.x , arcadeVelocity.x , character.arcadeVelocityInfluence .x ), THREE .MathUtils .lerp (simulatedVelocity.y , arcadeVelocity.y , character.arcadeVelocityInfluence .y ), THREE .MathUtils .lerp (simulatedVelocity.z , arcadeVelocity.z , character.arcadeVelocityInfluence .z ), ); } if (character.rayHasHit ) { newVelocity.y = 0 ; if (character.rayResult .body .mass > 0 ) { let pointVelocity = new CANNON .Vec3 (); character.rayResult .body .getVelocityAtWorldPoint (character.rayResult .hitPointWorld , pointVelocity); newVelocity.add (Utils .threeVector (pointVelocity)); } let up = new THREE .Vector3 (0 , 1 , 0 ); let normal = new THREE .Vector3 (character.rayResult .hitNormalWorld .x , character.rayResult .hitNormalWorld .y , character.rayResult .hitNormalWorld .z ); let q = new THREE .Quaternion ().setFromUnitVectors (up, normal); let m = new THREE .Matrix4 ().makeRotationFromQuaternion (q); newVelocity.applyMatrix4 (m); body.velocity .x = newVelocity.x ; body.velocity .y = newVelocity.y ; body.velocity .z = newVelocity.z ; body.position .y = character.rayResult .hitPointWorld .y + character.rayCastLength + (newVelocity.y / character.world .physicsFrameRate ); } else { body.velocity .x = newVelocity.x ; body.velocity .y = newVelocity.y ; body.velocity .z = newVelocity.z ; character.groundImpactData .velocity .x = body.velocity .x ; character.groundImpactData .velocity .y = body.velocity .y ; character.groundImpactData .velocity .z = body.velocity .z ; } if (character.wantsToJump ) { if (character.initJumpSpeed > -1 ) { body.velocity .y = 0 ; let speed = Math .max (character.velocitySimulator .position .length () * 4 , character.initJumpSpeed ); body.velocity = Utils .cannonVector (character.orientation .clone ().multiplyScalar (speed)); } else { let add = new CANNON .Vec3 (); character.rayResult .body .getVelocityAtWorldPoint (character.rayResult .hitPointWorld , add); body.velocity .vsub (add, body.velocity ); } body.velocity .y += 4 ; body.position .y += character.raySafeOffset * 2 ; character.wantsToJump = false ; } }
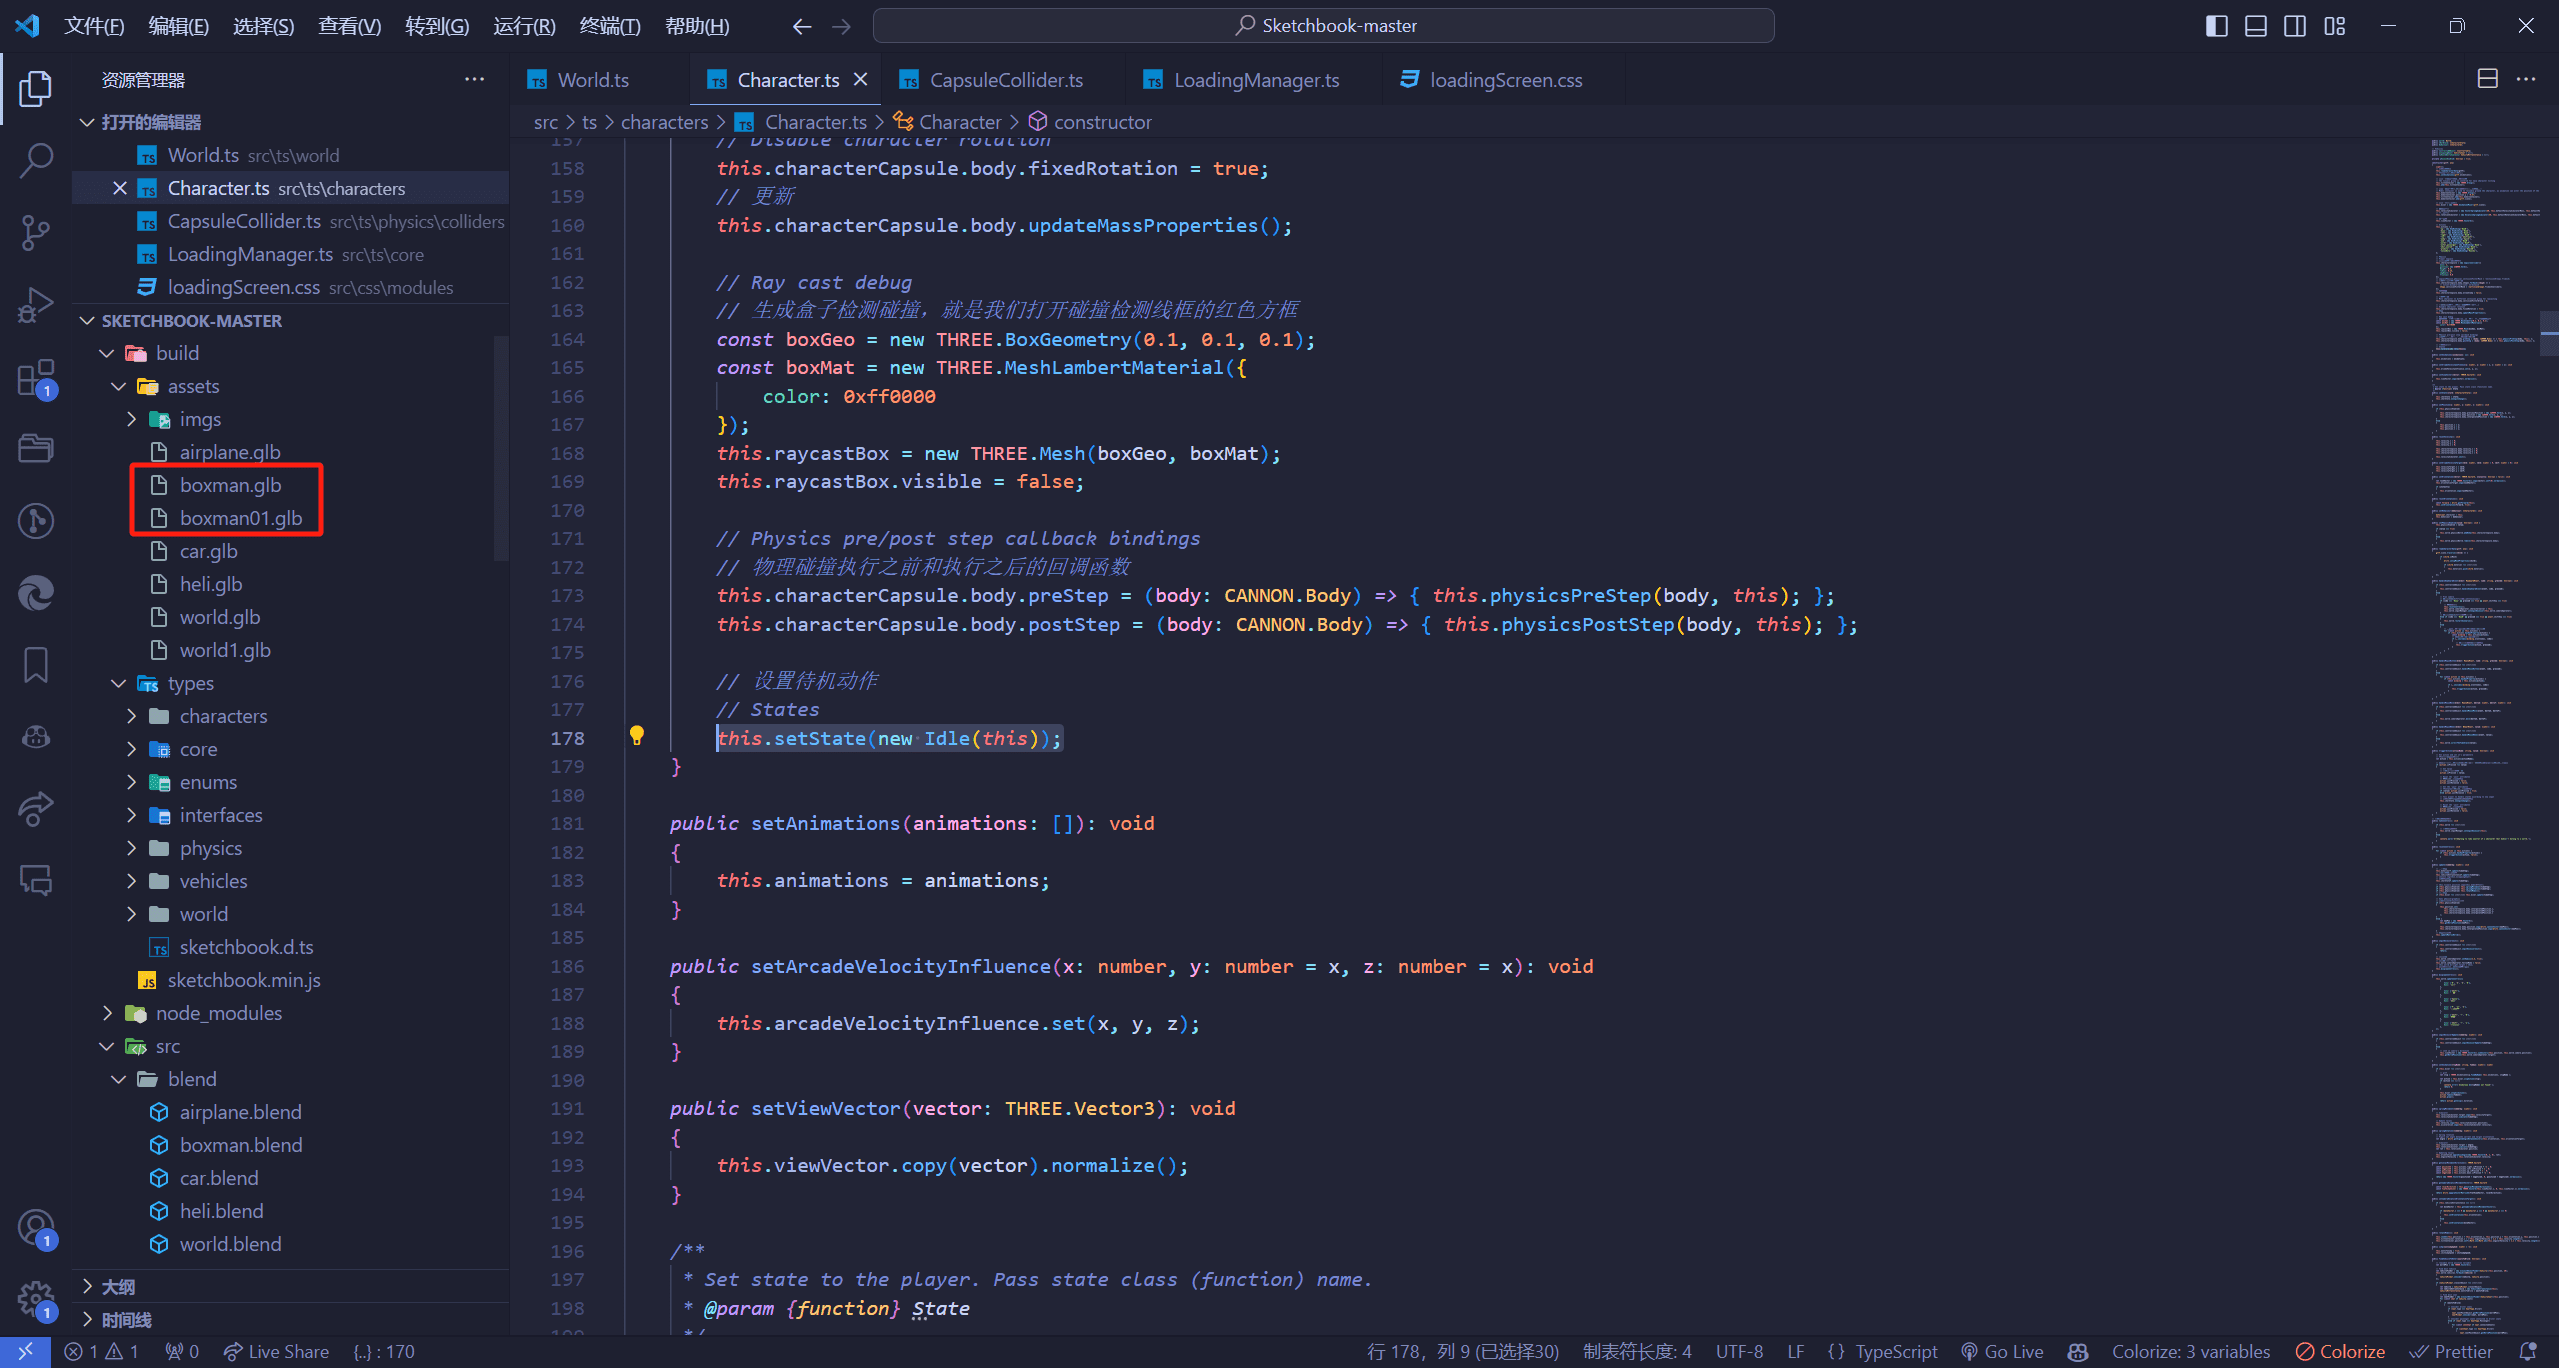
设置默认动作 1 2 3 this .setState (new Idle (this ));
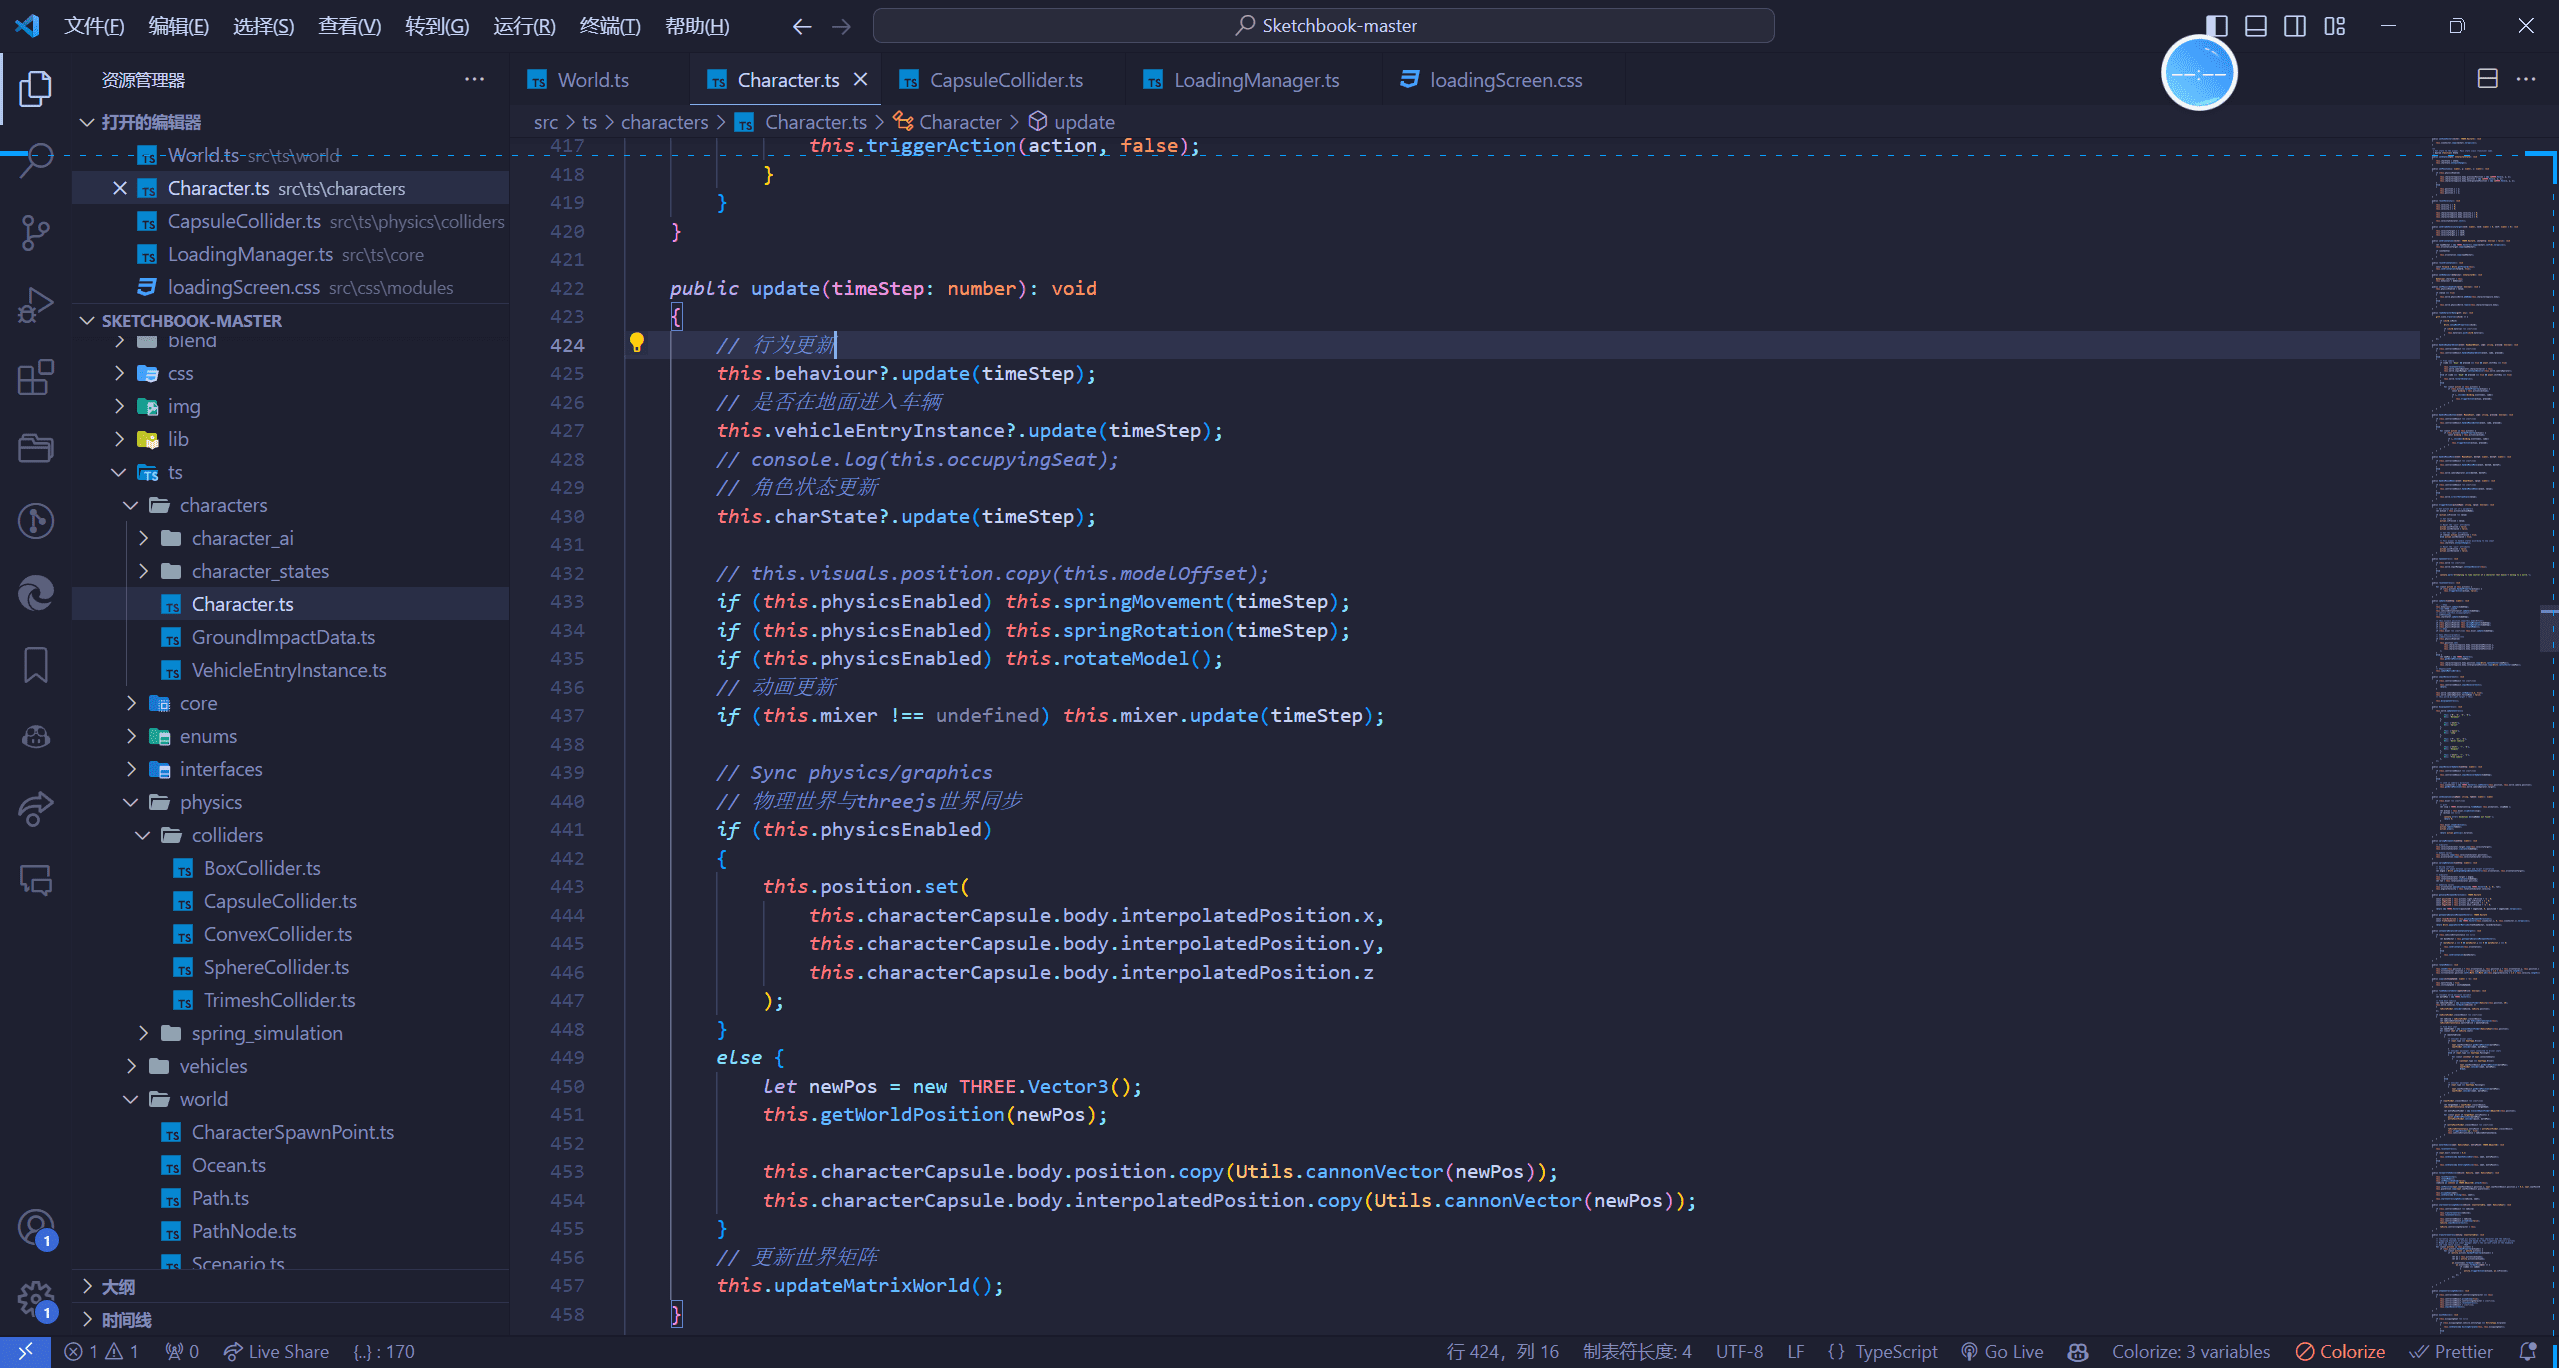
角色状态更新 这里我就贴个代码截图了,具体内容大家看注释
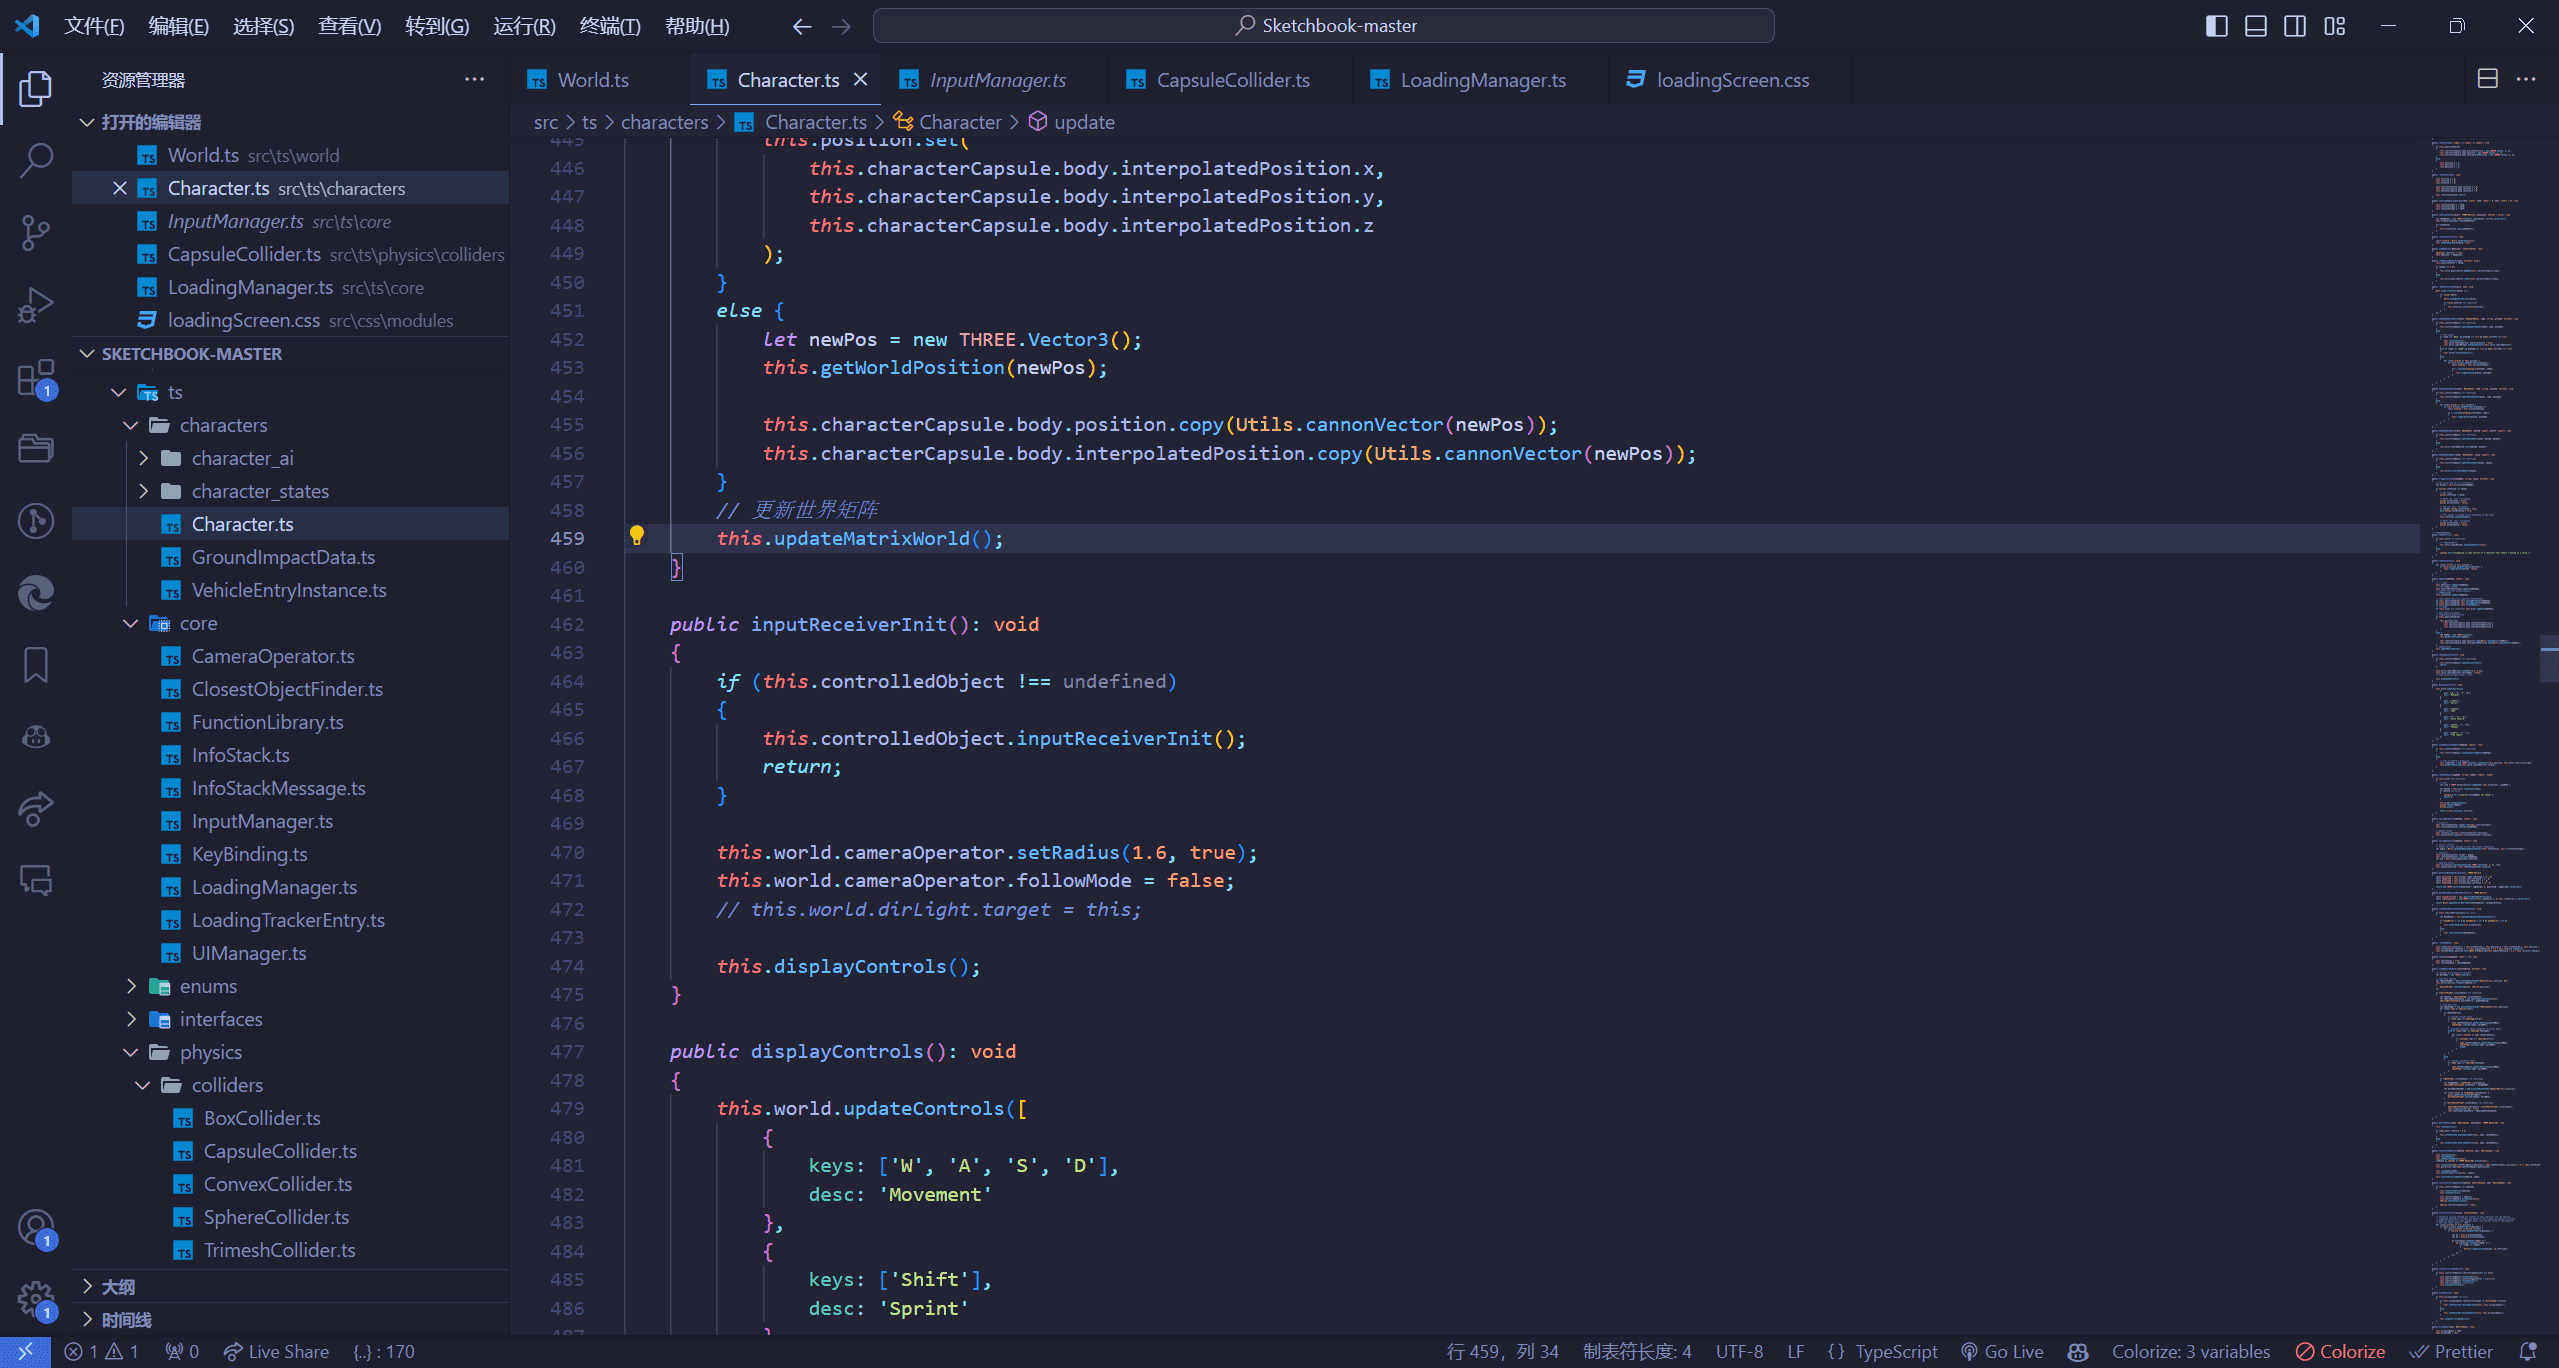
输入管理与角色动作状态与动画 在重生点文件中,我们有一句代码是
这里调用的tokeControl就是我们接管了控制
1 2 3 4 5 6 7 8 9 10 11 12 13 public takeControl (): void { if (this .world !== undefined ) { this .world .inputManager .setInputReceiver (this ); } else { console .warn ('Attempting to take control of a character that doesn\'t belong to a world.' ); } }
然后它调用了核心库中的输入管理
1 2 3 4 5 6 7 this .world .cameraOperator .setRadius (1.6 , true );this .world .cameraOperator .followMode = false ;this .displayControls ();
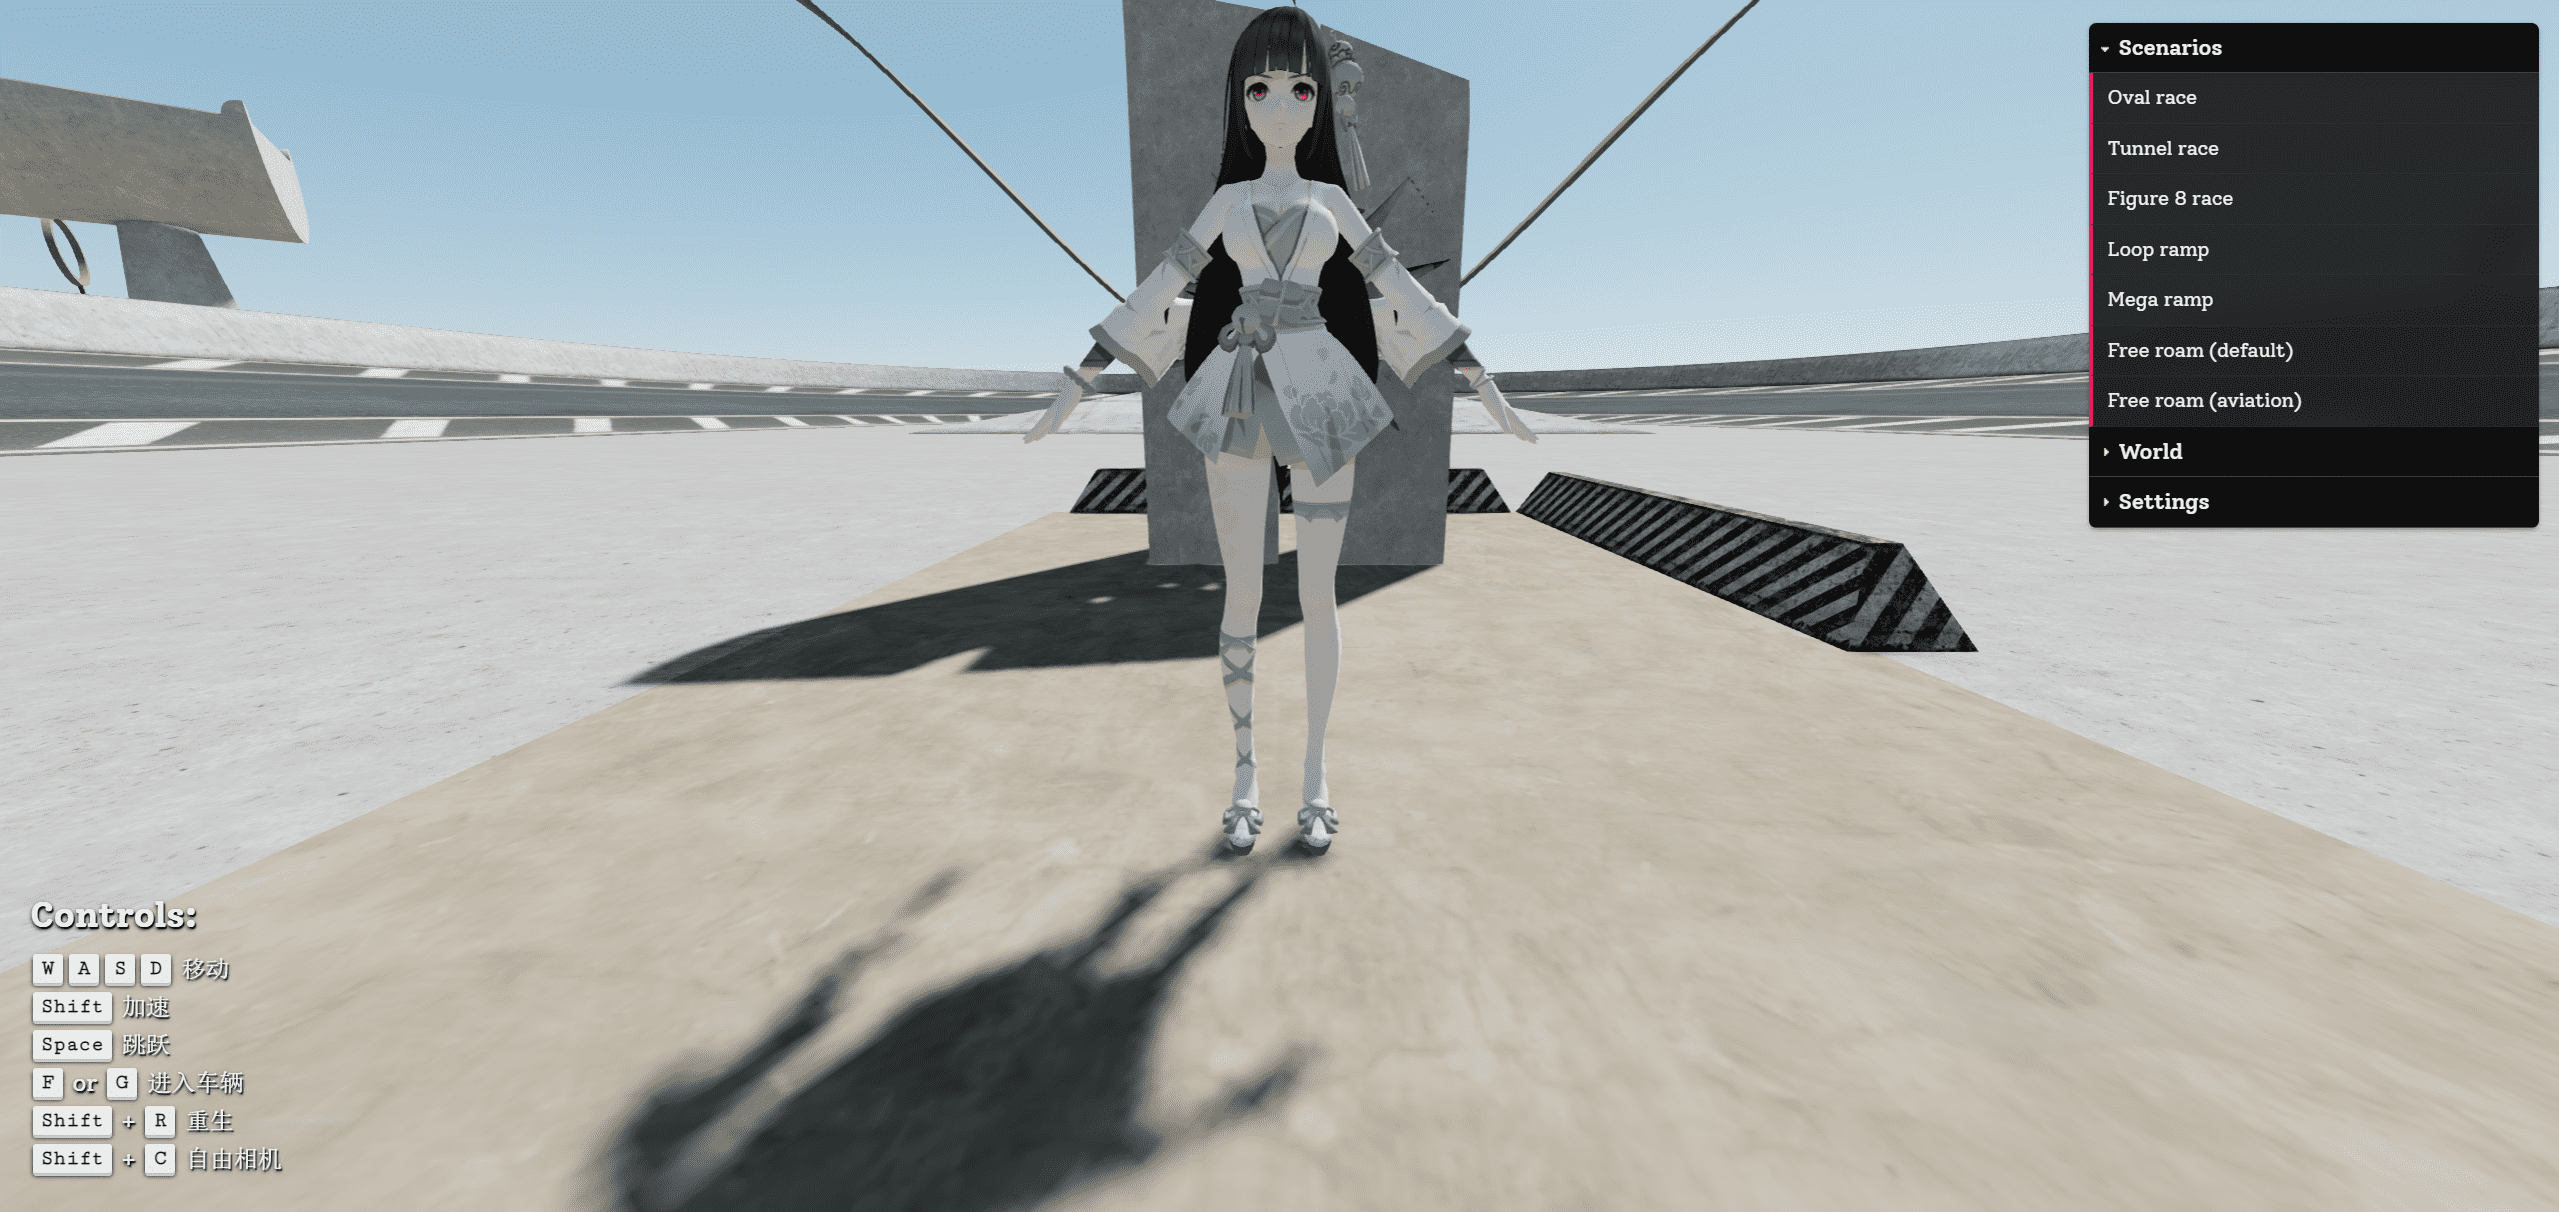
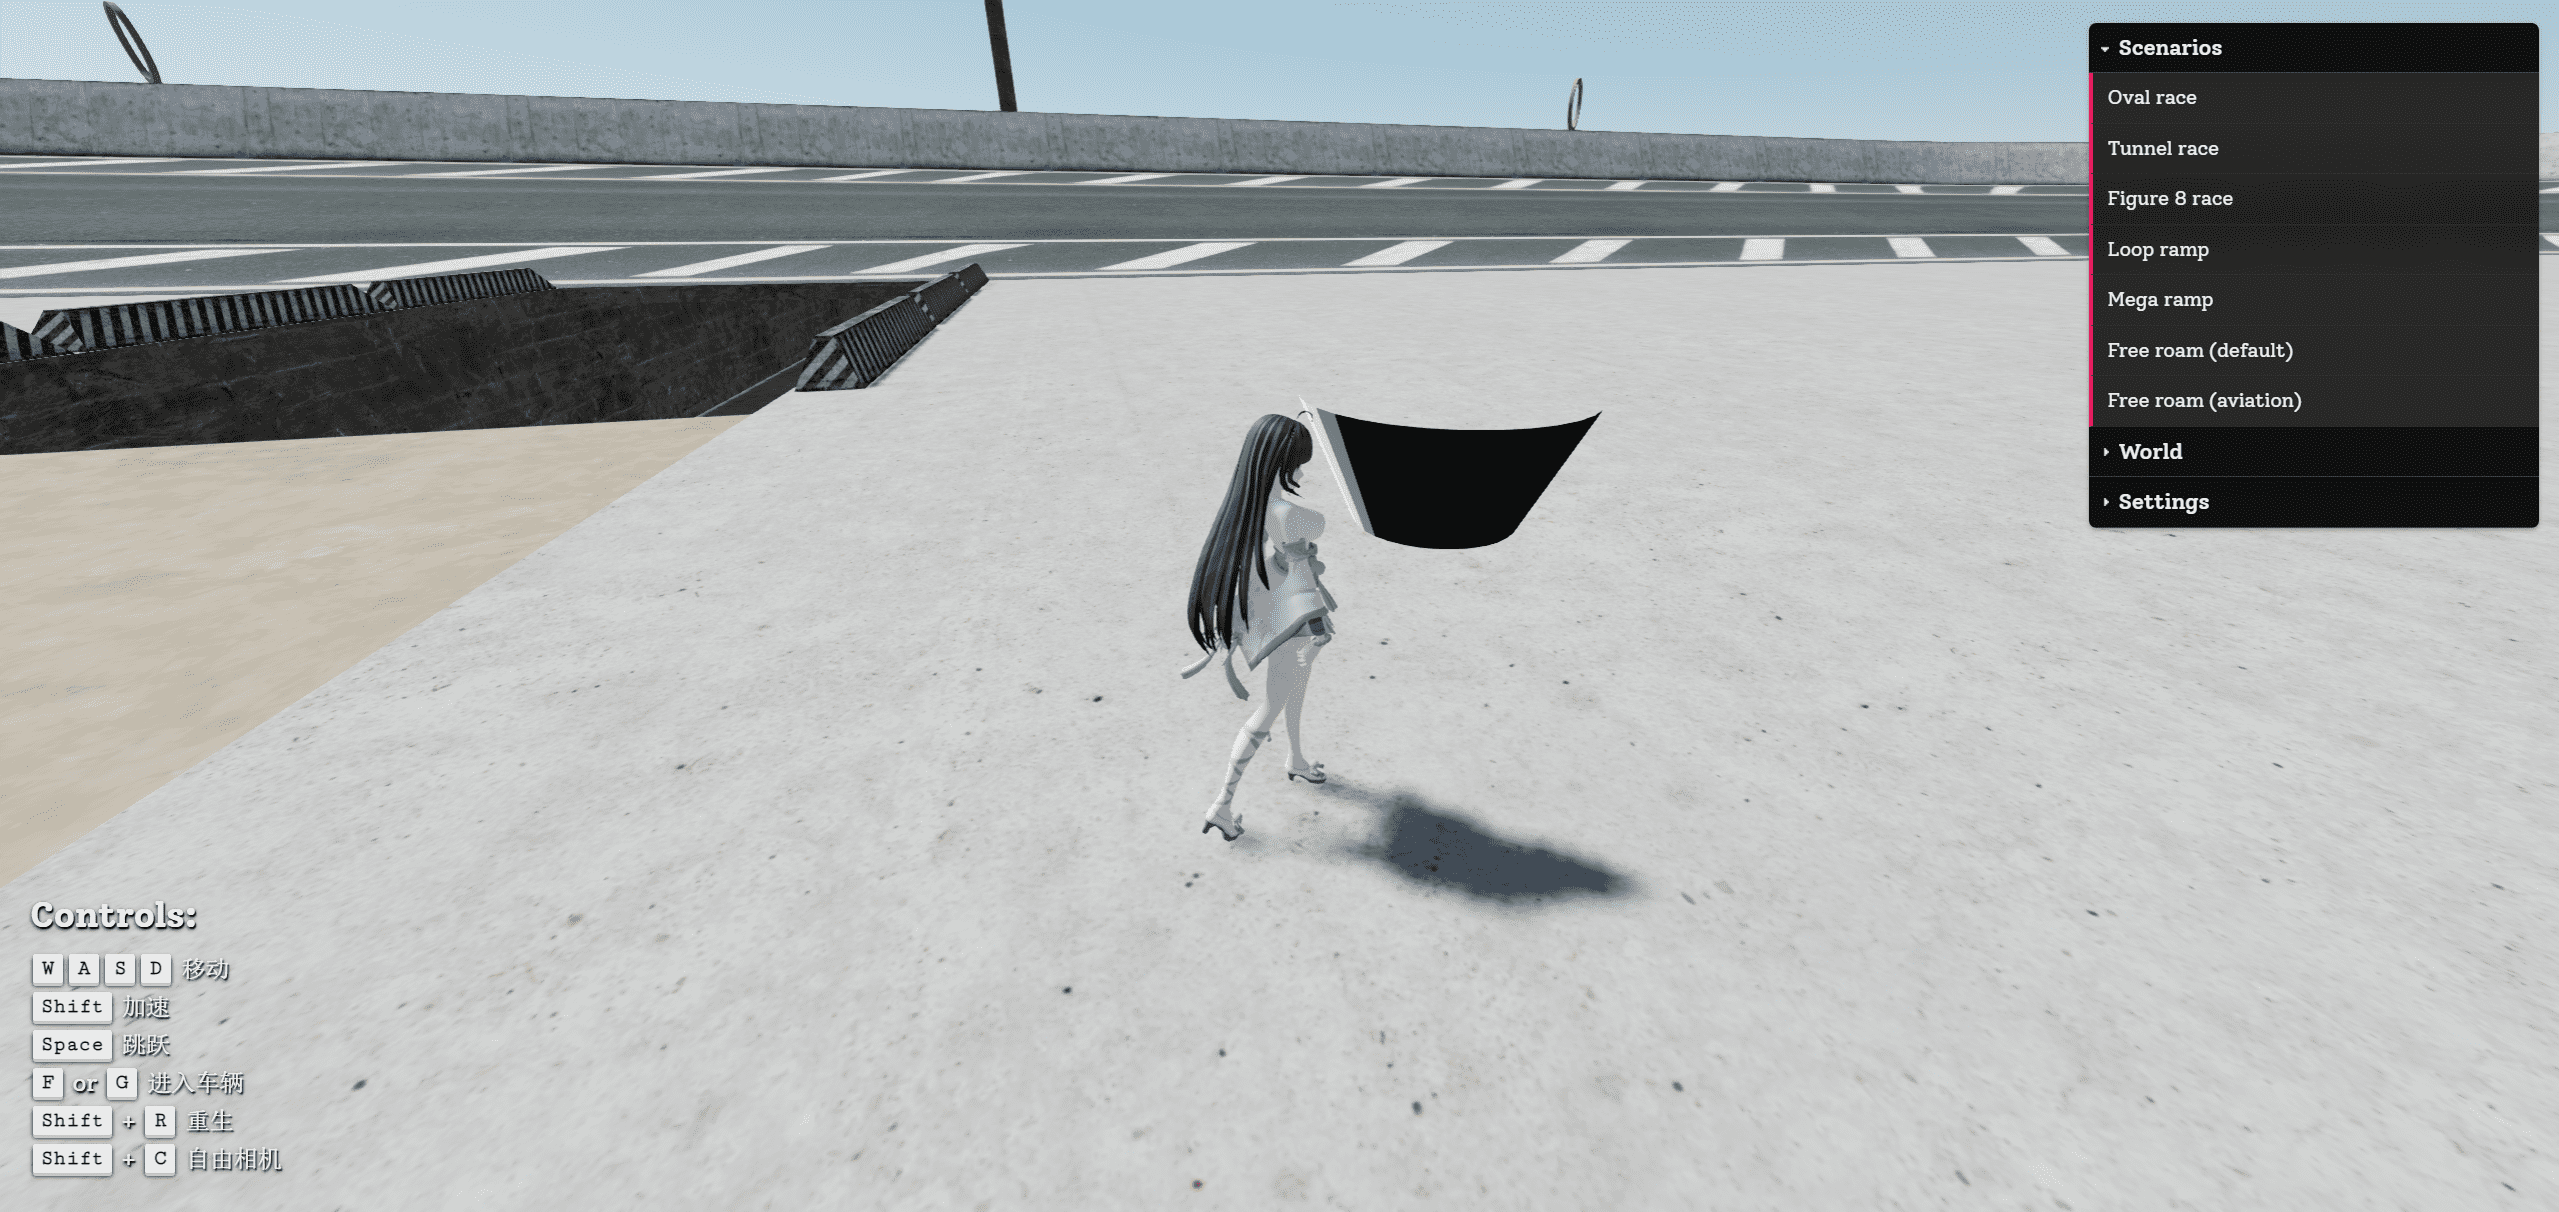
这里我们简单修改下展示控制的代码,我们将他的提示文字改成我们自己的
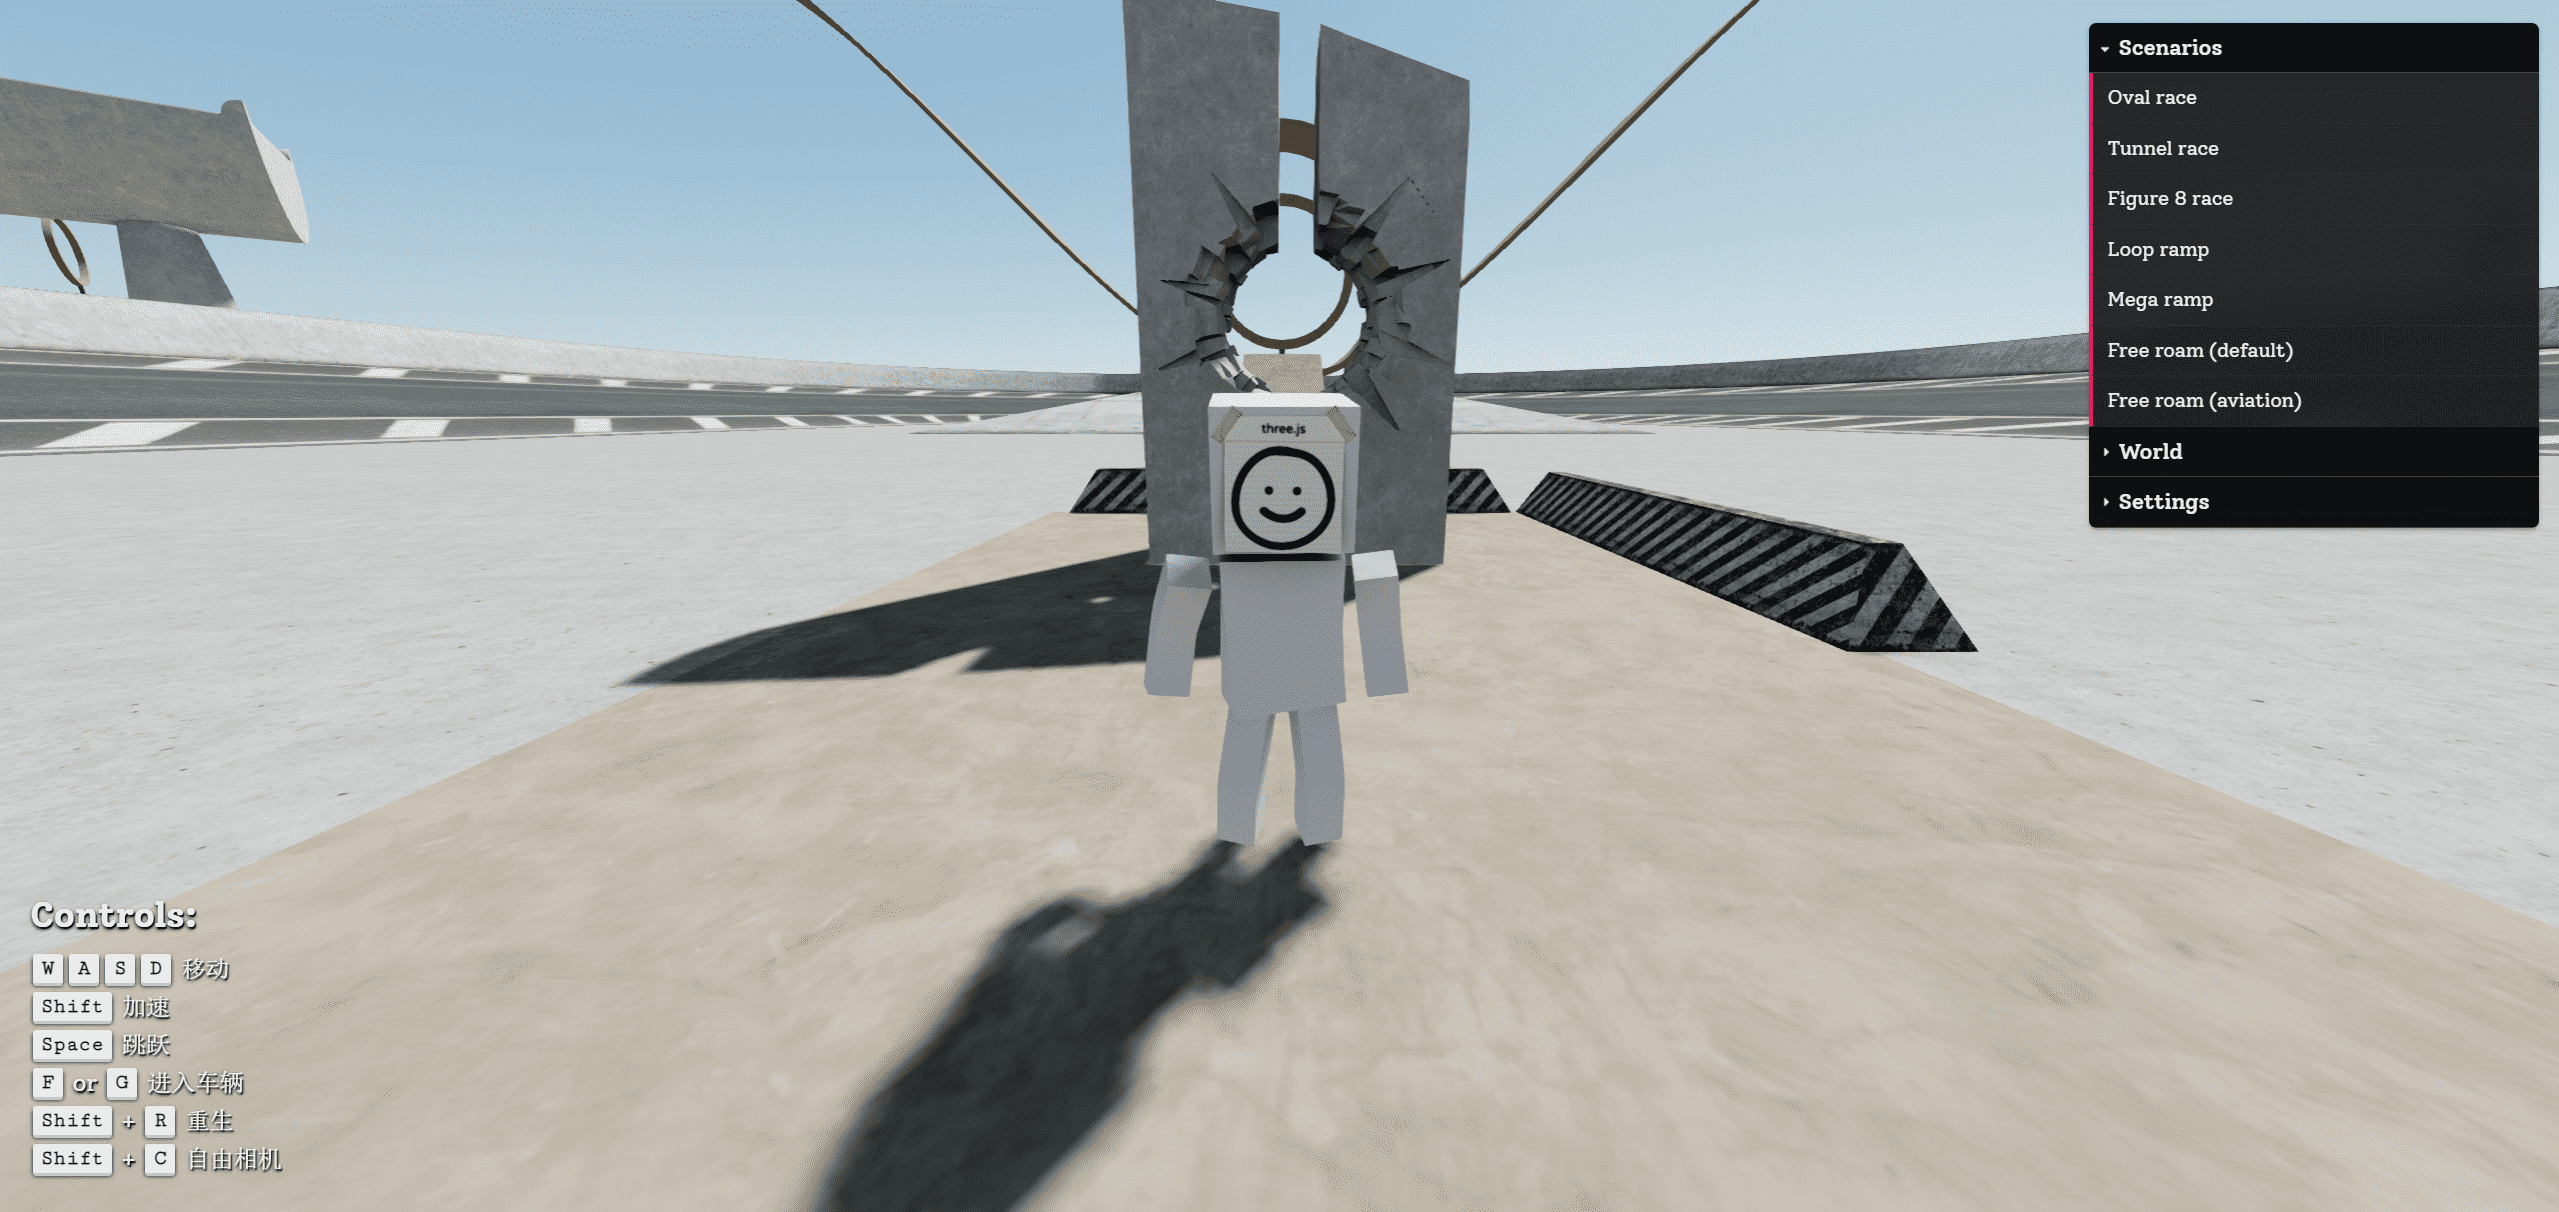
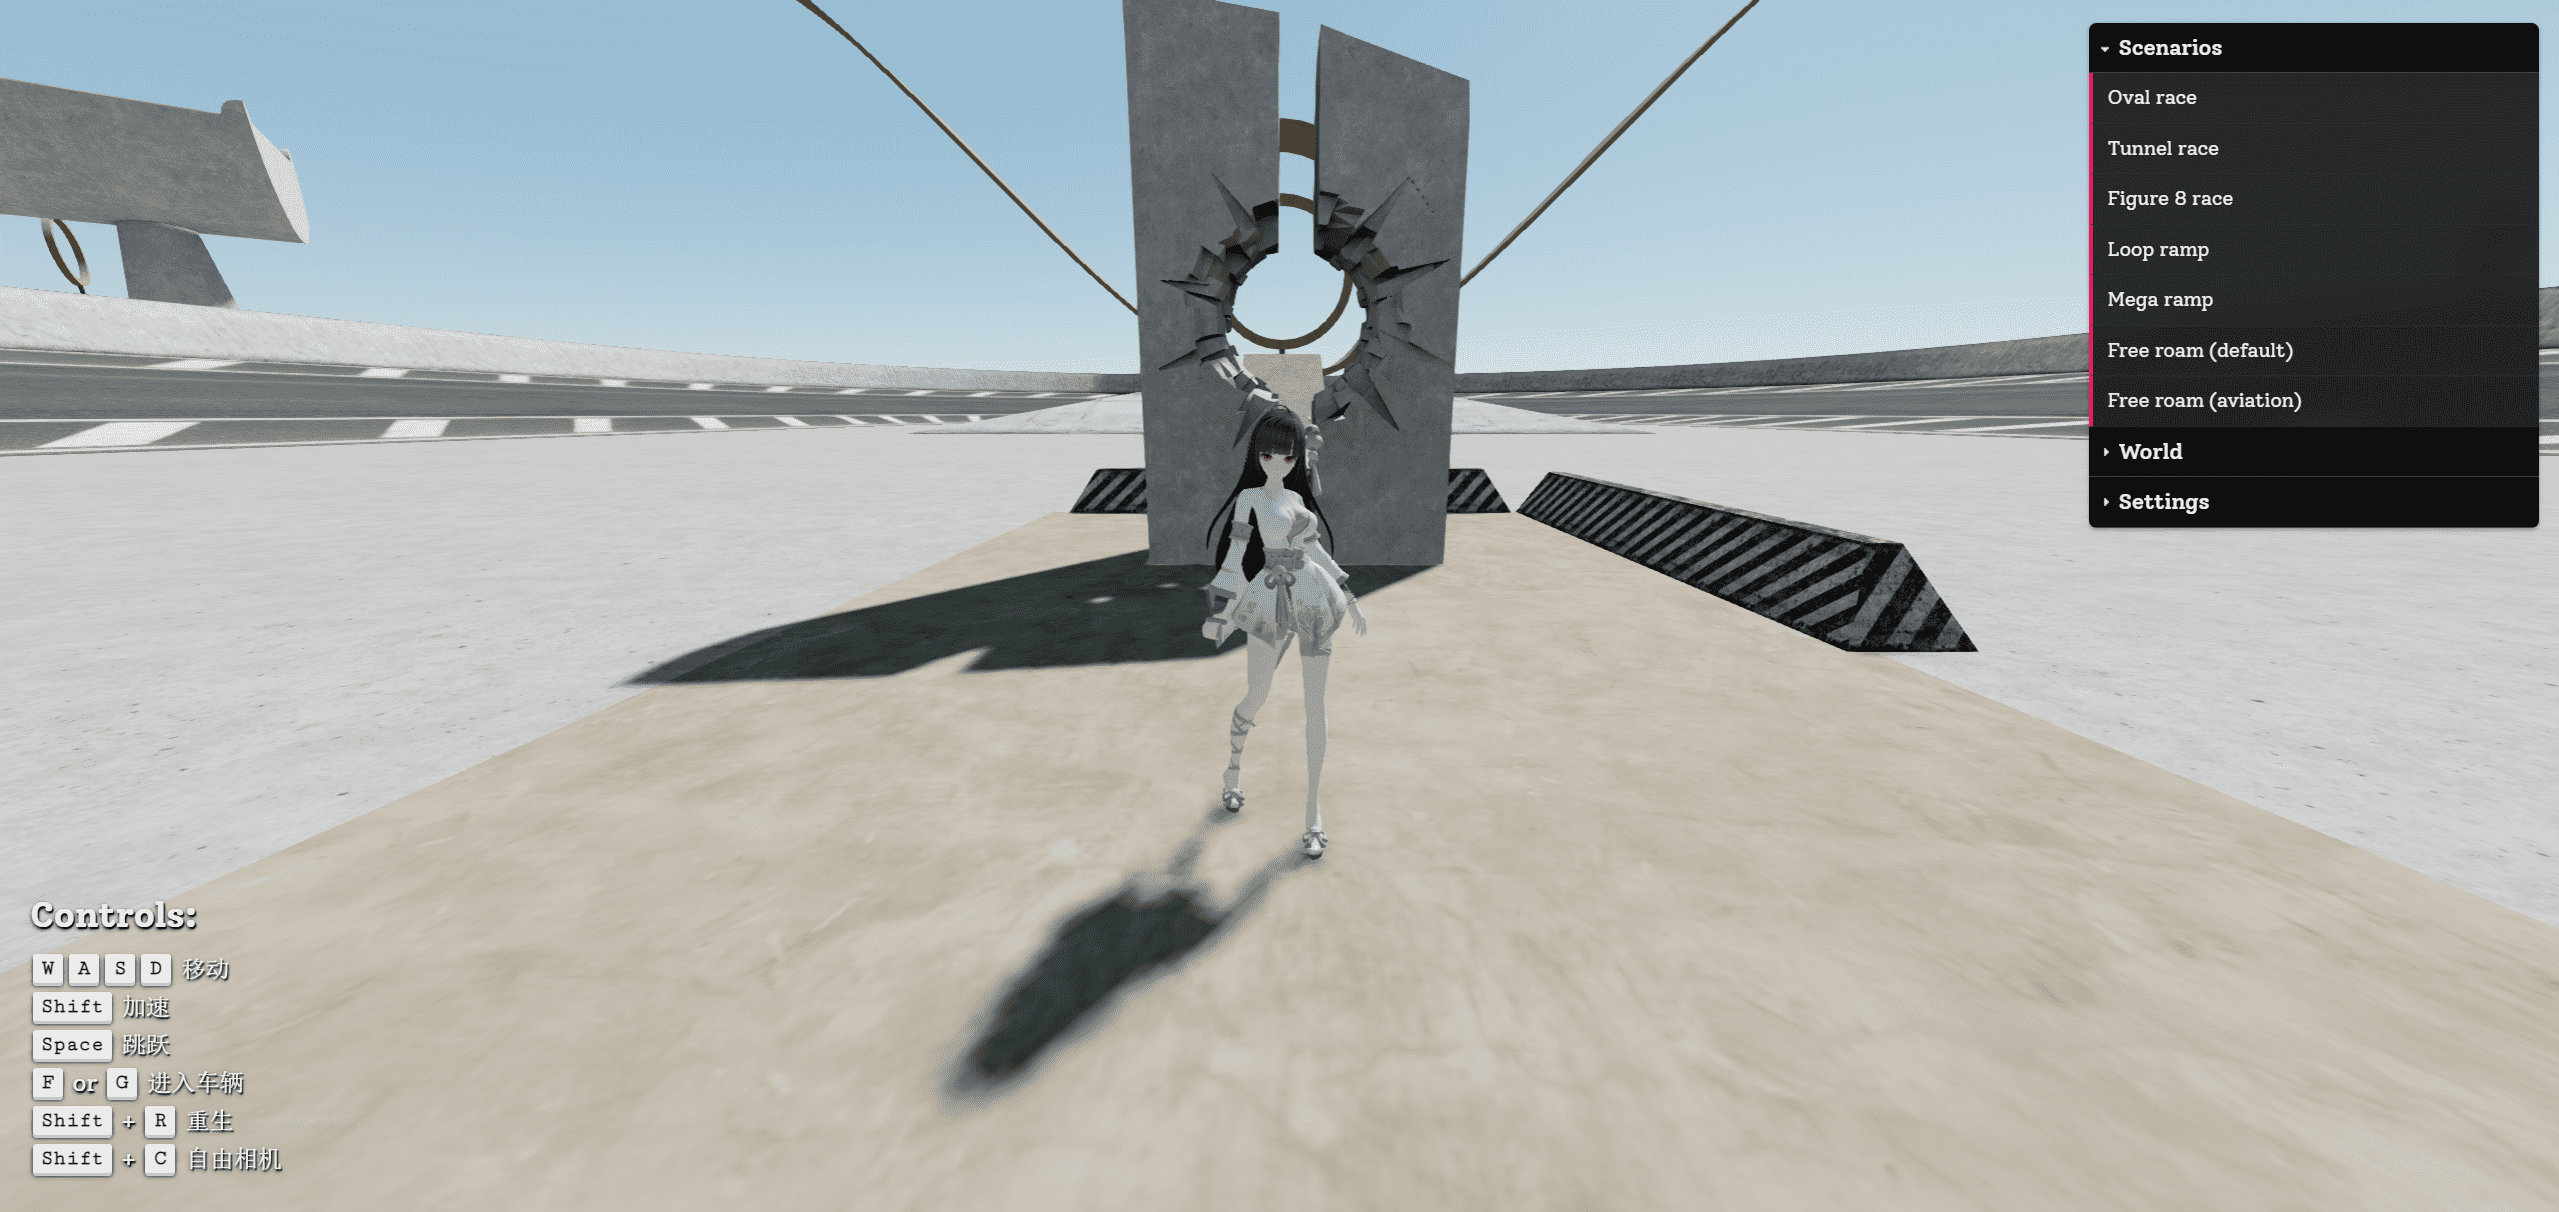
1 2 3 4 5 6 7 8 9 10 11 12 13 14 15 16 17 18 19 20 21 22 23 24 25 26 27 28 29 public displayControls (): void { this .world .updateControls ([ { keys : ['W' , 'A' , 'S' , 'D' ], desc : '移动' }, { keys : ['Shift' ], desc : '加速' }, { keys : ['Space' ], desc : '跳跃' }, { keys : ['F' , 'or' , 'G' ], desc : '进入车辆' }, { keys : ['Shift' , '+' , 'R' ], desc : '重生' }, { keys : ['Shift' , '+' , 'C' ], desc : '自由相机' }, ]); }
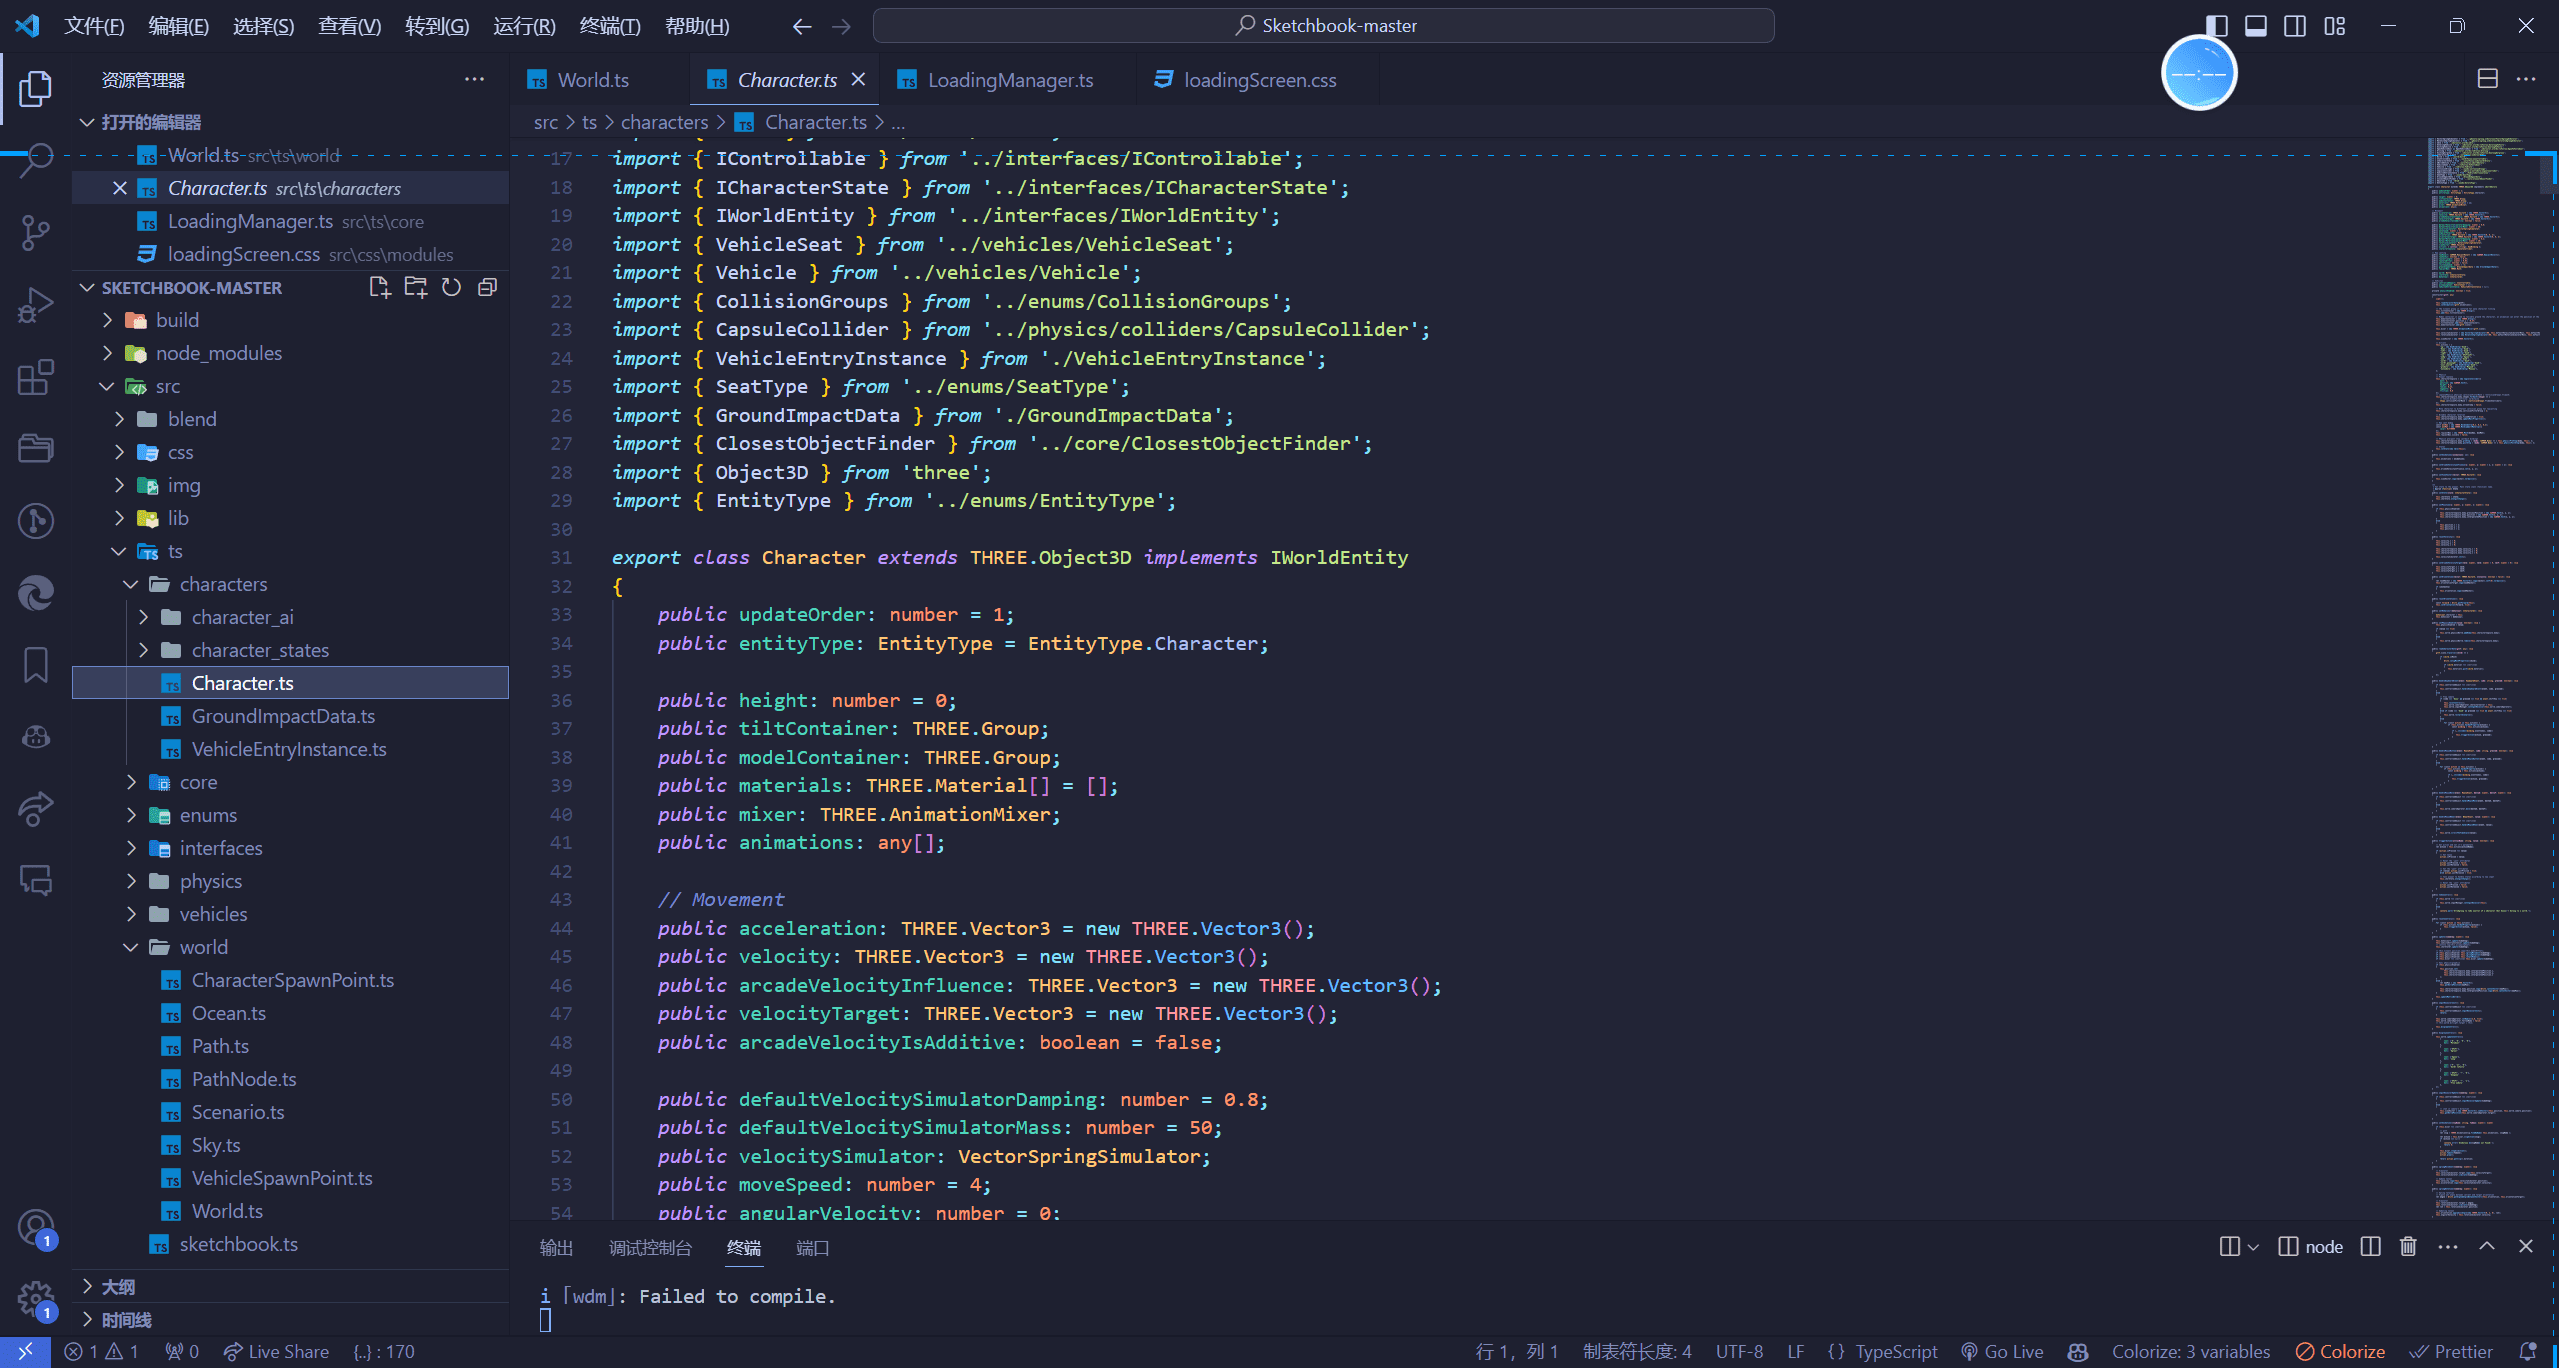
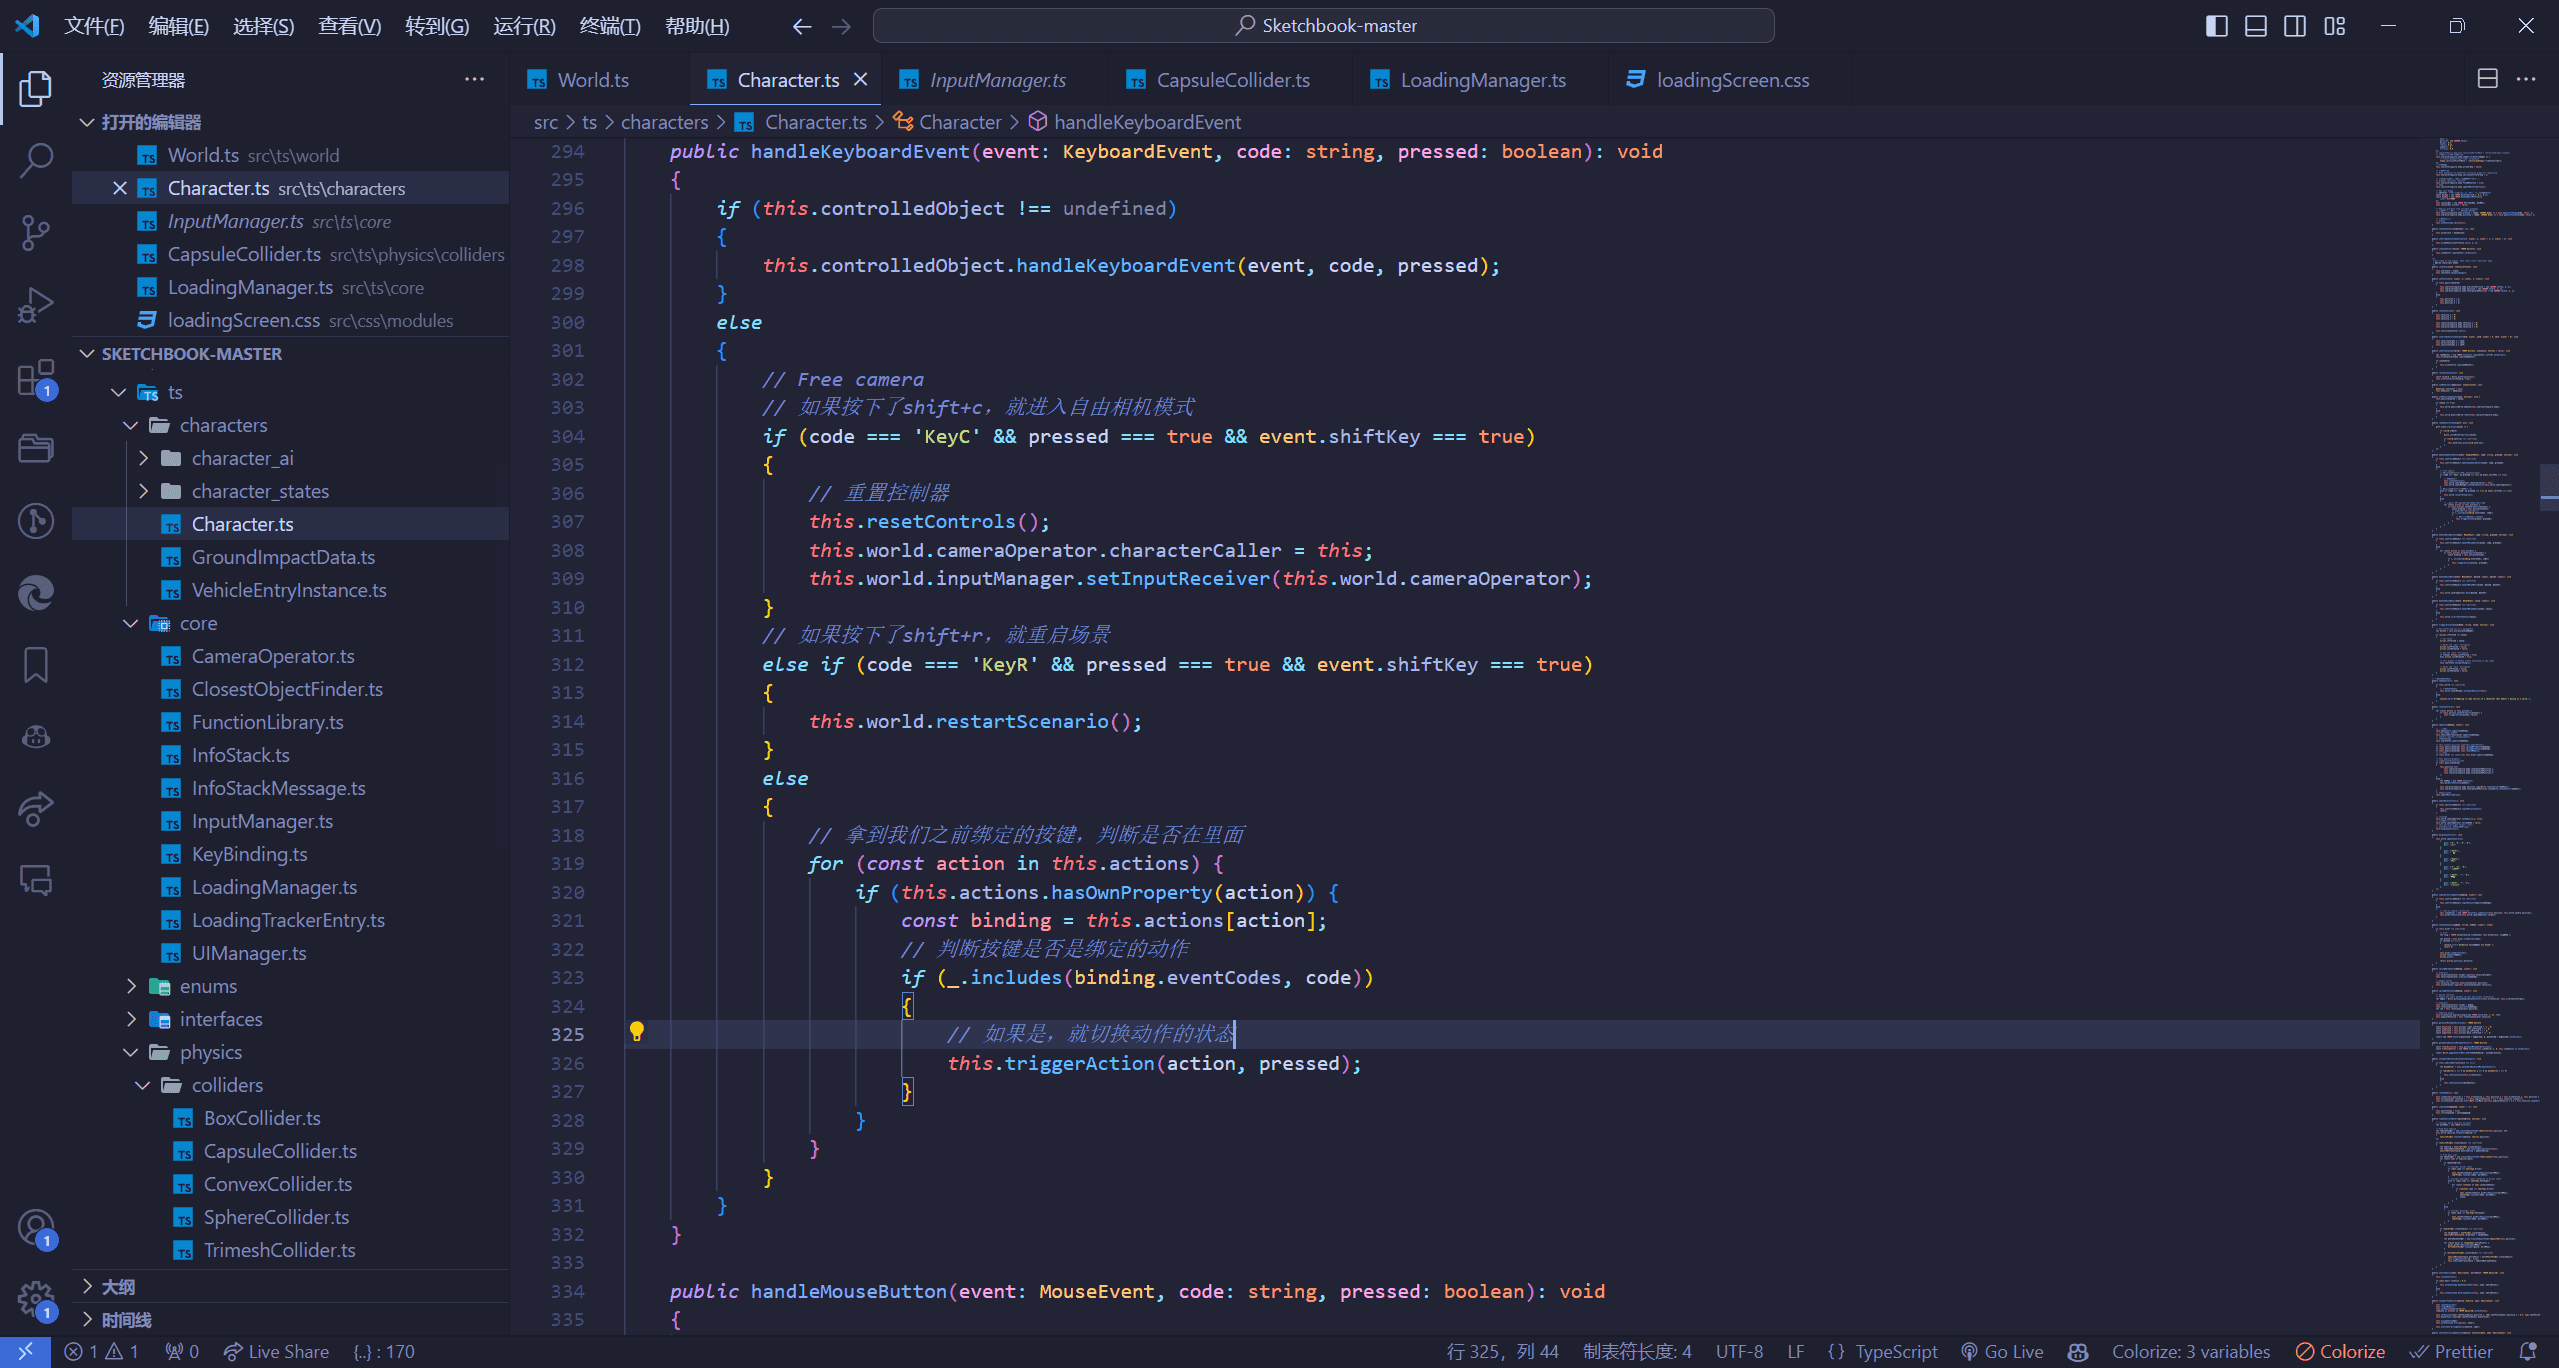
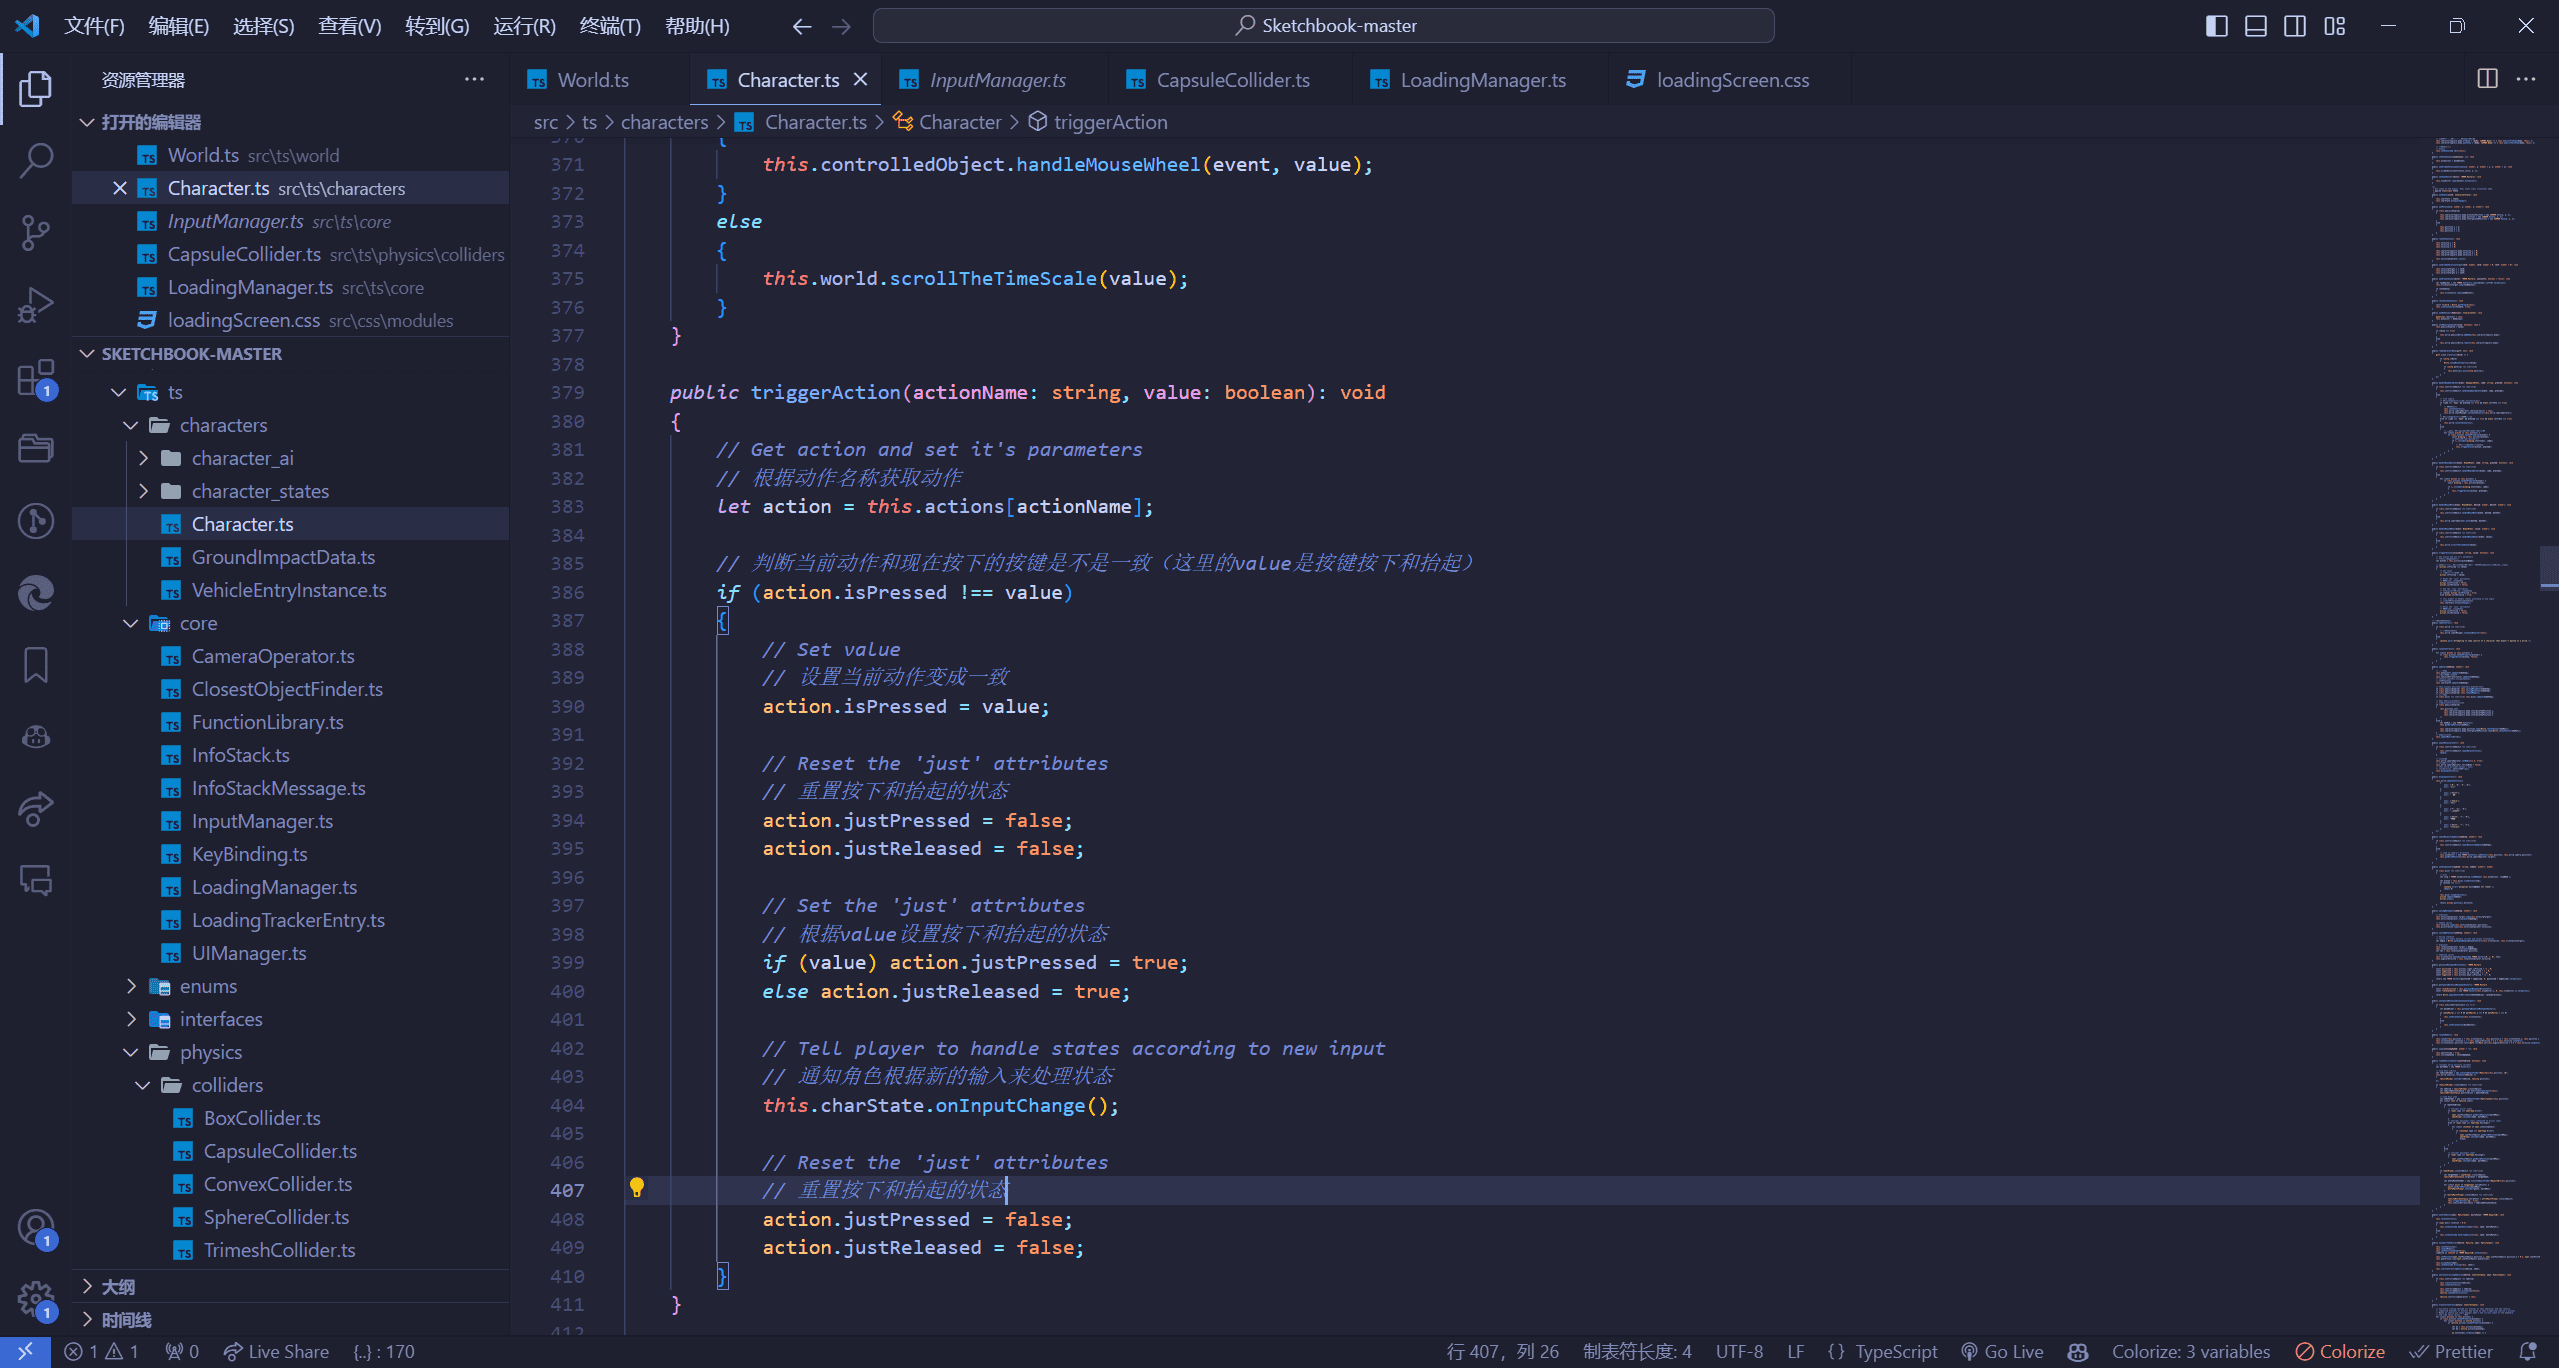
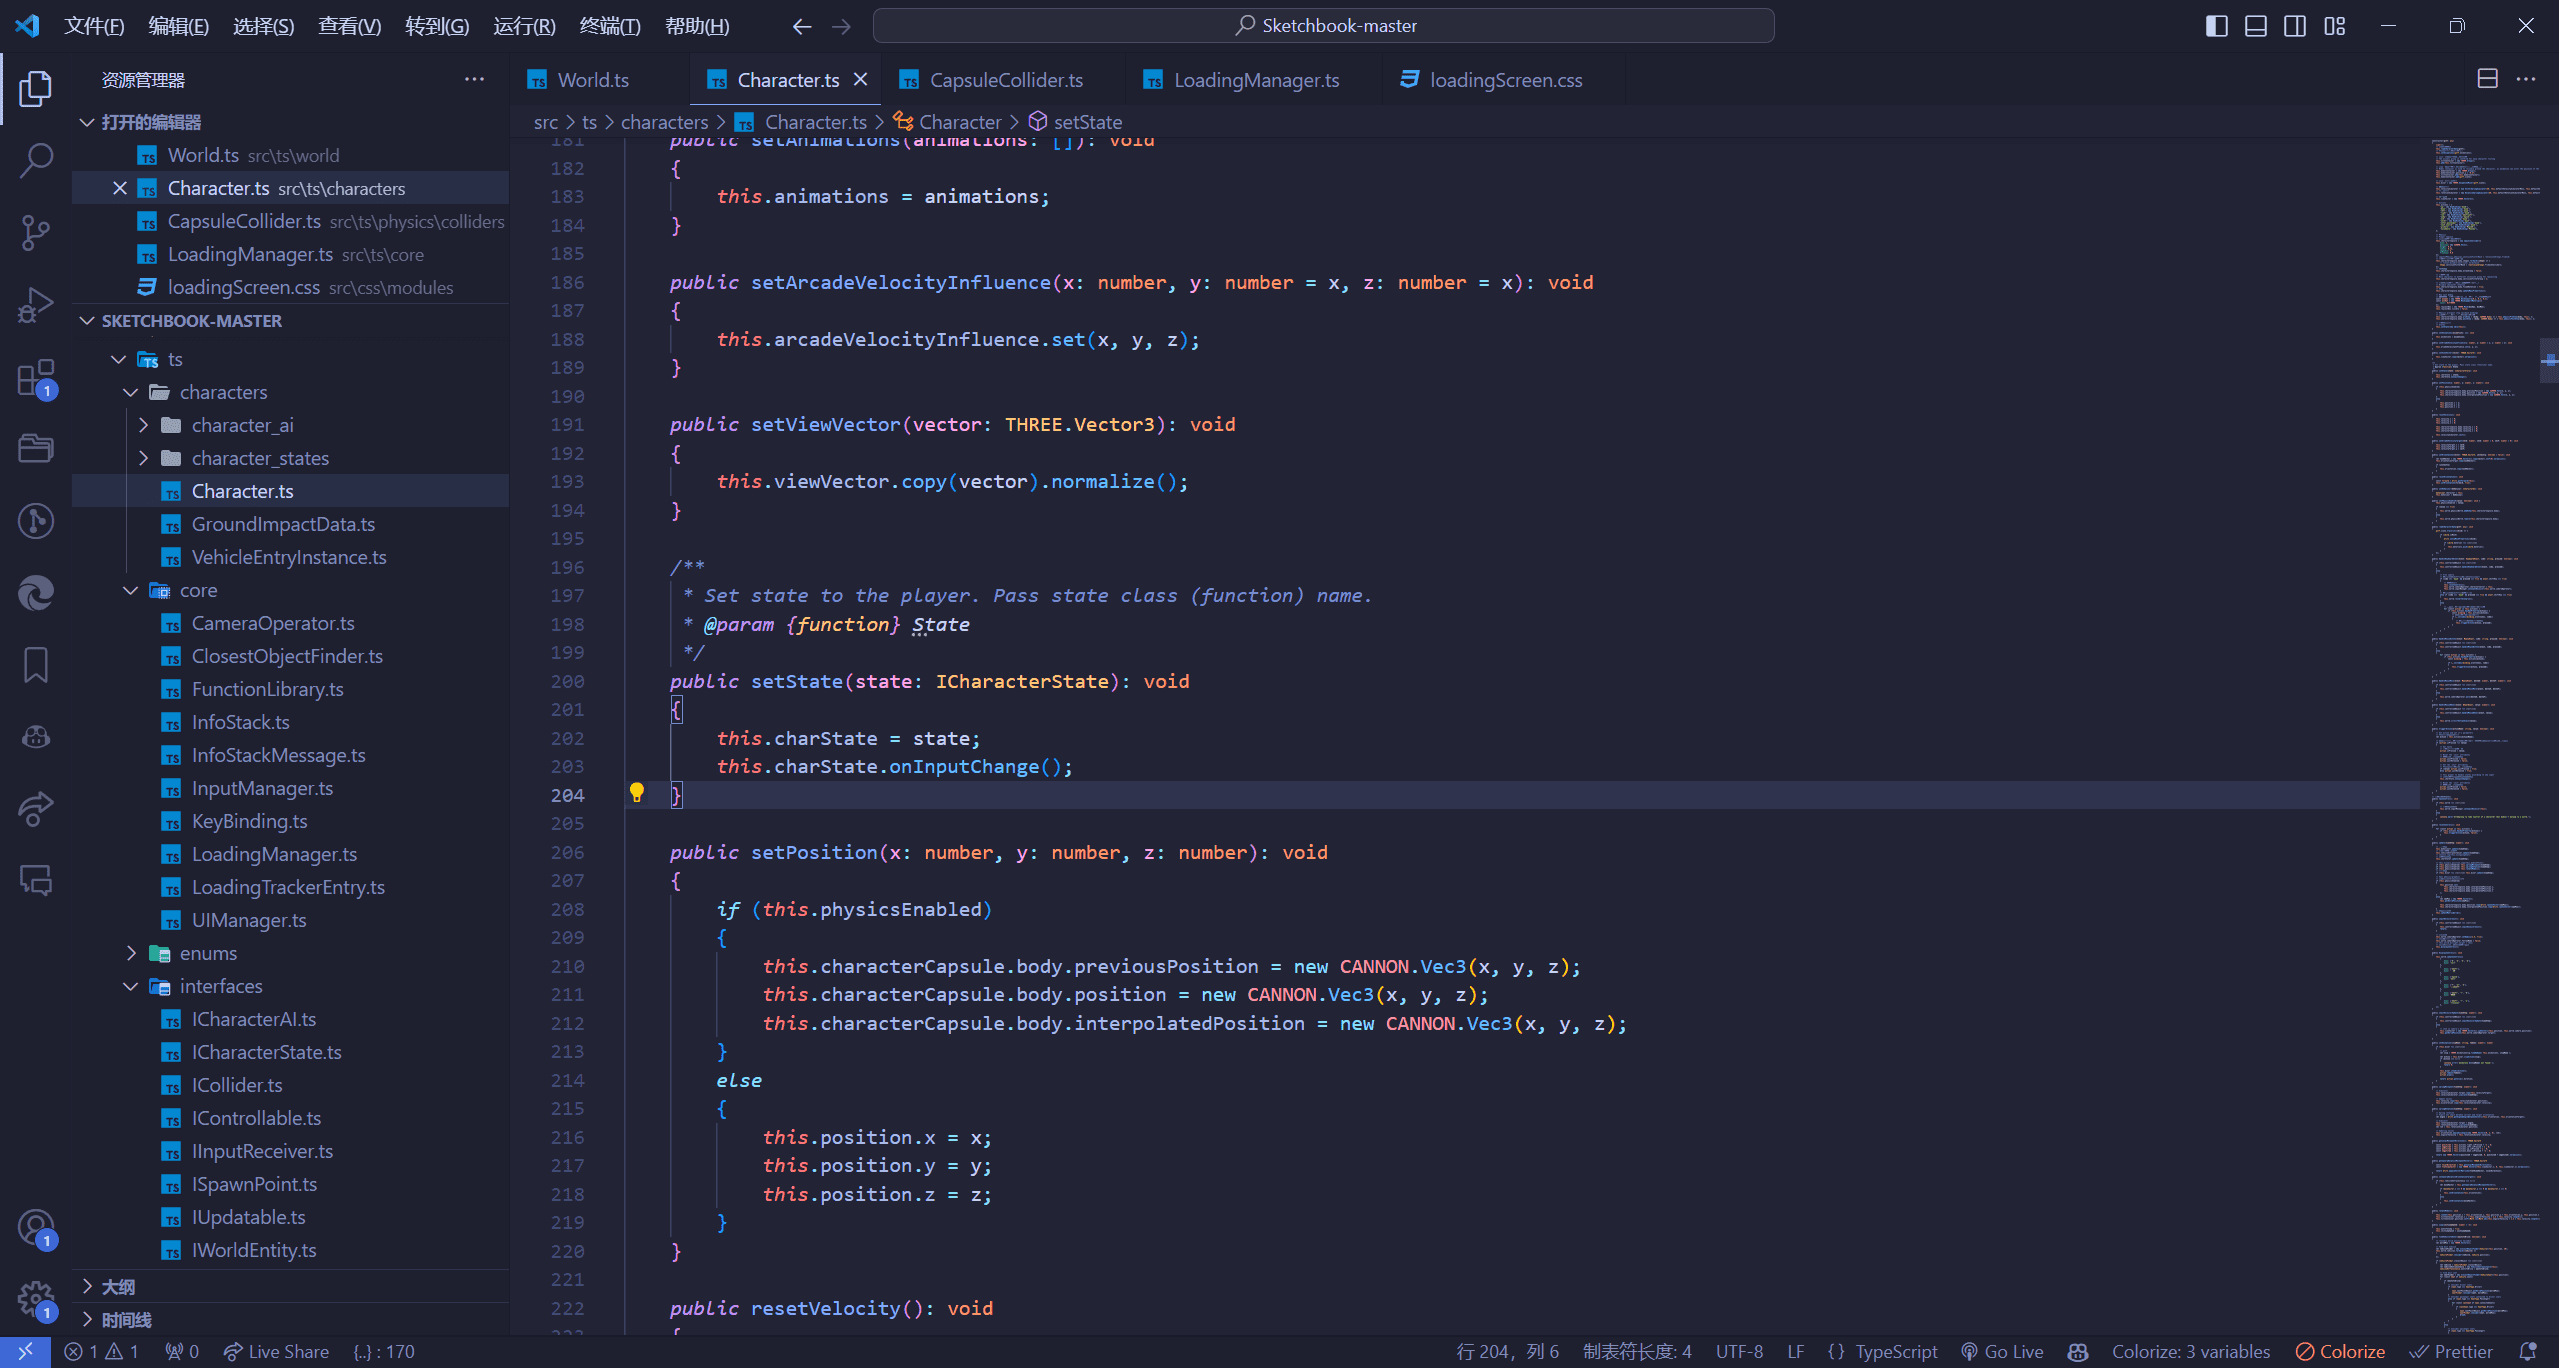
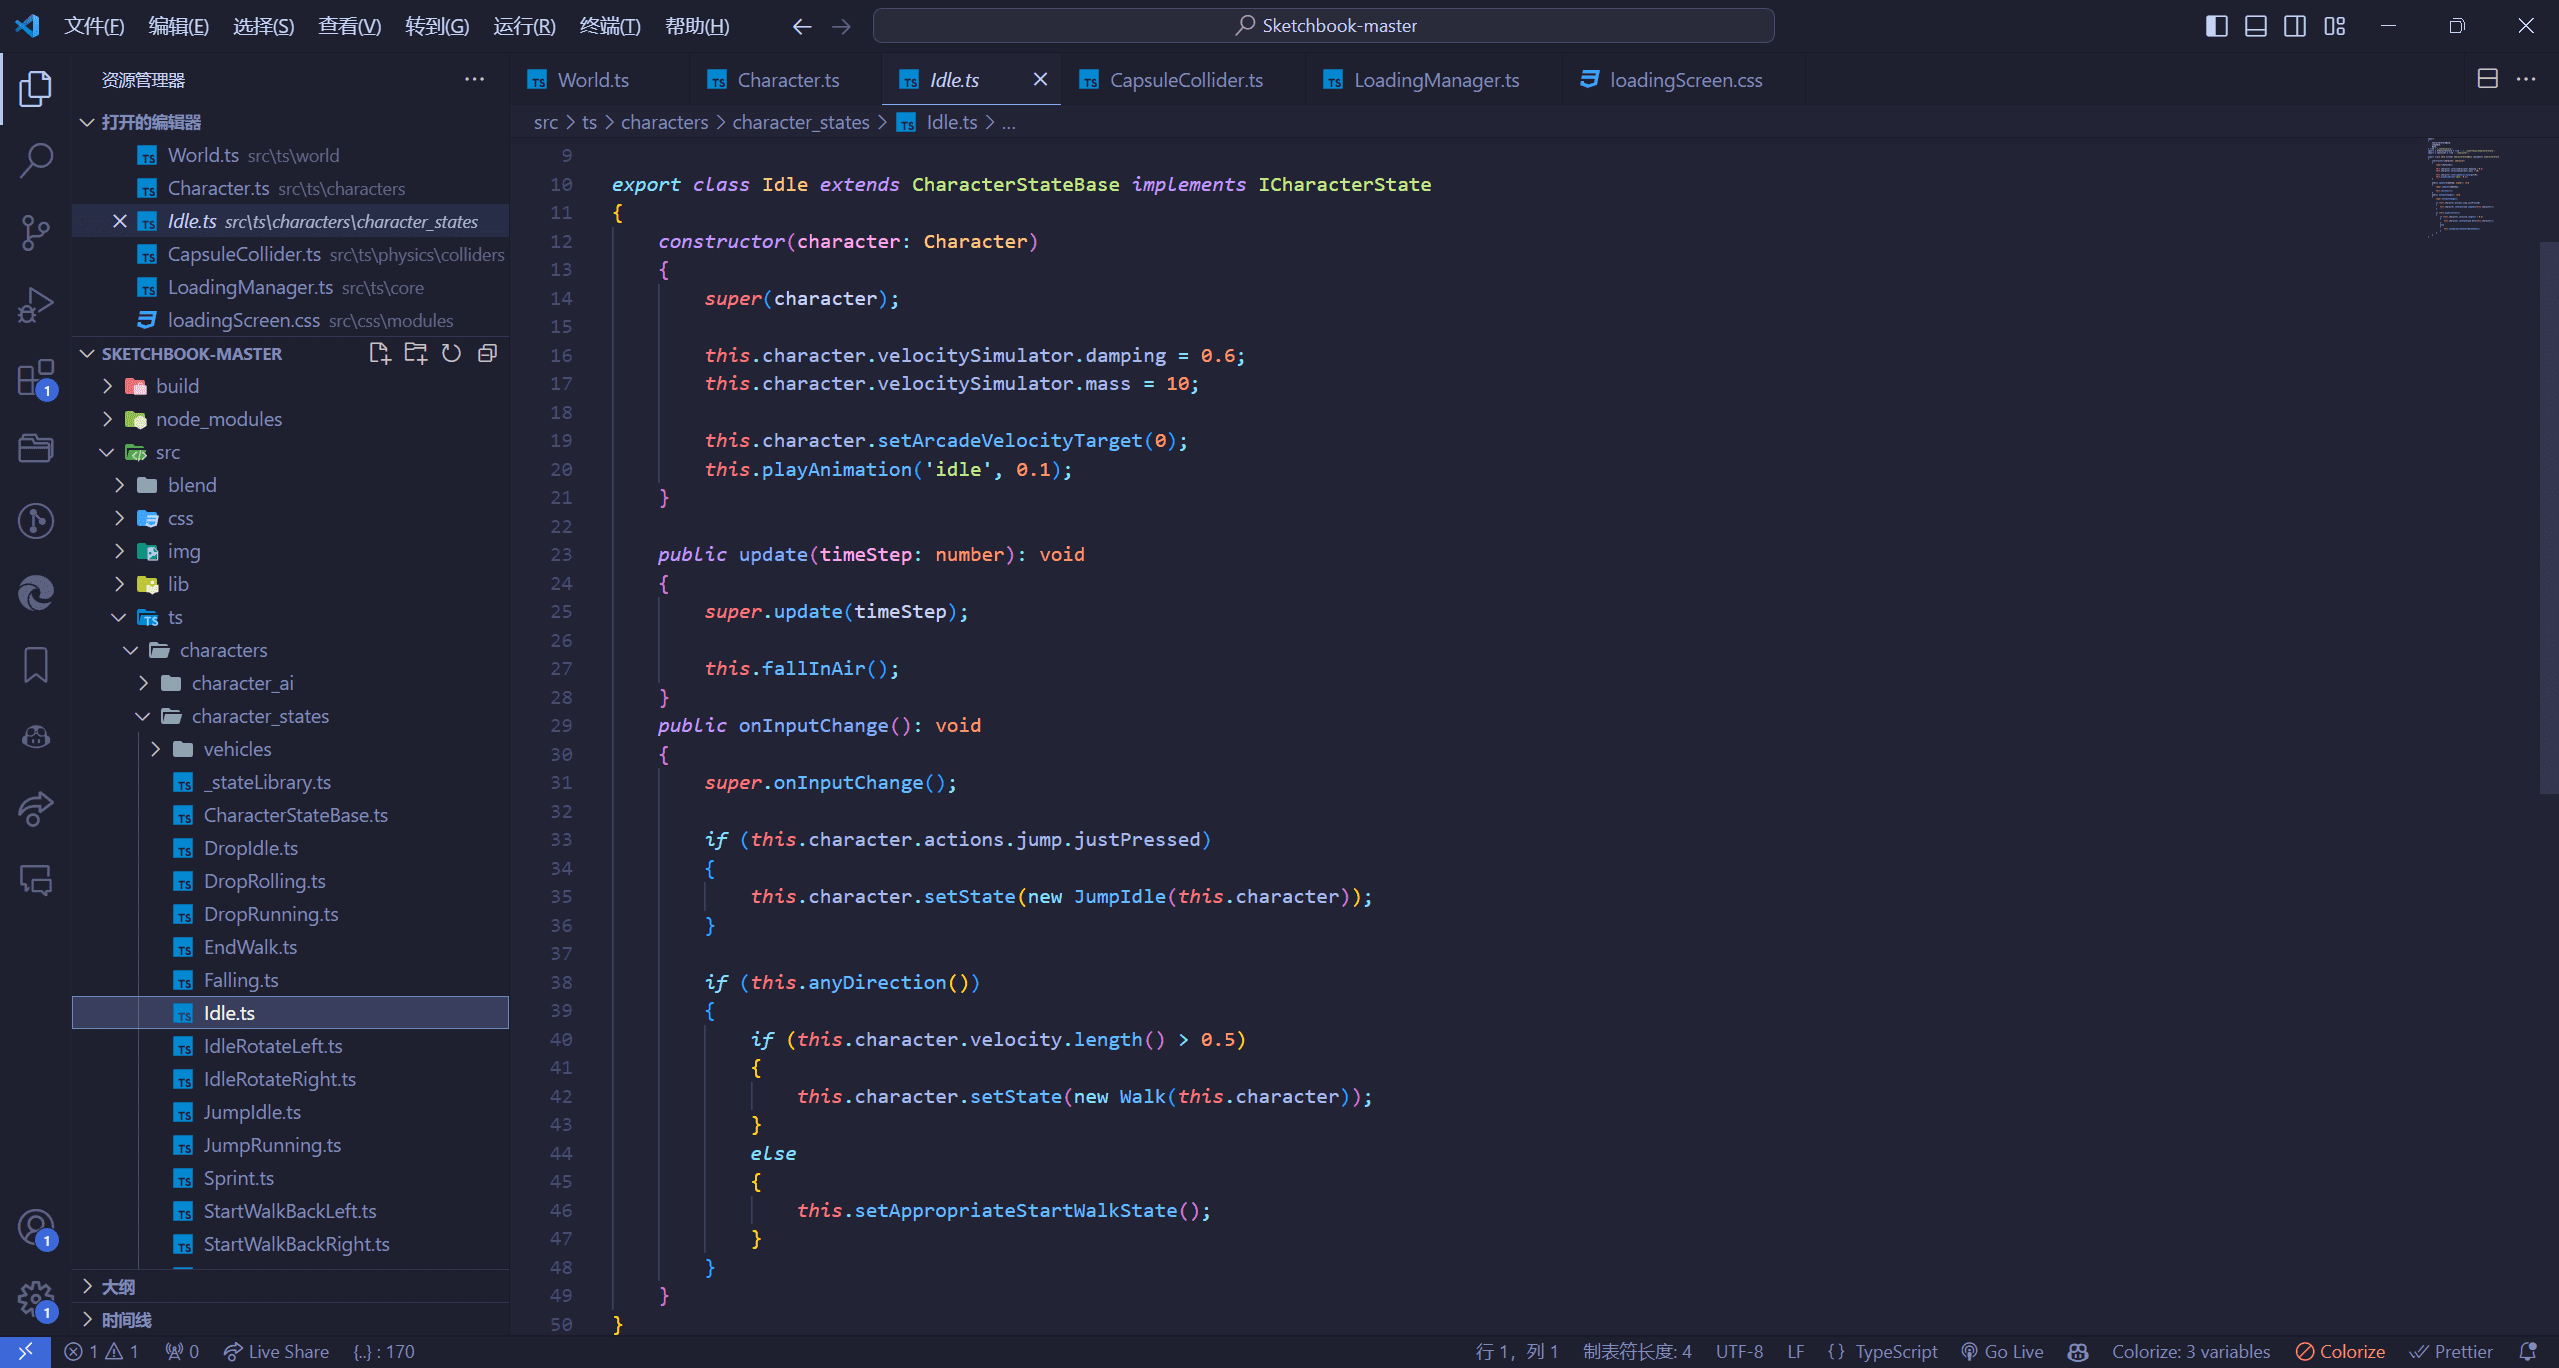
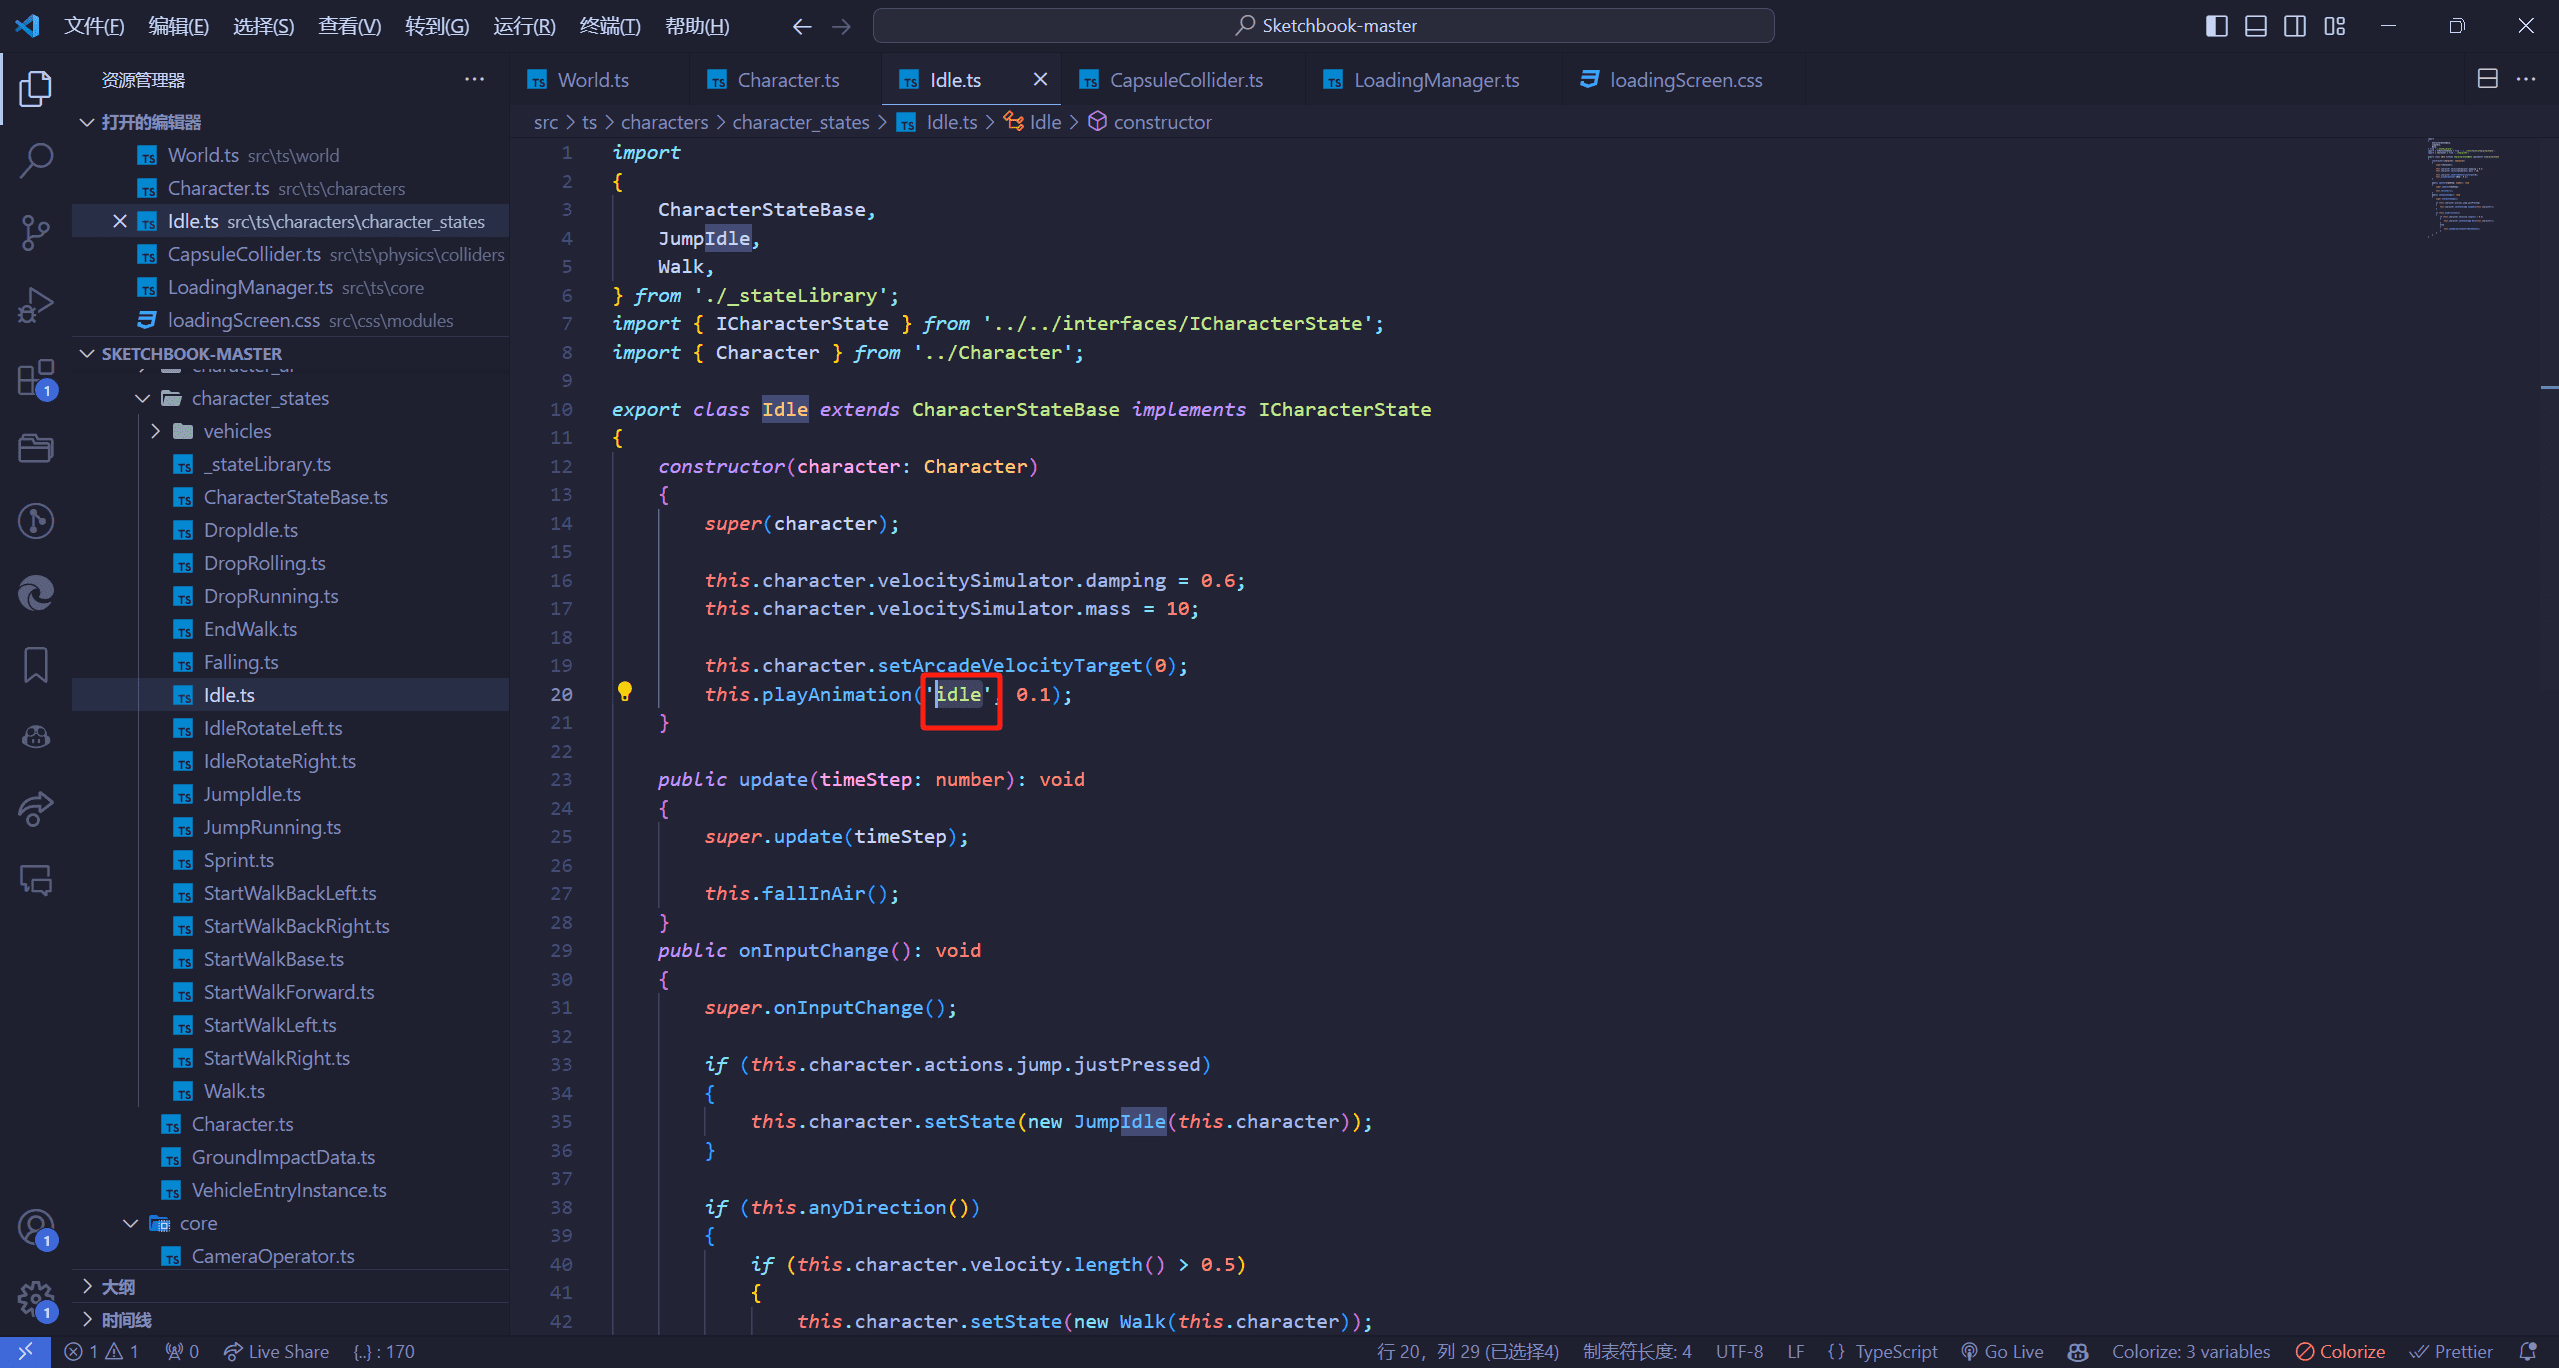
这里我们可以清楚看到我们的按键提示已经变成我们自己的了this.inputReceiver指代的其实就是我们的Character,他下面的方法都在Character.ts中this.triggerAction,简单看下我的注释就行setState进行赋值的,如果小伙伴有印象的话,我前面有一段代码讲解就有这个设置默认的动作状态this.setState(new Idle(this));Idle状态onInputChange就是不同的状态进行不同的设置
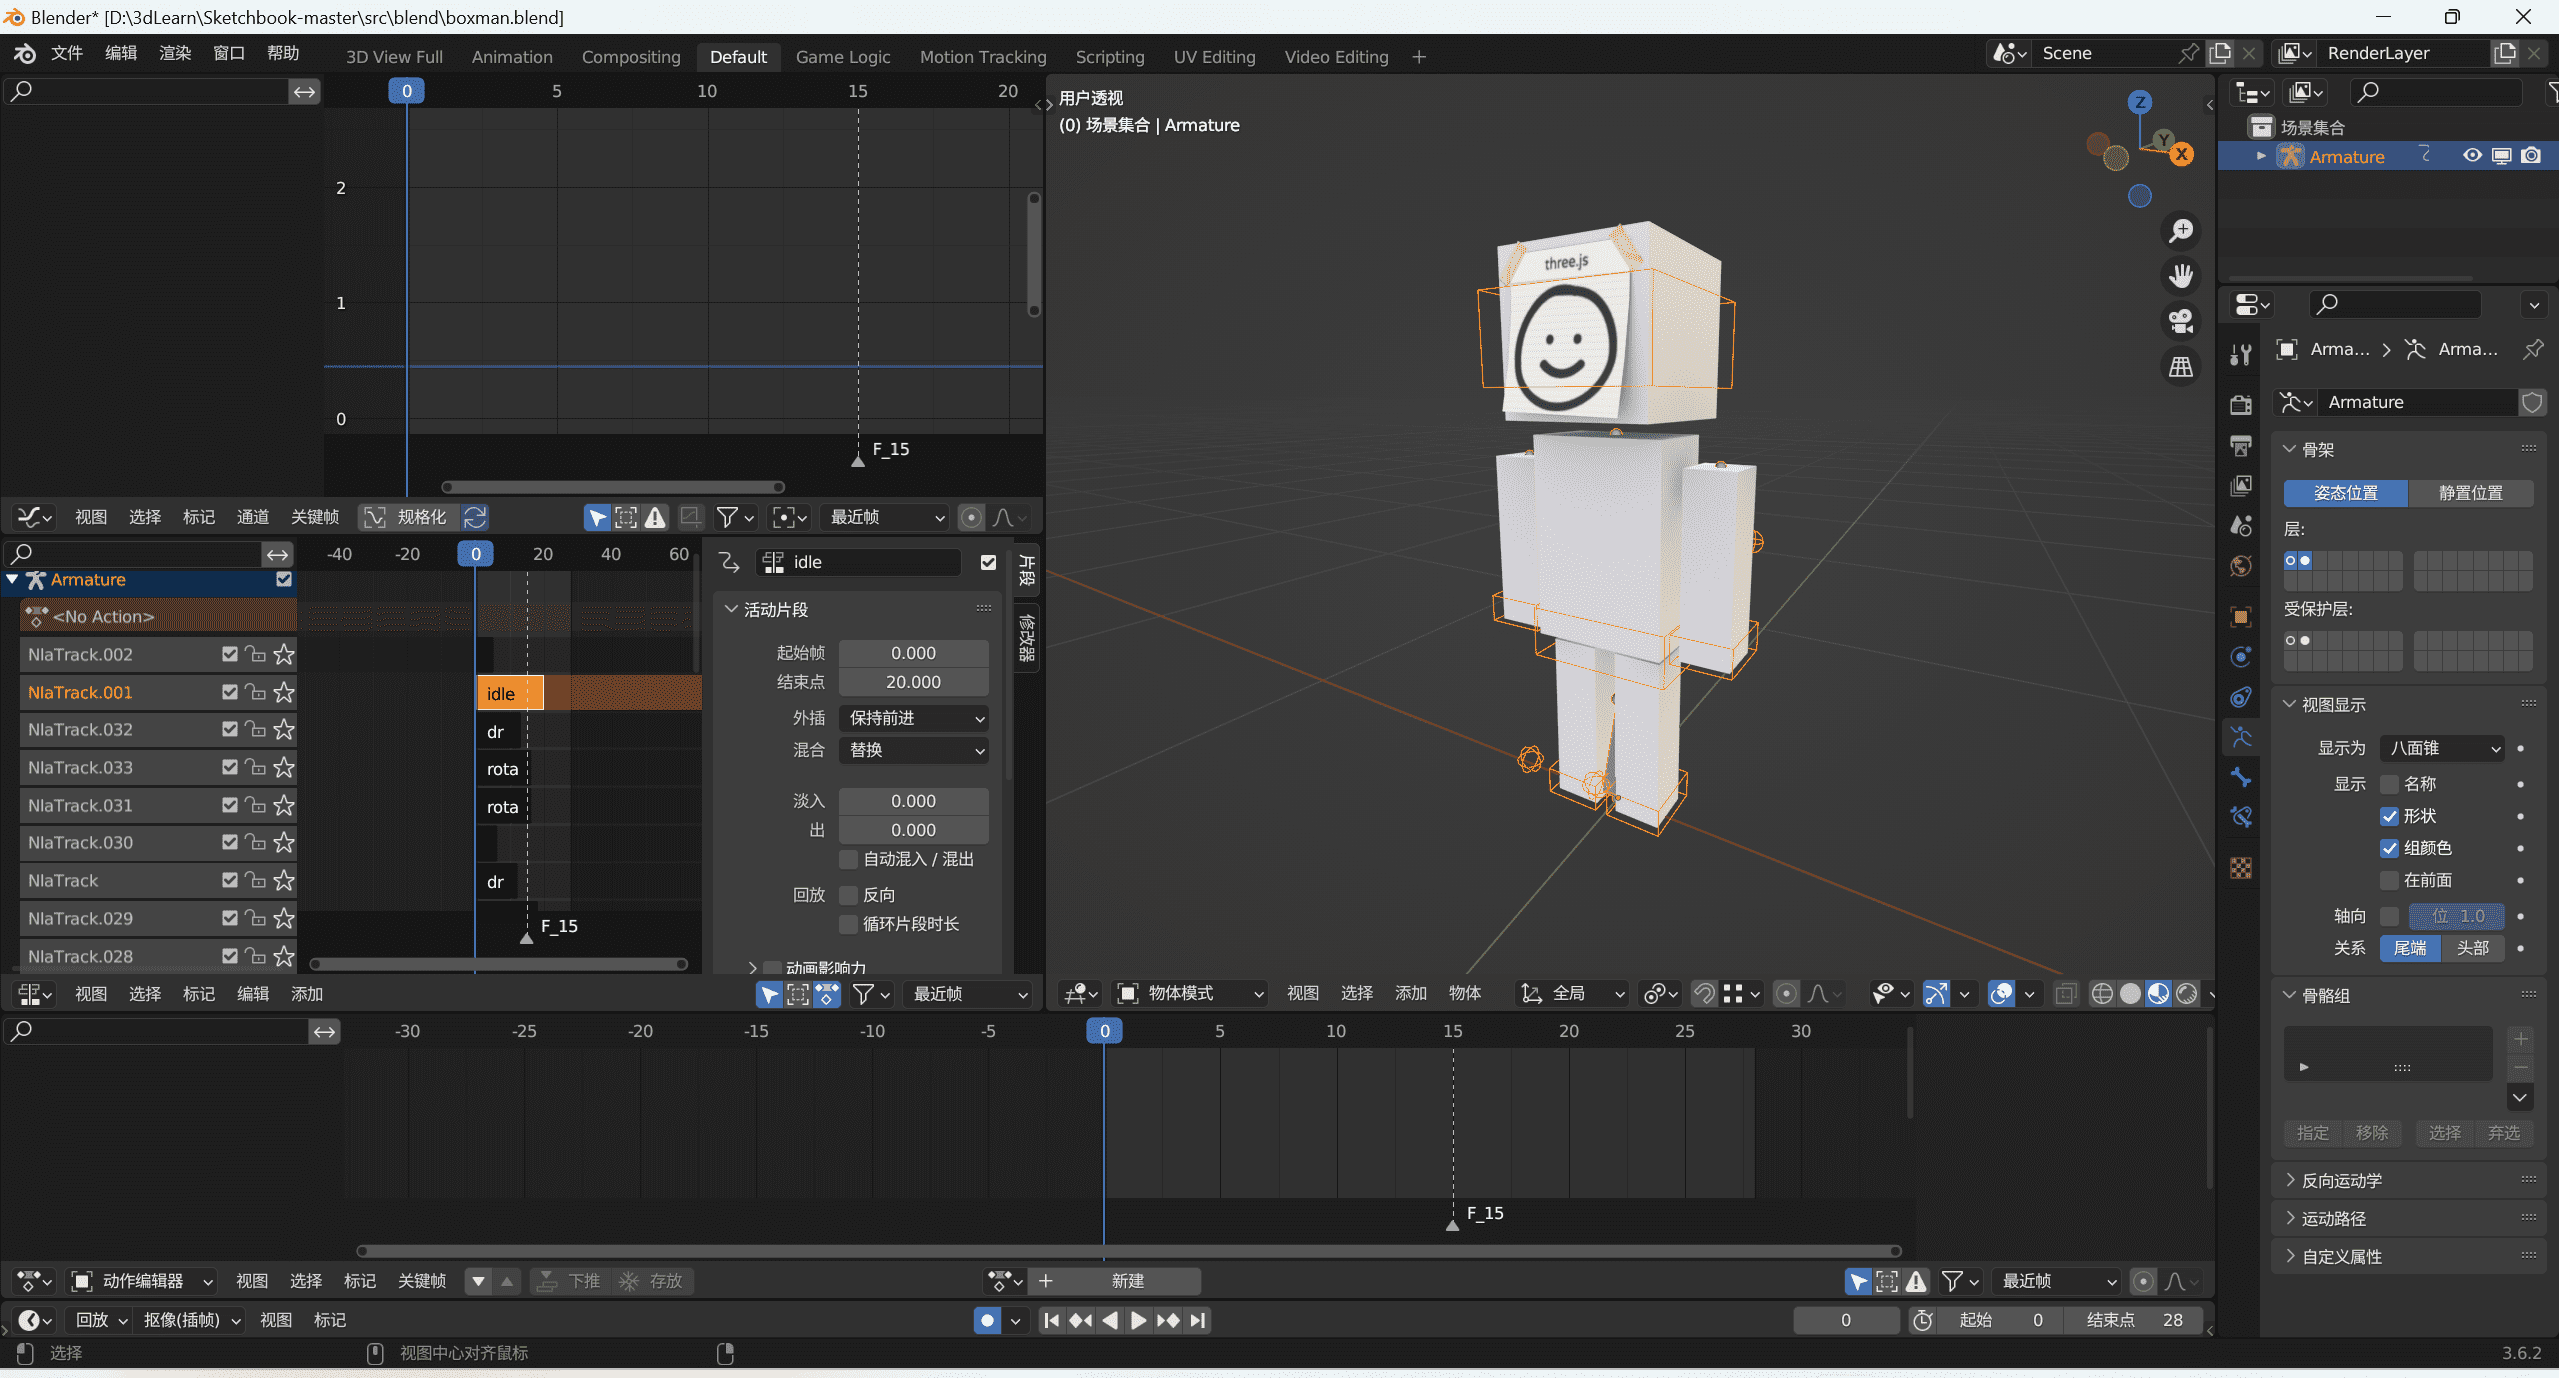
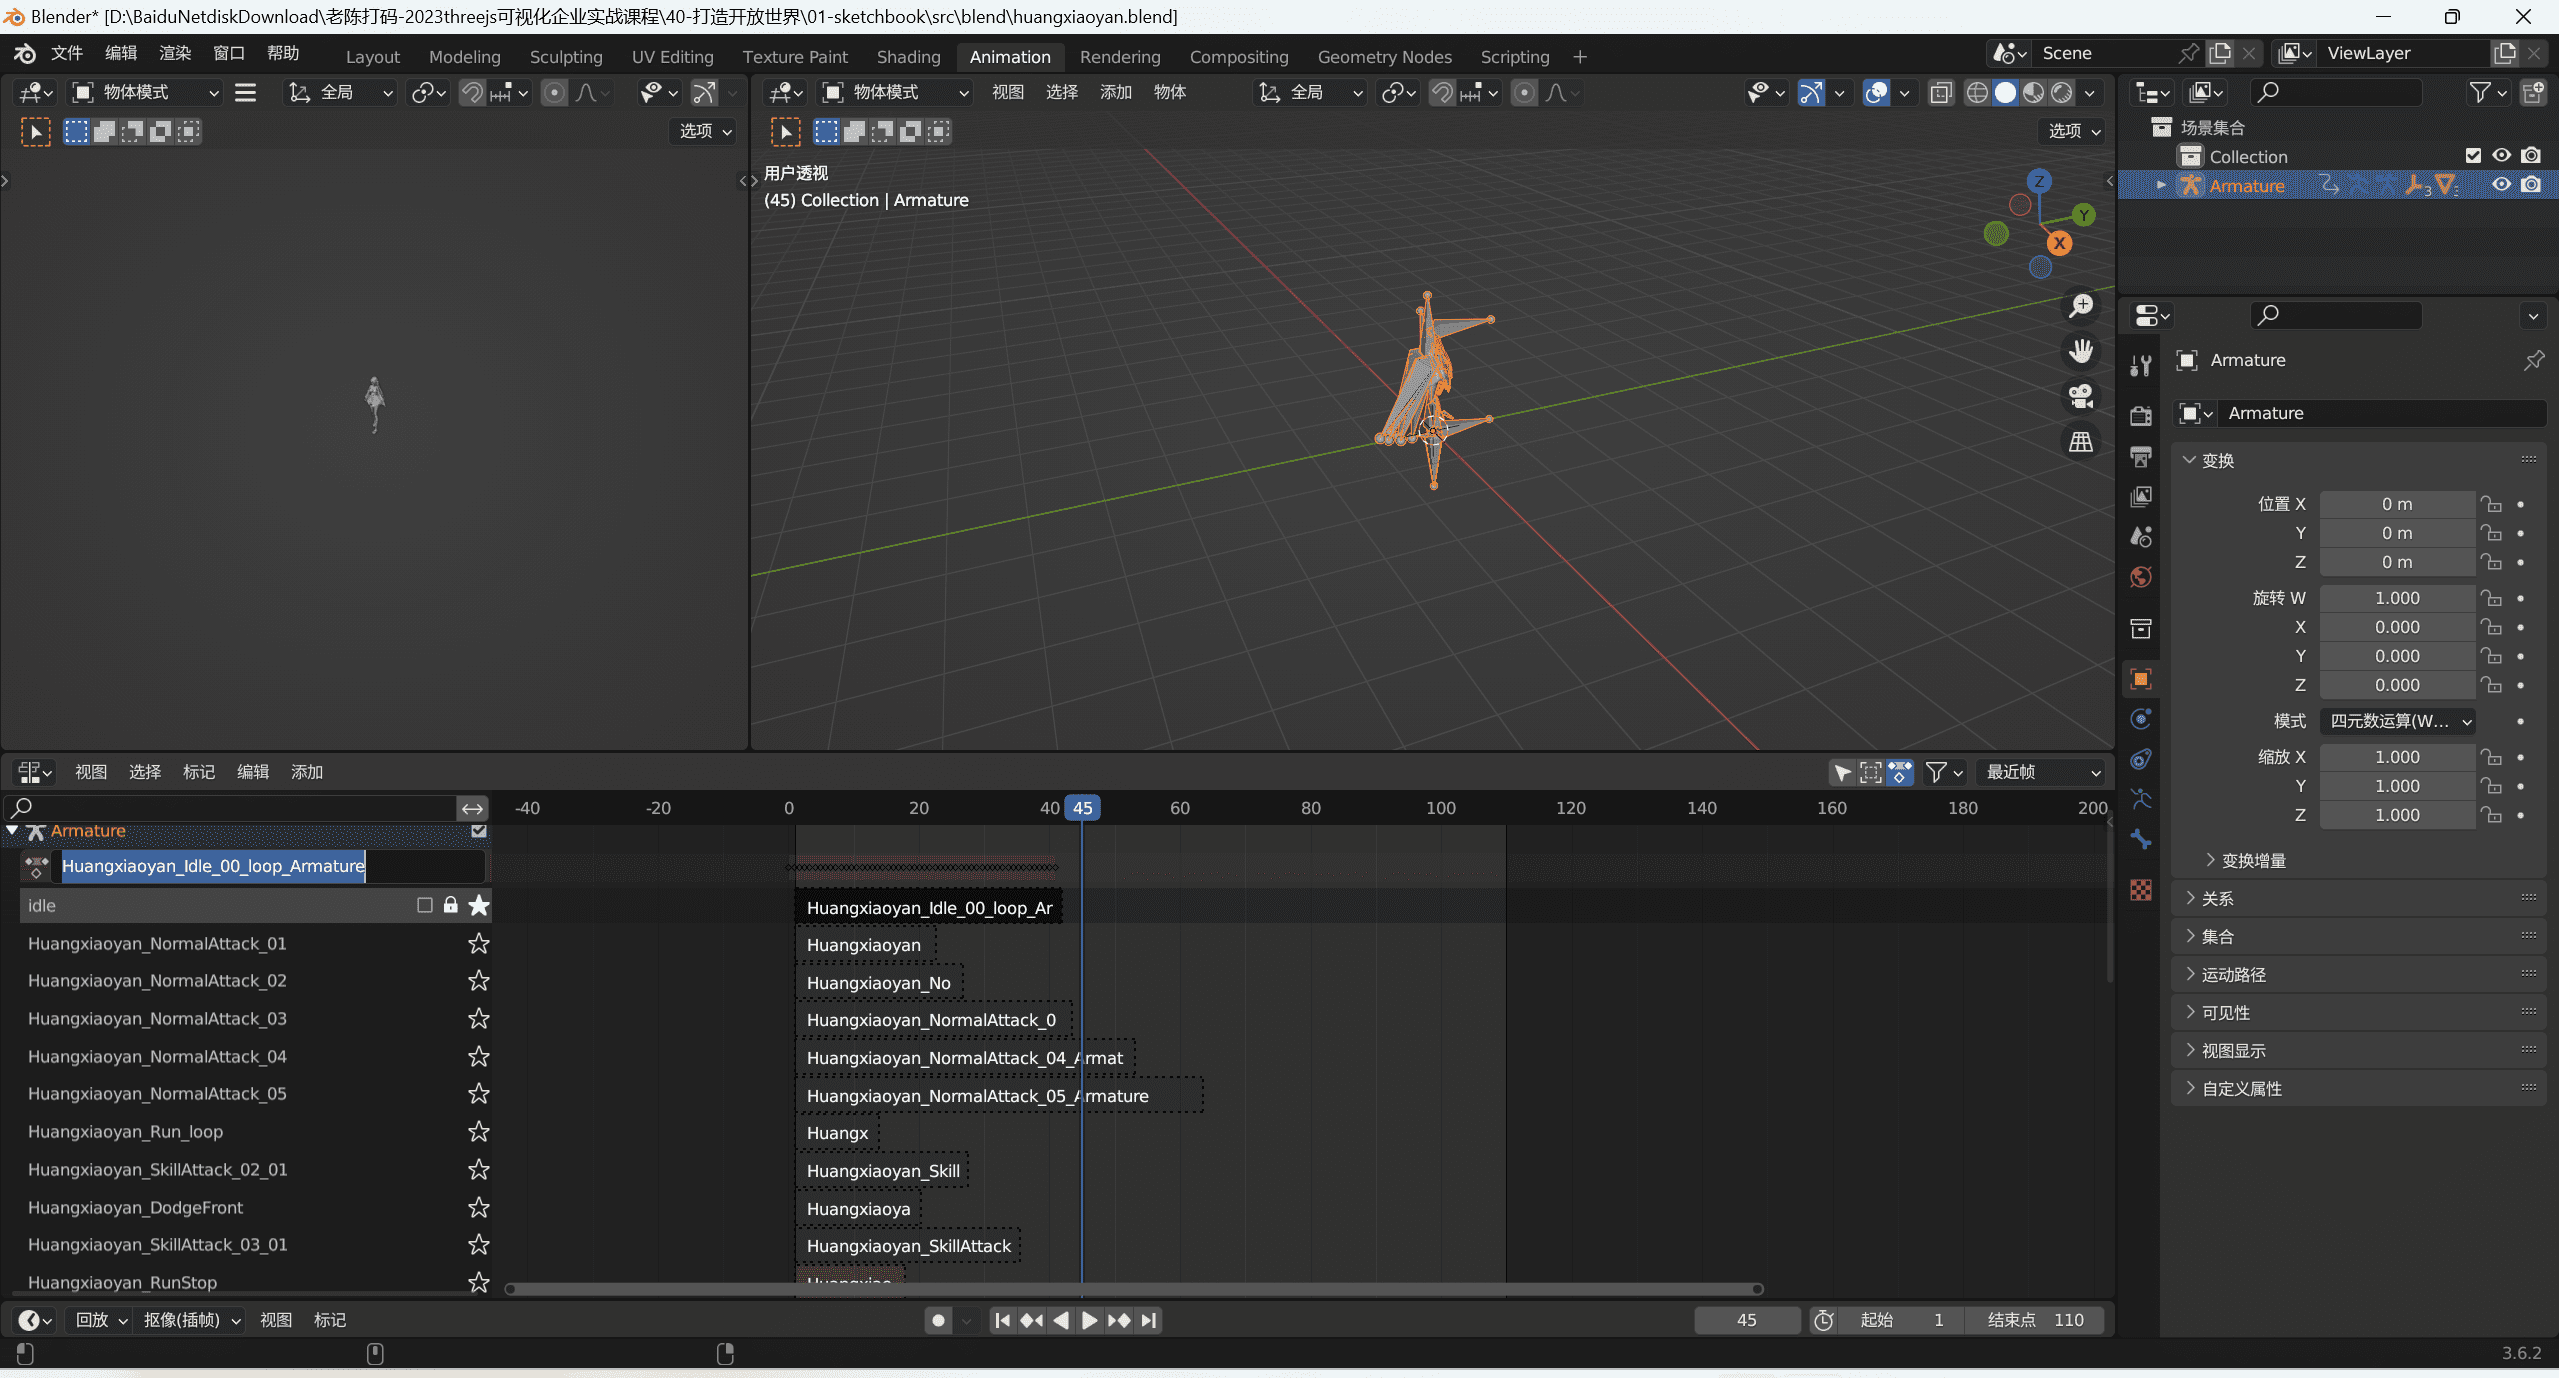
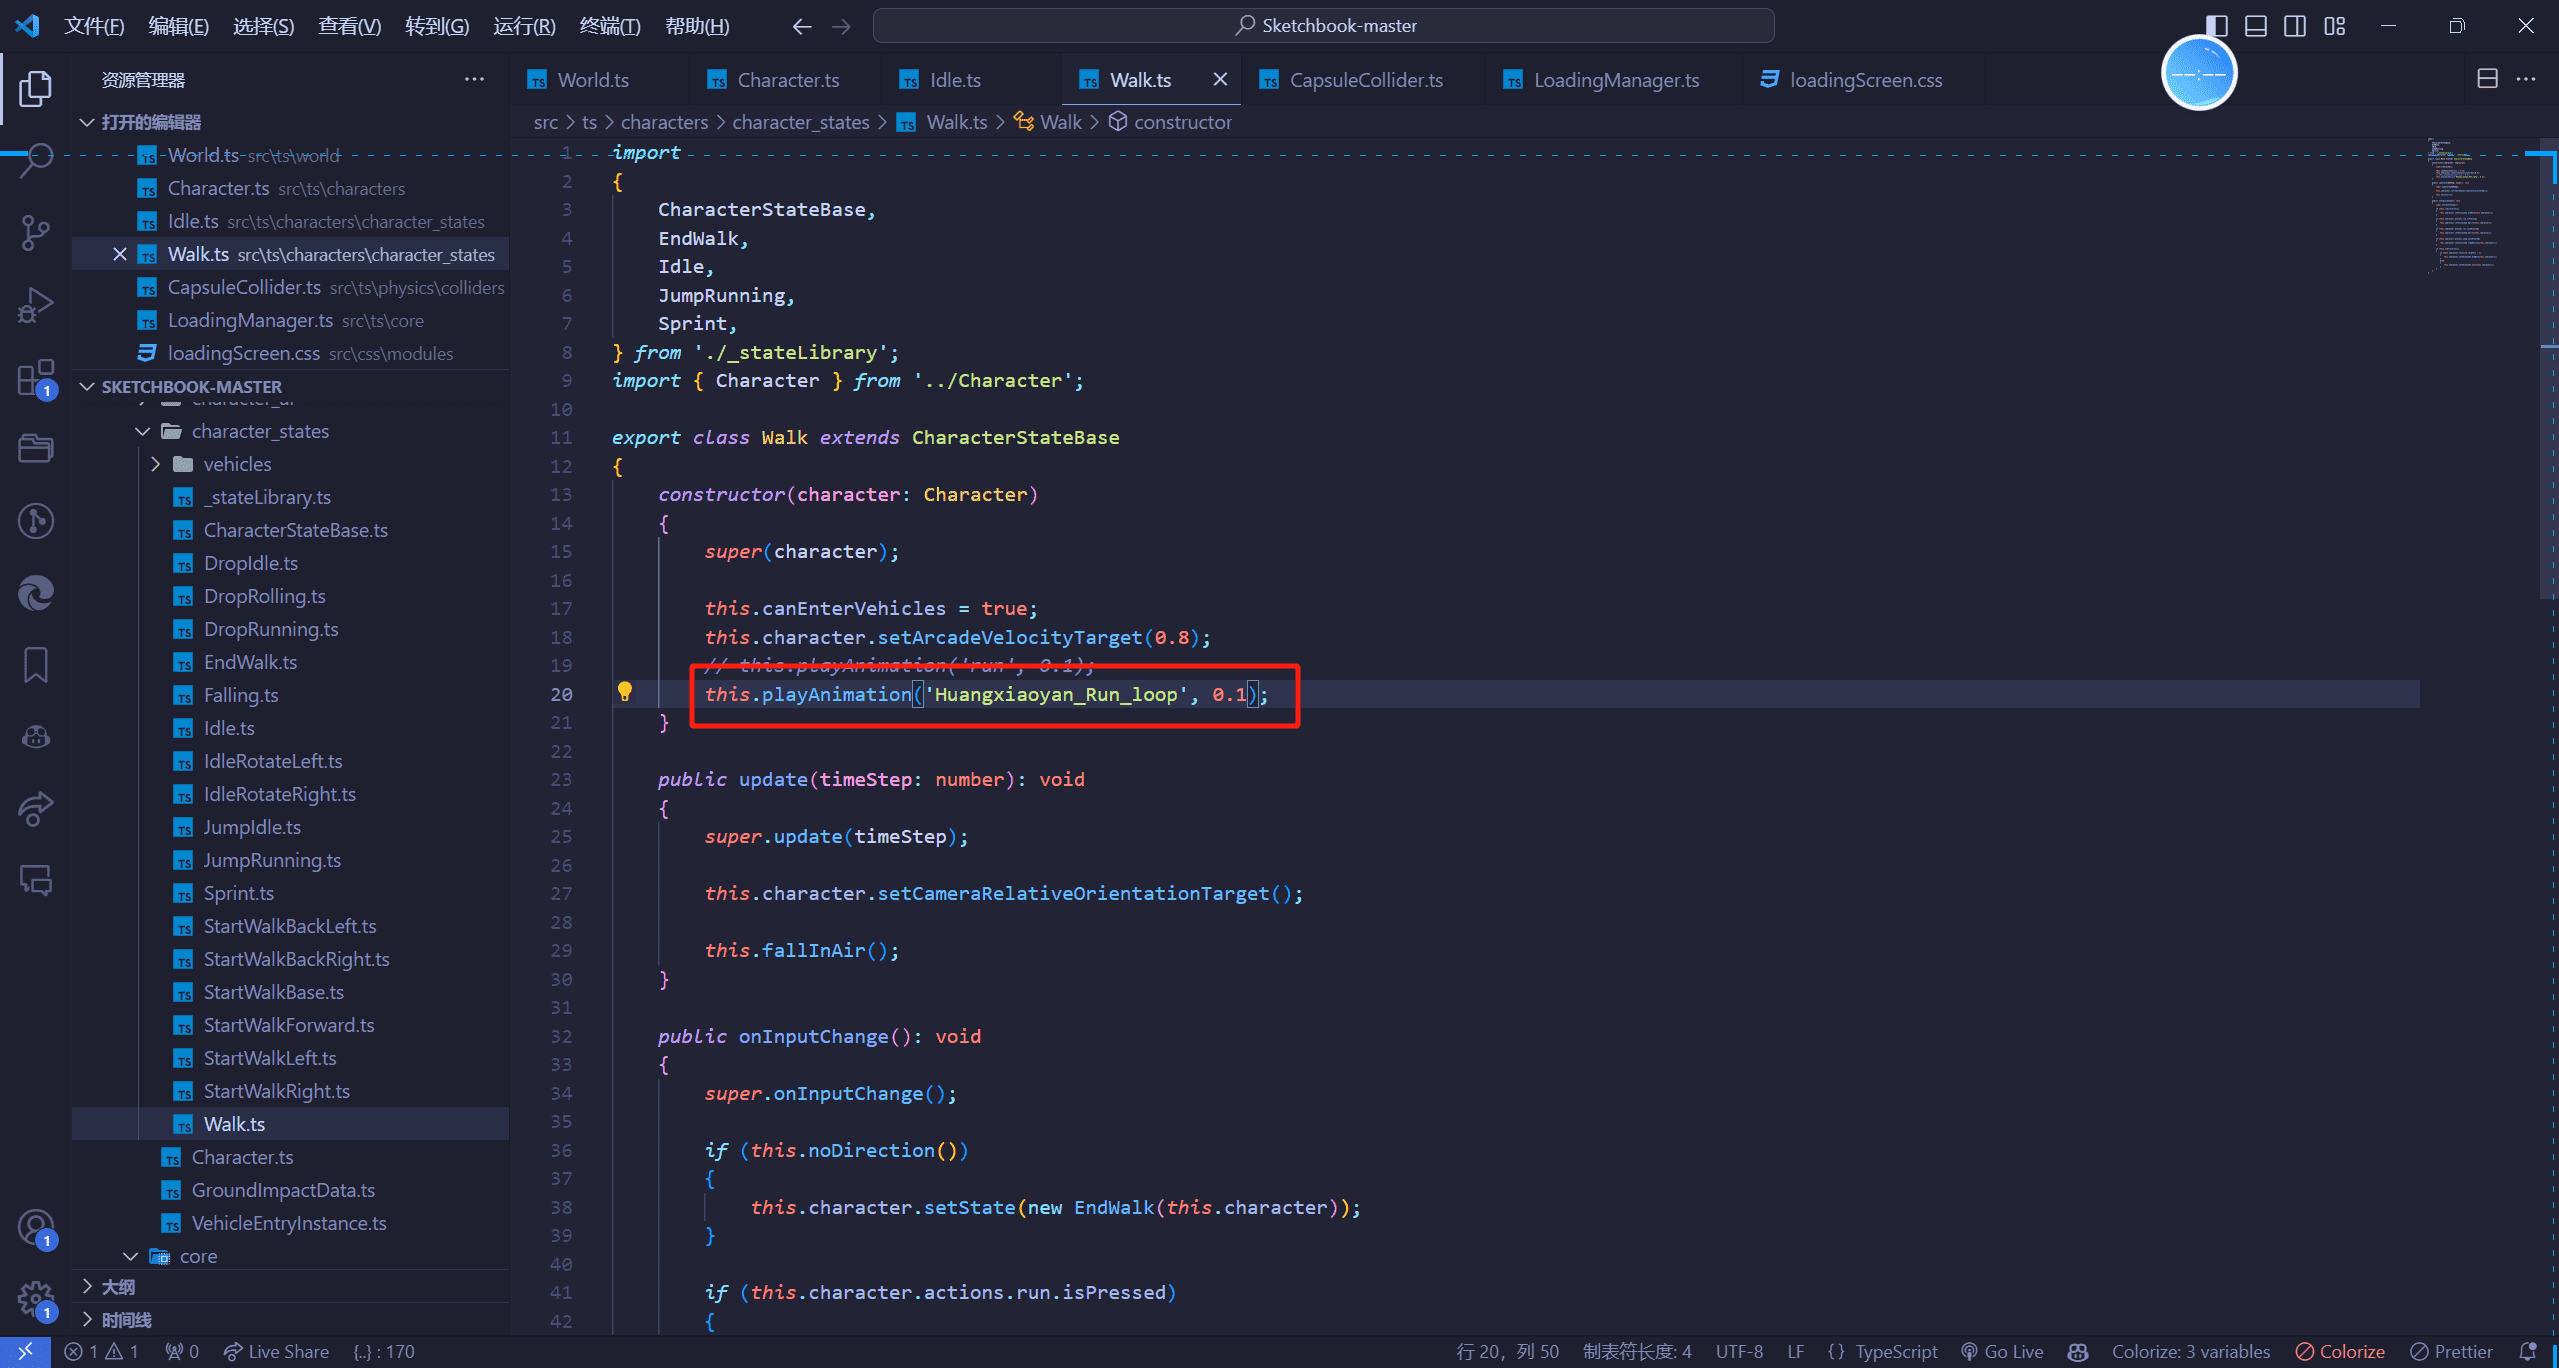
角色动画切换 首先我们可以看到这个模型添加了很多的动画,如果懂一些建模的话,大家可以自己去搞骨骼,搞动画进行配置
Your browser does not support the video tag.
其他动作我就不一一加给大家看了,大家可以自己去加一下,同样的,大家可以根据我前面说过的流程给按键加上什么动作都是可以的。
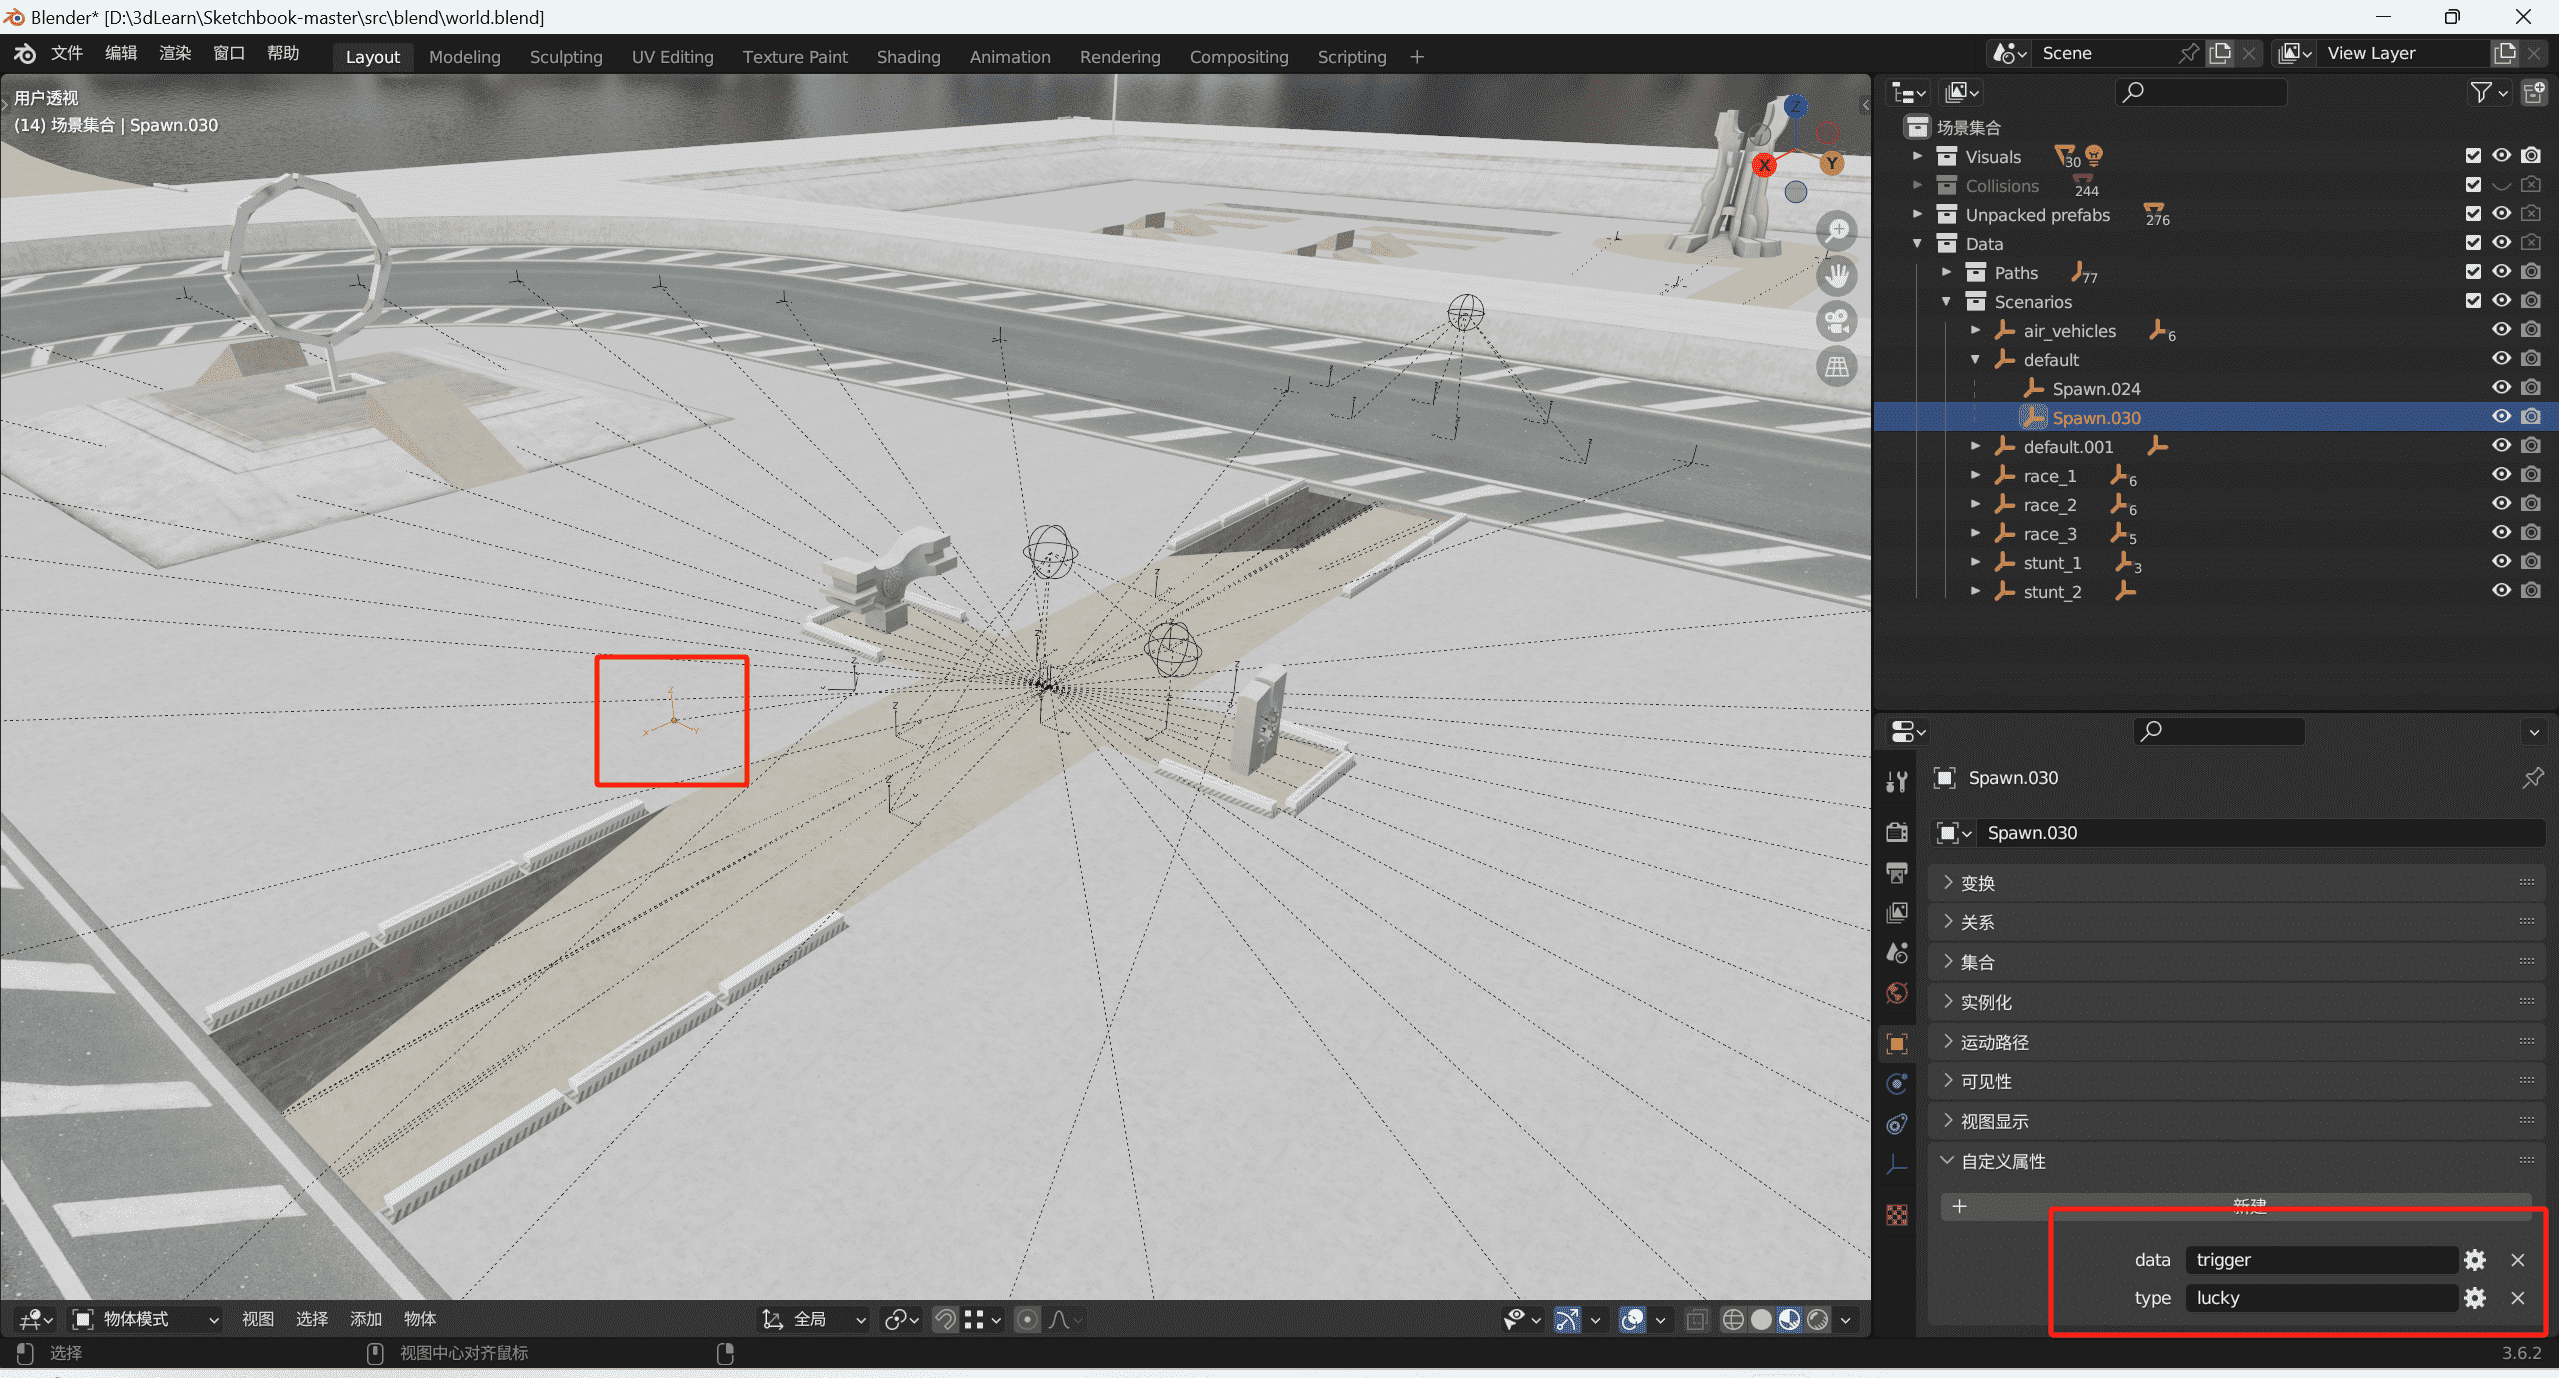
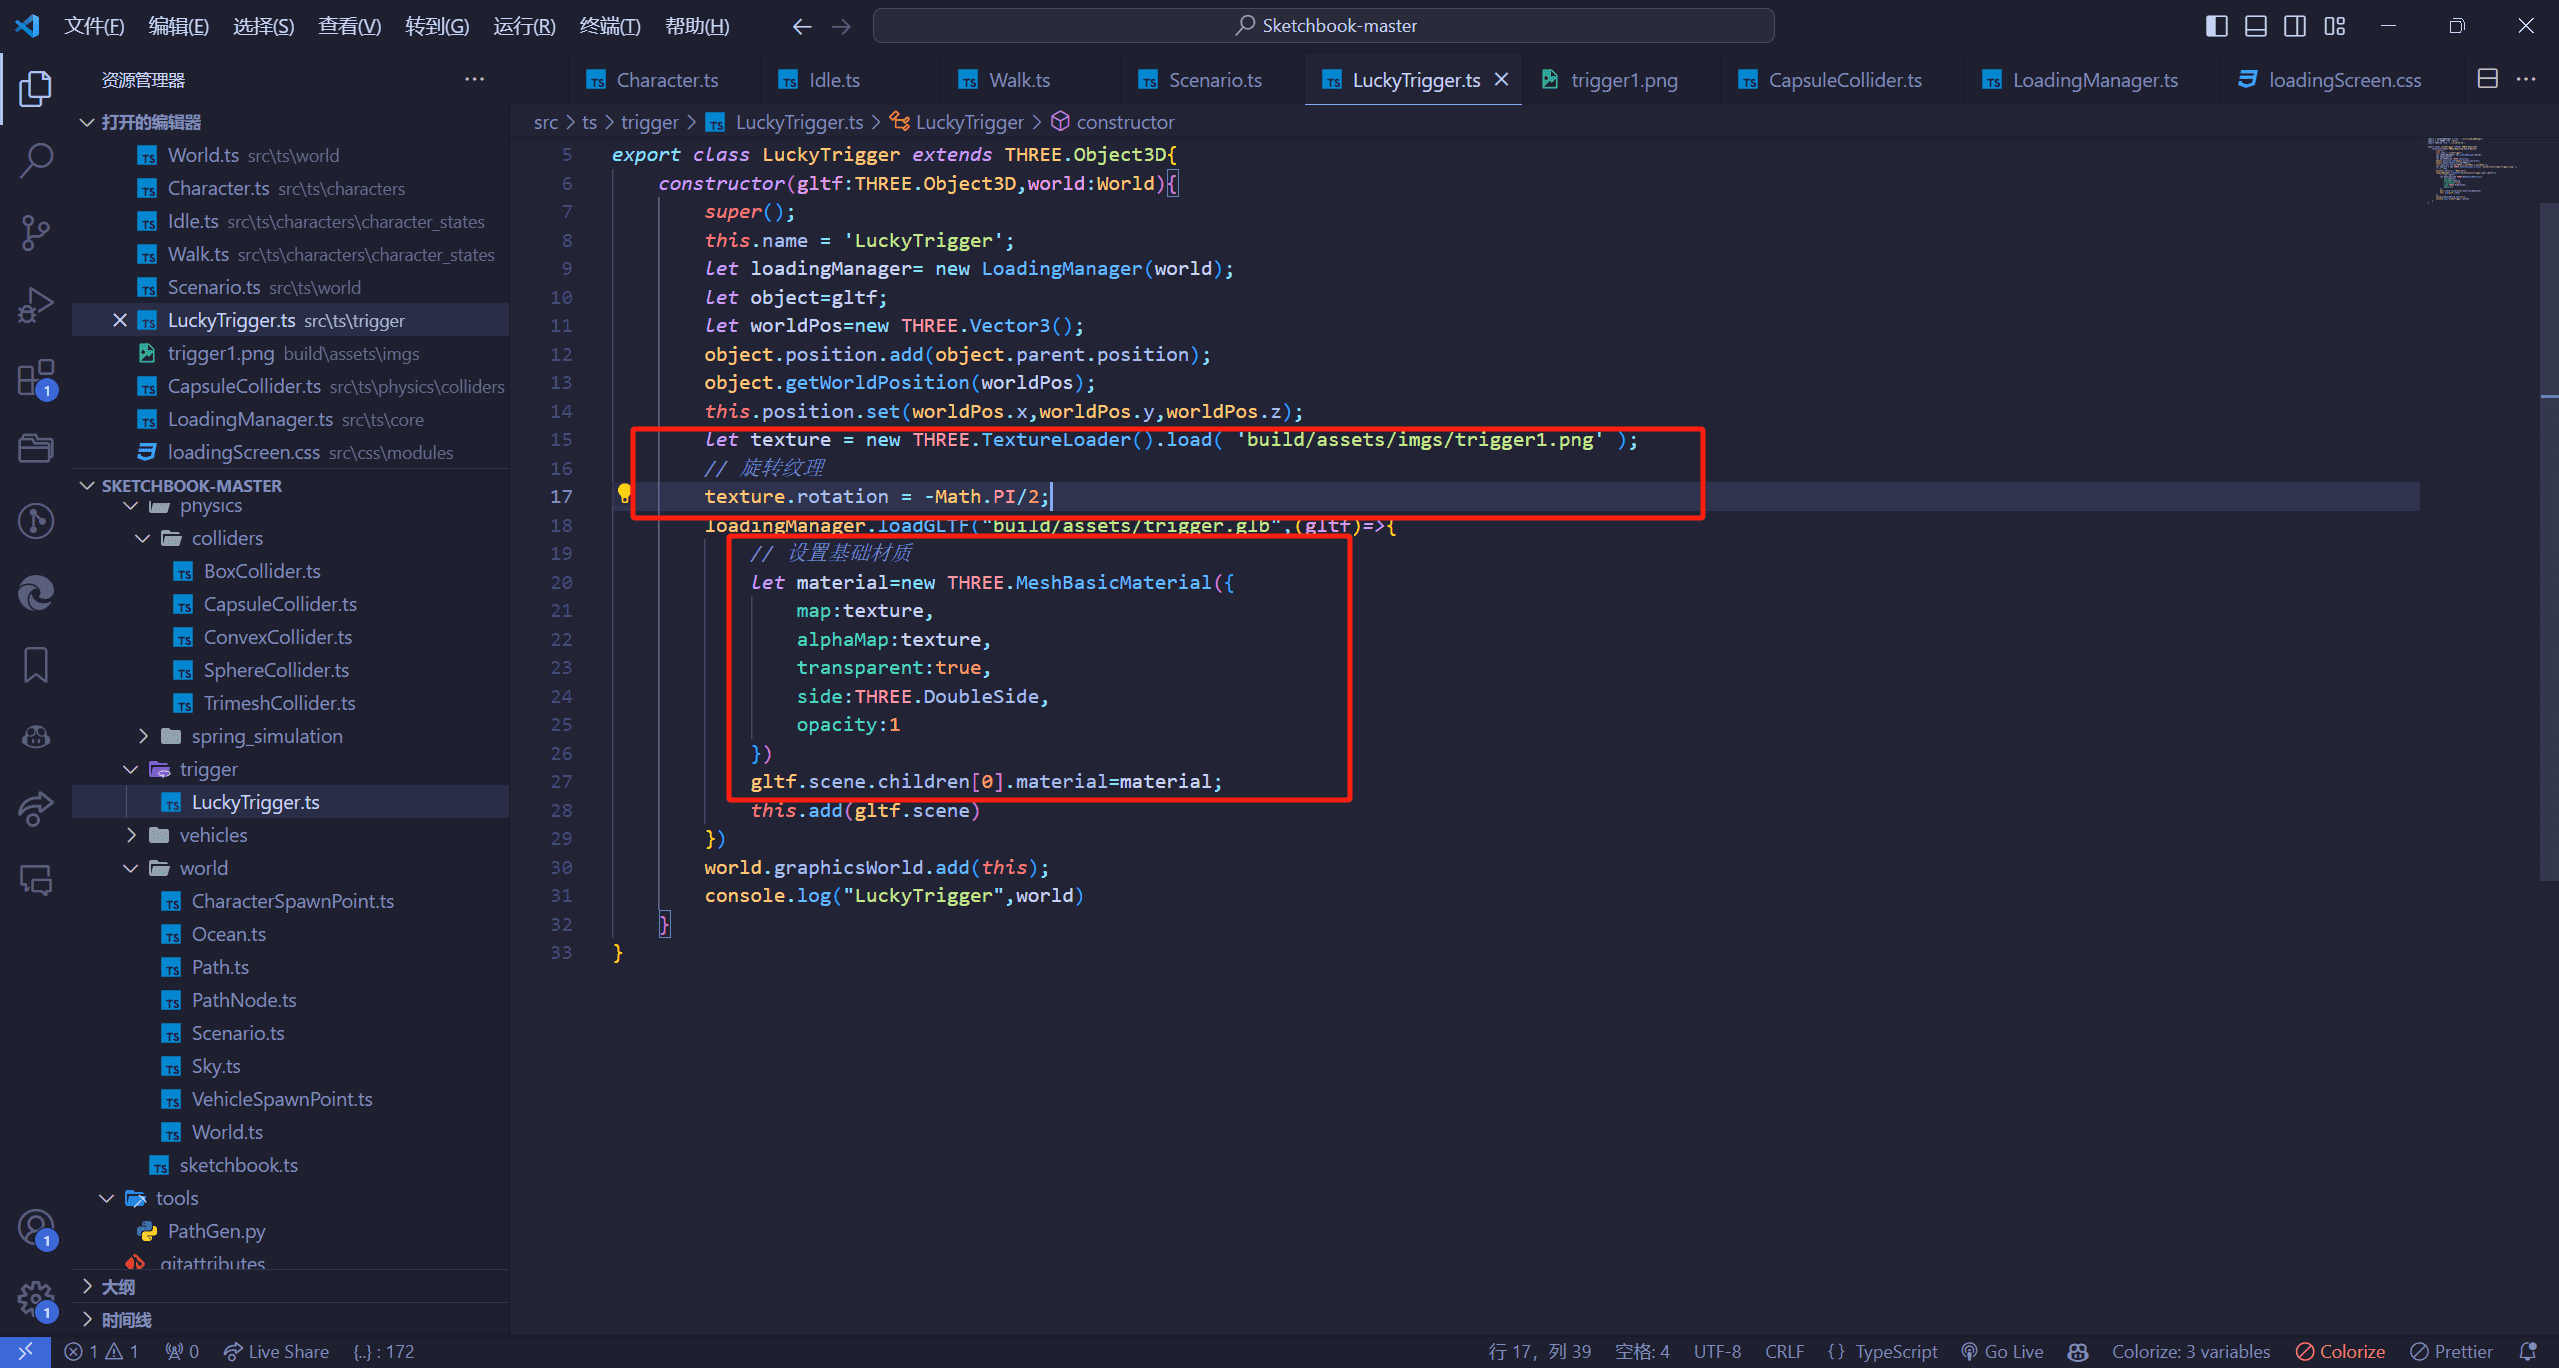
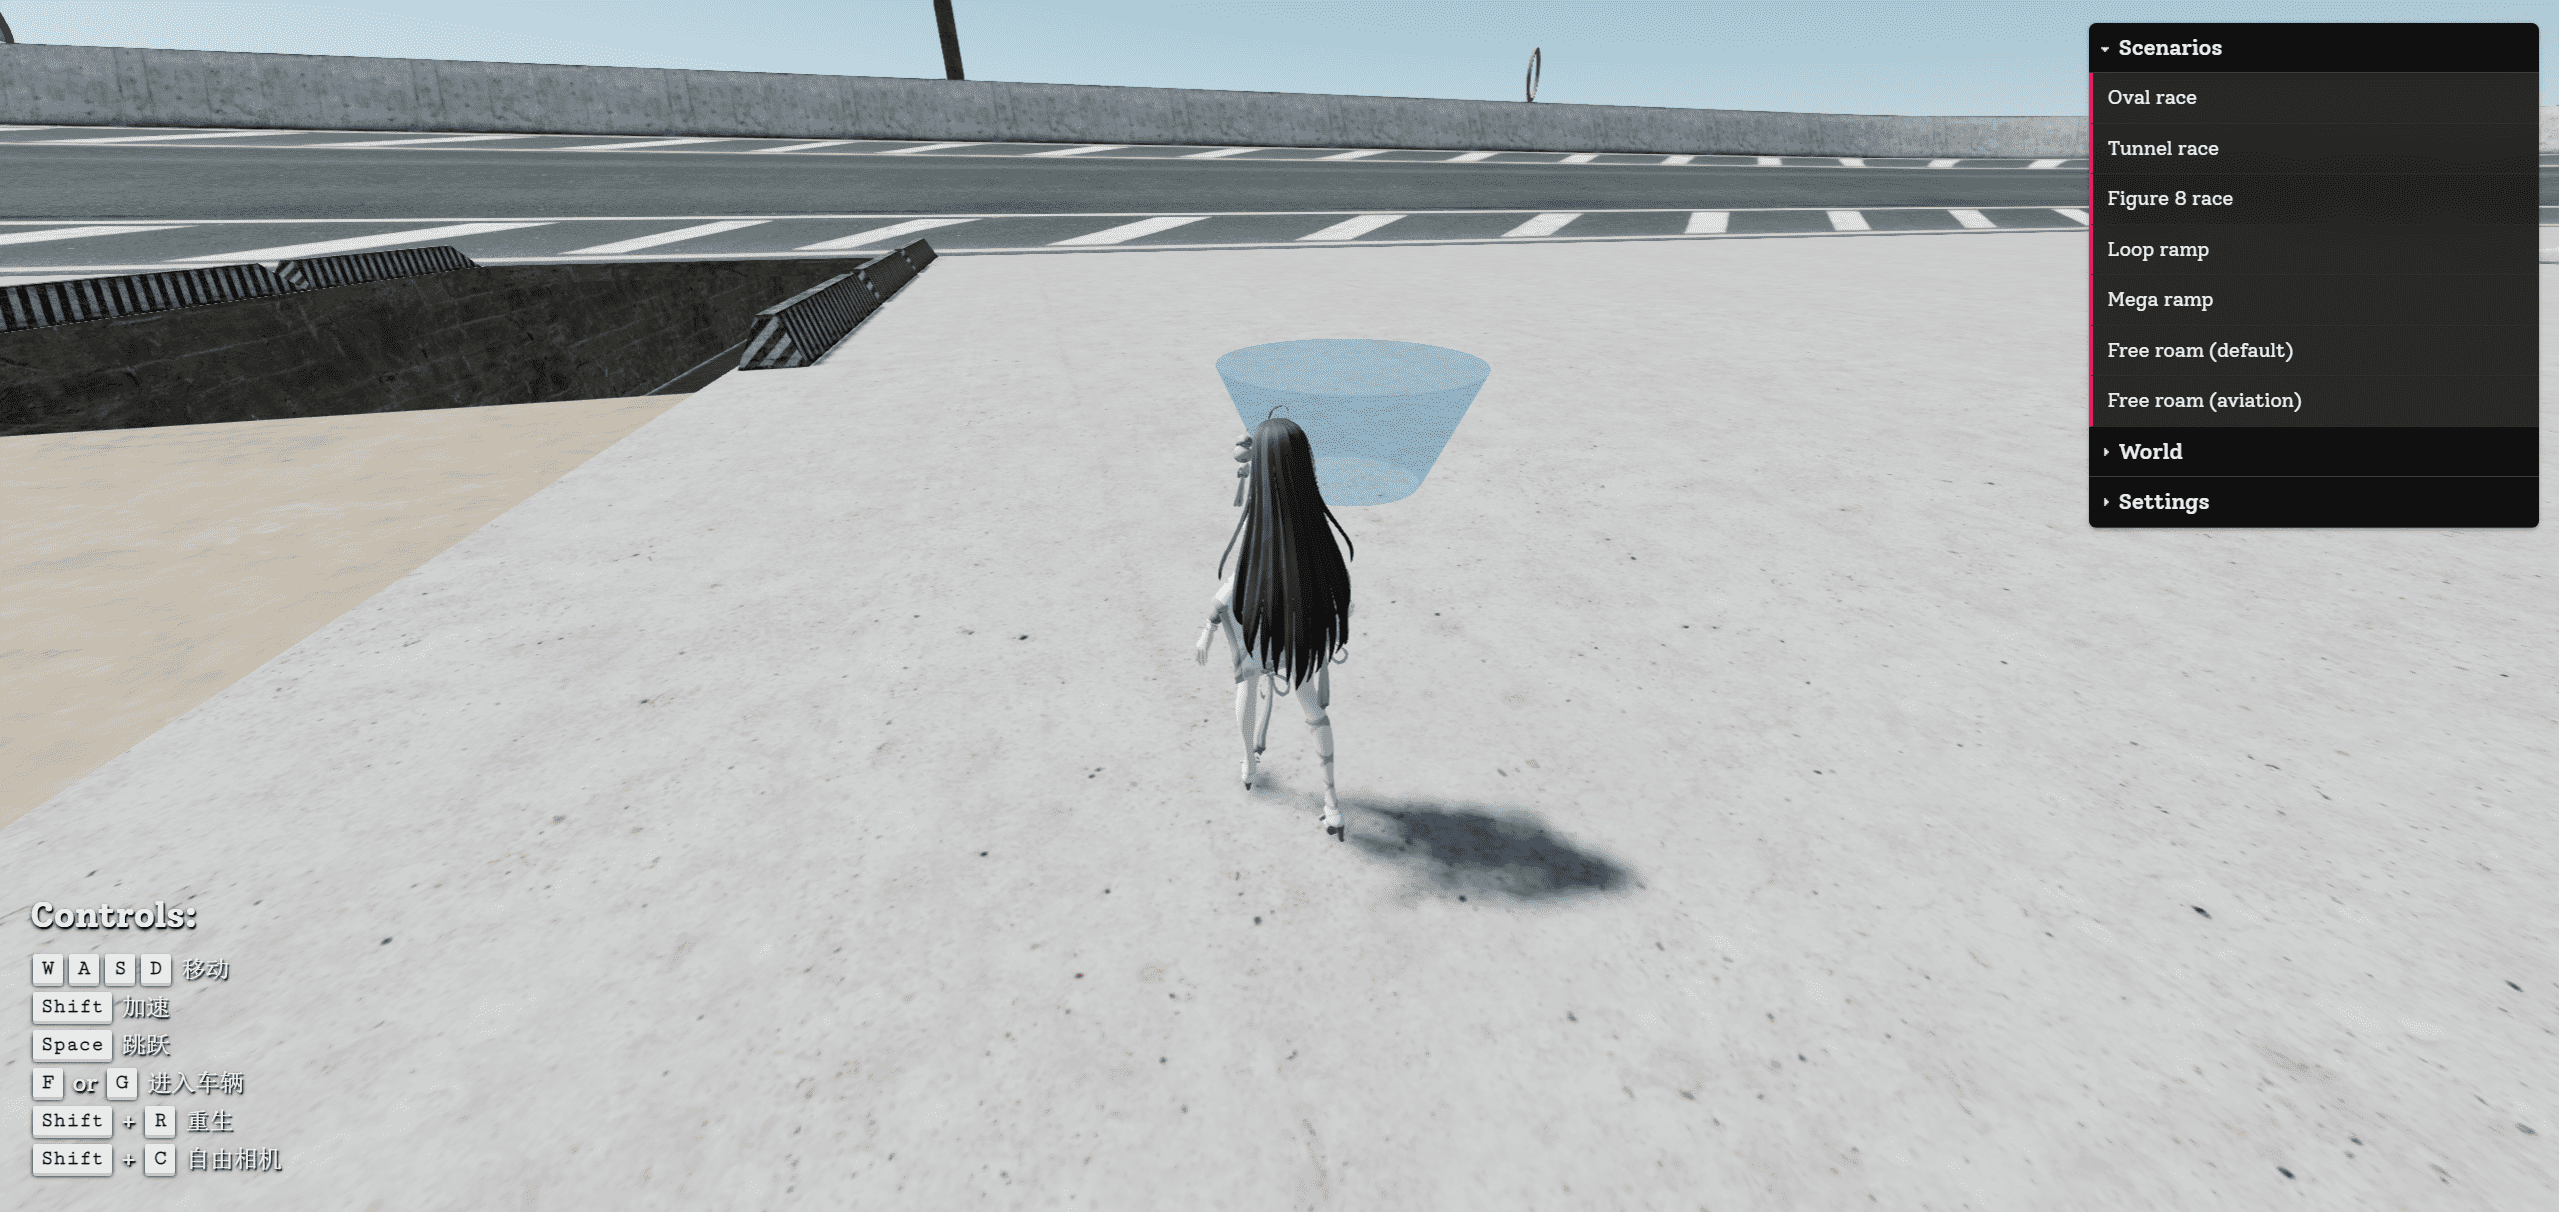
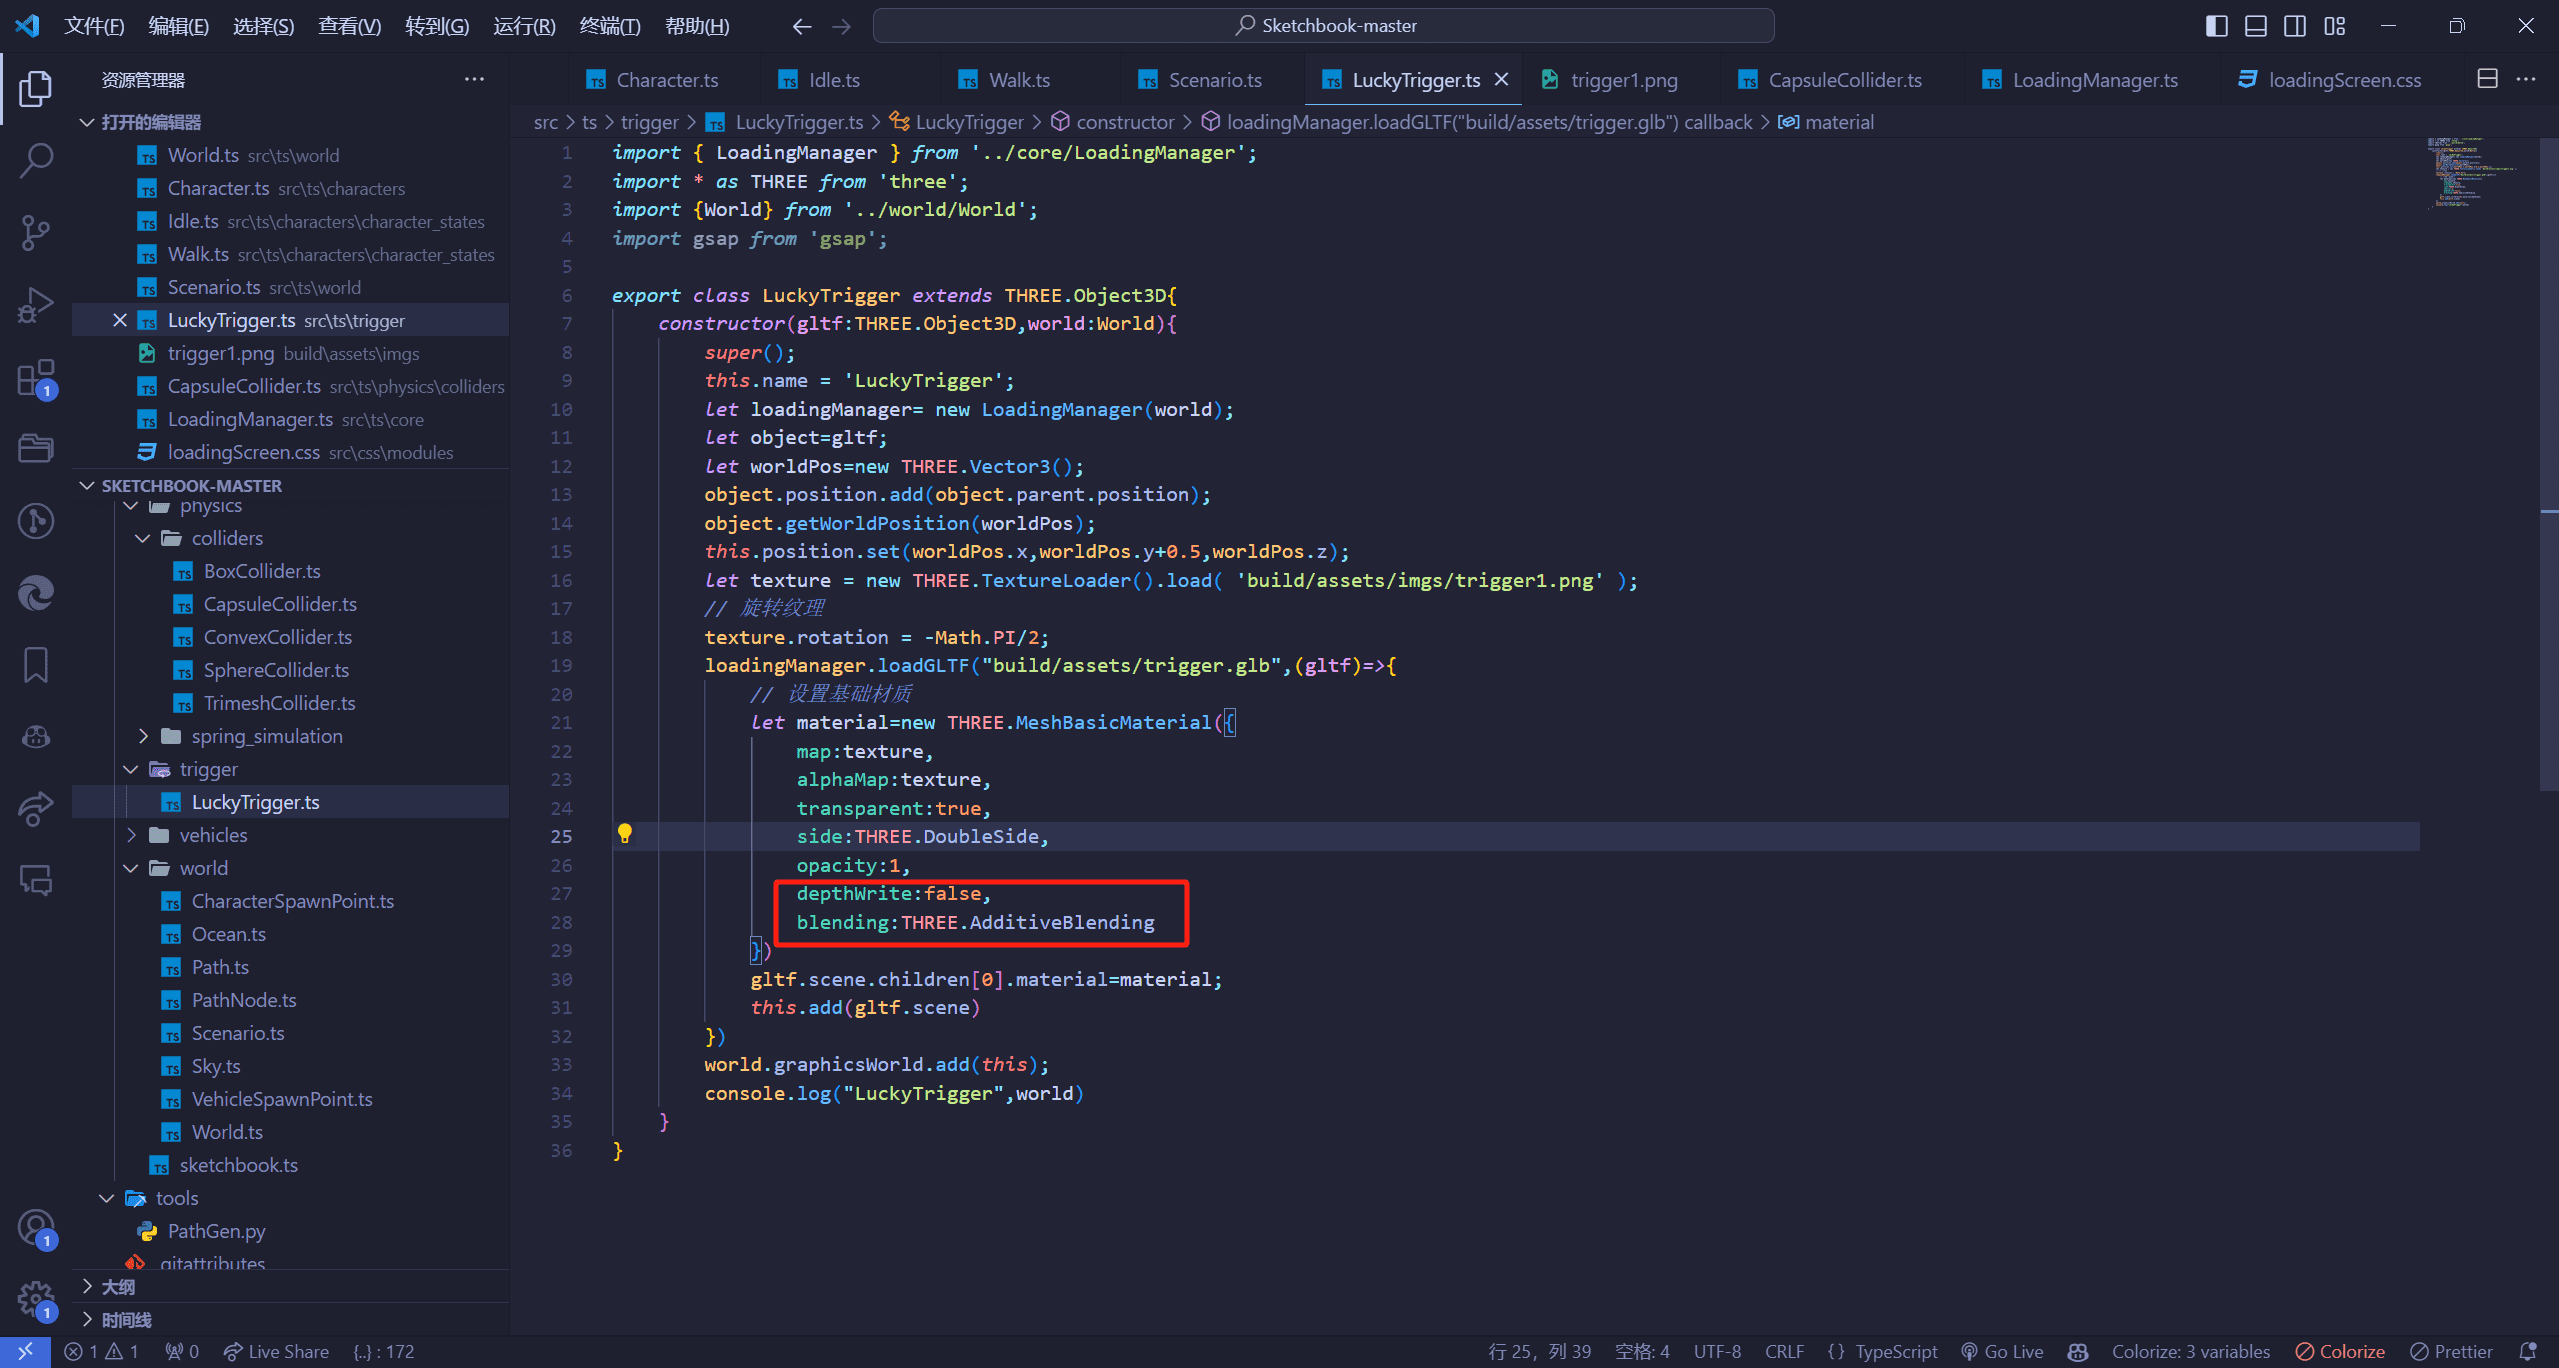
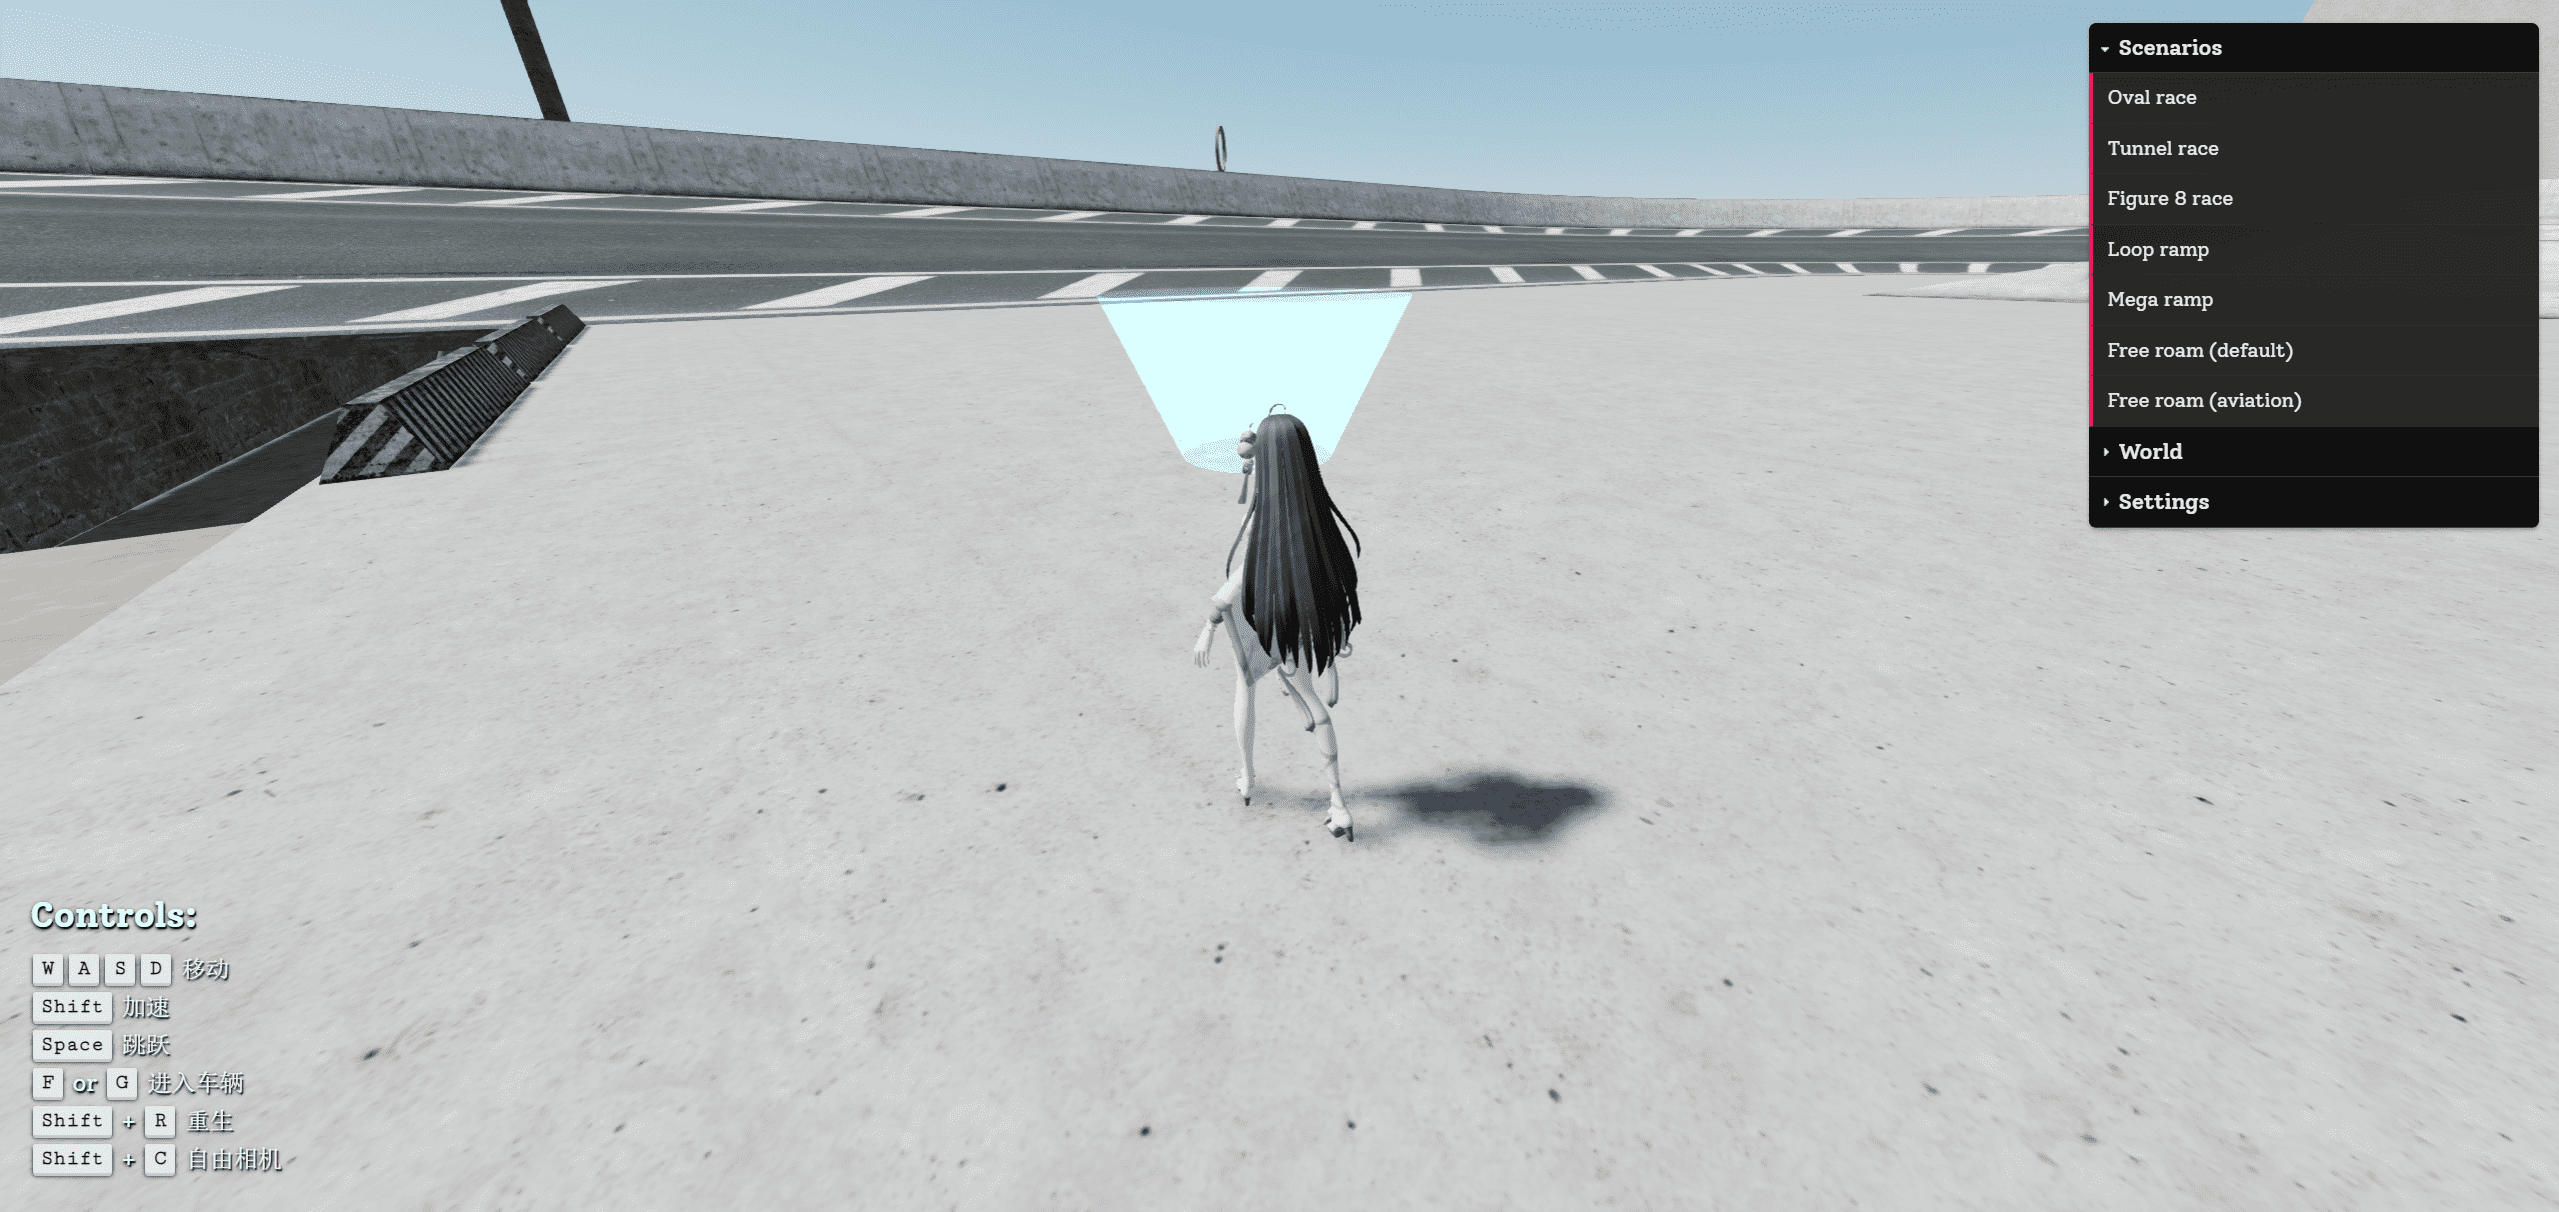
添加关卡触发点 我们还可以自定义一些触发点,比如我创建一个点位,这里可以选中我们的Spawn.024这个重生点,然后按下Shift+D进行复制,然后移动这个点位到我们想要的位置,然后设置我们这个点位为自定义的触发点,比如trigger,类型为lucky
1 2 3 4 5 6 gsap.to (texture.offset ,{ duration :1 , x :1 , repeat :-1 , yoyo :true })
Your browser does not support the video tag.
这个具体的效果大家可以自己看着加,我这里就抛砖引玉一下
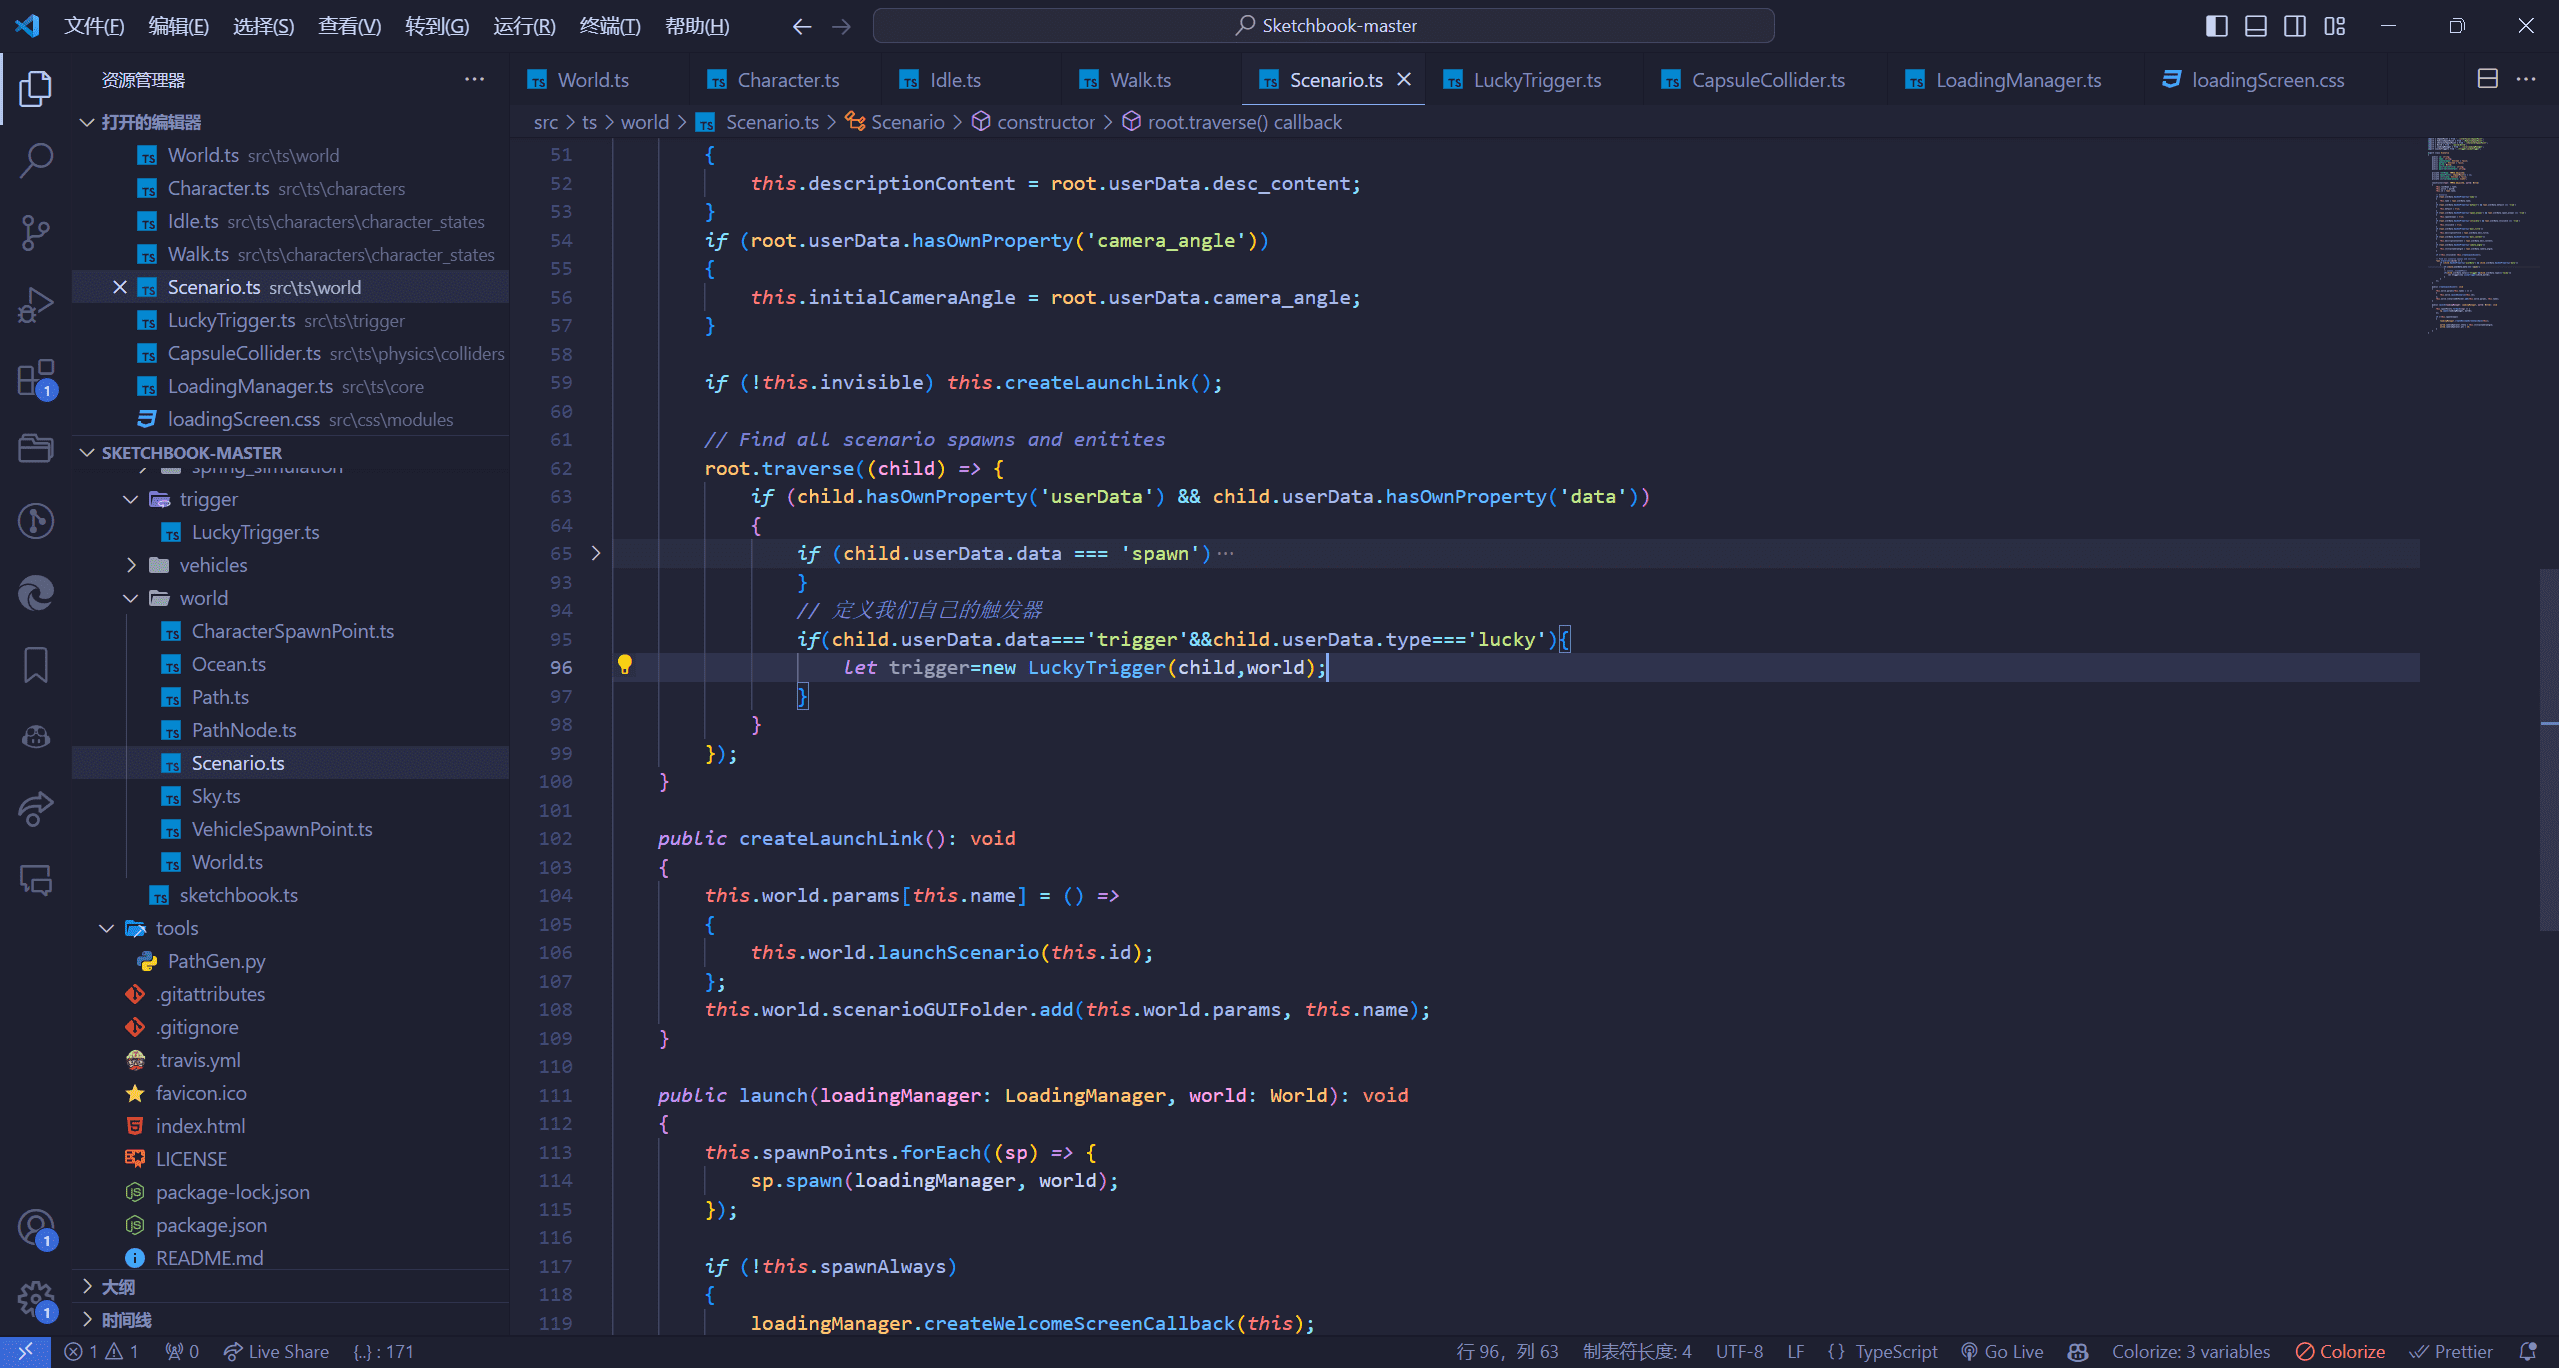
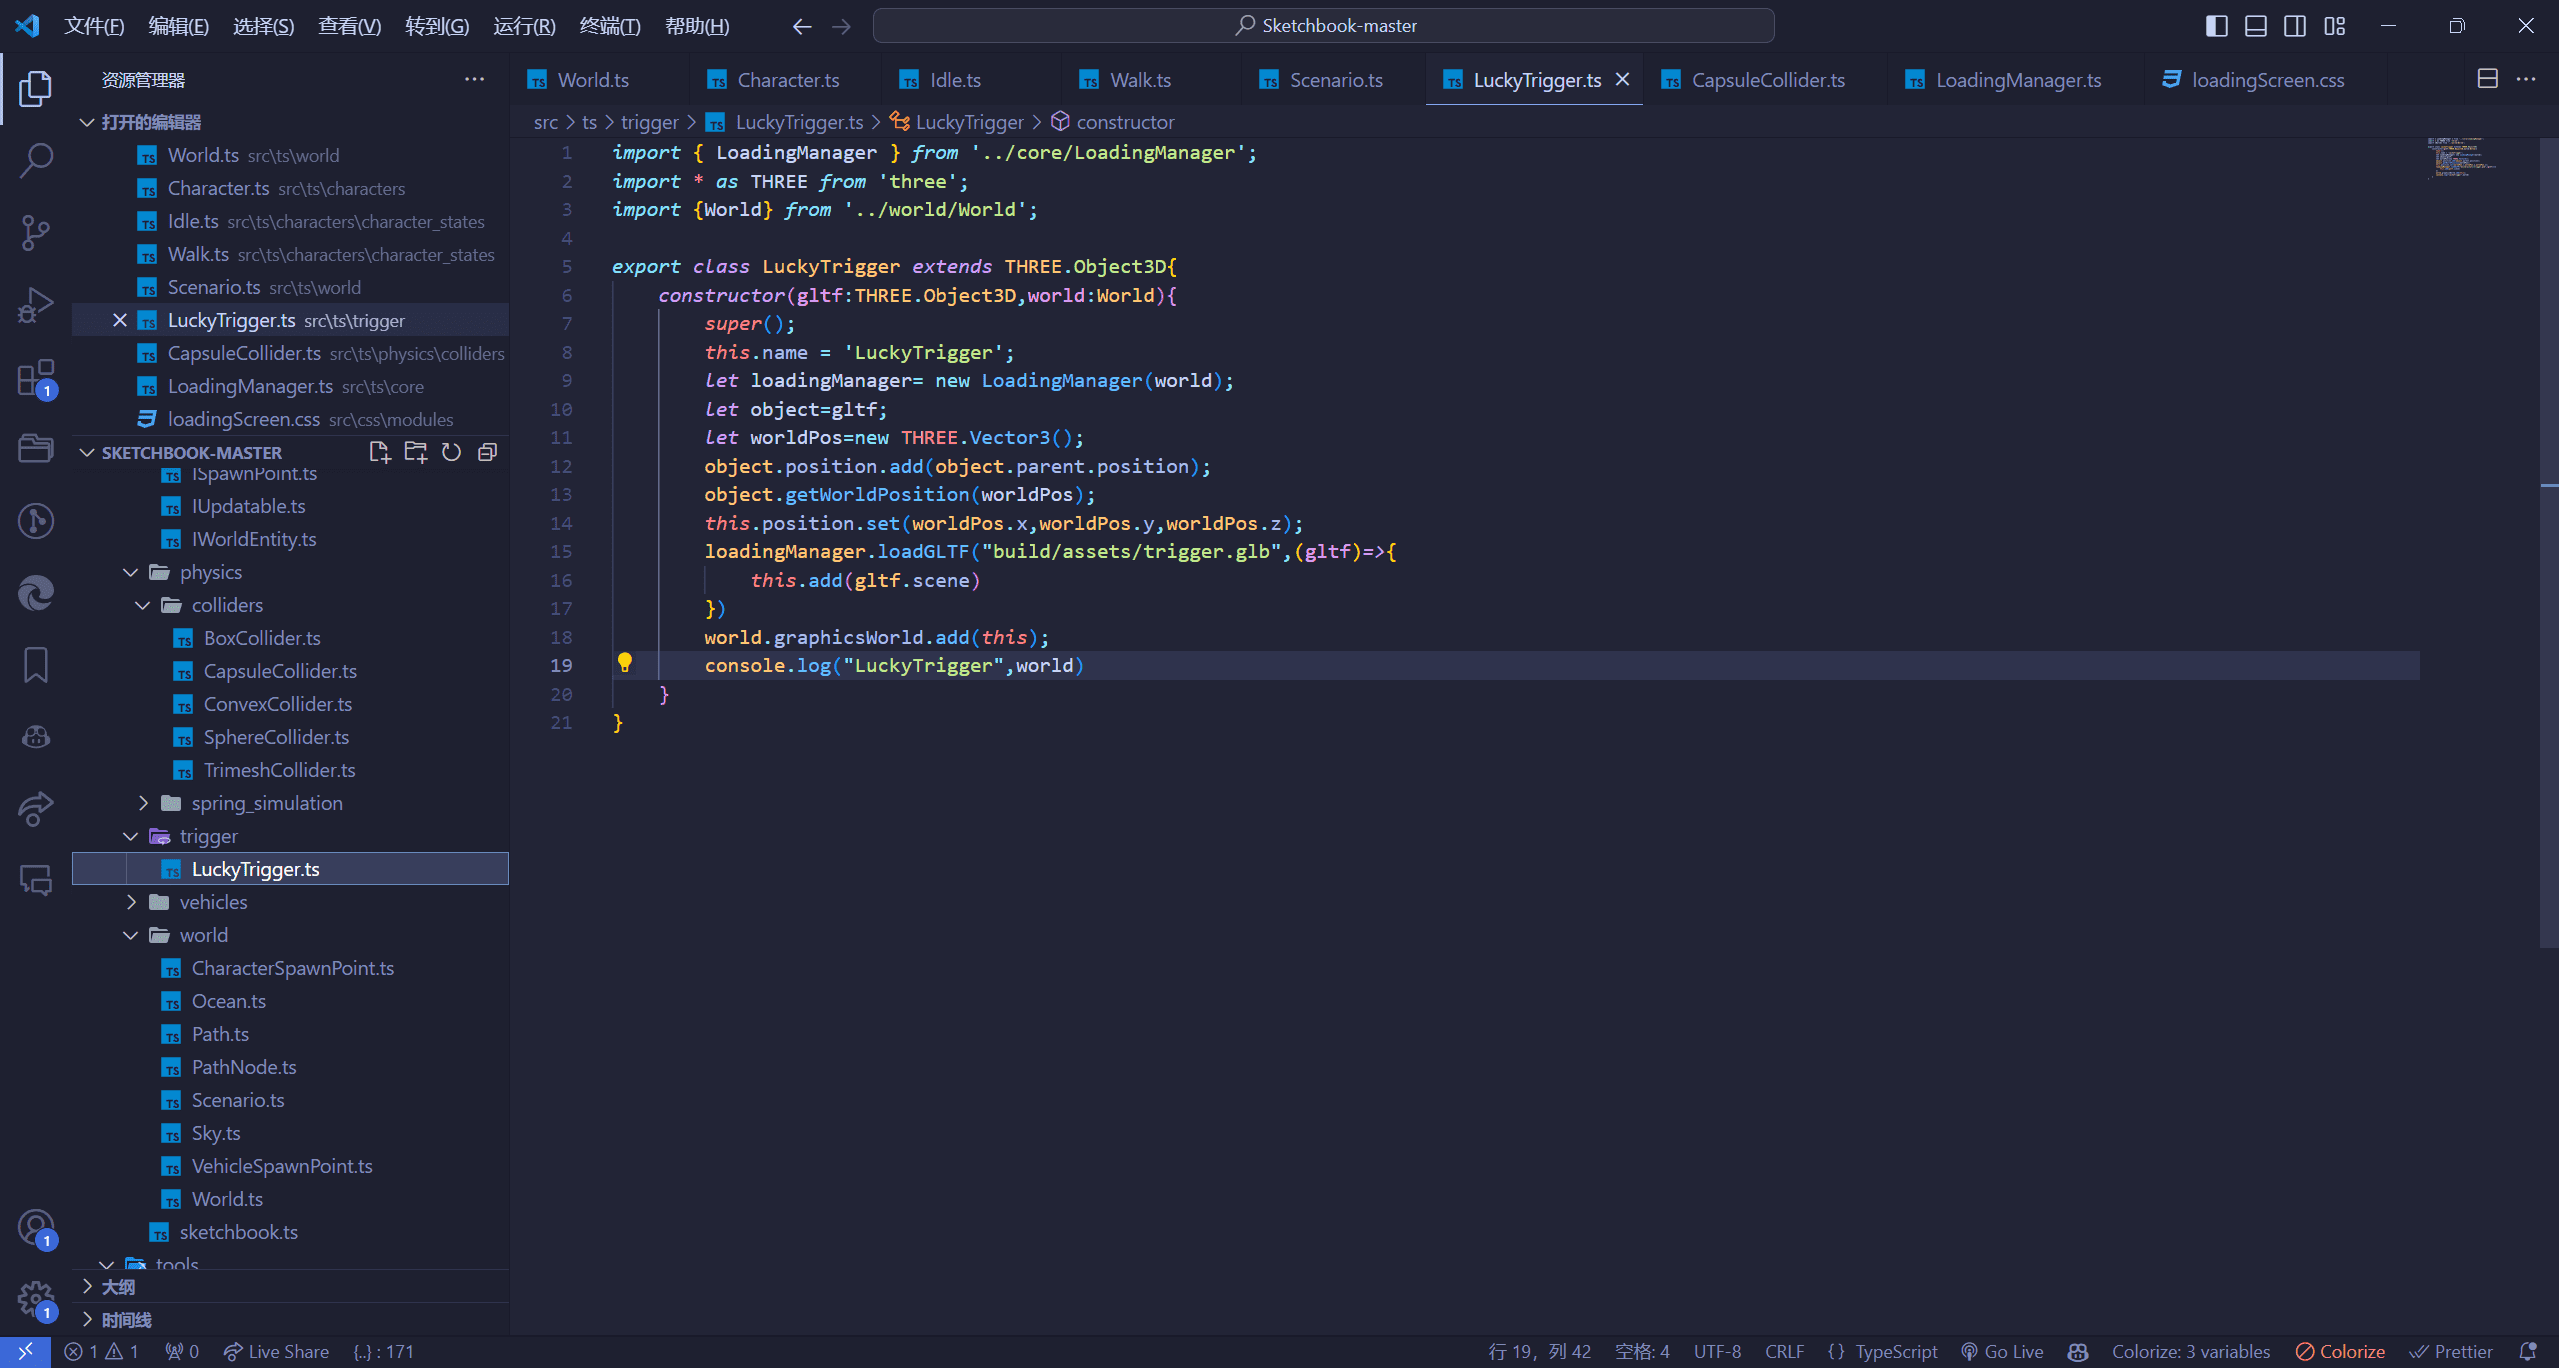
触发机制与注册世界更新表 我们如果需要检测碰撞,就需要注册我们的世界更新表和更新我们的位置,最终实现代码如下,我们导入了更新注册表的接口,用我们的类去实现了这个接口,这个接口中,需要一个update方法要我们实现,我们就写一下,然后在update方法中,我们判断了一下,如果我们的角色在这个触发点的范围内(这里拿了距离1来做判断),就触发了这个方法(调用了弹窗)
1 2 3 4 5 6 7 8 9 10 11 12 13 14 15 16 17 18 19 20 21 22 23 24 25 26 27 28 29 30 31 32 33 34 35 36 37 38 39 40 41 42 43 44 45 46 47 48 49 50 51 52 53 54 55 56 57 58 59 60 61 62 63 64 65 66 67 68 69 70 71 72 73 74 75 76 import { LoadingManager } from '../core/LoadingManager' ;import * as THREE from 'three' ;import {World } from '../world/World' ;import gsap from 'gsap' ;import { IUpdatable } from '../interfaces/IUpdatable' ;import Swal from 'sweetalert2' ;export class LuckyTrigger extends THREE.Object3D implements IUpdatable { public updateOrder : number ; public world :World ; public isInner :boolean ; constructor (gltf:THREE.Object3D,world:World ){ super (); this .name = 'LuckyTrigger' ; this .world = world; let loadingManager= new LoadingManager (world); let object =gltf; let worldPos=new THREE .Vector3 (); object .position .add (object .parent .position ); object .getWorldPosition (worldPos); this .position .set (worldPos.x ,worldPos.y +0.5 ,worldPos.z ); let texture = new THREE .TextureLoader ().load ( 'build/assets/imgs/trigger1.png' ); texture.rotation = -Math .PI /2 ; loadingManager.loadGLTF ("build/assets/trigger.glb" ,(gltf )=> { let material=new THREE .MeshBasicMaterial ({ map :texture, alphaMap :texture, transparent :true , side :THREE .DoubleSide , opacity :1 , depthWrite :false , blending :THREE .AdditiveBlending }) gltf.scene .children [0 ].material =material; this .add (gltf.scene ) }) world.graphicsWorld .add (this ); console .log ("LuckyTrigger" ,world) world.registerUpdatable (this ) gsap.to (texture.offset ,{ duration :1 , x :1 , repeat :-1 , yoyo :true }) this .isInner = false ; } update (timestep : number , unscaledTimeStep : number ): void { let character = this .world .characters [0 ] if (character){ let length = character.position .distanceTo (this .position ) if (length<1 && this .isInner ==false ){ this .isInner = true ; this .enterHandler () } if (length>1 && this .isInner ==true ){ this .isInner = false ; } } } enterHandler ( Swal .fire ({ title : '恭喜你中奖了' , text : '您获得一等奖IPHONE14PRO' , confirmButtonText : '确定' , buttonsStyling : false , onClose : () => { } }); } }
Your browser does not support the video tag.
人物进入车辆并进入 这里简单讲解下人物进入车辆并进入的这个逻辑
1 2 3 4 5 6 7 8 9 10 11 12 13 14 15 16 17 18 19 20 21 22 23 24 25 26 27 28 29 30 31 32 33 34 35 36 37 38 39 40 41 42 43 44 45 46 47 48 49 50 51 52 53 54 55 56 57 58 59 60 61 62 63 64 65 66 67 68 69 70 71 72 73 74 75 76 77 78 79 80 81 82 83 84 85 86 87 88 89 90 91 92 93 94 95 96 97 98 99 100 101 102 public findVehicleToEnter (wantsToDrive : boolean ): void { let worldPos = new THREE .Vector3 (); let vehicleFinder = new ClosestObjectFinder <Vehicle >(this .position , 10 ); this .world .vehicles .forEach ((vehicle ) => { vehicleFinder.consider (vehicle, vehicle.position ); }); if (vehicleFinder.closestObject !== undefined ) { let vehicle = vehicleFinder.closestObject ; let vehicleEntryInstance = new VehicleEntryInstance (this ); vehicleEntryInstance.wantsToDrive = wantsToDrive; let seatFinder = new ClosestObjectFinder <VehicleSeat >(this .position ); for (const seat of vehicle.seats ) { if (wantsToDrive) { if (seat.type === SeatType .Driver ) { seat.seatPointObject .getWorldPosition (worldPos); seatFinder.consider (seat, worldPos); } else if (seat.type === SeatType .Passenger ) { for (const connSeat of seat.connectedSeats ) { if (connSeat.type === SeatType .Driver ) { seat.seatPointObject .getWorldPosition (worldPos); seatFinder.consider (seat, worldPos); break ; } } } } else { if (seat.type === SeatType .Passenger ) { seat.seatPointObject .getWorldPosition (worldPos); seatFinder.consider (seat, worldPos); } } } if (seatFinder.closestObject !== undefined ) { let targetSeat = seatFinder.closestObject ; vehicleEntryInstance.targetSeat = targetSeat; let entryPointFinder = new ClosestObjectFinder <Object3D >(this .position ); for (const point of targetSeat.entryPoints ) { point.getWorldPosition (worldPos); entryPointFinder.consider (point, worldPos); } if (entryPointFinder.closestObject !== undefined ) { vehicleEntryInstance.entryPoint = entryPointFinder.closestObject ; this .triggerAction ('up' , true ); this .vehicleEntryInstance = vehicleEntryInstance; } } } } public enterVehicle (seat : VehicleSeat , entryPoint : THREE .Object3D ): void { this .resetControls (); if (seat.door ?.rotation < 0.5 ) { this .setState (new OpenVehicleDoor (this , seat, entryPoint)); } else { this .setState (new EnteringVehicle (this , seat, entryPoint)); } }
AI操控比赛竞速 这里的代码主要在这里yuka试一下重写
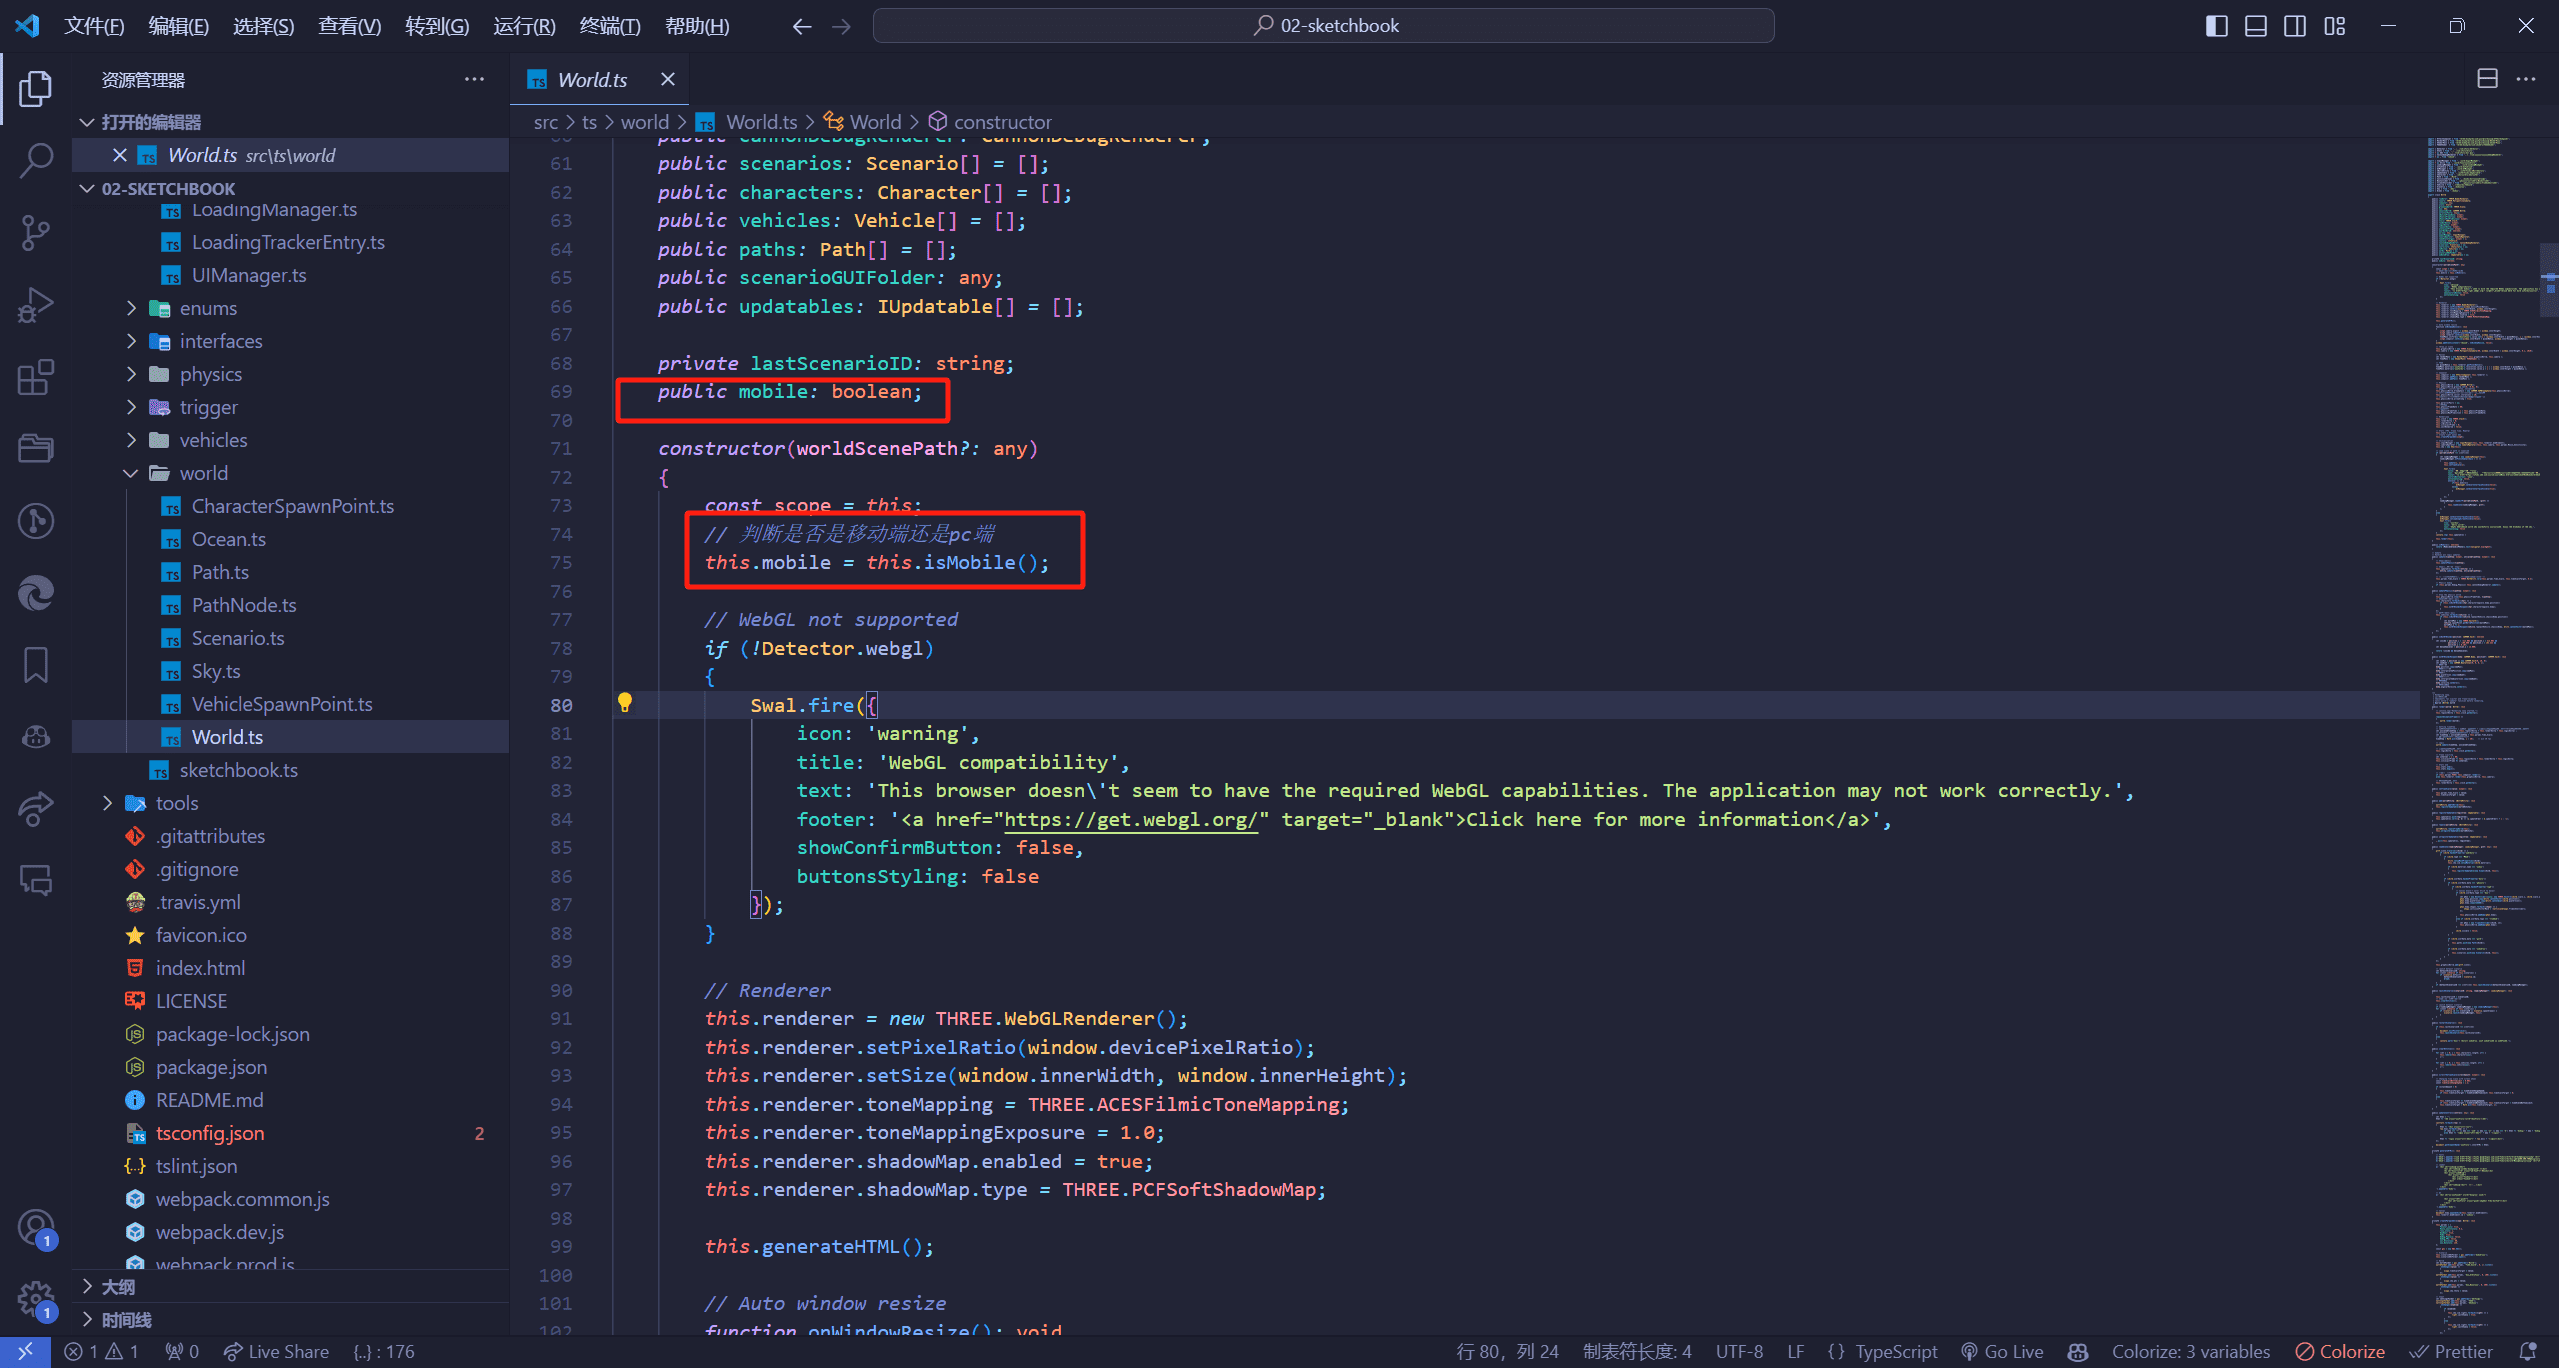
封装移动端操作 World.ts中的修改
定义是否是移动端方法
1 2 3 public isMobile (): boolean { return /Mobi|Android|iPhone/i .test (navigator.userAgent ); }
初始化赋值
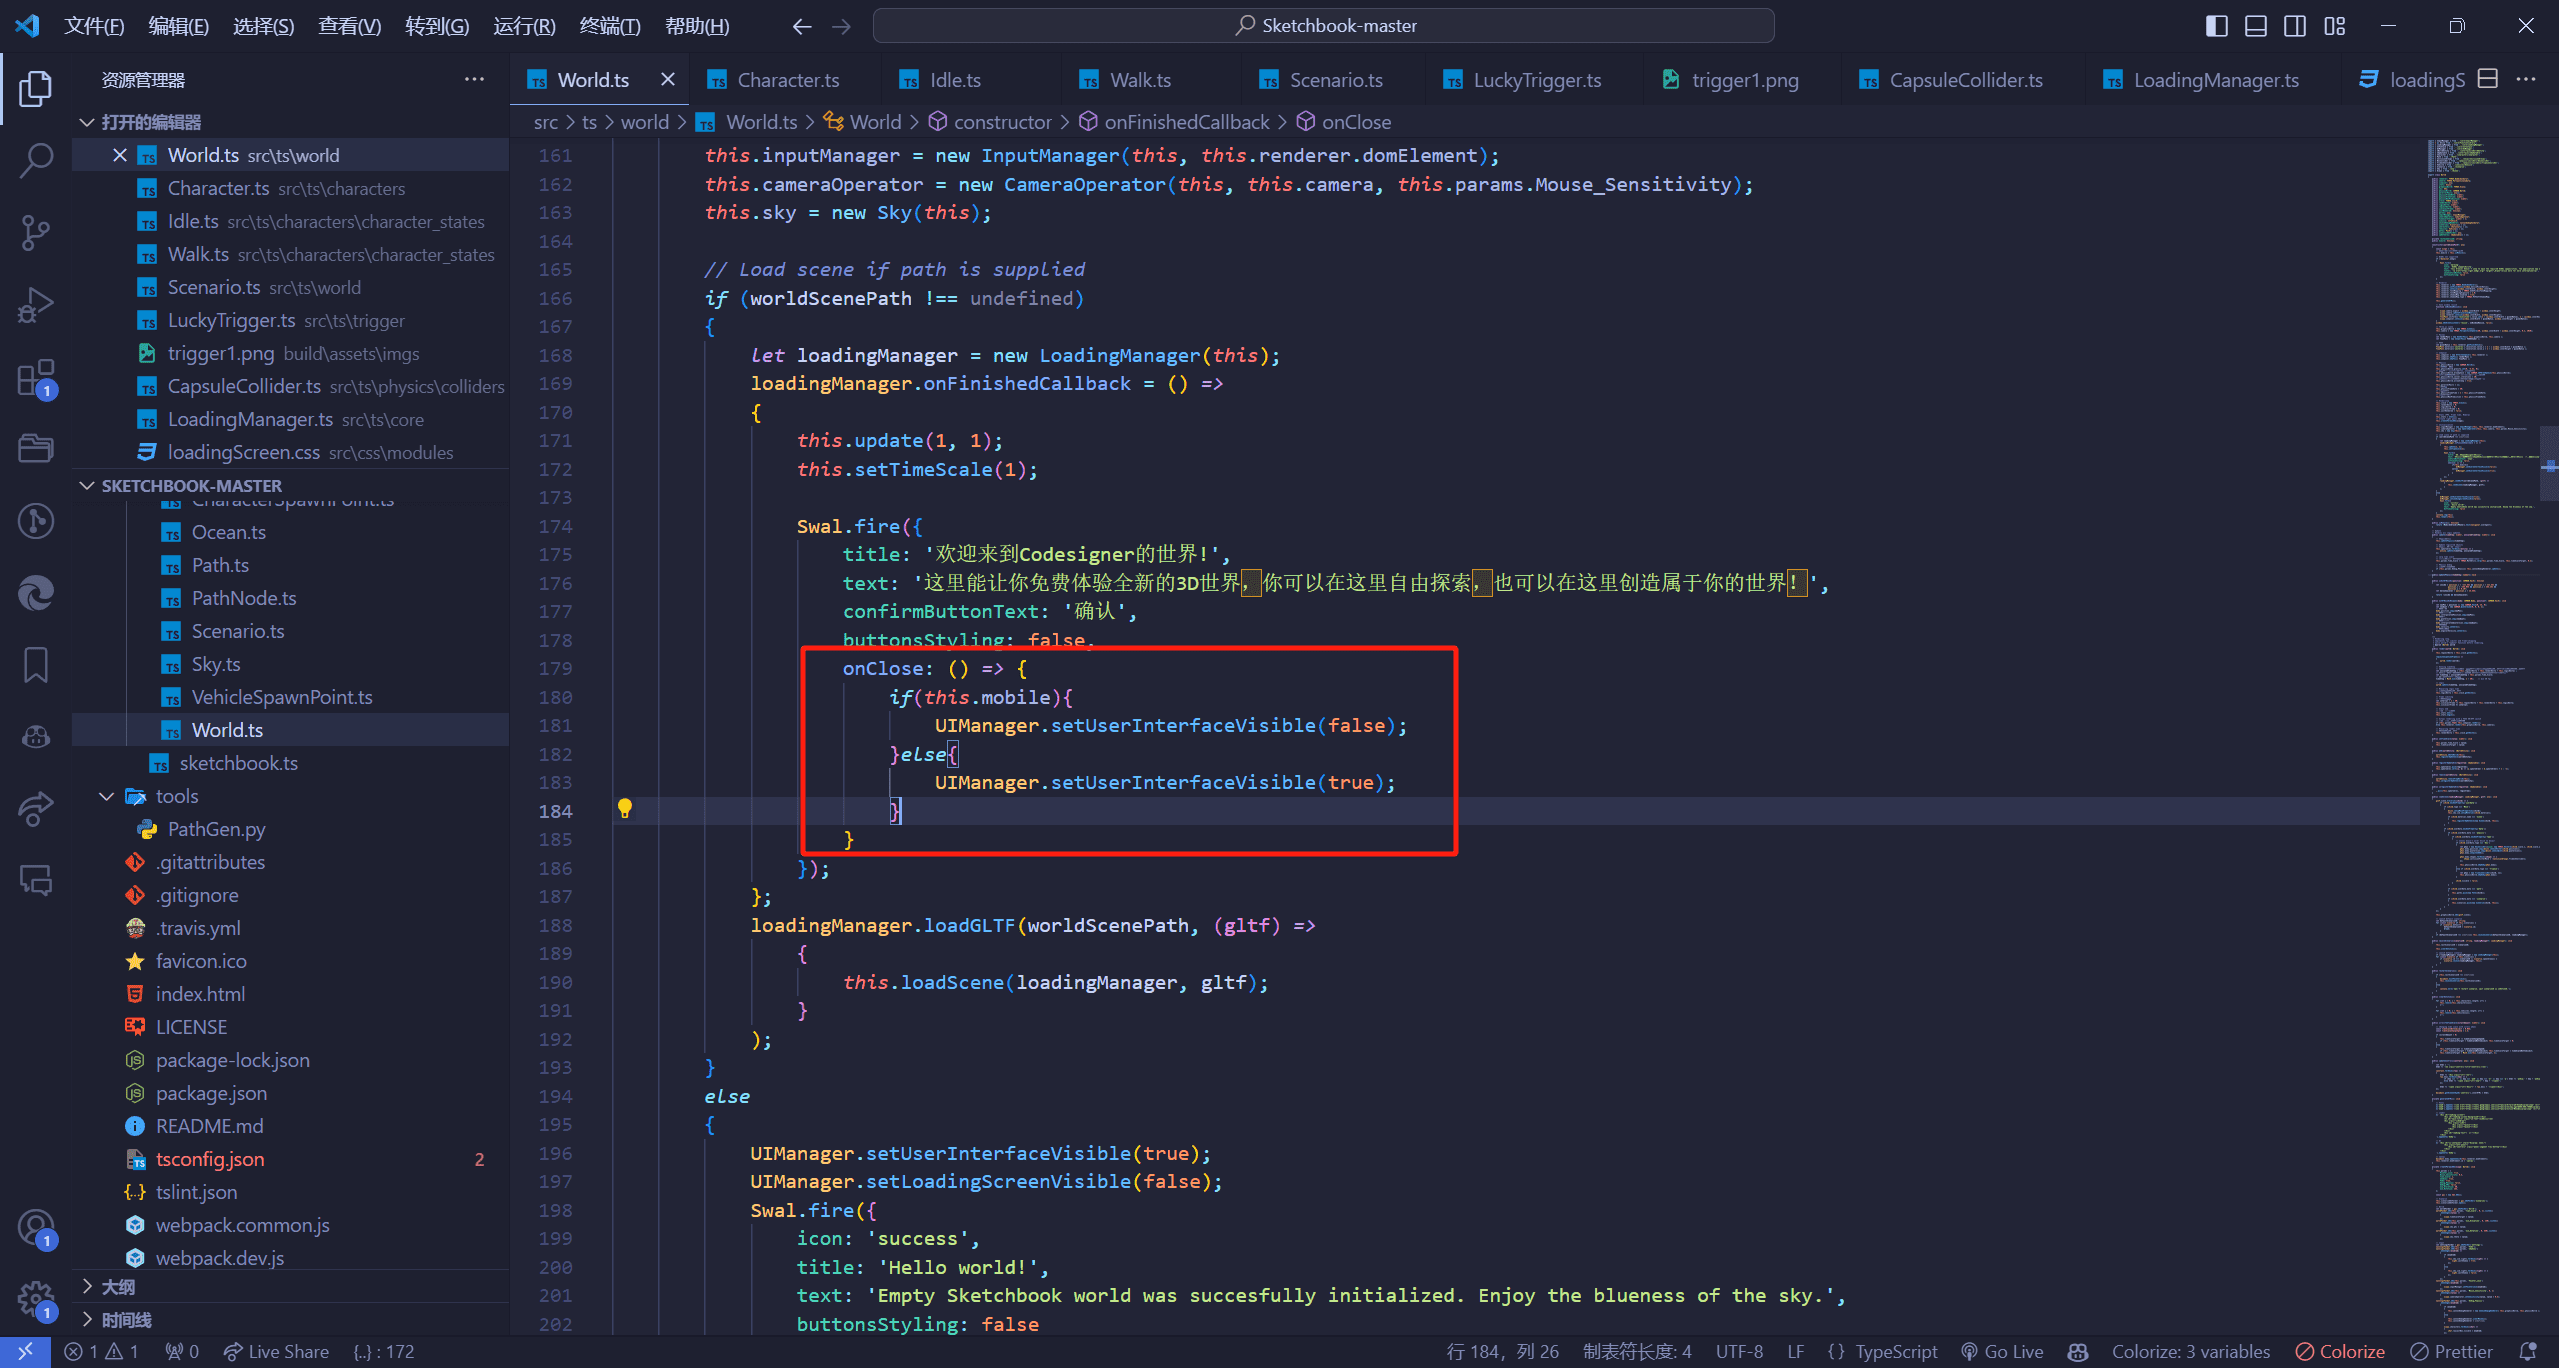
根据是否是移动端显示UIManager
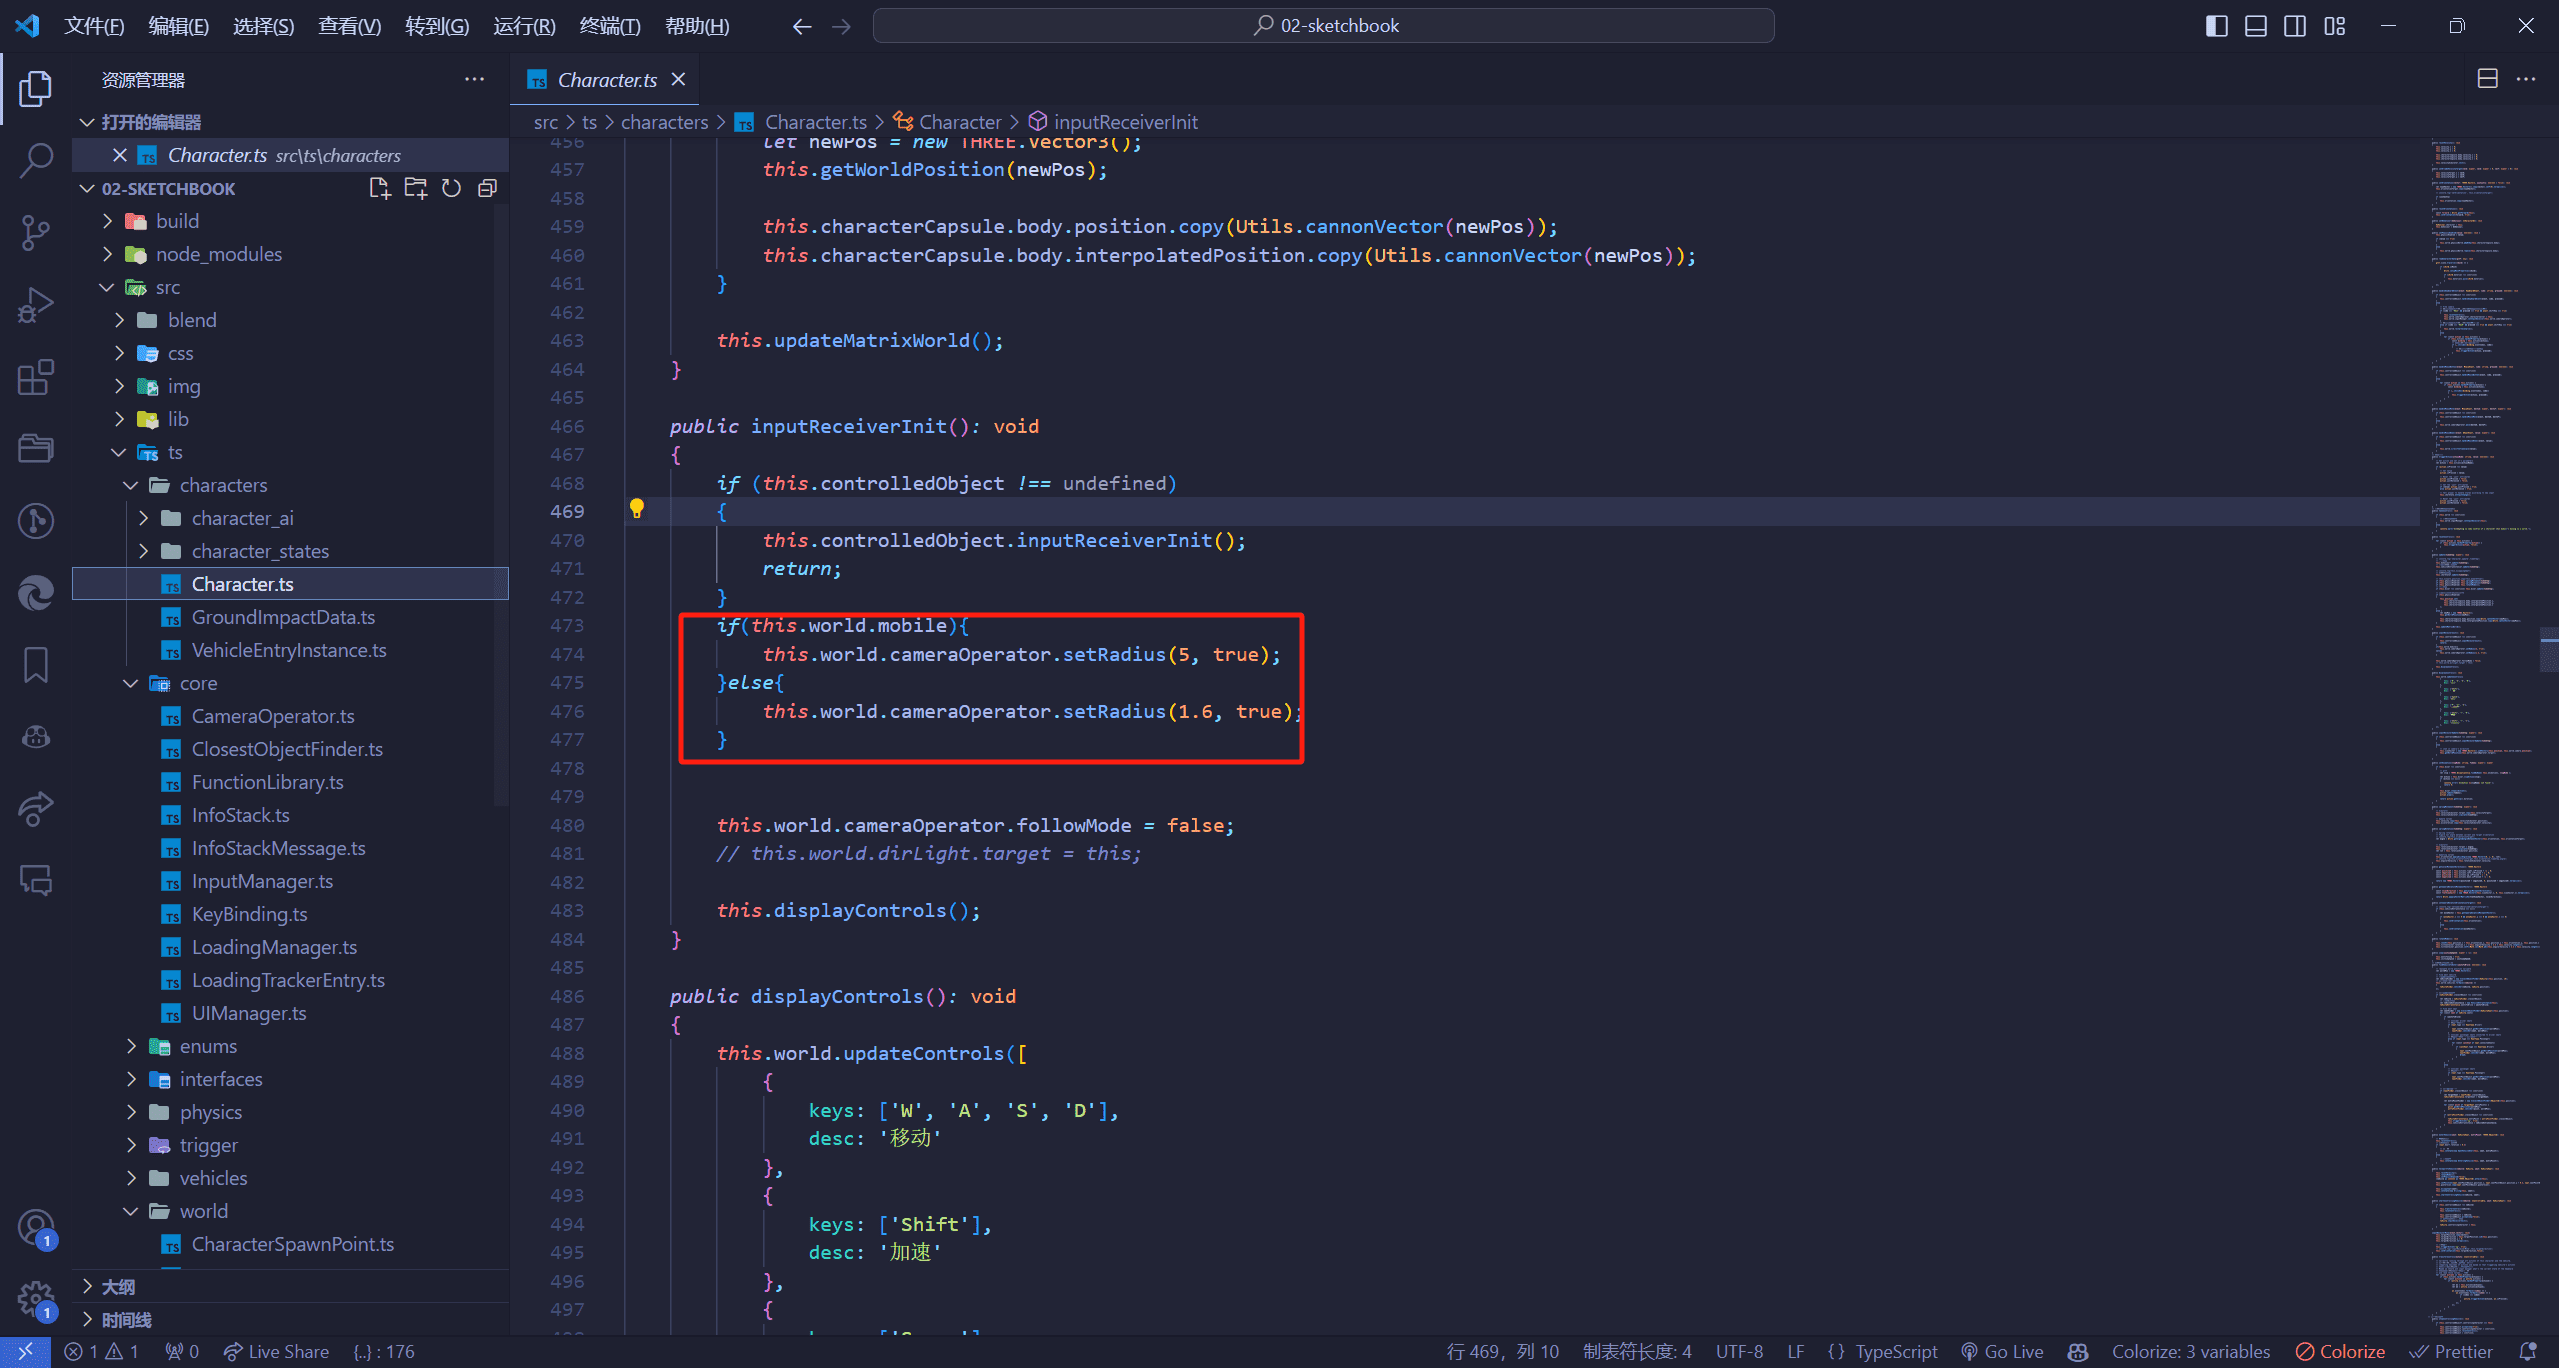
Character.ts中的修改
相机角度抬高
角色移动方法1 2 3 4 5 6 7 8 9 10 inputReceiverMove (event,vector): void { this .targetPosition .copy (vector); this .targetDirection = this .targetPosition .sub (this .position ); this .targetDirection .y = 0 ; this .targetDirection .normalize (); this .triggerAction ('up' , true ); this .setOrientation (this .targetDirection ,false ); }
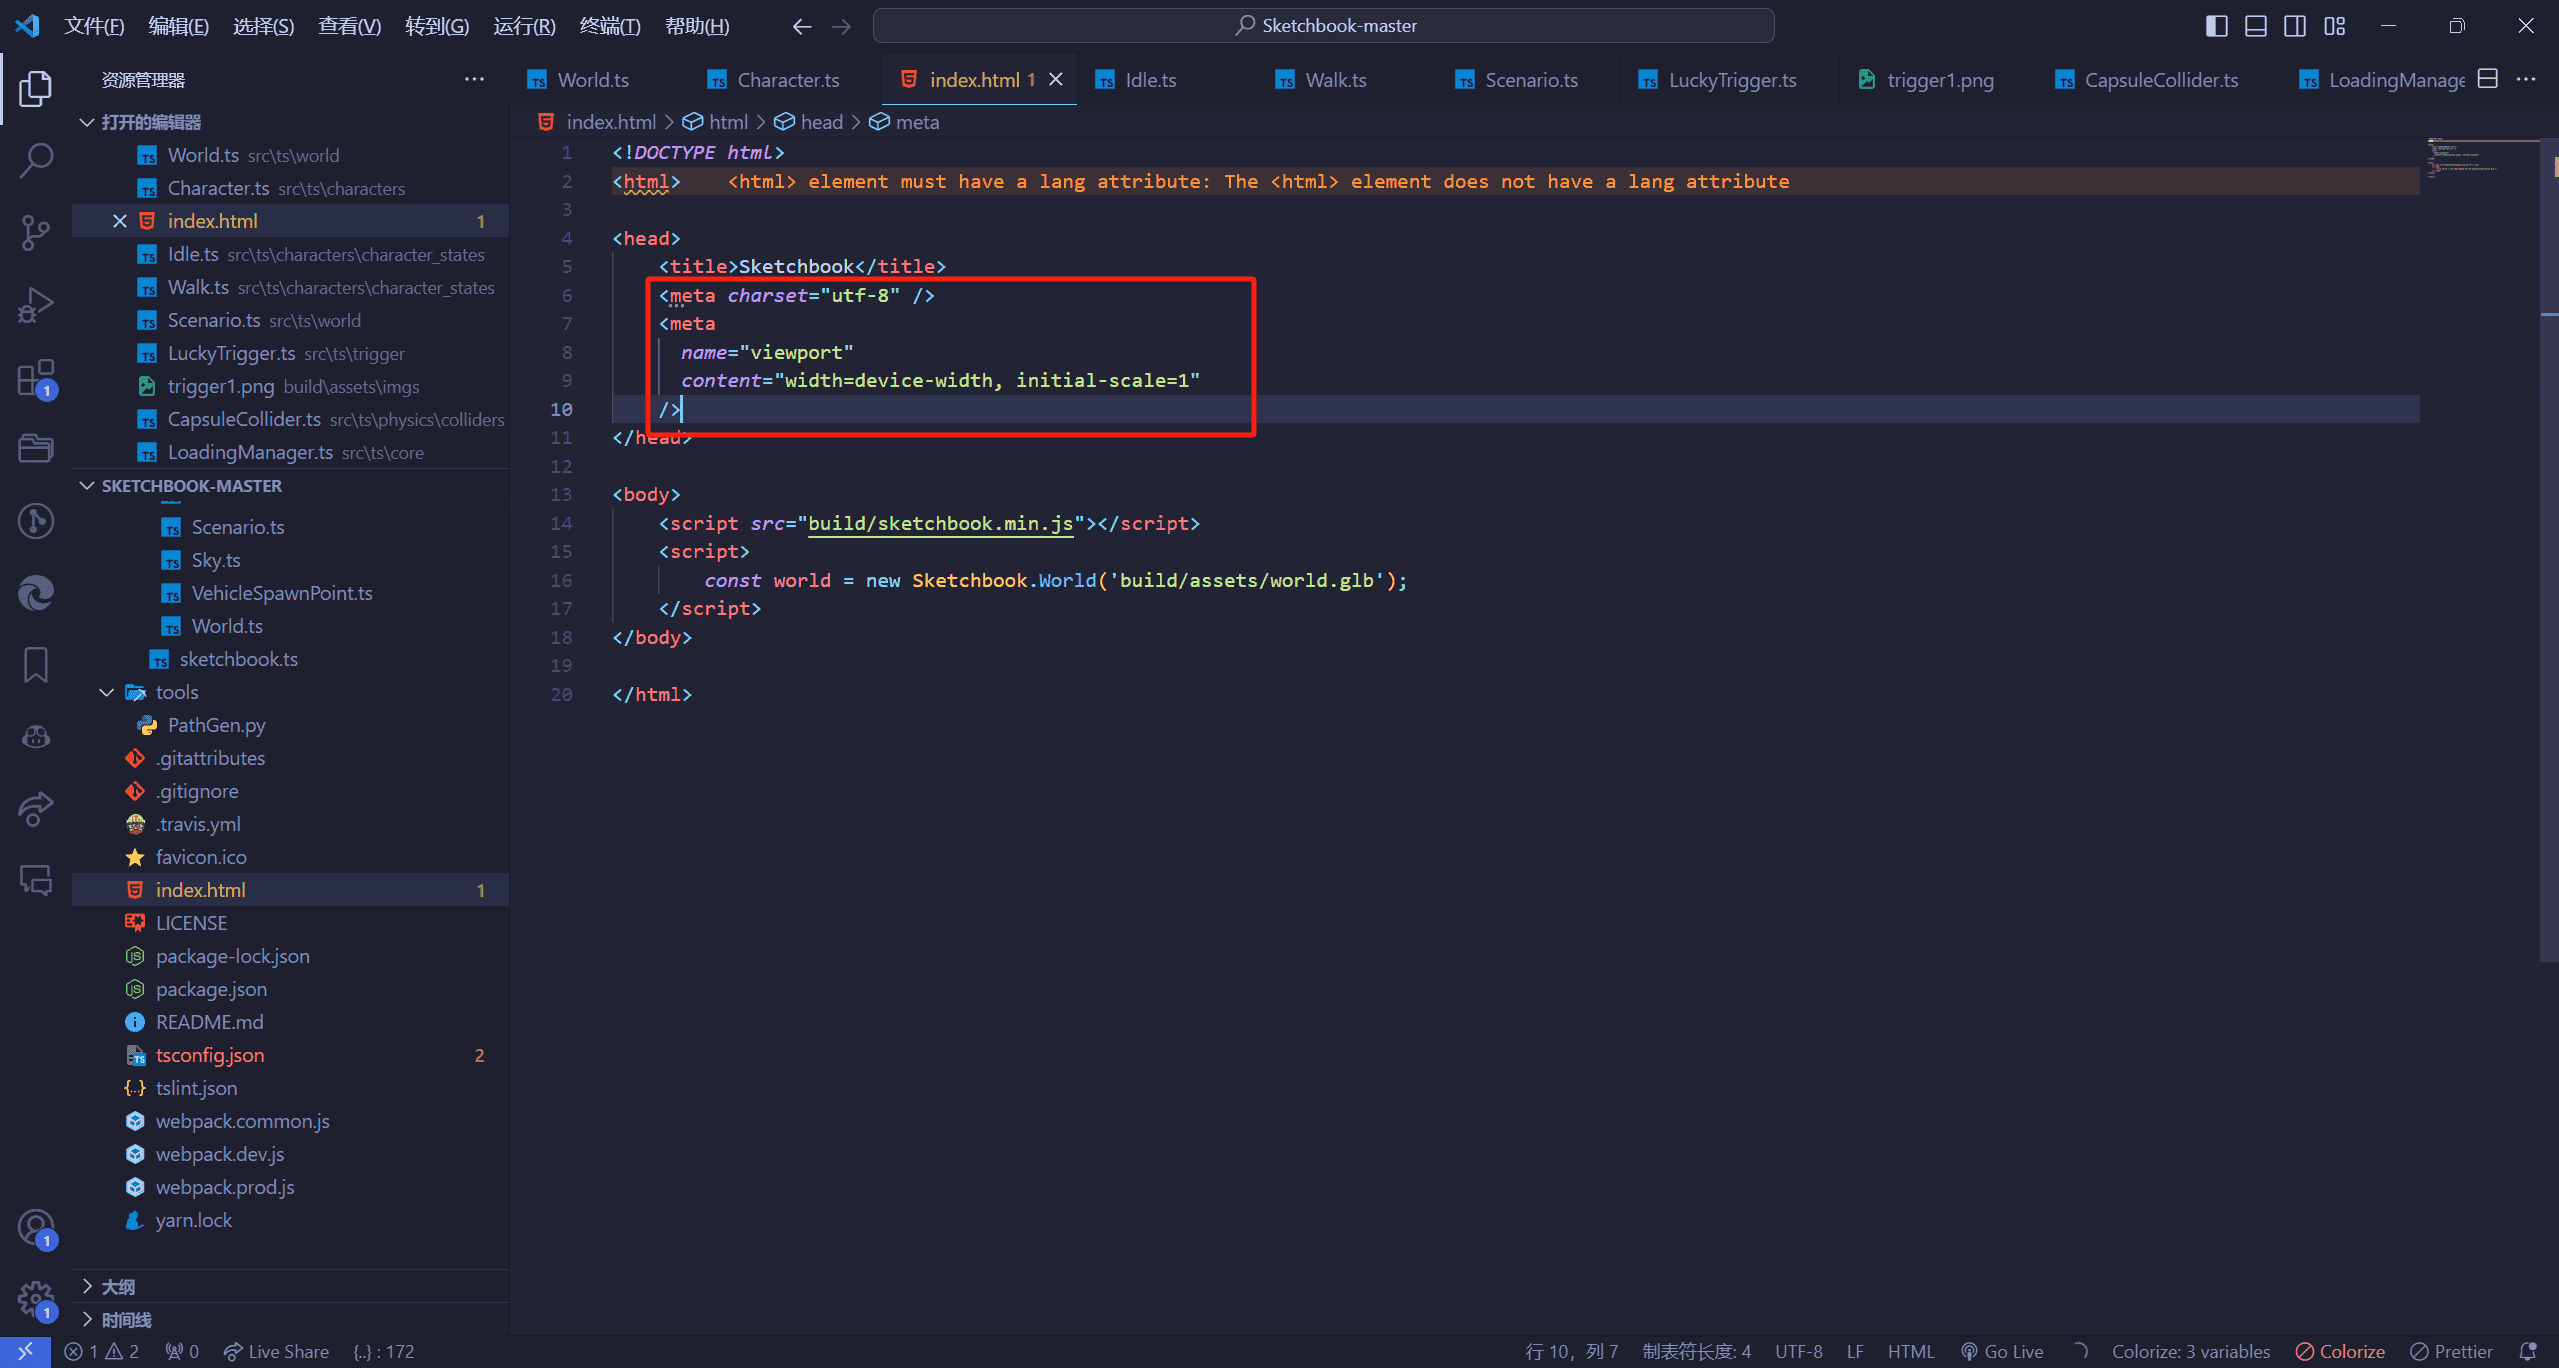
HTML修改
支持移动端适配
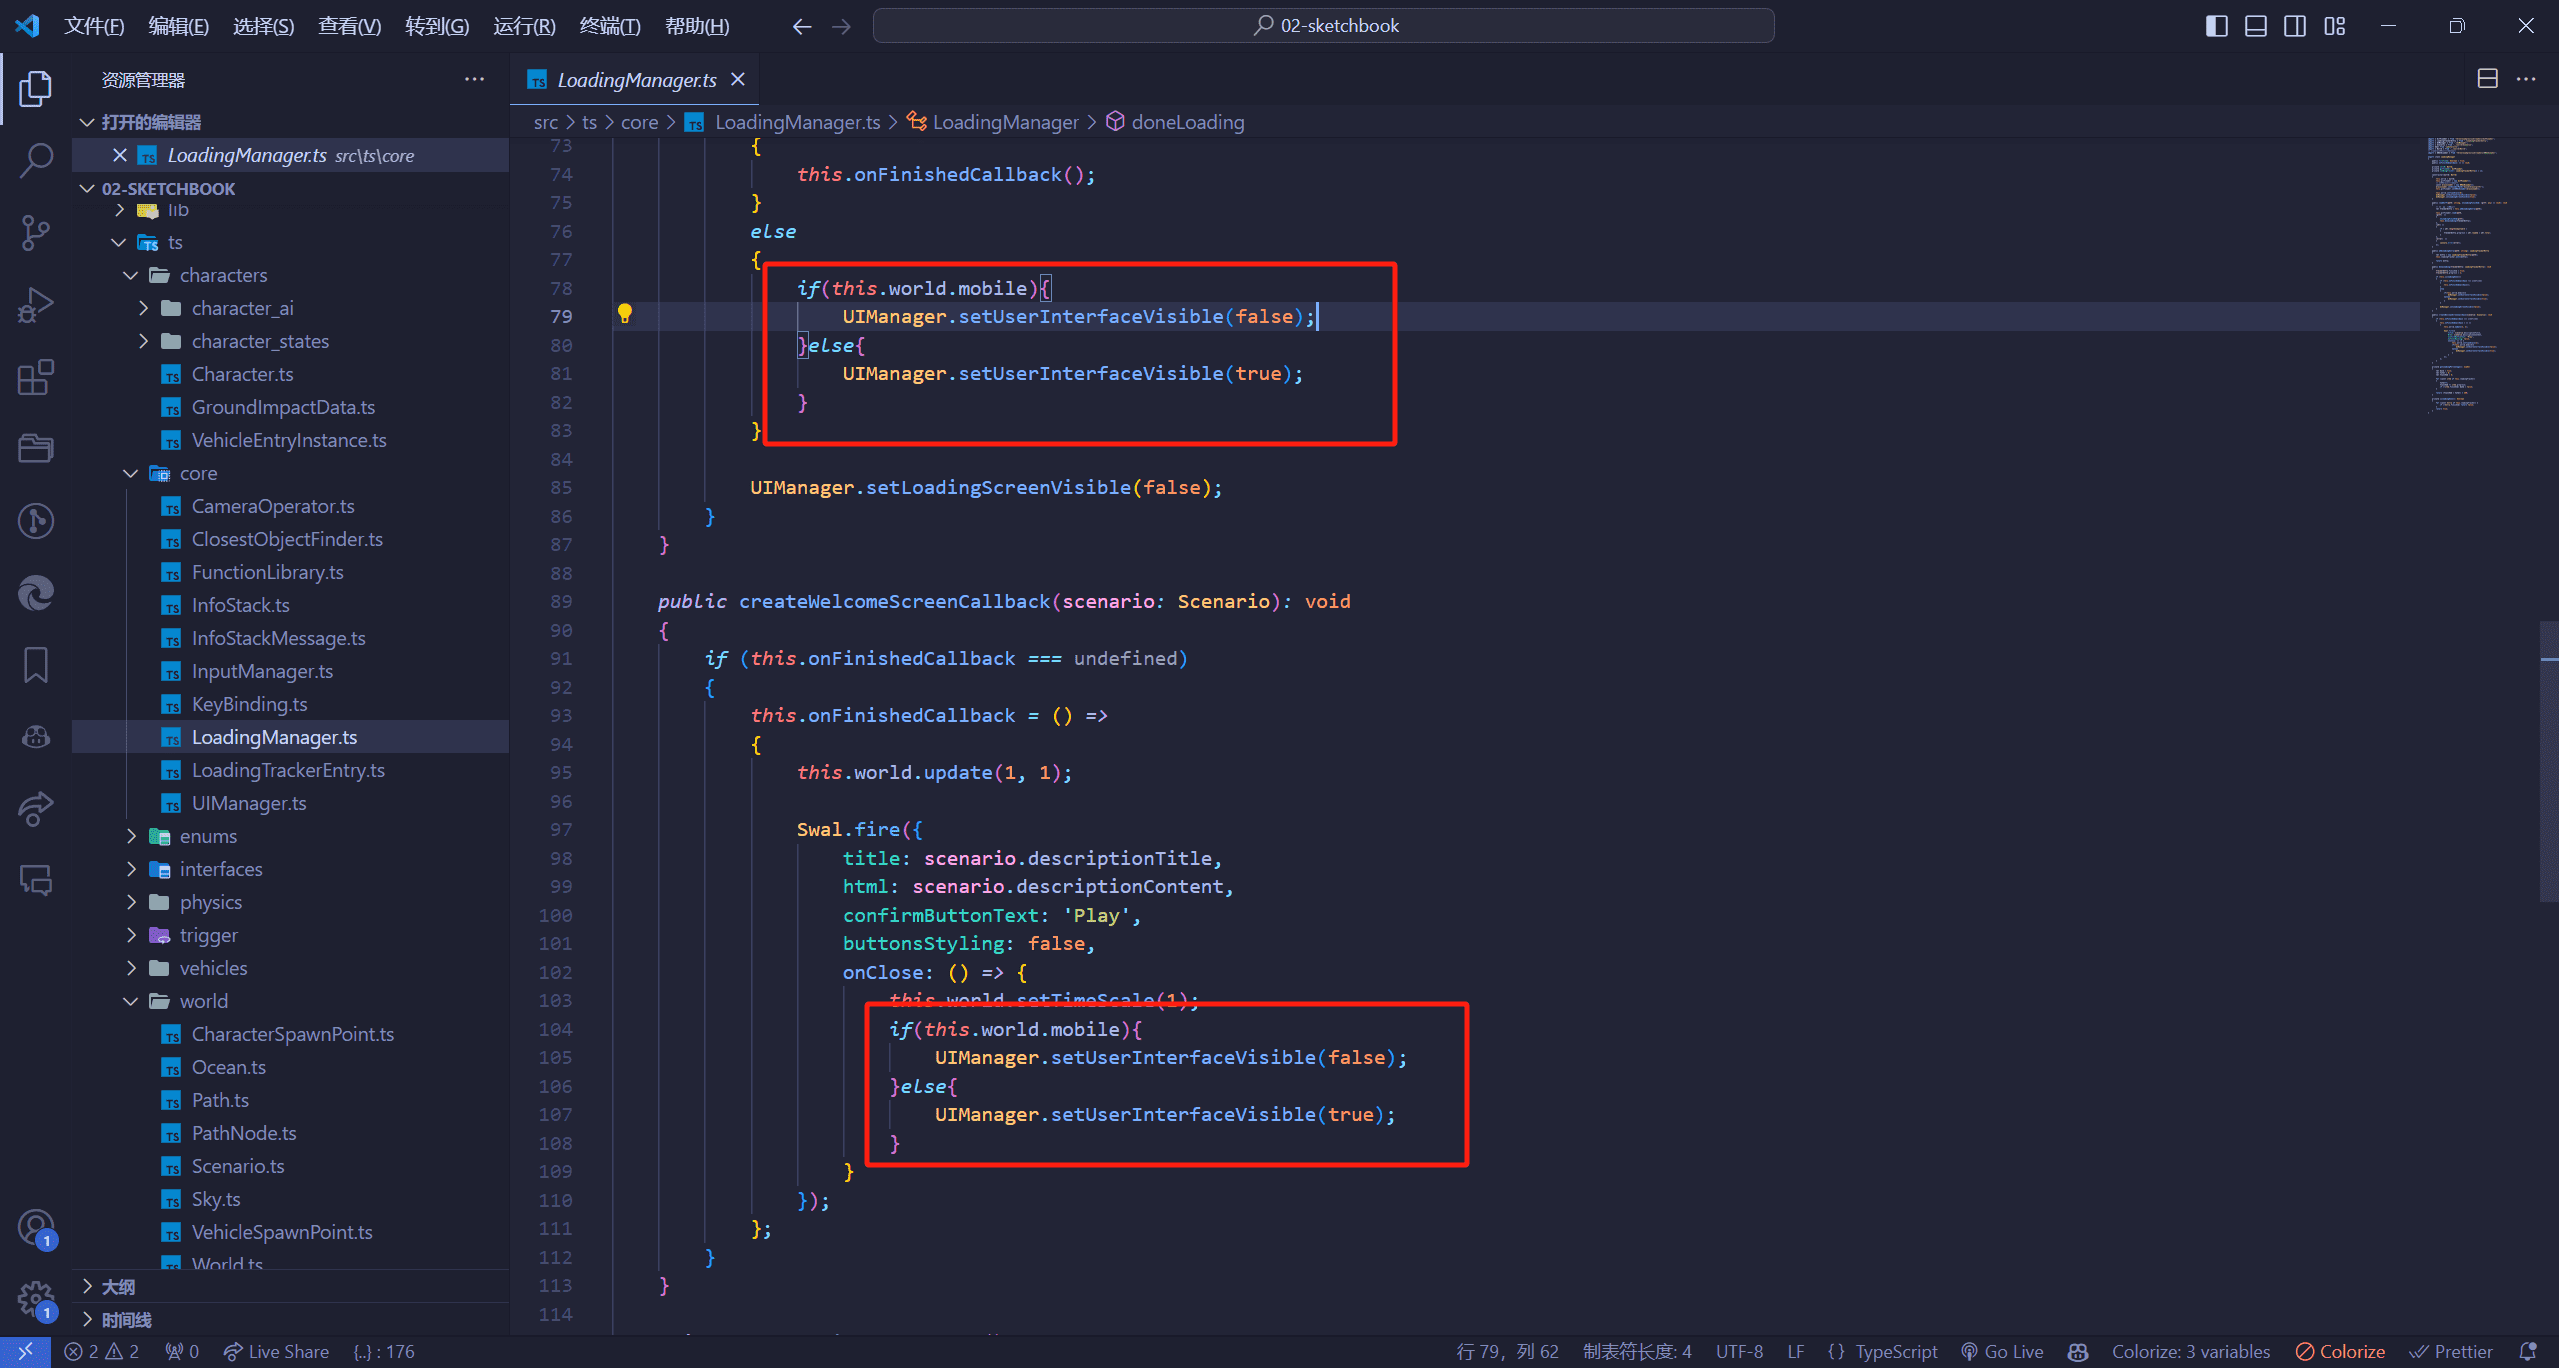
LoadingManager.ts中的修改
初始化GUI去除
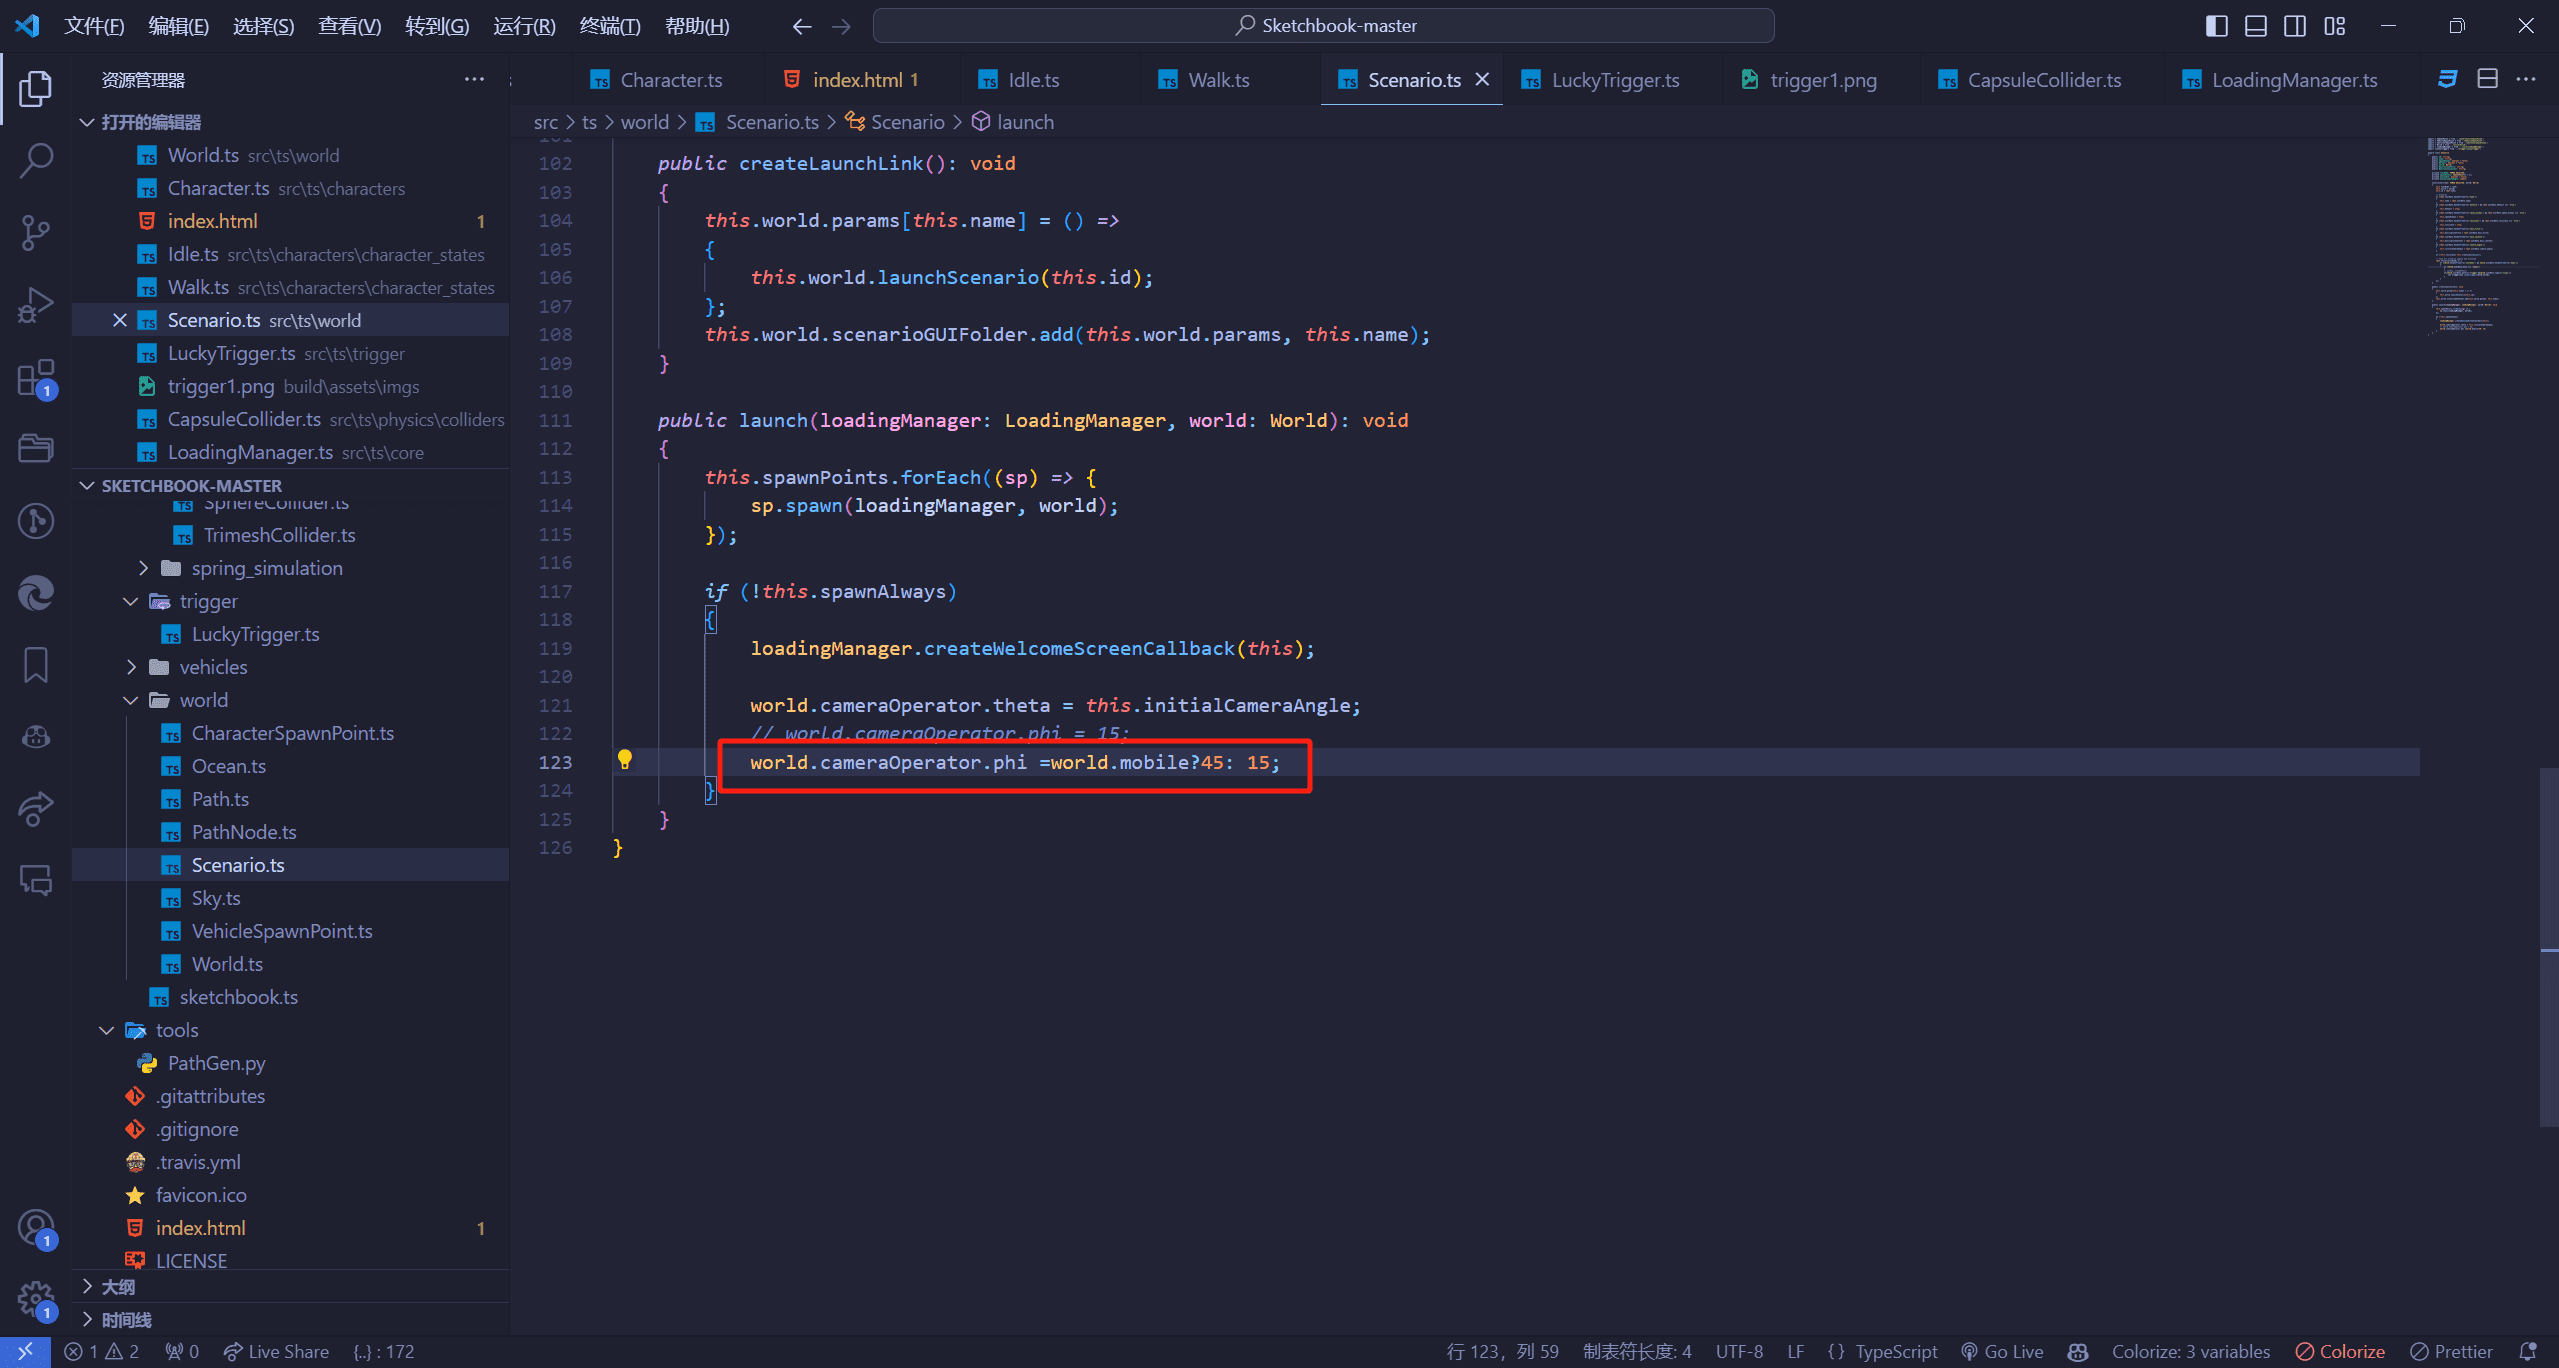
Scenario.ts中的修改
设置相机角度
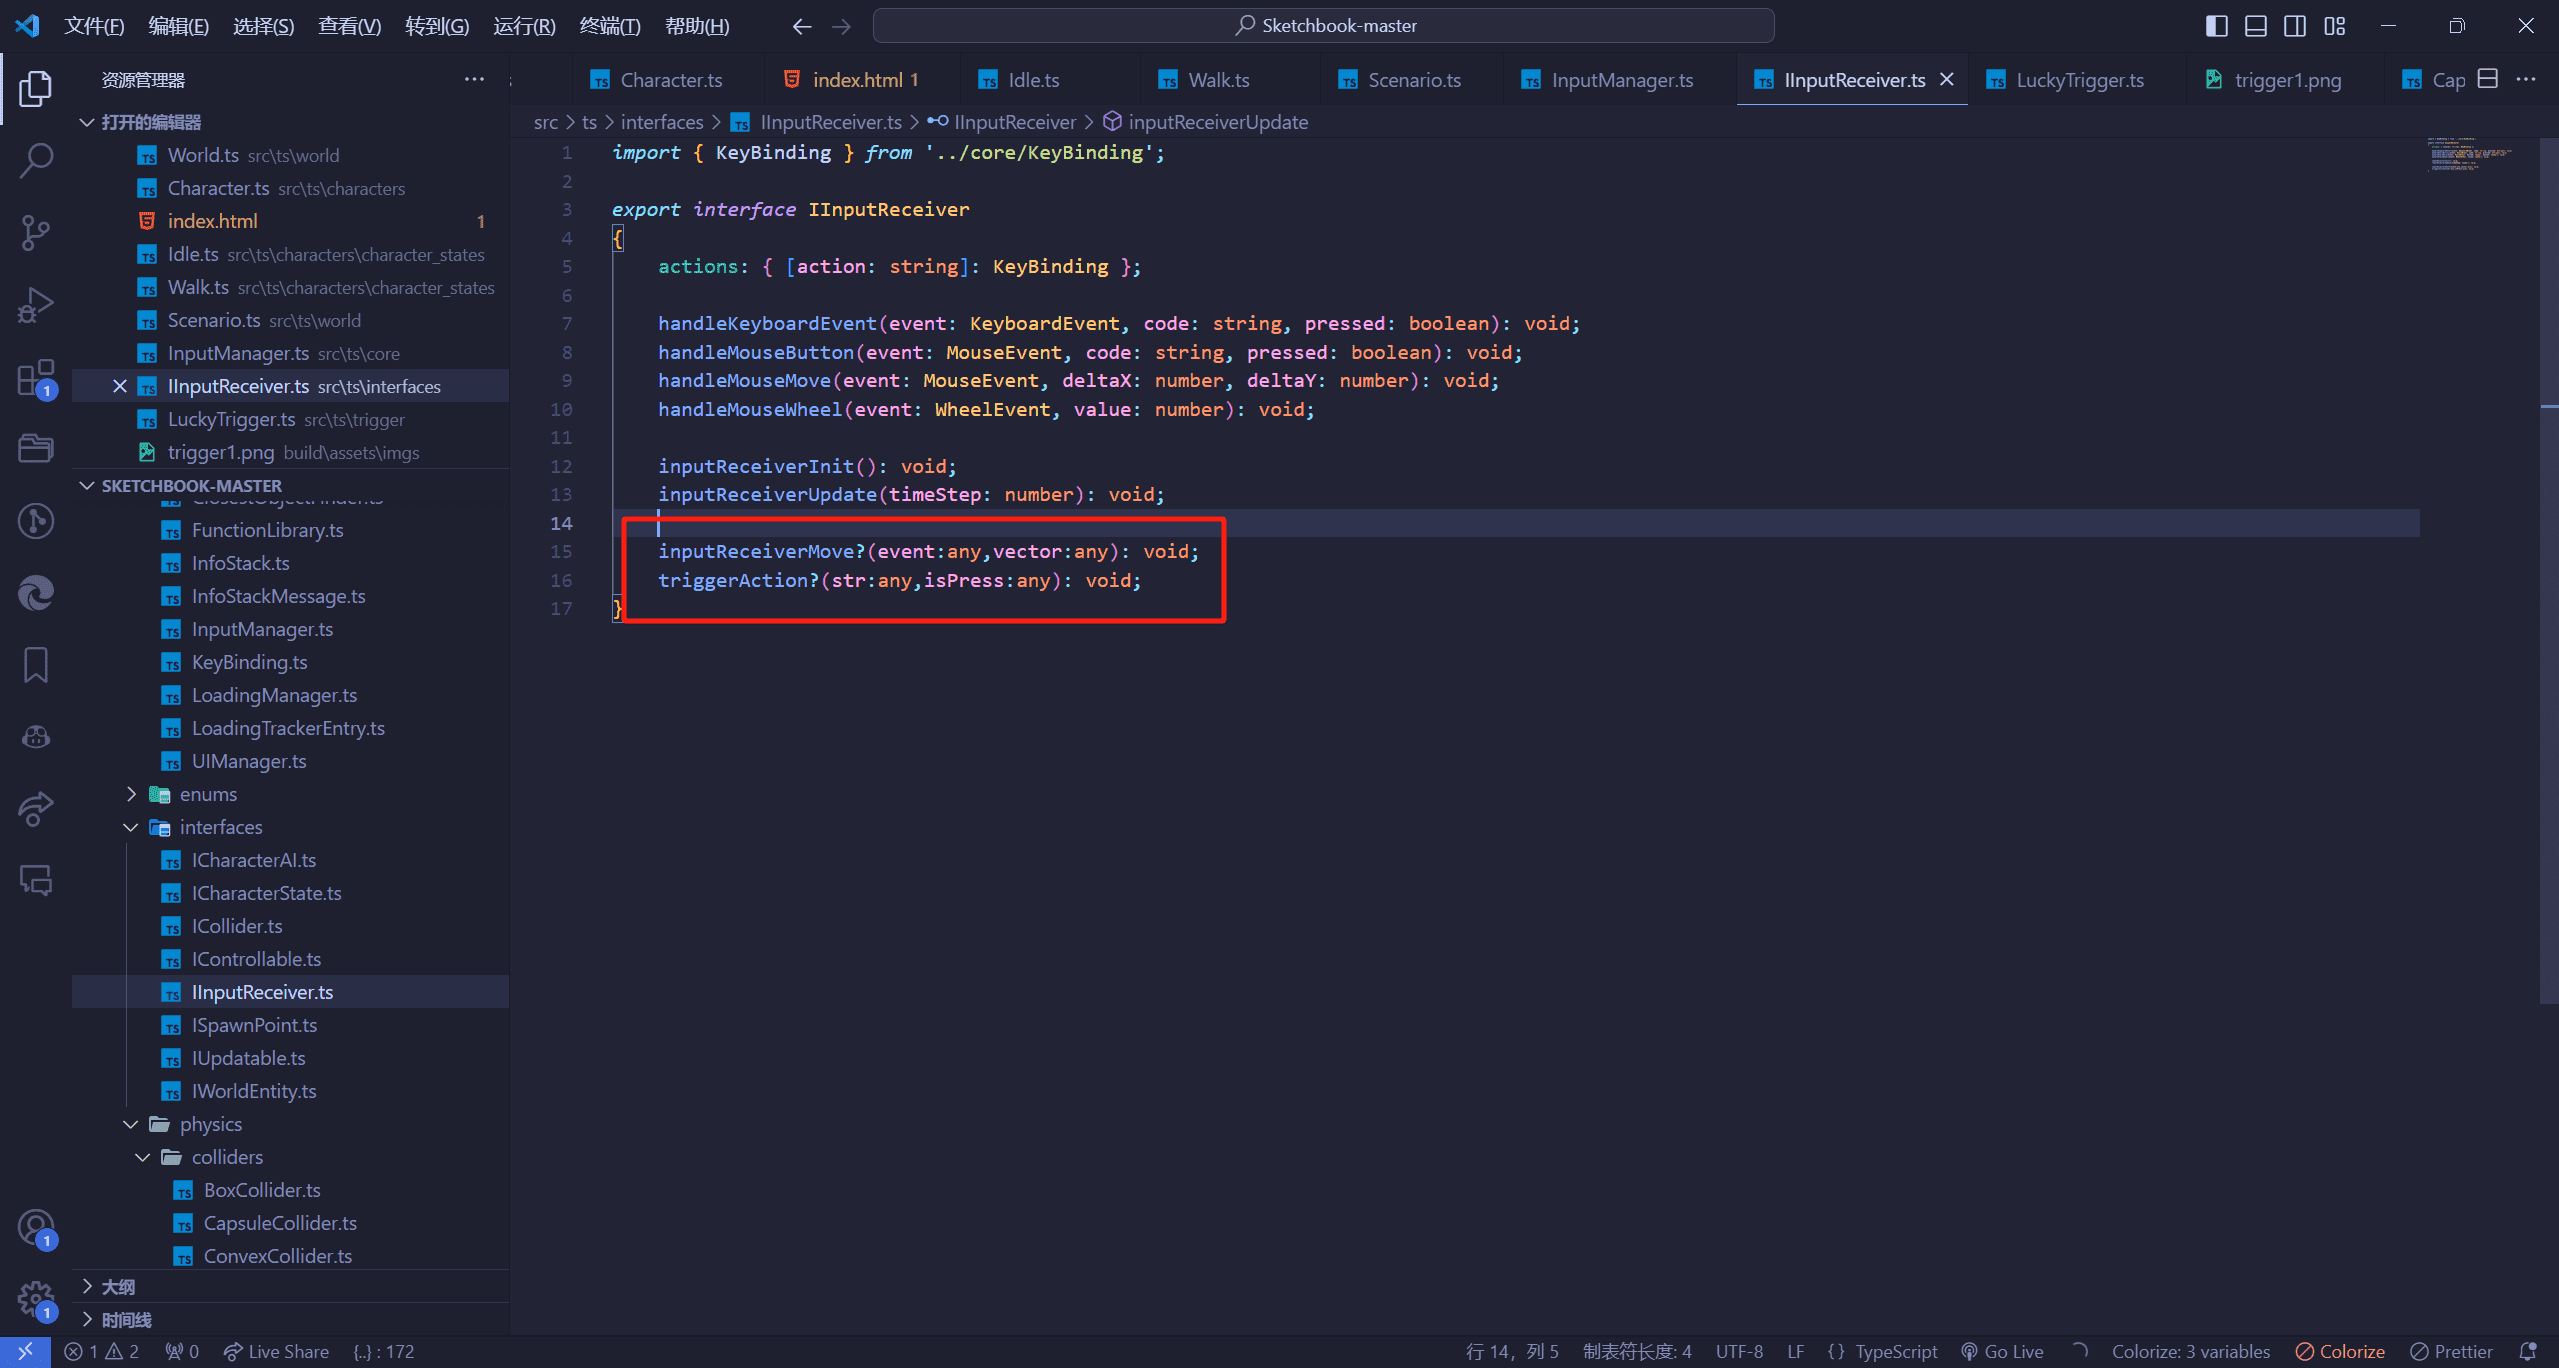
定义类型
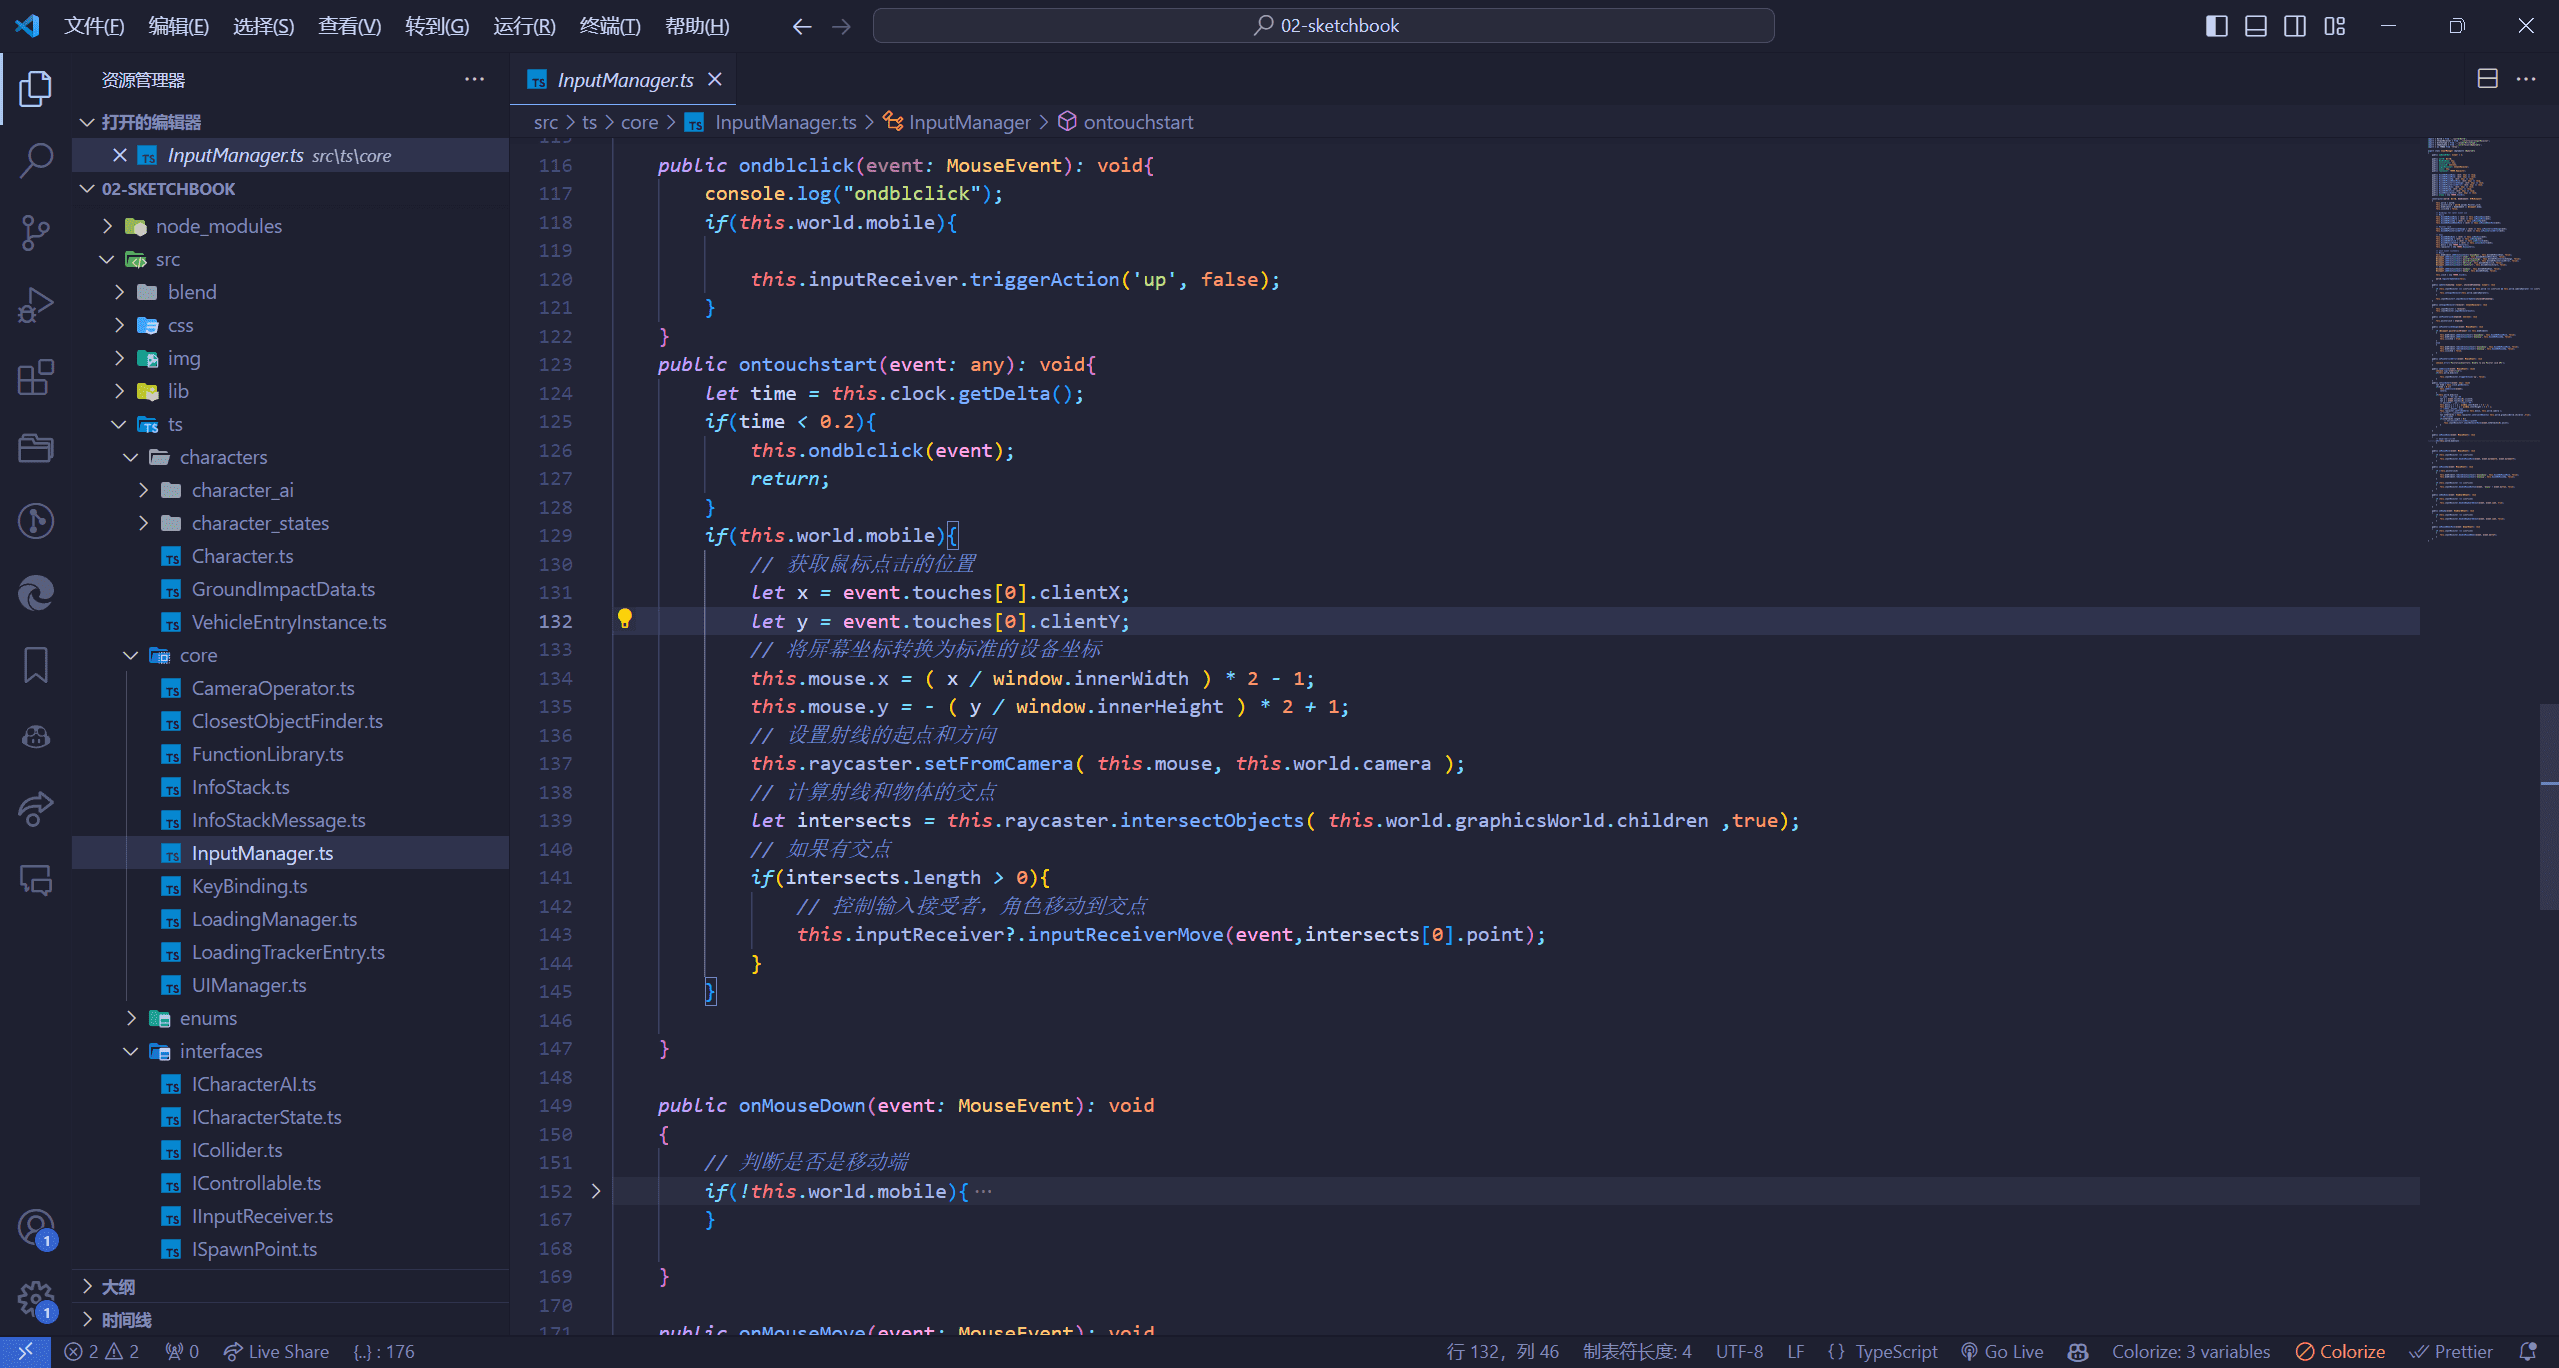
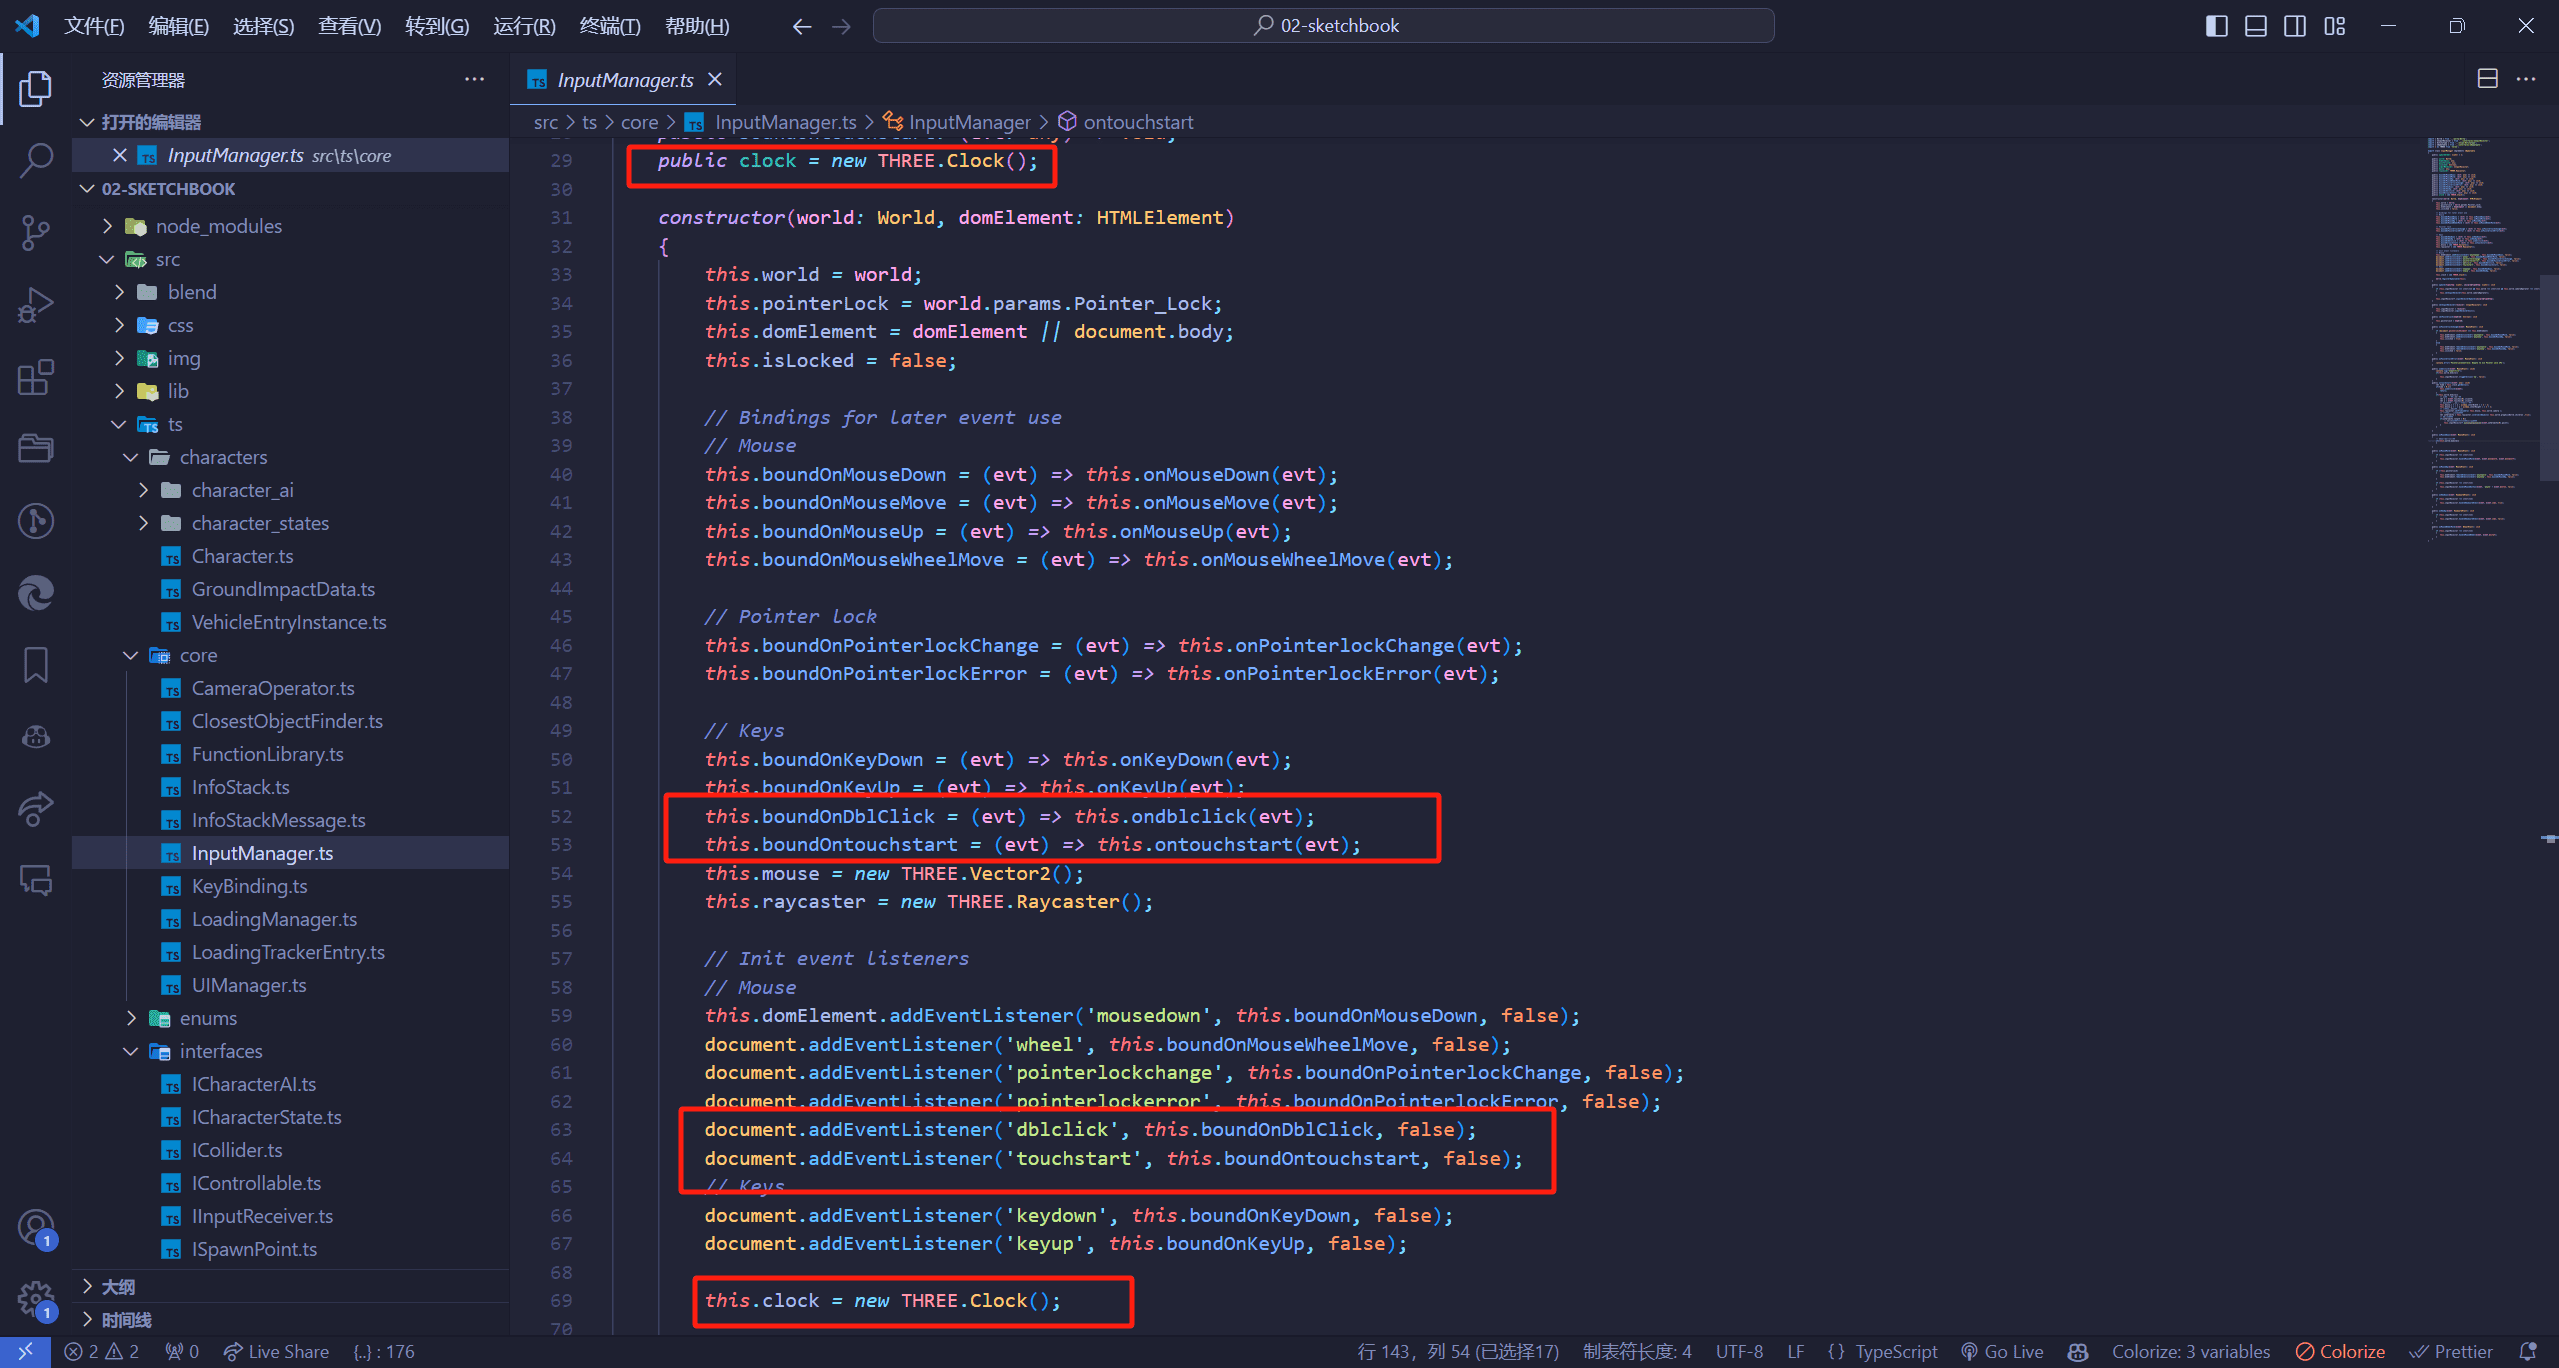
添加touch事件,单击前进,双击停下来
与之对应的定义
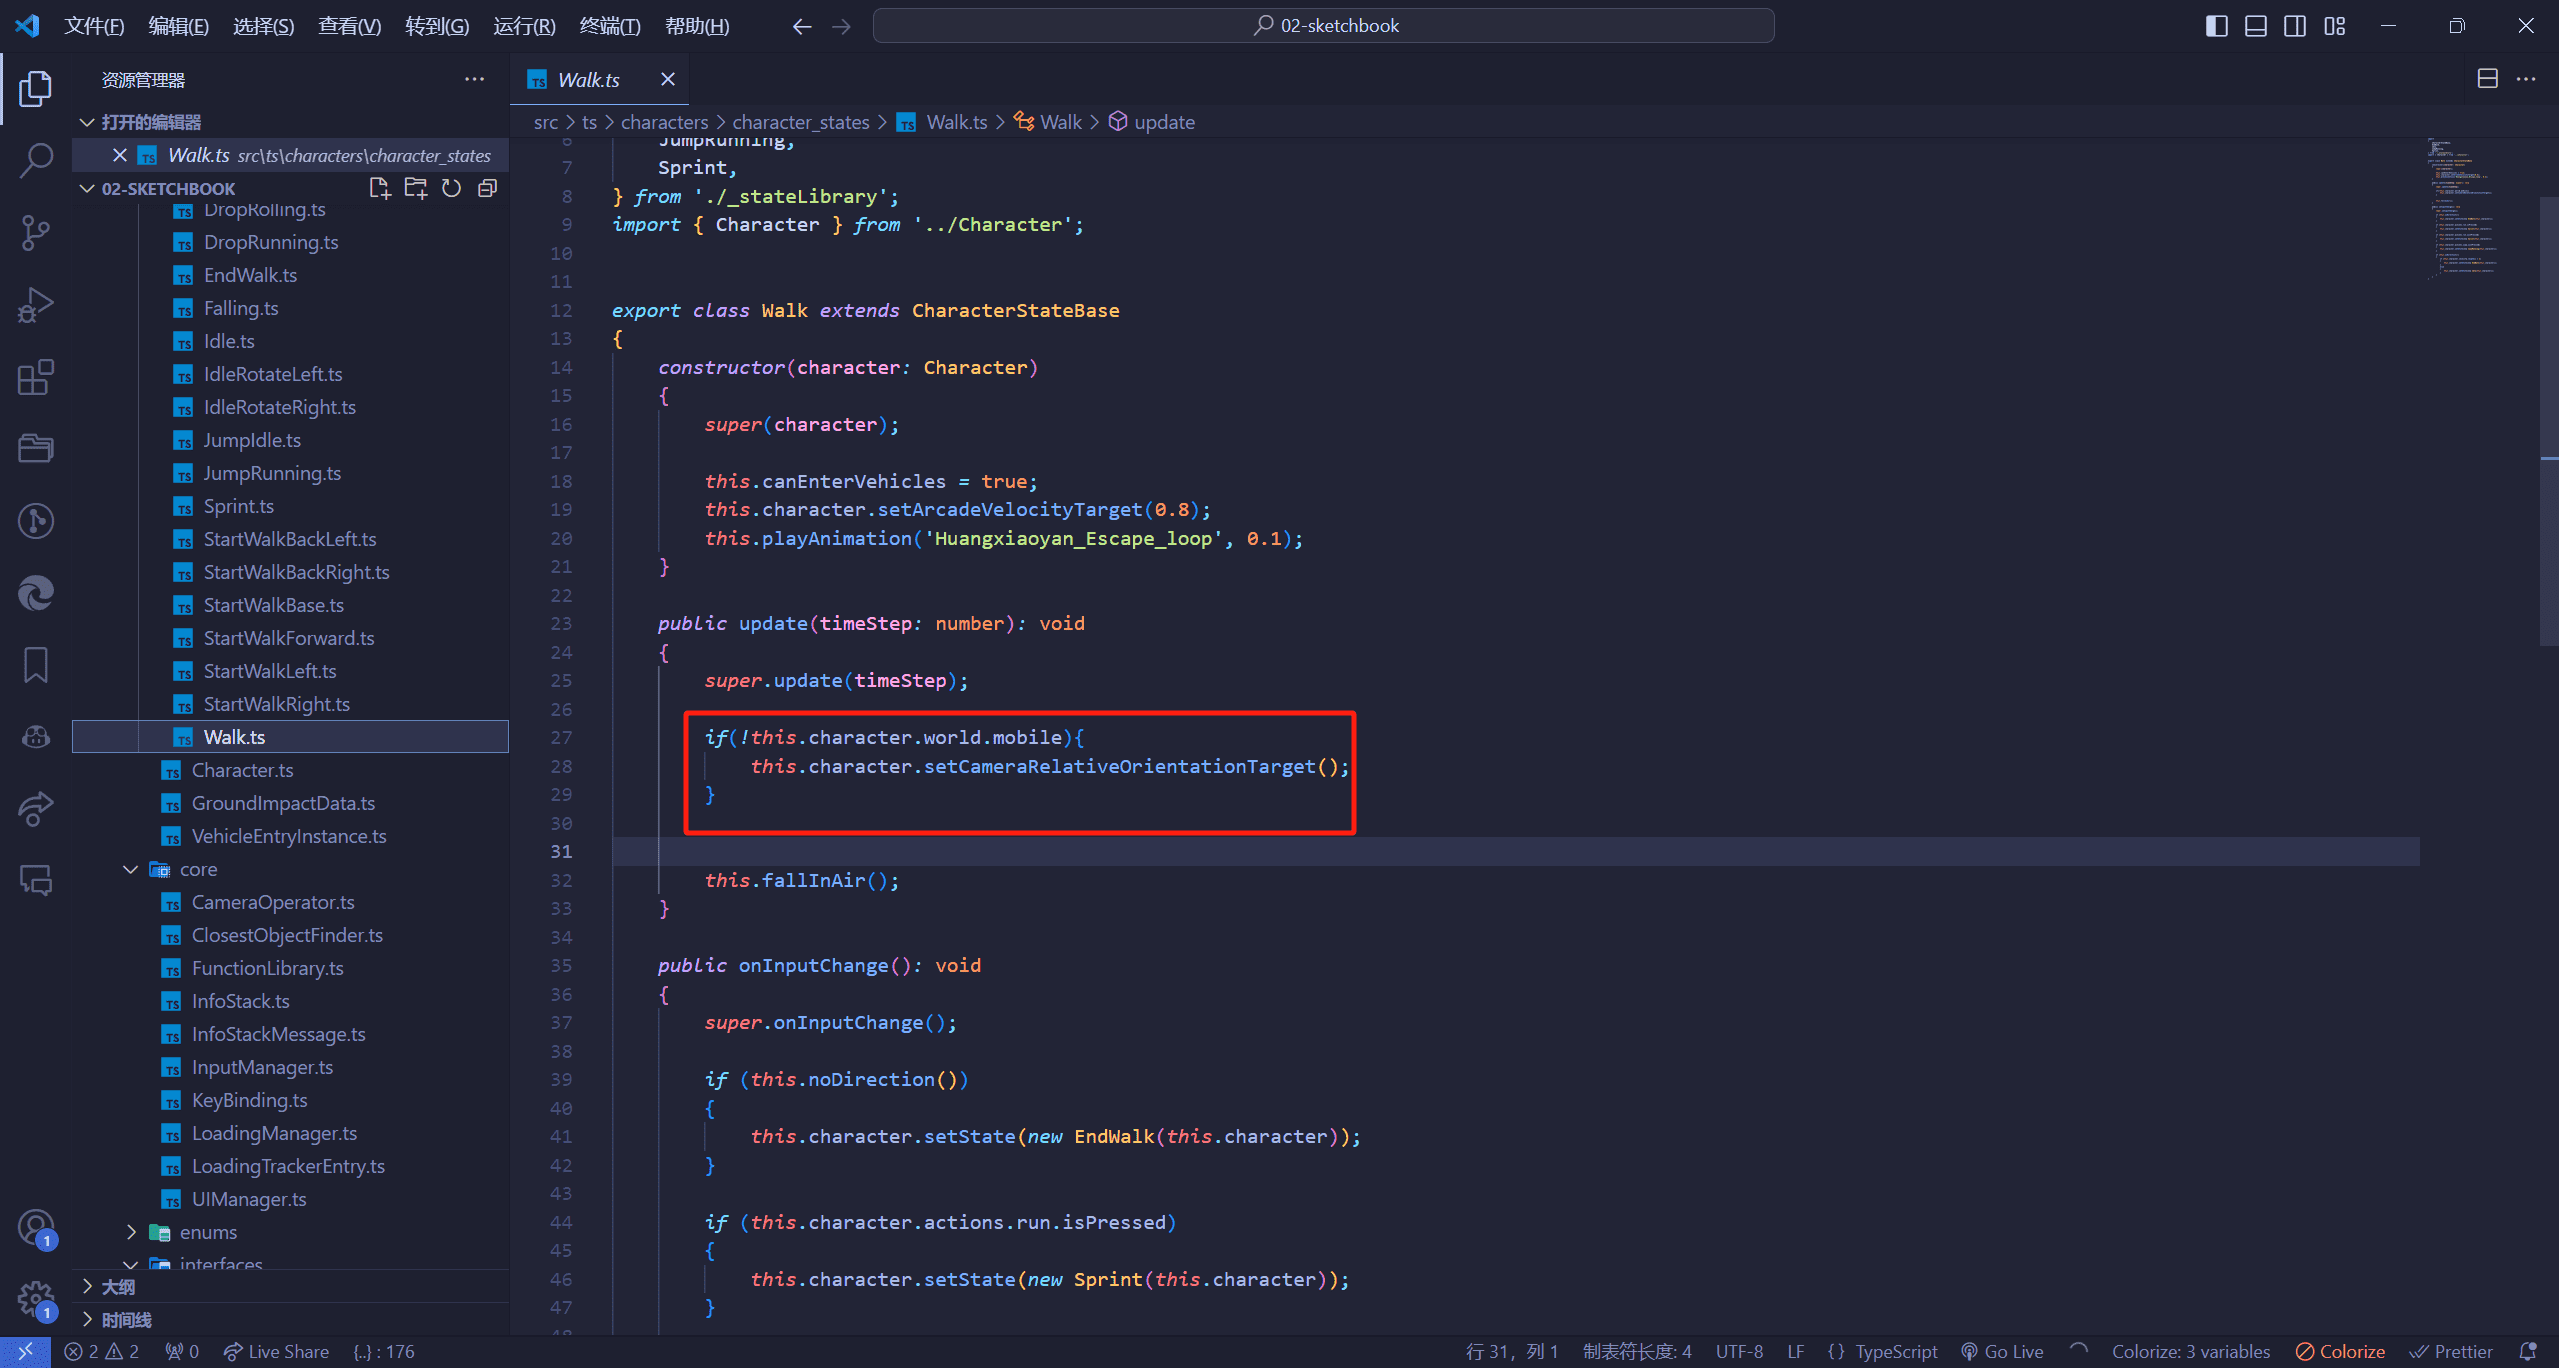
Walk.ts中的修改
移动时视角切换修改
这样修改完之后,我们就可以在移动端进行操作了
Your browser does not support the video tag.
模型优化 我这里将世界的建模美化了一些,但是碰撞体很多还没做,因为比较麻烦,后续有空了再继续搞
结语 这篇文章花了我很长时间才搞出来,大家如果觉得对自己有帮助的话麻烦去gitee上帮我点个star,谢谢!!!


