前言
不知道大家有没有遇到过一些系统,它首次进入会有一次更新公告的展示,一般那时候我们用的都是弹窗,直接在里面写一些内容,这样多少有点 low,今天给大家带来一个卷轴动画,我们可以把公告写在卷轴里面,这样的公告就会更加有意思一点。
素材
首先需要去网上找一下素材哈,作为卷轴和内容展开的图片
这里我找到的是这样的俩张图片


制作卷轴
首先我们需要制作我们的卷轴,这里还是基于 tdesign 和 vue3 做的哈,大家要用可以根据自己的组件库去改变一下代码
初始化代码结构
1
2
3
4
5
6
7
8
9
10
11
12
13
14
15
| <template>
<t-row justify="center">
<div class="container">
<div class="reel reel-top"></div>
<div class="reel reel-bottom"></div>
</div>
</t-row>
</template>
<script setup lang="ts"></script>
<style scoped>
.container {
display: flex;
flex-direction: column;
}
</style>
|
绘制卷轴
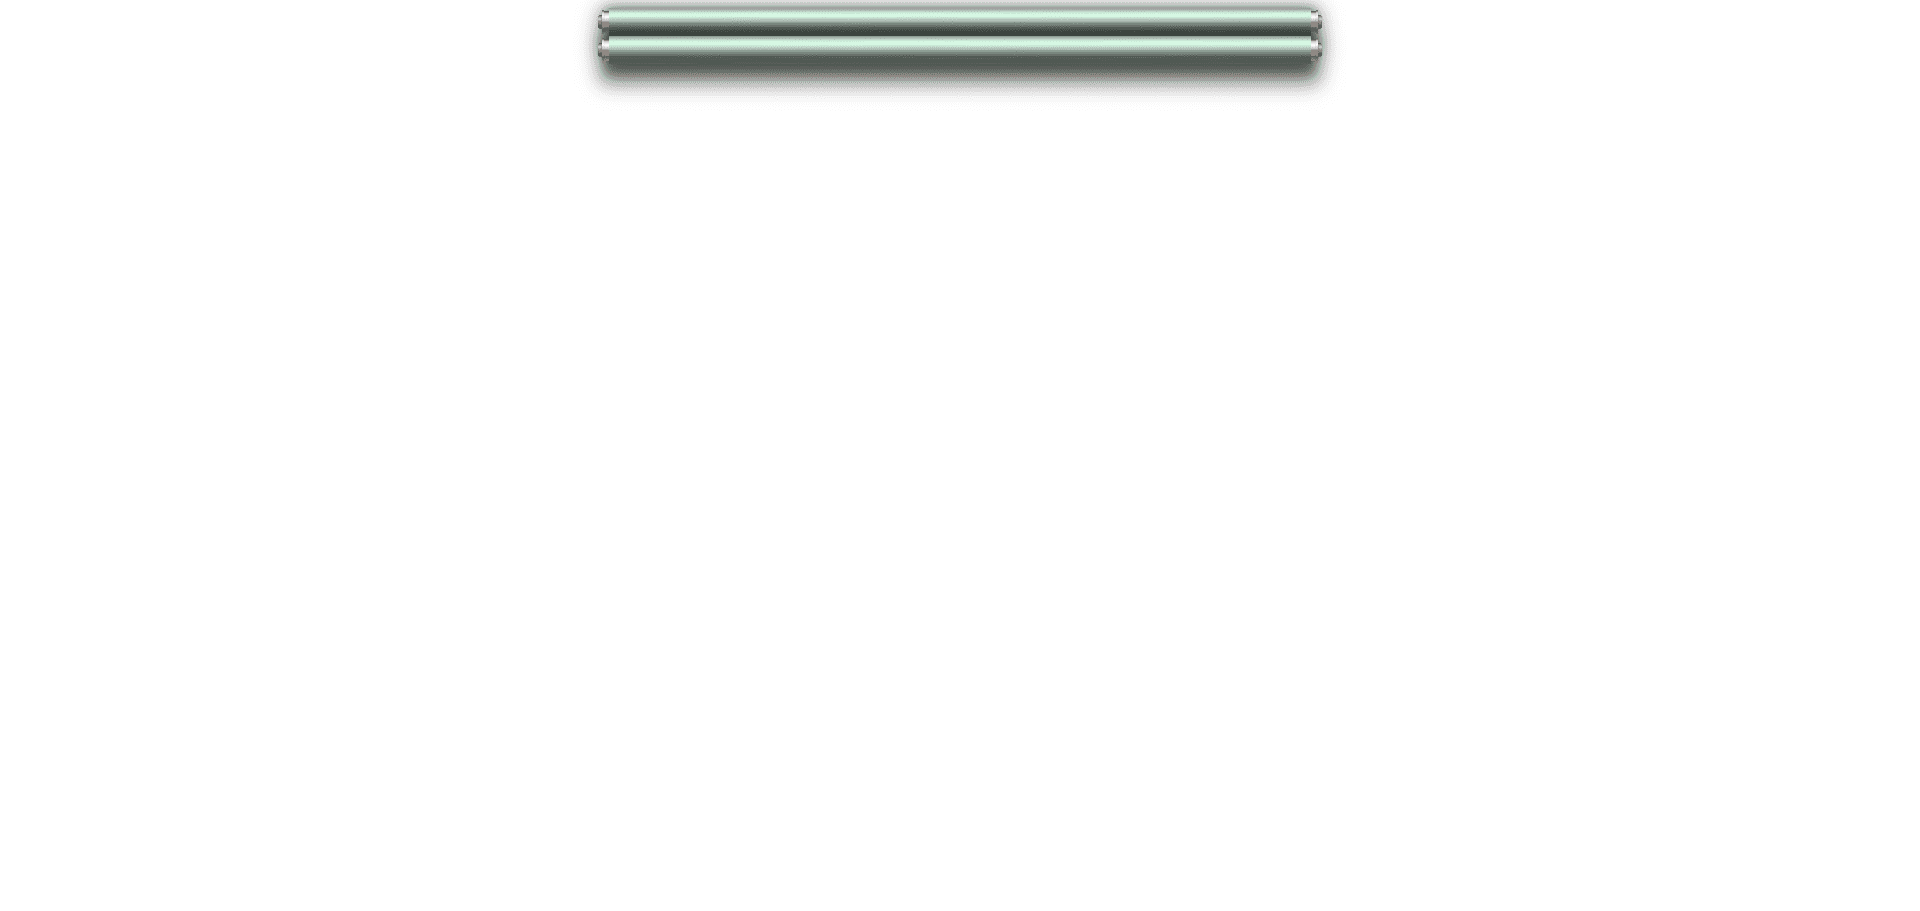
我们把第一张图片用来绘制卷轴,可能你不知道为什么我要这么短一个图片吧,那是因为我需要给卷轴加上阴影,因为这毕竟是 2 维的动画,不是 3D 的滚动动画,所以需要一些图片阴影来让我们眼睛产生错觉,让卷轴平移的过程勉强能看成是滚动的。当然你也可以找 UI 或者自己设计一个有阴影的卷轴图片哈,这里就不过多展开了
添加以下代码:
1
2
3
4
5
6
7
8
9
| .reel {
height: 28px;
margin: 0 15px;
width: 700px;
border-radius: 1px;
border-image: url("./img/1.png") fill 40 36/14px 12px/0 12px;
box-shadow: 0 5px 10px 5px rgba(0, 0, 0, 0.3), 0 10px 20px 10px rgba(0, 0, 0, 0.5);
overflow: hidden;
}
|
这里我定义了我卷轴的高度为 28px,宽度是 700px,这里有一个属性border-image,我用来拓展这张图片中绿色的部分,这里我就不过多阐述了,大家可以自己查阅一下文档,这里基本上就是一些属性的缩写:
https://developer.mozilla.org/zh-CN/docs/Web/CSS/border-image
此时我们的卷轴就添加上了

制作卷面
到这里,我们就需要思考一下了,如何让卷面显示呢,可以用setInterval来慢慢将div内容进行展开,但是我们除了 setInterval还可以用请求动画帧的方式来制作,代码如下:
1
2
3
4
5
6
7
8
9
10
11
12
13
14
15
16
17
18
19
20
21
22
23
24
25
26
27
28
29
30
31
32
33
34
35
36
37
38
39
40
41
42
43
44
45
46
47
48
49
50
51
52
53
54
55
56
57
58
59
60
61
62
63
64
65
66
67
68
69
70
71
| <template>
<t-row justify="center">
<t-space>
<t-button @click="handleScrollExpand">展开</t-button>
<t-button @click="handleScrollShrink" theme="warning">收缩</t-button>
</t-space>
<div class="container">
<div class="reel reel-top"></div>
<div class="info" :style="{ height: curTranslateY + 'px' }"></div>
<div class="reel reel-bottom"></div>
</div>
</t-row>
</template>
<script setup lang="ts">
import { ref } from "vue";
const curTime = ref(0);
const curTranslateY = ref(0);
const scrollExpand = () => {
curTime.value = requestAnimationFrame(scrollExpand);
if (curTranslateY.value < 800) {
curTranslateY.value += 4;
} else {
cancelAnimationFrame(curTime.value);
}
};
const handleScrollExpand = () => {
cancelAnimationFrame(curTime.value);
curTime.value = requestAnimationFrame(scrollExpand);
};
const scrollShrink = () => {
curTime.value = requestAnimationFrame(scrollShrink);
if (curTranslateY.value > 0) {
curTranslateY.value -= 10;
} else {
cancelAnimationFrame(curTime.value);
}
};
const handleScrollShrink = () => {
cancelAnimationFrame(curTime.value);
curTime.value = requestAnimationFrame(scrollShrink);
};
</script>
<style scoped>
.container {
display: flex;
flex-direction: column;
}
.reel {
  height: 28px;
  margin: 0 15px;
  width: 700px;
  border-radius: 1px;
  border-image: url("./img/1.png") fill 40 36/14px 12px/0 12px;
  box-shadow: 0 5px 10px 5px rgba(0, 0, 0, 0.3), 0 10px 20px 10px rgba(0, 0, 0, 0.5);
  overflow: hidden;
}
.info {
background: url("./img/2.jpg");
width: 700px;
margin:0 15px;
overflow: auto;
}
::-webkit-scrollbar {
display: none;
}
</style>
|
ok,此时我们来看一下效果
添加公告内容
这时候我们给内容加上
1
2
3
4
5
6
7
8
9
10
11
12
13
14
15
16
17
18
19
20
21
22
23
24
25
26
27
28
29
30
31
32
33
34
35
| <template>
<t-row justify="center">
<t-space>
<t-button @click="handleScrollExpand">展开</t-button>
<t-button @click="handleScrollShrink" theme="warning">收缩</t-button>
</t-space>
<div class="container">
<div class="reel reel-top"></div>
<div class="info" :style="{ height: curTranslateY + 'px' }">
<div class="center"><h1>温馨提示</h1></div>
<pre class="line">
致访问我博客的用户:
由于我个人兴趣比较宽泛,啥都学了一点,导致博客的内容比较杂乱,大家可以跟着标签
进行分类浏览
</pre>
<div class="left"><img src="./imgs/notes/1.png" width="400" /></div>
<pre class="line">
如果想要了解我开源的一些代码,大家可以访问我的gitee.里面有一些我开源的代码
</pre>
<div class="left"><img src="./imgs/notes/2.png" width="400" /></div>
<pre class="line">
最后感谢各位用户一如即往的支持,也请大家多多提宝贵意见,我的博客也会继续始终如
一地为大家分享我学习到的内容。祝愿各位一切顺利。
</pre>
<div class="replenish-info">
<div class="content">
<span>codesigner</span>
<span>2024年5月22日</span>
</div>
</div>
</div>
<div class="reel reel-bottom"></div>
</div>
</t-row>
</template>
|
此时看一下公告效果
组件封装
这里我们有很多属性,可以作为属性传下来,让我把这个组件进行封装一下
1
2
3
4
5
6
7
8
9
10
11
12
13
14
15
16
17
18
19
20
21
22
23
24
25
26
27
28
29
30
31
32
33
34
35
36
37
38
39
40
41
42
43
44
45
46
47
48
49
50
51
52
53
54
55
56
57
58
59
60
61
62
63
64
65
66
67
68
69
70
71
72
73
74
75
76
77
78
79
80
81
82
83
84
85
86
87
88
89
| <template>
<div class="container" :style="{ width: width + 'px' }">
<div class="reel reel-top"></div>
<div class="info" :style="{ height: curTranslateY + 'px' }">
<slot name="info"></slot>
</div>
<div class="reel reel-bottom"></div>
</div>
</template>
<script setup lang="ts">
import { ref, withDefaults } from "vue";
const props = withDefaults(
defineProps<{
height?: number;
width?: number;
expandSpeed?: number;
shrinkSpeed?: number;
}>(),
{
height: 800,
width: 700,
expandSpeed: 5,
shrinkSpeed: 10,
}
);
const curTime = ref(0);
const curTranslateY = ref(0);
const scrollExpand = () => {
curTime.value = requestAnimationFrame(scrollExpand);
const { expandSpeed, height } = props;
if (curTranslateY.value < height) {
curTranslateY.value += expandSpeed;
} else {
cancelAnimationFrame(curTime.value);
}
};
const handleScrollExpand = () => {
cancelAnimationFrame(curTime.value);
curTime.value = requestAnimationFrame(scrollExpand);
};
const scrollShrink = () => {
curTime.value = requestAnimationFrame(scrollShrink);
const { shrinkSpeed } = props;
if (curTranslateY.value > 0) {
curTranslateY.value -= shrinkSpeed;
} else {
cancelAnimationFrame(curTime.value);
}
};
const handleScrollShrink = () => {
cancelAnimationFrame(curTime.value);
curTime.value = requestAnimationFrame(scrollShrink);
};
defineExpose({
handleScrollExpand,
handleScrollShrink,
});
</script>
<style scoped>
.container {
display: flex;
flex-direction: column;
}
.reel {
height: 28px;
margin: 0 15px;
border-radius: 1px;
border-image: url("./img/1.png")
fill 40 36/14px 12px/0 12px;
box-shadow: 0 5px 10px 5px rgba(0, 0, 0, 0.3),
0 10px 20px 10px rgba(0, 0, 0, 0.5);
overflow: hidden;
}
::-webkit-scrollbar {
display: none;
}
.info {
background: url("./img/2.jpg");
margin:0 15px;
overflow: auto;
}
</style>
|
然后在父组件调用
1
2
3
4
5
6
7
8
9
10
11
12
13
14
15
16
17
18
19
20
21
22
23
24
25
26
27
28
29
30
31
32
33
34
35
36
37
38
39
40
41
42
43
44
45
46
47
48
49
50
51
52
53
54
55
56
57
58
59
60
61
62
63
64
65
66
67
68
69
70
71
72
73
74
75
76
77
78
79
80
81
82
83
| <template>
<t-row justify="center">
<t-space>
<t-button @click="handleScrollExpand">展开</t-button>
<t-button @click="handleScrollShrink" theme="warning">收缩</t-button>
</t-space>
<ScrollData :width="800" ref="scrollDataRef">
<template #info>
<div class="center"><h1>温馨提示</h1></div>
<pre class="line">
致访问我博客的用户:
由于我个人兴趣比较宽泛,啥都学了一点,导致博客的内容比较杂乱,大家可以跟着标签
进行分类浏览
</pre
>
<div class="left"><img src="./imgs/notes/1.png" width="400" /></div>
<pre class="line">
如果想要了解我开源的一些代码,大家可以访问我的gitee.里面有一些我开源的代码
</pre
>
<div class="left"><img src="./imgs/notes/2.png" width="400" /></div>
<pre class="line">
最后感谢各位用户一如即往的支持,也请大家多多提宝贵意见,我的博客也会继续始终如
一地为大家分享我学习到的内容。祝愿各位一切顺利。
</pre
>
<div class="replenish-info">
<div class="content">
<span>codesigner</span>
<span>2024年5月22日</span>
</div>
</div>
</template>
</ScrollData>
</t-row>
</template>
<script setup lang="ts">
import {ref} from "vue";
import ScrollData from "./components/scroll-data.vue";
const scrollDataRef = ref<InstanceType<typeof ScrollData>>(null);
const handleScrollExpand=()=>{
scrollDataRef.value.handleScrollExpand();
}
const handleScrollShrink=()=>{
scrollDataRef.value.handleScrollShrink();
}
</script>
<style scoped lang="less">
.center {
display: flex;
justify-content: center;
align-items: center;
}
.line {
line-height: 24px;
}
.left {
padding-left: 50px;
}
pre {
margin: 0;
}
.replenish-info {
display: flex;
justify-content: flex-end;
padding-right: 80px;
.content {
display: flex;
width: fit-content;
flex-direction: column;
align-items: flex-start;
justify-content: space-between;
}
}
</style>
|
实现的效果还是和之前是一样的
基于一个dom节点进行展开
ok,接下来我来优化一下这个逻辑,比如我们需要页面一开始进去就展开,然后有一个专门的按钮用来控制后续想自己打开,且关闭的时候要有明显的动画提示是这个按钮可以再次打开,我们首先来看一下效果:
修改父组件
那这个效果该怎么实现呢
首先我们需要修改父组件,这里我添加了多个按钮作为测试的按钮,填了一个v-if作为启动,这样在子组件onMounted的时候就可以去执行展开事件,然后我添加了一个append的属性,这个用来绑定我需要绑定的按钮的id,shrinkEnd表明我子组件收缩完成了,这时候需要将这个卷轴组件设为false。
1
2
3
4
5
6
7
8
9
10
11
12
13
14
15
16
17
18
19
20
21
22
23
24
25
26
27
28
29
30
31
32
33
34
35
36
37
38
39
40
41
42
43
44
45
46
47
48
49
50
51
52
53
54
55
56
57
58
59
60
61
62
63
64
65
66
67
68
69
70
71
72
73
74
75
76
77
78
79
80
81
82
83
84
85
86
87
88
89
90
91
92
93
94
95
96
97
98
99
100
101
102
103
104
105
106
107
108
109
110
111
112
113
114
115
116
117
118
119
120
121
122
123
| <template>
<t-row style="width:100%" justify="space-between">
<t-button @click="handleScrollExpand" id="btn">展开</t-button>
<t-button id="btn1" theme="warning">测试按钮</t-button>
</t-row>
<ScrollData :width="750" :expandSpeed="20" :height="780" ref="scrollDataRef" v-if="isNeedShow" append="btn3" @shrink-end="isNeedShow=false">
<template #info>
<div class="center"><h1>温馨提示</h1></div>
<pre class="line">
致访问我博客的用户:
由于我个人兴趣比较宽泛,啥都学了一点,导致博客的内容比较杂乱,大家可以跟着标签
进行分类浏览
</pre
>
<div class="left"><img src="./imgs/notes/1.png" width="400" /></div>
<pre class="line">
如果想要了解我开源的一些代码,大家可以访问我的gitee.里面有一些我开源的代码
</pre
>
<div class="left"><img src="./imgs/notes/2.png" width="400" /></div>
<pre class="line">
最后感谢各位用户一如即往的支持,也请大家多多提宝贵意见,我的博客也会继续始终如
一地为大家分享我学习到的内容。祝愿各位一切顺利。
</pre
>
<div class="replenish-info">
<div class="content">
<span>codesigner</span>
<span>2024年5月22日</span>
</div>
</div>
<t-row style="width: 100%;" justify="center">
<t-button theme="success" @click="handleScrollShrink">已阅</t-button>
</t-row>
</template>
</ScrollData>
<div>
<div class="center"><h1>温馨提示</h1></div>
<pre class="line">
致访问我博客的用户:
由于我个人兴趣比较宽泛,啥都学了一点,导致博客的内容比较杂乱,大家可以跟着标签
进行分类浏览
</pre
>
<div class="left"><img src="./imgs/notes/1.png" width="400" /></div>
<pre class="line">
如果想要了解我开源的一些代码,大家可以访问我的gitee.里面有一些我开源的代码
</pre
>
<div class="left"><img src="./imgs/notes/2.png" width="400" /></div>
<pre class="line">
最后感谢各位用户一如即往的支持,也请大家多多提宝贵意见,我的博客也会继续始终如
一地为大家分享我学习到的内容。祝愿各位一切顺利。
</pre
>
<div class="replenish-info">
<div class="content">
<span>codesigner</span>
<span>2024年5月22日</span>
</div>
</div>
</div>
<t-row style="width:100%" justify="space-between">
<t-button id="btn2">测试按钮</t-button>
<t-button id="btn3" theme="warning">测试按钮</t-button>
</t-row>
</template>
<script setup lang="ts">
import {ref,onMounted} from "vue";
import ScrollData from "./components/scroll-data.vue";
const isNeedShow=ref(false);
const scrollDataRef = ref<InstanceType<typeof ScrollData>>(null);
const handleScrollExpand=()=>{
isNeedShow.value=true
}
const handleScrollShrink=()=>{
scrollDataRef.value.handleScrollShrink();
}
onMounted(()=>{
isNeedShow.value=true;
})
</script>
<style scoped lang="less">
.center {
display: flex;
justify-content: center;
align-items: center;
}
.line {
line-height: 24px;
}
.left {
padding-left: 50px;
}
pre {
margin: 0;
}
.replenish-info {
display: flex;
justify-content: flex-end;
padding-right: 80px;
.content {
display: flex;
width: fit-content;
flex-direction: column;
align-items: flex-start;
justify-content: space-between;
}
}
</style>
|
父组件的逻辑就是这么简单
修改子组件
首先子组件要居中显示,并且层级要高,所以需要设置一下css,这里的top你也可以用父组件传下来的值进行设置也可
1
2
3
4
5
6
7
8
| .container {
display: flex;
flex-direction: column;
position: fixed;
top: 40px;
max-height: 90%;
overflow: auto;
}
|
然后在onMounted的时候,设置一下当前的宽curWidth,此时我们组件的宽度不再是直接使用父组件传值下来的width了,而是要进行判断。如果是普通的显示,就是不需要那个动画的,完全可以直接赋值,如果不是那就先设置left的位置,然后实行展开操作
1
2
3
4
5
6
7
8
9
10
11
|
const curWidth = ref(0);
onMounted(() => {
if (props.append) {
handleScrollExpand();
containerRef.value!.style.left = `calc(50% - ${props.width / 2}px)`;
} else {
curWidth.value = props.width;
}
});
|
在展开里面,我们先将宽度变成我们所预设的宽度之后再向下展开
1
2
3
4
5
6
7
8
9
10
11
12
13
| const scrollExpand = () => {
curTime.value = requestAnimationFrame(scrollExpand);
const { expandSpeed, height, append, width } = props;
if (append && curWidth.value < width) {
curWidth.value += expandSpeed;
} else {
if (curTranslateY.value < height) {
curTranslateY.value += expandSpeed;
} else {
cancelAnimationFrame(curTime.value);
}
}
};
|
同理,在收缩时,先收缩,然后将我们的宽度慢慢减少,然后在收缩完毕的时候提醒父组件,记得设置v-if为false注销组件
1
2
3
4
5
6
7
8
9
10
11
12
13
14
| const scrollShrink = () => {
curTime.value = requestAnimationFrame(scrollShrink);
const { shrinkSpeed } = props;
if (curTranslateY.value > 0) {
curTranslateY.value -= shrinkSpeed;
} else {
if (props.append && curWidth.value > 0) {
curWidth.value -= shrinkSpeed;
} else {
cancelAnimationFrame(curTime.value);
emit("shrinkEnd");
}
}
};
|
然后此时我们的效果如下
接下来才是关键,那就是如何添加那个旋转前往绑定的节点的动画呢?我们依然可以使用关键帧来制作,代码如下:
这里我使用appendDomTarget计算了俩个节点之间的距离,然后根据距离和消失的时候需要用到的时候计算出每一次移动的距离
1
2
| const frameCalX=calX/disappearTime.value
const frameCalY=calY/disappearTime.value
|
然后通过进入这个方法的次数来计算每一次的left和top的值。
完整逻辑代码
1
2
3
4
5
6
7
8
9
10
11
12
13
14
15
16
17
18
19
20
21
22
23
24
25
26
27
28
29
30
31
32
33
34
35
36
37
38
39
40
41
42
43
44
45
46
47
48
49
50
51
52
53
|
const appendDomTarget = computed(() => {
if (props.append) {
const target = document
.getElementById(props.append)
.getBoundingClientRect();
const centerX = target.left + target.width / 2;
const centerY = target.top + target.height / 2;
const curCenterX = window.innerWidth / 2;
const curCenterY = 40+28/2
const calY=curCenterY-centerY
const calX=curCenterX-centerX
return { curCenterX, curCenterY, centerX, centerY,calX,calY};
}
return null
});
const disappearTime = computed(() => {
return props.width / props.shrinkSpeed;
});
const containerRef = ref<HTMLElement | null>(null);
const rotateTimes = ref(0);
const handleRotateAndMove = () => {
rotateTimes.value++;
containerRef.value!.style.rotate = (curTime.value % 180) * 30 + "deg";
const {calX,calY}=appendDomTarget.value!
const frameCalX=calX/disappearTime.value
const frameCalY=calY/disappearTime.value
const needCalX=rotateTimes.value*frameCalX
containerRef.value!.style.left = `calc(50% - ${needCalX}px)`;
containerRef.value!.style.top = `calc(54px - ${rotateTimes.value*frameCalY}px)`;
};
const emit = defineEmits(["shrinkEnd"]);
const scrollShrink = () => {
curTime.value = requestAnimationFrame(scrollShrink);
const { shrinkSpeed } = props;
if (curTranslateY.value > 0) {
curTranslateY.value -= shrinkSpeed;
} else {
if (props.append && curWidth.value > 0) {
curWidth.value -= shrinkSpeed;
handleRotateAndMove();
} else {
cancelAnimationFrame(curTime.value);
emit("shrinkEnd");
}
}
};
|
完整子组件代码
1
2
3
4
5
6
7
8
9
10
11
12
13
14
15
16
17
18
19
20
21
22
23
24
25
26
27
28
29
30
31
32
33
34
35
36
37
38
39
40
41
42
43
44
45
46
47
48
49
50
51
52
53
54
55
56
57
58
59
60
61
62
63
64
65
66
67
68
69
70
71
72
73
74
75
76
77
78
79
80
81
82
83
84
85
86
87
88
89
90
91
92
93
94
95
96
97
98
99
100
101
102
103
104
105
106
107
108
109
110
111
112
113
114
115
116
117
118
119
120
121
122
123
124
125
126
127
128
129
130
131
132
133
134
135
136
137
138
139
140
141
142
143
144
145
146
147
148
149
150
151
152
153
154
155
156
157
158
159
160
161
162
163
164
165
166
167
| <template>
<div class="container" :style="{ width: curWidth + 'px' }" ref="containerRef">
<div class="reel reel-top"></div>
<div class="info" :style="{ height: curTranslateY + 'px' }">
<slot name="info"></slot>
</div>
<div class="reel reel-bottom"></div>
</div>
</template>
<script setup lang="ts">
import { ref, withDefaults, onMounted, computed } from "vue";
const props = withDefaults(
defineProps<{
height?: number;
width?: number;
expandSpeed?: number;
shrinkSpeed?: number;
append?: string;
}>(),
{
height: 800,
width: 700,
expandSpeed: 5,
shrinkSpeed: 10,
append: "",
}
);
const curTime = ref(0);
const curTranslateY = ref(0);
const scrollExpand = () => {
curTime.value = requestAnimationFrame(scrollExpand);
const { expandSpeed, height, append, width } = props;
if (append && curWidth.value < width) {
curWidth.value += expandSpeed;
} else {
if (curTranslateY.value < height) {
curTranslateY.value += expandSpeed;
} else {
cancelAnimationFrame(curTime.value);
}
}
};
const handleScrollExpand = () => {
cancelAnimationFrame(curTime.value);
curTime.value = requestAnimationFrame(scrollExpand);
};
// 获取目标元素的中心点与当前元素的中心点的距离
const appendDomTarget = computed(() => {
if (props.append) {
const target = document
.getElementById(props.append)
.getBoundingClientRect();
const centerX = target.left + target.width / 2;
const centerY = target.top + target.height / 2;
const curCenterX = window.innerWidth / 2;
const curCenterY = 40+28/2 // 因为我设置了top是40px,卷轴高度是28px
const calY=curCenterY-centerY
const calX=curCenterX-centerX
return { curCenterX, curCenterY, centerX, centerY,calX,calY};
}
return null
});
// 消失所需耗时
const disappearTime = computed(() => {
return props.width / props.shrinkSpeed;
});
const containerRef = ref<HTMLElement | null>(null);
// 旋转并移动
const rotateTimes = ref(0);
const handleRotateAndMove = () => {
rotateTimes.value++;
containerRef.value!.style.rotate = (curTime.value % 180) * 30 + "deg";
const {calX,calY}=appendDomTarget.value!
const frameCalX=calX/disappearTime.value
const frameCalY=calY/disappearTime.value
// 每一帧移动frameCalX,frameCalY
const needCalX=rotateTimes.value*frameCalX
containerRef.value!.style.left = `calc(50% - ${needCalX}px)`;
containerRef.value!.style.top = `calc(54px - ${rotateTimes.value*frameCalY}px)`;
};
const emit = defineEmits(["shrinkEnd"]);
const scrollShrink = () => {
curTime.value = requestAnimationFrame(scrollShrink);
const { shrinkSpeed } = props;
if (curTranslateY.value > 0) {
curTranslateY.value -= shrinkSpeed;
} else {
if (props.append && curWidth.value > 0) {
curWidth.value -= shrinkSpeed;
// 旋转并移动
handleRotateAndMove();
} else {
cancelAnimationFrame(curTime.value);
emit("shrinkEnd");
}
}
};
const handleScrollShrink = () => {
cancelAnimationFrame(curTime.value);
curTime.value = requestAnimationFrame(scrollShrink);
};
// 当前的宽度
const curWidth = ref(0);
onMounted(() => {
if (props.append) {
handleScrollExpand();
// 居中
containerRef.value!.style.left = `calc(50% - ${props.width / 2}px)`;
} else {
curWidth.value = props.width;
}
});
defineExpose({
handleScrollExpand,
handleScrollShrink,
});
</script>
<style scoped>
.container {
  display: flex;
  flex-direction: column;
  position: fixed;
  top: 40px;
  max-height: 90%;
  overflow: auto;
}
.reel {
height: 28px;
margin: 0 15px;
border-radius: 1px;
border-image: url("./img/2.png")
fill 40 36/14px 12px/0 12px;
box-shadow: 0 5px 10px 5px rgba(0, 0, 0, 0.3),
0 10px 20px 10px rgba(0, 0, 0, 0.5);
overflow: hidden;
}
::-webkit-scrollbar {
width: 5px;
height: 10px;
}
::-webkit-scrollbar-track {
border-radius: 10px;
}
::-webkit-scrollbar-thumb {
border-radius: 10px;
box-shadow: inset 0 0 0 rgba(0, 158, 255, 0.46);
background-color: rgba(0, 158, 255, 0.46);
}
.info {
background: url("./img/1.jpg");
margin: 0 15px;
overflow: auto;
}
</style>
|
最后看一下俩个视频,我绑定了不同按钮的显示效果
结语
好了,本篇文章就分享到这里了,更多内容敬请期待,债见~~


