【效果分享】01-粒子时钟
发表于:2024-07-31 |

前言

昨晚刷小视频刷到了这个,感觉挺好玩的,和大家分享一下如何实现。我打算把这种我看到好玩的效果单独开一个新的标签效果分享来进行整理,话不多说,开整

初始化一个 HTML 和 JS

我们先初始化一下 HTML 和我们的 JS 内容

HTML 代码
1
2
3
4
5
6
7
8
9
10
11
12
13
14
15
16
17
18
19
20
21
22
23
24
25
<!DOCTYPE html>
<html>
<head>
<meta charset="UTF-8" />
<meta http-equiv="X-UA-Compatible" content="IE=edge" />
<meta name="viewport" content="width=device-width, initial-scale=1.0" />
<title>Canvas-粒子时钟</title>
<style>
* {
margin: 0;
padding: 0;
}
canvas {
background: radial-gradient(#fff, #8c738c);
display: block;
width: 100vw;
height: 100vh;
}
</style>
</head>
<body>
<canvas></canvas>
<script src="./index.js"></script>
</body>
</html>
JS 代码
1
2
3
4
5
6
7
8
9
10
11
12
13
14
15
16
17
18
19
20
21
class ParticleClick {
constructor(el) {
// 获取画布元素
this.canvas = document.querySelector(el);
this.ctx = this.canvas.getContext("2d");
this.init();
}
init() {
// 初始化画布宽高,devicePixelRatio适配高清屏
this.canvas.width = window.innerWidth * devicePixelRatio;
this.canvas.height = window.innerHeight * devicePixelRatio;
}
clear() {
// 清空画布
this.ctx.clearRect(0, 0, this.canvas.width, this.canvas.height);
}
draw() {
this.clear();
requestAnimationFrame(() => this.draw());
}
}

此时我们页面上啥也没有,就一个单纯的背景色
效果图

实现粒子

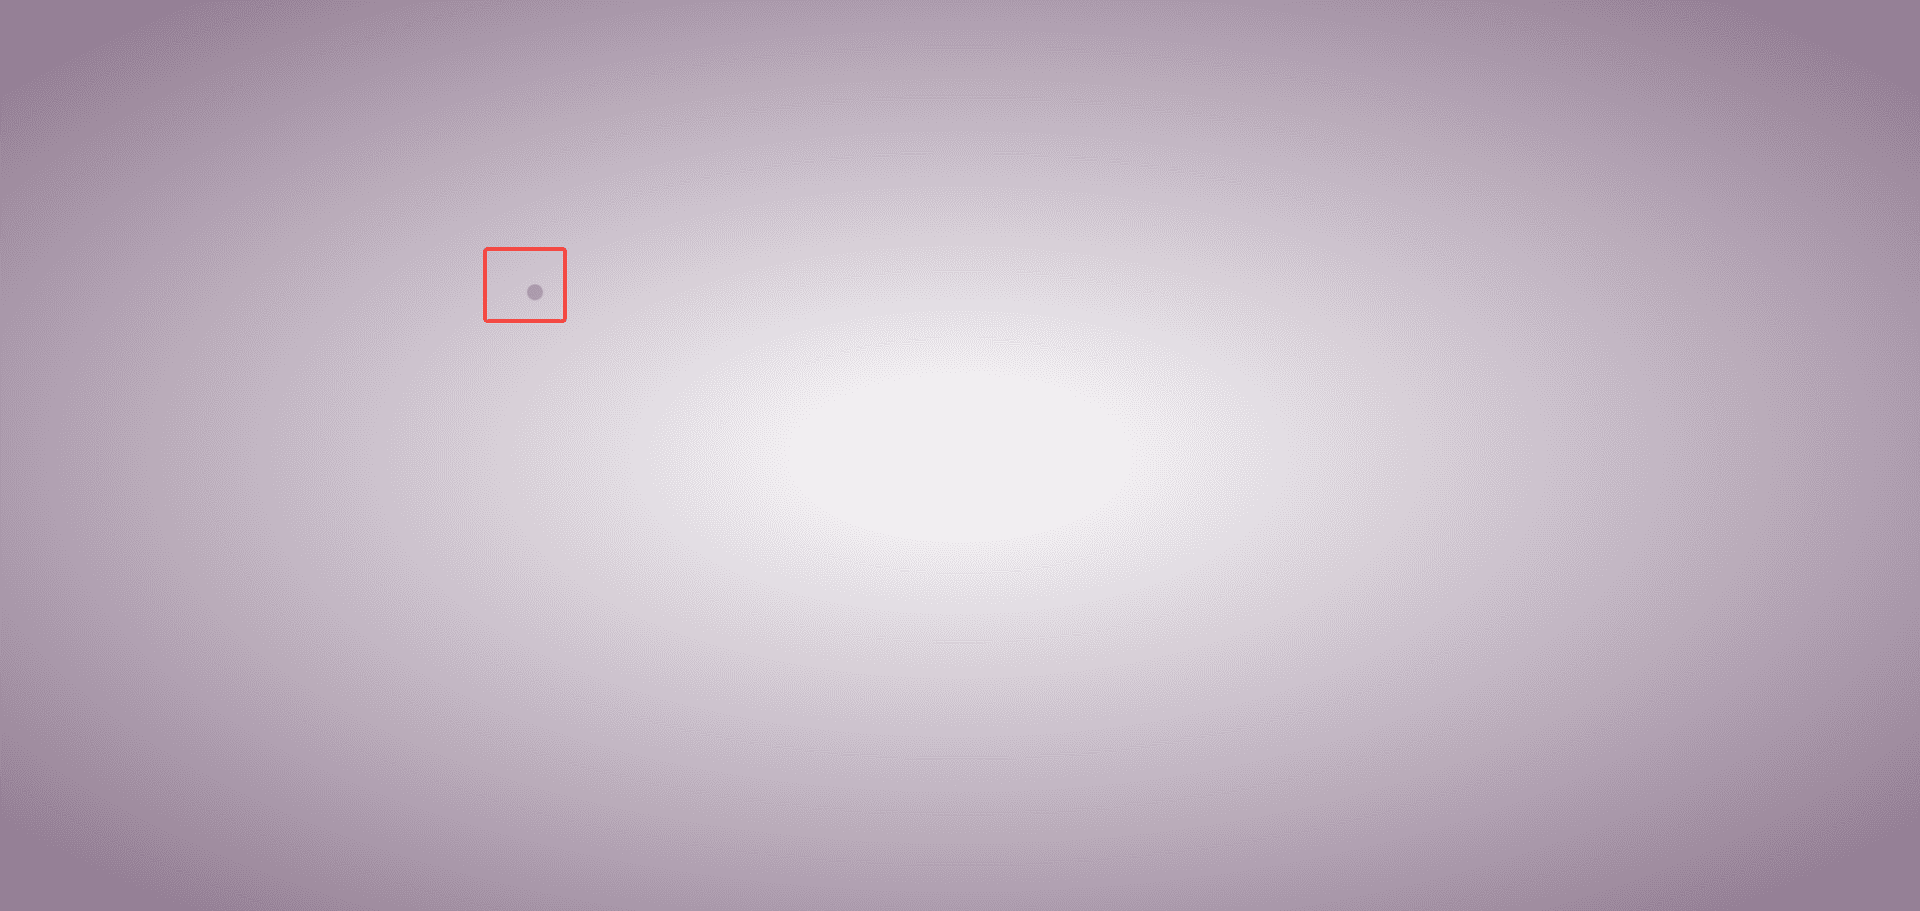
粒子时钟,我们当然要先有粒子,粒子怎么实现呢?其实我们可以简单的使用 canvas 绘制圆点即可。
我们创建一个Particle的粒子类,然后可以生成随机弧度,根据弧度可以得到对应的 x 和对应的 y,然后我先将清除画布这一个注释掉,在 init 生成了一个点

1
2
3
4
5
6
7
8
9
10
11
12
13
14
15
16
17
18
19
20
21
22
23
24
25
26
27
28
29
30
31
32
33
34
35
36
37
38
39
40
41
42
43
44
45
46
47
48
49
50
51
52
53
54
55
56
57
58
59
60
61
function getRandom(min, max) {
return Math.floor(Math.random() * (max + 1 - min) + min);
}

class ParticleClick {
constructor(el) {
// 获取画布元素
this.canvas = document.querySelector(el);
this.ctx = this.canvas.getContext("2d");
this.init();
}
init() {
// 初始化画布宽高,devicePixelRatio适配高清屏
this.canvas.width = window.innerWidth * devicePixelRatio;
this.canvas.height = window.innerHeight * devicePixelRatio;
const particle = new Particle(this.canvas, this.ctx);
particle.draw();
}
clear() {
// 清空画布
this.ctx.clearRect(0, 0, this.canvas.width, this.canvas.height);
}
draw() {
// this.clear();
requestAnimationFrame(() => this.draw());
}
}

// 粒子类
class Particle {
/**
* 粒子类的构造函数
* @param {HTMLCanvasElement} canvas
* @param {CanvasRenderingContext2D} ctx
*/
constructor(canvas, ctx) {
this.canvas = canvas;
this.ctx = ctx;
// 初始化粒子位置,以canvas中心为圆心的圆周上
// 半径
const r = Math.min(canvas.width, canvas.height) / 2;
// cx, cy 为圆心坐标
const cx = canvas.width / 2;
const cy = canvas.height / 2;
// 弧度
const rad = (getRandom(0, 360) / 180) * Math.PI;
this.x = cx + r * Math.cos(rad);
this.y = cy + r * Math.sin(rad);
// 粒子半径,随机
this.size = getRandom(4, 8);
}
draw() {
const { ctx } = this;
ctx.beginPath();
ctx.fillStyle = "#5445544d";
ctx.arc(this.x, this.y, this.size, 0, Math.PI * 2);
ctx.fill();
}
}

const clock = new ParticleClick("canvas");

效果图

实现普通时钟展示

这里我设置了getCurrentTimeString的方法来获取当前时间,然后通过文字的方式,每一帧判断新的时间是否和之前的时间相等,不相等说明时间要进行更新了

1
2
3
4
5
6
7
8
9
10
11
12
13
14
15
16
17
18
19
20
21
22
23
24
25
26
27
28
29
30
31
32
33
34
35
36
37
38
39
40
41
42
43
44
45
46
47
48
49
50
51
52
53
54
55
56
57
58
59
60
61
62
63
64
65
66
67
68
69
70
71
72
73
74
75
76
77
78
79
80
81
82
83
84
85
86
87
88
89
90
// 给定范围生成随机数
function getRandom(min, max) {
return Math.floor(Math.random() * (max + 1 - min) + min);
}
// 获取当前时间
function getCurrentTimeString() {
return new Date().toTimeString().slice(0, 8);
}

class ParticleClick {
constructor(el) {
// 获取画布元素
this.canvas = document.querySelector(el);
this.ctx = this.canvas.getContext("2d");
this.text = null;
this.init();
}
init() {
// 初始化画布宽高,devicePixelRatio适配高清屏
this.canvas.width = window.innerWidth * devicePixelRatio;
this.canvas.height = window.innerHeight * devicePixelRatio;
}
clear() {
// 清空画布
this.ctx.clearRect(0, 0, this.canvas.width, this.canvas.height);
}
draw() {
const curText = getCurrentTimeString();
if (curText !== this.text) {
this.clear();
this.drawText();
this.text = curText;
}
requestAnimationFrame(() => this.draw());
}
// 画时间
drawText() {
const {
ctx,
canvas: { width, height },
} = this;
// 开始画文本
ctx.beginPath();
// 文本样式
ctx.fillStyle = "#000";
ctx.textBaseline = "middle";
ctx.font = "140px sans-serif";
// 画文本,位置水平和垂直居中,ctx.measureText得到文本宽度
ctx.fillText(
this.text,
(width - ctx.measureText(this.text).width) / 2,
height / 2
);
}
}

// 粒子类
class Particle {
/**
* 粒子类的构造函数
* @param {HTMLCanvasElement} canvas
* @param {CanvasRenderingContext2D} ctx
*/
constructor(canvas, ctx) {
this.canvas = canvas;
this.ctx = ctx;
// 初始化粒子位置,以canvas中心为圆心的圆周上
// 半径
const r = Math.min(canvas.width, canvas.height) / 2;
// cx, cy 为圆心坐标
const cx = canvas.width / 2;
const cy = canvas.height / 2;
// 弧度
const rad = (getRandom(0, 360) / 180) * Math.PI;
this.x = cx + r * Math.cos(rad);
this.y = cy + r * Math.sin(rad);
// 粒子半径,随机
this.size = getRandom(4, 8);
}
draw() {
const { ctx } = this;
ctx.beginPath();
ctx.fillStyle = "#5445544d";
ctx.arc(this.x, this.y, this.size, 0, Math.PI * 2);
ctx.fill();
}
}

const clock = new ParticleClick("canvas");
clock.draw();

此时的效果如下

根据文字生成指定数量的粒子

这里我使用了getImageData,这个方法返回 ImageData 对象,该对象拷贝了画布指定矩形的像素数据。
对于 ImageData 对象中的每个像素,都存在着四方面的信息,即 RGBA 值:
R - 红色 (0-255)
G - 绿色 (0-255)
B - 蓝色 (0-255)
A - alpha 通道 (0-255; 0 是透明的,255 是完全可见的)
然后因为我画的文字是黑色的,就可以根据 rgba 去得到画布的像素点为黑色的部分,也就是文字的部分,又因为我们其实不用那么精确的画出内容,所以可以加一个 gap 步长,并不需要每一个像素点都去得到,可以减少循环。

1
2
3
4
5
6
7
8
9
10
11
12
13
14
15
16
17
18
19
20
21
22
23
24
25
// 根据文本获取像素点
getPoints() {
const gap = 6;
const {
ctx,
canvas: { width, height },
} = this;
const { data } = ctx.getImageData(0, 0, width, height);
const points = [];
for (let i = 0; i < width; i += gap) {
for (let j = 0; j < height; j += gap) {
// 这里getImageData 返回的数据是一个像素点由rgba四个数组成
const index = (i + j * width) * 4;
const r = data[index];
const g = data[index + 1];
const b = data[index + 2];
const a = data[index + 3];
// 黑色的点的信息
if (r === 0 && g === 0 && b === 0 && a === 255) {
points.push([i, j]);
}
}
}
return points;
}

然后因为我们需要频繁去调用画布的像素信息,所以在创建 canvas2d 的时候需要去配置一下

1
2
3
this.ctx = this.canvas.getContext("2d", {
willReadFrequently: true,
});

接下来在绘制粒子点的时候,我们根据得到文字所需的点进行循环,然后根据粒子数组中是否有这个粒子(用粒子数组减少粒子创建),没有的话创建并添加到粒子数组里面去,然后我们可以根据像素点得到这个文字需要的粒子最终所需的位置,给粒子设置一个moveTo的方法,这里按下步表,下面再说这个moveTo移动方法,这样处理完成之后,因为我们文字需要粒子是有的多,有的少的,那么多出来的粒子,我们在每一帧的时候就应该清除掉

1
2
3
4
5
6
7
8
9
10
11
12
13
14
15
16
17
// 获取文本像素点
const points = this.getPoints();
this.clear();
for (let i = 0; i < points.length; i++) {
let p = this.particles[i];
if (!p) {
p = new Particle(this.canvas, this.ctx);
this.particles.push(p);
}
const [x, y] = points[i];
p.moveTo(x, y);
}

// 去掉多余的粒子
if (points.length < this.particles.length) {
this.particles.splice(points.length);
}

粒子移动动画

接下来,我们写粒子移动的动画,我们已经知道了某个粒子将要去的位置,通过上一步传入了进来,也知道了它当前的位置,那我们可以设置一个过度时间,得到需要移动的速度,然后请求动画帧进行动画的绘制

1
2
3
4
5
6
7
8
9
10
11
12
13
14
15
16
17
18
19
20
21
22
23
24
25
26
27
/**
* 目标点移动
* @param {String} dx 目标点x坐标
* @param {String} dy 目标点y坐标
*/
moveTo(dx, dy) {
const duration = 500;
const sx = this.x,
sy = this.y;
// 需要移动的速度,位移除以时间
const xSpeed = (dx - sx) / duration;
const ySpeed = (dy - sy) / duration;
const startTime = Date.now();
const _move = () => {
// 间隔的时间
const elapsedTime = Date.now() - startTime;
// 速度乘以时间得到位移
this.x = sx + xSpeed * elapsedTime;
this.y = sy + ySpeed * elapsedTime;
// 如果超过这个时间了,就不再移动
if (elapsedTime >= duration) {
return;
}
requestAnimationFrame(_move);
};
_move();
}

最终代码

1
2
3
4
5
6
7
8
9
10
11
12
13
14
15
16
17
18
19
20
21
22
23
24
25
26
27
28
29
30
31
32
33
34
35
36
37
38
39
40
41
42
43
44
45
46
47
48
49
50
51
52
53
54
55
56
57
58
59
60
61
62
63
64
65
66
67
68
69
70
71
72
73
74
75
76
77
78
79
80
81
82
83
84
85
86
87
88
89
90
91
92
93
94
95
96
97
98
99
100
101
102
103
104
105
106
107
108
109
110
111
112
113
114
115
116
117
118
119
120
121
122
123
124
125
126
127
128
129
130
131
132
133
134
135
136
137
138
139
140
141
142
143
144
145
146
147
148
149
150
151
152
153
154
155
156
157
158
159
160
161
162
163
164
165
166
167
168
169
// 给定范围生成随机数
function getRandom(min, max) {
return Math.floor(Math.random() * (max + 1 - min) + min);
}
// 获取当前时间
function getCurrentTimeString() {
return new Date().toTimeString().slice(0, 8);
}

class ParticleClick {
constructor(el) {
// 获取画布元素
this.canvas = document.querySelector(el);
this.ctx = this.canvas.getContext("2d", {
willReadFrequently: true,
});
// 文字
this.text = null;
// 粒子数组
this.particles = [];
// 初始化
this.init();
}
init() {
// 初始化画布宽高,devicePixelRatio适配高清屏
this.canvas.width = window.innerWidth * devicePixelRatio;
this.canvas.height = window.innerHeight * devicePixelRatio;
}
clear() {
// 清空画布
this.ctx.clearRect(0, 0, this.canvas.width, this.canvas.height);
}
draw() {
this.clear();
this.drawText();
this.particles.forEach((p) => p.draw());
requestAnimationFrame(() => this.draw());
}
// 画时间
drawText() {
const {
ctx,
canvas: { width, height },
} = this;
const newText = getCurrentTimeString()
if (newText === this.text) {
return
}
this.text = newText
// 开始画文本
ctx.beginPath();
// 文本样式
ctx.fillStyle = "#000";
ctx.textBaseline = "middle";
ctx.font = "140px sans-serif";
// 画文本,位置水平和垂直居中,ctx.measureText得到文本宽度
ctx.fillText(
this.text,
(width - ctx.measureText(this.text).width) / 2,
height / 2
);

// 获取文本像素点
const points = this.getPoints();
this.clear();
for (let i = 0; i < points.length; i++) {
let p = this.particles[i];
if (!p) {
p = new Particle(this.canvas, this.ctx);
this.particles.push(p);
}
const [x, y] = points[i];
p.moveTo(x, y);
}

// 去掉多余的粒子
if (points.length < this.particles.length) {
this.particles.splice(points.length);
}
}
// 根据文本获取像素点
getPoints() {
const gap = 6;
const {
ctx,
canvas: { width, height },
} = this;
const { data } = ctx.getImageData(0, 0, width, height);
const points = [];
for (let i = 0; i < width; i += gap) {
for (let j = 0; j < height; j += gap) {
// 这里getImageData 返回的数据是一个像素点由rgba四个数组成
const index = (i + j * width) * 4;
const r = data[index];
const g = data[index + 1];
const b = data[index + 2];
const a = data[index + 3];
// 黑色的点的信息
if (r === 0 && g === 0 && b === 0 && a === 255) {
points.push([i, j]);
}
}
}
return points;
}
}

// 粒子类
class Particle {
/**
* 粒子类的构造函数
* @param {HTMLCanvasElement} canvas
* @param {CanvasRenderingContext2D} ctx
*/
constructor(canvas, ctx) {
this.canvas = canvas;
this.ctx = ctx;
// 初始化粒子位置,以canvas中心为圆心的圆周上
// 半径
const r = Math.min(canvas.width, canvas.height) / 2;
// cx, cy 为圆心坐标
const cx = canvas.width / 2;
const cy = canvas.height / 2;
// 弧度
const rad = (getRandom(0, 360) / 180) * Math.PI;
this.x = cx + r * Math.cos(rad);
this.y = cy + r * Math.sin(rad);
// 粒子半径,随机
this.size = getRandom(4, 8);
}
draw() {
const { ctx } = this;
ctx.beginPath();
ctx.fillStyle = "#5445544d";
ctx.arc(this.x, this.y, this.size, 0, Math.PI * 2);
ctx.fill();
}
/**
* 目标点移动
* @param {String} dx 目标点x坐标
* @param {String} dy 目标点y坐标
*/
moveTo(dx, dy) {
const duration = 500;
const sx = this.x,
sy = this.y;
// 需要移动的速度,位移除以时间
const xSpeed = (dx - sx) / duration;
const ySpeed = (dy - sy) / duration;
const startTime = Date.now();
const _move = () => {
// 间隔的时间
const elapsedTime = Date.now() - startTime;
// 速度乘以时间得到位移
this.x = sx + xSpeed * elapsedTime;
this.y = sy + ySpeed * elapsedTime;
// 如果超过这个时间了,就不再移动
if (elapsedTime >= duration) {
return;
}
requestAnimationFrame(_move);
};
_move();
}
}

const clock = new ParticleClick("canvas");
clock.draw();

最终效果

结语

本篇文章就到这里了,更多内容敬请期待,债见~

上一篇:
【可视化学习】78-XR-FRAME学习(二)
下一篇:
【Redis学习】03-Redis常用指令