【可视化学习】85-3D后期效果(一)
发表于:2024-09-03 |

前言

本篇文章和大家简单分享一下如何利用postprocessing,screen-space-reflections实现一些3D后期效果。这个有点烧电脑,大家酌情学习。

官网地址

https://github.com/pmndrs/postprocessing
https://github.com/0beqz/screen-space-reflections

文档地址

https://pmndrs.github.io/postprocessing/public/docs/

初始化项目

先用vite初始化个vue3的项目,安装three,这个我就不过多展开了。

初始化样式

这里简单初始化一下样式,让canvas全屏显示。

1
2
3
4
5
6
7
8
9
10
11
* {
margin: 0;
padding: 0;
}
canvas {
width: 100vw;
height: 100vh;
position: fixed;
top: 0;
left: 0;
}

导入模型和写入其他基础代码

这里我也不多阐述了,就是需要把draco从node_modules中的three模块里面拷贝到public里面

1
2
3
4
5
6
7
8
9
10
11
12
13
14
15
16
17
18
19
20
21
22
23
24
25
26
27
28
29
30
31
32
33
34
35
36
37
38
39
40
41
42
43
44
45
46
47
48
49
50
51
52
53
54
55
56
57
58
59
60
61
62
63
64
65
66
67
68
69
70
71
<template>
<div></div>
</template>
<script setup>
import * as THREE from "three";
import { OrbitControls } from "three/examples/jsm/controls/OrbitControls";
import { GLTFLoader } from "three/examples/jsm/loaders/GLTFLoader";
import { DRACOLoader } from "three/examples/jsm/loaders/DRACOLoader";
import { RGBELoader } from "three/examples/jsm/loaders/RGBELoader";


// 初始化场景
const scene = new THREE.Scene();
// 初始化相机
const camera = new THREE.PerspectiveCamera(
75,
window.innerWidth / window.innerHeight,
0.1,
1000
);
camera.position.set(0, 1.5, 8);
camera.aspect = window.innerWidth / window.innerHeight;
camera.updateProjectionMatrix();
// 初始化渲染器
const renderer = new THREE.WebGLRenderer({
antialias: true, // 抗锯齿
logarithmicDepthBuffer: true, // 深度缓冲
powerPreference: "high-performance", // 高性能
});
renderer.setSize(window.innerWidth, window.innerHeight);
renderer.setPixelRatio(window.devicePixelRatio);
// 设置色调映射和曝光
renderer.outputEncoding = THREE.sRGBEncoding;
renderer.toneMapping = THREE.ACESFilmicToneMapping;
renderer.toneMappingExposure = 1;
// 开启阴影并设置为软阴影
renderer.shadowMap.enabled = true;
renderer.shadowMap.type = THREE.PCFSoftShadowMap;
document.body.appendChild(renderer.domElement);

// 初始化控制器
const controls = new OrbitControls(camera, renderer.domElement);
controls.enableDamping = true;

// 添加环境纹理
let rbgeLoader = new RGBELoader();
rbgeLoader.load("./texture/noon_grass_1k.hdr", (texture) => {
texture.mapping = THREE.EquirectangularReflectionMapping;
scene.background = texture;
scene.environment = texture;
});

// 添加模型
let dracoLoader = new DRACOLoader();
dracoLoader.setDecoderPath("./draco/");
let gltfLoader = new GLTFLoader();

gltfLoader.setDRACOLoader(dracoLoader);
gltfLoader.load("./model/court-transformed.glb", (gltf) => {
scene.add(gltf.scene);
});


// 设置渲染函数
const render = () => {
renderer.render(scene, camera);
requestAnimationFrame(render);
};
render();
</script>

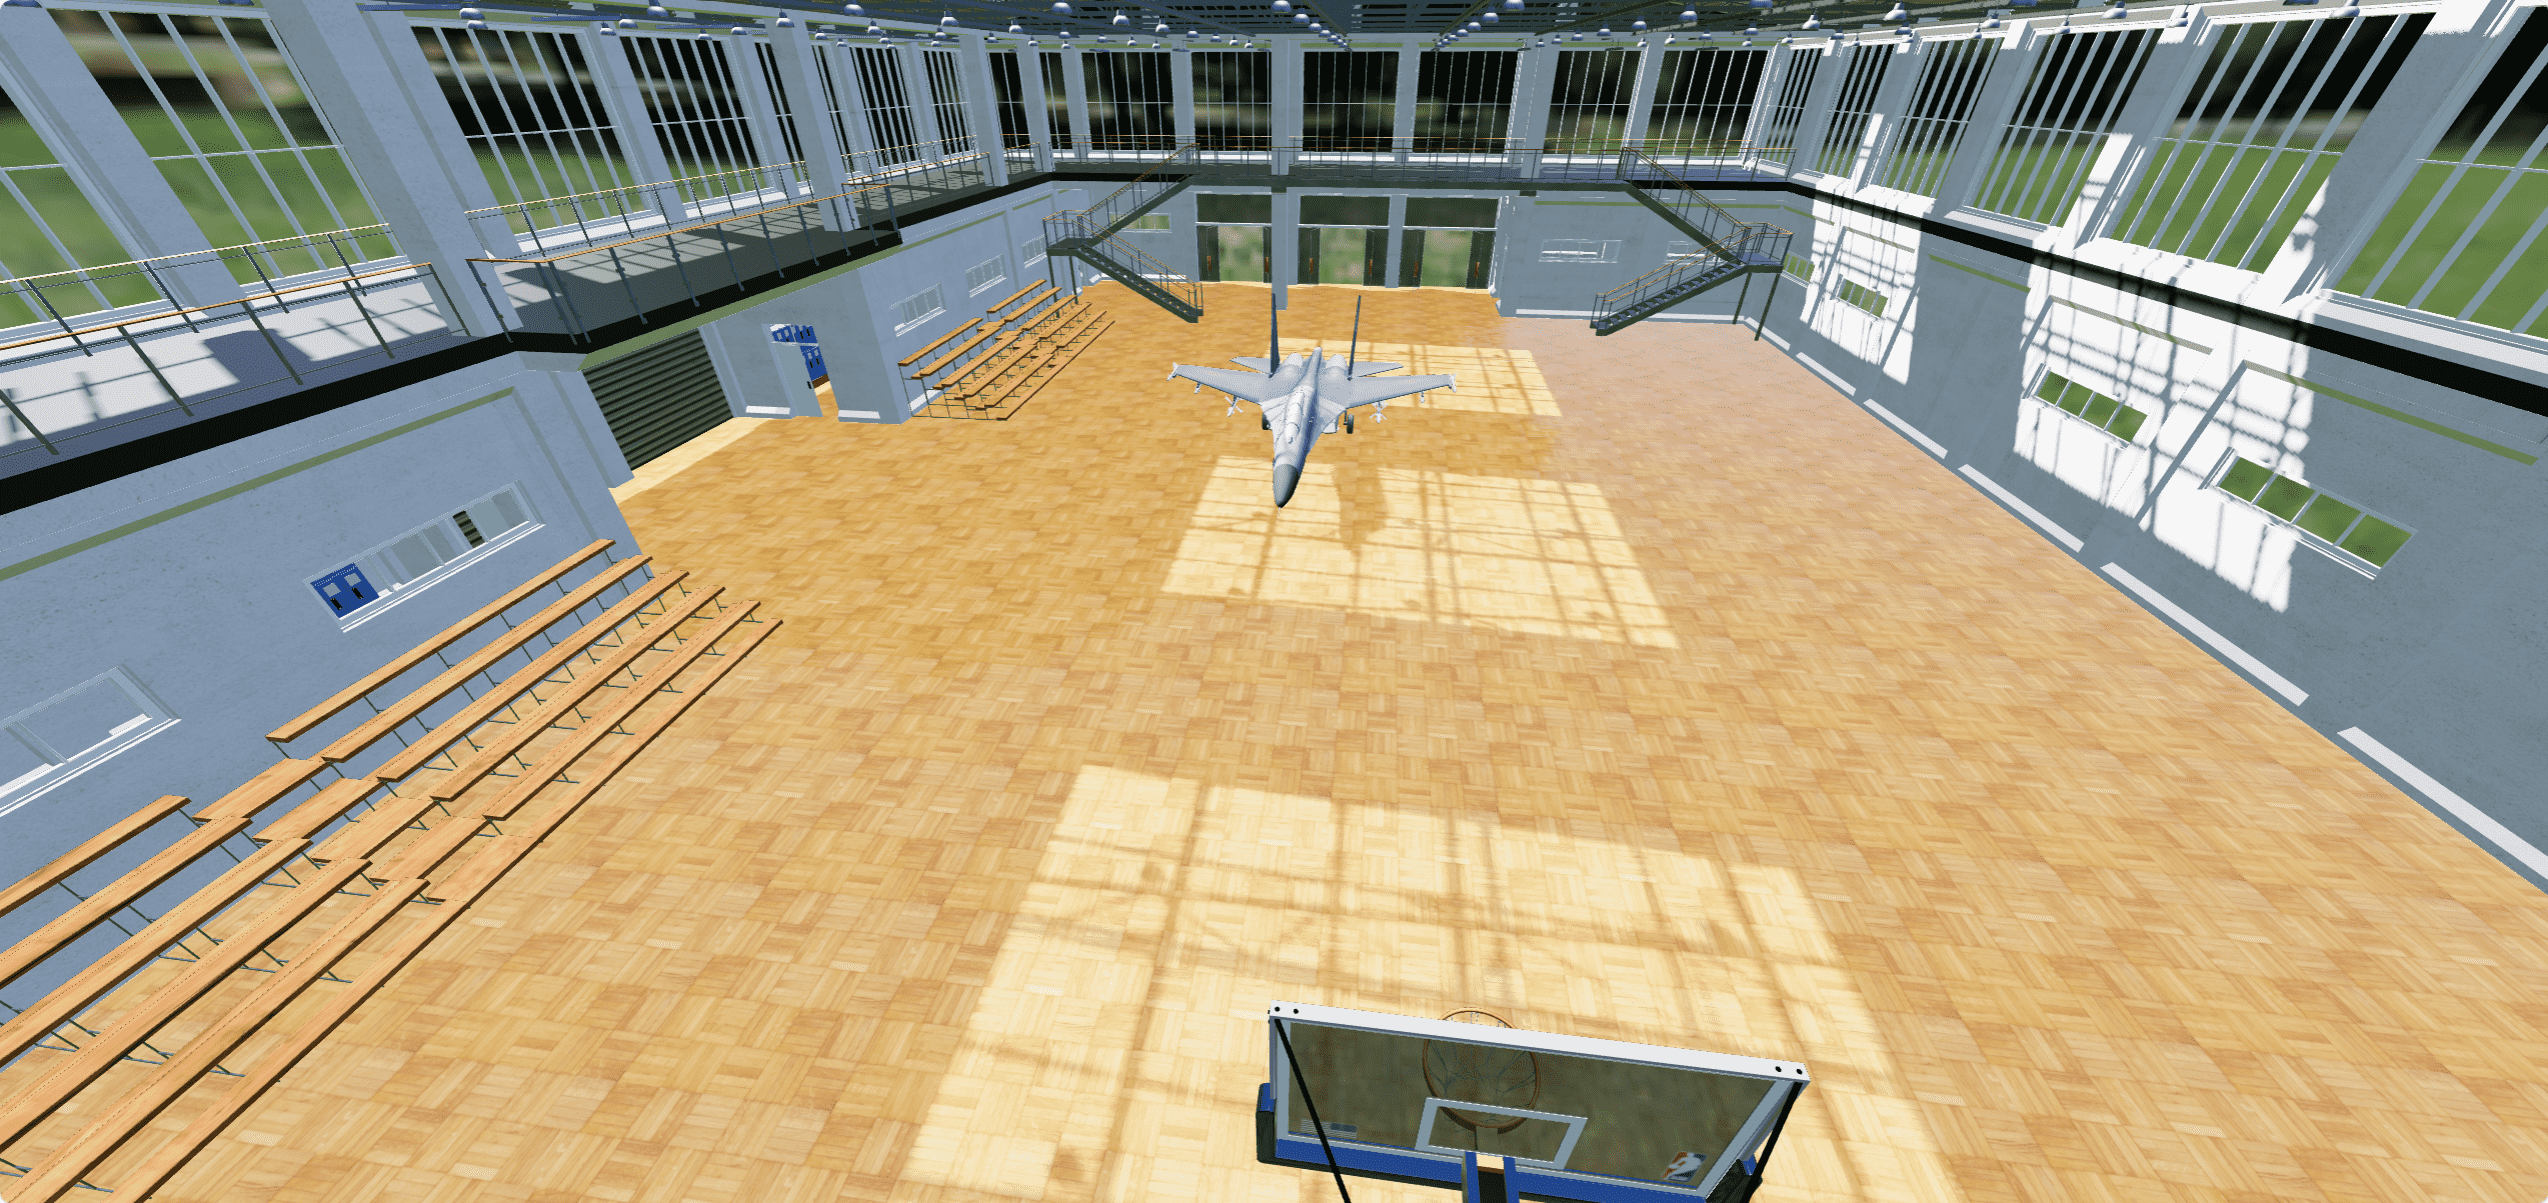
此时的效果如下
效果图

添加聚光灯充当太阳实现阴影效果

1
2
3
4
5
6
7
8
9
10
// 添加聚光灯充当太阳
const sun = new THREE.SpotLight(0xffffff); // 设置白光
sun.position.set(-200, 200, -100);
sun.castShadow = true; // 开启阴影
sun.shadow.mapSize.width = 2048; // 用来提高阴影的清晰度
sun.shadow.mapSize.height = 2048;
sun.shadow.bias = -0.00001; // 用来消除阴影的锯齿
sun.angle = 0.1; // 光照角度
sun.intensity = 5; // 光照强度
scene.add(sun);

模型添加阴影

此时我们并没有看到阴影,这是因为我们的模型没有开启接收阴影和投射阴影,我们导入模型的时候需要设置一下

1
2
3
4
5
6
7
8
9
gltfLoader.load("./model/court-transformed.glb", (gltf) => {
gltf.scene.traverse((child) => {
if (child.isMesh) {
child.castShadow = true;
child.receiveShadow = true;
}
});
scene.add(gltf.scene);
});

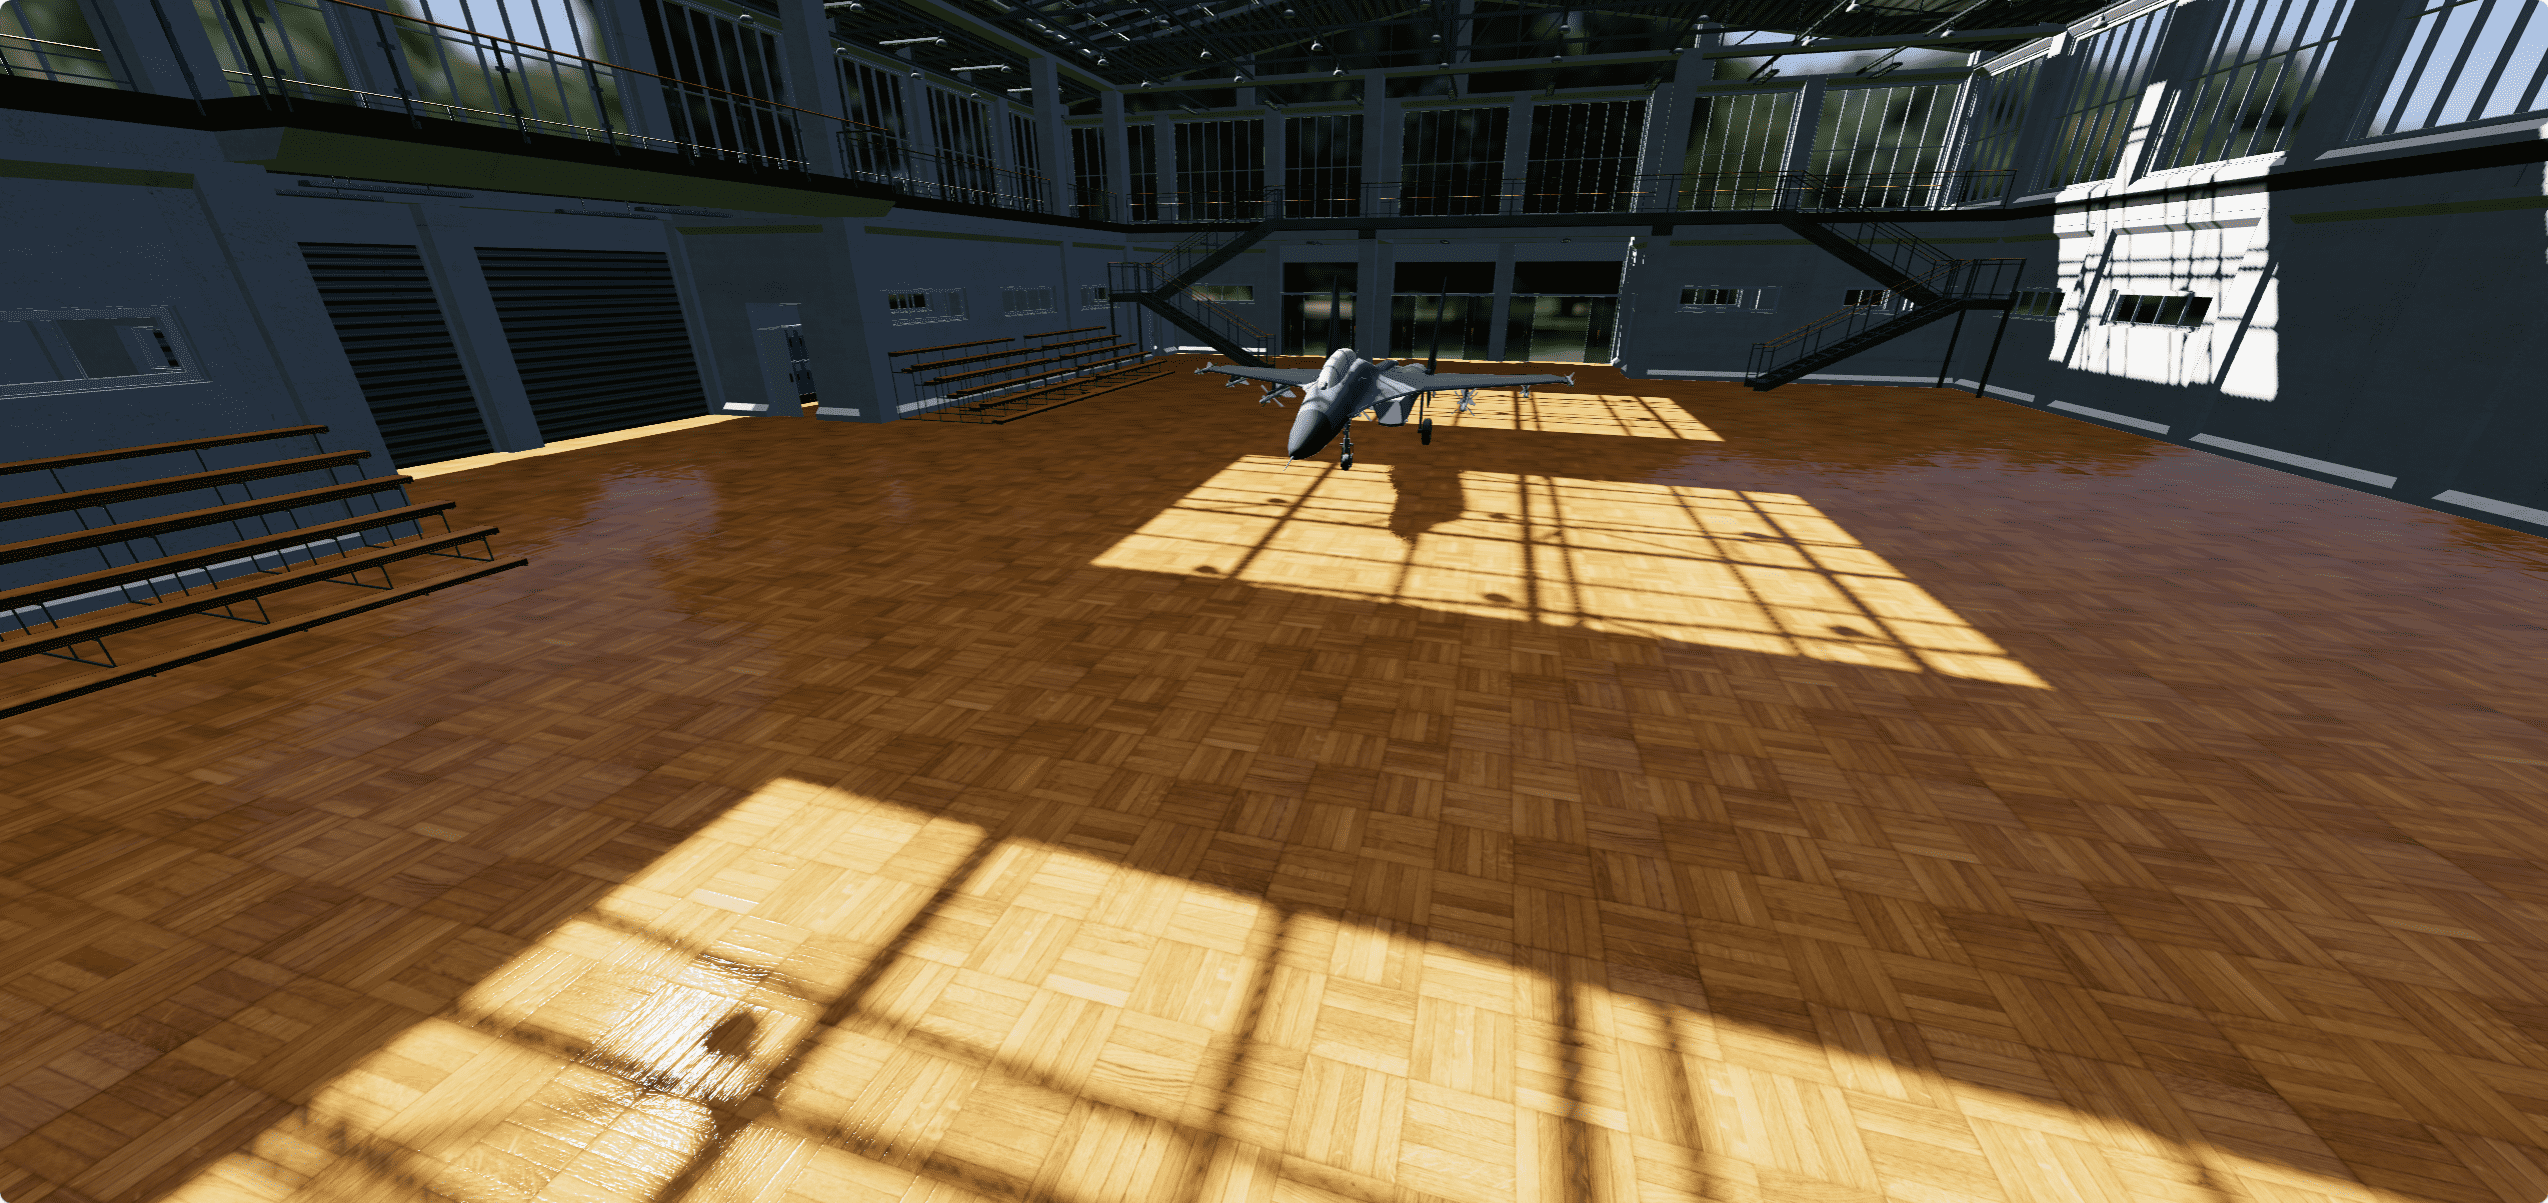
此时效果如下
效果图

调整亮度

这时候我们的场景太亮了,我们将模型的材质亮度改暗一点

1
2
3
4
5
6
7
8
9
10
gltfLoader.load("./model/court-transformed.glb", (gltf) => {
gltf.scene.traverse((child) => {
if (child.isMesh) {
child.castShadow = true;
child.receiveShadow = true;
child.material.envMapIntensity = 0.2;
}
});
scene.add(gltf.scene);
});

这样就稍微有一点点感觉了
效果图

添加辉光效果

安装postprocessing

这里先安装一下postprocessing

1
npm install postprocessing

导入

1
2
3
4
5
6
7
import {
EffectComposer,
RenderPass,
SelectiveBloomEffect,
BlendFunction,
EffectPass,
} from "postprocessing";

实例化后期处理效果

1
2
3
4
5
6
7
8
9
10
11
12
13
14
15
16
17
18
19
// 实例化后期处理效果
const composer = new EffectComposer(renderer);
// 添加renderPass
composer.addPass(new RenderPass(scene, camera));
// 实例化SelectiveBloomEffect
const bloomEffect = new SelectiveBloomEffect(scene, camera, {
blendFunction: BlendFunction.ADD, // 混合模式(叠加)
mipmapBlur: true, // 使用mipmap模糊
luminanceThreshold: 0.5, // 亮度阈值
luminanceSmoothing: 0.3, // 亮度平滑
intensity: 30, // 强度
});

// 创建效果通道
const effectPass = new EffectPass(
camera,
bloomEffect,
);
composer.addPass(effectPass);

渲染函数修改

1
2
3
4
5
6
7
// 设置渲染函数
const render = () => {
renderer.render(scene, camera);
// composer.render();
requestAnimationFrame(render);
};
render();

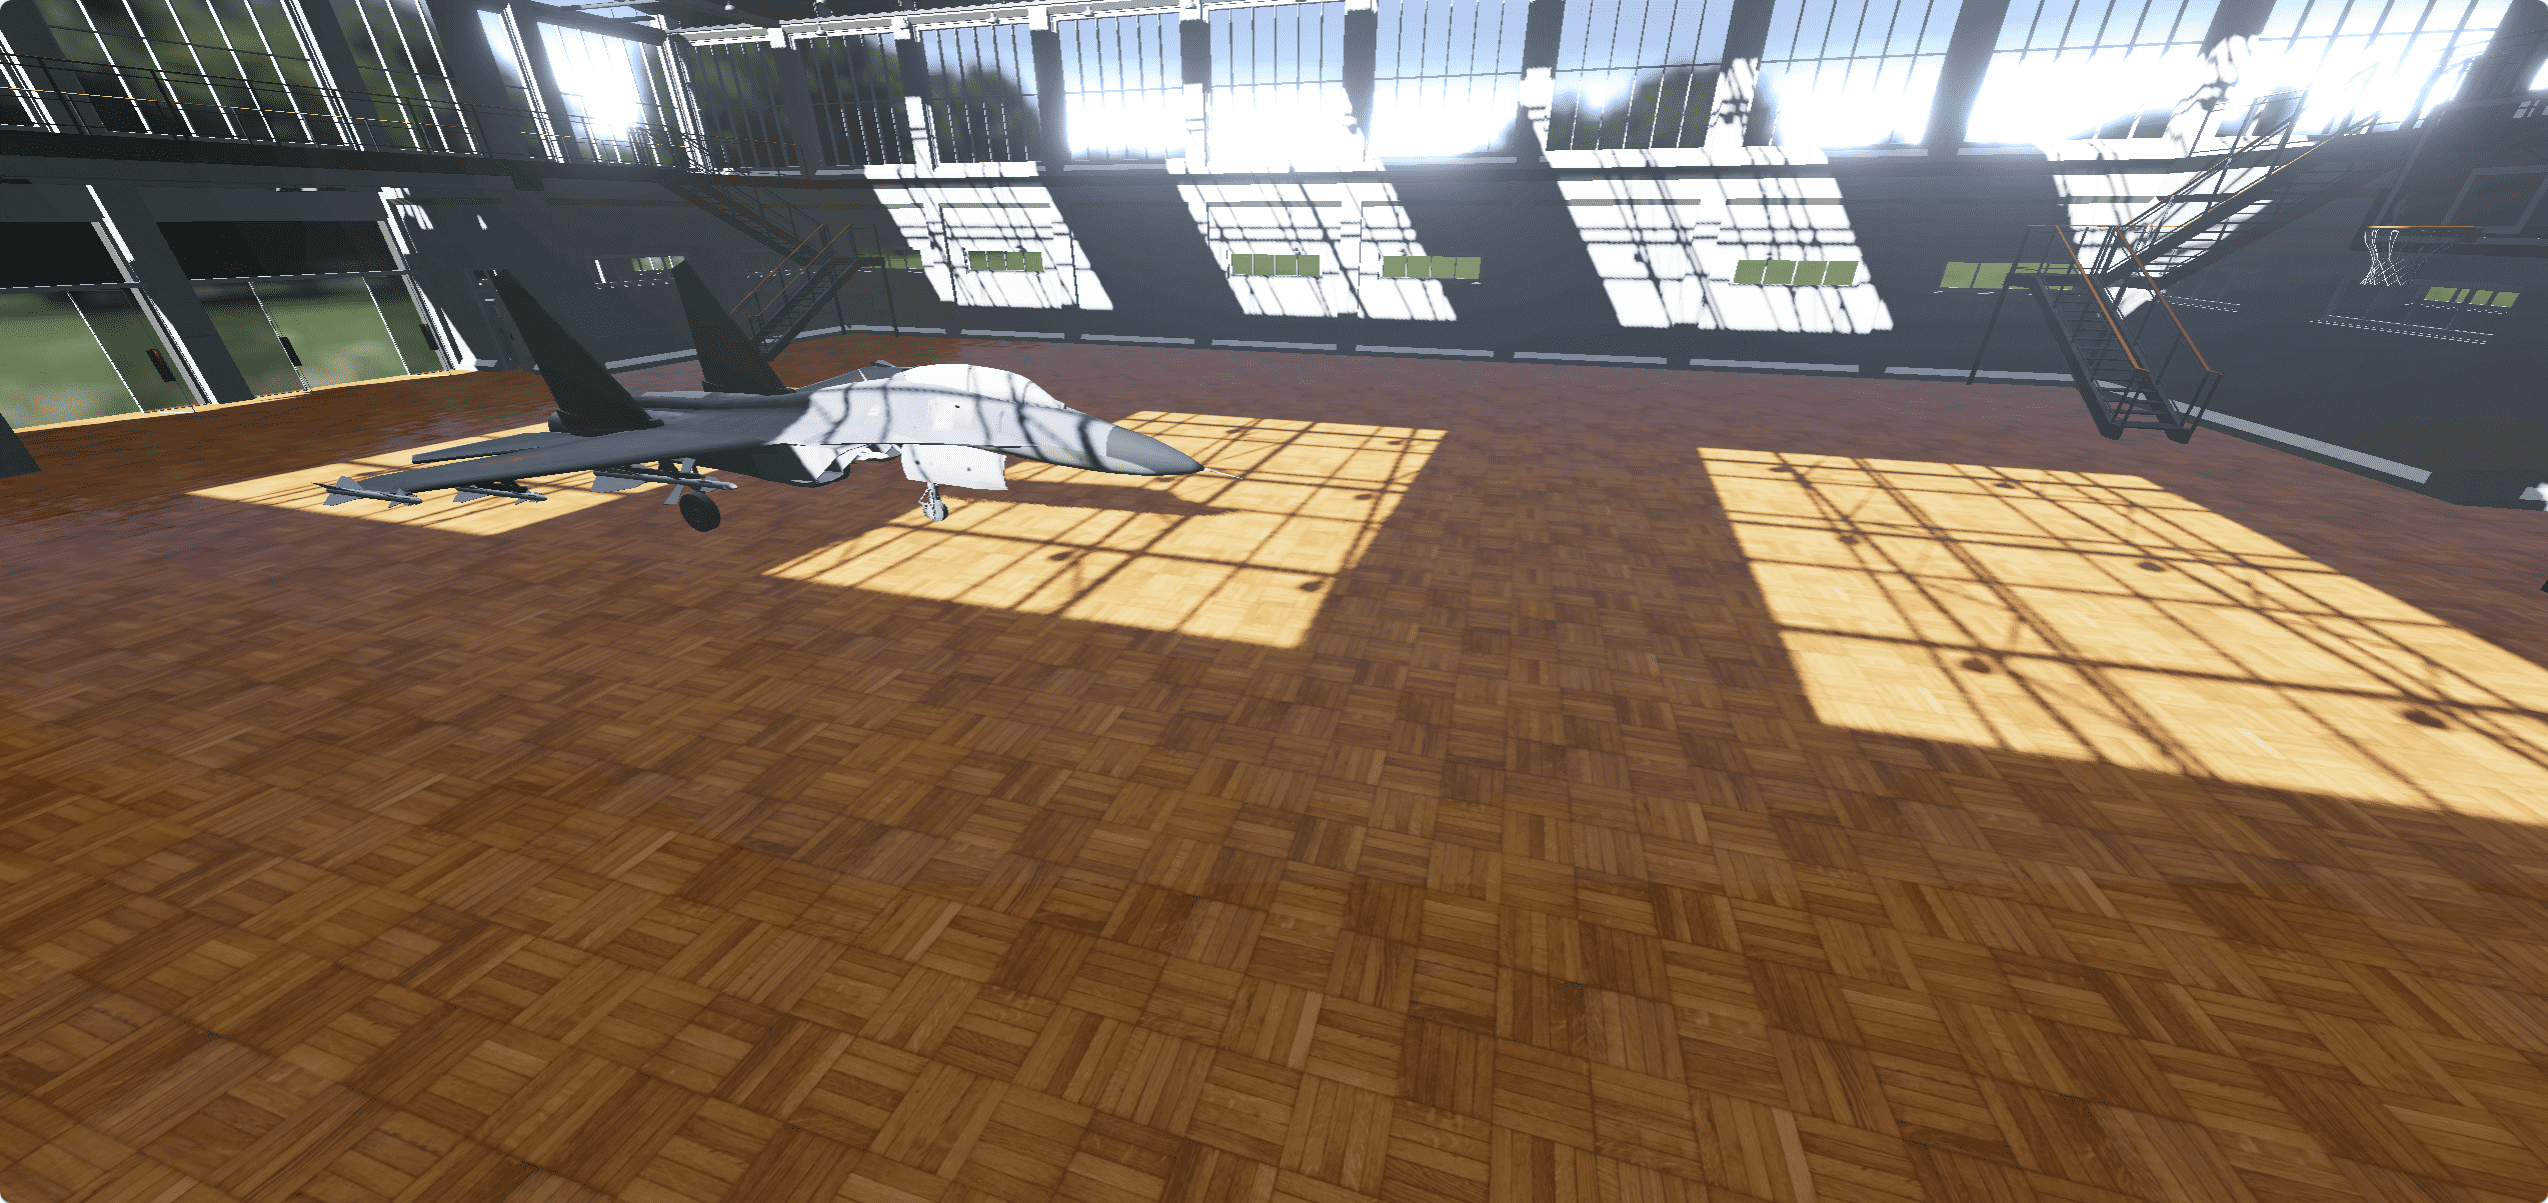
此时的效果如下,我们的光照和打在模型上的光都有了辉光效果
效果图

这里放一张同角度的对比图,大家可以看看区别
效果图

添加抗锯齿效果

导入部分就省略了

1
2
3
4
5
6
7
8
9
// 提升抗锯齿效果
const smaaEffect = new SMAAEffect();

// 创建效果通道
const effectPass = new EffectPass(
camera,
bloomEffect,
smaaEffect
);

添加环境光遮蔽

导入部分就省略了

1
2
3
4
5
6
7
8
9
10
11
12
13
14
15
16
17
18
19
// 添加环境光遮蔽
const normalPass = new NormalPass(scene, camera); // 添加法线通道
const ssaoEffect = new SSAOEffect(camera, normalPass.texture, {
blendFunction: BlendFunction.MULTIPLY, // 混合模式(叠加相乘)
samples: 32, // 采样数(越大越模糊)
rings: 3, // 环数
luminanceInfluence: 0.1, // 亮度影响
radius: 0.005, // 半径
bias: 0, // 偏差
intensity: 1, // 强度
});

// 创建效果通道
const effectPass = new EffectPass(
camera,
bloomEffect,
smaaEffect,
ssaoEffect
);

这个主要就是添加一些环境光遮蔽效果

添加屏幕空间反射

安装屏幕空间反射

1
npm install screen-space-reflections

导入

1
import { SSREffect } from "screen-space-reflections";

使用

1
2
3
4
5
6
7
8
9
10
11
// 添加屏幕空间反射
const ssrEffect = new SSREffect(scene, camera);

// 创建效果通道
const effectPass = new EffectPass(
camera,
bloomEffect,
ssaoEffect,
ssrEffect,
smaaEffect,
);

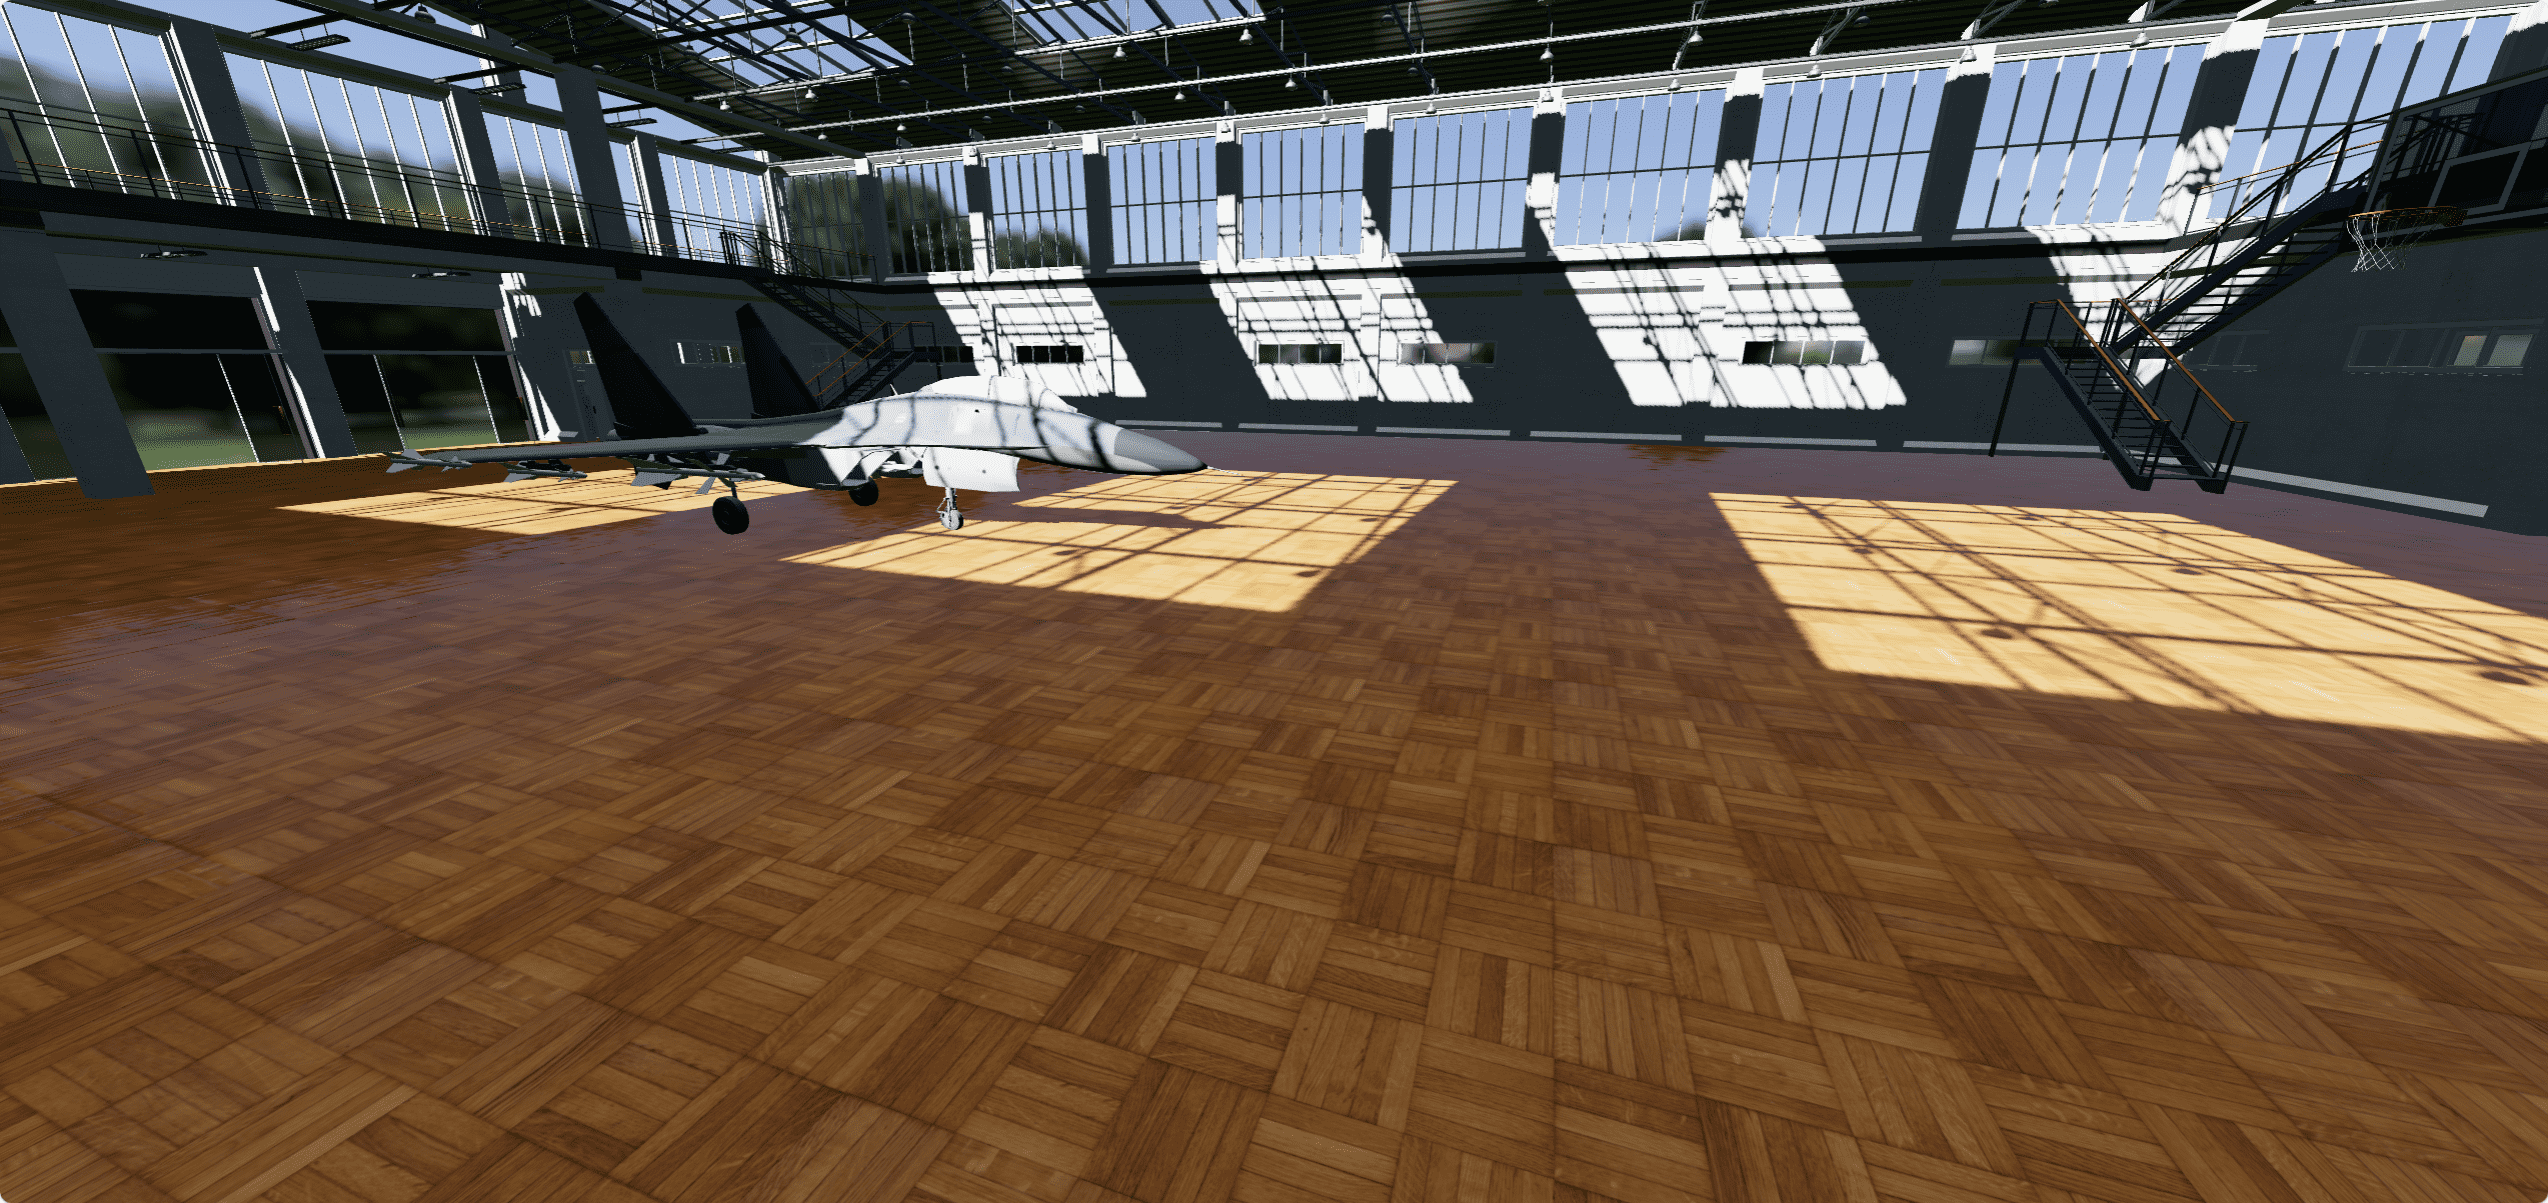
这样我们就添加了屏幕空间反射效果
效果图

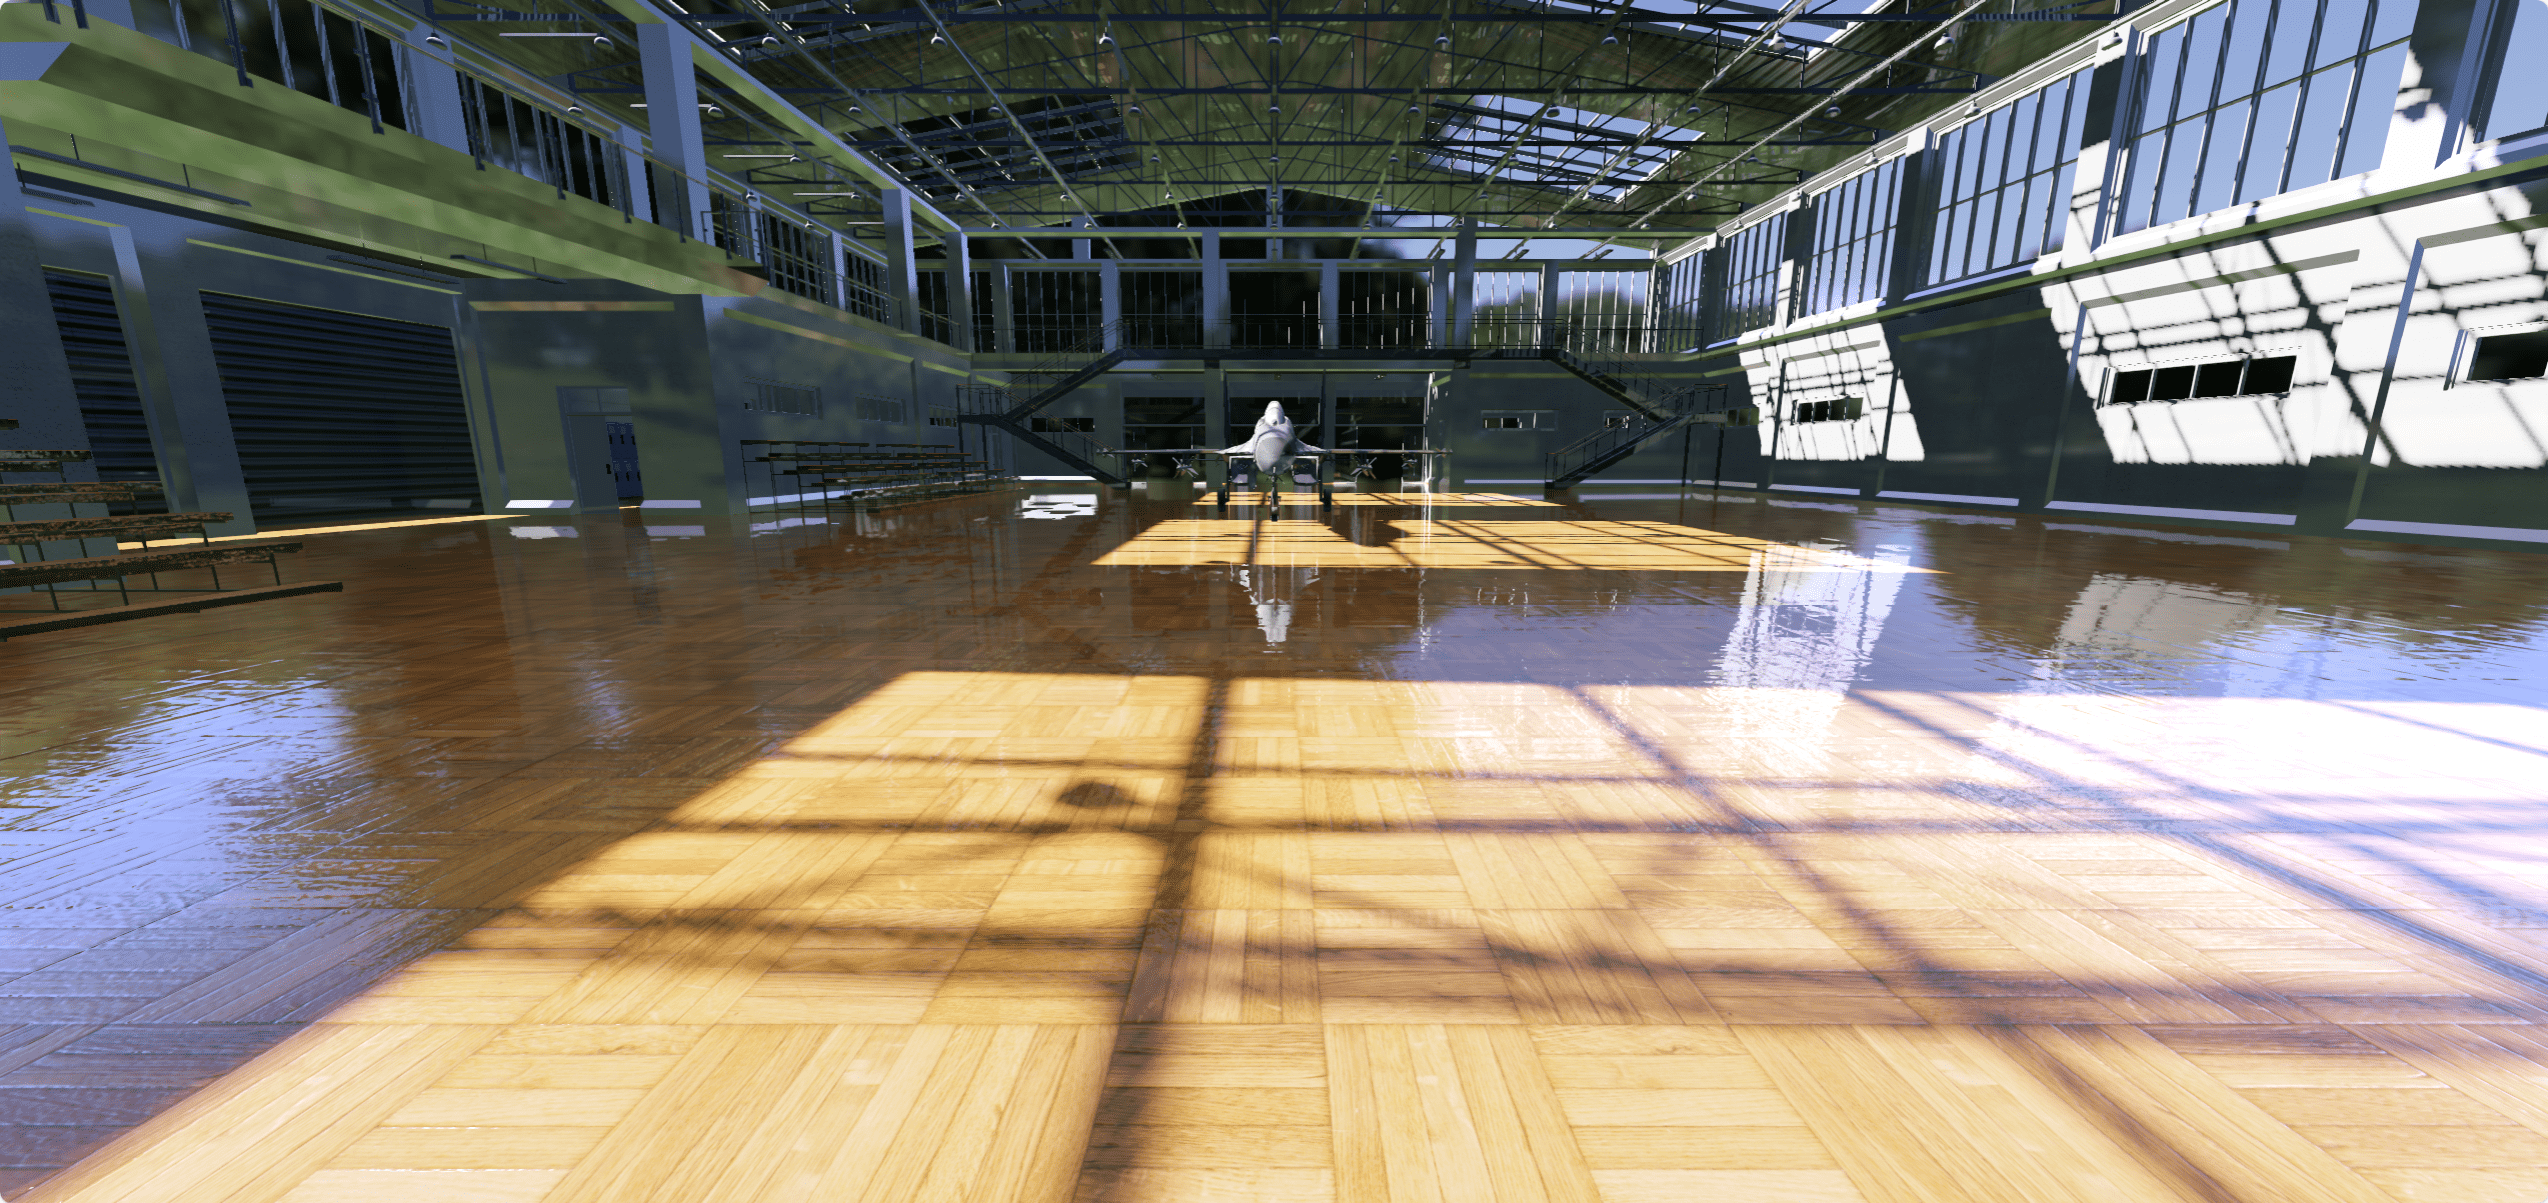
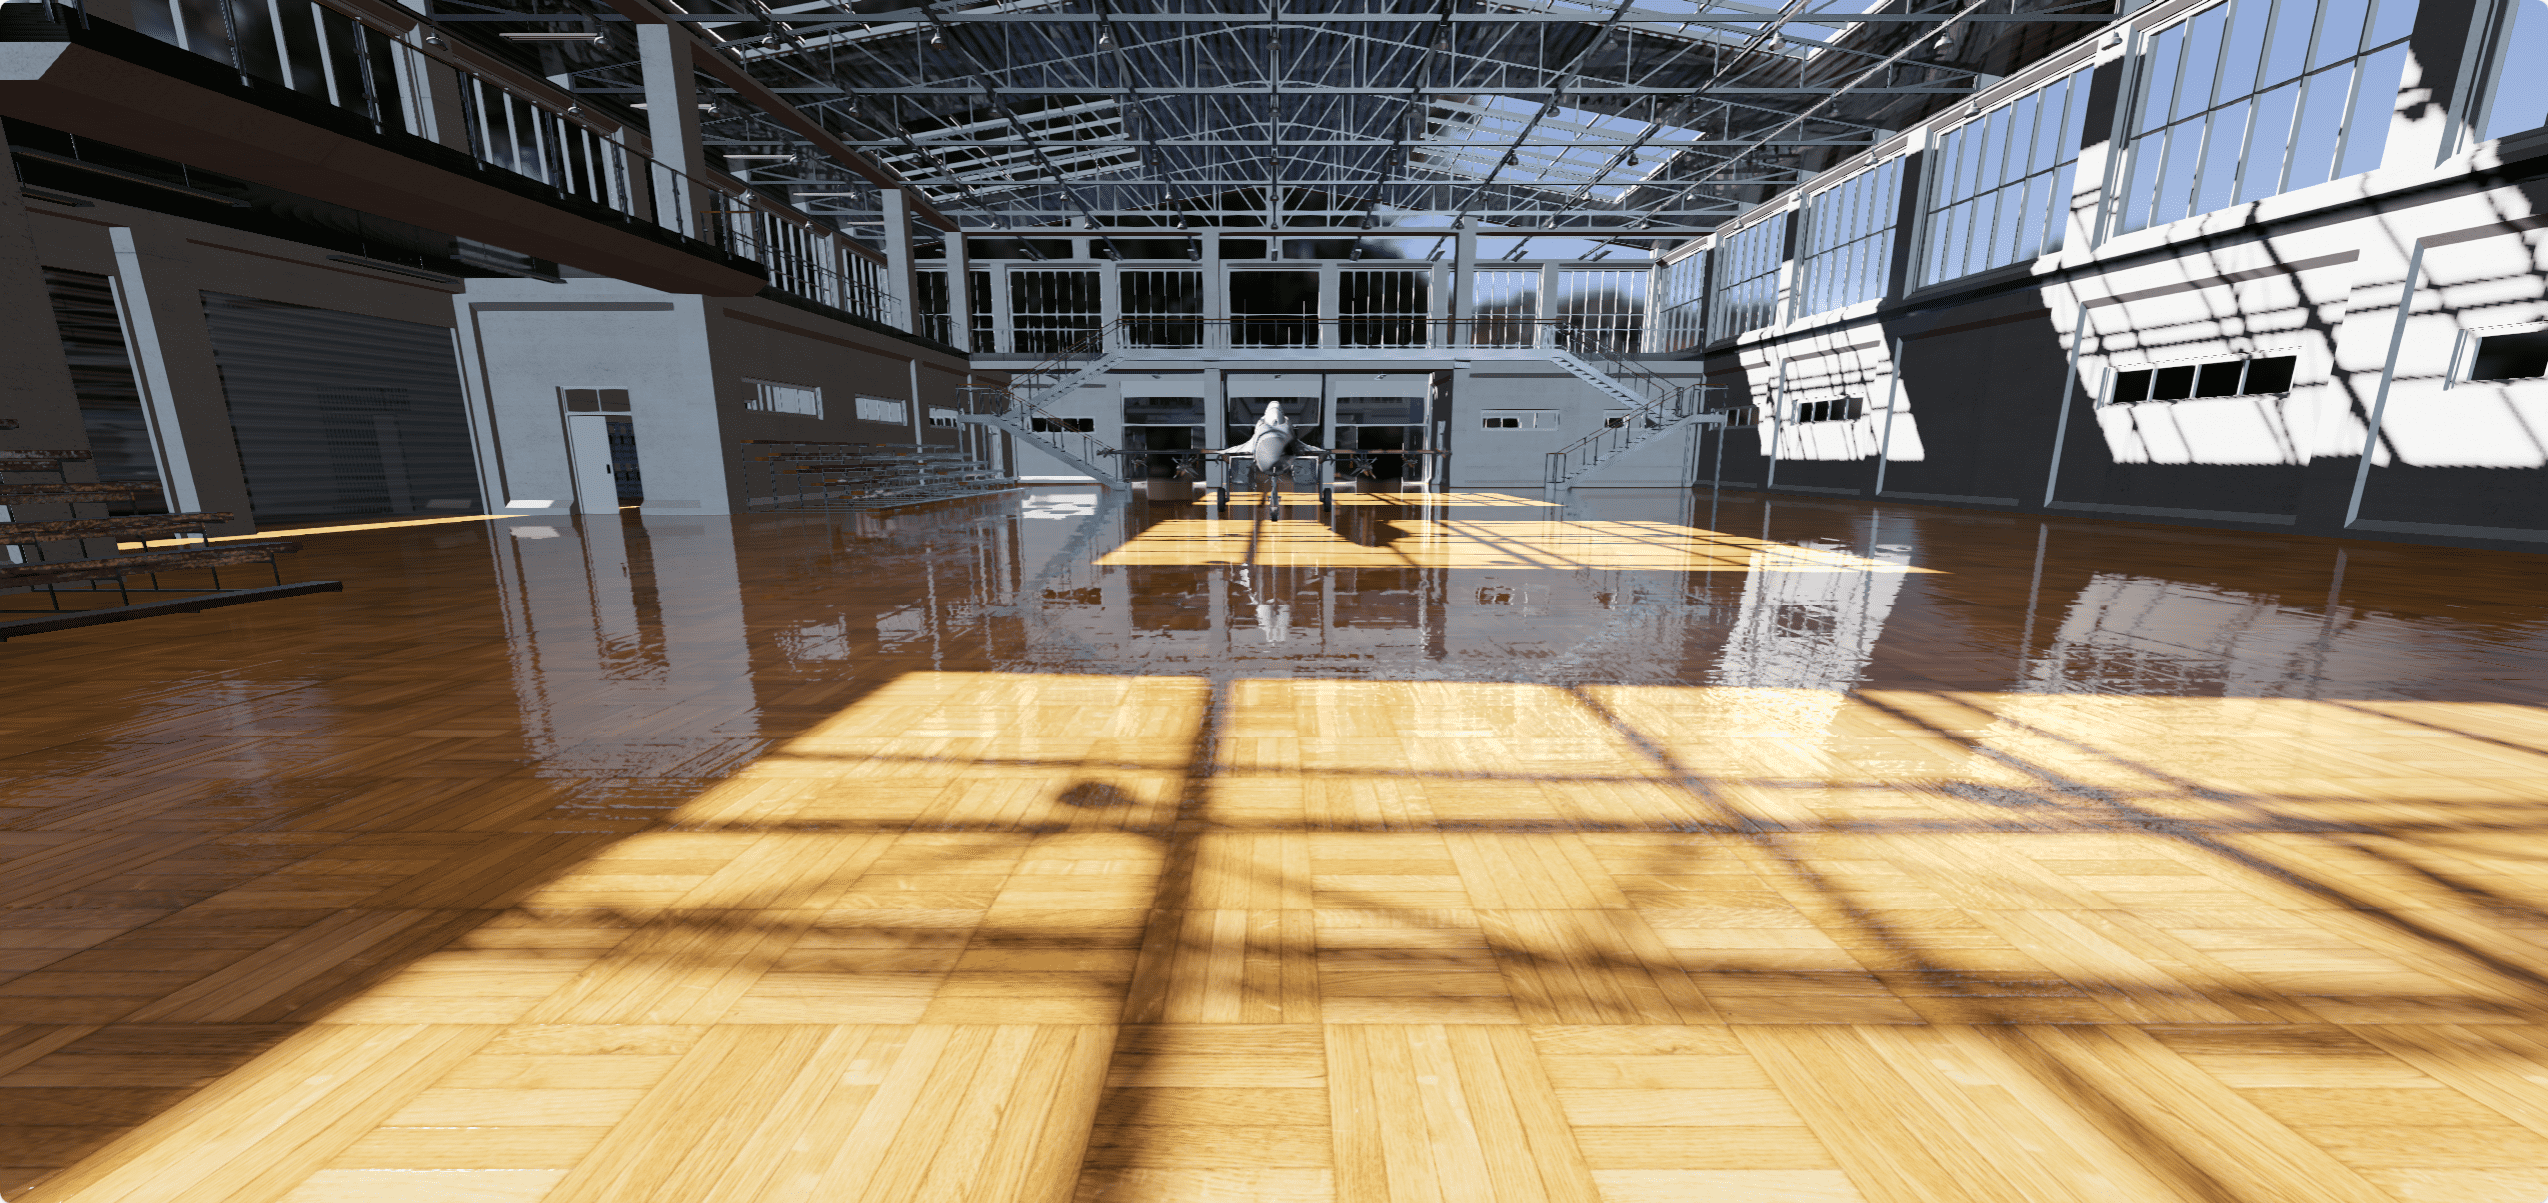
这时候我们发现我们的场景都亮了起来,地板也反射墙面等一些东西,但是天花板我们是不需要反射的,我们可以在导入模型的时候设置一下

设置天花板不反射地板

这里我们可以在导入模型的时候设置一下,如果是地板就换一个环境贴图

1
2
3
4
5
6
7
8
9
10
11
12
13
14
15
16
17
18
19
20
gltfLoader.load("./model/court-transformed.glb", (gltf) => {
rbgeLoader.load("./texture/living.hdr", (texture) => {
texture.mapping = THREE.EquirectangularReflectionMapping;
gltf.scene.traverse((child) => {
if (child.isMesh && child.name !== "GymFloor_ParquetShader_0") {
child.castShadow = true;
child.receiveShadow = true;
child.material.envMapIntensity = 0.2;
child.material.envMap = texture;
}
if (child.name === "GymFloor_ParquetShader_0") {
child.castShadow = true;
child.receiveShadow = true;
child.material.envMapIntensity = 0.2;
child.material.envMap = scene.environment;
}
});
scene.add(gltf.scene);
});
});

效果图

设置GUI

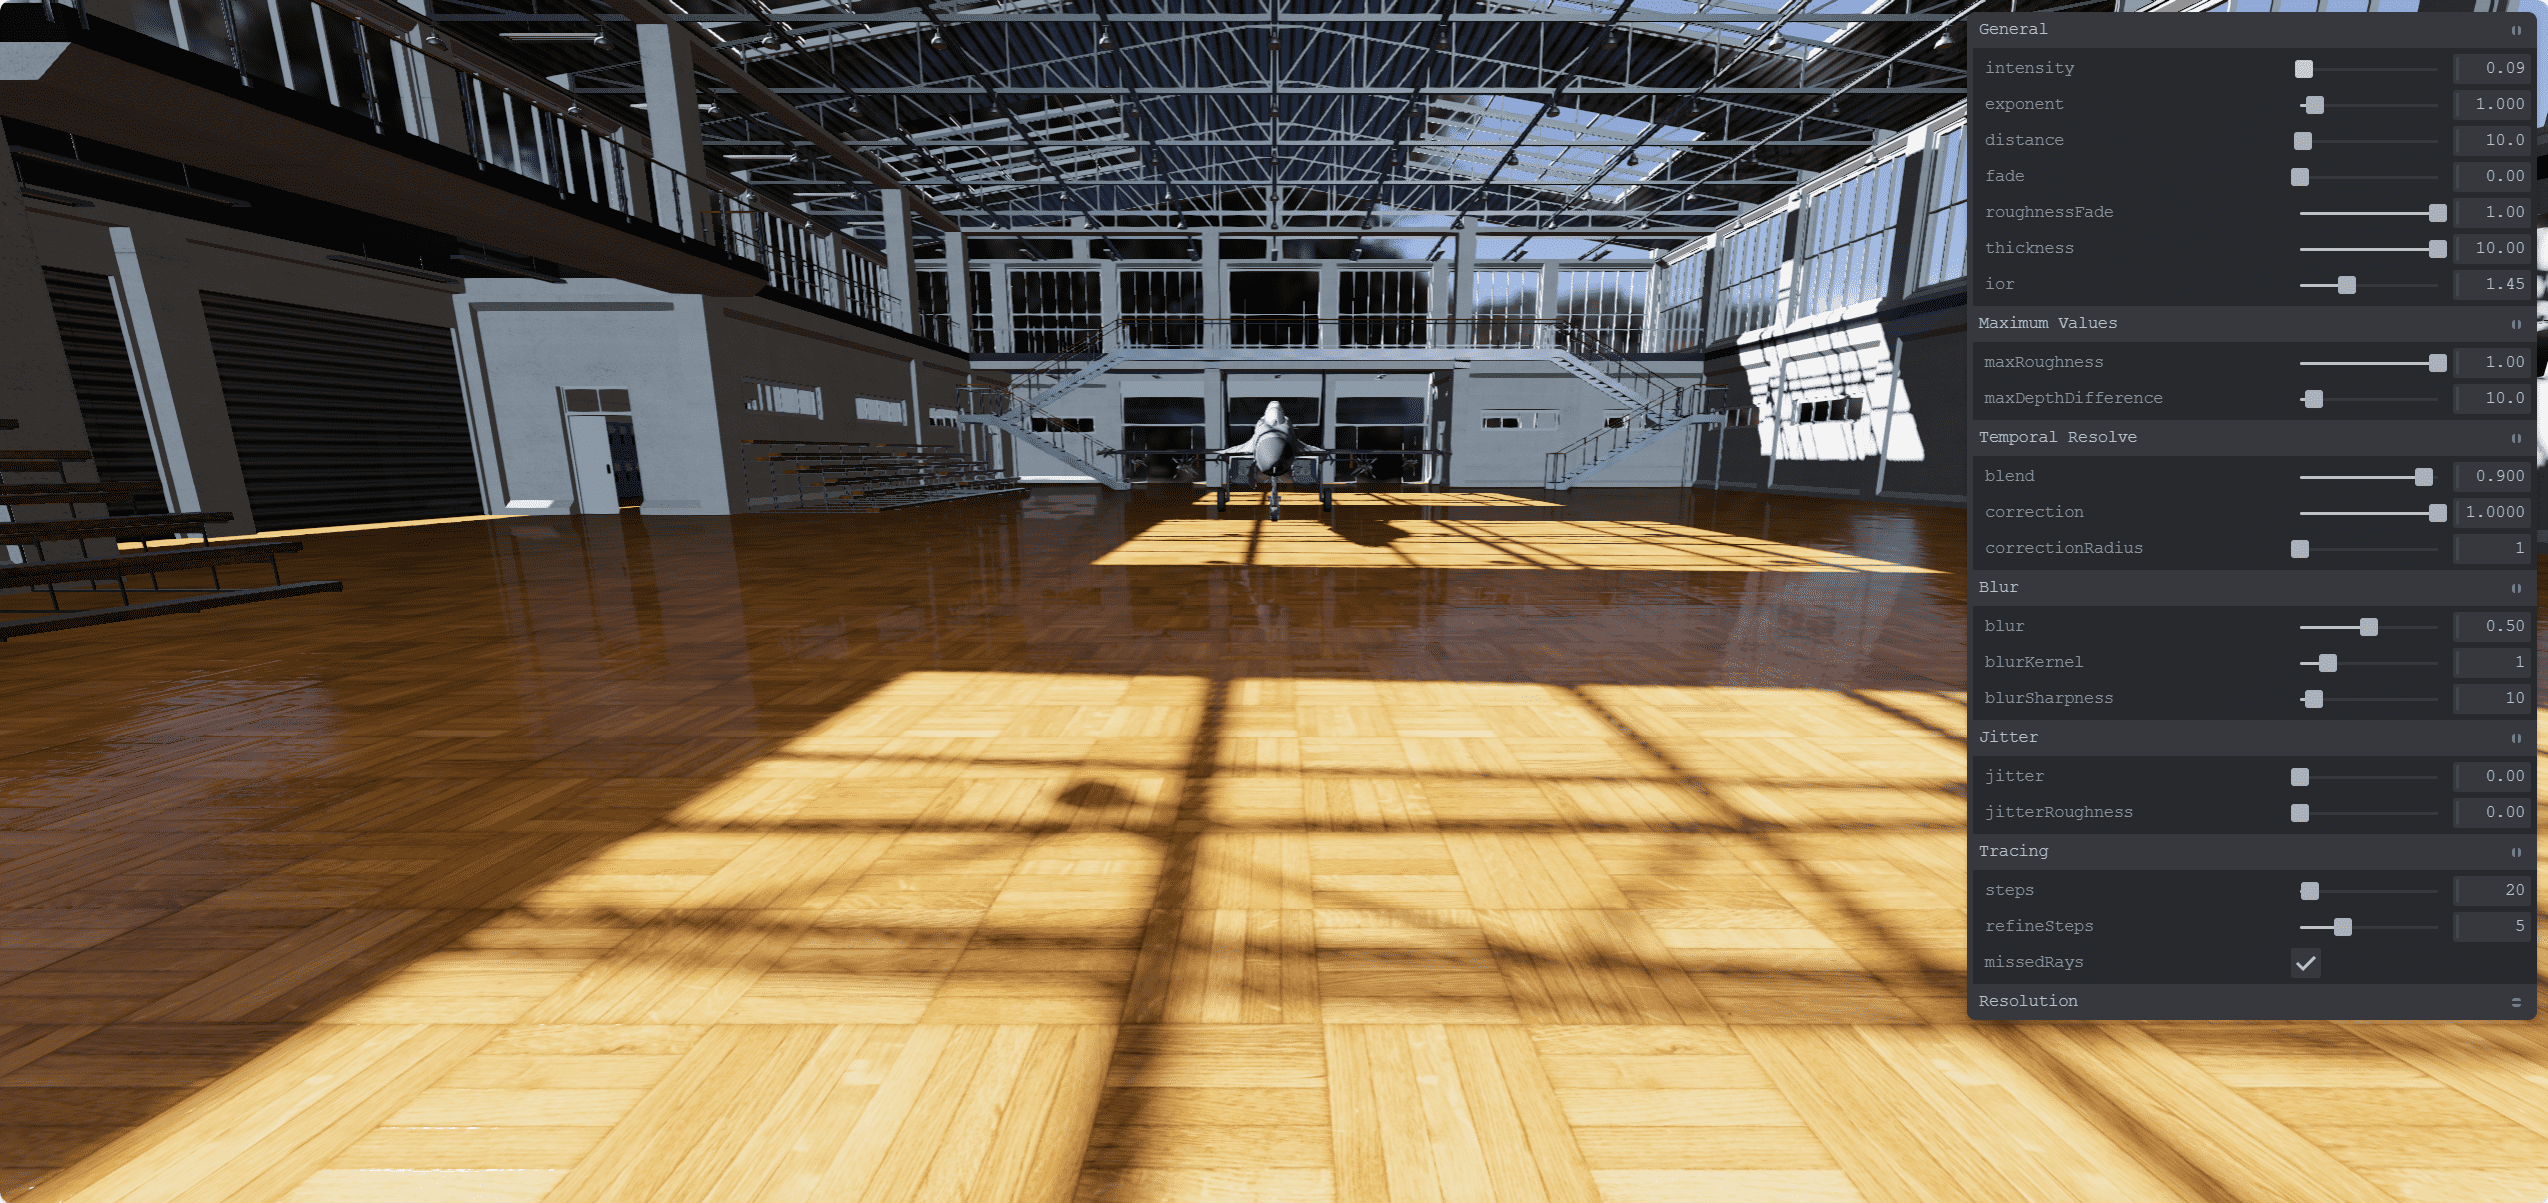
然后屏幕空间反射我们可以自己的喜好来进行设置,将官网的DEMO中的GUI部分拷贝过来
这里需要安装一个tweakpane

1
2
3
4
5
6
7
8
9
10
11
12
13
14
15
16
17
18
19
20
21
22
23
24
25
26
27
28
29
30
31
32
33
34
35
36
37
38
39
40
41
42
43
44
45
46
47
48
49
50
51
52
53
54
55
56
57
58
59
60
61
62
63
64
65
66
67
68
69
70
71
72
73
74
75
76
77
78
79
80
81
82
83
84
85
86
87
88
89
90
91
92
93
94
95
96
97
98
99
100
101
102
103
104
105
106
107
108
109
110
111
112
113
114
115
116
import { defaultSSROptions } from "screen-space-reflections";
import { Pane } from "tweakpane";

export class SSRDebugGUI {
constructor(ssrEffect, params = defaultSSROptions) {
const pane = new Pane();
this.pane = pane;
pane.containerElem_.style.userSelect = "none";
pane.containerElem_.style.width = "380px";

pane.on("change", (ev) => {
const { presetKey } = ev;

ssrEffect[presetKey] = ev.value;
});

const generalFolder = pane.addFolder({ title: "General" });
generalFolder.addInput(params, "intensity", { min: 0, max: 3, step: 0.01 });
generalFolder.addInput(params, "exponent", {
min: 0.125,
max: 8,
step: 0.125,
});
generalFolder.addInput(params, "distance", {
min: 0.001,
max: 500,
step: 0.1,
});
generalFolder.addInput(params, "fade", {
min: 0,
max: 20,
step: 0.01,
});
generalFolder.addInput(params, "roughnessFade", {
min: 0,
max: 1,
step: 0.01,
});
generalFolder.addInput(params, "thickness", {
min: 0,
max: 10,
step: 0.01,
});
generalFolder.addInput(params, "ior", {
min: 1,
max: 2.33333,
step: 0.01,
});

const maximumValuesFolder = pane.addFolder({ title: "Maximum Values" });
maximumValuesFolder.addInput(params, "maxRoughness", {
min: 0,
max: 1,
step: 0.01,
});
maximumValuesFolder.addInput(params, "maxDepthDifference", {
min: 0,
max: 100,
step: 0.1,
});

const temporalResolveFolder = pane.addFolder({ title: "Temporal Resolve" });

temporalResolveFolder.addInput(params, "blend", {
min: 0,
max: 1,
step: 0.001,
});
temporalResolveFolder.addInput(params, "correction", {
min: 0,
max: 1,
step: 0.0001,
});
temporalResolveFolder.addInput(params, "correctionRadius", {
min: 1,
max: 4,
step: 1,
});

const blurFolder = pane.addFolder({ title: "Blur" });
blurFolder.addInput(params, "blur", { min: 0, max: 1, step: 0.01 });
blurFolder.addInput(params, "blurKernel", { min: 0, max: 5, step: 1 });
blurFolder.addInput(params, "blurSharpness", { min: 0, max: 100, step: 1 });

const jitterFolder = pane.addFolder({ title: "Jitter" });

jitterFolder.addInput(params, "jitter", { min: 0, max: 4, step: 0.01 });
jitterFolder.addInput(params, "jitterRoughness", {
min: 0,
max: 4,
step: 0.01,
});

const definesFolder = pane.addFolder({ title: "Tracing" });

definesFolder.addInput(params, "steps", { min: 1, max: 256, step: 1 });
definesFolder.addInput(params, "refineSteps", { min: 0, max: 16, step: 1 });
definesFolder.addInput(params, "missedRays");

const resolutionFolder = pane.addFolder({
title: "Resolution",
expanded: false,
});
resolutionFolder.addInput(params, "resolutionScale", {
min: 0.125,
max: 1,
step: 0.125,
});
resolutionFolder.addInput(params, "velocityResolutionScale", {
min: 0.125,
max: 1,
step: 0.125,
});
}
}

然后在项目中导入

1
2
3
4
5
6
7
8
9
10
11
12
13
14
15
16
17
18
19
20
21
22
23
24
25
26
27
28
29
30
31
import { SSRDebugGUI } from "./SSRDebugGUI";
let options = {
intensity: 1,
exponent: 1,
distance: 10,
fade: 0,
roughnessFade: 1,
thickness: 10,
ior: 1.45,
maxRoughness: 1,
maxDepthDifference: 10,
blend: 0.9,
correction: 1,
correctionRadius: 1,
blur: 0.5,
blurKernel: 1,
blurSharpness: 10,
jitter: 0,
jitterRoughness: 0,
steps: 20,
refineSteps: 5,
missedRays: true,
useNormalMap: true,
useRoughnessMap: true,
resolutionScale: 1,
velocityResolutionScale: 1,
};

// 添加屏幕空间反射
const ssrEffect = new SSREffect(scene, camera, options);
const gui = new SSRDebugGUI(ssrEffect, options);

这里我把屏幕空间反射强度调整了一下,就感觉好看多了,大家也可以自己去玩一下
效果图

结语

本篇文章简单的分享了一下如何实现一些3D后期效果.更多内容敬请期待,债见~

上一篇:
【可视化学习】86-从入门到放弃WebGL(十七)
下一篇:
【可视化学习】84-从入门到放弃WebGL(十六)