前言
最近来了个离谱的需求,那就是需要将组件库的 Popup 实现可拖拽,之前我搞过普通 dom 的拖拽,想着能不能复用一下,结果发现的确可以,本篇文章就来讲解一下如何实现。
普通 DOM 实现拖拽
这个我记得我好像之前写过文章了,但我好像没找到这篇文章,那就简单说一下如何实现普通 dom 的拖拽。
绘制一个普通的 dom
以下代码使用 vue3 实现,首先,先随便画个 dom
1
2
3
4
5
6
7
8
9
10
11
12
13
14
15
16
| <template>
<div class="drag-dom">我是可以拖拽的dom</div>
</template>
<script setup></script>
<style scoped>
.drag-dom {
width: 200px;
height: 200px;
background-color: #f00;
cursor: move;
color: white;
text-align: center;
line-height: 200px;
border: 1px solid #000;
}
</style>
|
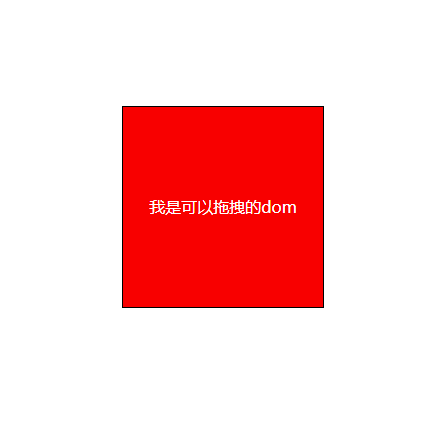
此时的效果就如下:

绘制基本的架构
先搭建一个基本的架构,这里我定义了基本逻辑
- 鼠标按下开始拖拽
- 鼠标移动进行拖拽
- 鼠标松开停止拖拽
- 组件注销移除这些鼠标监听事件
- 定义组件为 fixed,或者 absolute,能让其受 top,left 属性控制
1
2
3
4
5
6
7
8
9
10
11
12
13
14
15
16
17
18
19
20
21
22
23
24
25
26
27
28
29
30
31
32
33
34
35
36
37
38
39
40
41
42
43
44
45
46
47
48
49
50
51
52
53
54
55
56
57
58
59
60
61
62
63
64
65
66
67
68
69
70
71
72
73
74
75
| <template>
<div class="wrapper">
<div
class="drag-dom"
ref="dragDomRef"
:style="{ top: position.top + 'px', left: position.left + 'px' }"
@mousedown="handleMousedown"
>
我是可以拖拽的dom
</div>
</div>
</template>
<script setup>
import { ref, reactive, onBeforeUnmount } from "vue";
// 当前的dom
const dragDomRef = ref(null);
// 位置
const position = reactive({
top: 200,
left: 800,
});
// 是否在拖拽
let dragging = false;
// 鼠标起始位置
let mouseStart = { x: 0, y: 0 };
// 元素起始位置
let elementStart = { x: 0, y: 0 };
// 拖拽事件
const doDrag = () => {};
// 停止拖拽事件
const stopDragging = () => {};
// 鼠标按下事件
const handleMousedown = () => {
dragDomRef.value.addEventListener("mousemove", doDrag, false);
dragDomRef.value.addEventListener("mouseup", stopDragging, false);
};
// 组件注销的时候清除鼠标监听事件
onBeforeUnmount(() => {
dragDomRef.value.removeEventListener("mousemove", doDrag, false);
dragDomRef.value.removeEventListener("mouseup", stopDragging, false);
});
</script>
<style>
* {
padding: 0;
margin: 0;
}
</style>
<style scoped>
.wrapper {
display: flex;
justify-content: center;
width: 100vw;
height: 100vh;
align-items: center;
}
.drag-dom {
width: 200px;
height: 200px;
background-color: #f00;
cursor: move;
color: white;
text-align: center;
line-height: 200px;
border: 1px solid #000;
position: fixed;
}
</style>
|
鼠标按下事件
在鼠标按下的时候,我们给起始位置进行赋值
1
2
3
4
5
6
7
8
9
10
11
12
13
|
const handleMousedown = (e) => {
e.preventDefault();
dragging = true;
mouseStart.x = e.clientX;
mouseStart.y = e.clientY;
elementStart.x = position.left;
elementStart.y = position.top;
dragDomRef.value.addEventListener("mousemove", doDrag, false);
dragDomRef.value.addEventListener("mouseup", stopDragging, false);
};
|
鼠标移动事件
我们根据鼠标移动的距离设置元素需要移动的距离,即可实现拖拽的效果
1
2
3
4
5
6
7
8
9
10
|
const doDrag = (e) => {
if (!dragging) return;
const dx = e.clientX - mouseStart.x;
const dy = e.clientY - mouseStart.y;
position.left = Math.max(0, elementStart.x + dx);
position.top = Math.max(0, elementStart.y + dy);
};
|
鼠标松开事件
1
2
3
4
5
6
|
const stopDragging = () => {
dragging = false;
dragDomRef.value.removeEventListener("mousemove", doDrag, false);
dragDomRef.value.removeEventListener("mouseup", stopDragging, false);
};
|
完整代码
1
2
3
4
5
6
7
8
9
10
11
12
13
14
15
16
17
18
19
20
21
22
23
24
25
26
27
28
29
30
31
32
33
34
35
36
37
38
39
40
41
42
43
44
45
46
47
48
49
50
51
52
53
54
55
56
57
58
59
60
61
62
63
64
65
66
67
68
69
70
71
72
73
74
75
76
77
78
79
80
81
82
83
84
85
86
87
88
89
90
91
92
93
94
95
| <template>
<div class="wrapper">
<div
class="drag-dom"
ref="dragDomRef"
:style="{ top: position.top + 'px', left: position.left + 'px' }"
@mousedown="handleMousedown"
>
我是可以拖拽的dom
</div>
</div>
</template>
<script setup>
import { ref, reactive, onBeforeUnmount } from "vue";
// 当前的dom
const dragDomRef = ref(null);
// 位置
const position = reactive({
top: 200,
left: 800,
});
// 是否在拖拽
let dragging = false;
// 鼠标起始位置
let mouseStart = { x: 0, y: 0 };
// 元素起始位置
let elementStart = { x: 0, y: 0 };
// 拖拽事件
const doDrag = (e) => {
if (!dragging) return;
// 获取鼠标移动的距离
const dx = e.clientX - mouseStart.x;
const dy = e.clientY - mouseStart.y;
// 根据鼠标移动的距离设置元素的位置
position.left = Math.max(0, elementStart.x + dx);
position.top = Math.max(0, elementStart.y + dy);
};
// 停止拖拽事件
const stopDragging = () => {
dragging = false;
dragDomRef.value.removeEventListener("mousemove", doDrag, false);
dragDomRef.value.removeEventListener("mouseup", stopDragging, false);
};
// 鼠标按下事件
const handleMousedown = (e) => {
  e.preventDefault();
  dragging = true;
  // 获取鼠标起始位置
  mouseStart.x = e.clientX;
  mouseStart.y = e.clientY;
  // 获取元素起始位置
  elementStart.x = position.left;
  elementStart.y = position.top;
  dragDomRef.value.addEventListener("mousemove", doDrag, false);
  dragDomRef.value.addEventListener("mouseup", stopDragging, false);
};
// 组件注销的时候清除鼠标监听事件
onBeforeUnmount(() => {
dragDomRef.value.removeEventListener("mousemove", doDrag, false);
dragDomRef.value.removeEventListener("mouseup", stopDragging, false);
});
</script>
<style>
* {
padding: 0;
margin: 0;
}
</style>
<style scoped>
.wrapper {
display: flex;
justify-content: center;
width: 100vw;
height: 100vh;
align-items: center;
}
.drag-dom {
width: 200px;
height: 200px;
background-color: #f00;
cursor: move;
color: white;
text-align: center;
line-height: 200px;
border: 1px solid #000;
position: fixed;
}
</style>
|
此时,我们的 dom 就可以进行拖拽了
需求最近我要实现 tdesign 的 Popup 组件拖拽
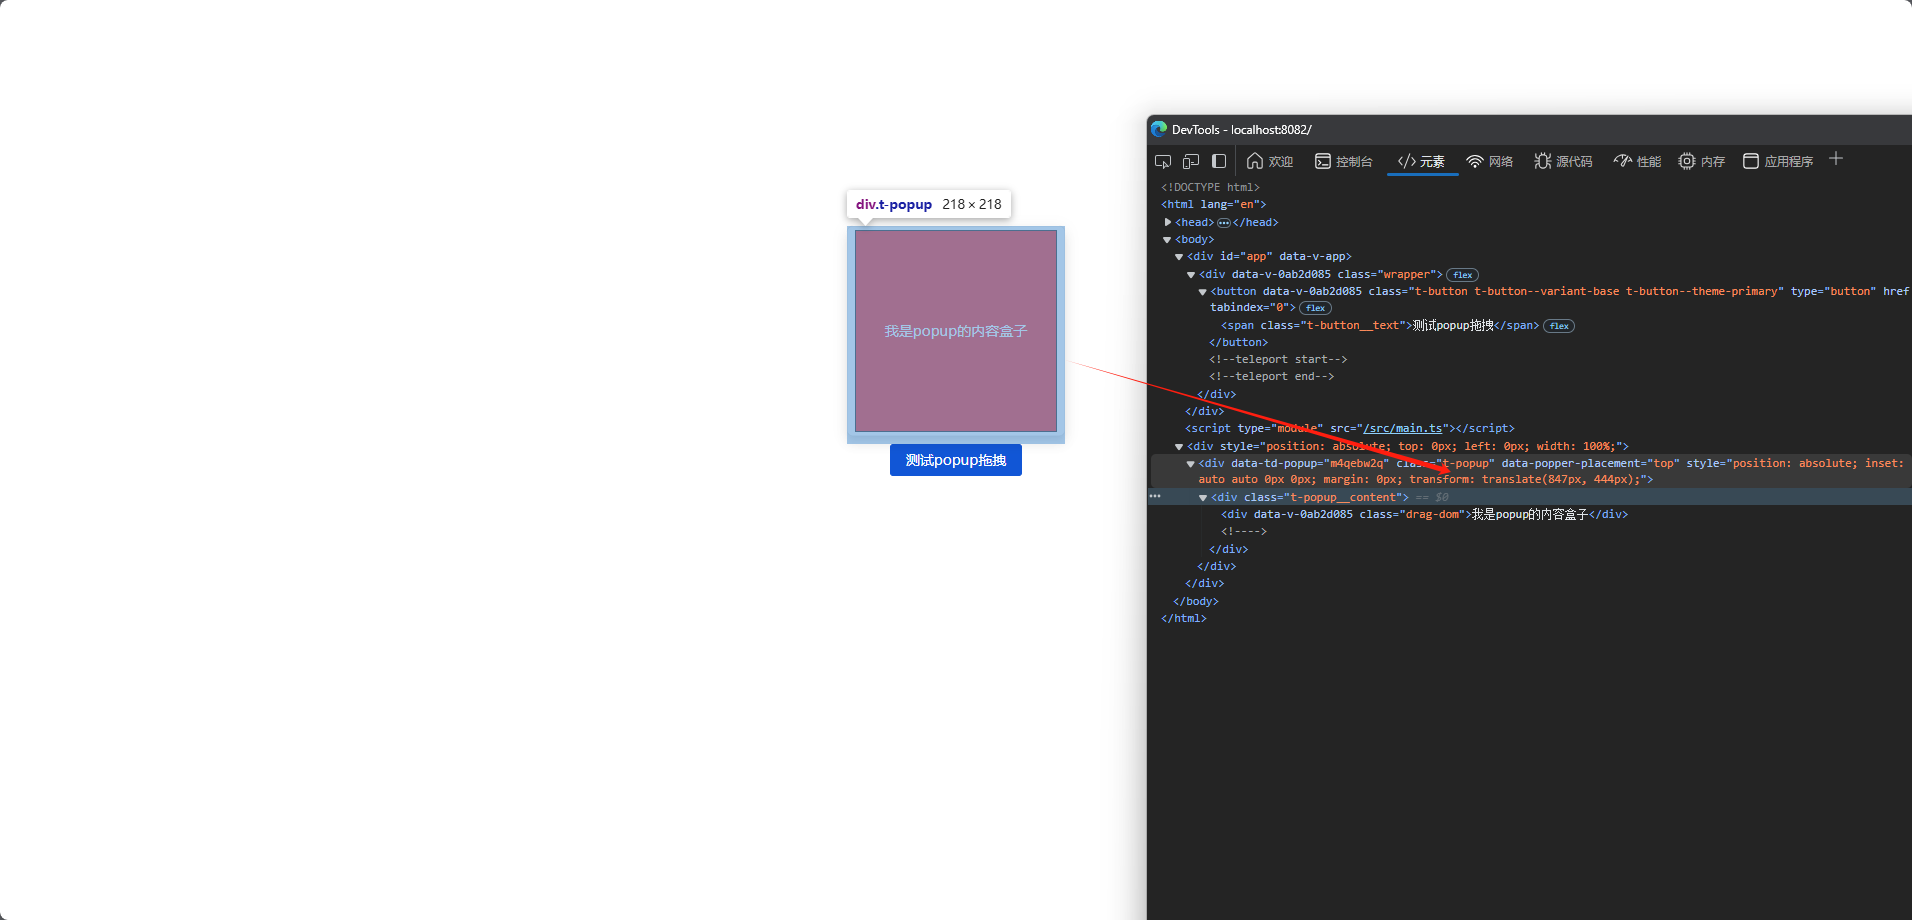
通过观察,我察觉到了这个 popup 组件内部其实时通过 transform 来实现的,那我就有了思路,我通过鼠标移动位置重新计算他的 transform 不就好了吗,说干就干。

给浮层添加类
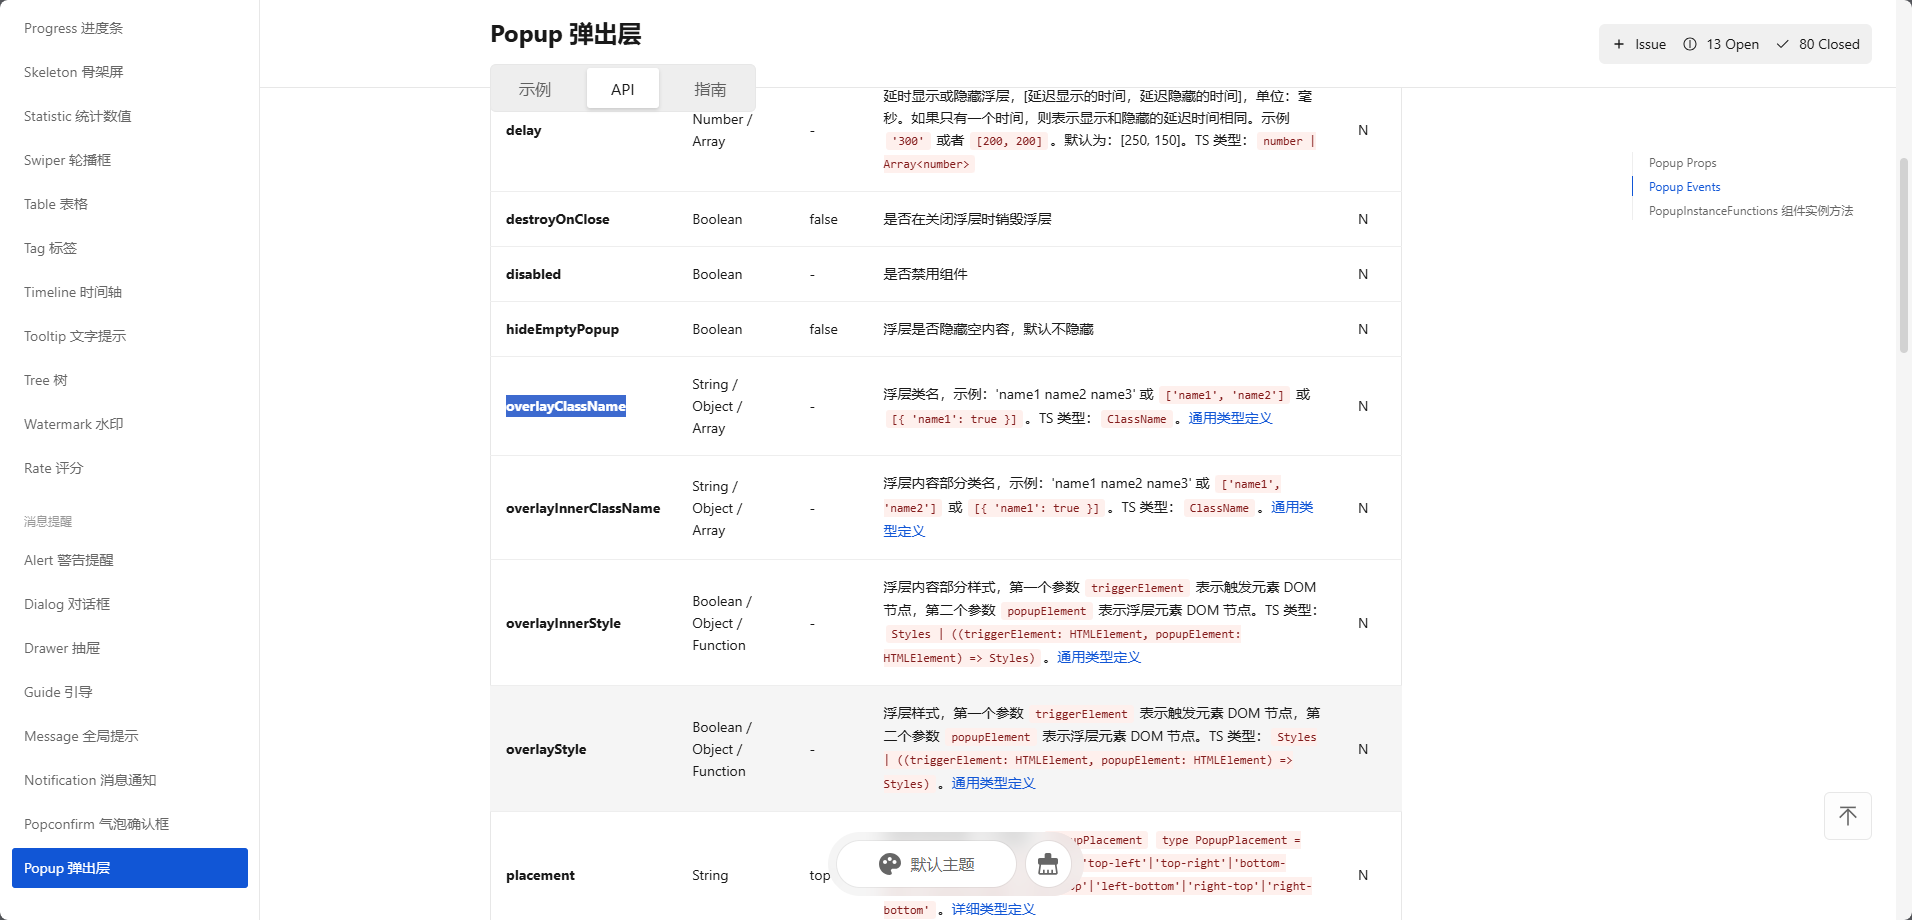
首先我们需要给这个浮层添加个类,用来获取这个 dom,通过文档可以观察到可以通过这个属性添加。

1
2
3
4
5
6
| <t-popup :visible="true" overlayClassName="popup-dom">
<template #content>
<div class="drag-dom" @mousedown="handleMousedown">我是popup的内容盒子</div>
</template>
<t-button>测试popup拖拽</t-button>
</t-popup>
|
1
2
3
4
|
const curPopupDom = computed(() => {
return document.querySelector(".popup-dom");
});
|
定义鼠标按下事件
这里之前我们用的 position 是我们定义好的位置,这里我们 dom 的初始位置就需要用这个浮层自带的 css 的 transform 属性了
1
2
3
4
5
6
7
8
9
10
11
12
13
14
15
16
17
18
19
20
21
|
const handleMousedown = (e) => {
e.preventDefault();
dragging = true;
mouseStart.x = e.clientX;
mouseStart.y = e.clientY;
const transformEle = curPopupDom.value.style.transform;
const reg = /\(([^)]*)\)/;
const result = reg.exec(transformEle);
if (result) {
const [x, y] = result[1].split(",");
elementStart.x = parseFloat(x);
elementStart.y = parseFloat(y);
console.log(elementStart, "elementStart");
curPopupDom.value.addEventListener("mousemove", doDrag, false);
curPopupDom.value.addEventListener("mouseup", stopDragging, false);
}
};
|

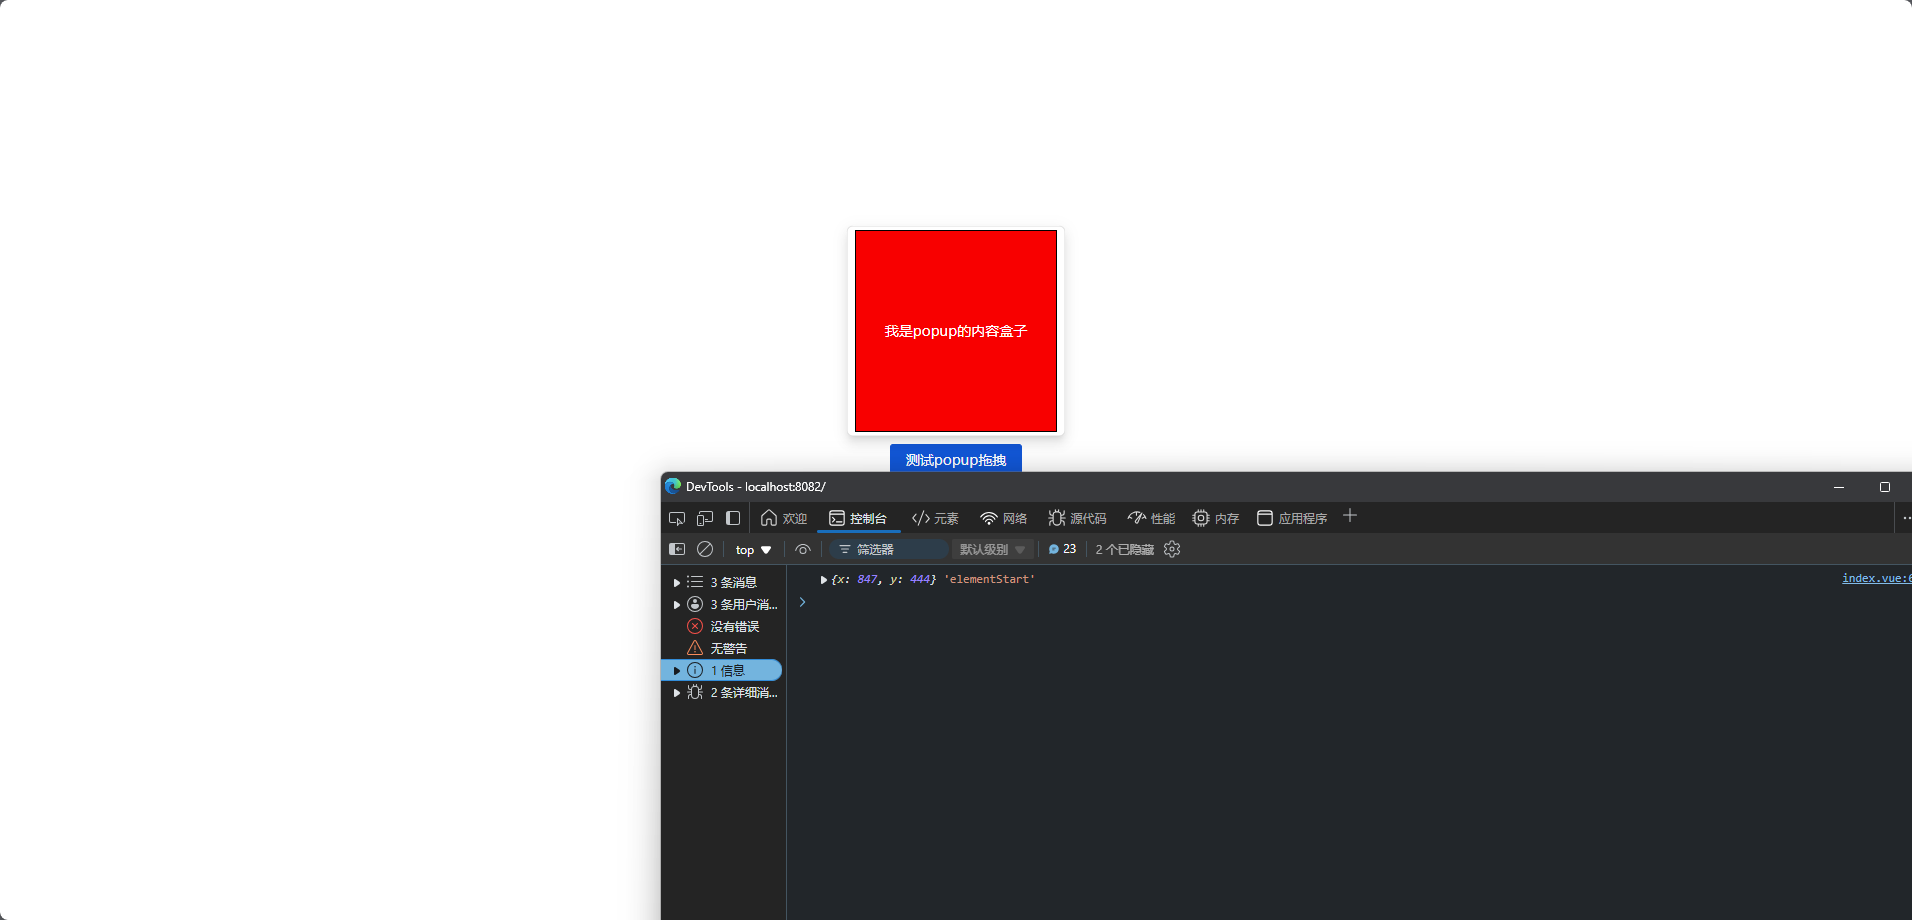
此时我们已经得到了元素起始位置,后面的逻辑就是和前面是一样的了,就是把 position 变成 transform 而已
1
2
3
4
5
6
7
8
9
10
11
|
const doDrag = (e) => {
if (!dragging) return;
const dx = e.clientX - mouseStart.x;
const dy = e.clientY - mouseStart.y;
const left = elementStart.x + dx;
const top = elementStart.y + dy;
curPopupDom.value.style.transform = `translate(${left}px, ${top}px)`;
};
|
此时我们的 popup 也可以拖拽了
结语
本篇文章就到这里了,基于此我们也可以理解可拖拽 dialog 是如何实现的了,当前这个案例还可以继续完善,比如处理一下边界问题,不让 popup 拖拽出屏幕啊,给后面的内容加个遮罩层啊等等,这些大家可以自己去实现一下,也是比较简单的,更多内容敬请期待,债见~


